

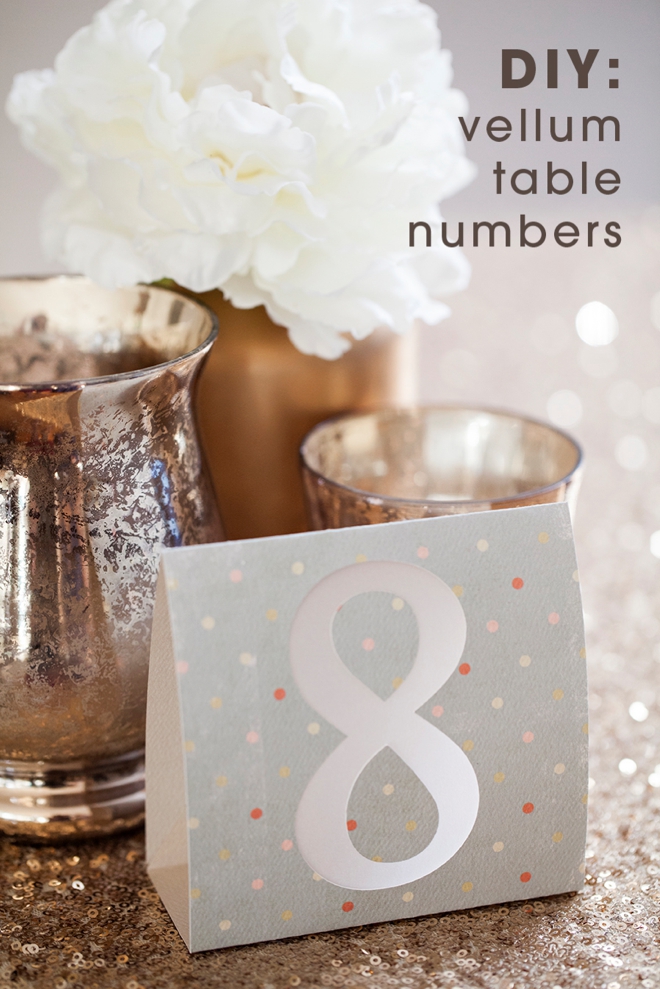
Simple DIY | Cricut Table Numbers
I’m super excited to be sharing my very first Cricut Explore tutorial with you today! If you are DIY-ing your wedding and don’t have a Cricut – you should definitely consider making the investment because it’s amazing, and I’m not just saying that. In the coming weeks and months I will slowly share more and more projects that you can create using this extremely versatile digital cutting machine. After you get the hang of the Design Space software and the machine itself, it will change the way you craft forever. I’m actually redesigning my craft area to fit my machine better… let me know if you have any questions, I’ll do my best to answer. Happy Crafting!
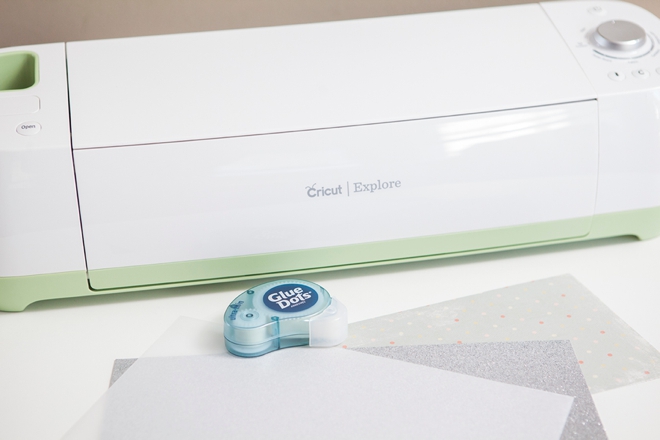
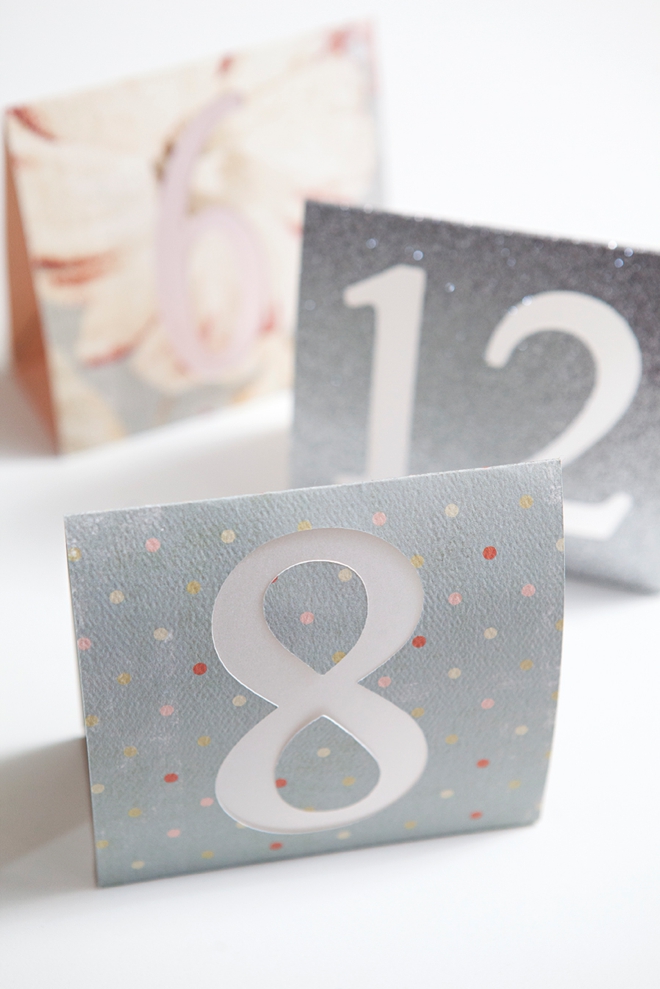
Any cardstock will do, even glitter paper!

SUPPLIES:
- Cricut Explore
- Computer
- Scrapbooking Paper cut to 6″ x 12″
- Vellum
- Glue Dots
- Scissors
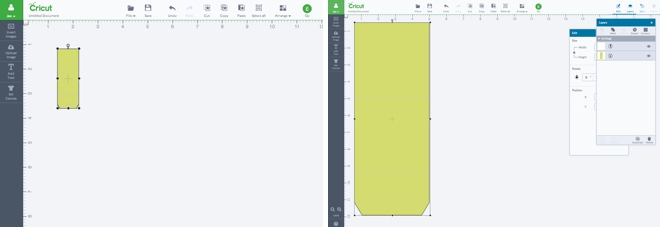
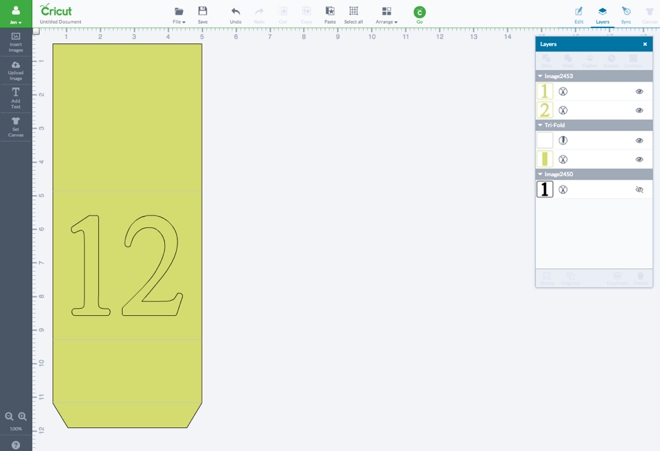
Ok, so now that you have played with your Cricut Explore a little bit – let’s start designing! Open up your Cricut Design Space and click “Insert Image”, then search for this Tri-fold #M2E383 file and add to your project.

Drag the file open to 4.5″ by 11.5″.
Next, click to add text. Choose your font and add each table number, make sure it’s nice and big and fits within the fold lines.
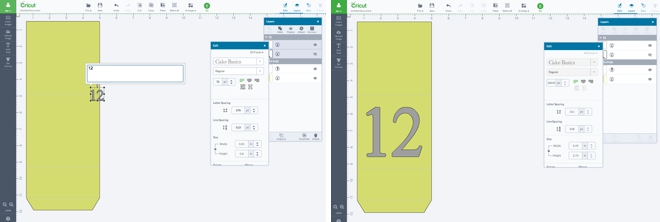
Now, to make sure that the number and tent card is cut from the same paper you need to attach the two layers. Click on the Tri-fold layer and the Text layer and then click “attach” at the top of the layer box. After they are attached the number will have a thin outline instead of a gray fill.
For each table number you will have to “detach” the layers to edit the table number. **You can also cut two table numbers at once by creating two Tri-fold files on the same canvas.
That’s all there is to the design, so now you are ready to cut!
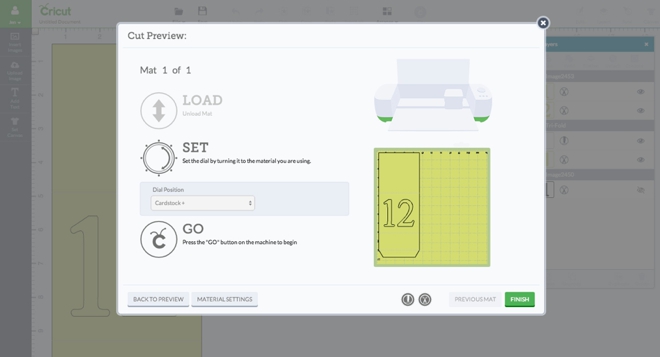
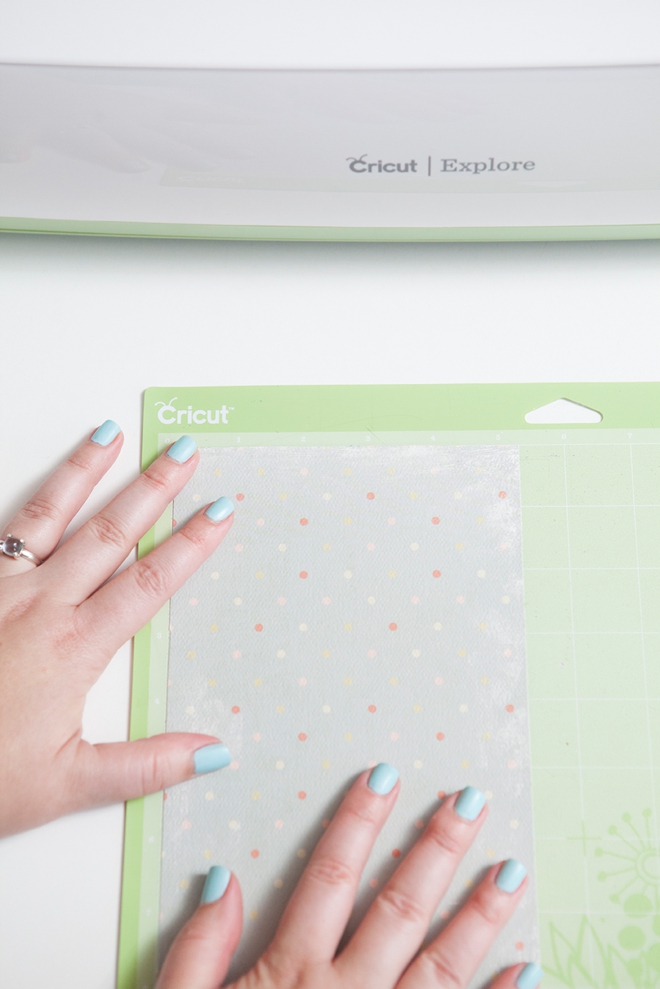
Add your cardstock to the cutting mat.
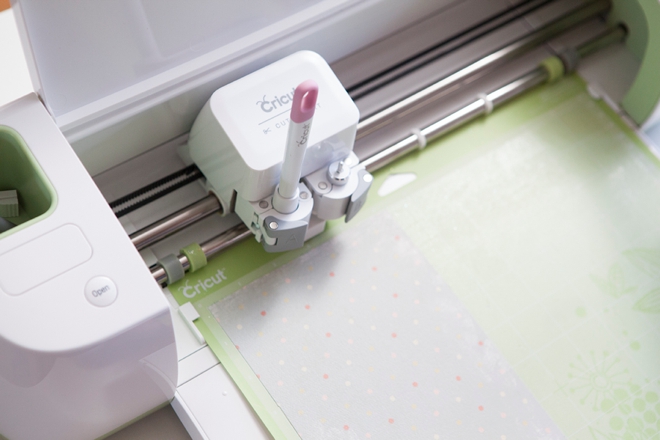
This design calls for the scoring stylus so make sure to add it before you cut.
Load the cutting mat and press Go! In no time you’ll have a beautifully cut table number ready to be assembled!
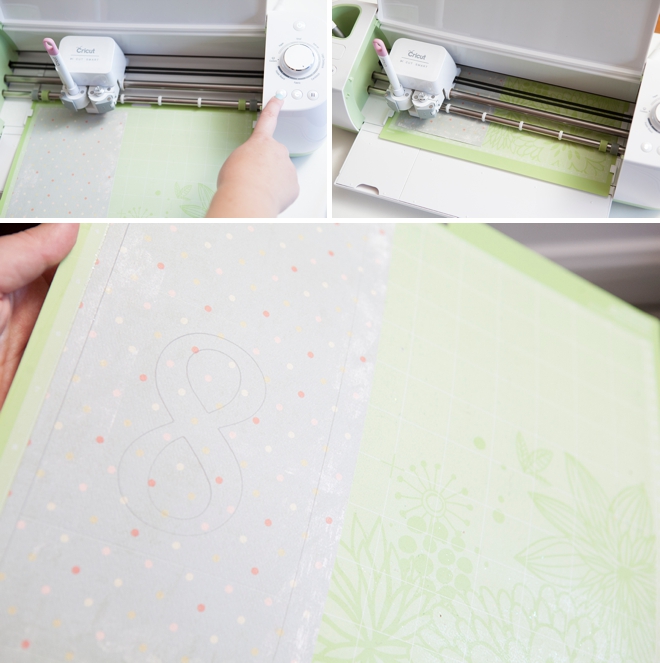
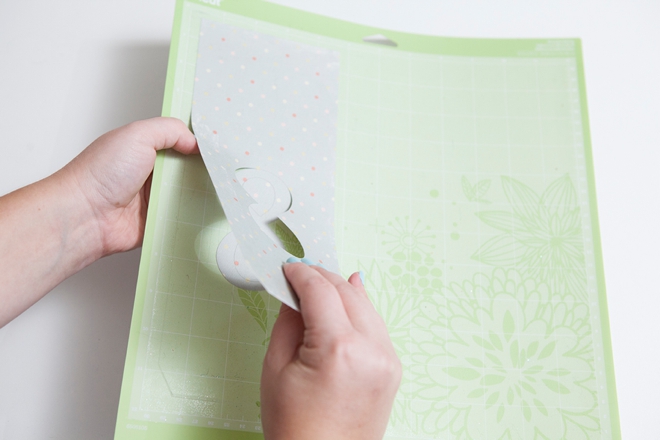
Carefully remove the cut design from the mat.
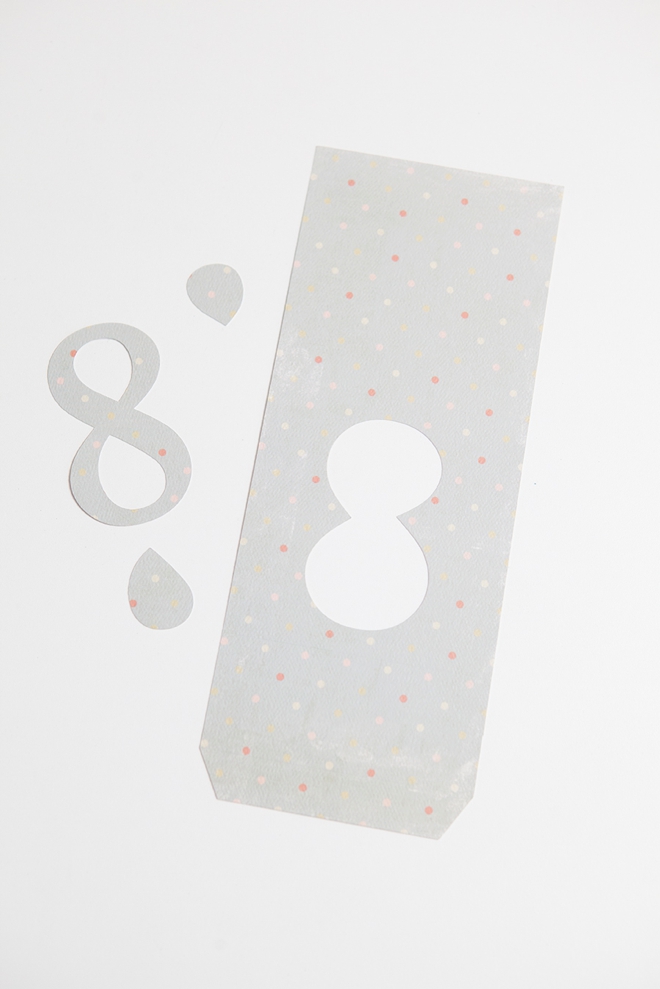
Here are all the pieces :)
Fold your table tent on the score lines created by the machine.
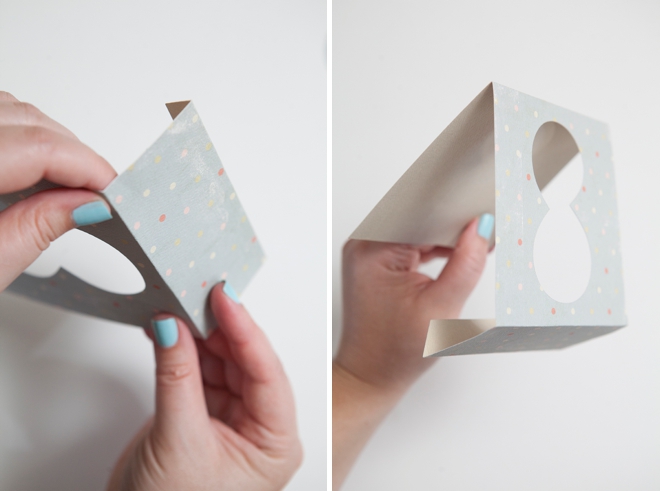
Cut a small square of vellum and add it to the backside of the table tent using Glue Dots.
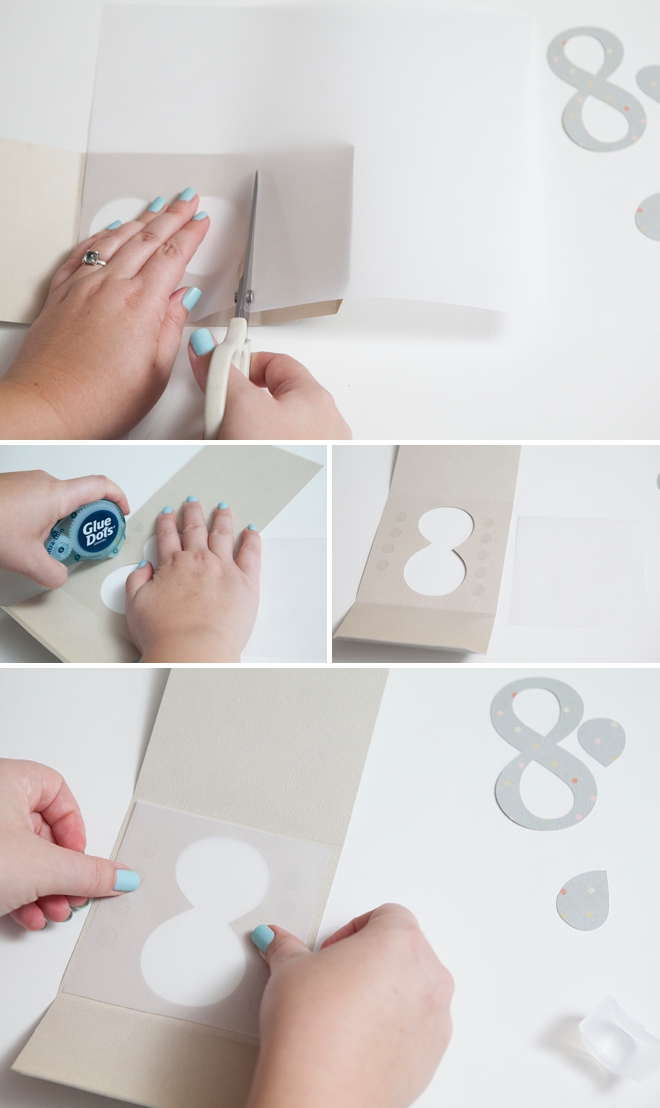
Some numbers will have inside pieces that need to be added to the vellum.
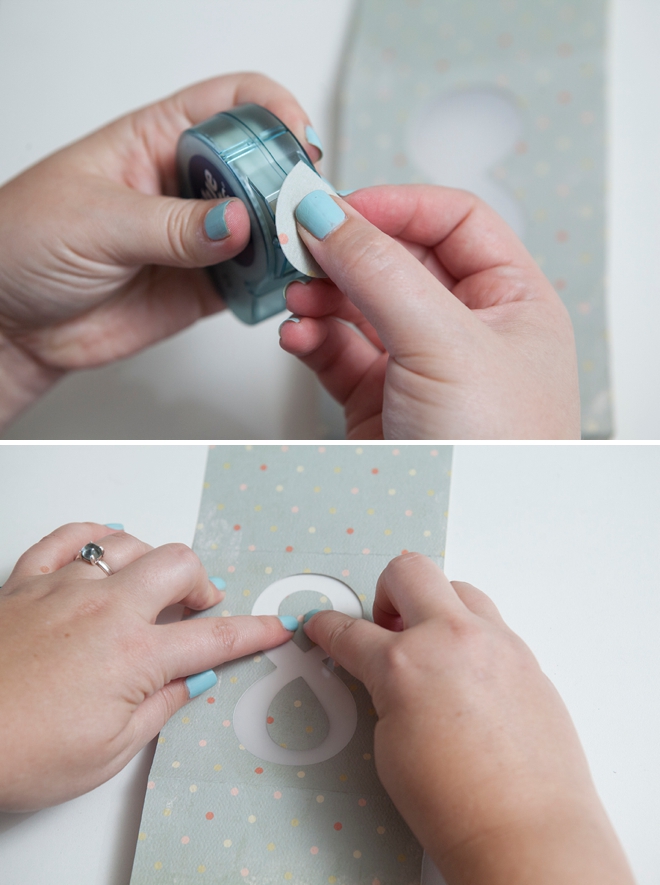
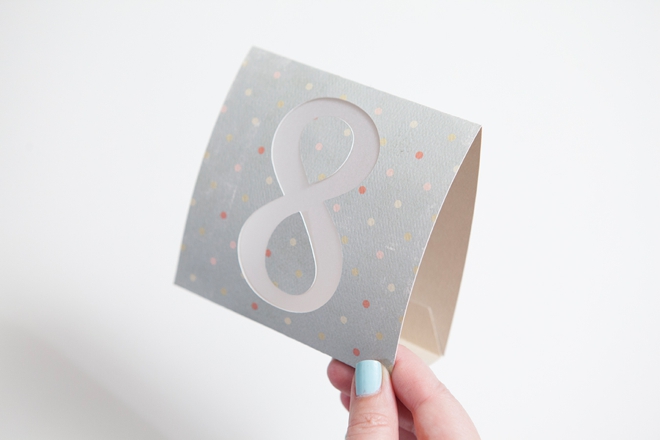
Add multiple Glue Dots to the bottom fold and finish your table tent.

That’s it! It might seem like a lot of steps but in reality this project will move quickly and can be completed in an evening with no problem.
Of course these numbers can also be cut out using an Exacto knife, but my fingers hurt just thinking about it.
As with all our DIY tutorials, if you create one of our projects please send us a picture – We Love Seeing Your Creativity! If you use Instagram or Twitter please use the hashtag #SomethingTurquoiseDIY and it will show up on our Get Social page. Happy Crafting!
DIY Tutorial Credits
Photography: Something Turquoise Photography // DIY tutorial: Jen | Something Turquoise // Cricut Explore![]() courtesy of: Cricut // scrapbooking papers and vellum: Michaels
courtesy of: Cricut // scrapbooking papers and vellum: Michaels![]() //
// ![]() courtesy of: Glue Dots // nail polish: Essie – Mint Candy Apple
courtesy of: Glue Dots // nail polish: Essie – Mint Candy Apple![]()

Comments