
DIY | iron-on Bride robe
We are obsessed with today’s tutorial!!! It’s so quick and easy that you can make this darling robe in less than an hour, maybe even a half hour! It has become quite the trend to get ready in fun robes and we are on board! The crafty bride won’t settle for store bought robes… she’ll customize her own – like these! Today we are sharing how to make your own iron-on letters with any type of fabric so that you can have a custom, diy style Bride robe. Since they are so easy… you might as well make them for your entire bridal party!

SUPPLIES:
- cute robe
- Heat n Bond UltraHold iron-on adhesive (only $2.99!)
- fun fabric
- scissors, you might need a small pair too
- ink pen
- iron

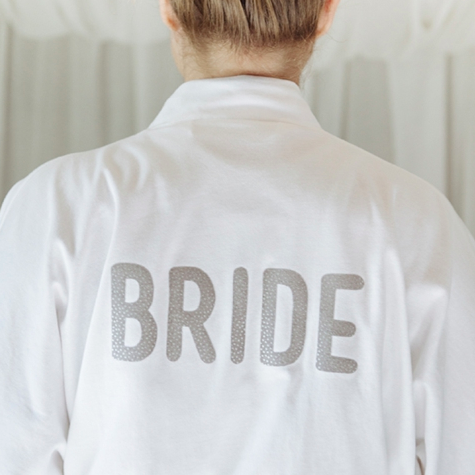
To start, print out the word BRIDE (or whatever word you want) with your favorite font in a mirror image. ***IT MUST BE A MIRROR IMAGE! Here we are using Mensch, our fav. FYI: script style fonts will be more difficult to cut out, but it’s completely up to you.

Lay a piece of Heat n Bond on top of your print out – paper side up, adhesive side down. *The adhesive side isn’t sticky. Carefully trace your choice of word.

Cut out the entire word that you traced.

Iron the fabric you have chosen for your letters.

Place the word you traced, adhesive side down, onto the WRONG side of your fabric. DO NOT put it on the right side of the fabric. Iron following the time instructions on the Heat N Bond package for your choice in fabric. About 30 seconds did it for us.

Cut up each letter, we found it was easier to work with that way…

Carefully cut out each of your letters…

You might need a smaller pair of scissors for the inside of some letters…

Yep, that’s how easy this is!

Now layout your robe, even and smooth across your ironing board. Then decide where you’d like your letters. We did 5″ down from the collar, but your spacing might be different.

Peel off the paper backing from each letter and make sure your happy with the placement. This adhesive is never sticky.

Iron your letters onto the robe! The time is based on your type of fabric and is indicated on the Heat n Bond package. About 30 seconds was perfect for us.

Literally that’s all there is too it! No sewing required! The best part is it’s totally washable!

So… let’s say that you are super crafty and are going to make these for your entire bridal party. Well, if you have more than one bridesmaid – I think you should go the extra mile and put each girls initials on the front of their robes! That way no one will be confused with whose robe is whose! Same steps as above!

How cute are these!!??!!

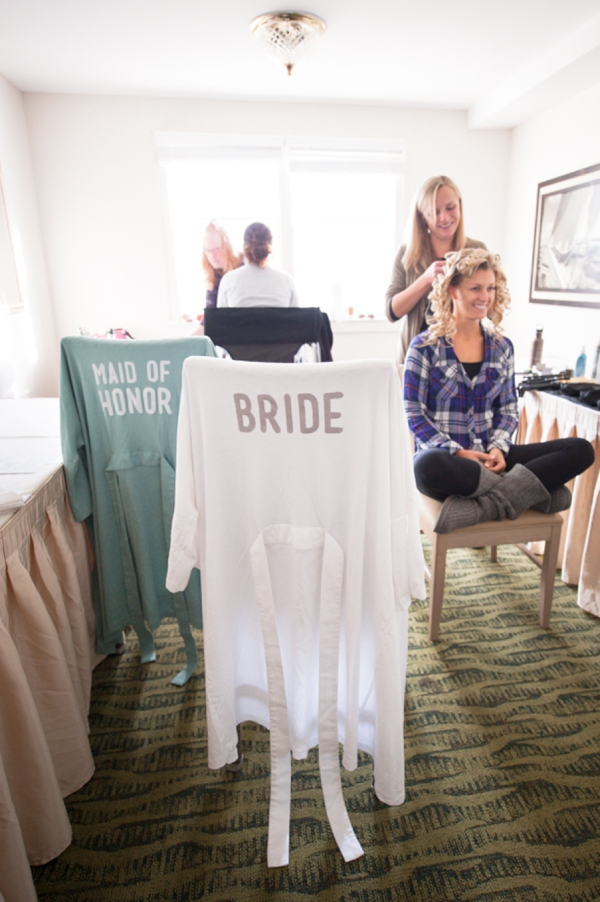
The Not Wedding – Cape Cod
**We made these special bridal party robes specifically for The Not Wedding that was held in Cape Cod. We were privileged enough to attend the absolutely stunning event, which the image below is from – courtesy of Hike Photography. Follow this {link} to see the rest of the amazing day!
As with all our DIY tutorials, if you create one of our projects please send us a picture – We Love Seeing Your Creativity! If you use Instagram or Twitter please use the hashtag #SomethingTurquoiseDIY and it will show up on our Get Social page. Happy Crafting!
DIY Tutorial Credits
Photography + DIY Tutorial: Jen Carreiro of Something Turquoise // // Kimono style robes: Amazon // Font used: Mensch // Heat n Bond: Amazon // and Fabrics: JoAnn // Ironing board: Target // scissors: Martha Stewart Crafts // nail polish: OPI – Mimosas for Mr & Mrs
Shop The Supplies:
Find the supplies you’ll need for this project from our affiliate links below:

Comments