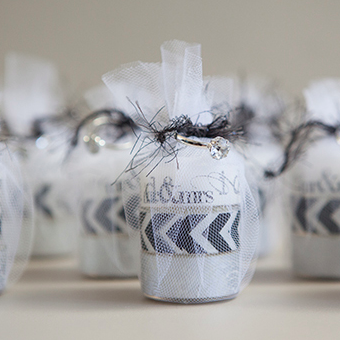
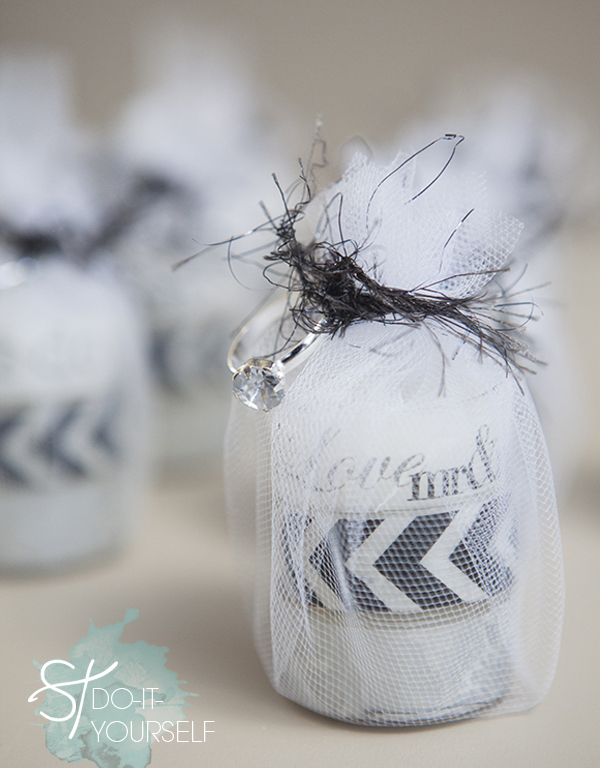
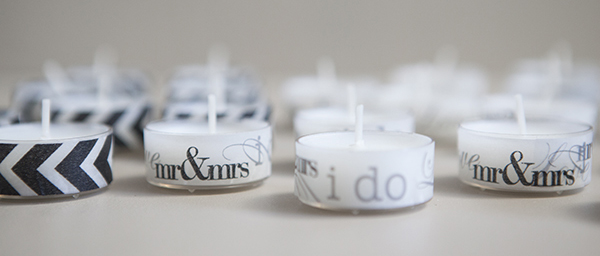
Looking for a super cheap, super crafty, and super cute bridal shower or wedding favor? Then we have the solution for you today! The adorable – and versatile washi tape tea light favor can be made to fit any style occasion. I cannot take credit for the genius idea of covering cheap tea lights with darling washi tape – but I had to share how easy they are to make and how you can effortlessly create personalized wedding favors with them in a snap!
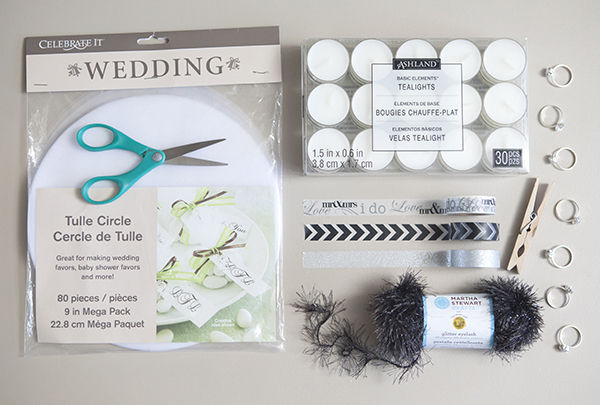
You will need:
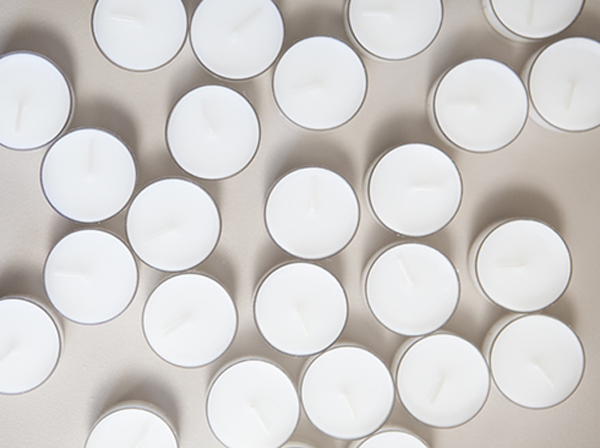
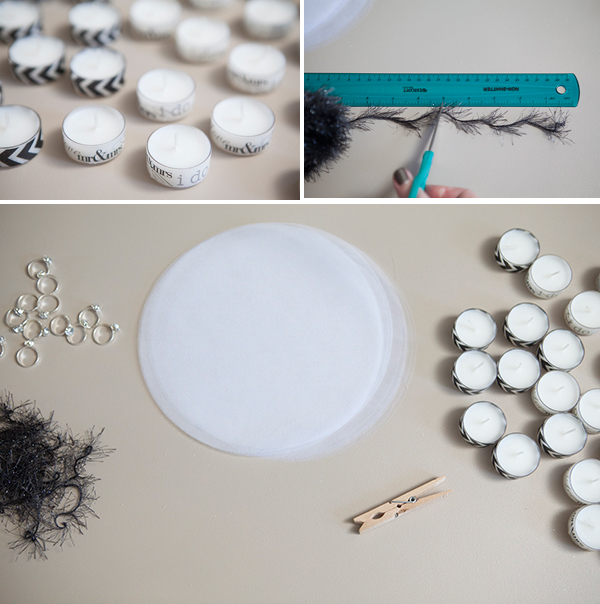
- cheap tea lights
- tulle circles
- super cute washi tape in three different patterns
- eyelash style yarn
- scissors
- clothespin
- wedding ring charms
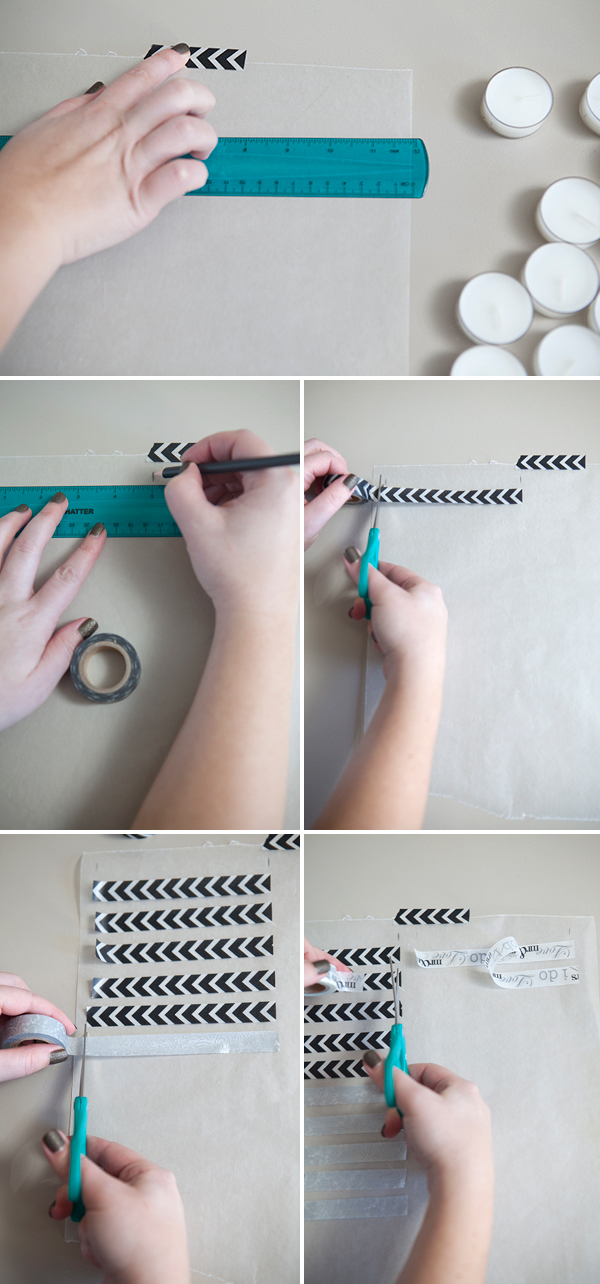
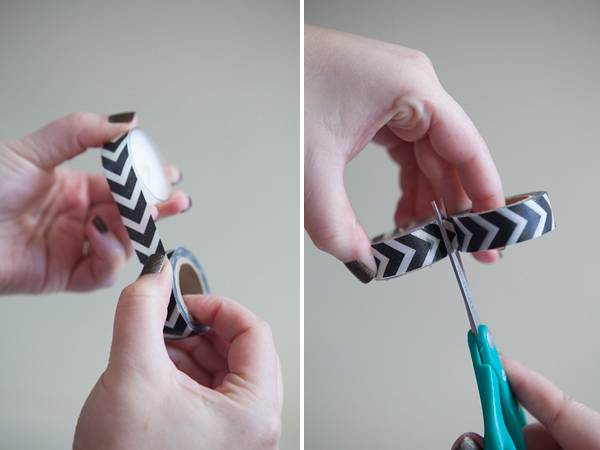
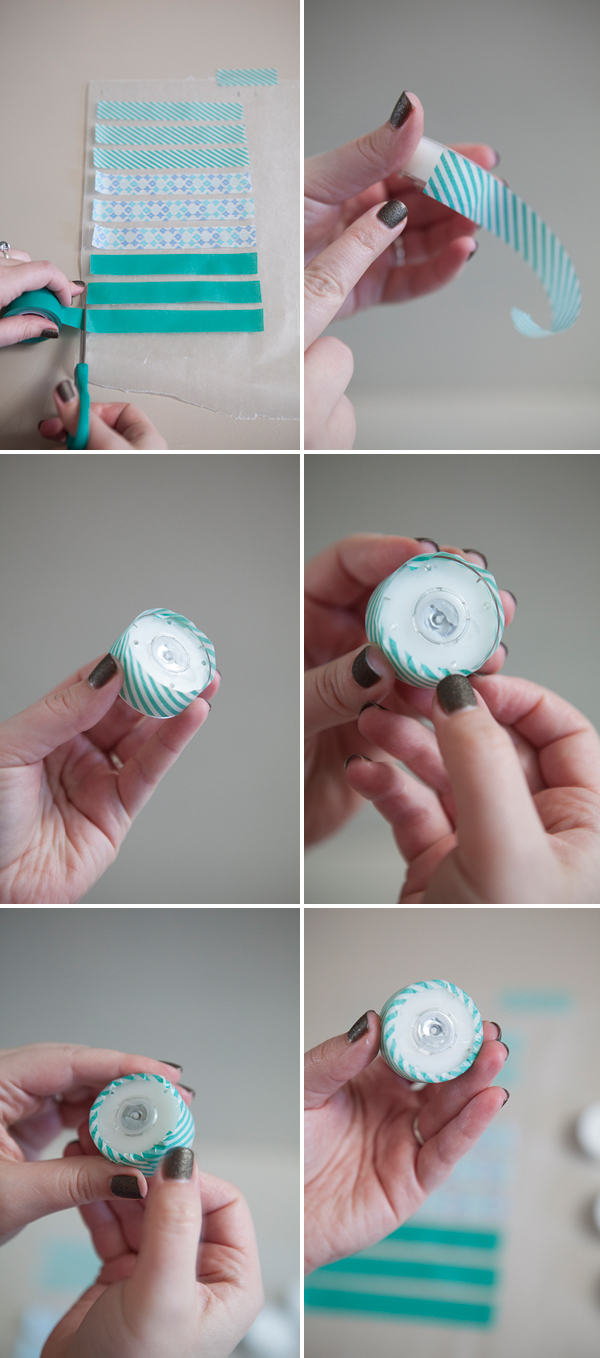
If you are making a lot of these tea lights, you will want to make things easy on yourself… so start by cutting a piece of wax paper and taping it down to your work surface. It takes roughly 5″ of washi tape to cover each tea light, so cut and press as many pieces of tape as you need onto the wax paper. This step is optional but it will save you time in the long run.
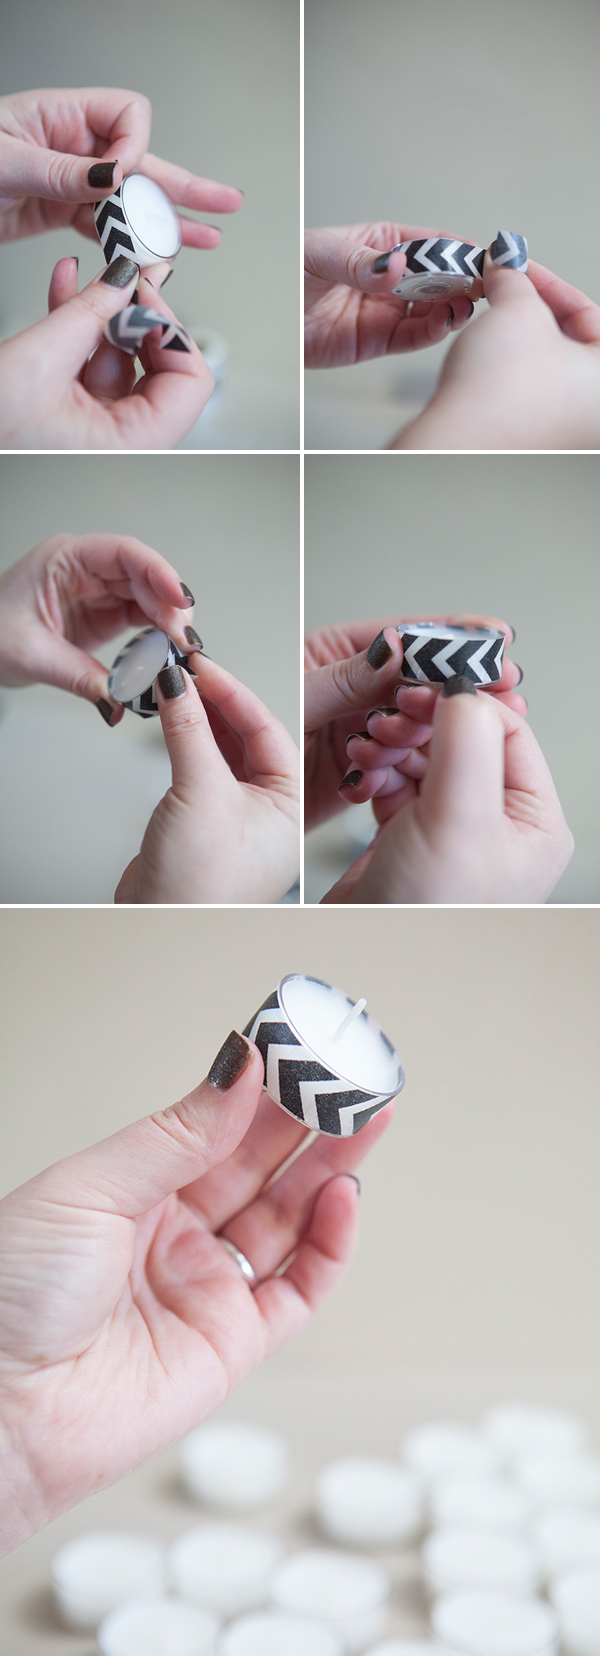
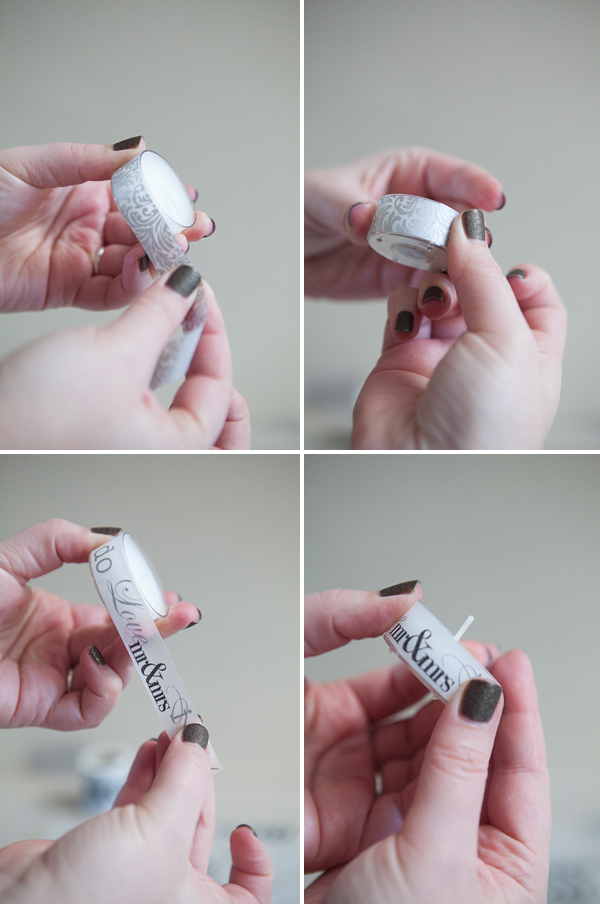
Now take a piece of tape and carefully wrap it around the tea light – it’s that simple. If you have any creases in the tape, just scratch/press them down with your nail and they will almost completely disappear.
The only thing you need to watch out for is that some tea lights can have a little stray wax on the outside – which will need to be wiped clean before you apply the tape.
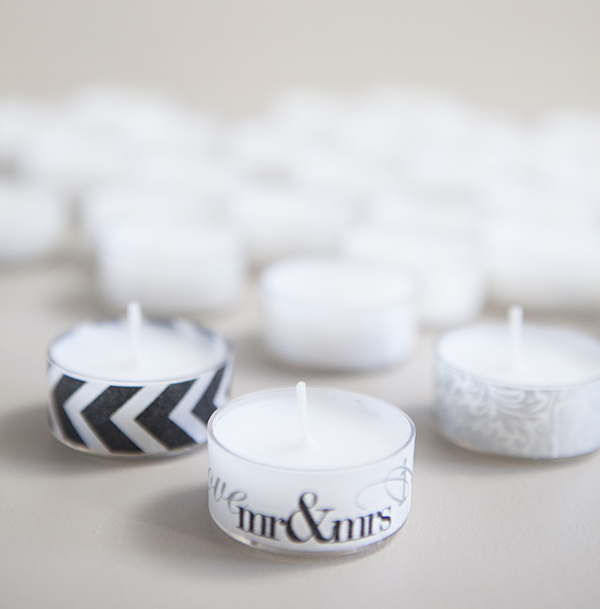
Choosing three colors of washi tape can be difficult because there are so many cute designs!
If you are making only a few of these, you can also wrap them straight from the tape roll.
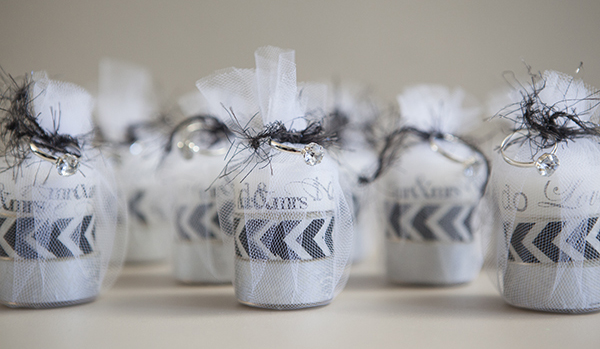
Aren’t they just darling!
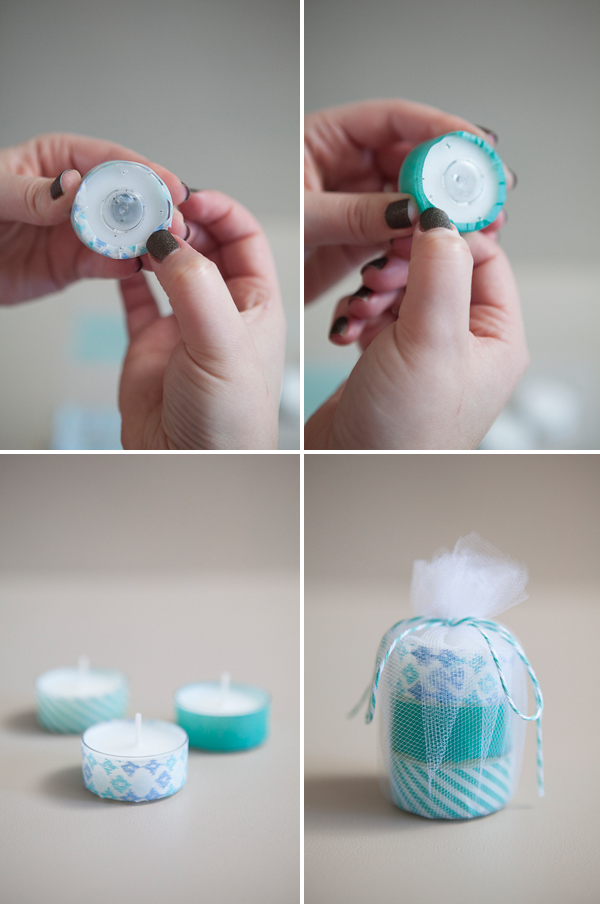
The tape I chose for the tea lights above just happened to be the perfect ‘tea light’ size, which is 1/2″ wide. Some washi tape only comes in 3/4″ wide… so you will have to either cut the tape or wrap it under the tea light.
Carefully push the extra tape under the lip of the tea light base. Press firmly.
Now for wrapping the favor! Cut your eyelash yarn (or the like) to 5″ for a simple knot or 15″ for a small bow. Get your other goodies ready to wrap…
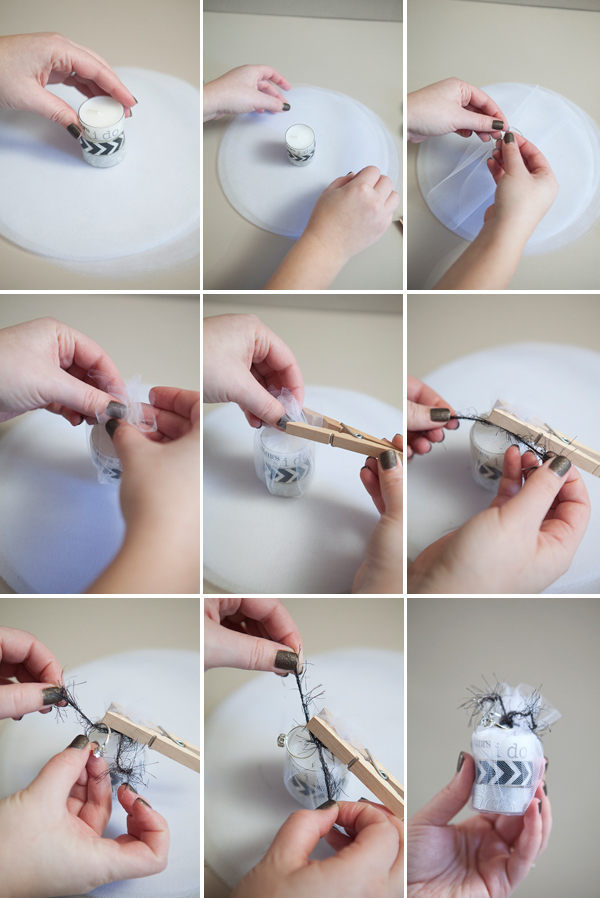
Stack the three tea lights on top of each other, gather the tulle circle together at the top, pinch with a clothespin, tie one knot, then add a charm if you’d like and tie your final knot or bow! Using the clothespin to hold the tulle together before you tie the knot is a lifesaver!!!
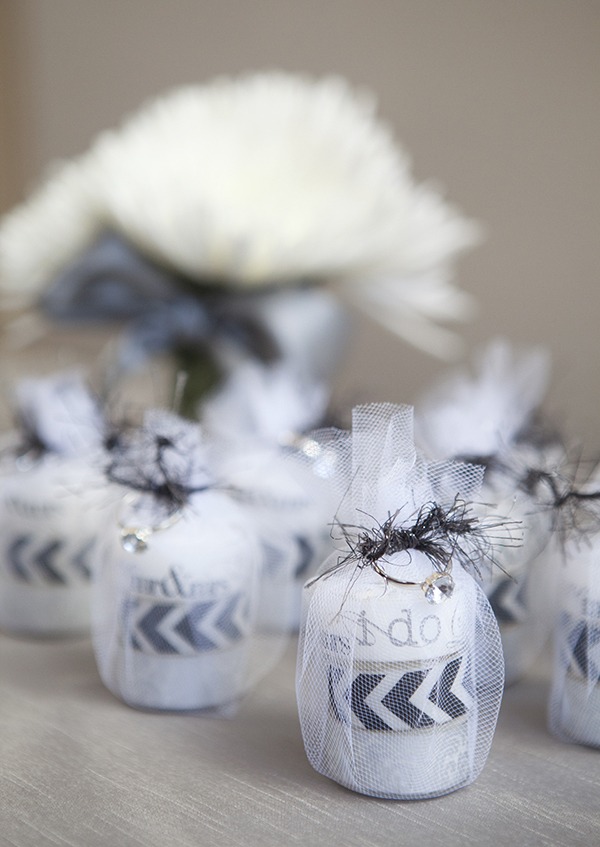
That’s all there is to this darling favor… I cannot wait to see what you all come up with. The sky is truly the limit with the amount of choices you have now with washi tape!
As with all our DIY tutorials, if you create one of our projects please send us a picture or a trackback – We Love Seeing Your Creativity! If you use Instagram or Twitter please use the hashtag #SomethingTurquoiseDIY. Happy Crafting!
Photography: Studio 11 Weddings // DIY tutorial by: Jen | Something Turquoise // Martha Stewart glitter eyelash yarn in Onyx, ALL washi tape (including the Mr & Mrs), tulle circles, tea lights, and wedding ring charms all purchased at: Michaels // nail polish: OPI Liquid Sand in ‘What Wizardry is This?’


Comments