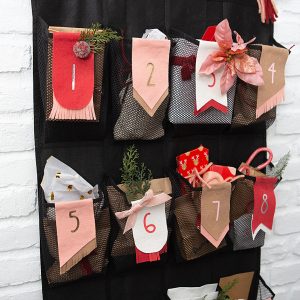

For the past few years, I’ve bought each of my kiddos one of those “toy” advent calendars. We’ve had Legos, jewelry, dinosaurs, cars, Star Wars, Disney princesses, etc… I think by week three …
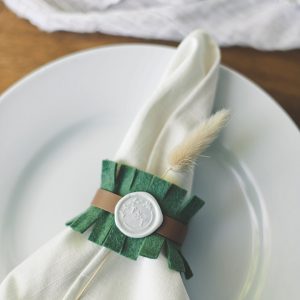

With Thanksgiving around the corner and winter weddings all the time, it’s time to get cozy with my favorite cold weather craft fabric – felt! Not only super easy to work with, but …
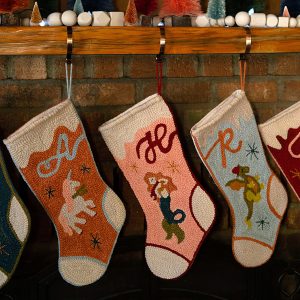
Last Christmas I fell in love with the punch needle stockings our editor Carli made for her family and I literally couldn’t stop thinking about them… so I decided to embark on my …
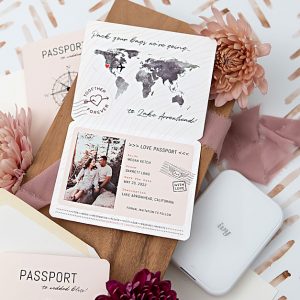
This is a sponsored post written by me on behalf of Canon. All opinions are 100% mine. Wedding save-the-date invitations are one of my favorite things to make and I couldn’t be more …

Literally cutest flower girl shirt ahead! If you love making personalized things for your wedding day, then add this embroidery project to your list! By using any t-shirt and a really adorable embroidery …
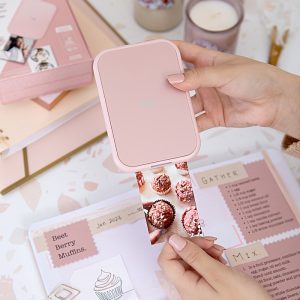
This is a sponsored post written by me on behalf of Canon. All opinions are 100% mine. Today, Canon has officially released its newest mini printer model, the Canon IVY 2 Mini Photo …

Disclosure: This post uses affiliate links. This means that if you purchase something that I feature, I’ll get a small commission (this will not increase the price of the item). If you’ve landed …