

One of our favorite wedding micro trends here at Something Turquoise is all about black candles. Back in October I did round up of black wedding details, you guys loved that post, and …
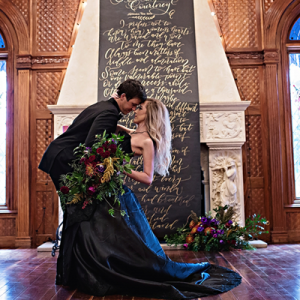

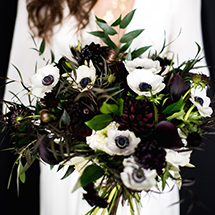
Of course this post is timely with the upcoming Halloween holiday, but black is, and has always been a classic, versatile wedding color. The pendulum has swung away from black in the wedding …


Is there anything more exciting than registering for your wedding?!? Ok, maybe there are a few things, but there is an extra special excitement when the day’s task is to build a list …
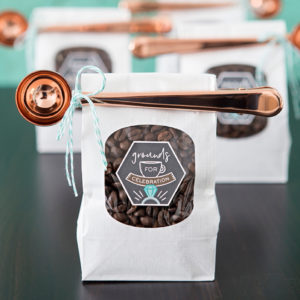
Are you and your fiancé coffee lovers? If so, we have the cutest coffee favor idea for you today! You can create these darling Grounds for Celebration favors and let them speak to …
Hoooraay and happy Monday! Today this the start of our 2nd annual DIY Favor Week. We found that creative internet peeps everywhere stop by Something Turquoise during the holidays to make our DIY …
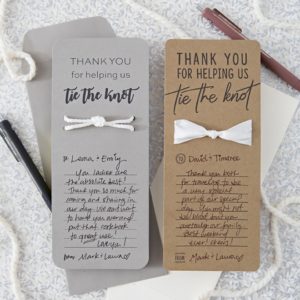
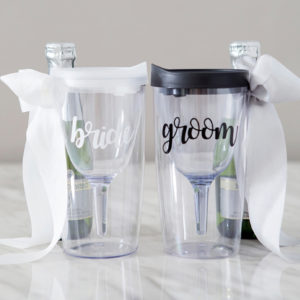
Wedding done. Bride to Mrs. No more projects to do or things to plan. Loads of thank you notes to write. Get over your post-wedding blues with this super sweet DIY thank you …