
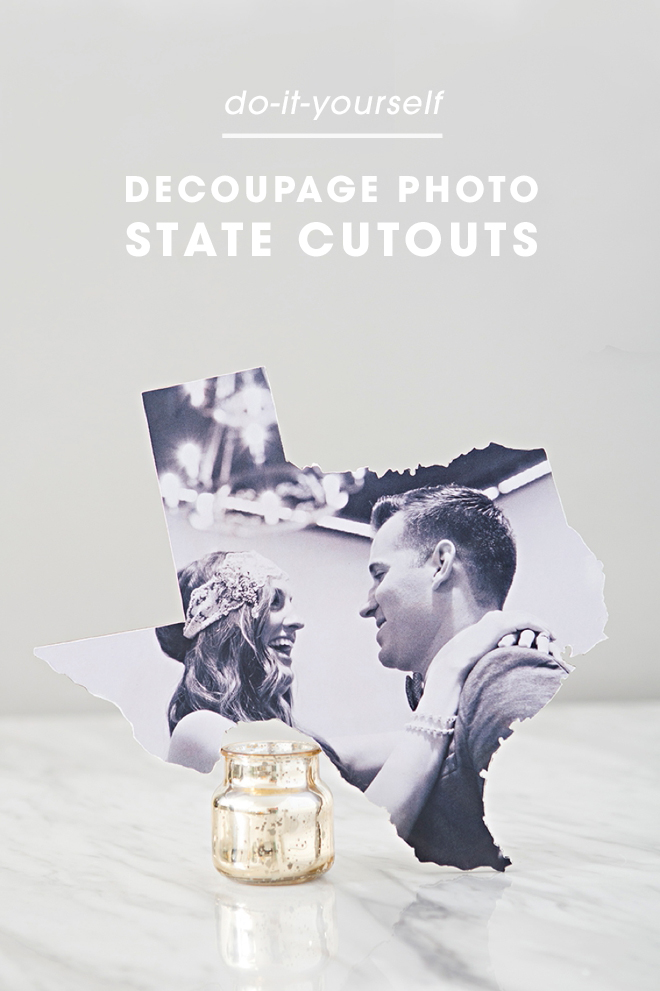
DIY – Decoupage Wedding Photo State Cutouts
-Sponsored Post-
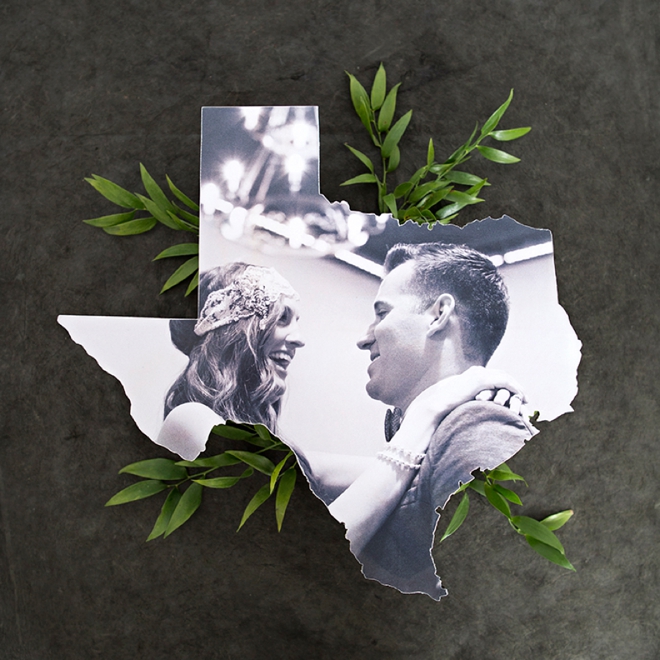
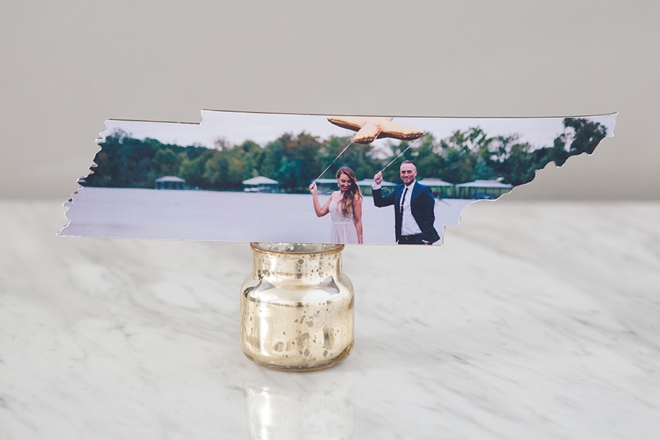
After all the hustle and bustle of wedding planning is over, this fun keepsake project will boost your post-wedding blues. Take your favorite engagement, wedding or honeymoon photo and create a darling decor item memorializing your favorite state. We’re relying on our fabulous Canon iP8720 Crafting Printer to rock this large format photo print. That’s right gals, not all printers are created equal as this one is the only home printer on the market that prints up to 13″ x 19″. If you’re a hardcore DIY bride, this printer needs to be on your Christmas (or wedding registry) list for sure!

State Love
Is there a state that holds a special place in your heart? Maybe you met your significant other there, maybe you grew up there, maybe it’s where you honeymooned. Whatever the reason for the love, embrace it and show it off with this lovely photo project idea!
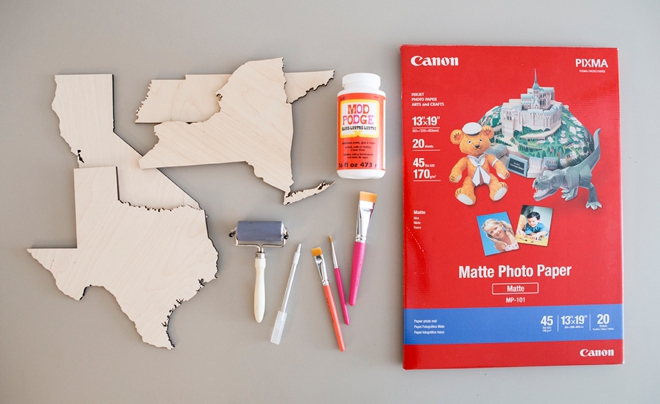
SUPPLIES:
- Canon iP8720 Crafting Printer, it prints up to 13″ x 19″!
- Canon 13″ x 19″ Matte Photo Paper
- Wood State Cutouts, (mine are from Amazon)
- Glossy Mod Podge
- Decoupage Brushes
- Craft Knives
- Scissors
- Nail File
- Brayer, optional
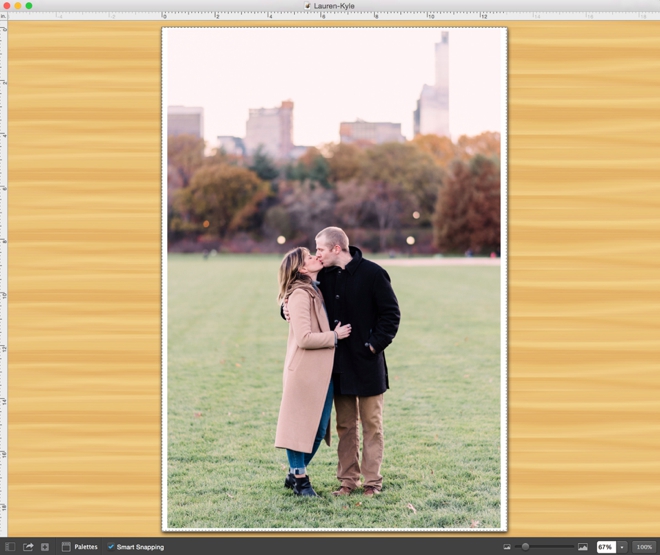
Design Your Print
Using your favorite photo editing software, for projects like this mine is The Print Shop For Mac, layout your photo to the proper size for your choice of state. All states are different and so are the sizes, measure yours to make sure the photo will fit properly.
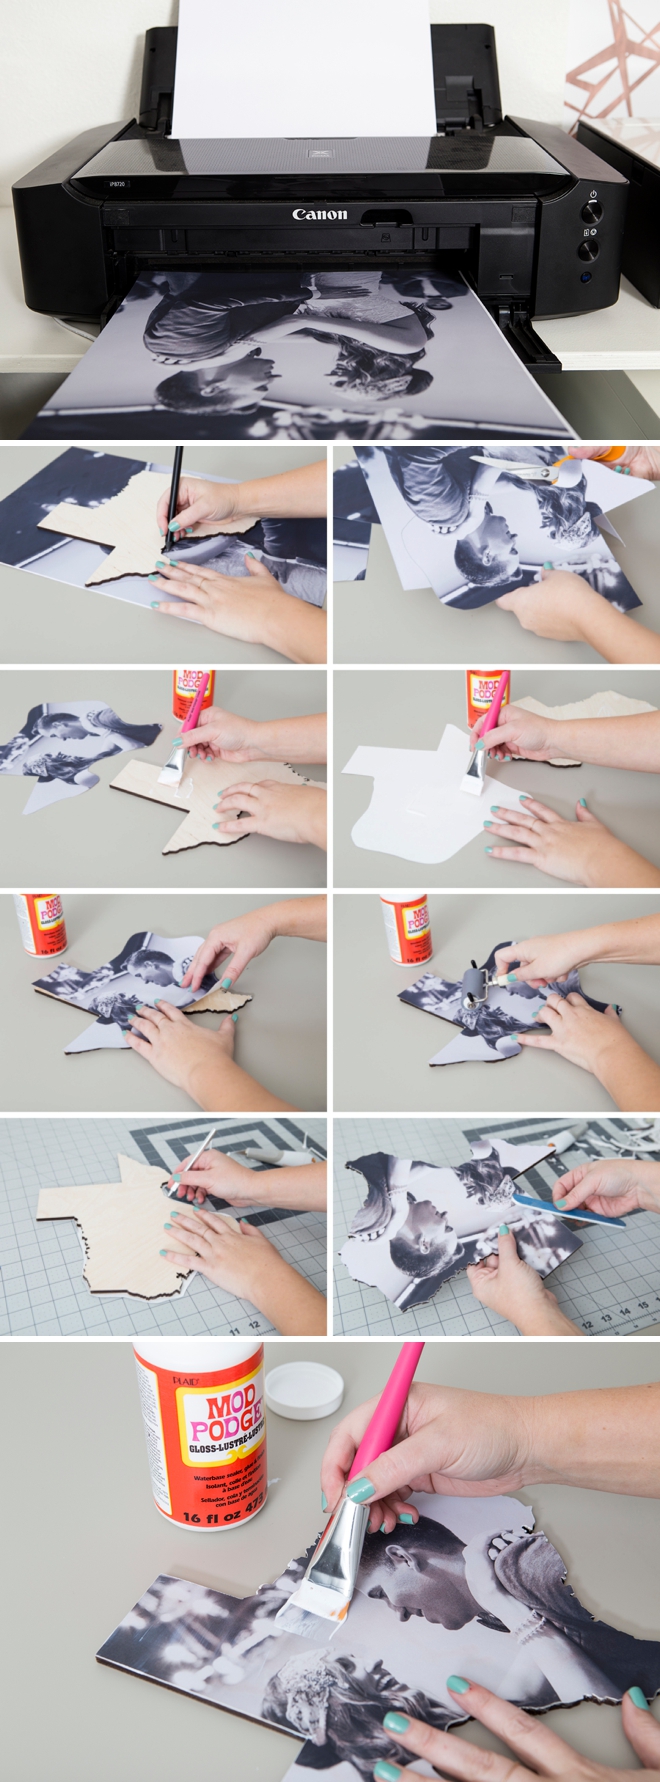
Print With Your iP8720
For this large scale photo project you’ll need to have the Canon iP8720 Crafting Printer, (it’s my fav!) because it can print up to 13″ x 19″, which is necessary to fully cover the wood state cutouts. As I mentioned before, the states are all different sizes some being up to almost 13″ wide, so the image you’re printing is going to have to be large enough to fit.
The Canon 13″x19″ Matte Photo Paper is the perfect choice for this project because it’s easy to work with and you’ll be obtaining a glossy finish from the Mod Podge.
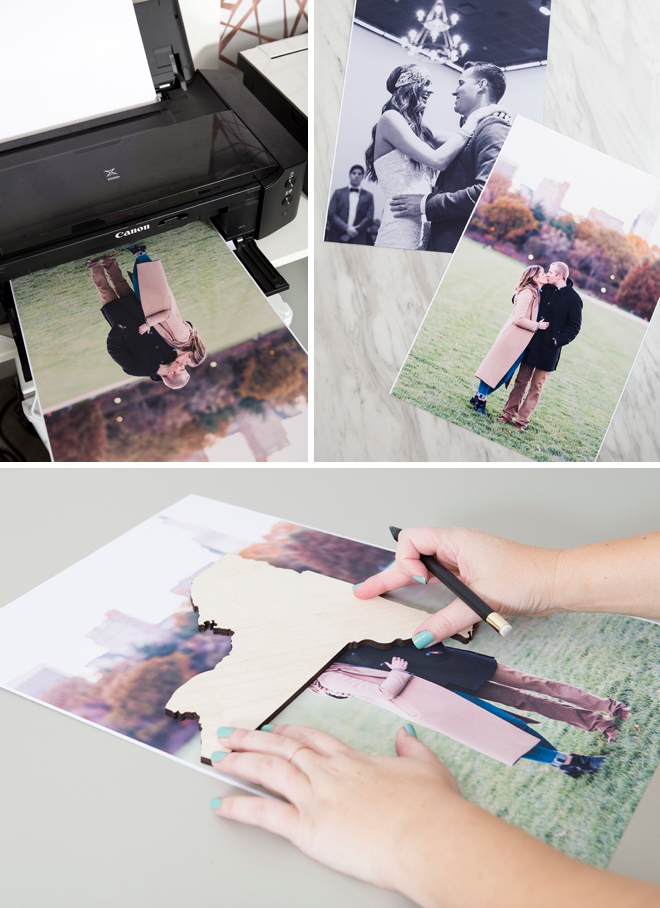
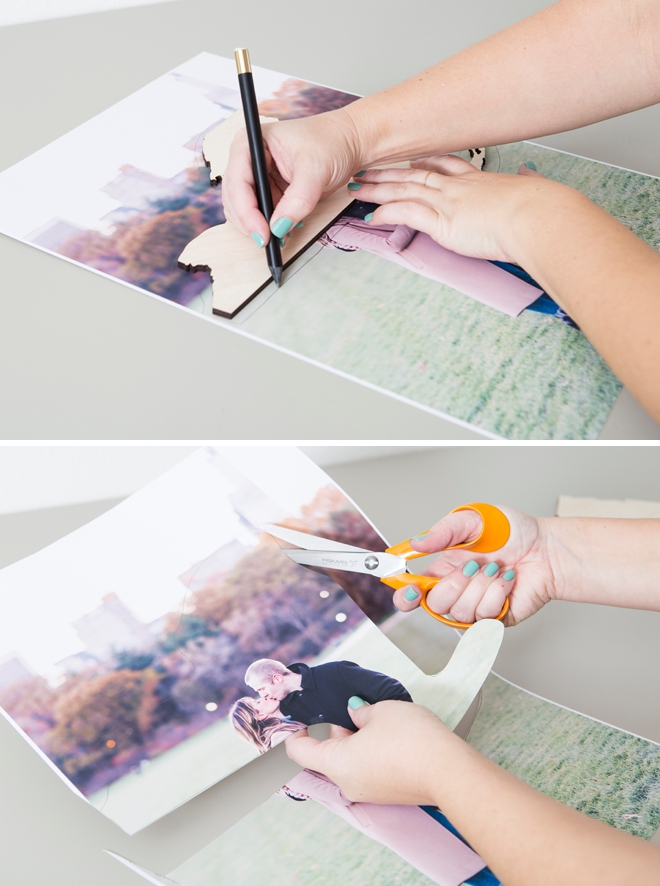
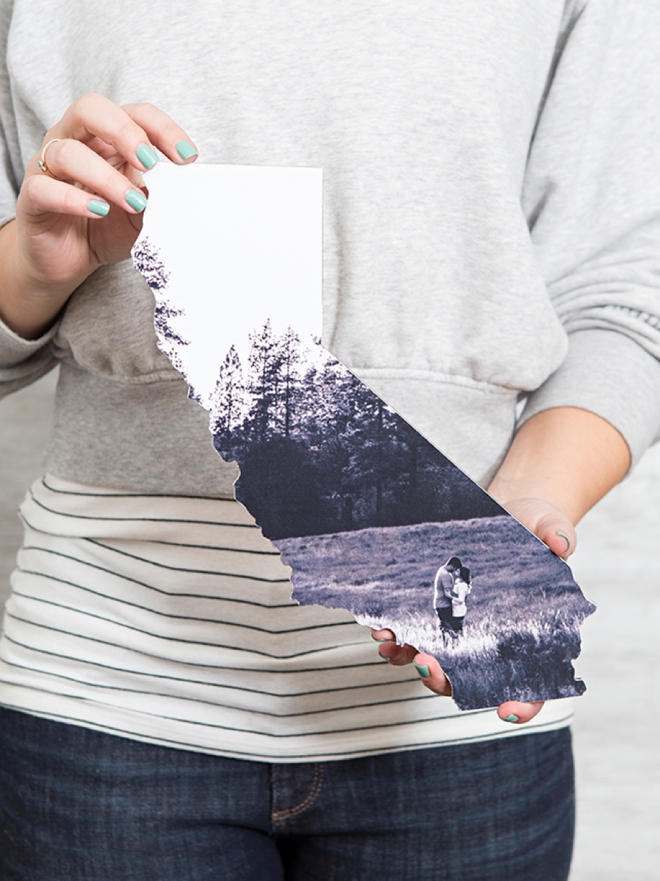
Loose Outline
Position the state where you’d like it on your picture and draw a loose outline of it, then cut that shape out. Having less photo paper to work with will make the decoupage step much easier.
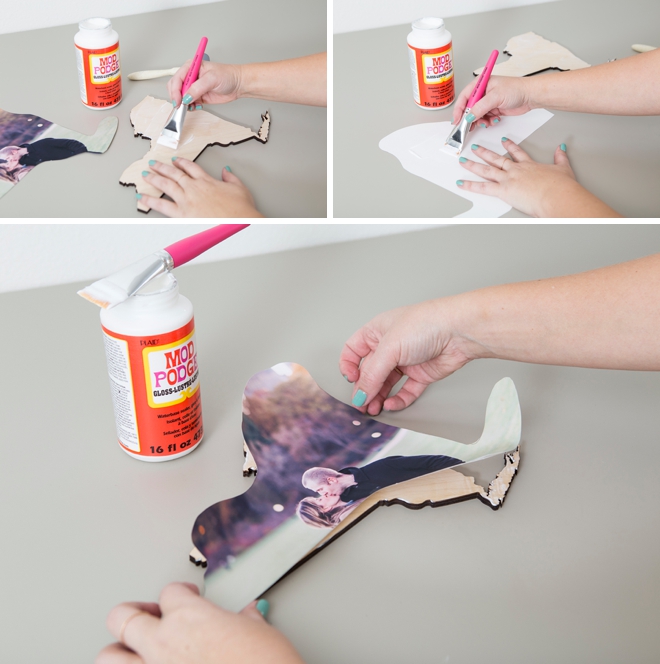
Add Mod Podge
Liberally apply Mod Podge to both the wood plaque and the backside of the photograph, then place the two together – sealing the photo to the wood.
CRAFTERS TIP: Make sure to keep your workspace clean. If Mod Podge touches the photo and desk and dries or scratches, it can ruin the photo. Basically my tip is to be clean and careful while touching the photo print during this step.
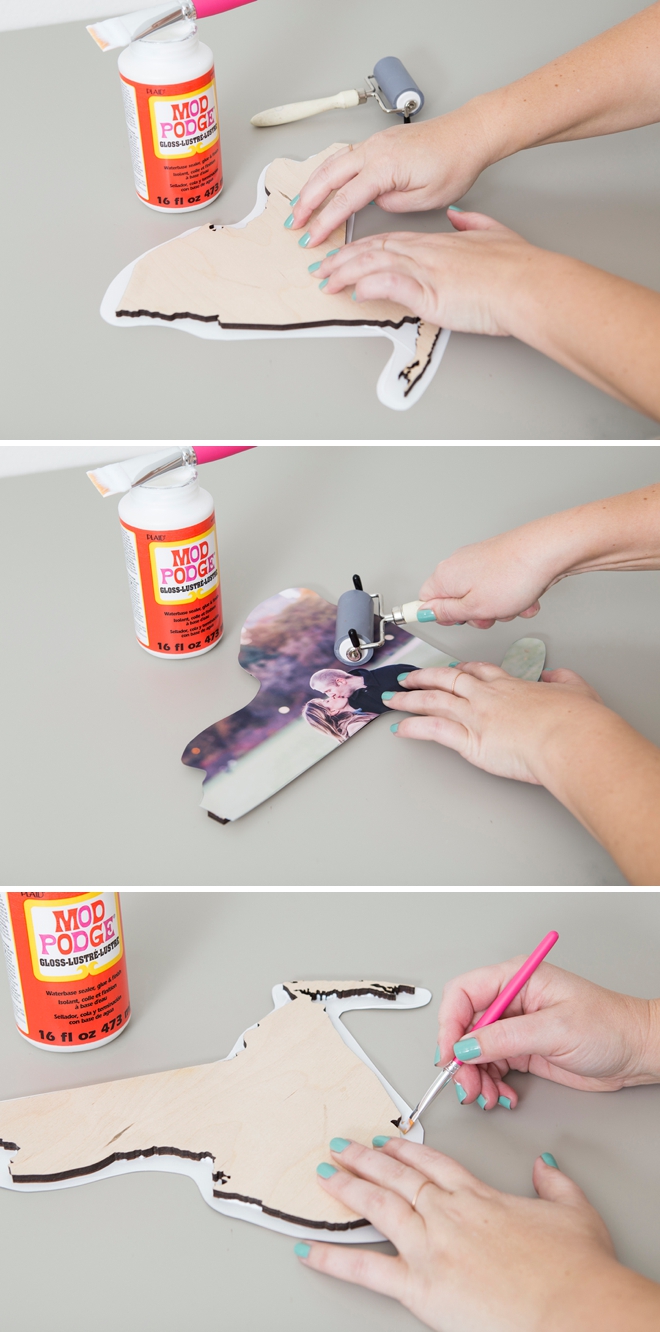
Press and Smooth
Firmly press the photo onto the wood plaque, use a brayer to evenly seal it to the wood if you have one. Make sure the photo is fully adhered to the wood. Then using a smaller brush, add a small amount of Mod Podge to the line where the photo and wood meet, to ensure an ideal seal.
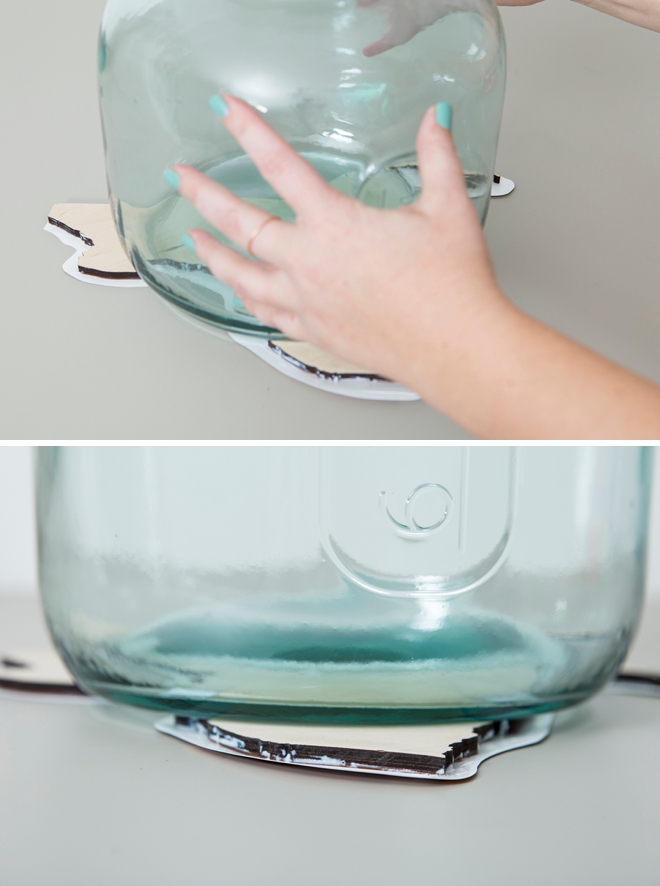
Something Heavy
Let this layer of decoupage glue dry for at least 2 hours if not more. I found it helpful to place something large on top of the wood like a heavy glass jar or gallon jug of water.
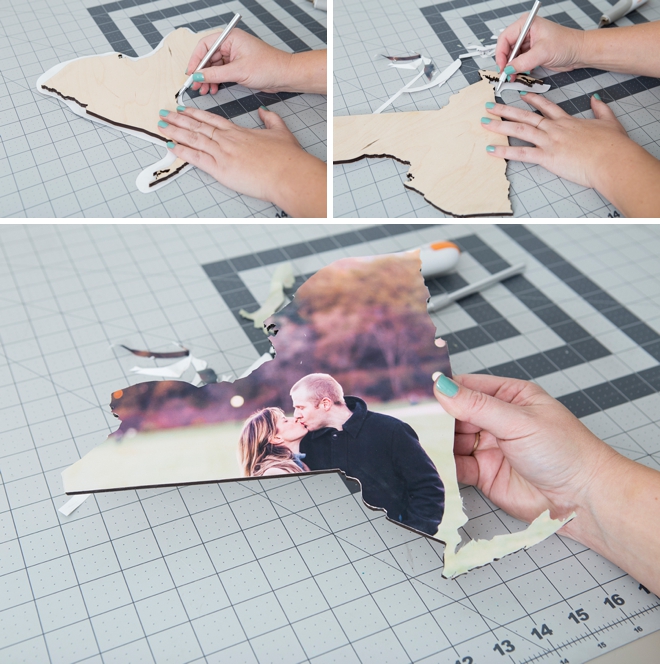
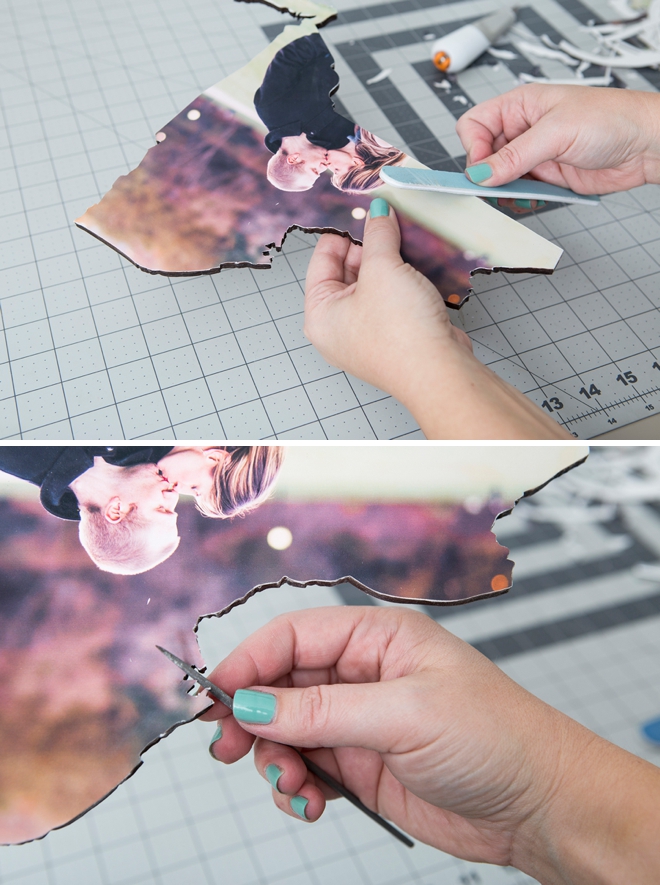
Detail Cut
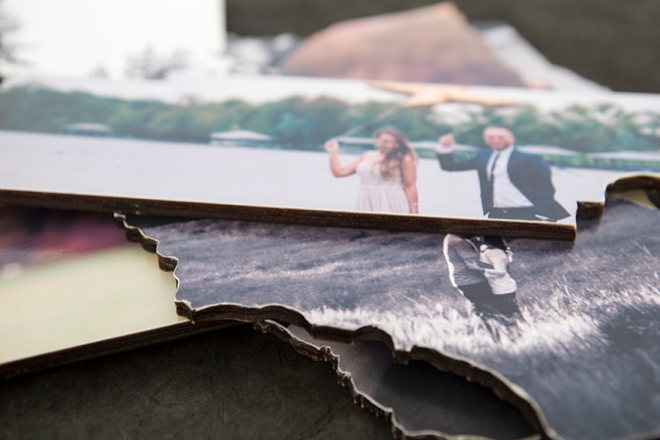
Using your choice of craft knife, carefully cut the excess photo away from the wood state.
Sand
Using a nail file or the like, sand the edges of the photo to remove rough cut edges. Some states have really detailed outlines and so I used a jewelry file to get in some of the tight spaces.
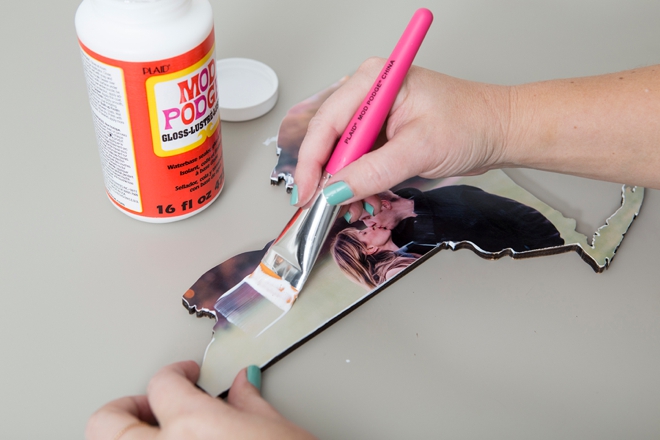
Seal
Now for the finishing touch, add 2-3 coats of Mod Podge on top of the finished photo state cutout. Be careful not to paint back and forth across the photograph too much, the more movement you do can cause opportunity to scratch the photo. This fully seals the photo to the wood, properly protecting it from the environment and preserving it for many years to come. Leave 1-2 hours of dry time in between each coat… and you’re done!
Give Yourself Time
This isn’t a super fast, type project. You want to give yourself time to do each step and have the glue set properly, otherwise you’ll just waste supplies and potentially not be fully happy with the end result. You can totally create one or a few in a weekend, trust me, don’t rush it and you’ll have a better experience.
Special thanks to Team ST, Lauren, Shea, Katy, and Shea, for allowing me to use their gorgeous images for this project!
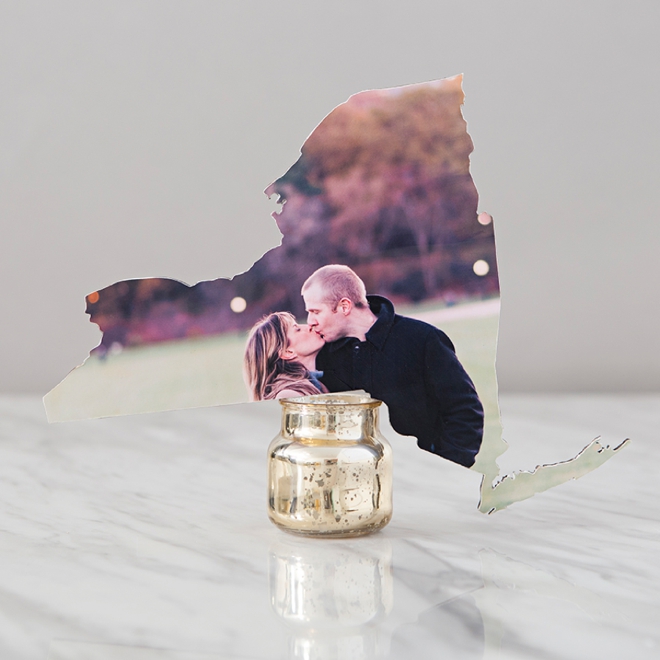
Fabulous Gift Idea
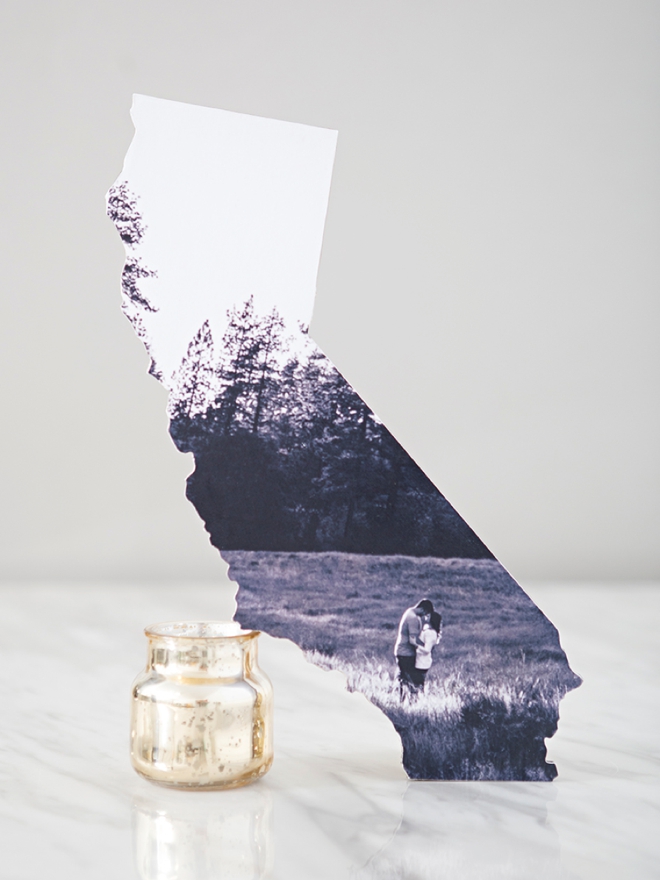
Whether a wedding photo, engagement snap, a vacation picture or maybe a babies first birthday – these photo state plaques would make wonderful gifts! For the holidays, birthdays, mothers day and more. Anyone who has a fondness or love towards a specific state, for whatever reason, would love to have a special image memorialized in this way.
DIY TUTORIAL SPONSORED BY:
Canon U.S.A., Inc. prides itself on allowing consumers to create and preserve beautiful imagery, from capture to print. With wireless technology and seamless printing capabilities, you can print your photos and printables with precision and ease.
As with all our DIY tutorials, if you create one of our projects please send us a picture – We Love Seeing Your Creativity! If you use Instagram or Twitter please use the hashtag #SomethingTurquoiseDIY and it will show up on our Get Social page. Happy Crafting!
DIY Tutorial Credits
Photography + DIY Tutorial: Jen Causey of Something Turquoise // Canon PIXMA iP8720 Crafting Printer + 13×19 Matte Photo Paper: courtesy of Canon // Wood State Plaques: Amazon // Mod Podge: Amazon // Decoupage Brushes: Amazon // Fiskars Detail Craft Knife: Amazon // Nail Polish: OPI – Withstands the Test of Thyme
Shop The Supplies:
Find the supplies you’ll need for this project from our affiliate links below:

Comments