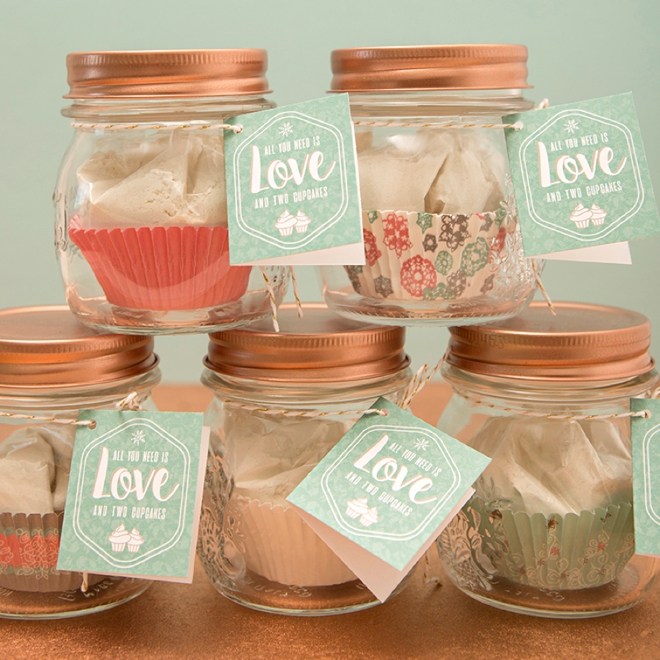

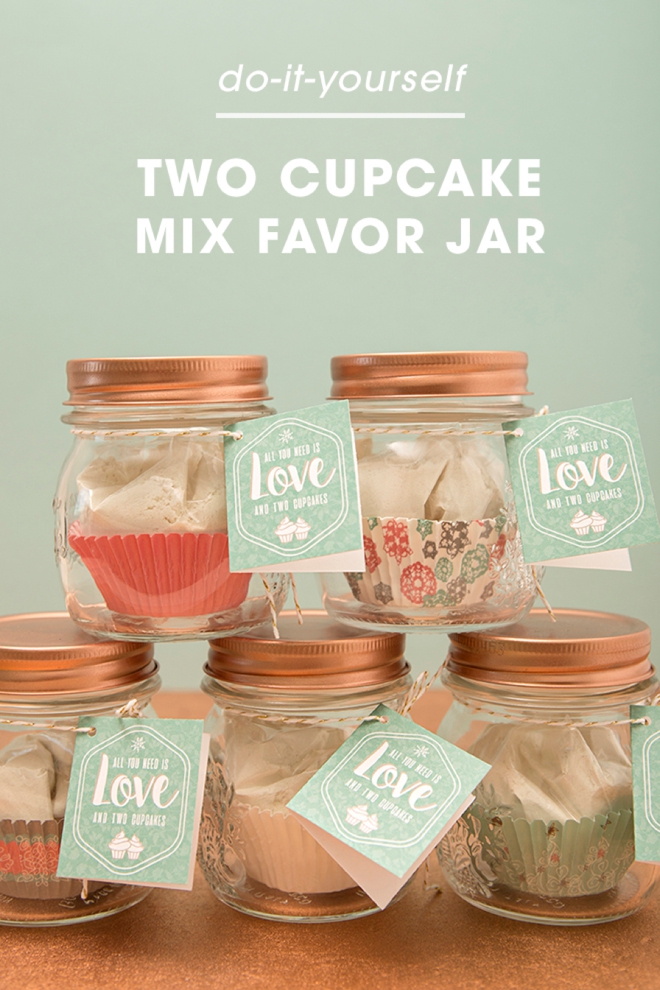
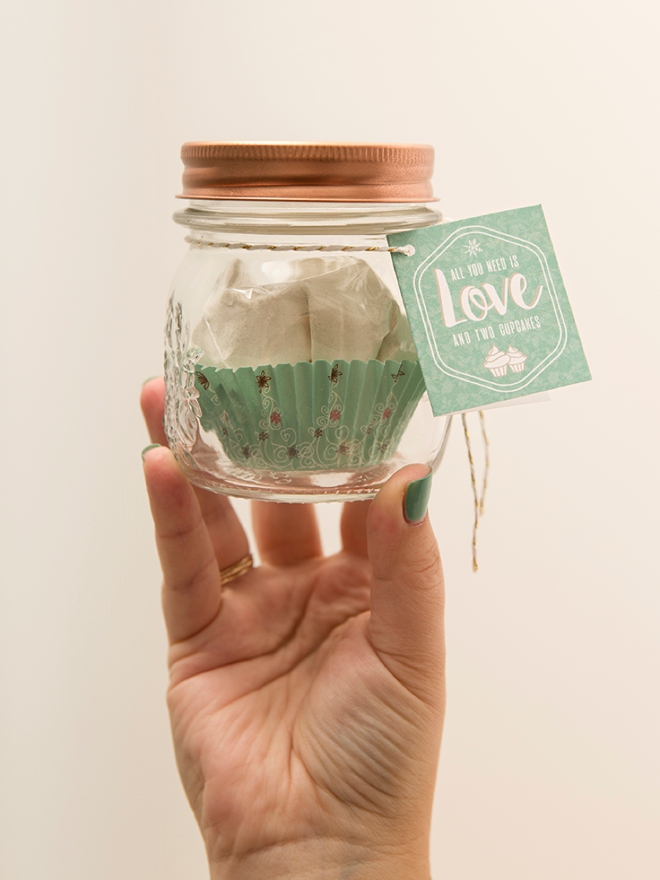
DIY | Two Cupcake Mix Favor Jar
Today marks the end of DIY #favorweek and I don’t know about you but I’m kinda sad that it’s over! I really hope you’ve enjoyed it and I hope that it’s inspired you in some way to make either your holiday gifts or your wedding favors. Good news is that I’ve saved the best for last with todays DIY Two Cupcake Mix FavorJar! I created a fail-proof recipe for making only 2 cupcakes at a time and then ran with the idea of it and turned it into a gift. This little jar is a great item to have mixed up in your cupboard because whipping up just 2 cupcakes is always a good idea!
Wedding or Holiday
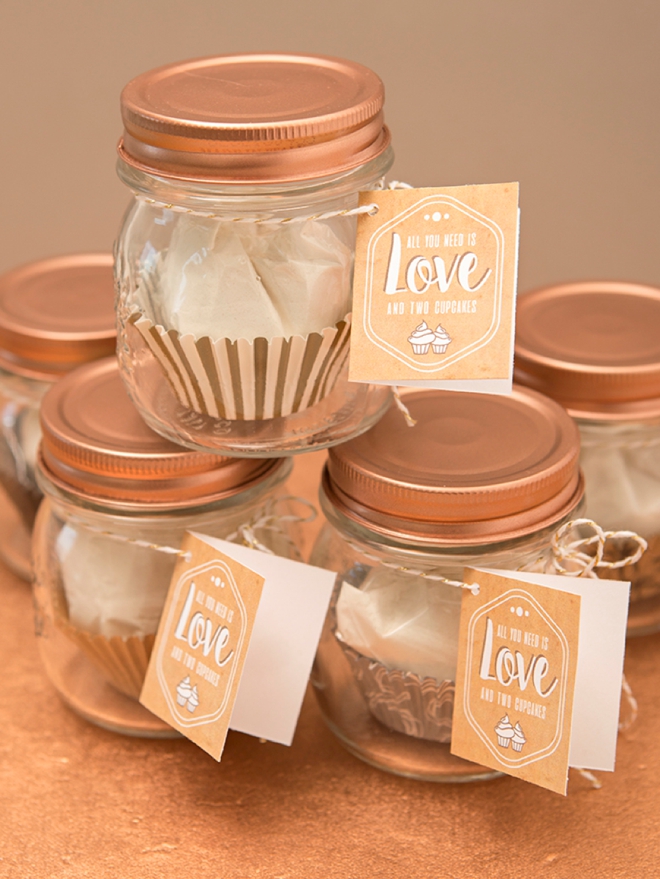
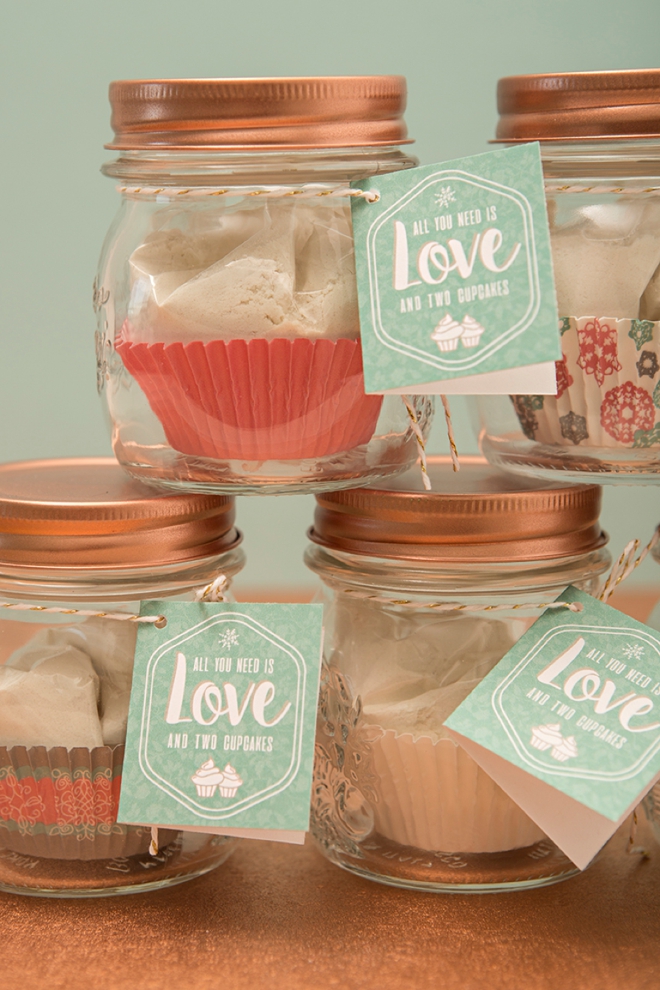
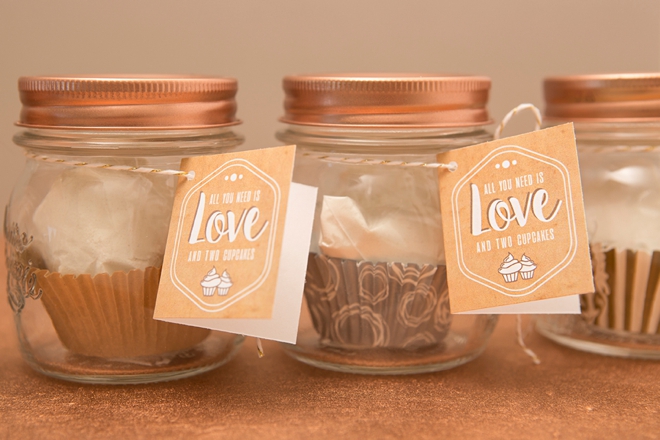
These yummy little gifts would make fantastic wedding favors or terrific holiday gifts… so I’m sharing two label options with you. One designed more for weddings and one for the holidays!

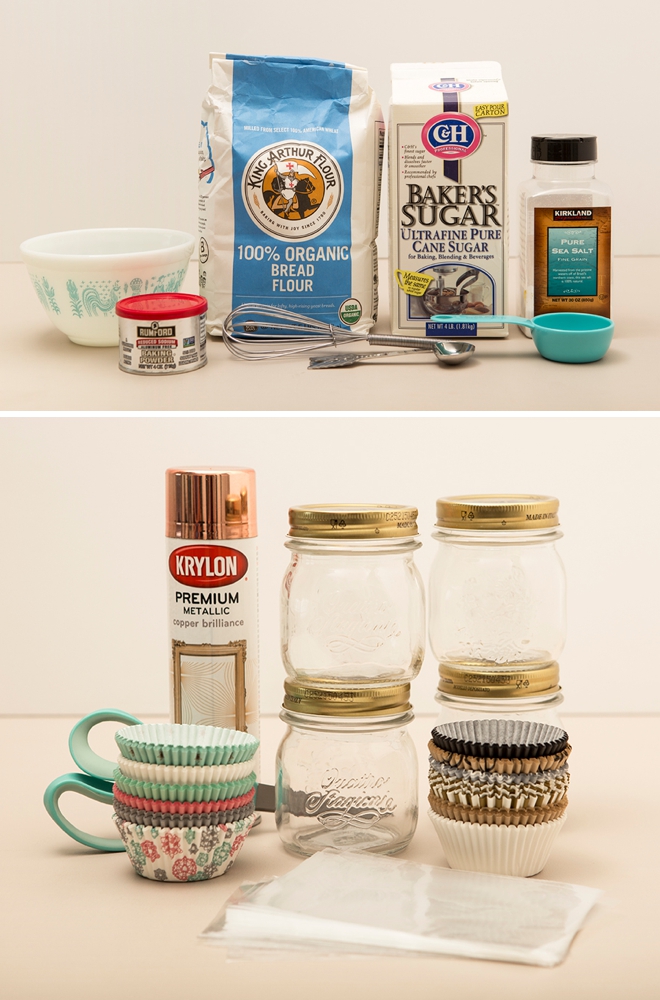
SUPPLIES:
Baking:
– Flour
– Sugar
– Baking Soda
– Salt
– Whisk
– Measuring Cups/Spoons
– Mixing Bowl
Crafting:
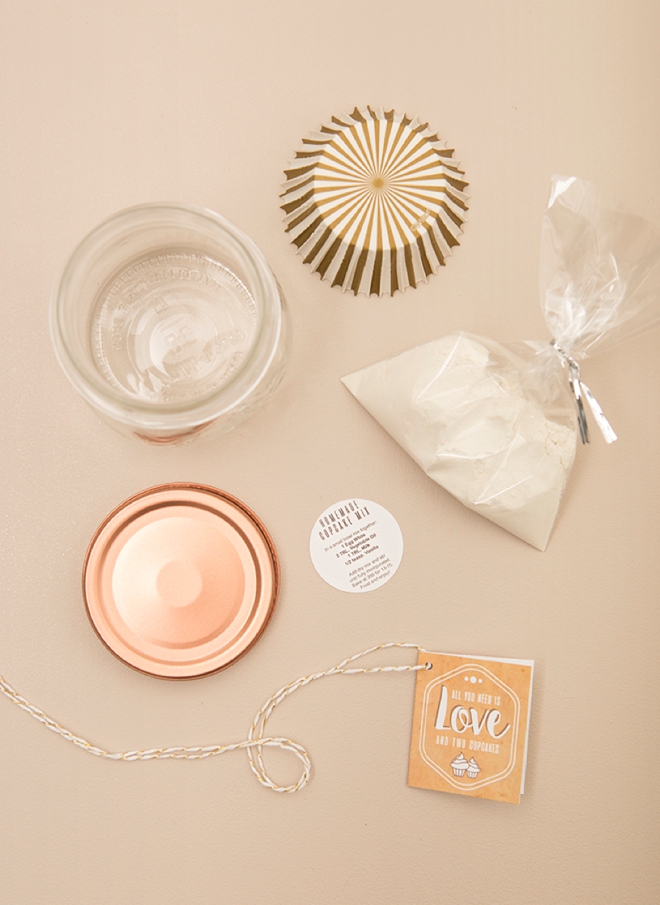
– 8.5oz Italian Mason Jars
– 8.5″ x 11″ White Cardstock
– 4″ x 6″ Treat Bags
– Cupcake Liners
– Spray Paint
– Scissors
– Twine
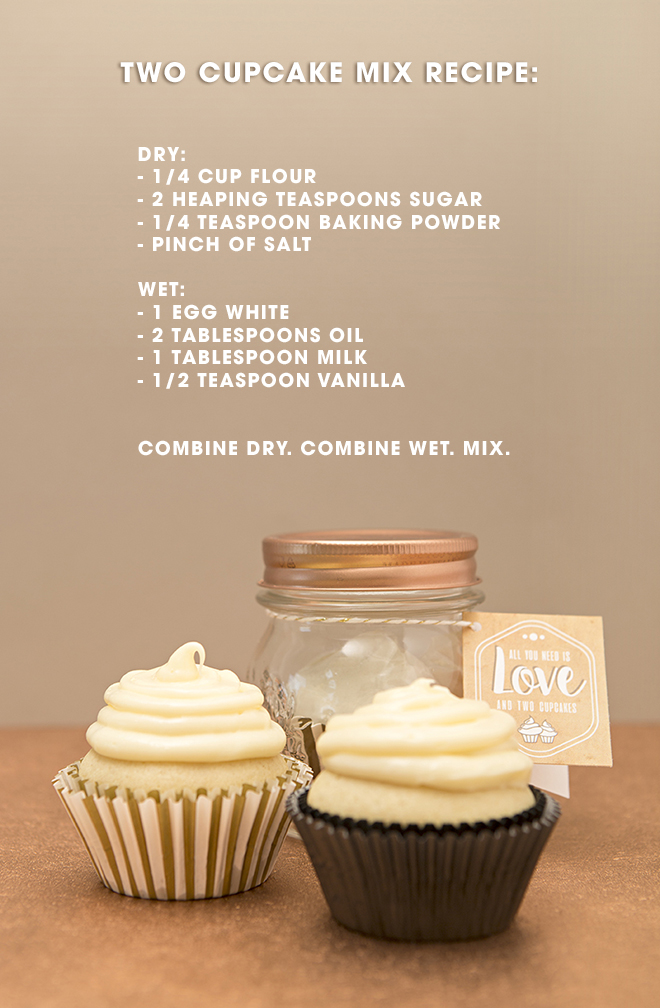
Two Cupcake Recipe:
DRY:
– 1/4 Cup Flour
– 2 Heaping Teaspoons Sugar
– 1/4 Teaspoon Baking Soda
– Pinch of Salt
WET:
– 1 Egg White
– 2 Tablespoons Oil (Canola or Vegetable)
– 1 Tablespoon Milk
– 1/2 Teaspoon Vanilla
Combine the dry ingredients. Combine the wet ingredients. Mix together and divide between two cupcake liners. Bake at 350° for 13-15 minutes. That’s all there is to it… and they are delicious even without frosting!
Two Cupcake Favor Jars
For the favor jars you will only combine and gift the “dry” ingredients, the wet ingredients will be up to the recipient…

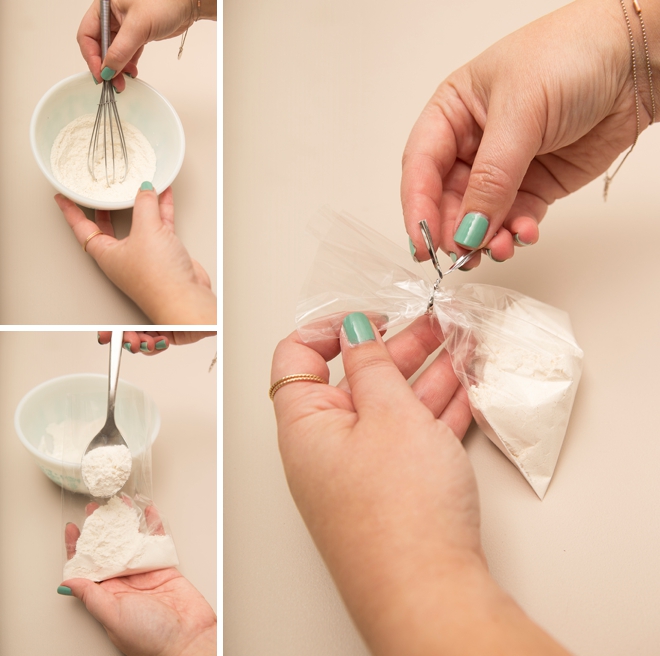
Mix Dry Ingredients
In a small mixing bowl mix up individual batches of the recipe above and package in a treat bag.
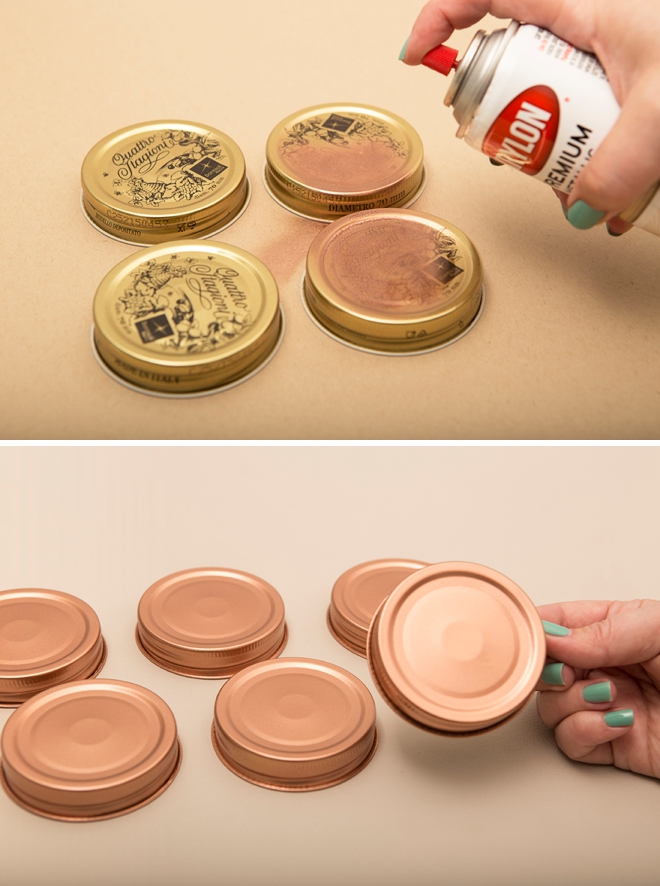
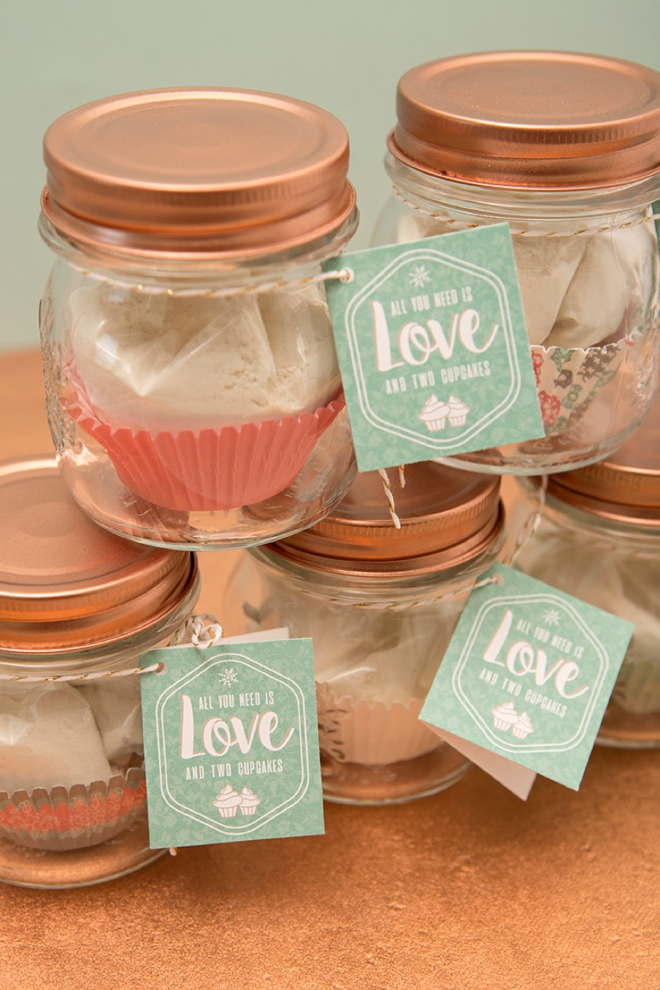
Paint The Lids
Totally optional, but a great “finishing” touch as these lids have a wild branding design on them. Paint the lids with your favorite color of spray paint.
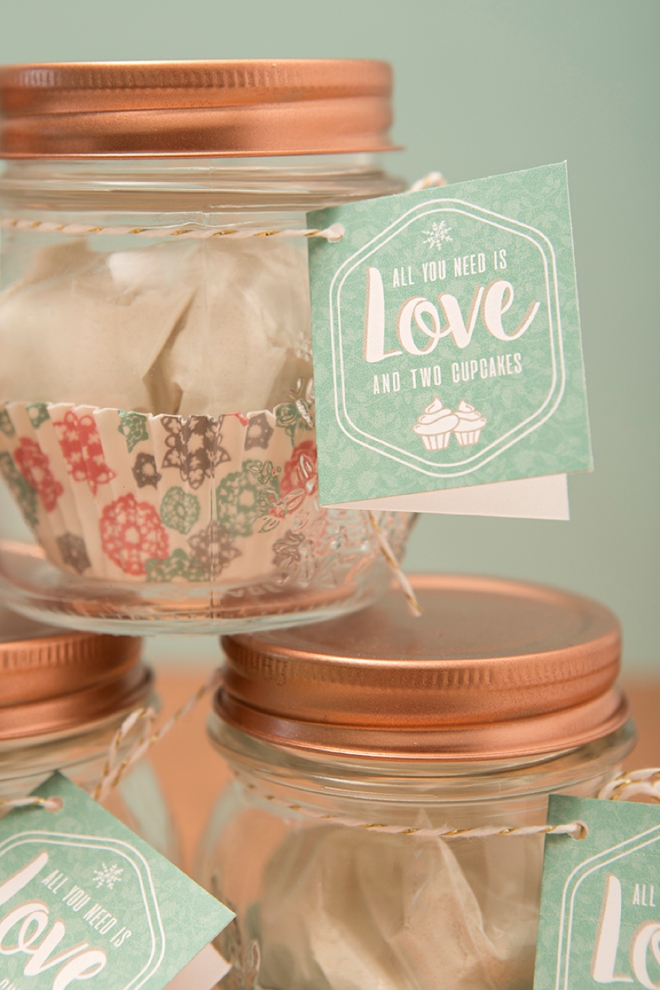
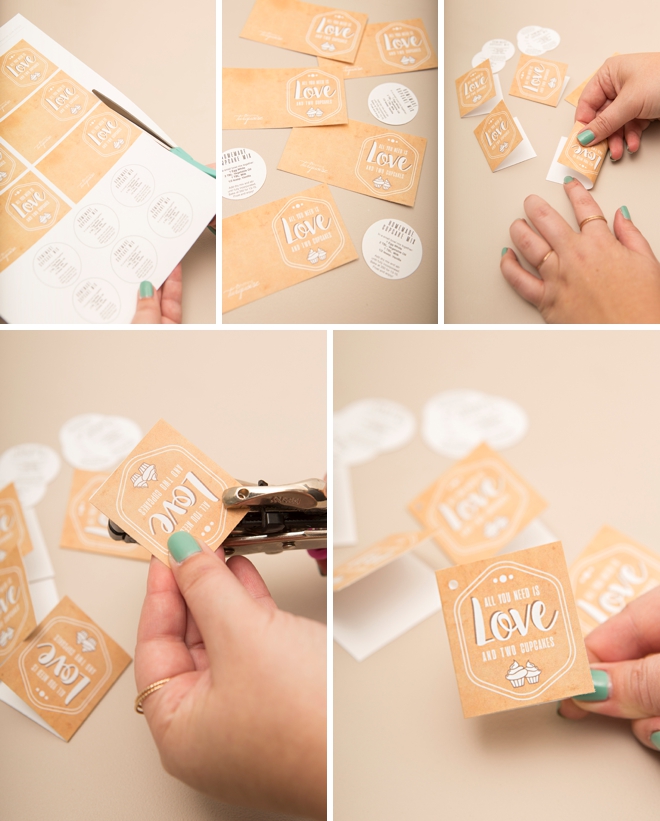
Make The Tags
Download your choice of tag color at the end of the post and then cut out each one. There are two tags per jar; a gift tag and also a baking instruction tag.
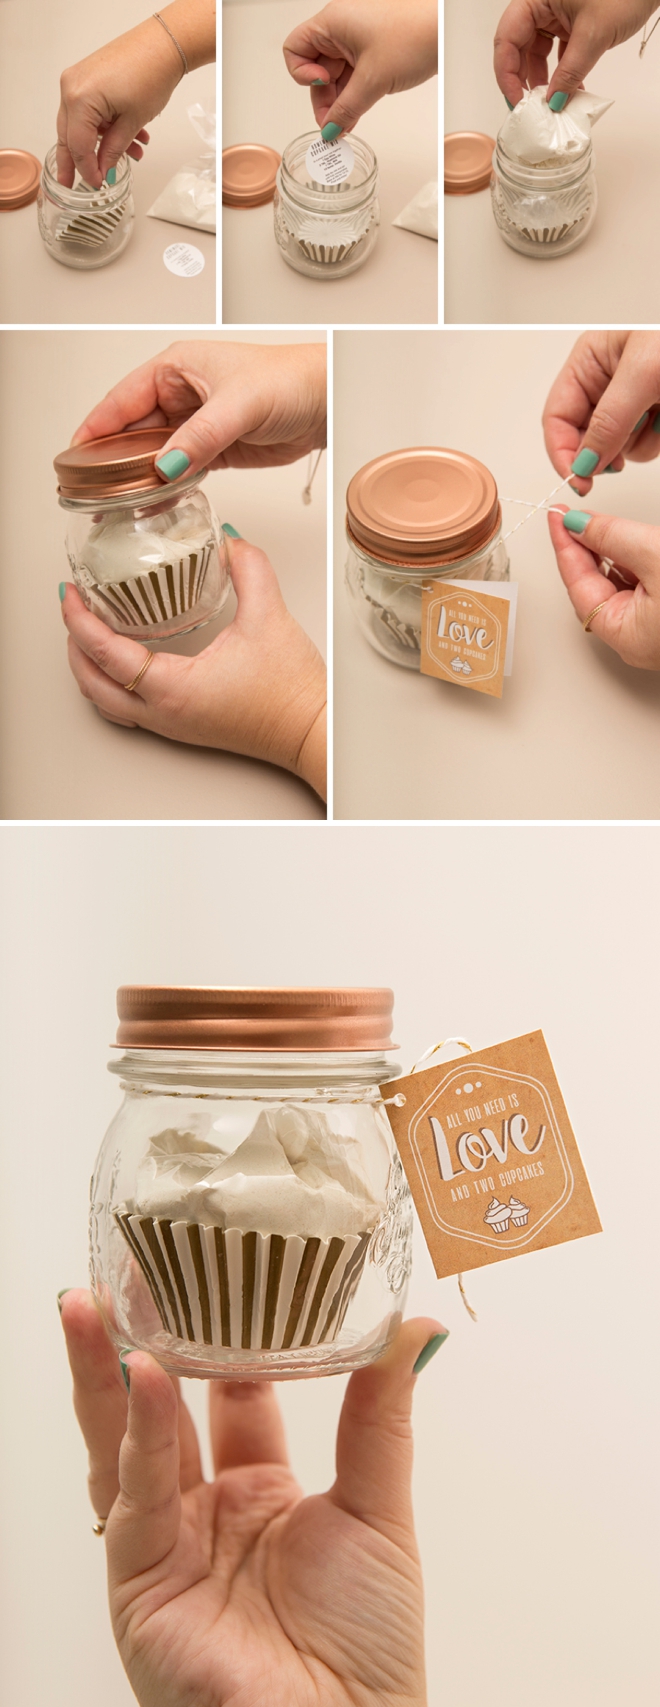
Assemble Your Favor Jars
Cupcake liners first, then instruction tag, then dry mix baggie, upside down, so you don’t see the twist tie, then lid and tag!
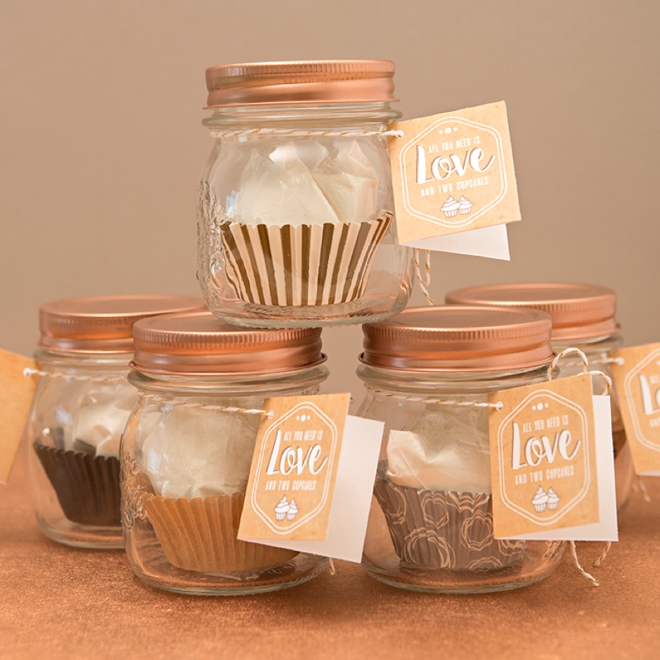
Cute + Yummy
Whether you’re here to make yourself a quick and easy batch of only two cupcakes or are making these as your wedding favors, you’ll find that the recipe is easy to follow and will always make two great cakes!


As with all our DIY tutorials, if you create one of our projects please send us a picture – We Love Seeing Your Creativity! If you use Instagram or Twitter please use the hashtag #SomethingTurquoiseDIY and it will show up on our Get Social page. Happy Crafting!
DIY Tutorial Credits
Photography + DIY Tutorial: Jen Carreiro of Something Turquoise // Label Design: Julia Ensign // Cupcake Liners: Amazon // 8.5oz Italian Mason Jars: Amazon // 4″ x 6″ Treat Bags: Amazon // 8.5″ x 11″ White Cardstock: Amazon // Krylon Copper Brillance Spray Paint: Amazon // Nail Polish: OPI – Withstands the Test of Thyme
Shop The Supplies:
Find the supplies you’ll need for this project from our affiliate links below:

Comments