
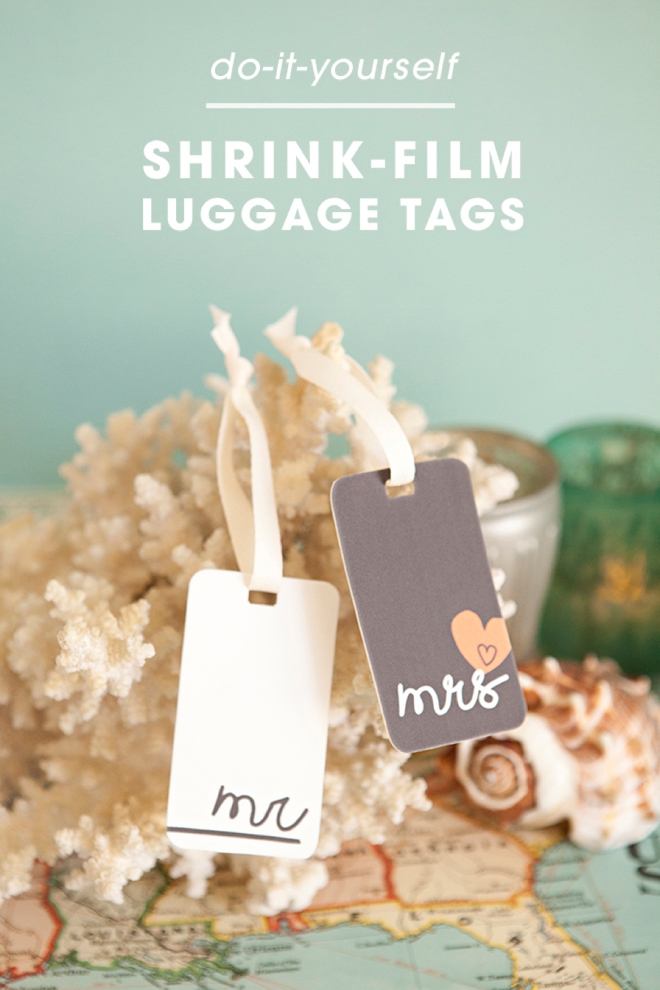
DIY | Printable Shrink Film Luggage Tags
-Sponsored Post-
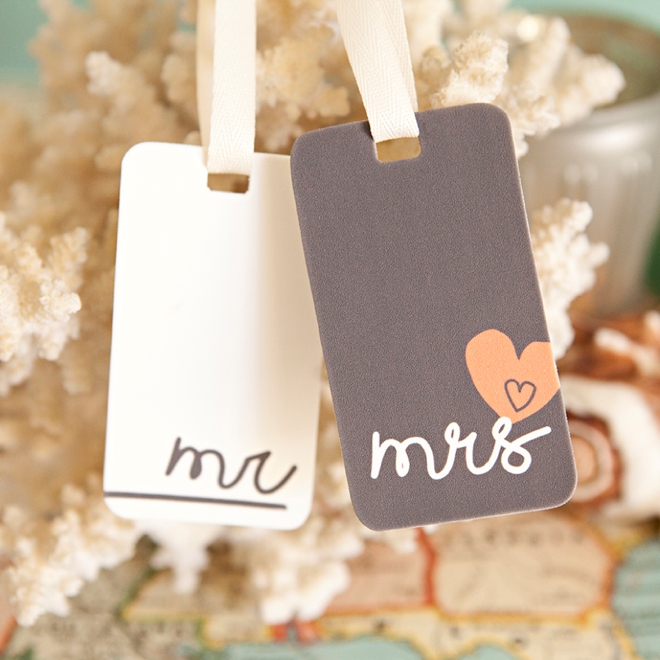
Dying! Seriously I had no idea if this project was even going to work and OMG – it’s beyond amazing. I almost had a happy little heart attack when I pulled the first batch of these DIY Printable Shrink Film Luggage Tags out of the oven because they looked better than I could have ever imagined! Using good old shrinky dink film, my trusty Canon PIXMA iP8720 crafting printer, my oven and the free printable designs below – I shrank what looks like photo paper into what looks like a double-thick credit card in just 3 minutes. The transformation happens so quickly and the result is a super sturdy piece of plastic that will easily hold up to all your wedding traveling. Perfect for your bachelorette party, your honeymoon or any special trip; these little tags will definitely impress and are super fun to make. FYI: you can print + shrink anything… I know… my mind is racing with ideas too and I’m pretty sure this will be the first of many shrinkable projects!
How Fun Would These Be For Your Bachelorette Party?!
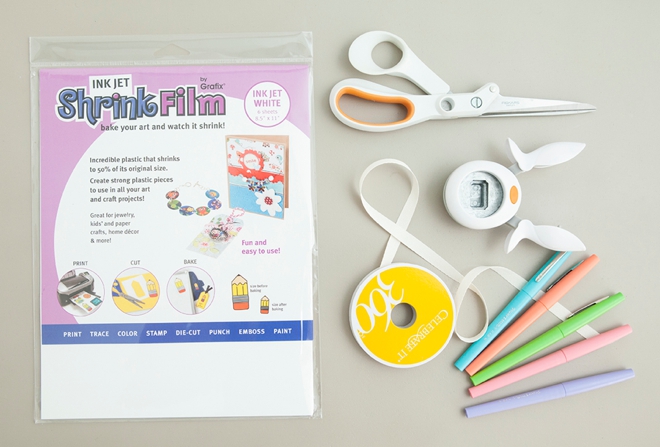
Supplies:
- Canon PIXMA iP8720 Crafting Printer
- 8.5″ x 11″ White, Ink-Jet Shrink Film (this brand is a must, I tried quite a few)
- Parchment Paper
- Punch or Craft Knife
- Pastel Pens
- Scissors
- Ribbon
- Our FREE printable designs at the end of the post!
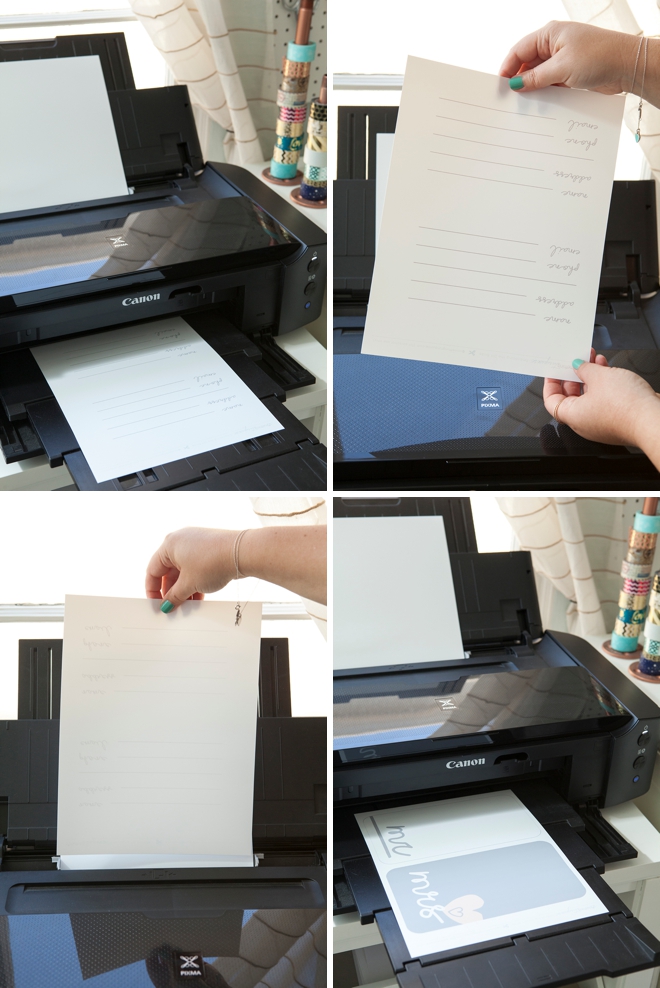
Double Sided Print
Each of the luggage tag designs has a coordinating design for the backside. Using your Canon PIXMA iP8720 Crafting Printer, print the backside first, then flip the design and print the frontside. I absolutely love that this printer can print front + back without damaging the side that’s running through the rollers a second time – which is a big deal to a crafter like me. Make sure to set your printer settings to “Photo Paper and Best” to get the ideal print quality.
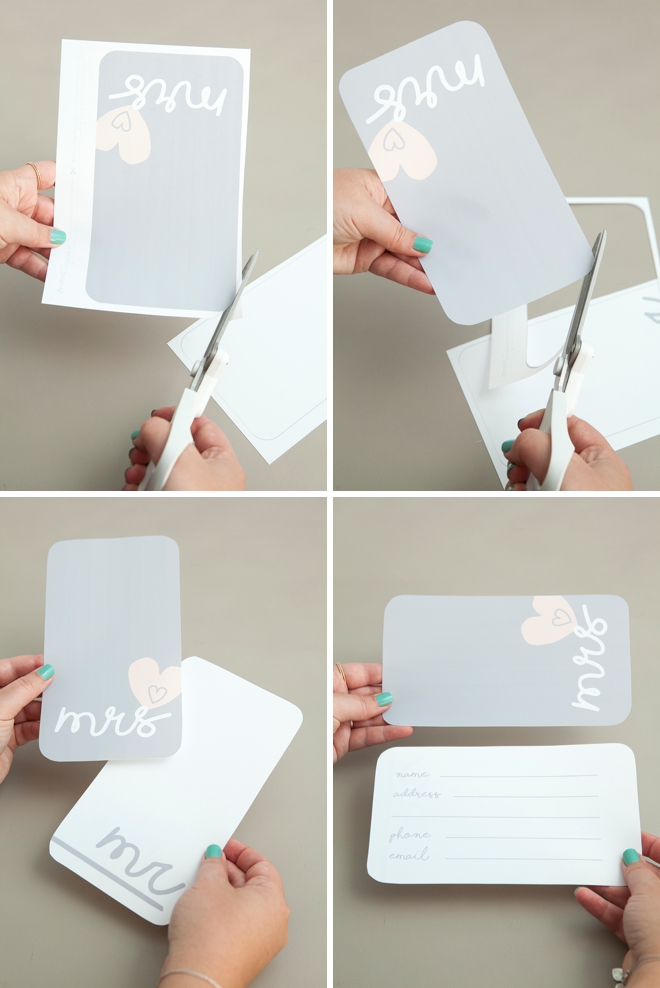
Trim
Trim around each of your luggage tags. Notice how crazy huge these are… that’s because they will shrink 50%. They are also super light because the shrinking effect saturates the ink. Crazy right?!
Make A Ribbon Hole
You’ll need to add some type of cut out hole to each tag before you bake. Here I’m using a punch that’s just under 1″ wide, which is the perfect size for shrinking. You can use any punch or simply use a craft knife to cut out a little hole for your ribbon.

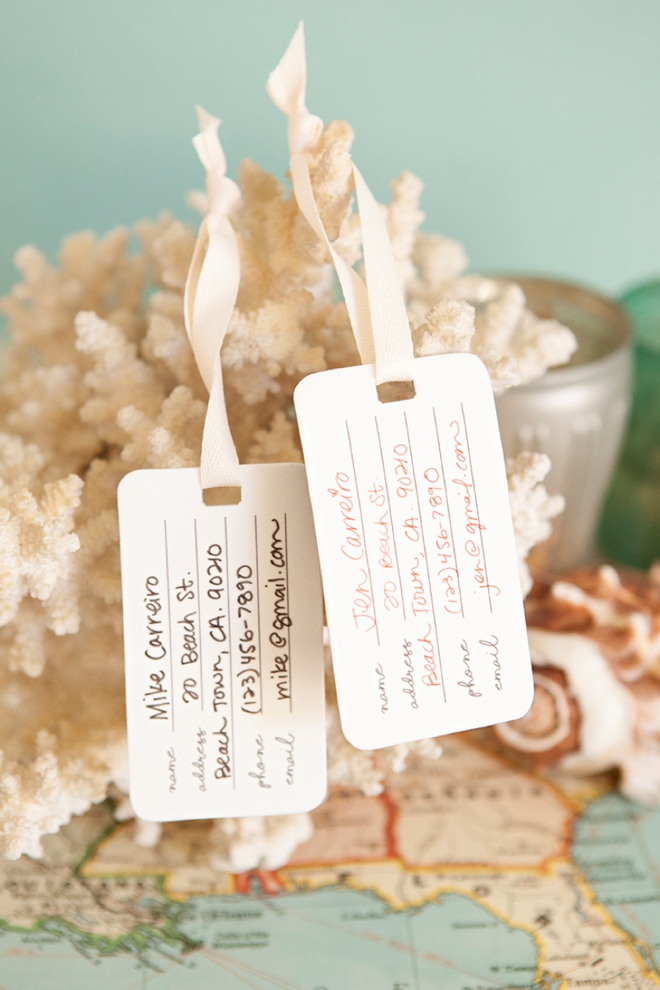
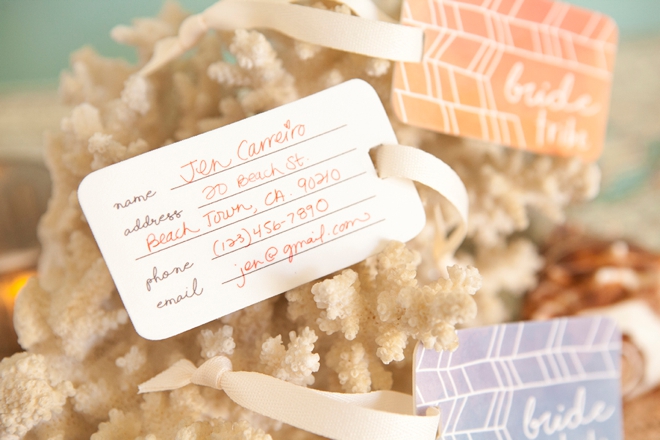
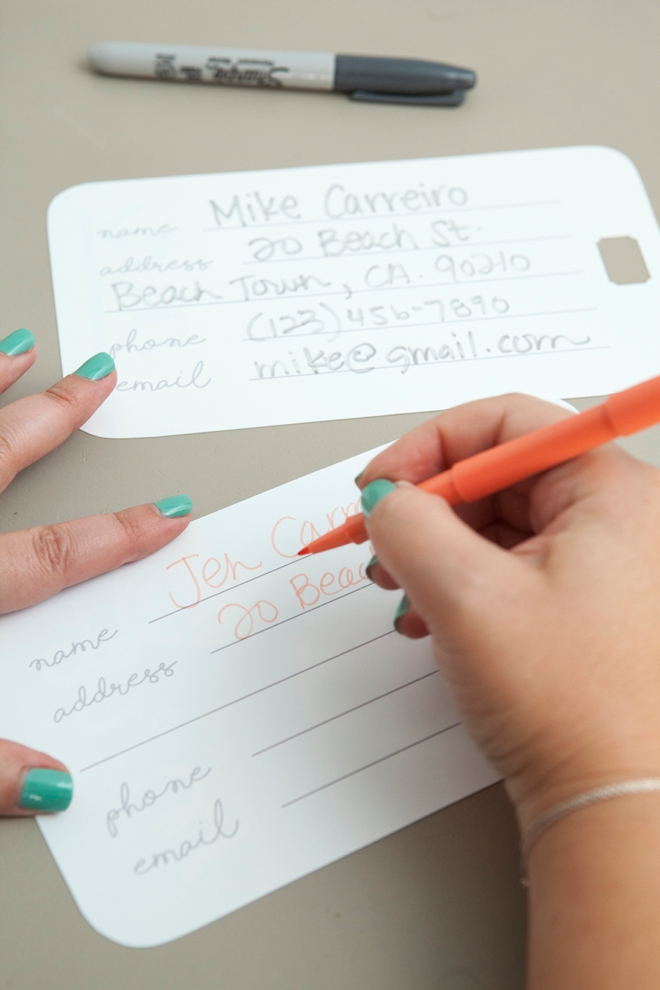
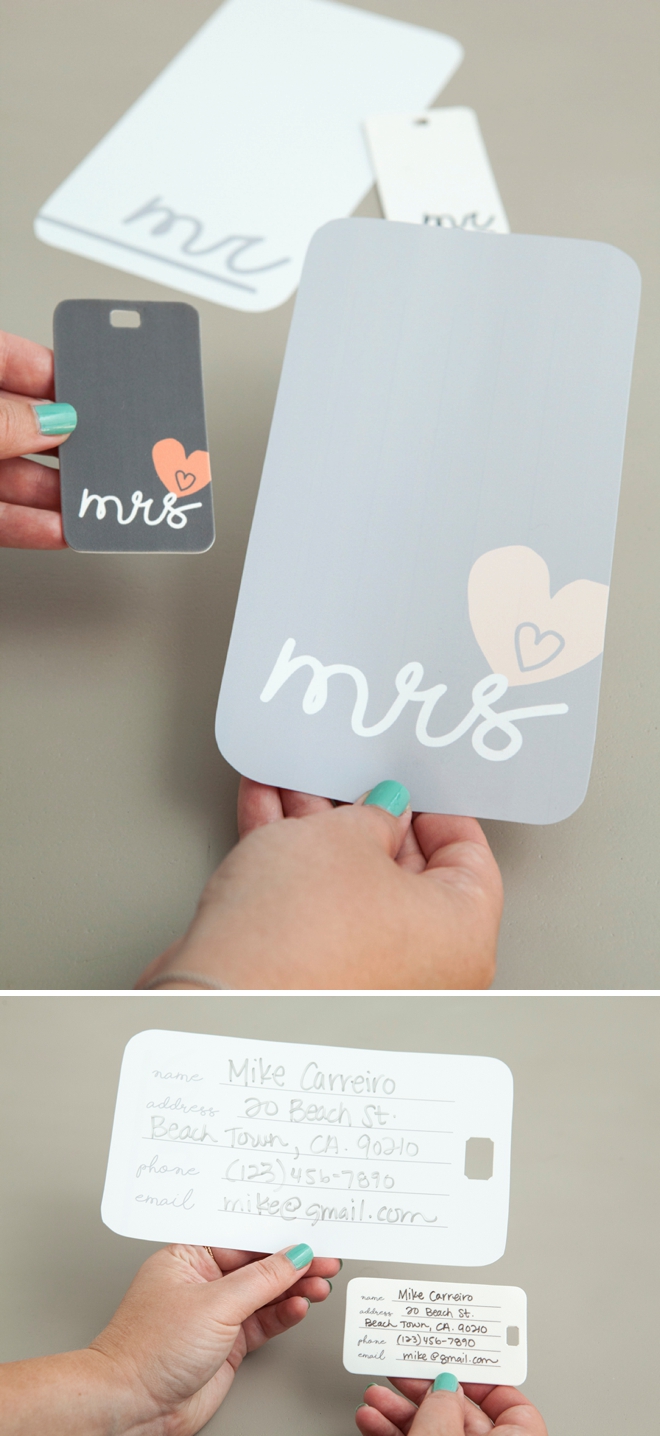
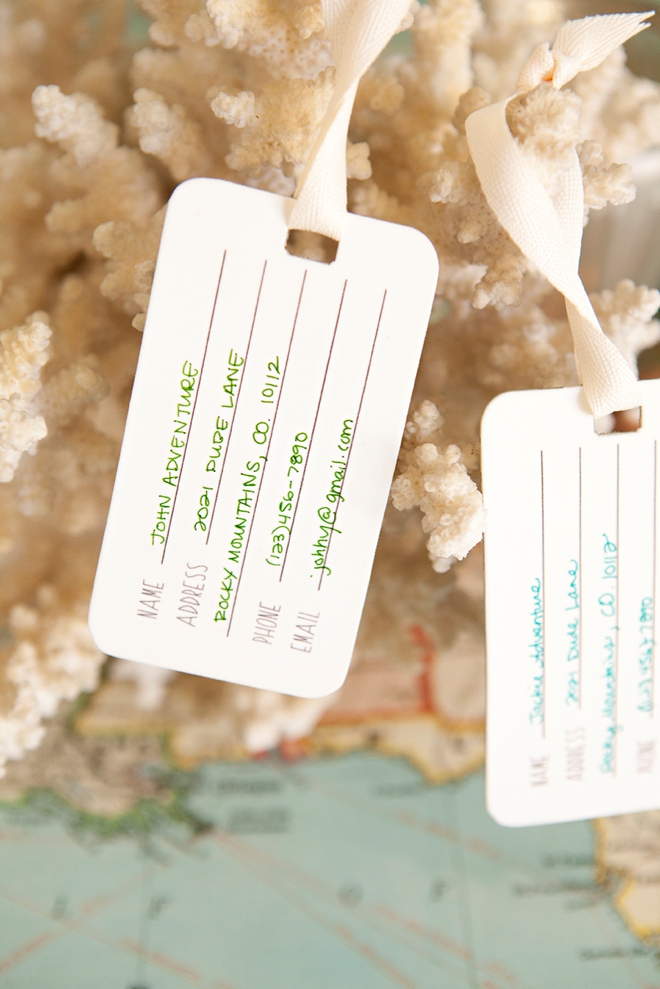
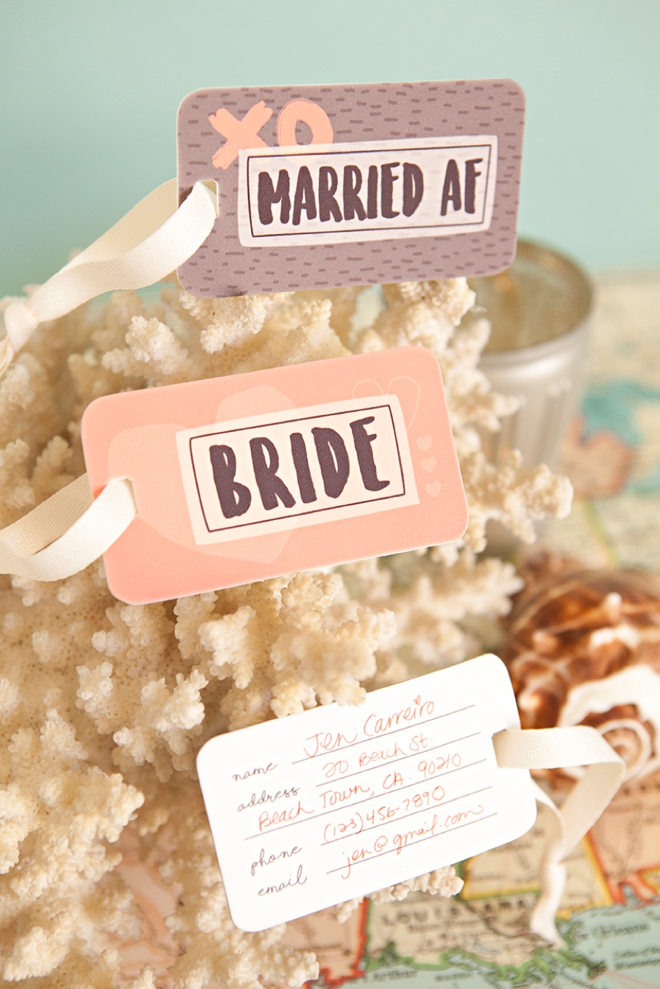
Add Your Info
On the backside, add all your information using pastel markers or Sharpies. I say pastel because again, the shrinking process causes all colors to become saturated. See the after shots to see what I mean!
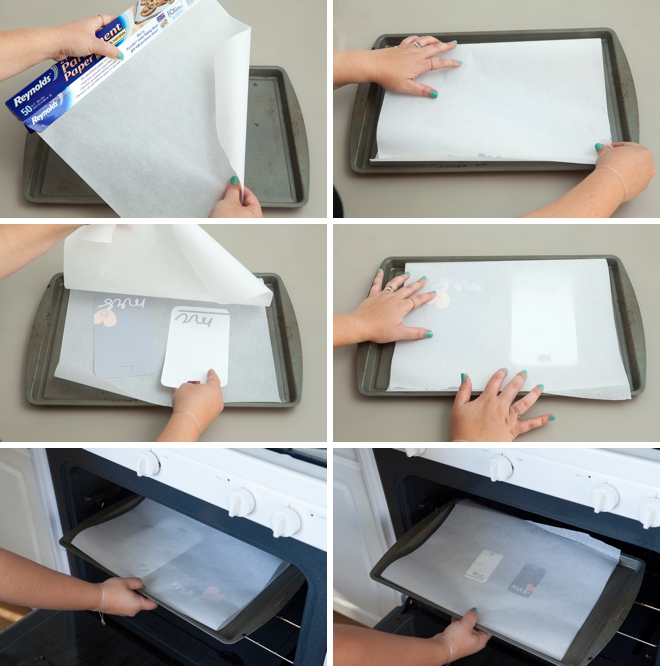
Bake!
Follow the instructions on your shrink film to bake + shrink. The kind I’m using, which I highly recommend, called for 2-3 minutes in a 300º-350º. I found that 2.5 minutes in a 300º oven was perfect, at least in my oven. To protect the designs I used a sheet of parchment paper folded in half. Heat and remove to be amazed at the transformation!
Crazy Right?
Isn’t this SUPER cool? The transformation is so awesome! This 4.5″ x 8″ piece of paper film is morphed into a 2″ x 3.5″ piece of hard plastic.
CRAFTER TIP // If you’re going to design your own luggage tags, keep in mind that all colors used on the shrink material will saturate themselves by 50%, just like the material shrinks by 50%.
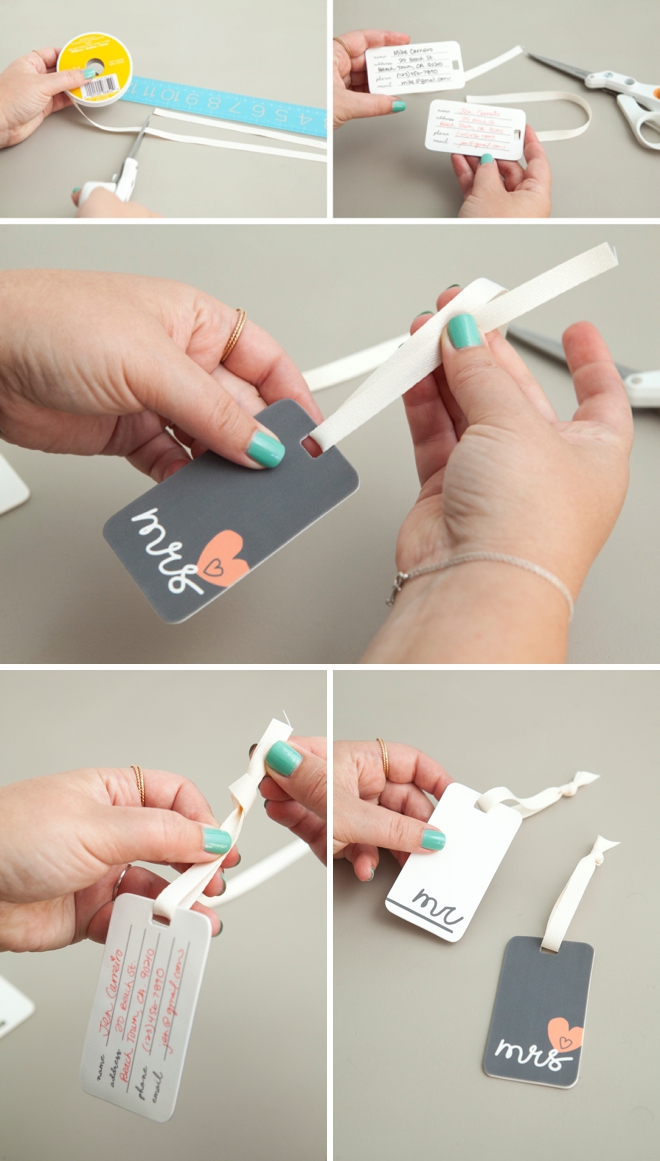
Add A Ribbon
Add ribbon or cordage to each tag and that’s all there is to it! Tie onto your luggage and have the peace of mind that if it’s lost – they’ll find you!
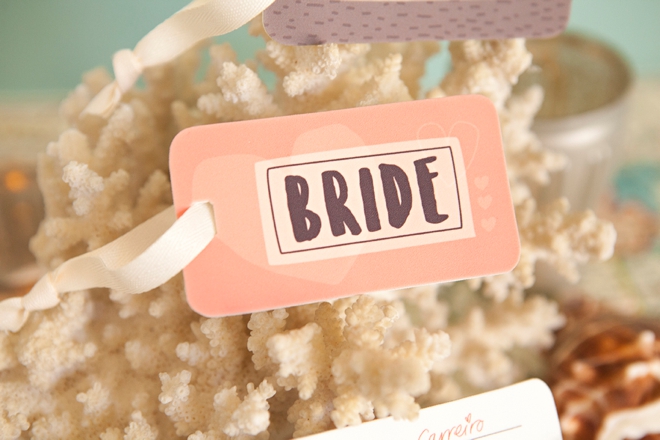
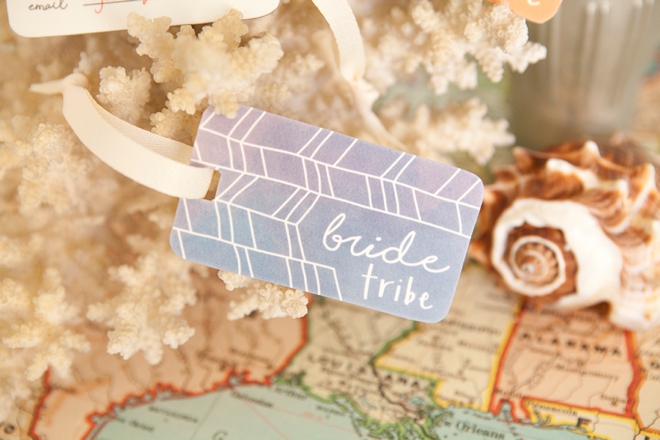
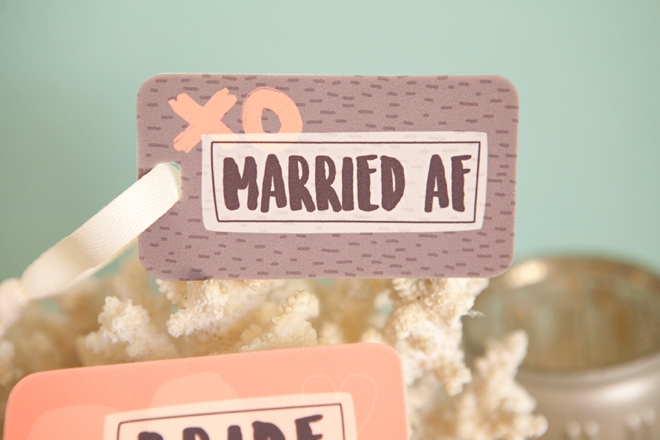
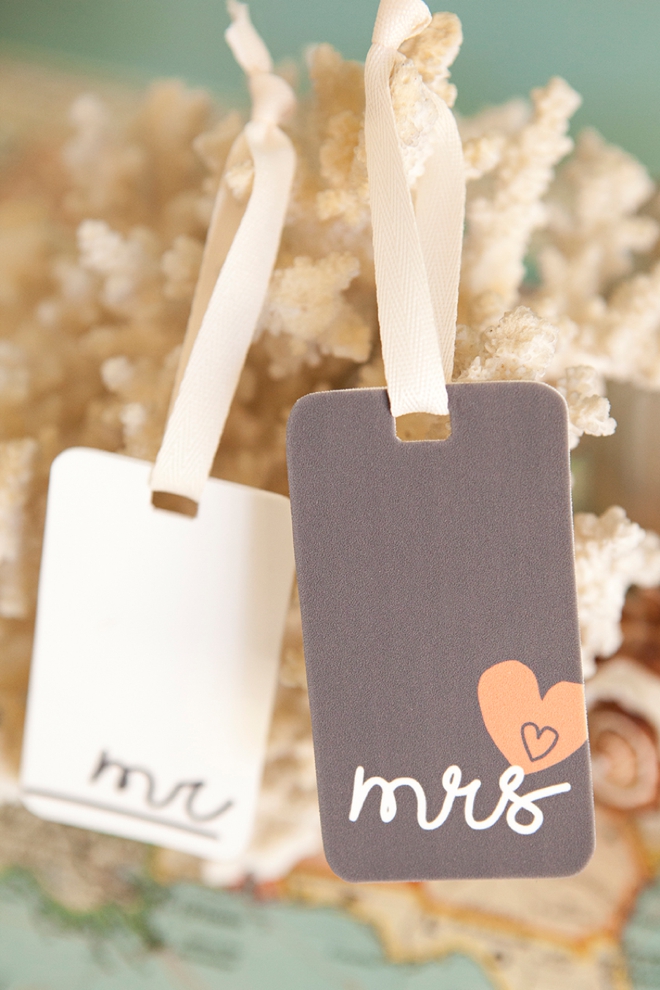
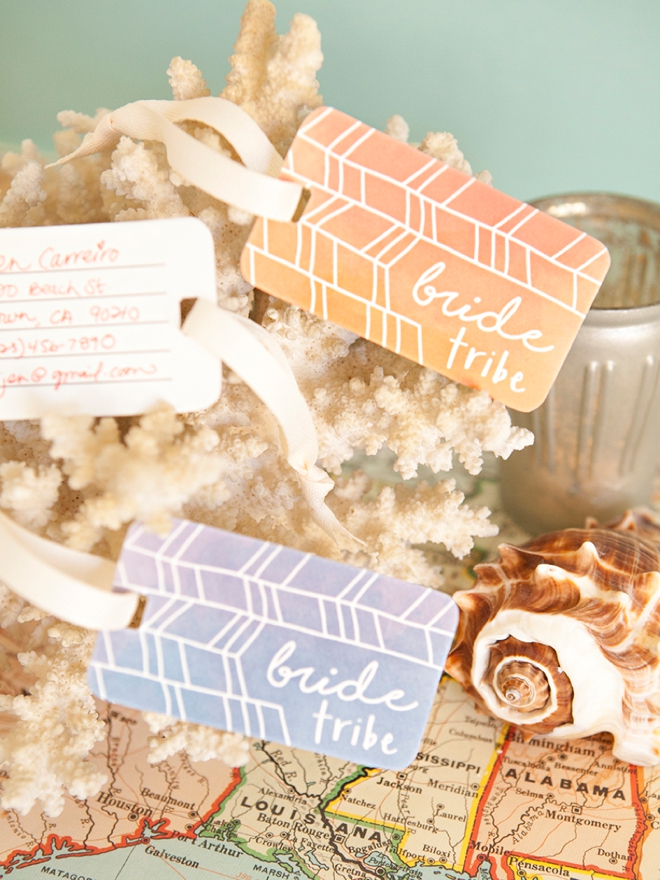
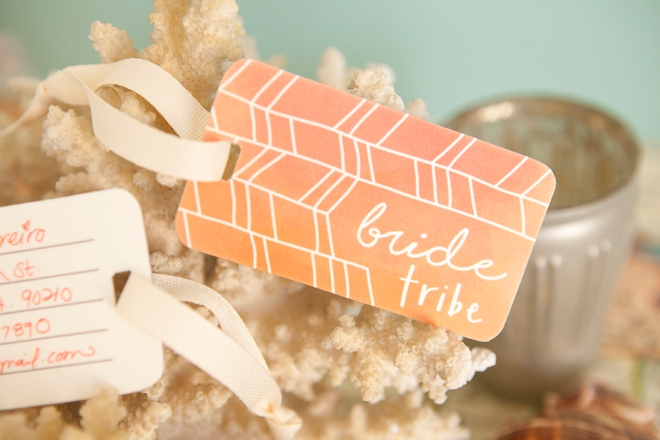
8 Designs To Choose From
Below I have 8 different designs for you to choose from; including one that reads Married AF… hehehe. Made with Kendra, our bridal blogger in mind!
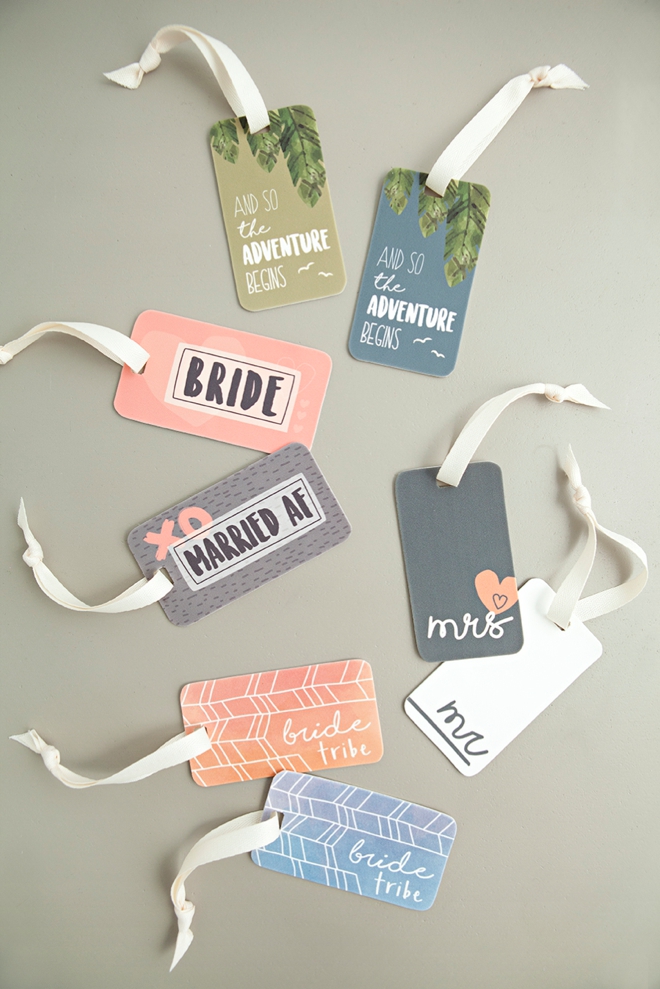
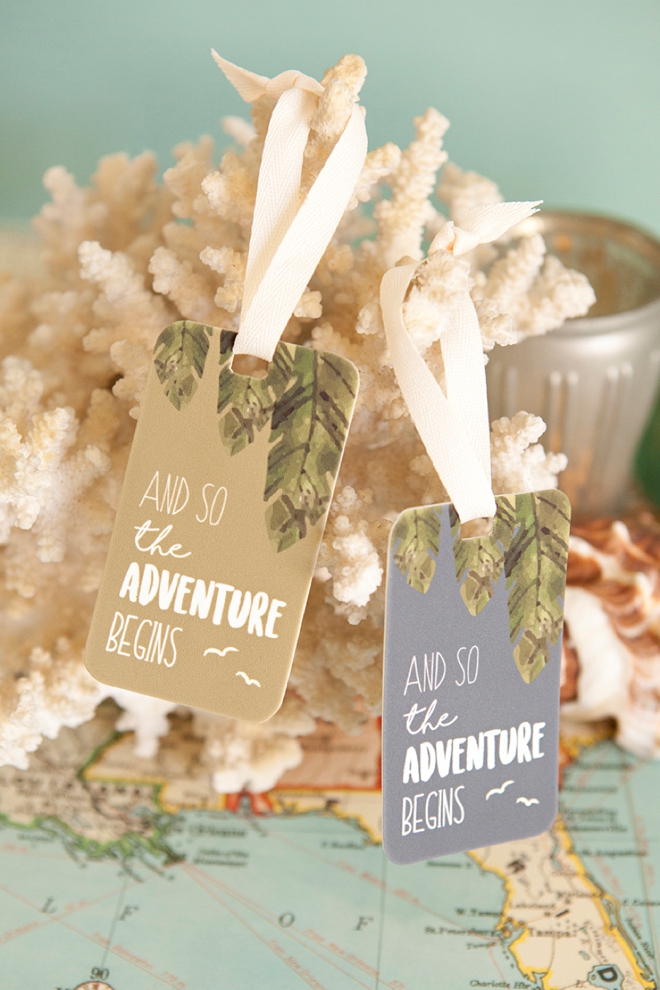
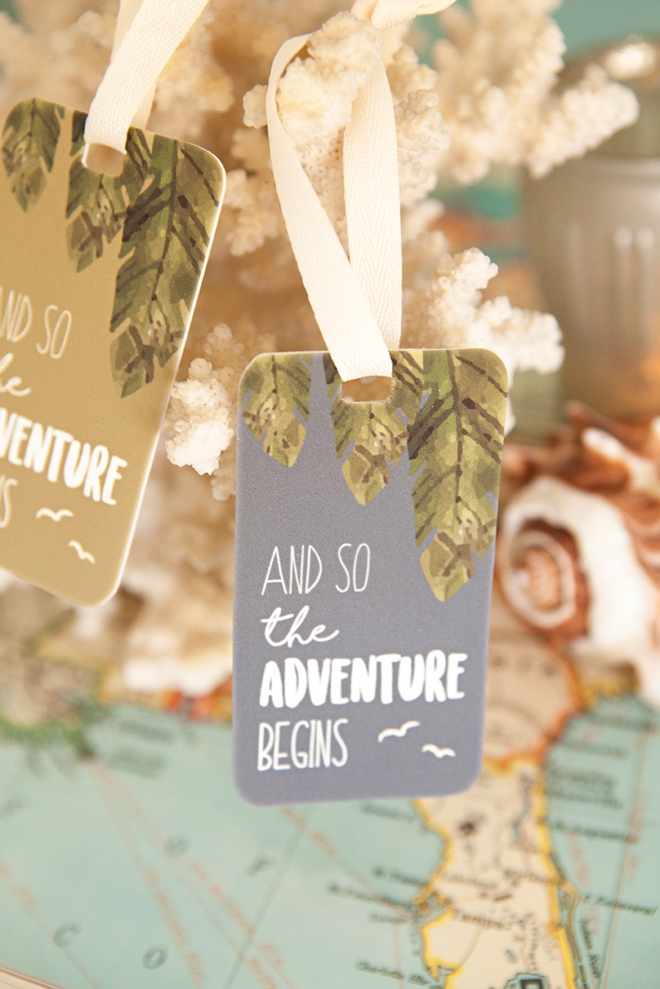
And So The Adventure Begins…
DIY Tutorial Sponsored By:


As with all our DIY tutorials, if you create one of our projects please send us a picture – We Love Seeing Your Creativity! If you use Instagram or Twitter please use the hashtag #SomethingTurquoiseDIY and it will show up on our Get Social page. Happy Crafting!
DIY Tutorial Credits
Photography + DIY Tutorial: Jen Carreiro of Something Turquoise // Canon PIXMA iP8720: courtesy of Canon // Luggage Tag Designs: Julia Ensign // 8.5″ x 11″ White Ink Jet Shrink Film: Amazon ***this kind is the best! // Ticket Squeeze Punch (medium): Fiskars // 3/8″ Twill Ribbon: Michaels // Pastel Pens: Amazon // Nail Polish: OPI – Withstands the Test of Thyme
Shop The Supplies:
Find the supplies you’ll need for this project from our affiliate links below:

Comments