
DIY | Perler Bead People Cake Toppers
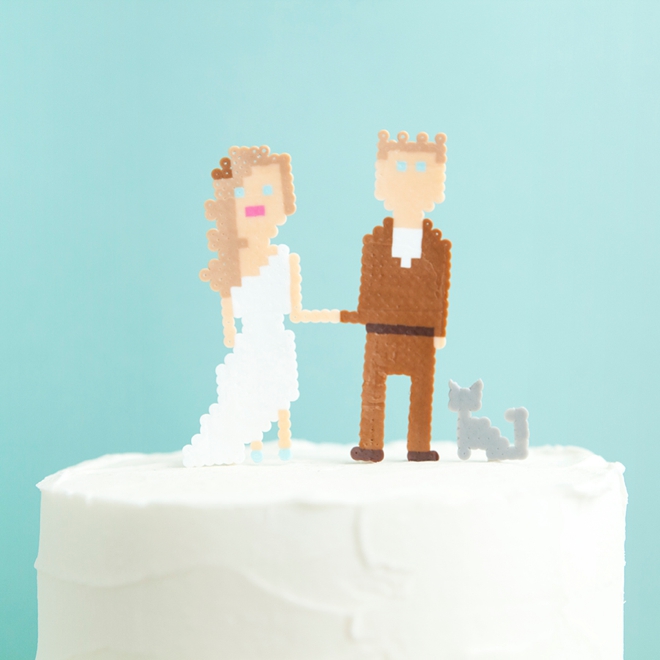
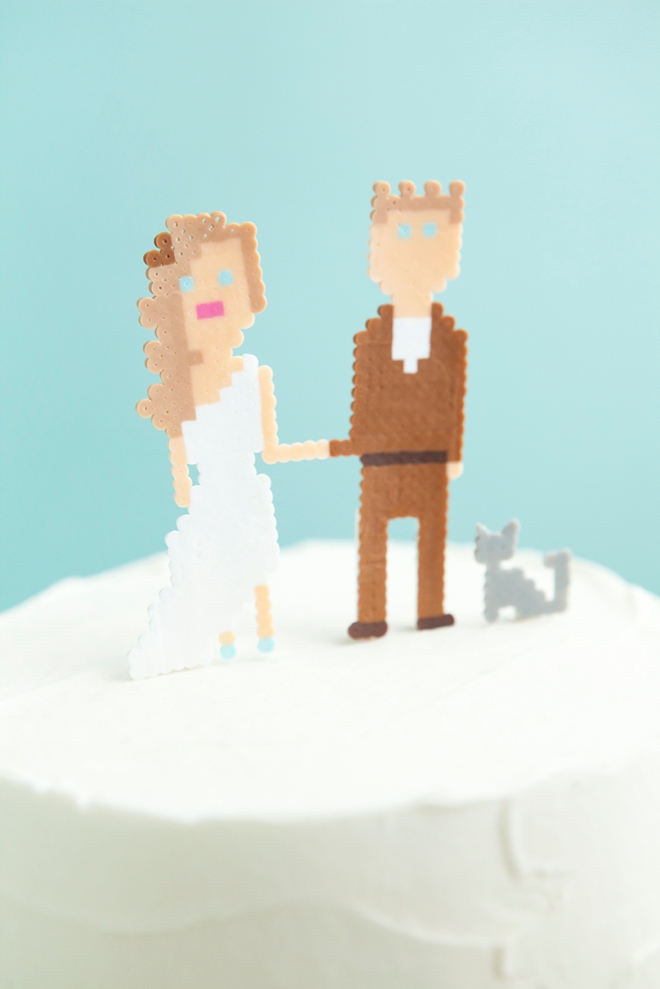
Every once in a while I have to share a silly + crafty project with you and today I’m doing just that, LOL. These little DIY Perler Bead People Cake Toppers may be a bit geeky but they are so freaking cute and would be perfect for all the whimsical brides + grooms out there! Making random things with perler beads was one of my favorite things to do as a kid. I would sit for hours making different patterns, key chains, magnets, and who knows what else with these curious little melty beads and since my mom trusted me, she even let me do the ironing! If you have no idea what I’m talking about, you basically arrange these small colored beads on a tray and once ironed they melt together to form whatever shape or design you created. Which can be hours of fun for creative kids and adults alike. While walking through my local Michaels a few weeks back I noticed a display of these beads except there was something special about them – they were MINI! That’s right, these are about 1/4 the size of the normal beads making them that much easier to make intricate designs with. So after throwing a giant stash into my cart and walking around the store picking up the items that were actually on my list, it hit me – cake topper people – perfect!

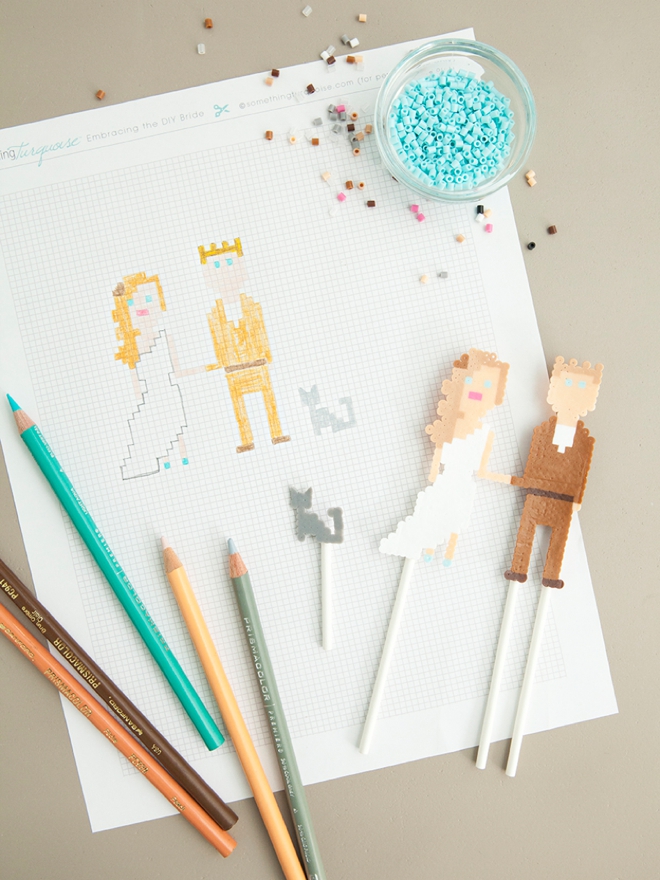
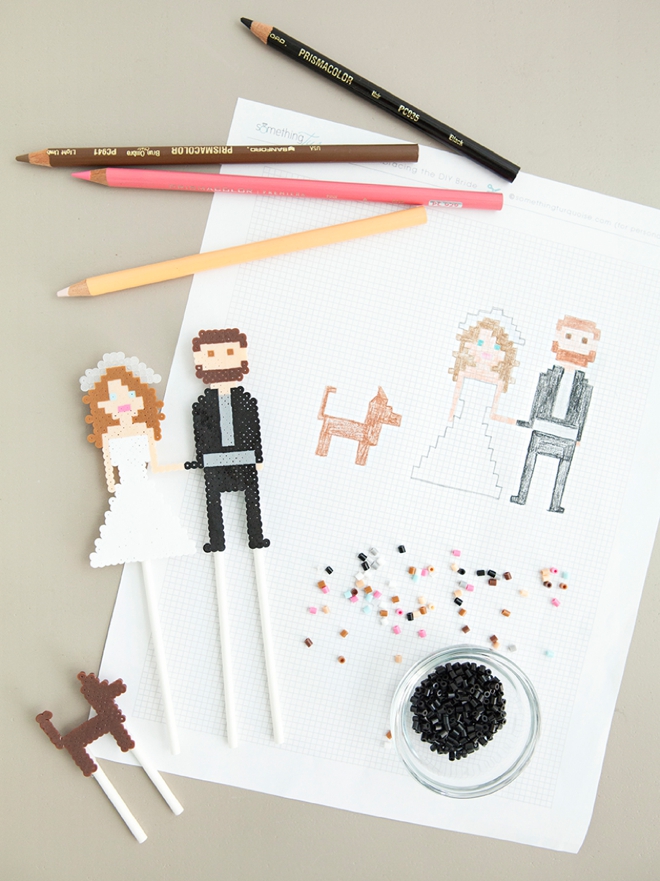
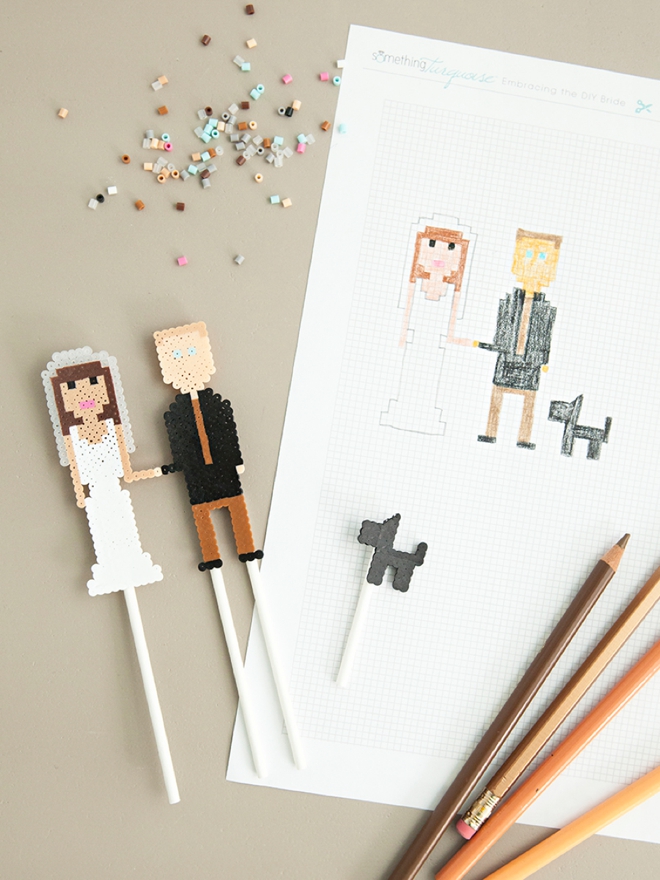
Sketch Yourself First
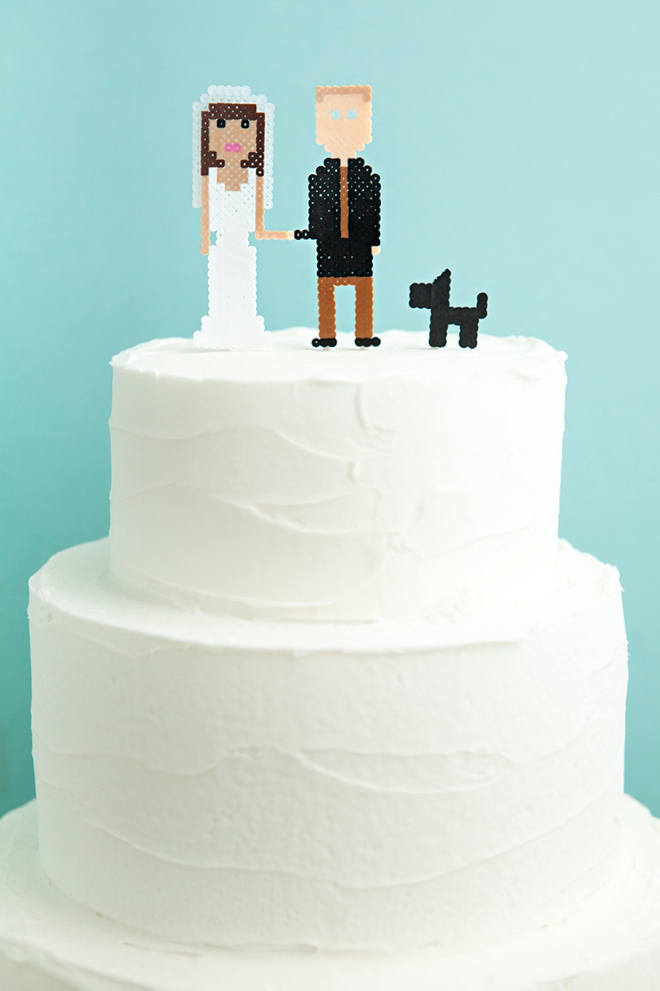
Download and print our graph paper at the end of the post to create your own custom Perler bead pattern of yourself! Don’t forget your fur babies… and remember that clear beads make awesome veils!
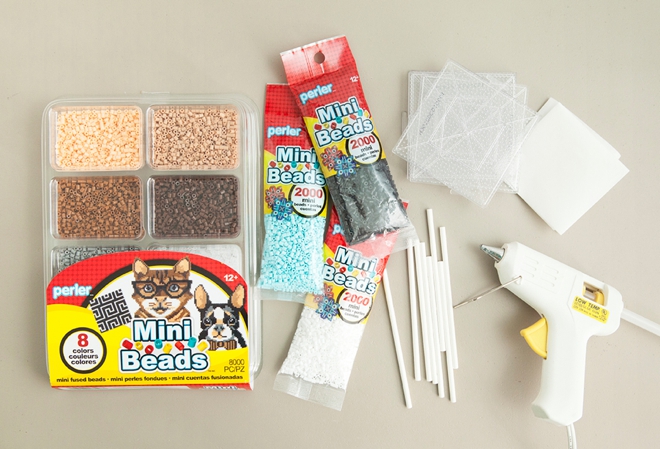
SUPPLIES:
- Perler Mini Beads in your choice of colors
- Perler Mini Beads Pegboard (comes in 4 pieces that snap together)
- Perler Ironing Paper (or parchement paper)
- 4″ Lollipop Sticks
- Colored Pencils
- Hot Glue Gun
- Tweezers
- Graph paper printable at the end of the post!
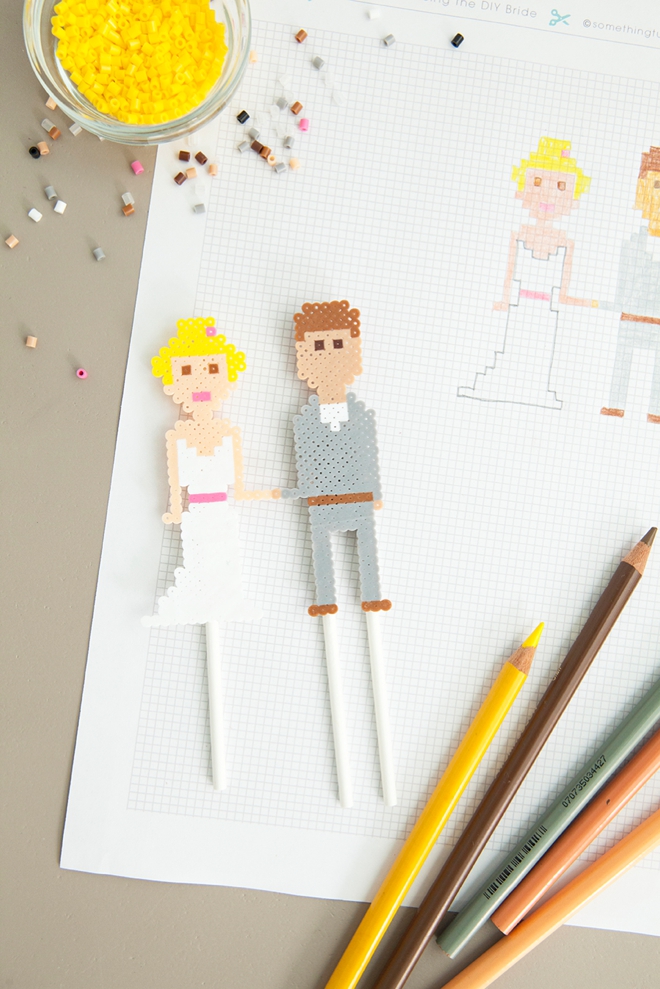
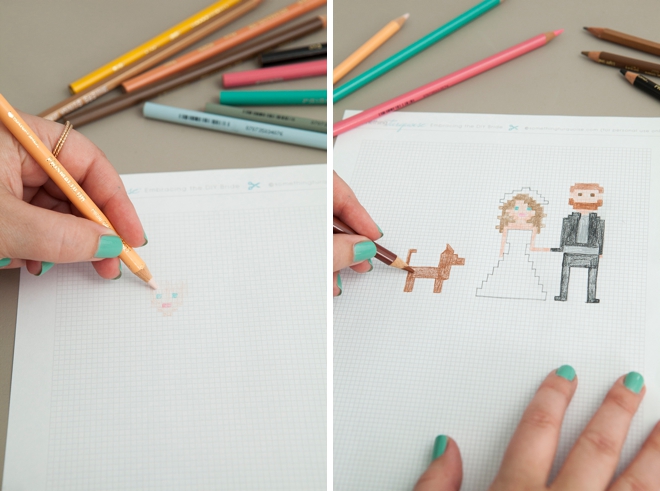
1 Square = 1 Bead
The first step is to sketch out your people and create a bead pattern to follow. Download and print my graph paper design onto regular 8.5″ x 11″ printer paper. Color in each square to represent each bead, 1 square = 1 bead. You can make your Perler people as big or as small as you’d like!
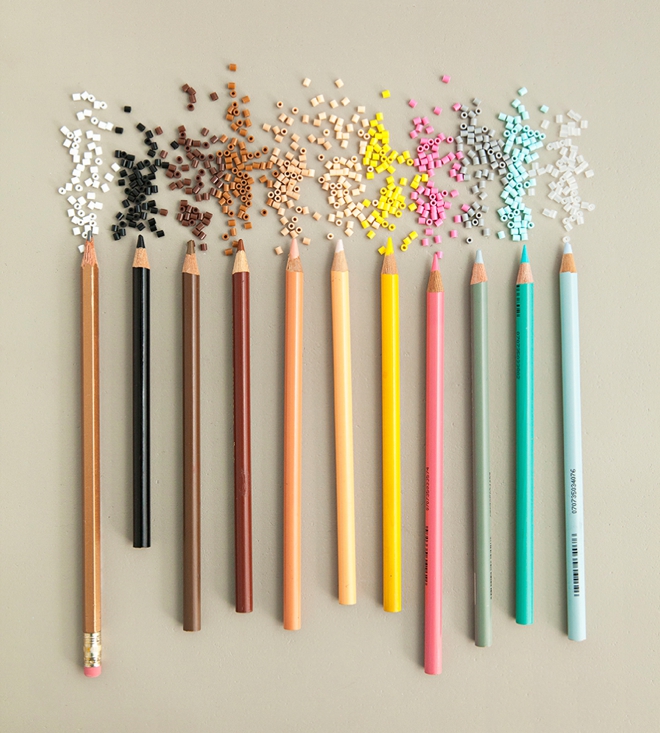
Color Code
To make my pattern easily correspond to the bead colors I bought, I matched them ahead of time and only used those colored pencils in my sketch. This step is going to make the bead process so much easier!
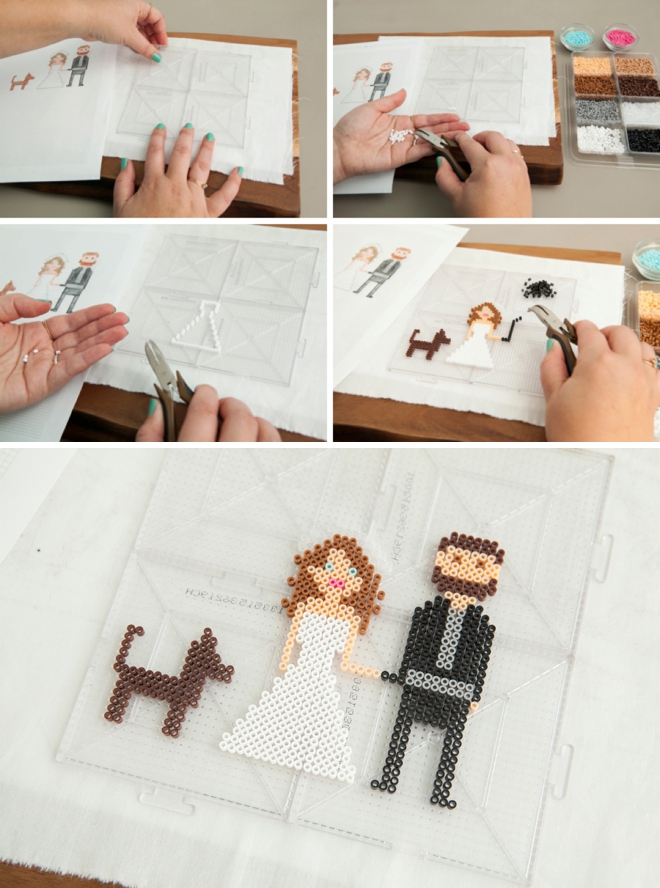
Build Your Perler People
Snap the Perler pegboard together. Follow your pattern and add one bead at a time onto the pegboard for each square colored. This part of the project will take anywhere from 30 minutes to an hour or more to fully layout your bead design, depending on the size and complexity of your pattern. Each of these took me roughly 45 minutes.
Let me talk about my setup: I’m working on top of a wooden cutting board that I use for ironing. I have a piece of material on top of the wood to protect it from the hot iron and I use this setup a lot for crafting when ironing requires something sturdy or solid. Since the pegboard and the bead design can easily be bumped and messed up by moving, I recommend creating your design where you’ll be ironing it like I’m doing here, if you can.
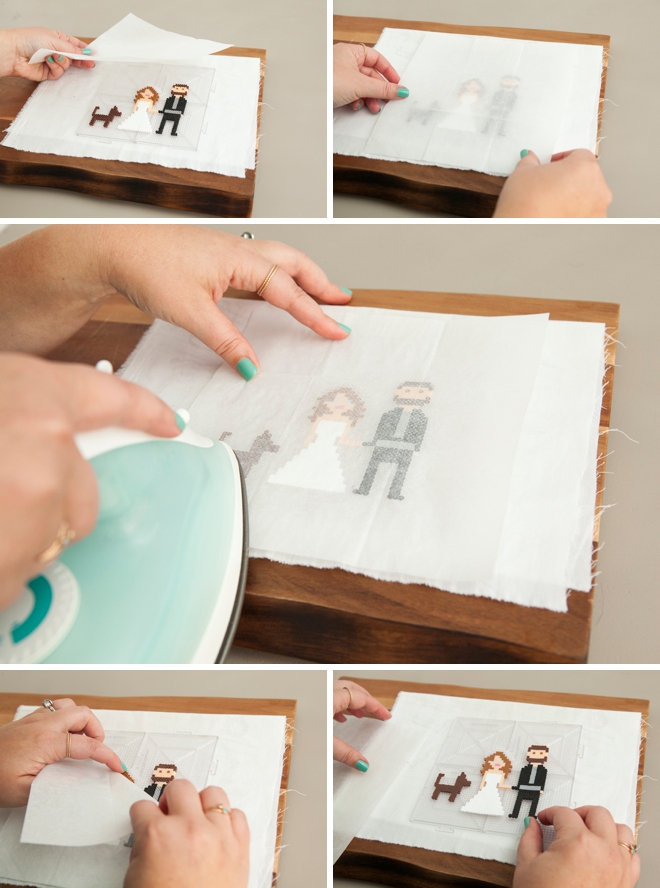
Fuse Your Perler People
A small piece of Perler ironing paper will come inside the pegboard pack, this is to go inbetween the iron and the beads. Never touch the hot iron directly to the beads or they will melt to your iron. You can always use regular parchment paper if you loose or ruin the ironing paper.
Fuse the beads by carefully melting them with your iron. I like to let my iron sit right on top for 15ish seconds and then using the tip of my iron I go back and heat each part, until I see the middle of the bead start to melt and disappear. If you are nervous or have never done this before, you might want to make a heart or something simple to iron first – just so you have the experience.
Make Them Cake Toppers
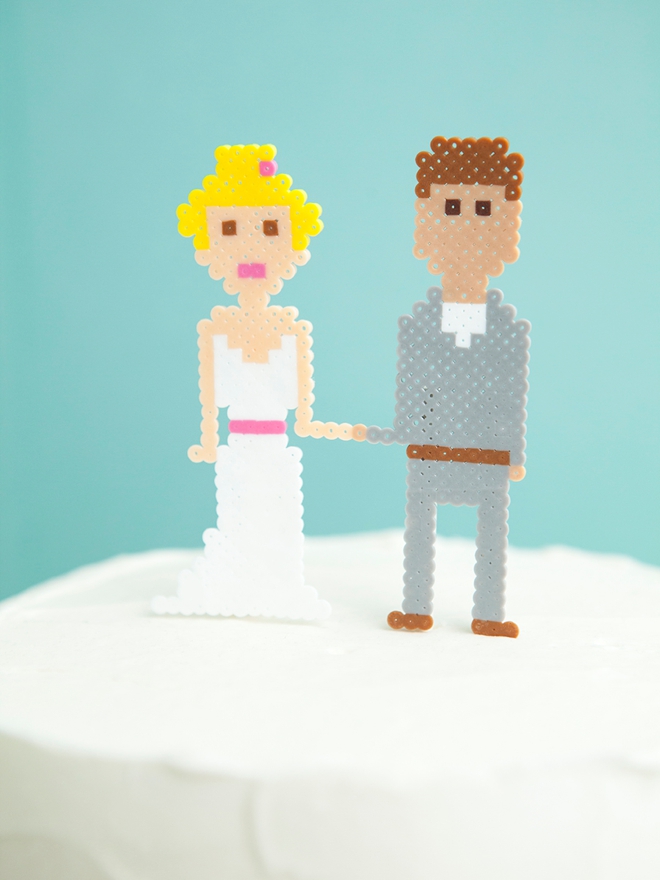
To get your Perler people to actually stand up on top of your cake, you’ll need to give them some longer legs! Here I hot glued 4″ lollipop sticks onto the back of each person. The sticks will easily glide into your cake and make these guys look like their just chillin’ in the frosting!

Personalized to Perfection
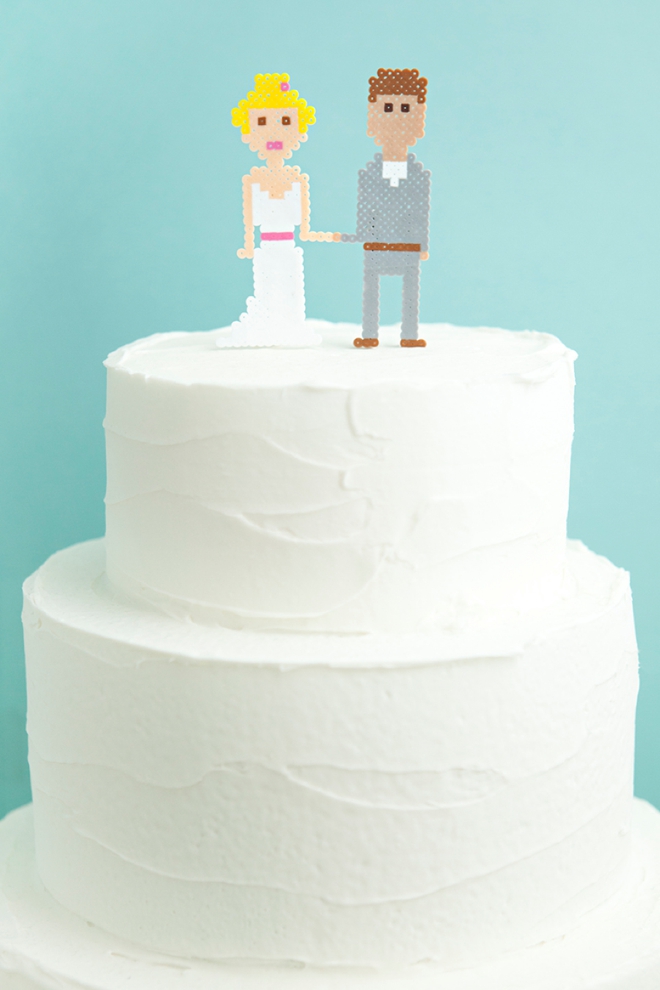
That’s all it takes to create your own personalized cake topper that’s kind of funny and totally budget friendly. Not only that, it might bring back some childhood memories in the process!
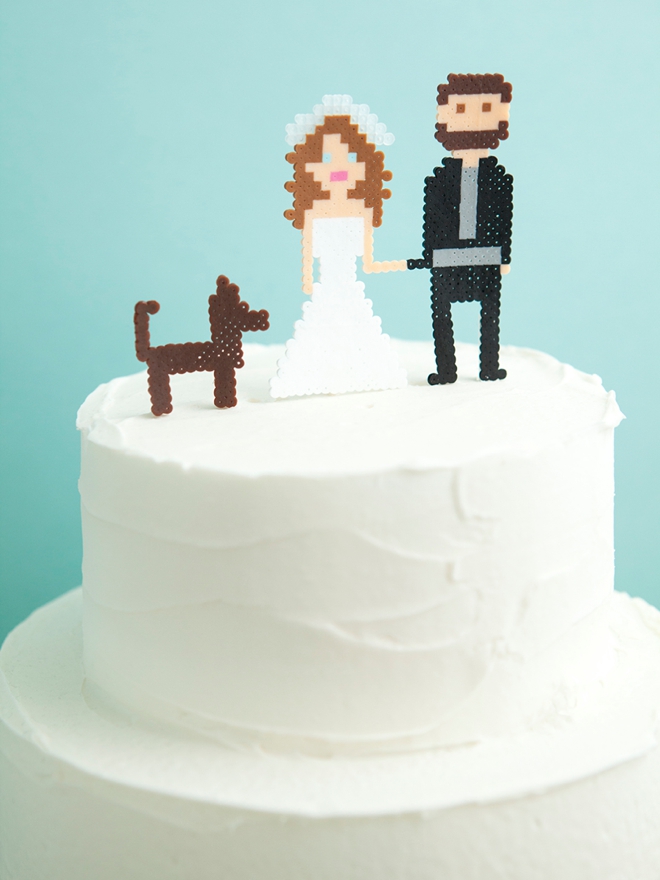
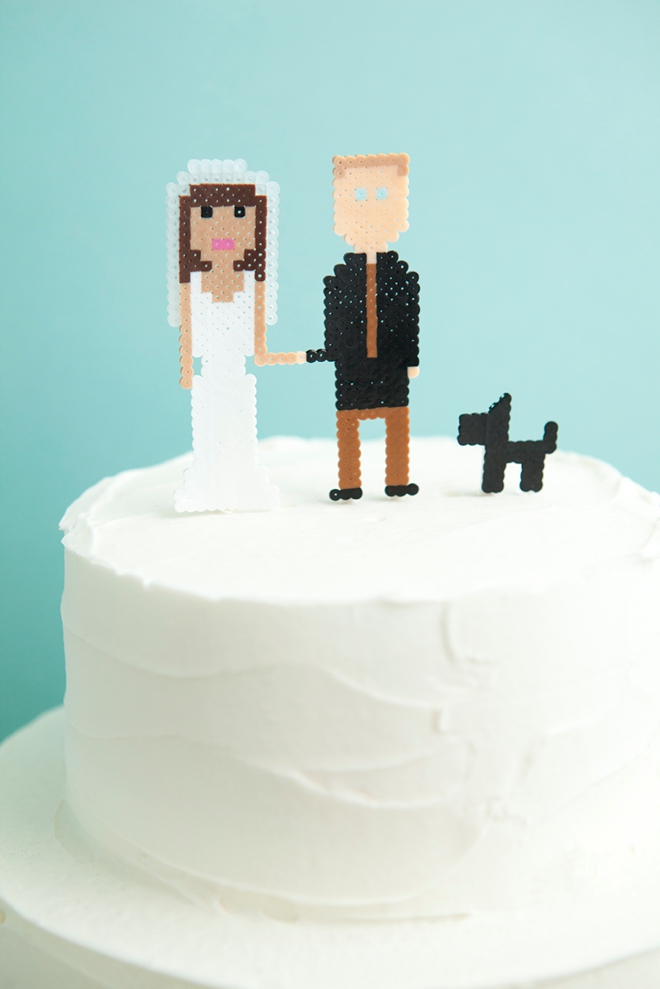
This one is me and the hubs and our little fur baby, lol!

As with all our DIY tutorials, if you create one of our projects please send us a picture – We Love Seeing Your Creativity! If you use Instagram or Twitter please use the hashtag #SomethingTurquoiseDIY and it will show up on our Get Social page. Happy Crafting!
DIY Tutorial Credits
Photography + DIY Tutorial: Jen Carreiro of Something Turquoise // Mini Perler Supplies: from Michaels but also available on Amazon // 4″ Lollipop Sticks: Amazon // Colored Pencils: Amazon // Nail Polish: OPI – Withstands the Test of Thyme
Shop The Supplies:
Find the supplies you’ll need for this project from our affiliate links below:

Comments