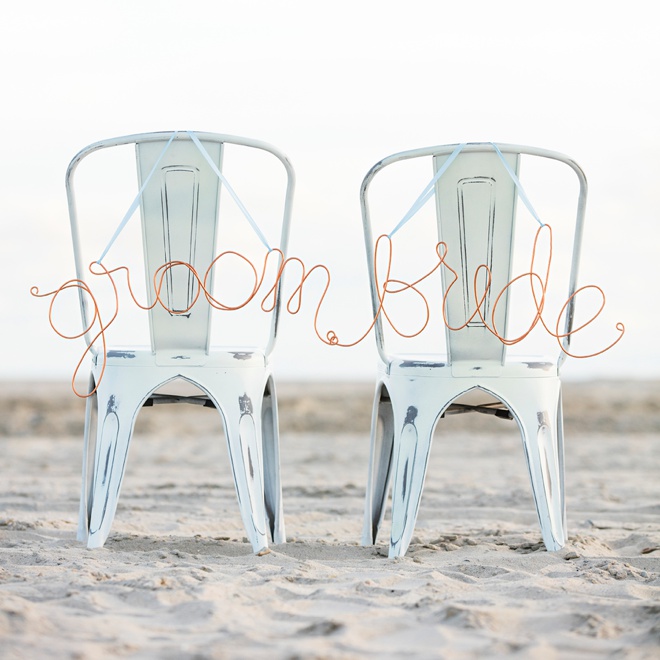

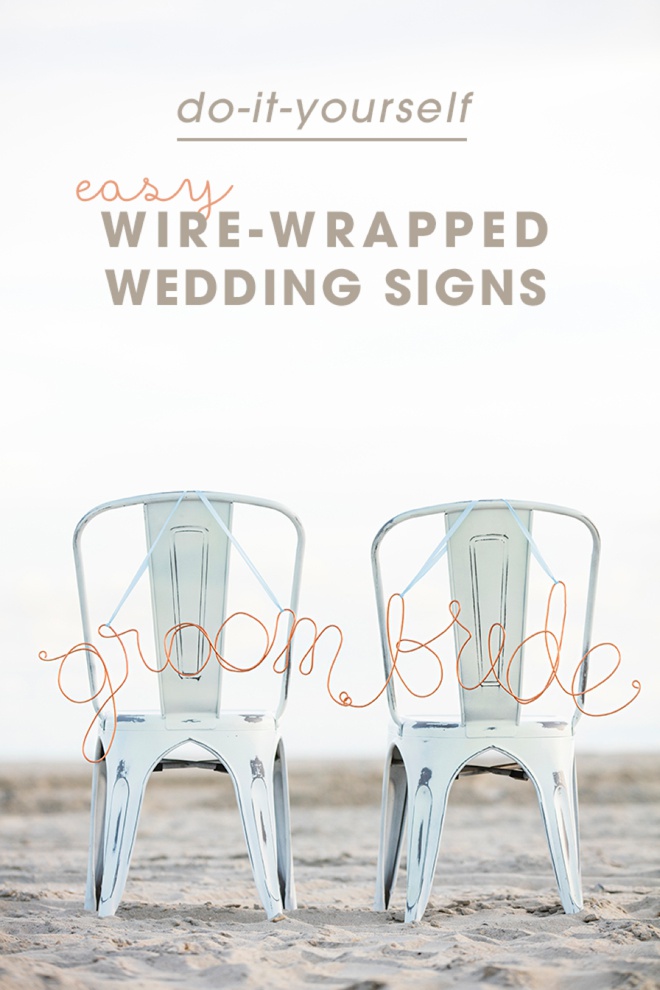
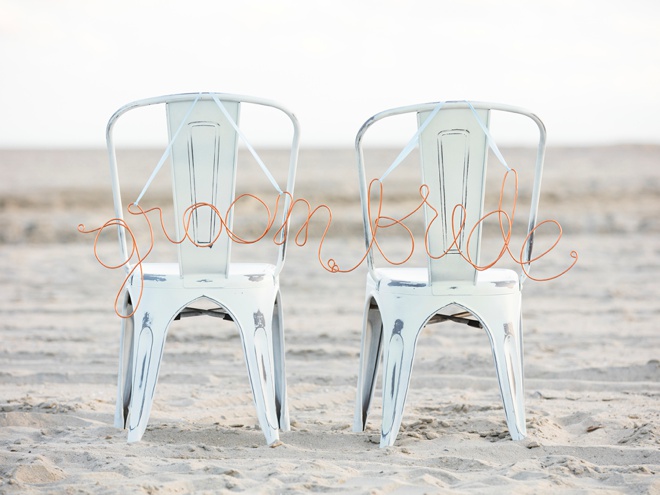
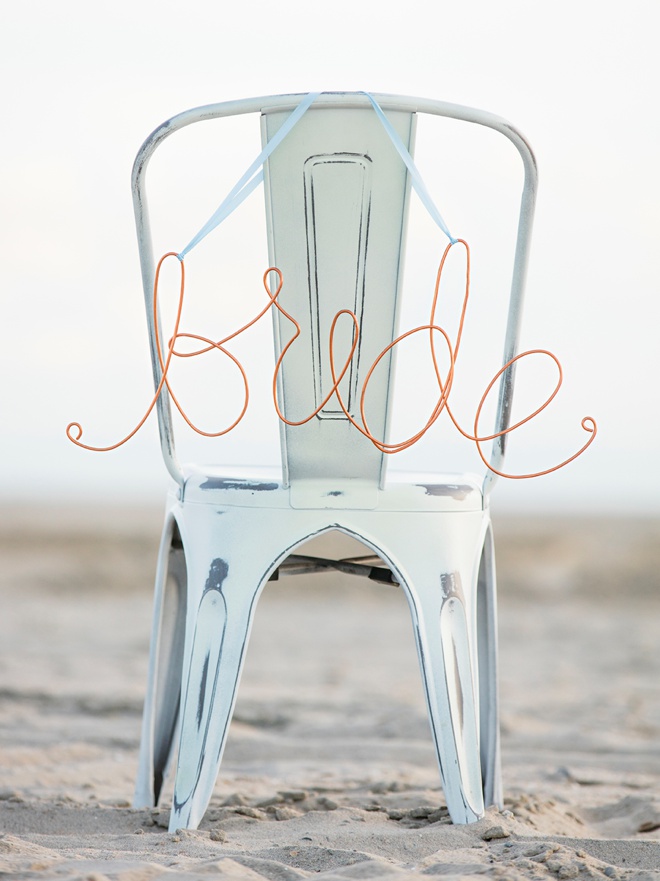
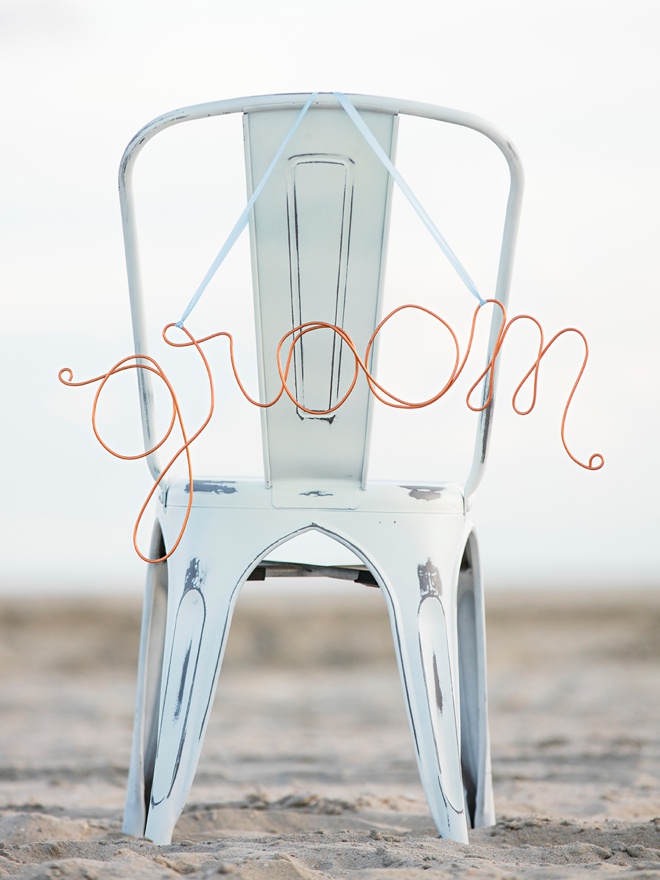
DIY | Easy Wire Wrapped Wedding Signs
At Christmas time I fell head over heels in love with these darling wire wrapped wine glass charms (which I purchased for my Mother-in-law), which totally inspired me. I was hoping that the same wire-wrapping technique could be done on a much larger scale for wedding signs. Guess what, not only can it be done but it’s super freaking easy! I went to my local hardware store, felt the copper wire available and found the perfect gauge to work with; it’s 8 to be exact. So I’m excited to share this DIY Easy Wire Wrapped Wedding Sign tutorial with you today! They will make the most perfect reception chair signs, directional signs or photo shoot prop signs. There’s not much to it, you really just have to bend the wire so I made a quick video for you instead of our normal step-out images. Hopefully it will help you truly envision how easy this project is to make for yourself. I will also be jumping on Periscope at about Noon-PST today making a pattern and bending some wire, so tune in!

SUPPLIES:
- 8 gauge, Soft-drawn Copper Wire (also called 8 AWG)
- Wire Cutter
- Pair of flat edge pliers (the type without the jagged edges that can scratch your copper)
- Ribbon to hang your sign with
Wire-Wrapped Sign How-To:
It was bothering me for days, trying to figure out how I could actually shoot the creation of this sign and so I finally gave in and just shot a quick video instead. I think it’s so much better that you can actually SEE how I am bending this wire, because it really is much easier than you think. Heck, it was easier than I thought it was going to be. This wire specifically is really soft and bends with little force and it’s also super forgiving. Leave your sign the raw copper or spray paint it to match your event!
- Download + print my patterns at the end of the post – or make your own!
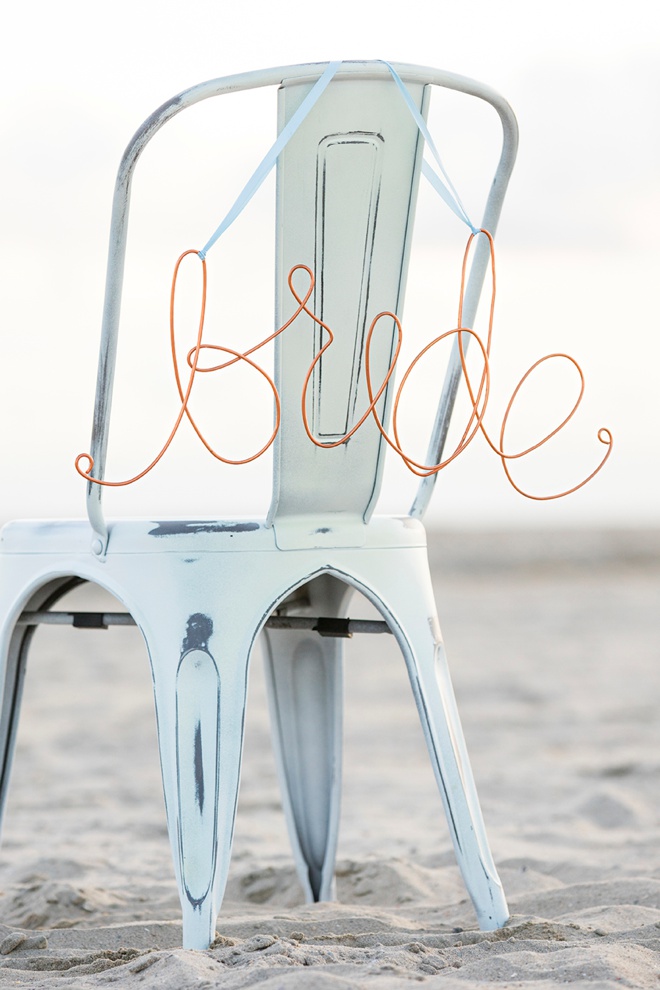
- It’s just like cursive. Cursive is one solid line, simply follow it just like you would with a pen. If you can’t envision it, write it out on paper first.
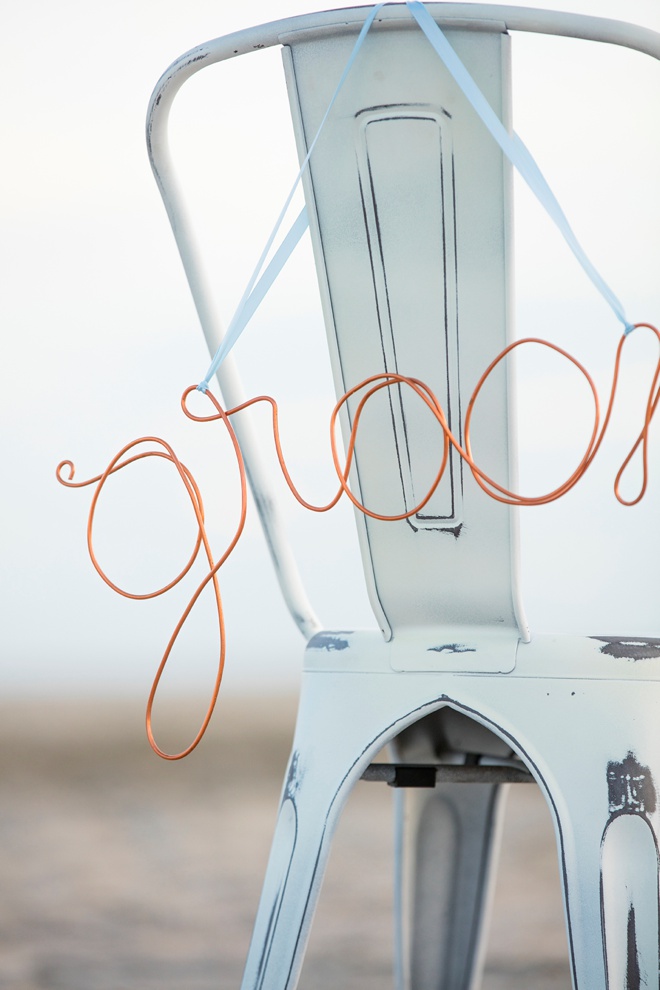
- Using your fingers and palm, bend and cup the wire into each lovely letter.
- Some letters are easier than others. An “r” is super easy while a “d” requires extra thought about where the wire is bending.
- If you are nervous, start with just one letter like your initial or maybe the “mr” or “mrs”.
- Keep bending all your letters, once you are done clip the wire and add a little flourish at the end!
Supply Note: I was able to get 1 bride, 1 groom + 1 mrs sign from 1 roll of 25 foot wire.


Download The Patterns:


As with all our DIY tutorials, if you create one of our projects please send us a picture – We Love Seeing Your Creativity! If you use Instagram or Twitter please use the hashtag #SomethingTurquoiseDIY and it will show up on our Get Social page. Happy Crafting!
DIY Tutorial Credits
Photography + DIY Tutorial: Jen Carreiro of Something Turquoise // 8 gauge, Soft-drawn Copper Wire: Lowe’s // Wire cutters and Pliers: Amazon // Ribbon: JoAnn // Chairs: Amazon // Nail Polish: OPI – Withstands the Test of Thyme
Shop The Supplies:
Find the supplies you’ll need for this project from our affiliate links below:

Comments