
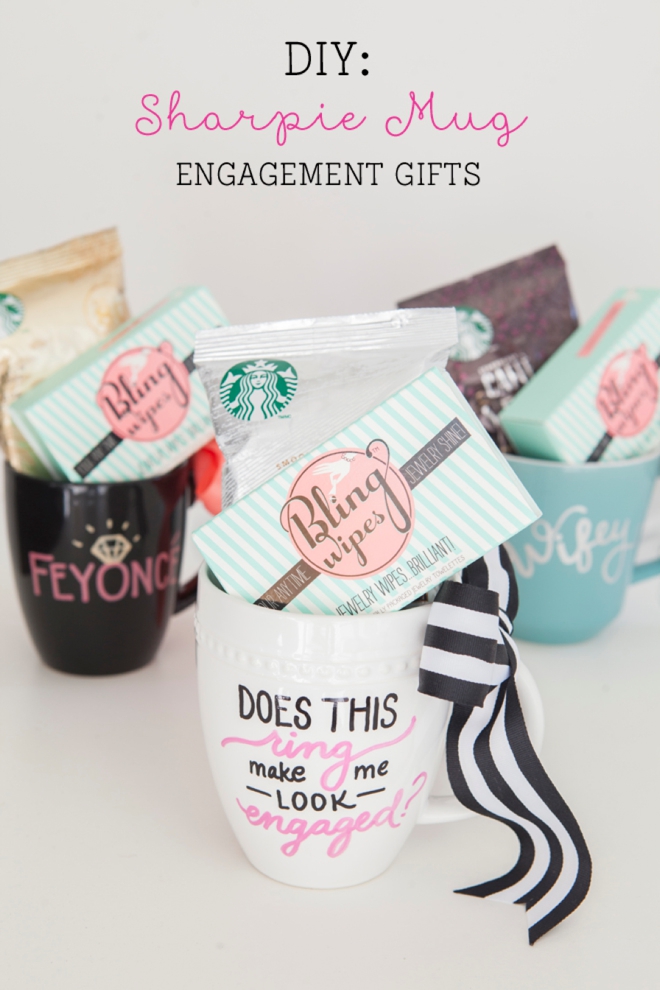
Simple DIY | Sharpie Mug Engagement Gift
Today is the first #SimpleDIY of 2015 – yay!!! “Sharpie Mugs” have been quite the rage lately and if you’re on Pinterest it’s hard to go a day without seeing a Sharpie mug pin or something similar. Well, today I’m adding to the pile – except this version is fail-proof. If you’ve been following me for a while, you know that I only share projects that actually work so believe me, you’re safe trying this one! My twist on the design is of course for weddings, specifically for brides. If you are a DIY bride you’ll need to make one of these for yourself asap, but if you’re here because a friend of yours is getting married, I think this project would make the absolute perfect engagement gift or bridal shower gift. A cute mug with a handwritten sentiment, a bag of coffee and a box of Bling Wipes is all a bride planning her wedding really needs, right? The most important part being the Bling Wipes to keep her brand new rock ultra sparkly! For all the tips and tricks make sure to thoroughly read the detailed information below!
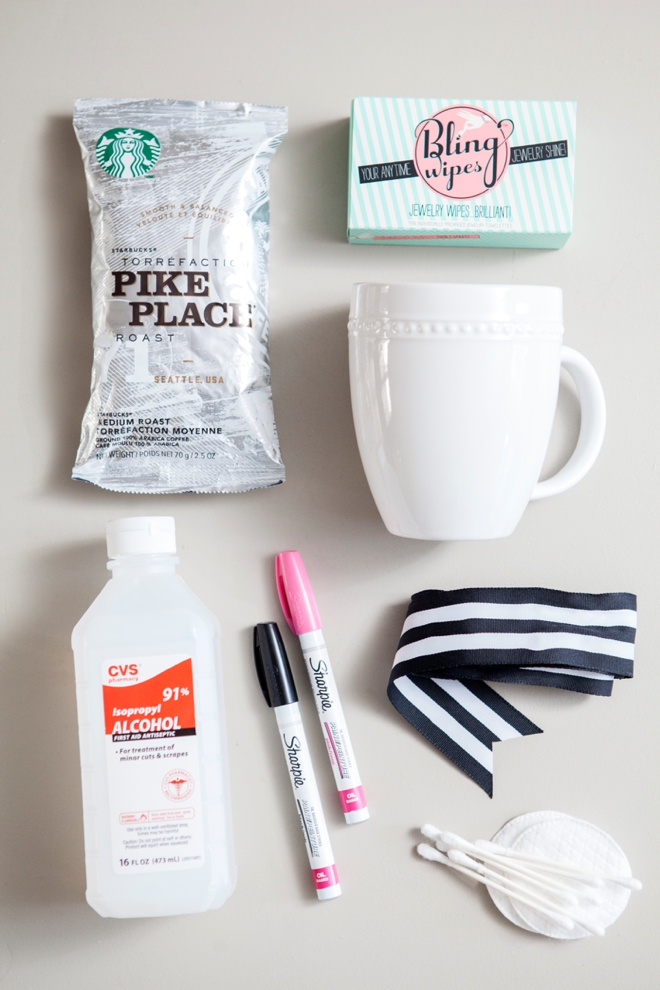
SUPPLIES:
- Inexpensive ceramic/porcelain mugs
- Sharpie PAINT Pens (oil based) any color
- Bling Wipes *absolute must!
- Bag of coffee that will fit in your mug
- Rubbing Alcohol
- Q-tips/Cotton balls
- Ribbon
- Oven
CRAFTERS TIP: Not all coffee mugs are created equal. The inexpensive kind work best because the glaze on the outside of the mug is “cheaper” and easier to penetrate with the paint pen when baked. Sharpie pens were not made to do this! We are just doing it because it’s fun and we can, lol. If you are having trouble, you can use REAL porcelain paint pens!
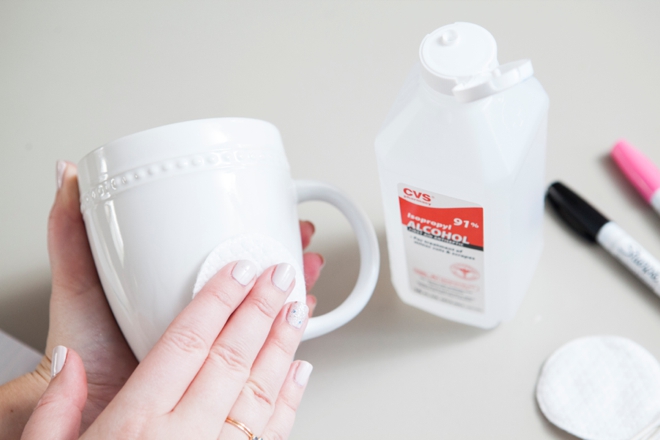
The first step is to make sure that your cup is thoroughly cleaned, using rubbing alcohol works best. Don’t forget to remove all price stickers, otherwise when you bake the mug they will burn.
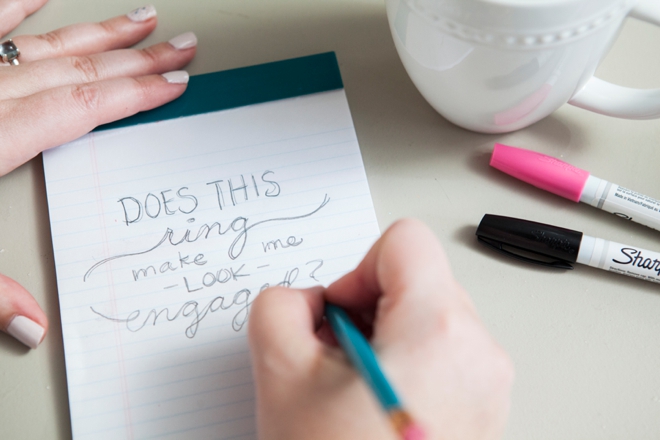
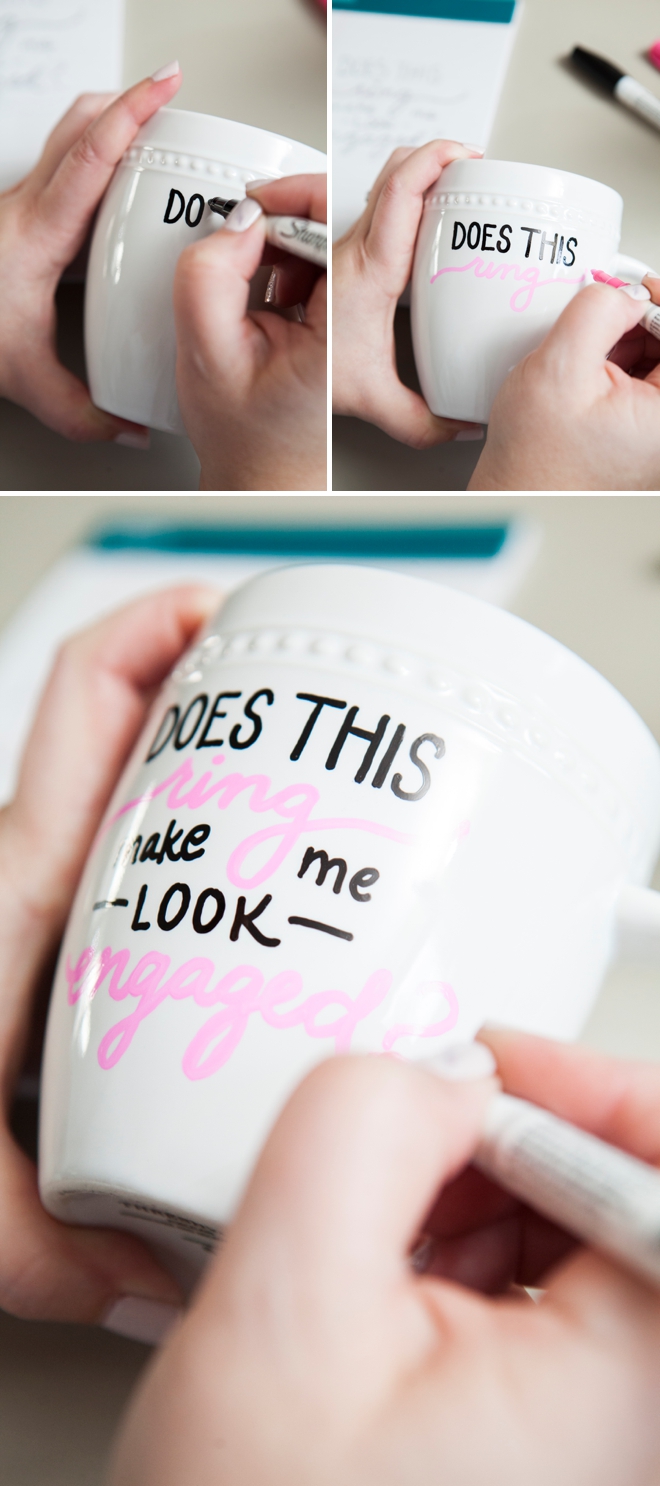
Sketch out your design on a piece of scrap paper until you are happy with it.
Only use Sharpie Paint Pens!
Only using Sharpie Paint Pens is very important. Regular Sharpies don’t work! Start creating your design on your mug. Here I made a little mistake to illustrate how easy it is to erase/clean the Sharpie paint with rubbing alcohol. Make sure to fully remove ALL excess paint, if you don’t it will bake on and look smudgy.
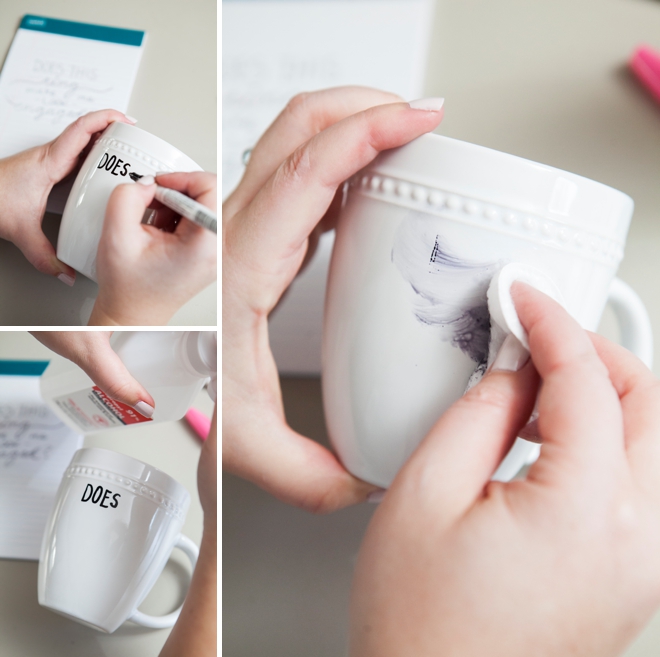
You can use ANY Sharpie paint pen color that will show up on your mug, but some colors will get darker after baking.
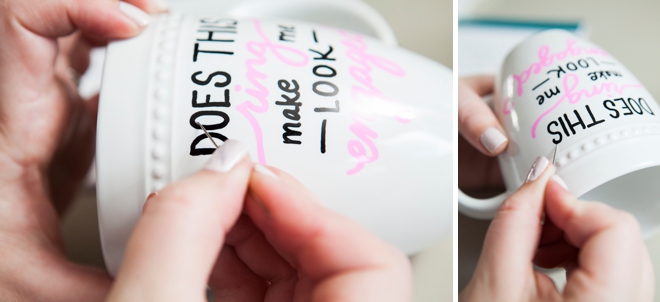
To clean up your design you can scratch paint off with your nail or a needle. You can also erase with q-tips or cotton balls with rubbing alcohol.
Dry for 72 Hours!
Once you are happy with your design, make sure your mug is completely clean and remove all excess paint streaks from erasing mistakes, if you don’t it will bake and appear smudgy. In 72 hours you will be ready to bake your mug. That’s right. You need to wait 3 days to let the paint fully dry on your mug before baking. This will ensure proper adhesion of the design to your mug.
I would love to tell you that these are safe to wash in the dishwasher (top shelf of course) and yours might be, but I can’t fully recommend it. There are so many dishwashers and settings possible, I just can’t make the claim. Hand-washing is best, it will absolutely stand up to hand-washing.
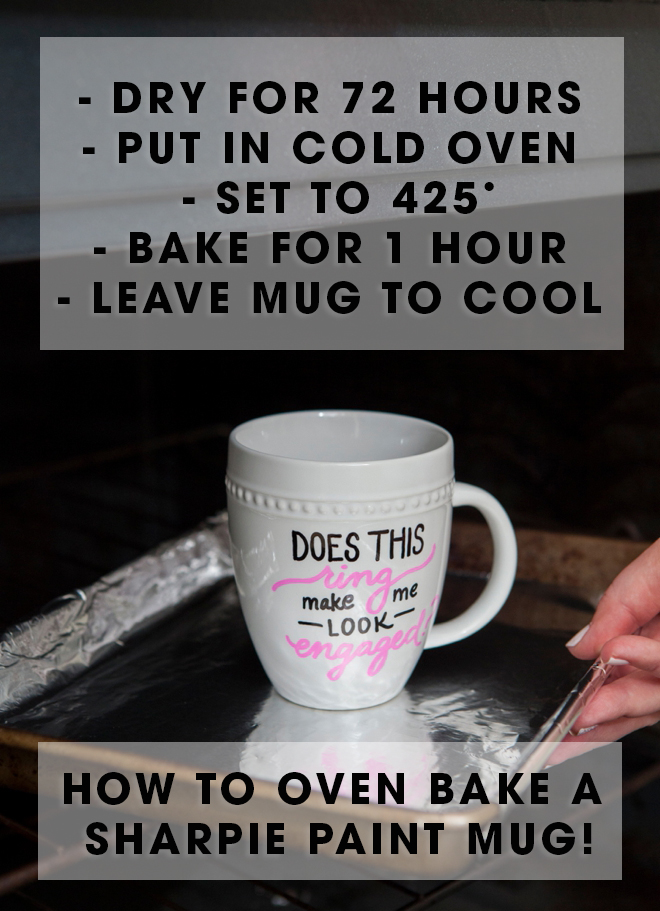
Read these instructions carefully — this is the key to the perfect mug that will withstand washing!
- Let your mug fully dry for 72 hours
- Place into a cold oven
- Turn oven to 425*
- Set a timmer for 1 hour
- Once the hour is up, turn off the oven
- Let the mug cool completely inside the oven
What you are doing is letting your mug gradually warm up with the oven and cool down with the oven to avoid cracking. I recommend doing this at the end of the evening so you can let your mug sit in there overnight. The mugs stay REALLY hot for a while and you don’t want to touch the paint at all until it’s completely cooled down.
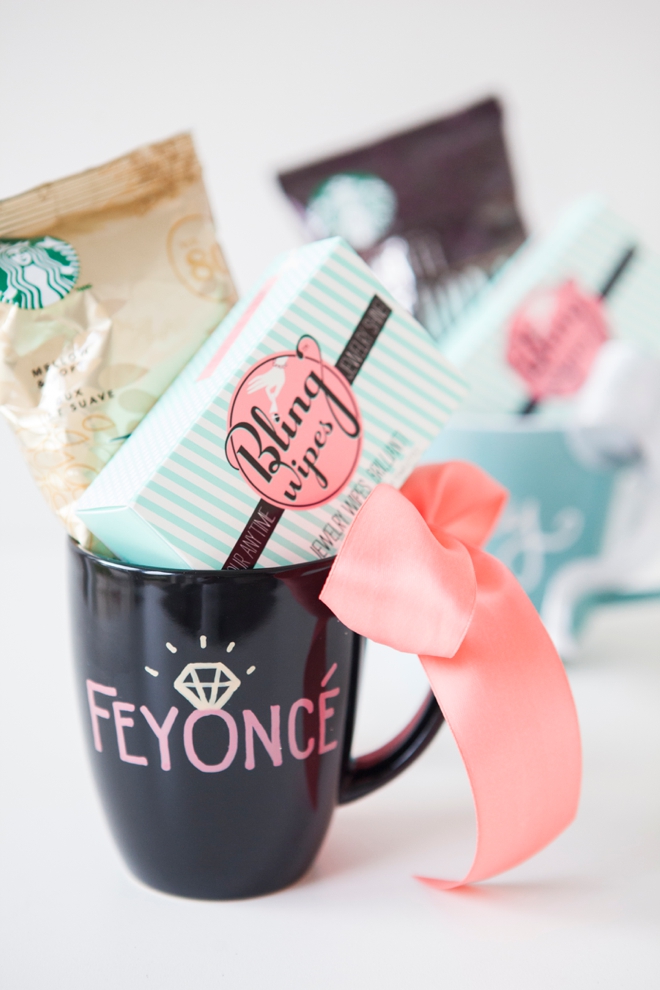
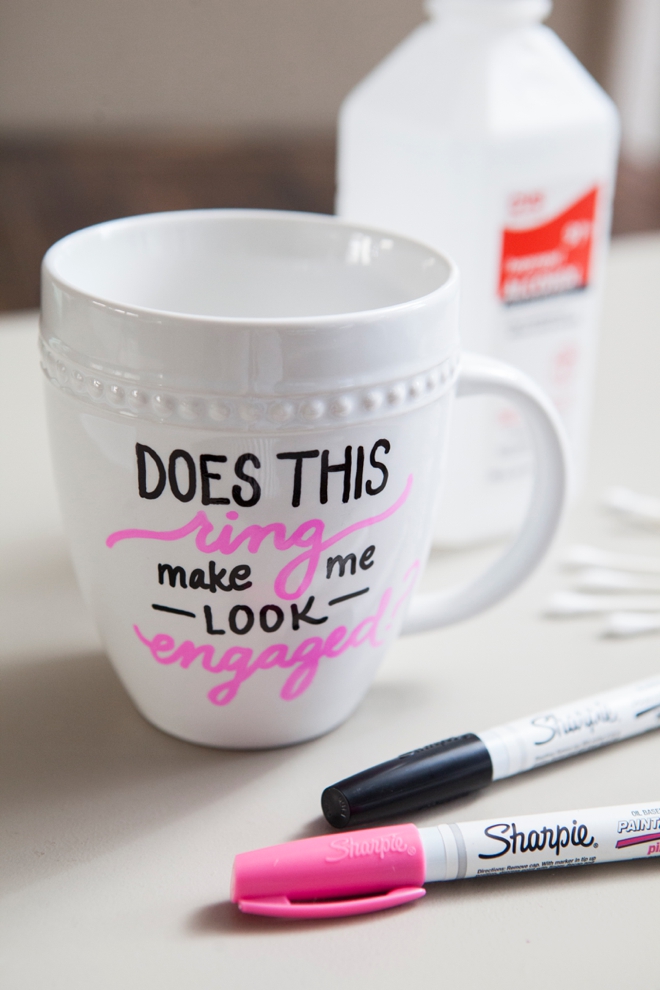
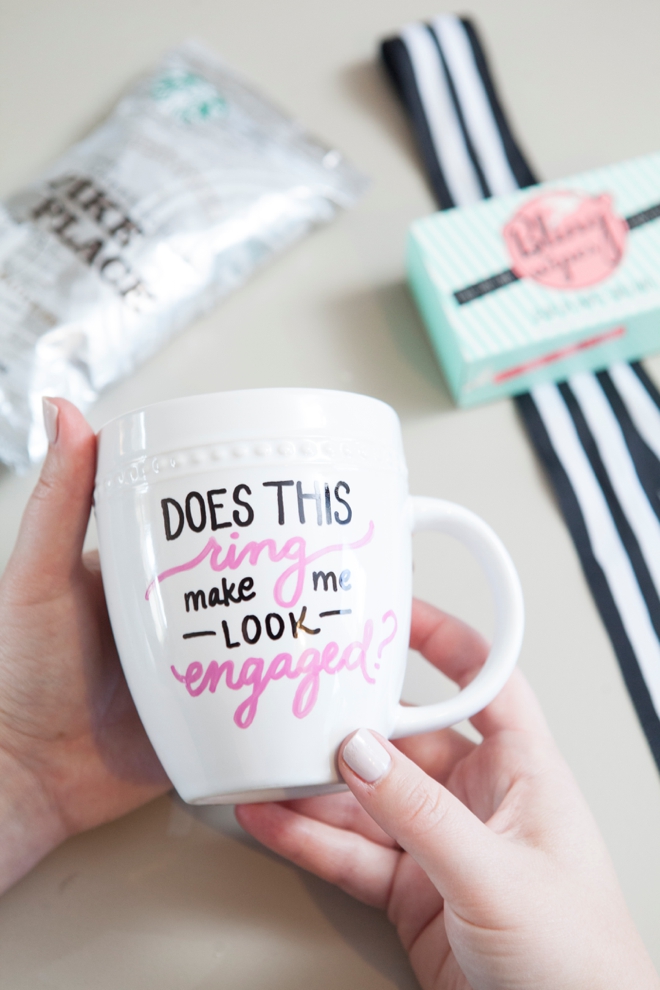
Colored Paints Will Get Darker!
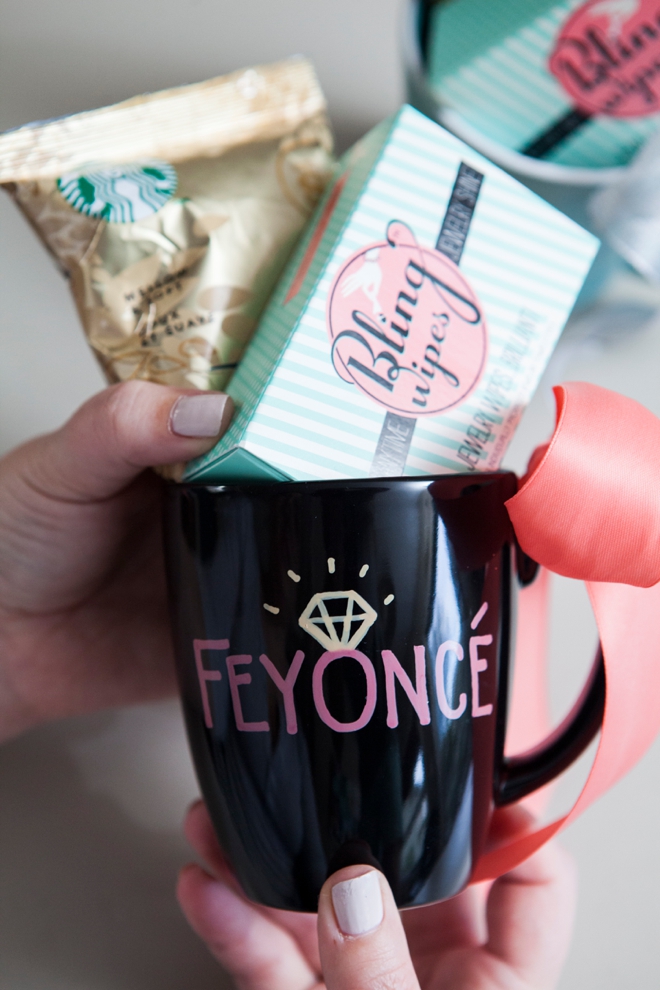
Do you see the change in this pink? That’s not Photoshop. A bright, vibrant almost neon pink turned into a softer and darker shade after I baked it. Same thing with the Feyoncé mug, I used the same pink for it as I did this mug. Also, the diamond on the Feyoncé mug was done in white but in combination with the black mug it turned an off white slightly yellow color. Keep in mind that the color of your mug + the paint color will determine the outcome of your design color.
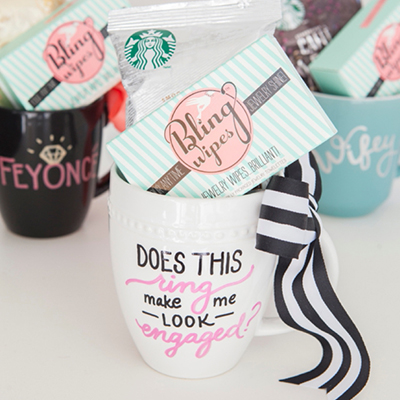
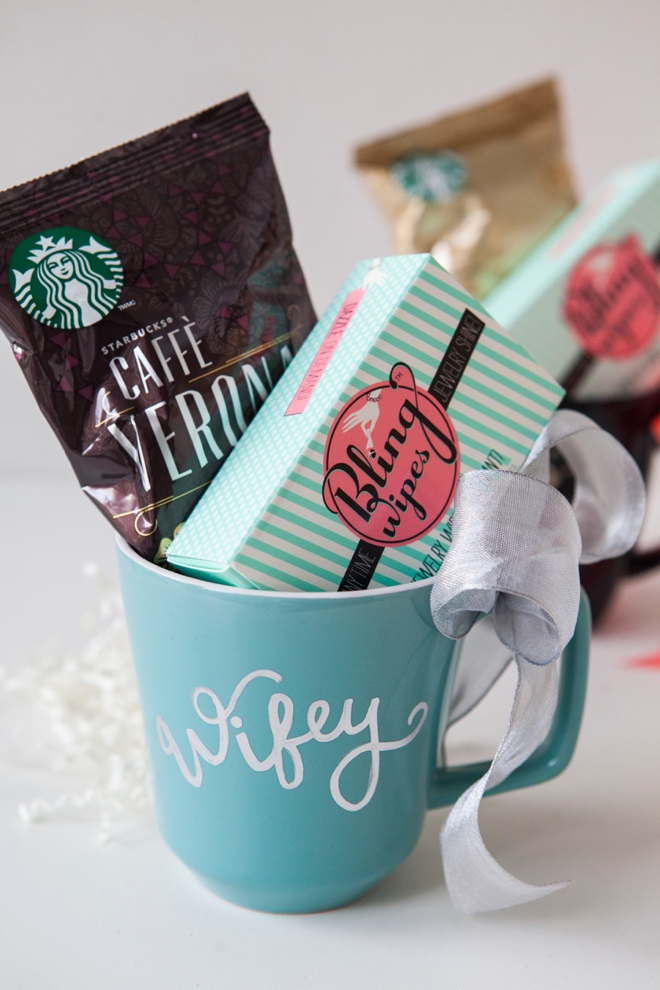
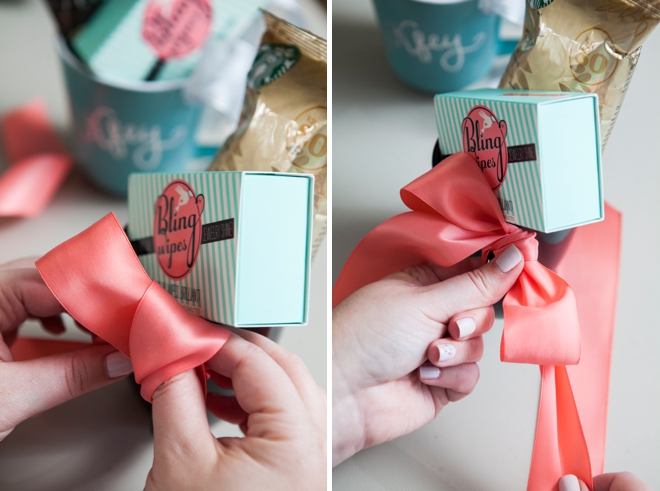
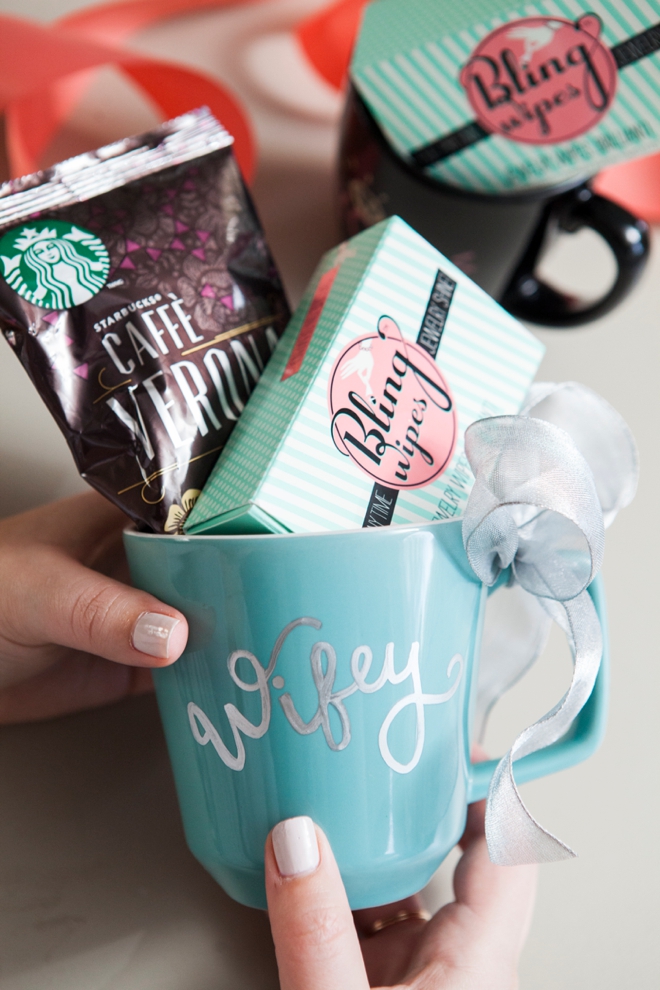
Add your special ingredients and a cute bow!
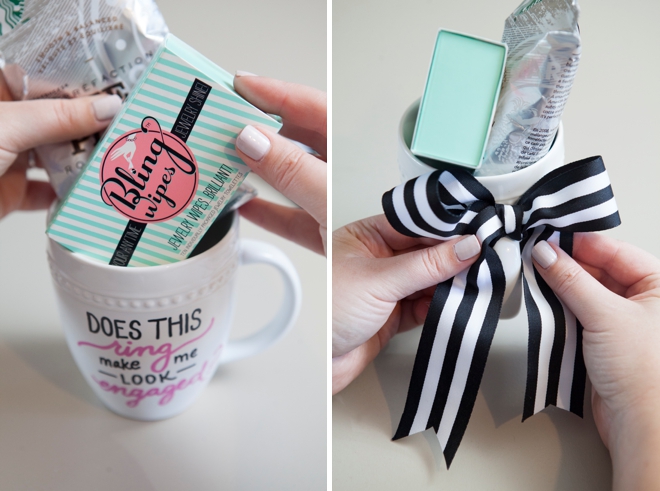
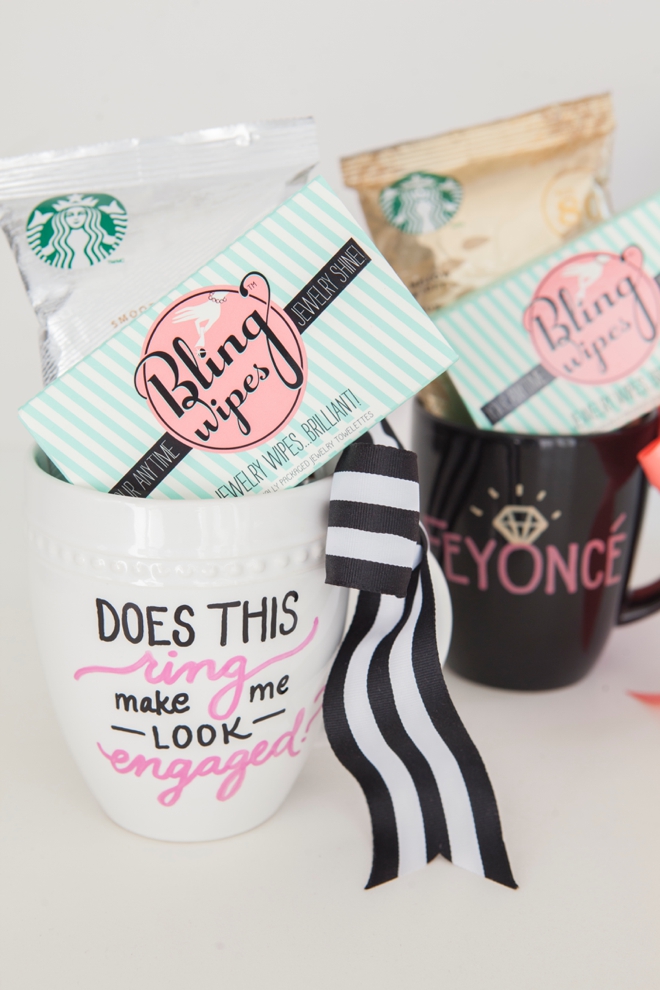
How freaking adorable are these Bling Wipes?? 10 individually wrapped wipes come in each box and they work wonderfully!

I bought these coffee sampler bags in a 6-bag kit from Staples (see link below), but if you can’t find them or you’d like to use a different type of coffee bring your mug shopping with you to make sure the coffee will fit inside.
Bride Mug + Coffee + Bling Wipes = The Perfect Engagement Gift
And just in case you are already a Mrs… here’s one for you, actually this one is for me. Shocking right? I used a silver paint pen for this design.
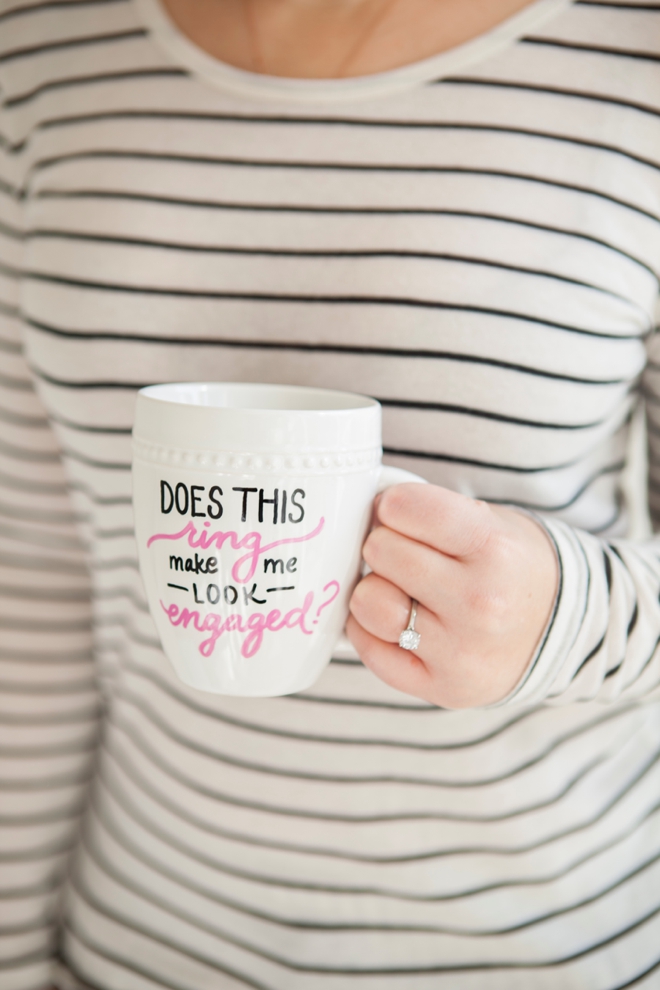
…and yes, that ring does make you look engaged!
As with all our DIY tutorials, if you create one of our projects please send us a picture – We Love Seeing Your Creativity! If you use Instagram or Twitter please use the hashtag #SomethingTurquoiseDIY and it will show up on our Get Social page. Happy Crafting!
DIY Tutorial Credits
Photography + DIY Tutorial: Jen Carreiro of Something Turquoise // white mug: Target // turquoise mug: Target // black mug: Amazon // Bling Wipes courtesy of: Bling Wipes // Sharpie Paint Pens: Amazon // Starbucks 1.76oz coffee sampler bags: Staples // ribbon: Michaels // nail polish: Essie, Urban Jungle
Find the supplies you’ll need for this project from our affiliate links below:
The links here for the white and turquoise mugs from Target are only available to buy online in a 4-pack, but in-store you can buy them individually.

Comments