
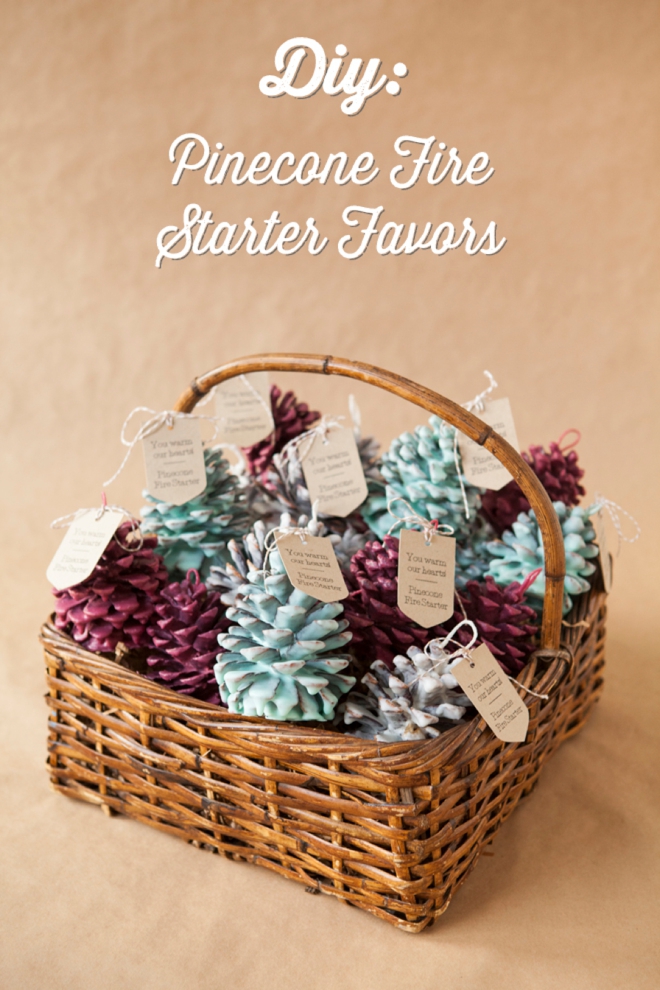
DIY | Pinecone Fire Starter Favors
Another fabulous week has made way for another fabulous DIY Friday project! Today we are getting into the winter season and sharing how to make pinecone fire starter wedding favors! These would make terrific favors for any winter wedding… but if you aren’t up to making one for every guest, you can easily make them for your bridal party and maybe even your vendors. There’s nothing better than a cozy night spent by the fire and these would make that night extra special. The only problem is that they smell and look so good, no one will want to burn them!
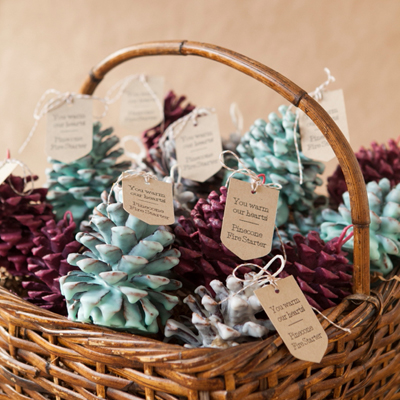
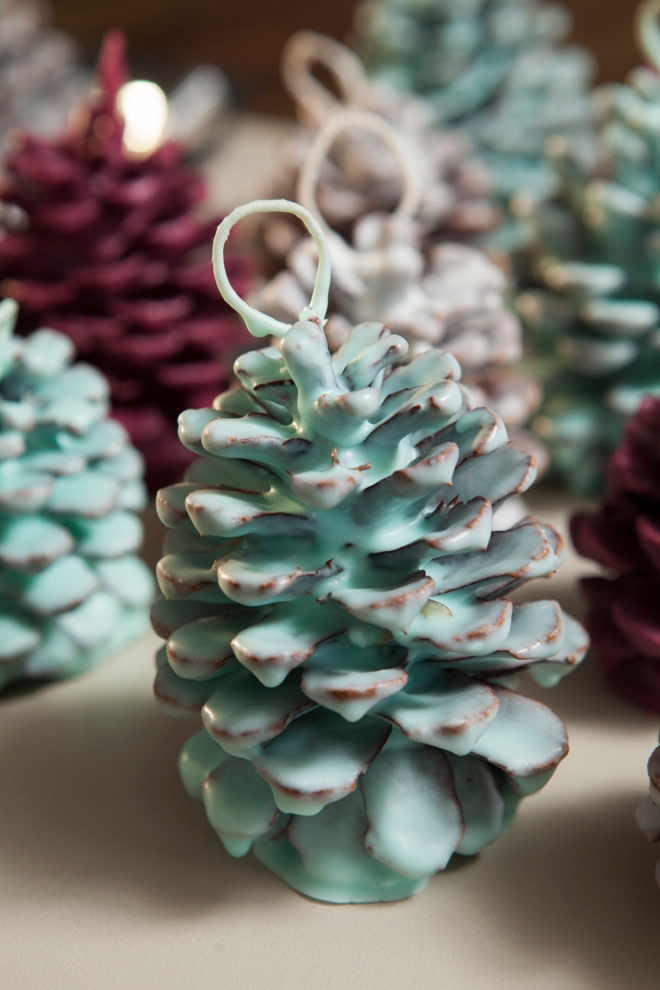
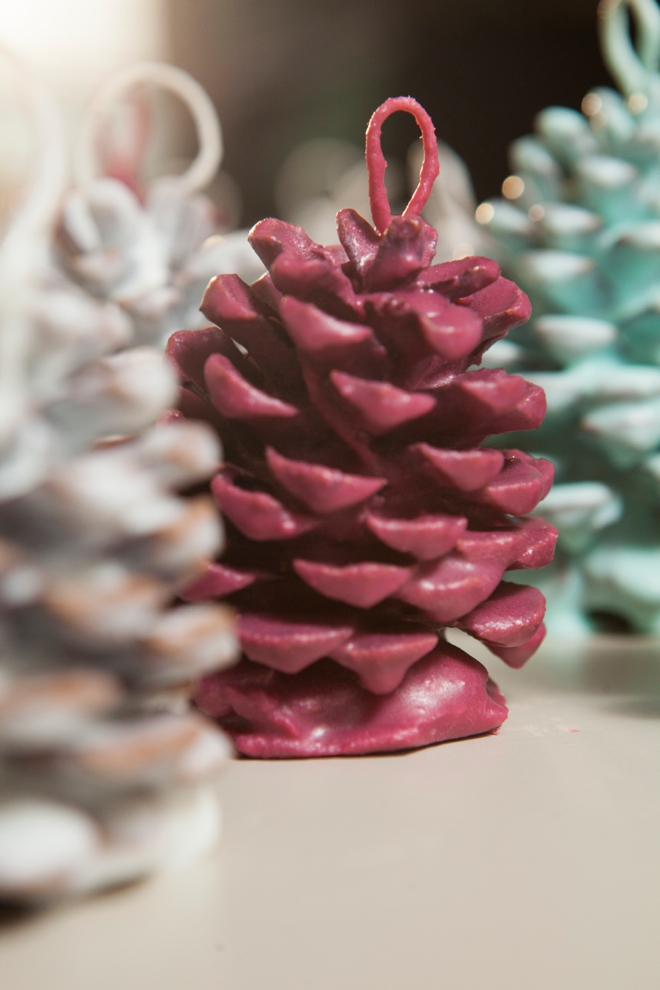
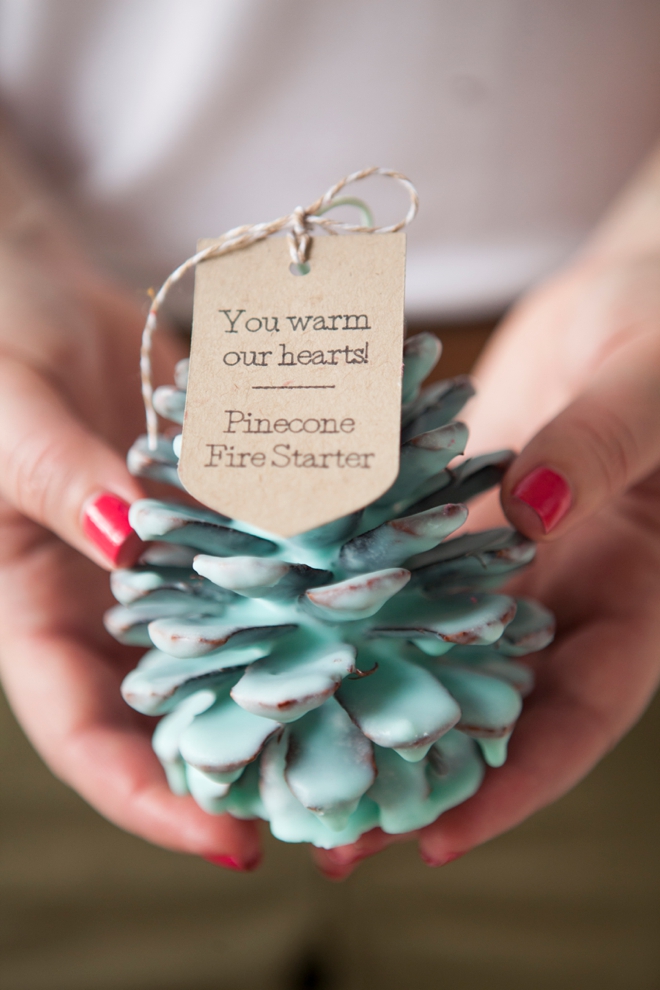
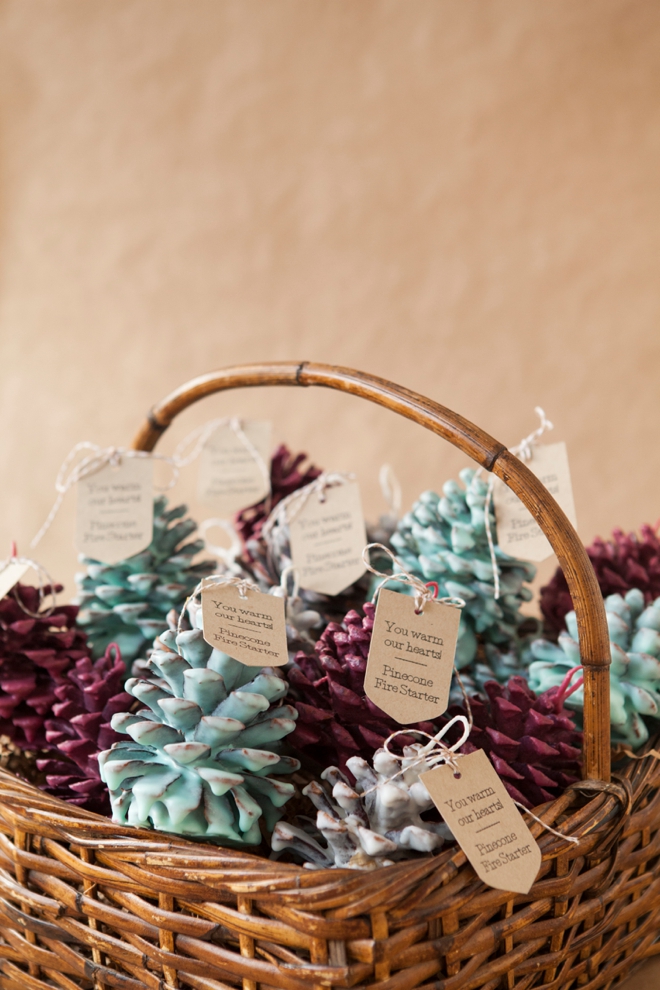
Totally obsessing on these white, sea foam and burgundy pinecones… the perfect favor and decor addition to any winter wedding!
SUPPLIES:
- Soy wax flakes
- Pinecones
- Candle fragrance oil
- Candle dye blocks
- Wired candle wicking
- Wooden spoon
- Large heat proof container
- Frying pan
- Wax paper
- Scissors
- Cute tags and twine

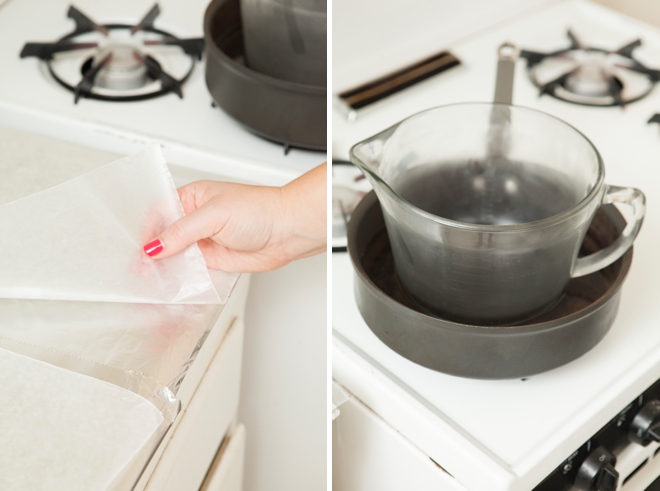
Set Up Your Work Area
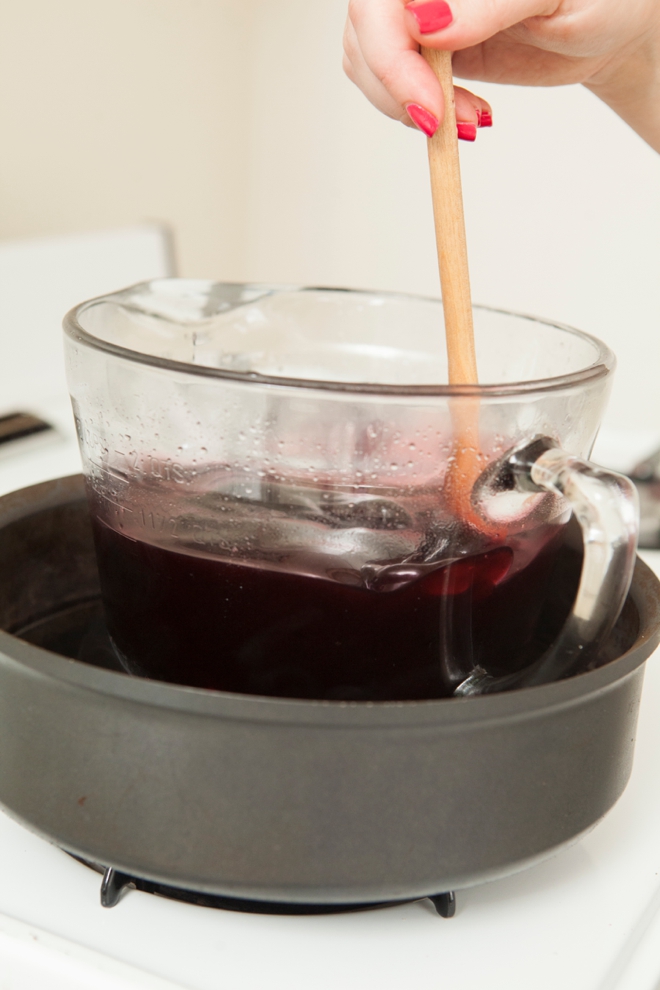
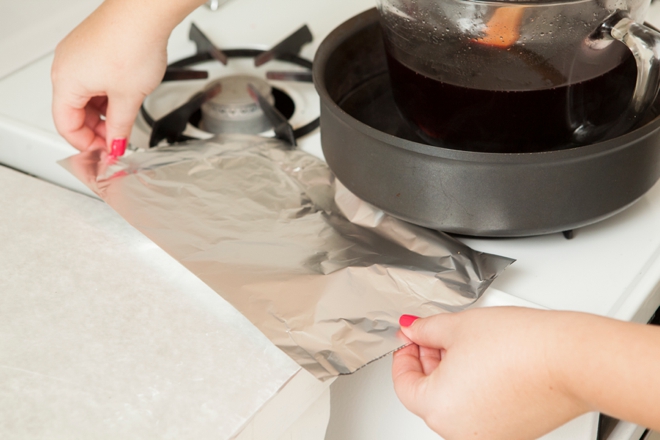
For this project we will be creating a “double boiler” station. Place your heat proof container (like this glass mixing bowl, only to be used for craft projects) into a large pan that has water in it, this is how we will melt the wax. Close by, set up an area to place your dipped pinecones. I covered my countertops in foil and placed wax paper on top.
Melt Your Wax
Turn on your pan, start heating up the water and add your soy wax flakes. Here I am using 2 pounds of wax, which in this bowl makes the perfect amount for dipping.
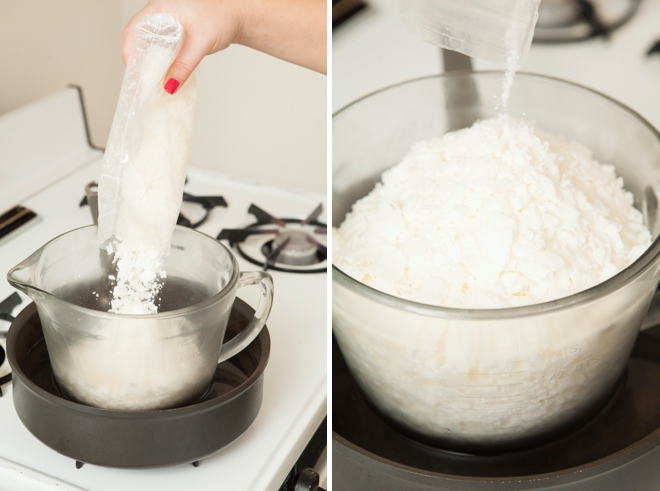
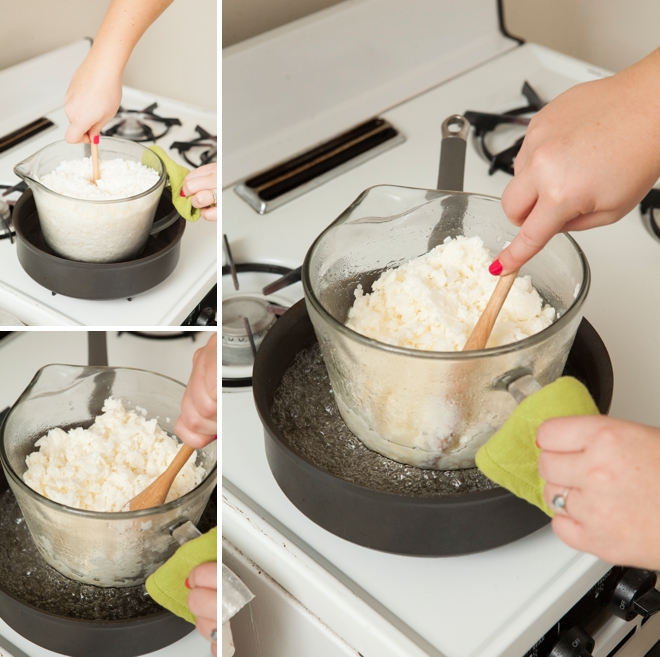
The water in your pan will boil and gently heat the glass container – melting your wax slowly. Which is what we want. Continue to stir while your wax melts.
Add Color
As your wax is melting chop up pieces of your color block (so it melts faster) and add to your wax. Continue to stir and watch your color melt into the wax. This wax colorant comes with instructions on how much to add per pound but you can do whatever you want. Here I added 1 block to 2 pounds of wax for the burgundy pinecones. For the white pinecones I added no color and for the sea foam pinecones I added 1/2 block to 2 pounds of wax.
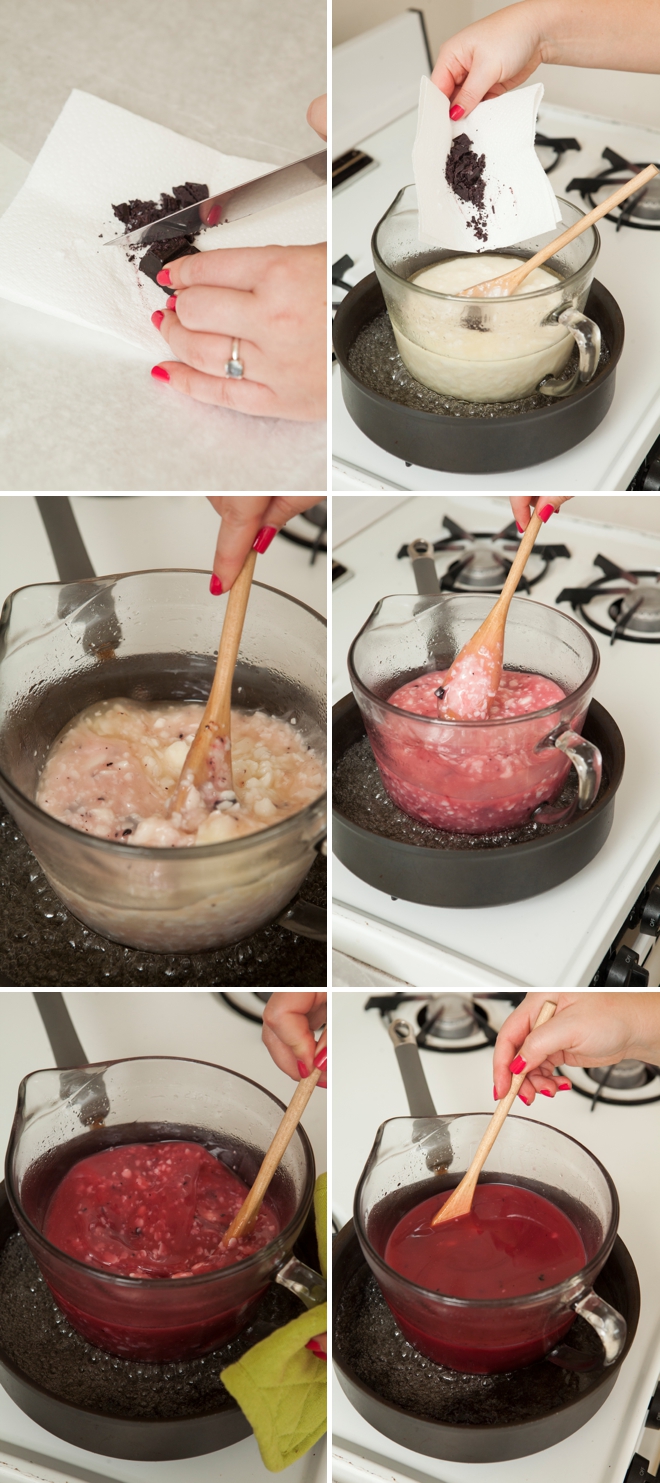
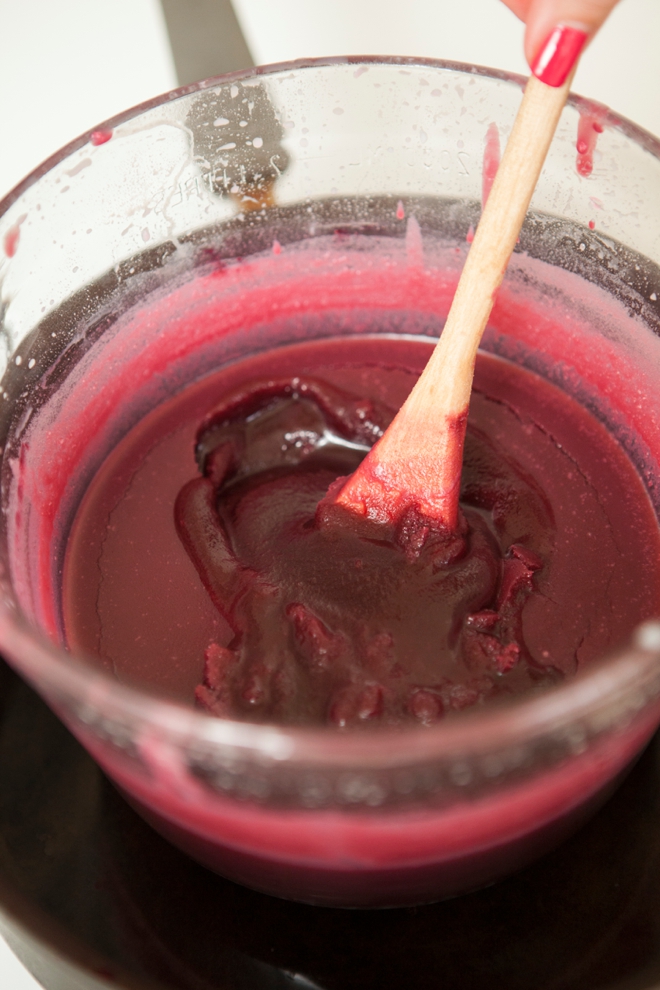
You can see here how drastically the color changes once the wax is fully melted. It becomes very dark and transparent.
Protect your kitchen! Dipping can get messy so anywhere that you will be holding the pinecones needs to be covered to catch dripping wax.
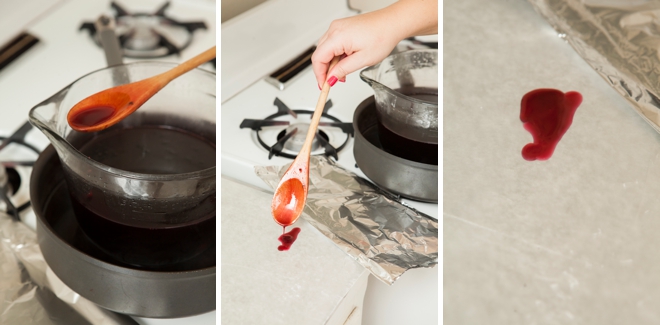
Test Your Color
To test the color of your wax drip a little onto wax paper and see how it dries. If it’s too light – add more color block, it’s always easier to go darker. If it’s too dark your only fix is to add more wax to make it lighter.
Adding Scent
The scent rule for candle making is 1 ounce of scent oil for 1 pound of wax. But we aren’t making candles… so you can add as little or as much as you want, however I followed the rule. For the white pinecones I used “Cinnamon Buns”, for the turquoise I used “Blueberry Cobbler” and for the burgundy I used “Christmas Hearth”. Yes, you can use essential oils to scent your fire starters but some shouldn’t be used when it comes to burning, I am no essential oil expert so do your research before you use them.

Let Your Wax Cool Down
After the wax is fully melted you will need to wait 20-30 minutes for it to cool down before you dip your first pinecone. You don’t have to wait, but if you dip your pinecones while your wax is super hot it won’t stick as well. Meaning you will have to dip over and over and over and over to build-up the wax on your pinecone. If you want to get technical it’s best to dip around 130* to 140* degrees, but we aren’t getting technical.
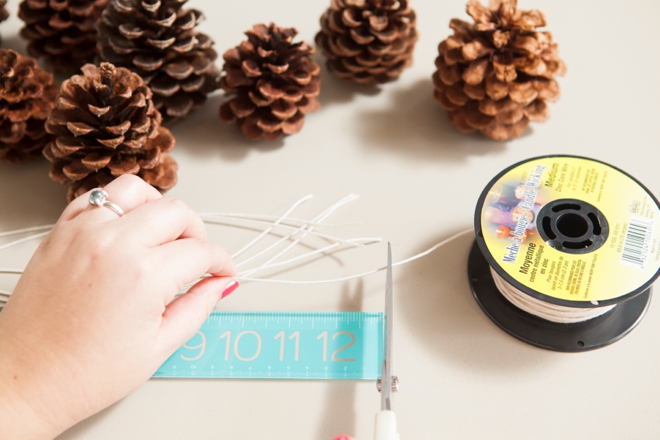
Wick Your Pinecones
While you are waiting for your wax to cool you can wick your pinecones! Adding wicking around your pinecones helps to keep the flame moving throughout the cone in your fire. Cut about 12″ of wired wicking for each pinecone.
Fold in half and tie a loop knot with the wicking, then hold the loop at the top of the pinecone and wrap between the scales. Wrap each of the wicks in the opposite direction.
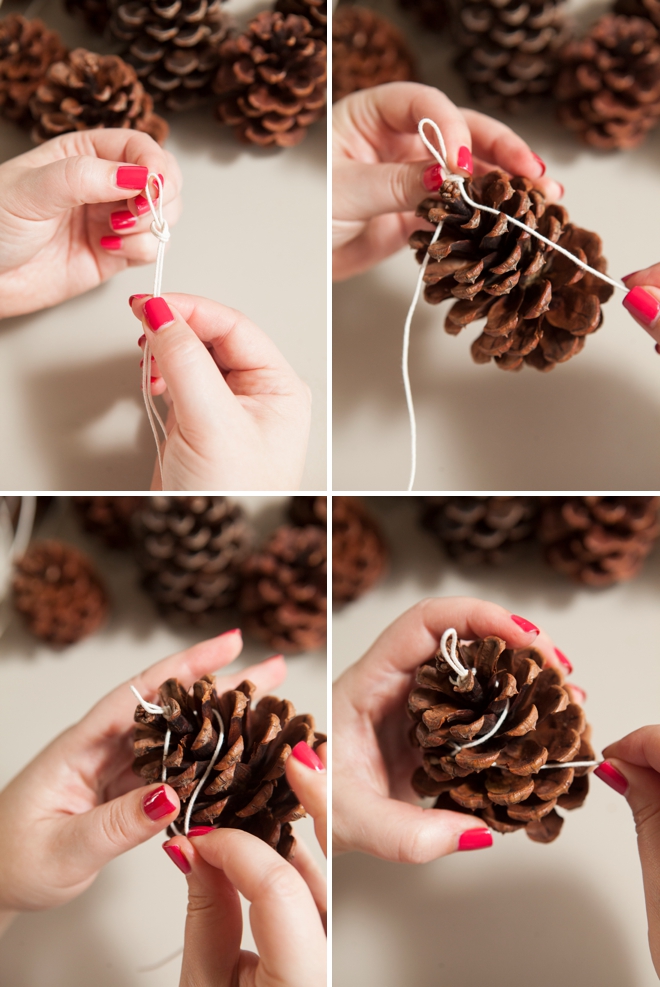
Stuff the ends of the wick inside the pinecone, you can use the ends of your scissors to help if you need to. Some will be easier to wrap then others.

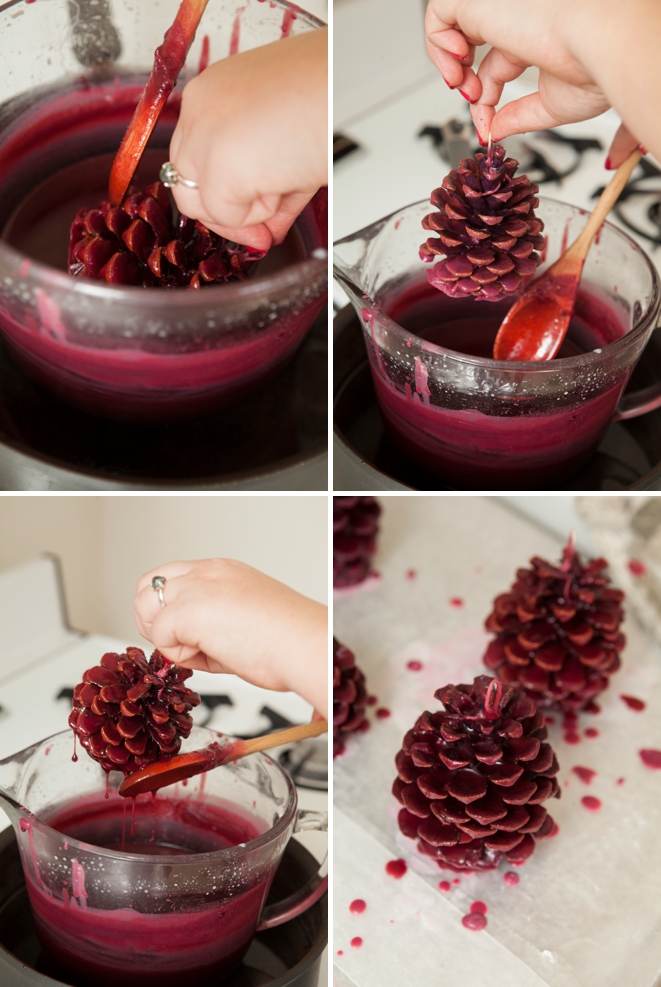
Dipping Your Pinecones
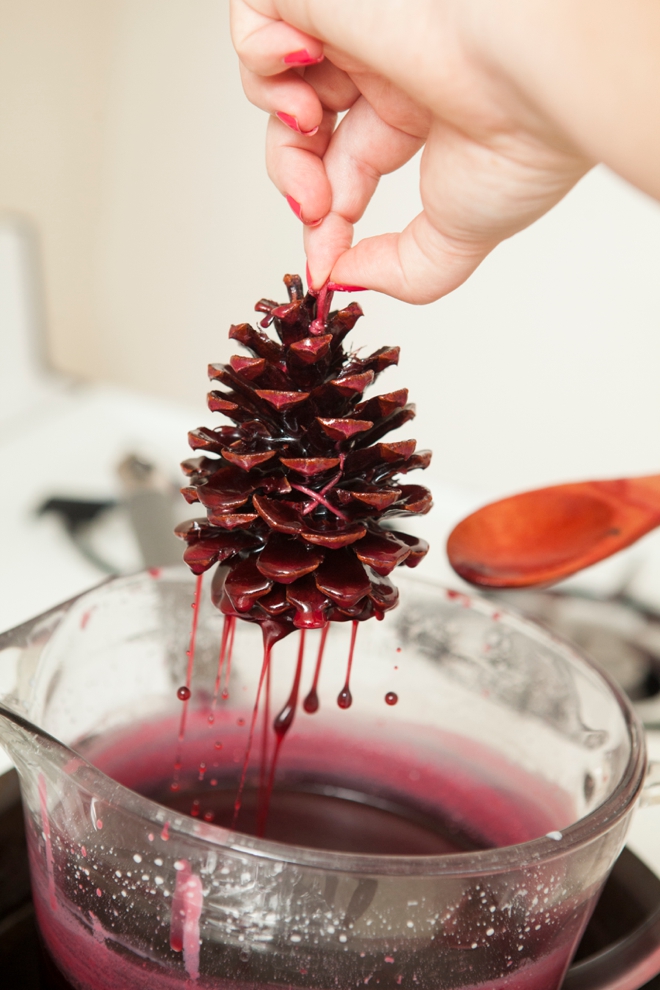
You’ll know that your wax is cool enough to start dipping when you see remnants of it start to harden a bit on the glass bowl right above the wax. While stirring it will also feel less fluid, it will actually feel thicker. Like I said above, it you want to get technical you should dip around 130* – 140* degrees. Dipping is pretty simple, hold onto the wick knot and submerge, use the wooden spoon to help you. Let the extra wax fully strain off the pinecone.
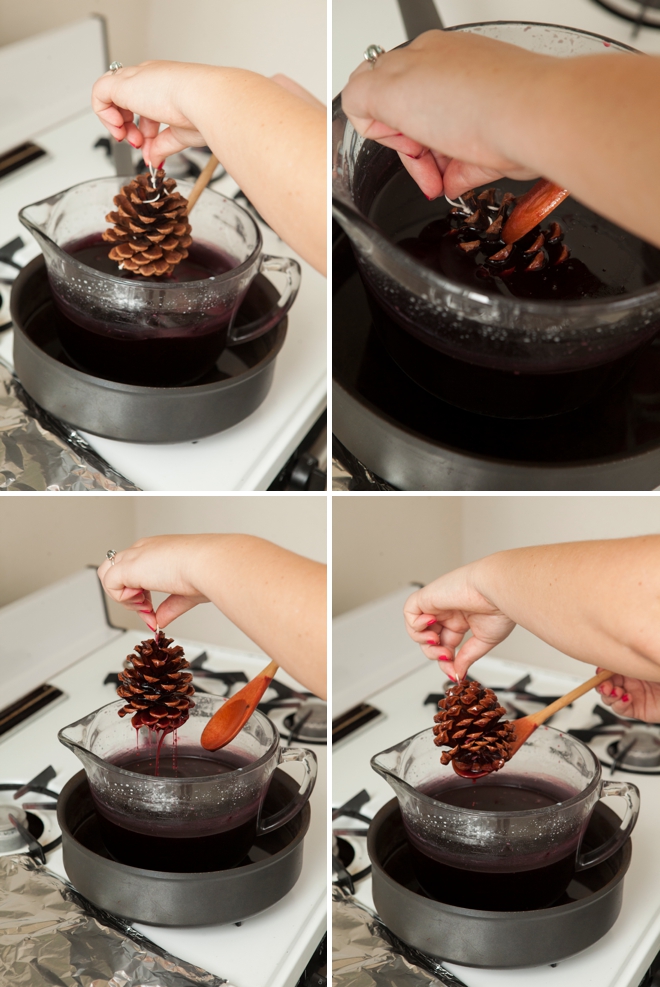
Fully submerge each pinecone in the wax and set on waxed paper to dry making sure to strain as much of the wax off each pinecone while in the bowl.
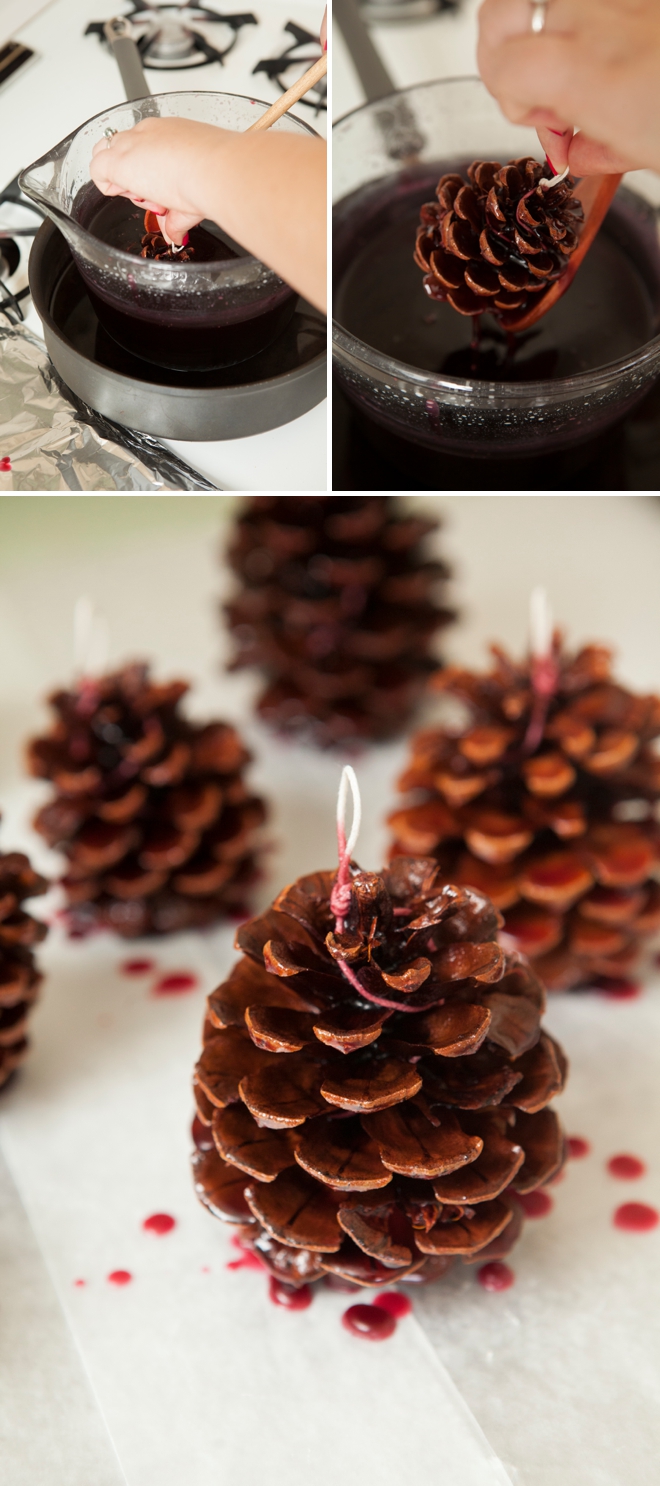
The first dip doesn’t look like much… but as you keep adding layers the color will build.
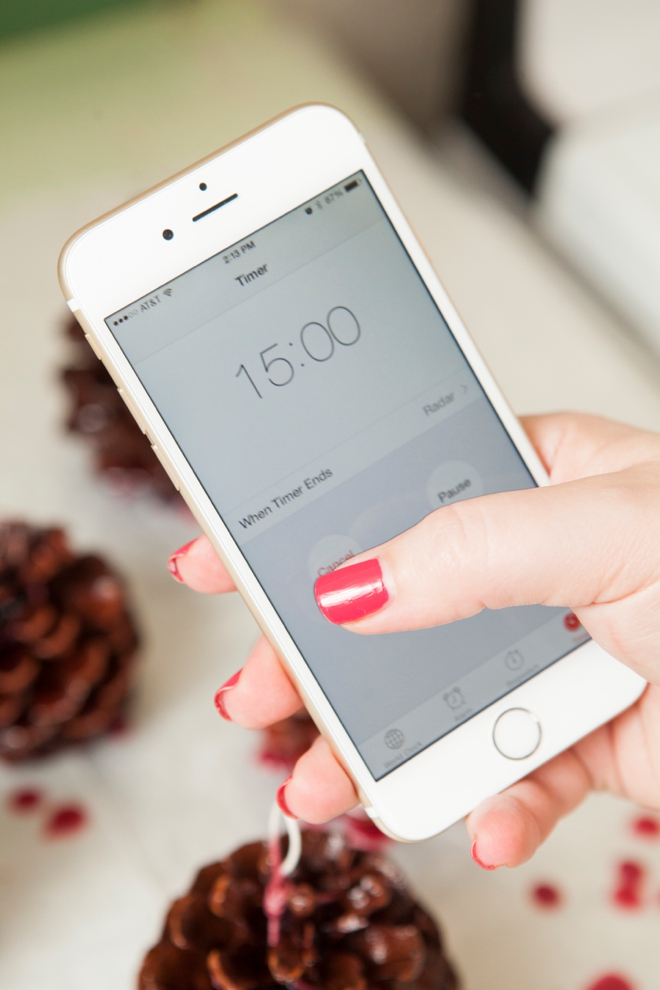
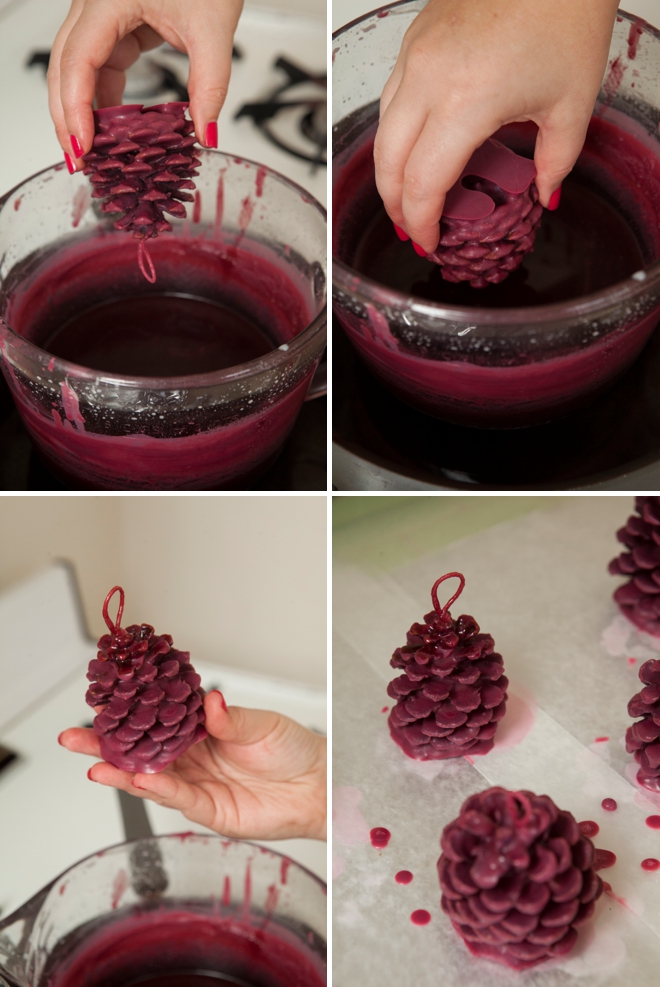
The dry time in between each dip is 15 minutes.
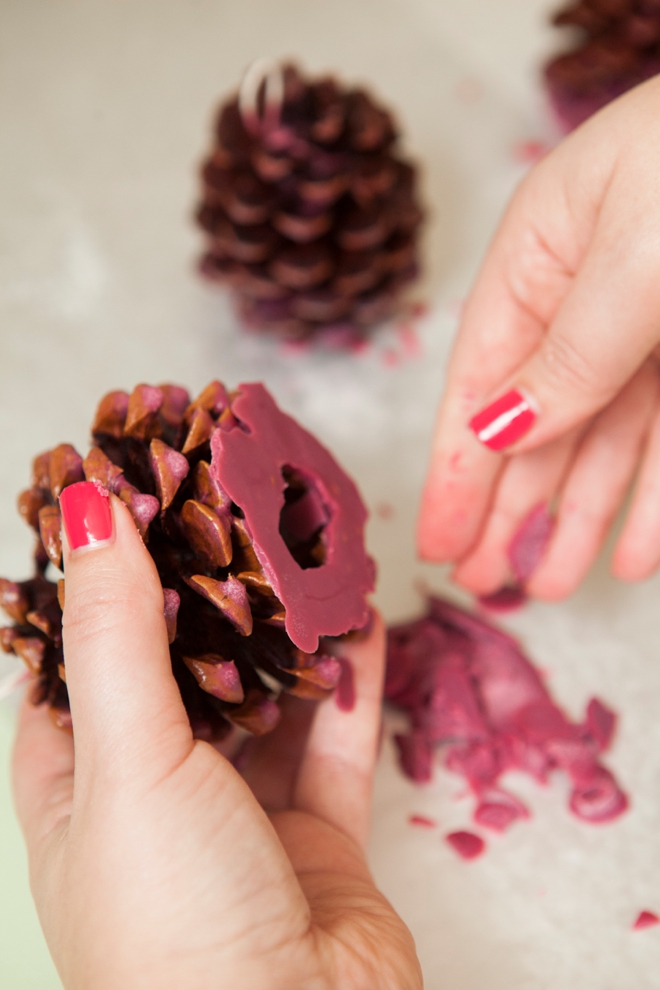
After the 15 minutes are up, break off any clumps of wax on the bottom of each pinecone and place in a pile to reheat later.
Then dip again! At this point your wax should be even cooler and will start to really grab onto your pinecone.
Dipping Tips
- If you dip the pinecones while the wax is too hot it will take forever to build the wax coat
- If you dip too cold you can get lumps in your wax and uneven areas, plus it’s hard to do
- If your wax gets too hard, remelt it
- Strain as much wax off each pinecone as you can
- Let your pinecones dry for at least 15 minutes in between each dip
- Use your spoon to help you submerge the pinecones
- Let them dry on waxed paper
- Dip each pinecone 2-4 times
- If the wax on your pinecone looks dull, it means it was dipped in cool wax
- To get a shinny look on your last coat, use hotter wax
Re-melt Your Wax
Don’t be afraid to remelt your wax. If you dip your pinecones more than twice, you will have to remelt your wax no matter what. Simply turn the heat on again and start to stir, you don’t have to get it as hot as you did at first – just more liquid than this.
How many coats?
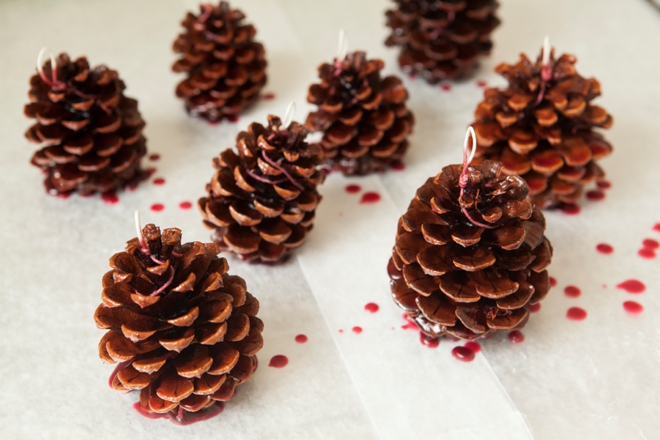
How many times you dip your pinecones is up to you and the look that you want. All the pinecones in these pictures were dipped 4 times and I love the look, but you might be happy with 3 coats. It’s totally up to you.
How many pinecones does 1 lb of wax make?
That’s a tough question and I wish I had a clear answer for you. The problem is that it will depend on the size of your pinecones, how many times you dip them, how much wax you waste and you’ll need extra wax so that dipping is easy. I can tell you that using 2 lbs of wax I made 9, 3-4″ pinecones that were dipped 4 times + 1 pint sized mason jar candle. **I actually made two candles with the spare wax but I wanted them both colors and only showed one in the picture below.
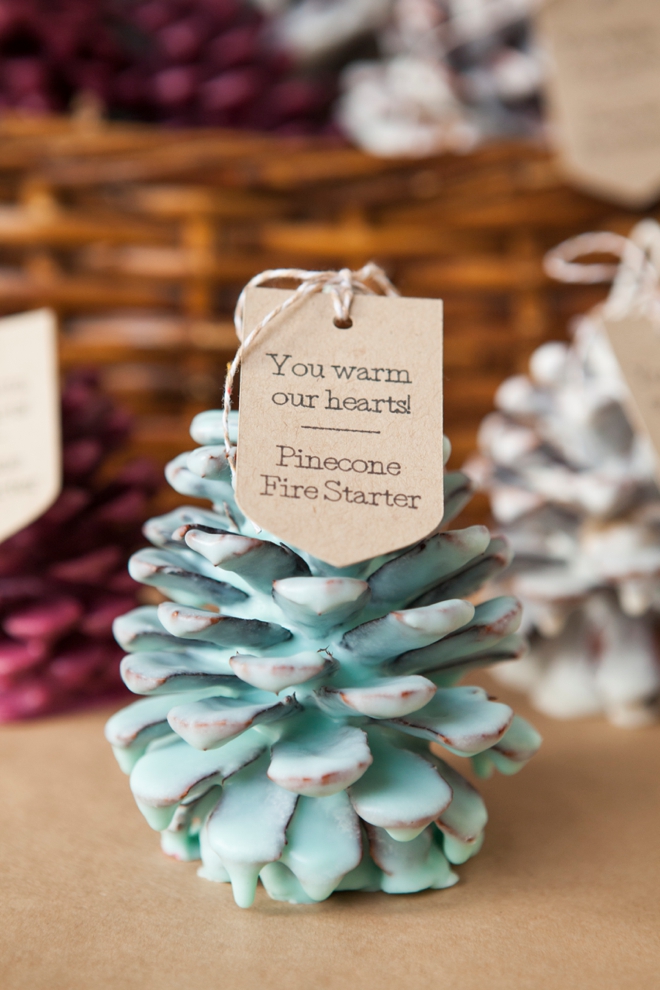
Dip the top to finish and coat the wick knot… and you’re pinecone fire starter is complete!
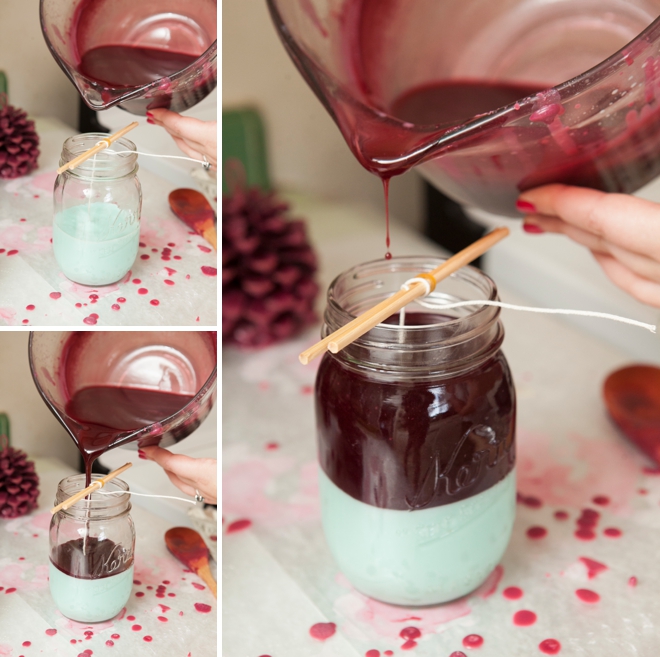
Spare wax? Make a candle!
Don’t let your left over wax go to waste! Visit this page for my detailed tutorial on making mason jar candles.
Aren’t they gorgeous???
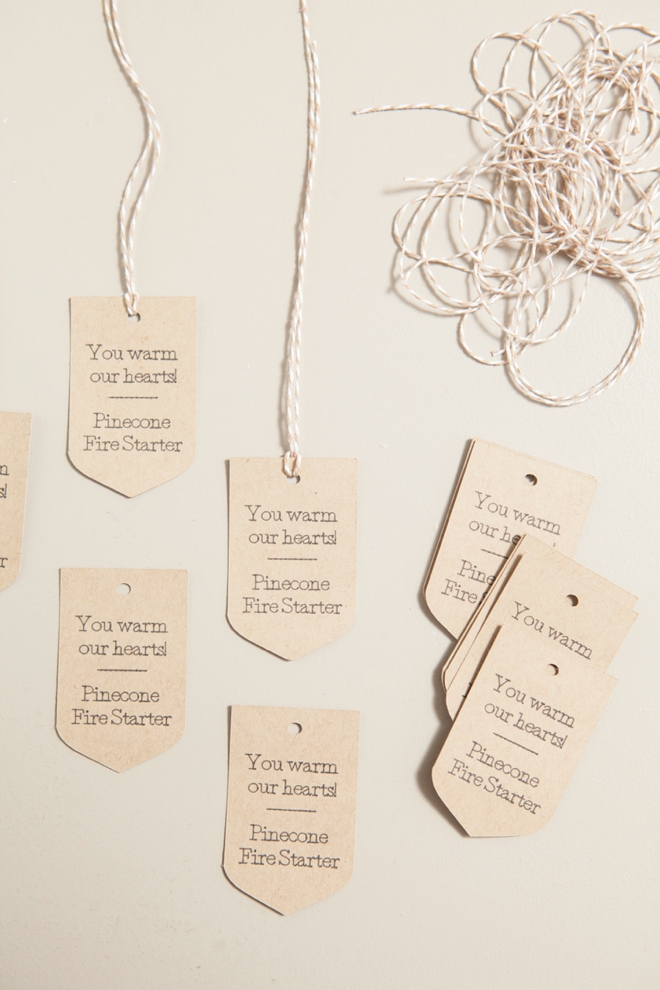
Add a Cute Tag
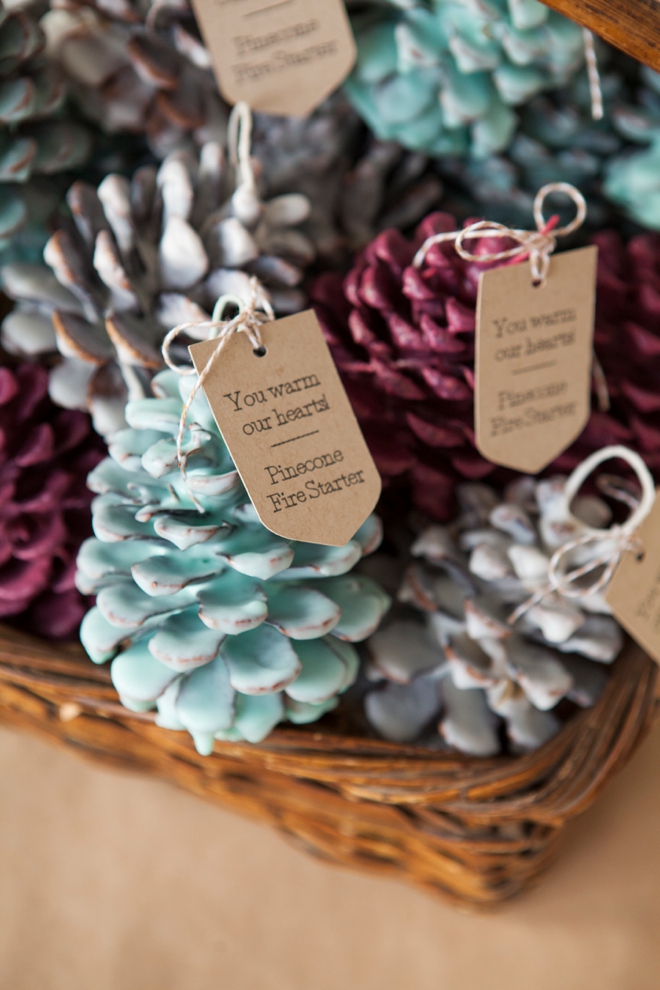
Using my Cricut Explore I made these super cute tags! I used the writing feature and image #M3A525. They read “You warm our hearts — Pinecone Fire Starter”.
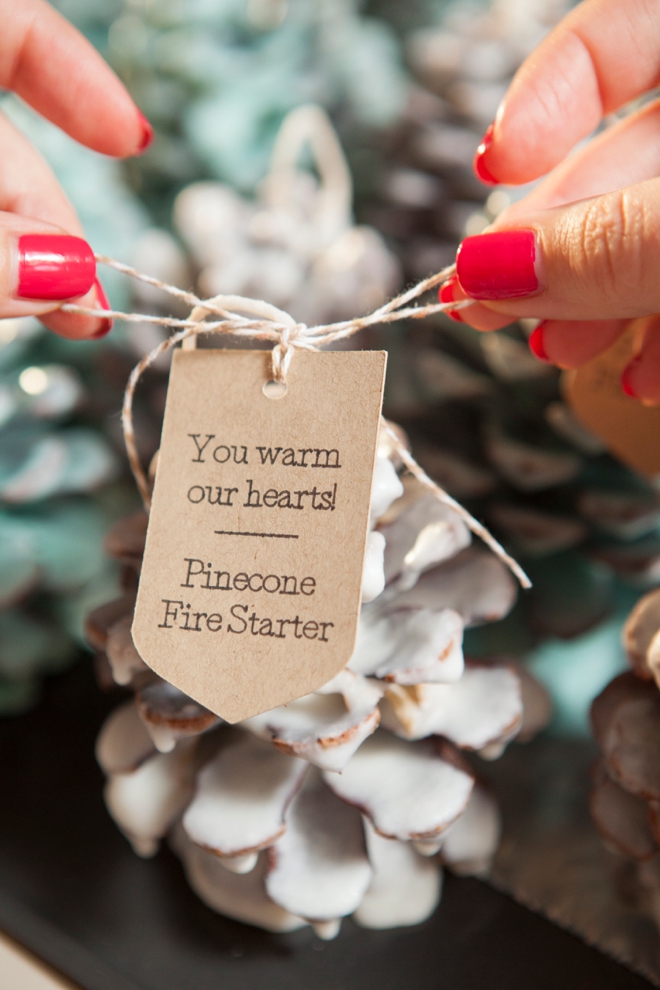
Tie each tag onto the loop in the wick at the top of the pinecone.
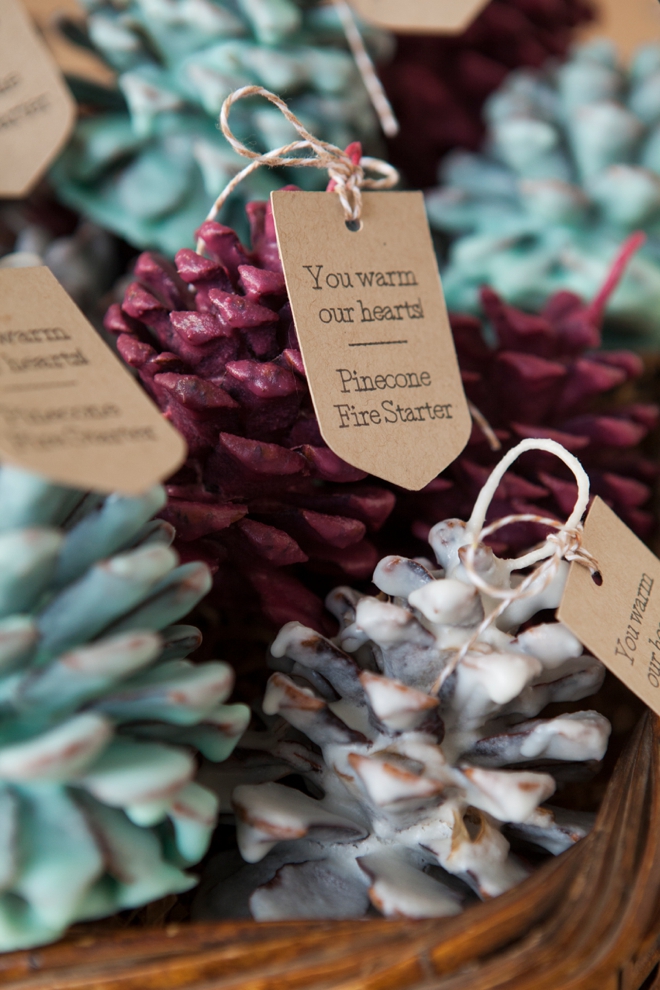
The perfect favor for a winter wedding!
Place them at each table setting or in a basket for each guest to take on their way home.
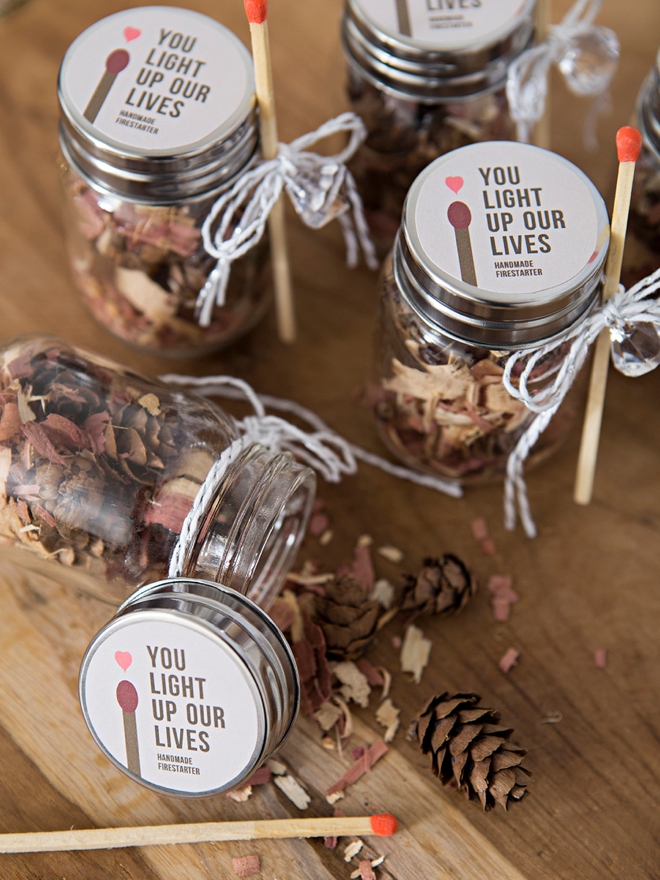
New Project!
If you love this fire starter idea… then you might love our latest version! It’s a fire starter favor jar ~ so cute! Visit this blog post to find them!
As with all our DIY tutorials, if you create one of our projects please send us a picture – We Love Seeing Your Creativity! If you use Instagram or Twitter please use the hashtag #SomethingTurquoiseDIY and it will show up on our Get Social page. Happy Crafting!
DIY Tutorial Credits
Photography + DIY Tutorial: Jen Causey of Something Turquoise // All supplies purchased from: Amazon // Nail Polish: OPI – Big Red Apple
Shop The Supplies:
Find the supplies you’ll need for this project from our affiliate links below:

Comments