
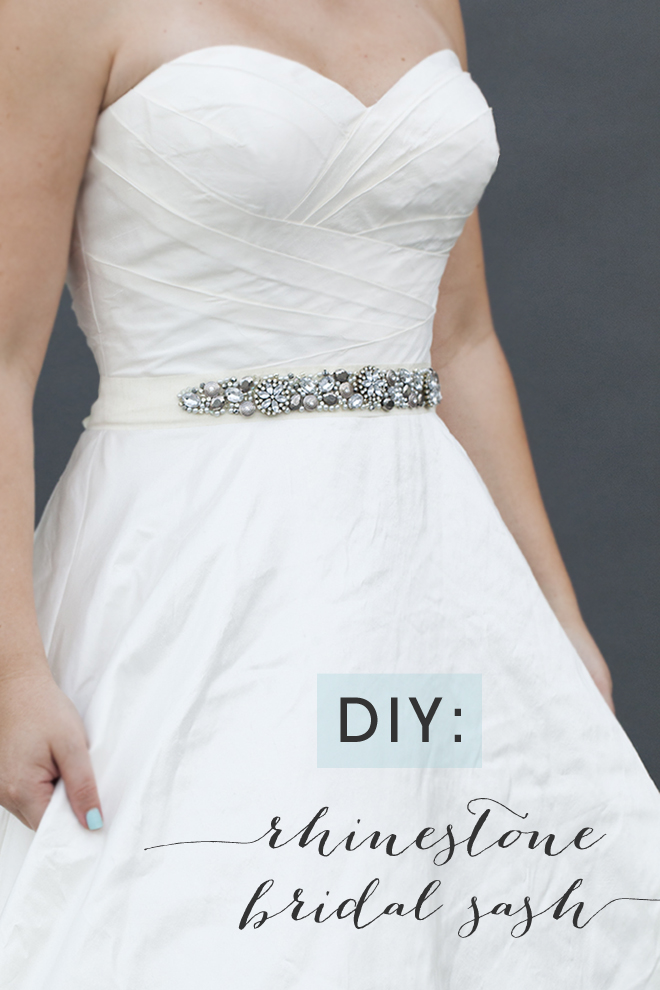
DIY | Rhinestone Bridal Sash
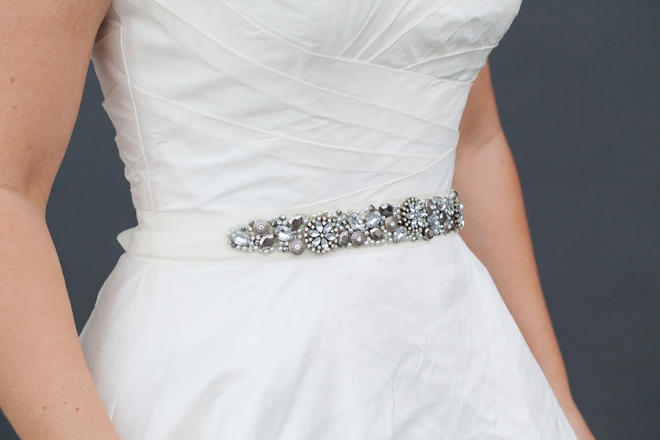
I don’t typically do “knock-off” type projects but today’s DIY was definitely inspired by this jeweled BHLDN sash. I want to warn you upfront that although this project is simple in nature – it takes time, creativity and patience. If you follow my tips below (please read them!), within a weekend you will have a beautiful faux couture bridal sash for a fraction of the price you will find in stores. So if you’ve been dreaming of something sparkly and don’t want to break the bank, try this project on for size!
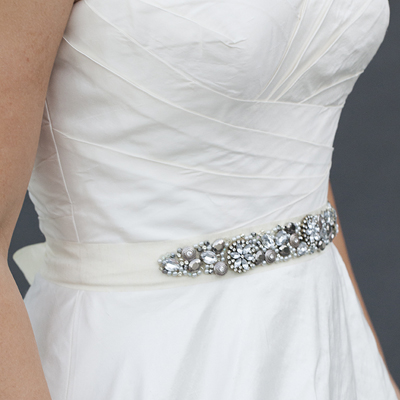
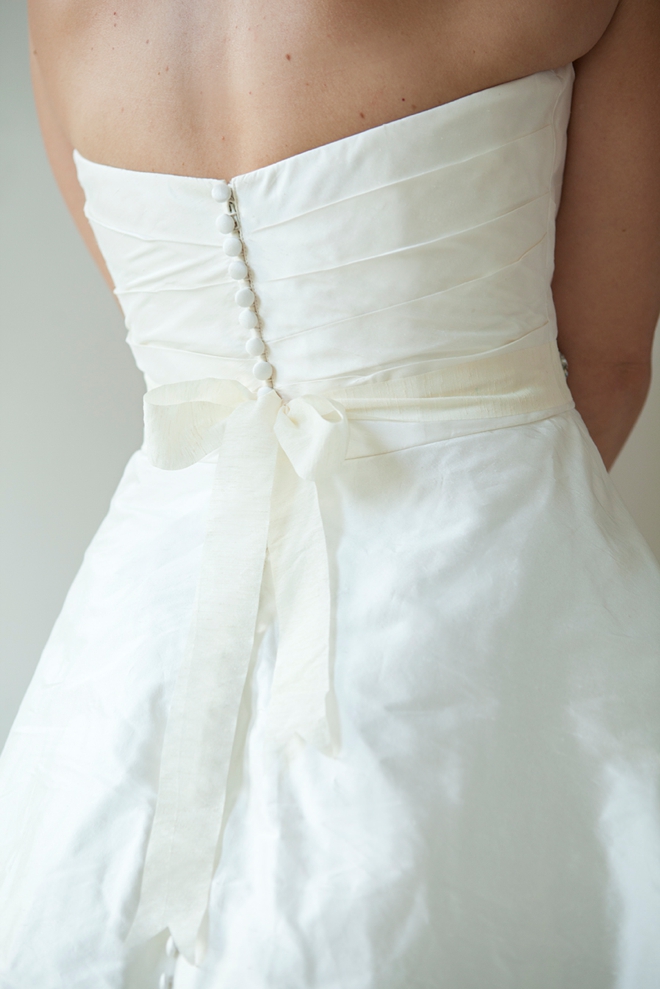
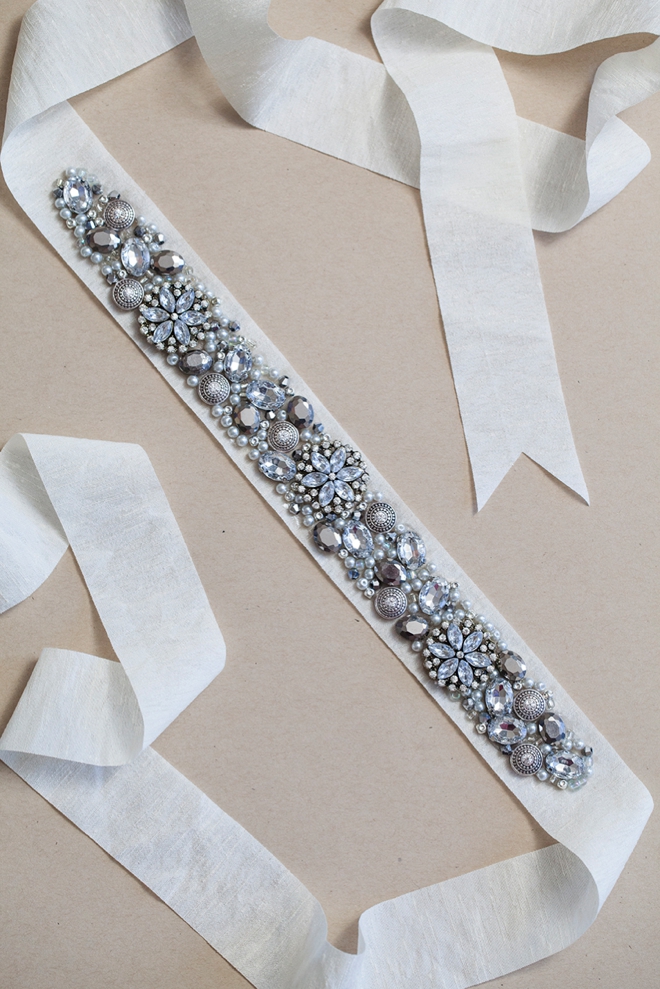
Decide on your length of ribbon and rhinestone area by measuring your waist before you start. My jeweled section is 11″, while the entire sash is actually 80″ long (about 6.5 feet). You’ll be amazed how much length a bow can take up.
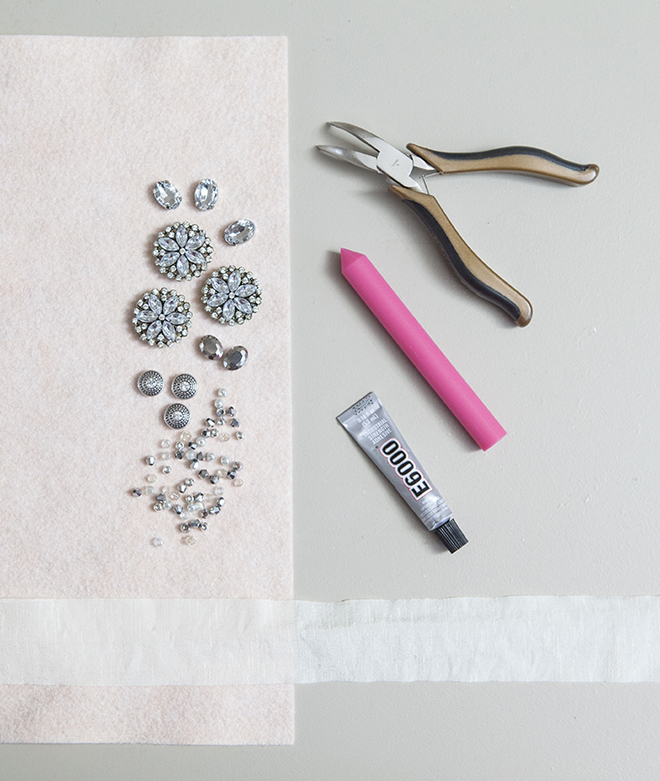
SUPPLIES:
- Pretty ribbon
- Jewels, rhinestones, beads, pearls, etc.
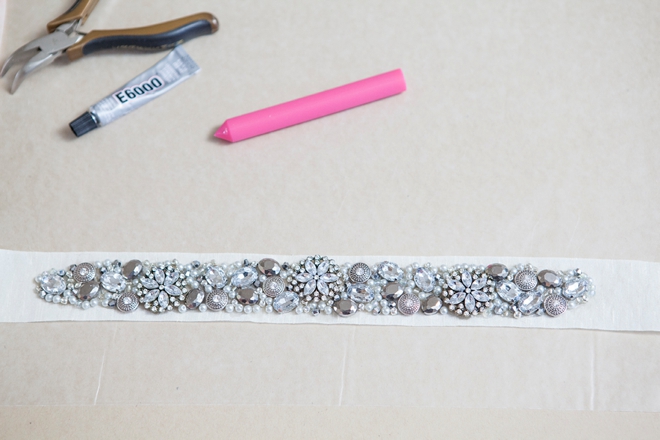
- E600 Glue (absolute must!)
- Waxed paper
- Optional tools: felt, small pliers or tweezers, toothpick and silicone glue stick
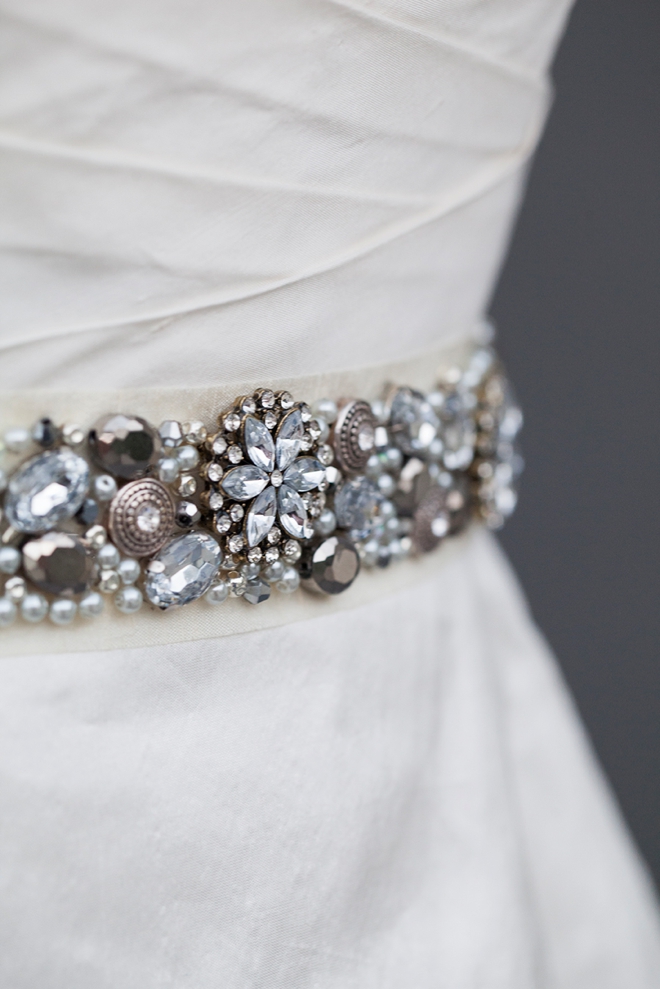
Essentially all you will be doing for this design is gluing your fun rhinestones and beads to the ribbon; I said essentially. You will need to consider color, design, texture and overall theme – to nail this project. Choose at least 5 different style beads all within the same color family. This DIY is a major steal; for ribbon, glue and beads I spent about $30. The beads were on sale and I had a Michaels coupon – if you shop right you can save.
E6000 is the only glue I am recommending that you use. Although it takes up to 24 hours to dry, this is the only adhesive that will ensure all your gems stay put while you are dancing the night away.
On this sash I worked in about 2-3″ sections at a time. For three reasons; 1. perfectly placing these beads and sniffing glue is tedious work 2. I wanted the glue to dry evenly 3. I wanted to make sure that all the hard work I put in placing jewels wasn’t ruined by me accidentally touching or moving a piece that wasn’t dry yet. If you take your time you will have a better result.
I have my beads on a small piece of felt so that they don’t roll around on my work surface.
As I’m gluing – I’m working with my ribbon laying flat on waxed paper. The glue WILL seep through your ribbon – and that’s ok. You just don’t want to glue your ribbon to your desk.
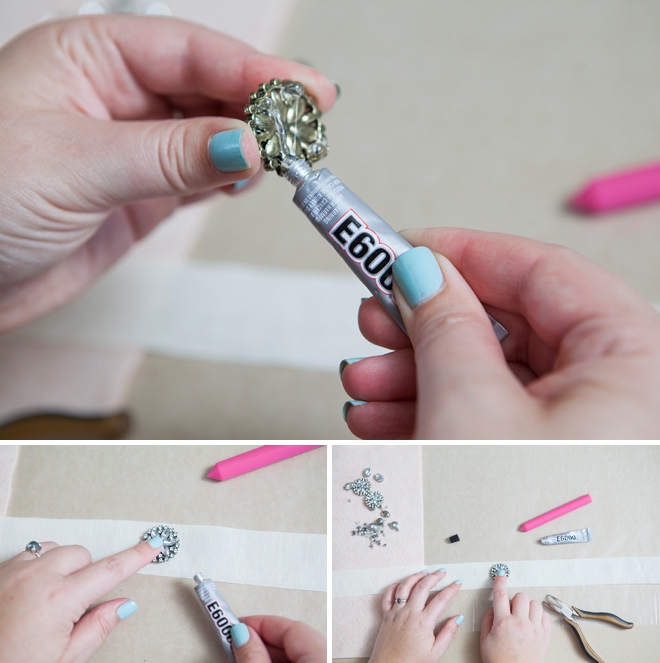
For larger beads I added the glue to the bead itself, then to the ribbon. To fill in areas with smaller gems I added glue to the ribbon, spread it into an even layer (using a silicone stick made to work with glue – but you can use a popsicle stick to do this) and then carefully placed my beads on top. Pressing the beads firmly into the glue. Keep in mind anything that touches this glue that isn’t silicone is going to need to be thrown away.
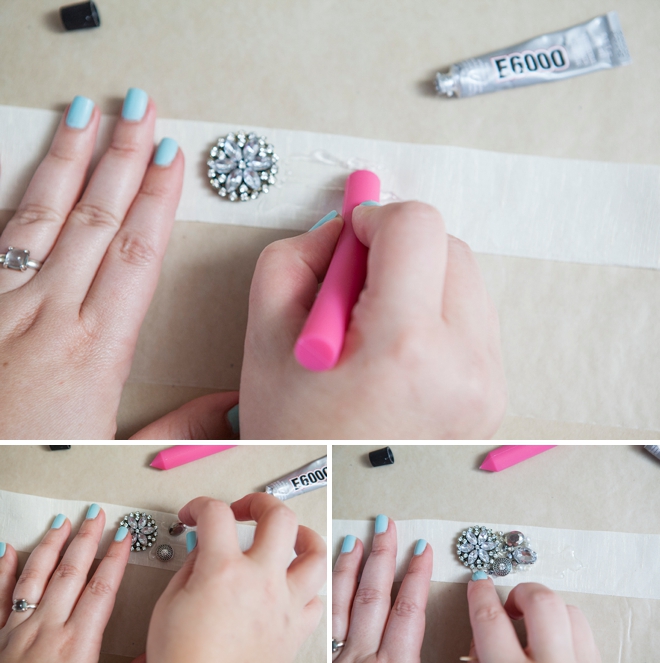
If you chose to include smaller beads that have holes in them, use a tooth pick to turn the bead to make sure the holes don’t show. This is the perfect example of the size of section I worked with.
After each section has dried for a few hours, remove the ribbon from the wax paper – there will be glue underneath – and place on a different, clean section of waxed paper. I found that moving the sash at least 2x while drying helped to rid the back of the ribbon of excess glue and speed up the drying time.
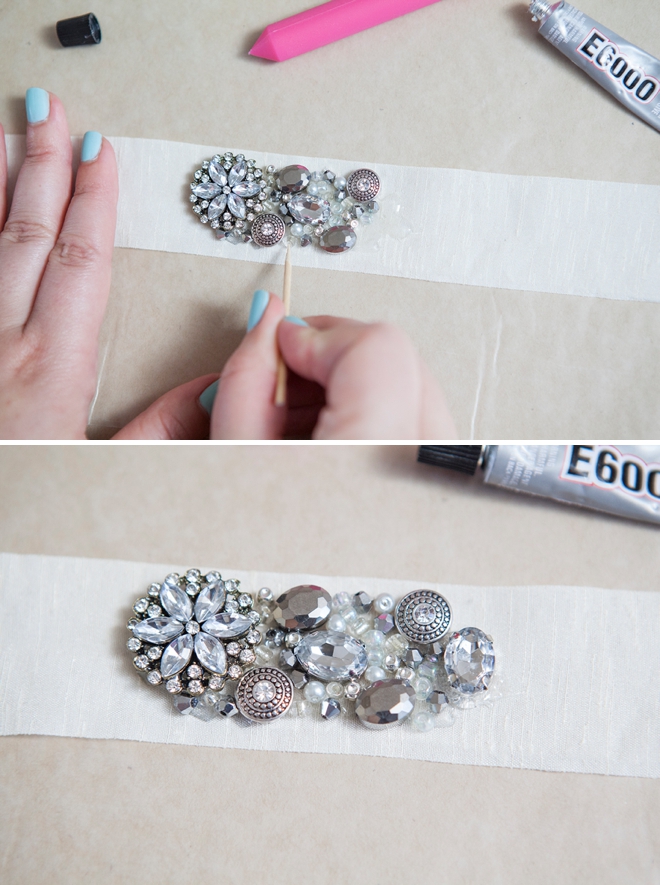
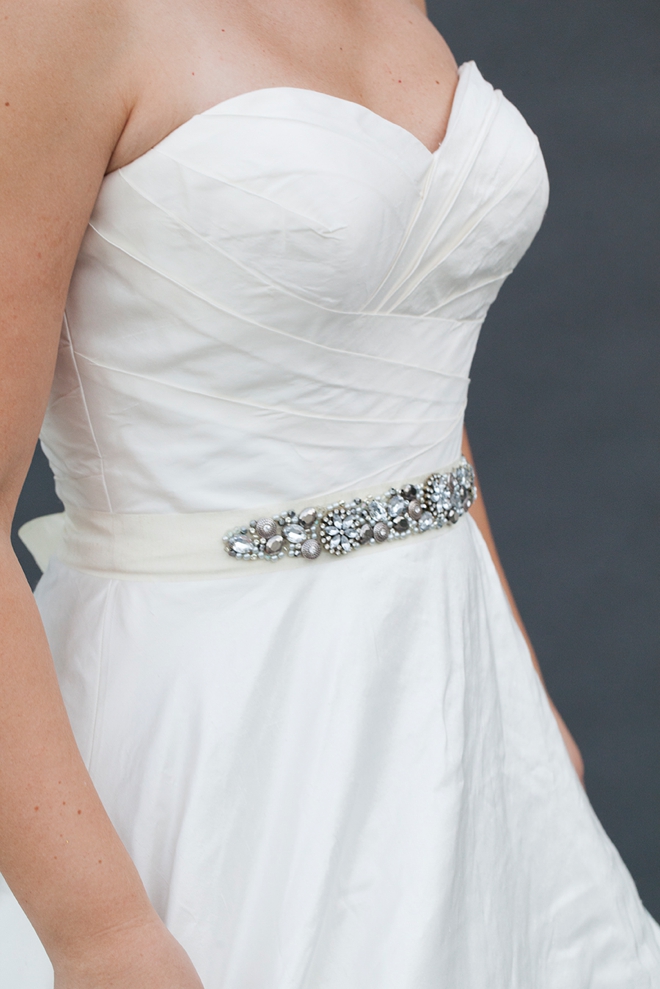
Working here and there, as the glue dried – this sash took me about 3 days. Once you are done, pick up your sash and move it around – bend it and touch every bead and make sure they are all firmly glued in place. If a few pop off it means there wasn’t enough glue underneath. Not to worry, just glue them back on and repeat.
If for some reason you have an aversion to glue – you can always hand sew each bead to your sash. Glue is just the easy way.

DIY Sash Crafting Tips
- Choose beautiful ribbon and make sure it compliments your dress color
- Choose at least 5 different styles/textures/sizes of beads
- Measure your desired sash length before you start
- Use only E600 glue
- Test out the glue on your ribbon to make sure it doesn’t turn it a dark shade once fully dry
- Before you start gluing, take time to layout all your beads and decide on an overall design
- Work with your beads on felt so they don’t roll off your workstation
- Work in small 2-3″ sections at at time
- Make sure each gem has a nice amount of glue underneath it
- Make sure you hide bead holes
- Work on waxed paper where the sash will have room to dry for hours at a time
- After each section has dried for a few hours, move it onto a clean section of waxed paper
- Once finished move and bend the sash to make sure all beads are firmly adhered, if not re-glue
- The more time you take the better, this is not a quickie project!
I know all the above steps and tips sound like a lot – but as always I want to make sure to provide you will ALL the information you will need to create a stunning DIY rhinestone sash of your own. Once you get crafting you’ll see it’s pretty easy.
This project might not be the right fit for your wedding dress but it might be the perfect fit for your bridesmaid dresses! Having similar rhinestone sashes for all bridesmaids to wear, especially if they are wearing mismatched dresses – is a great way to unify their look. You could even have a sash making party where they get to design their own!
As with all our DIY tutorials, if you create one of our projects please send us a picture – We Love Seeing Your Creativity! If you use Instagram or Twitter please use the hashtag #SomethingTurquoiseDIY and it will show up on our Get Social page. Happy Crafting!
DIY Tutorial Credits
Photography: Something Turquoise Photography // DIY tutorial: Jen | Something Turquoise // wedding dress courtesy of: Justin Alexander #8635 // E600 glue, ModPodge pink glue stick, all jewels/beads/pearls, and ribbon: Michaels // nails: Essie – Mint Candy Apple

Comments