
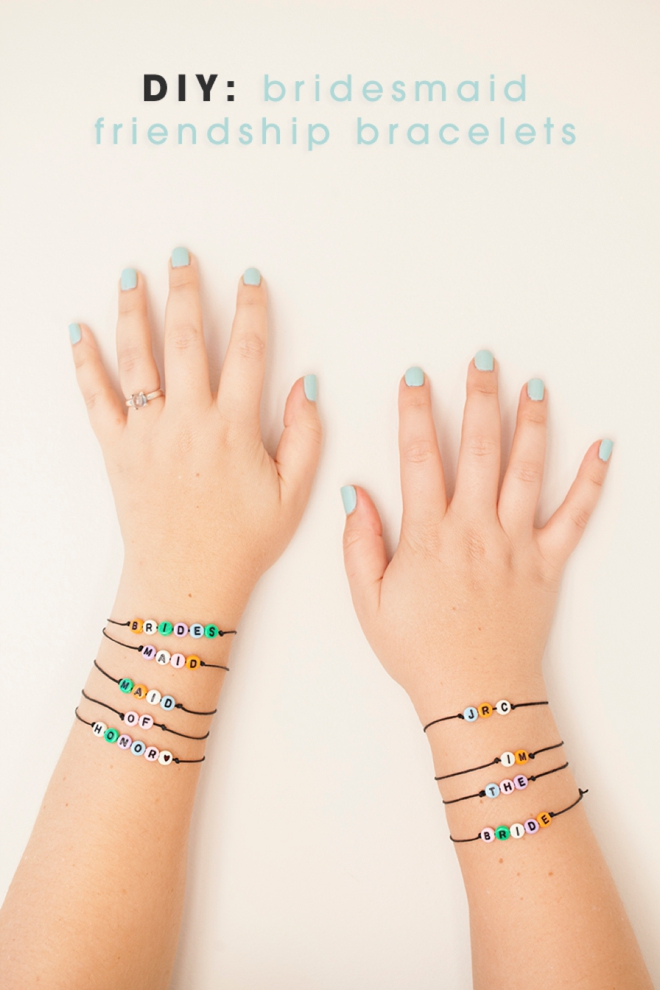
Simple DIY | Alphabet Bridesmaids Bracelets
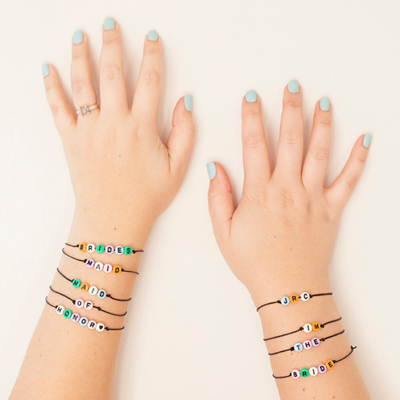
Ok girls, it’s friendship bracelet time! Seeing these fun and funky old school colored alphabet beads brought back the old days of elementary school crafting and coincidentally ended up in my shopping basket. So I had to share this simple idea for making silly, personalized bridesmaid bracelets with you. All you need is these alphabet beads, waxed cord and like a half hour. Simple and quick, these bracelets would be the perfect addition to your bachelorette party details!
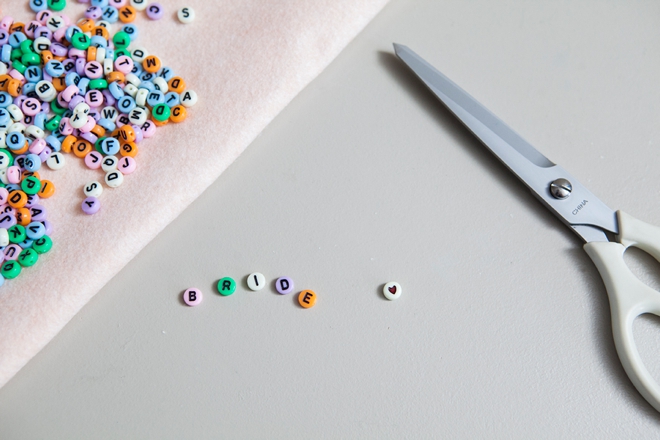
SUPPLIES:
- alphabet beads
- 1mm wax cord
- scissors
- felt
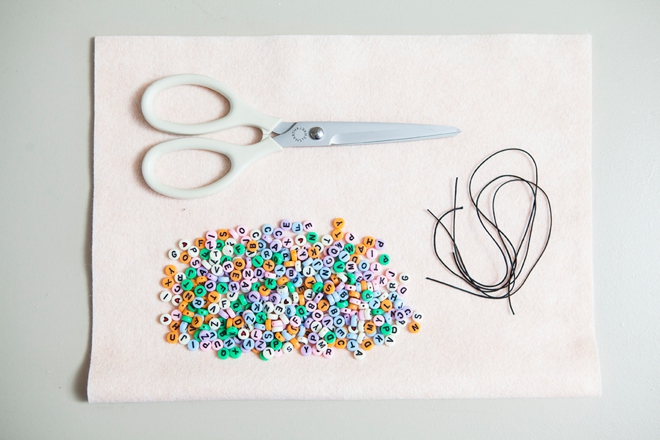
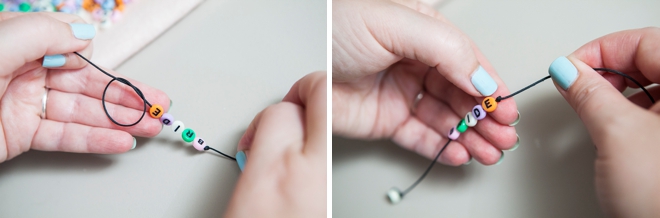
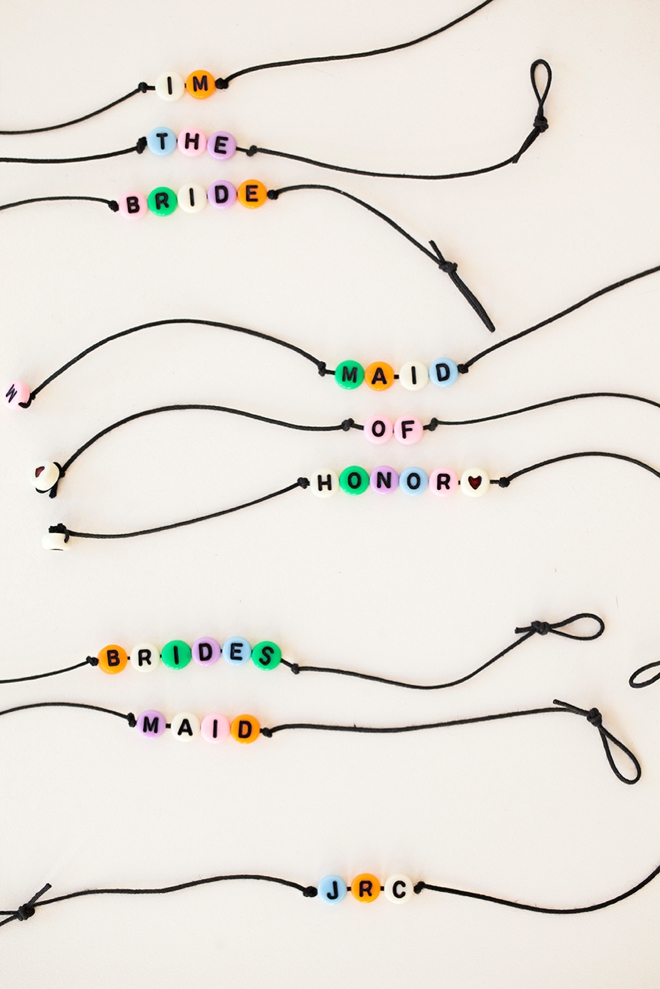
Plan out your sayings… from bride, maid of honor and bridesmaid, to initials and silly sayings. I like working on a piece of felt so that my beads don’t roll around on me.
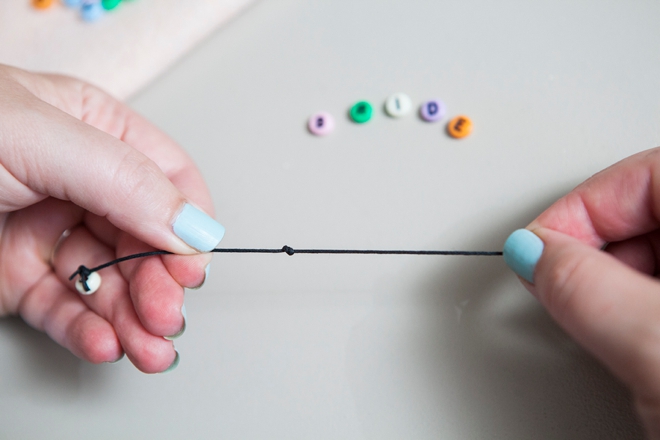
Cut your wax cord to about 12″ – shorter or longer depending on your wrist size.

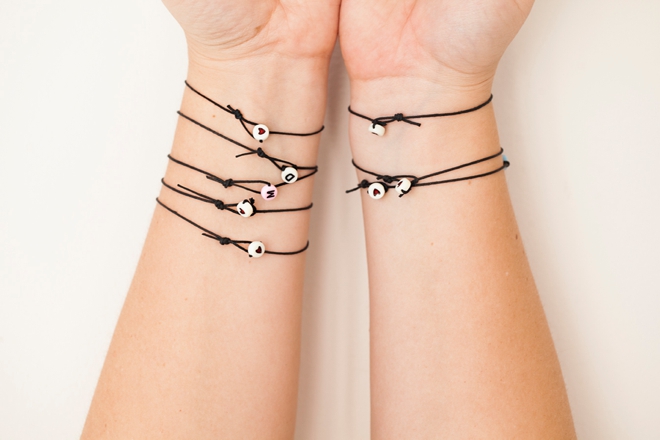
Start by adding the back ‘clasp’ bead with a simple double knot towards the end of your cord.
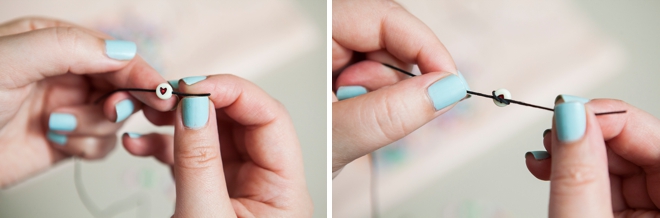
Then off to the side of the middle of the cord, tie another knot – this will hold your saying in place.
Add your alphabet saying…
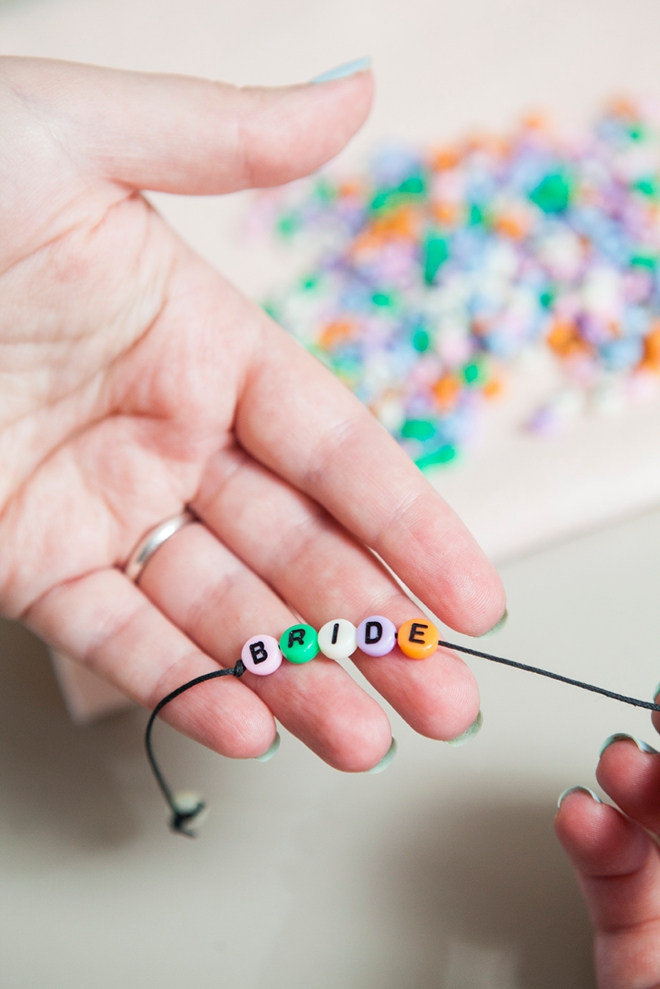
..and tie another knot to secure.
To create the bracelet ‘clasp’, make a loop and then tie a knot.
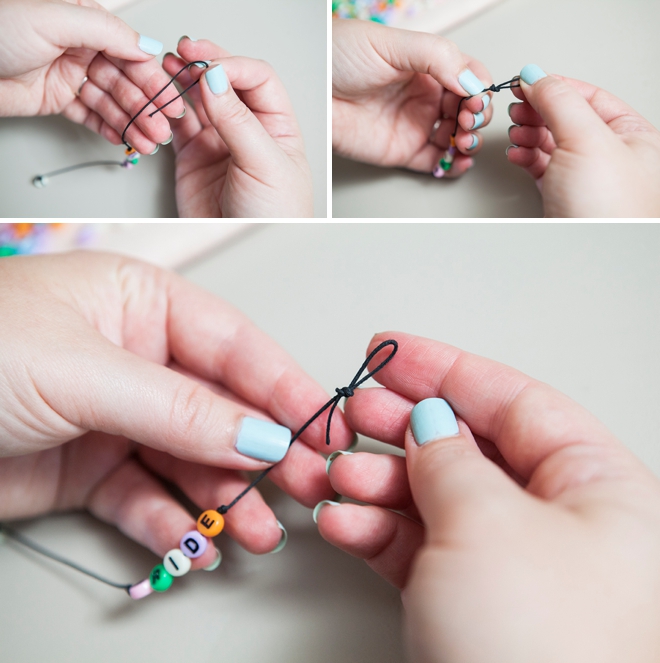
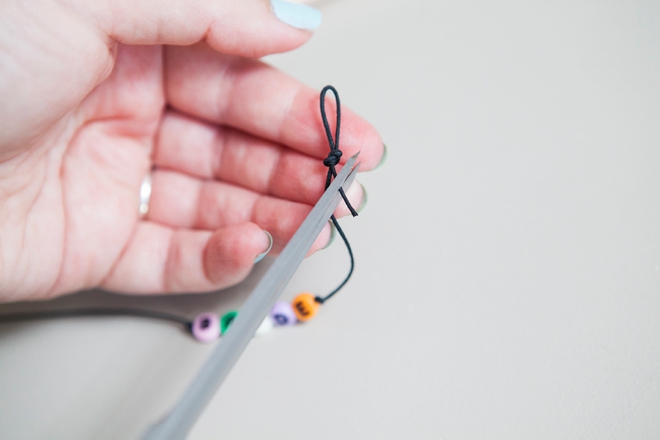
Trim the excess off your last knot. The loop actually grabs onto the end bead to hold your bracelet in place.
And there you have it.
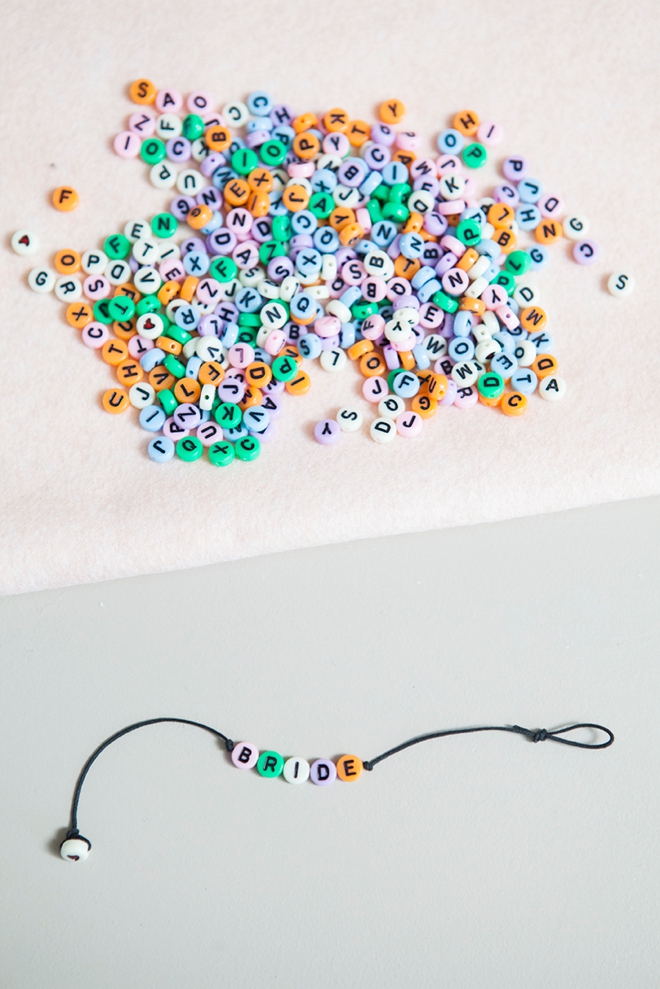
In less than 30 minutes you can make a bunch of awesome, personalized bracelets for your bridal party! What will yours say??
As with all our DIY tutorials, if you create one of our projects please send us a picture – We Love Seeing Your Creativity! If you use Instagram or Twitter please use the hashtag #SomethingTurquoiseDIY and it will show up on our Get Social page. Happy Crafting!
DIY Tutorial Credits
Photography: Something Turquoise Photography // DIY tutorial: Jen | Something Turquoise // Martha Stewart Crafts scissors and alphabet beads: Michaels (don’t be thrown off by the color on their website, this is the correct listing) // waxed bracelet cord: Ruby Tuesday Bead Co. // nail polish: Essie – Mint Candy Apple

Comments