
Simple DIY | Yarn Wrapped Table Numbers
I love yarn… it reminds me of things like heartfelt gifts from grandma, knitting my first scarf and those little ‘weaving looms’ we made in grade school. Yarn is old school in a cool way; so today I’m sharing how to easily use this traditional craft material to embellish your table numbers! Perfect for the hand-spun style event…

SUPPLIES:
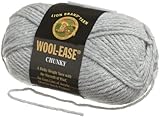
- yarn
- scissors
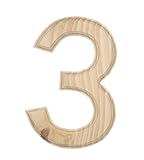
- 6″ wooden numbers
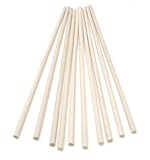
- wood dowels cut to about 12″
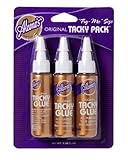
- tacky glue
- tape
Here I am using four colors of yarn… but you can use as many as you’d like – the more strands of yarn the faster your number will be wrapped!

Using yarn to cover the entire wood (or other material) surface of these numbers can not only be a struggle, but in some areas you have to use so much yarn that the number itself starts to dissapear… so I’m sharing a simple technique to make things easy!
Start by cutting 3″ strands of yarn… you’ll need 8-10 strands per number ‘edge’.

The hardest part about wrapping these numbers is covering the ‘end parts’ without using too much yarn… so we are going to take those short cut strands, wrap them around each ‘end’ and tape to the wood number.

Yes tape – it sounds weird but once the rest of the number is wrapped you can’t see the tape at all! Tape is quick and easy and you don’t have to wait for it to dry. Try to keep the tape as far away from the edges as you can…

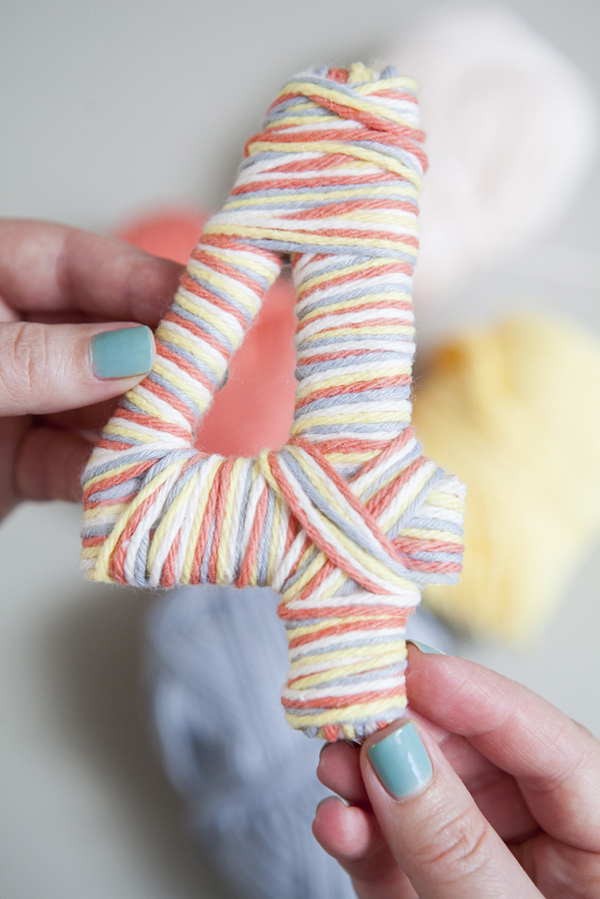
Once all your ‘end parts’ are faux wrapped… using at least 10 feet of cut yarn, tie a not and start wrapping your number! Then tie a knot on the backside on your number when it’s complete and cut away excess yarn.

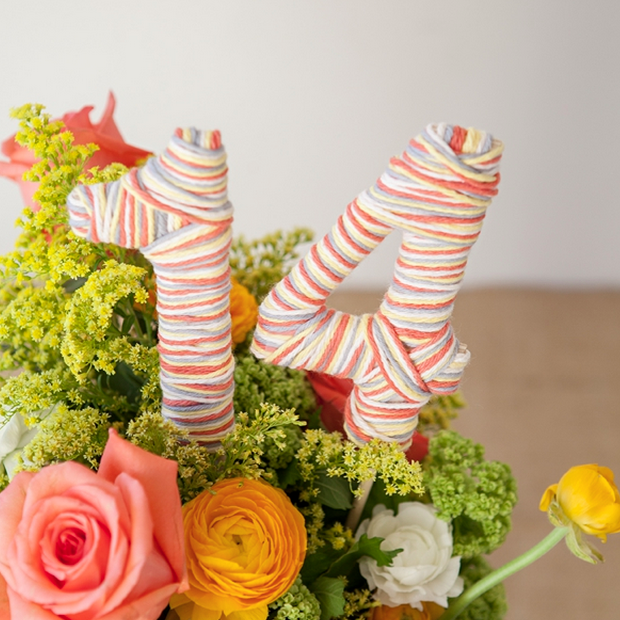
There you have it! A simply perfect, yarn wrapped table number! You can easily lean these against your centerpiece or…
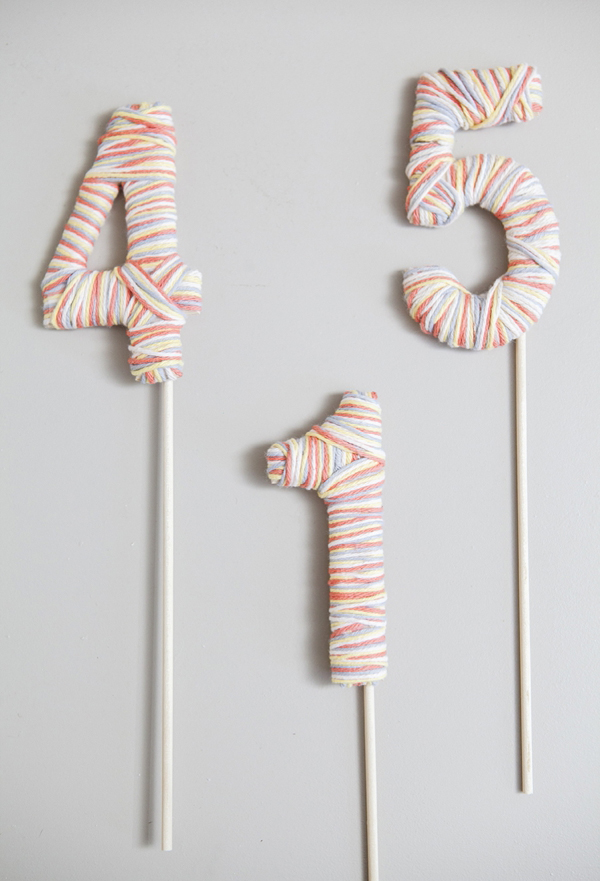
Take your cut dowel, squeeze it underneath a few yarn strands on the backside of your number and add a little tacky glue to secure.

Let the glue fully dry and your numbers are ready to be shown off!
Give these darling numbers to your florist so they can incorporate them into your centerpieces!

As with all our DIY tutorials, if you create one of our projects please send us a picture – We Love Seeing Your Creativity! If you use Instagram or Twitter please use the hashtag #SomethingTurquoiseDIY and it will show up on our Get Social page. Happy Crafting!
Find everything you need from our affiliate links below:

DIY Tutorial Credits
Photography: Studio 11 Weddings // DIY tutorial by: Jen | Something Turquoise // wooden numbers, yarn, dowel, and tacky glue: Michaels // scissors: Fiskars // nail polish: Essie – Turquoise & Caicos![]()

Comments