
DIY | mason jar cookie mix favor
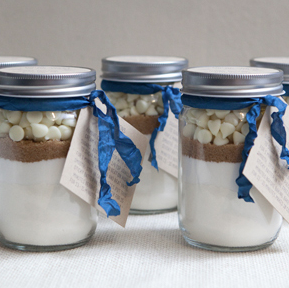
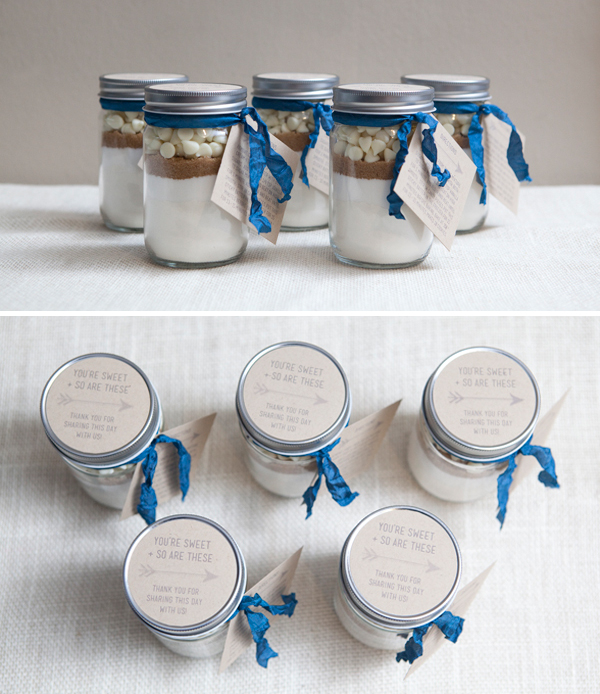
I absolutely love Mason Jar Cookie Mix gifts, I love getting them and I love giving them. Normally, because of the size of most cookie recipes, mixes like this have to be gifted in large mason jars – which definitely wouldn’t work for bridal shower or wedding favors. So I worked really hard to develop the perfect cookie recipe that fits into these small, 12 ounce eco mason jars and I’m thrilled to share it with you today! Not only are these fabulous wedding event favors, but they make great gifts for the holidays as well. Watch out, these cookies are just as delicious as these jars are adorable!
SUPPLIES:
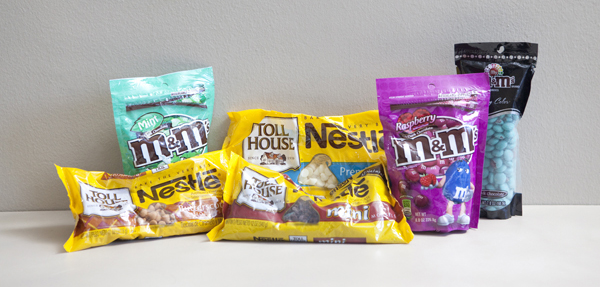
- your choice of ‘candy’… whatever fits your color theme will be perfect…
- Paper Source 2.5″ round address labels
- sticker paper or cardstock
- measuring cup
- spoon and/or dowel
- hole punch
- corner rounder
- your choice of ribbon or twine

FREE DESIGN DOWNLOADS
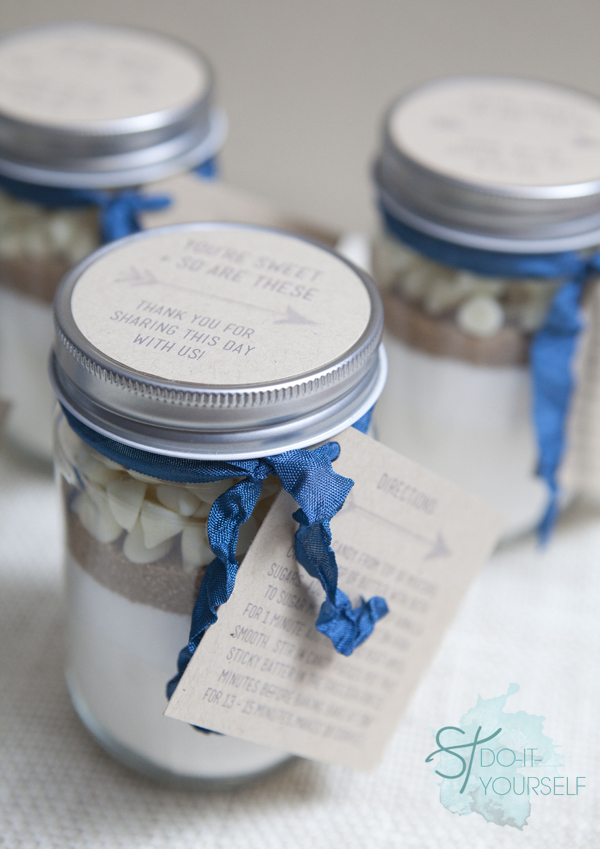
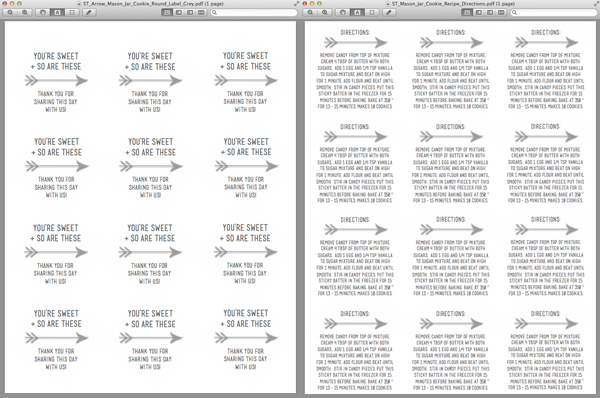
So we have the design for the circle labels, this template was created specifically for the 2.5″ Paper-Source labels – which go on the top of the jars. Then we have the baking direction card to either hang off the jar or stick on the jar, you can print this template on any cardstock or sticker paper and cut accordingly. I created each design in gray and black, so they should fit any paper color choice – light or dark. If these cute designs don’t fit your theme, get creative and design your own!
DIRECTION CARD: {gray} {black}
In case you are designing your own, here is the text for the baking direction card so you can copy and paste it into your design: Remove candy from top of mixture. Cream 4 tablespoons of butter with both sugars. Add 1 egg and 1/4 teaspoon vanilla to sugar mixture and beat on high for one minute. Add flour and beat until smooth. Stir in candy pieces. Put this sticky batter in the freezer for 15 minutes before baking. Bake at 350 degrees for 13-15 minutes. Makes 10 cookies.
Also, I know there is a LOT of information here so I created an {instruction/recipe sheet} that you can print out – so you can keep it on the counter with you instead of constantly looking at your phone or computer.
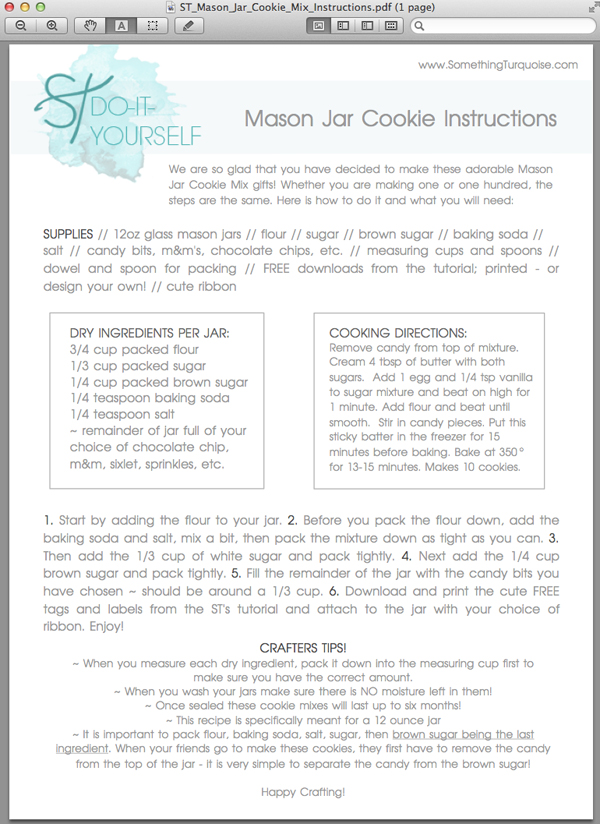
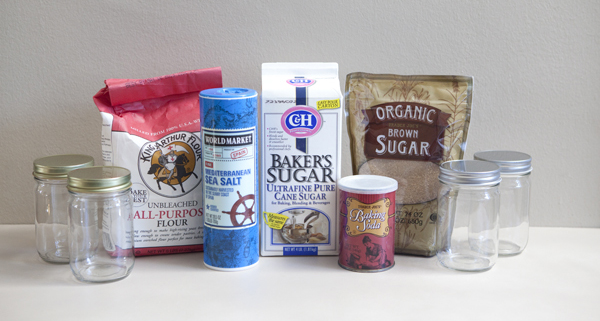
DRY INGREDIENTS PER JAR:
- 3/4 cup packed flour
- 1/3 cup packed sugar
- 1/4 cup packed brown sugar
- 1/4 teaspoon baking soda 1/4 teaspoon salt
- remainder of jar full of your choice of chocolate chips, m&ms, sixlets, sprinkles, etc.
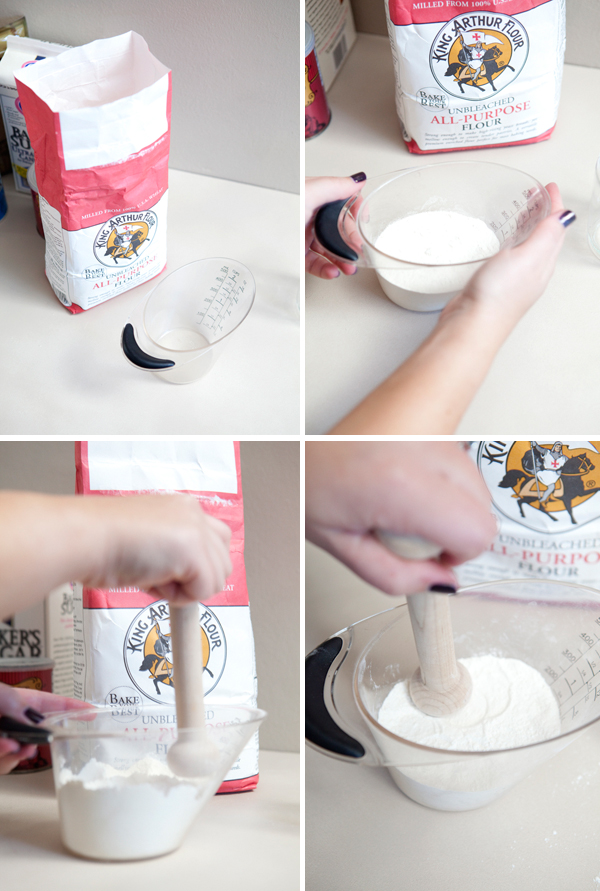
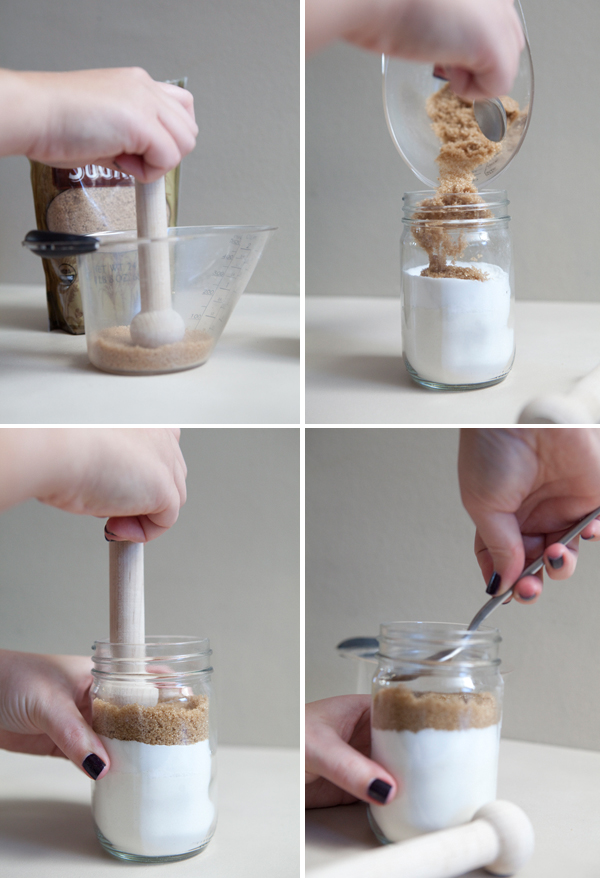
Start by measuring 3/4 cup of flour. Using a dowel or spoon pack the flour down to the desired amount – this needs to be exact. When you start packing, it will feel super super fluffy, but with a few pounces it will start compacting nicely.
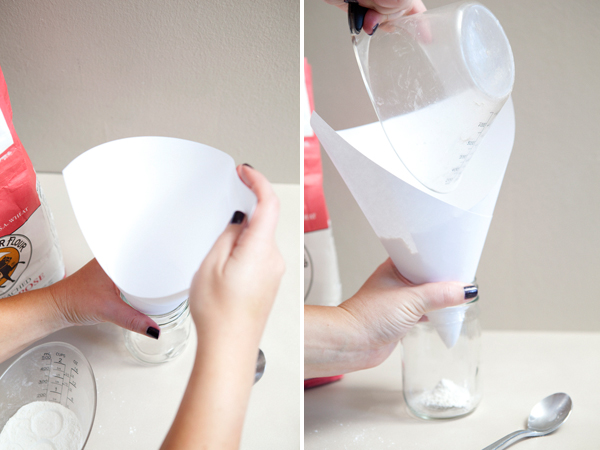
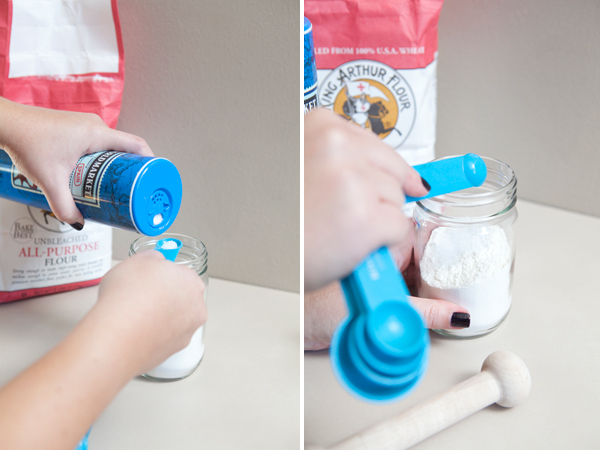
Now, add the measured flour to your clean jar. If you have a wide mouth funnel, great! If not you can fold a piece of paper into your jar to make this step easier.
Before you pack the flour down into your jar, add the 1/4 teaspoon baking soda and…
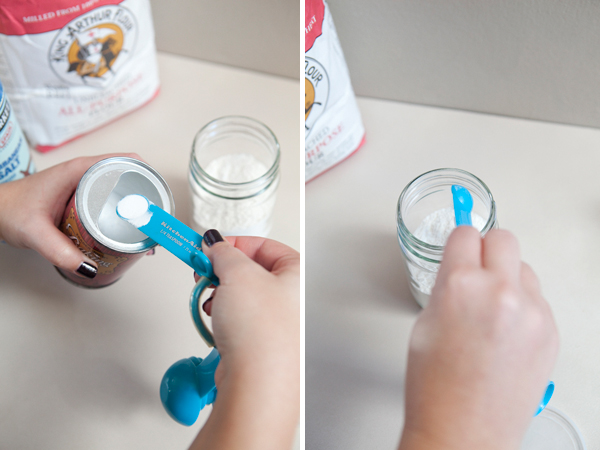
…the 1/4 teaspoon salt and stir them around a bit in the flour.
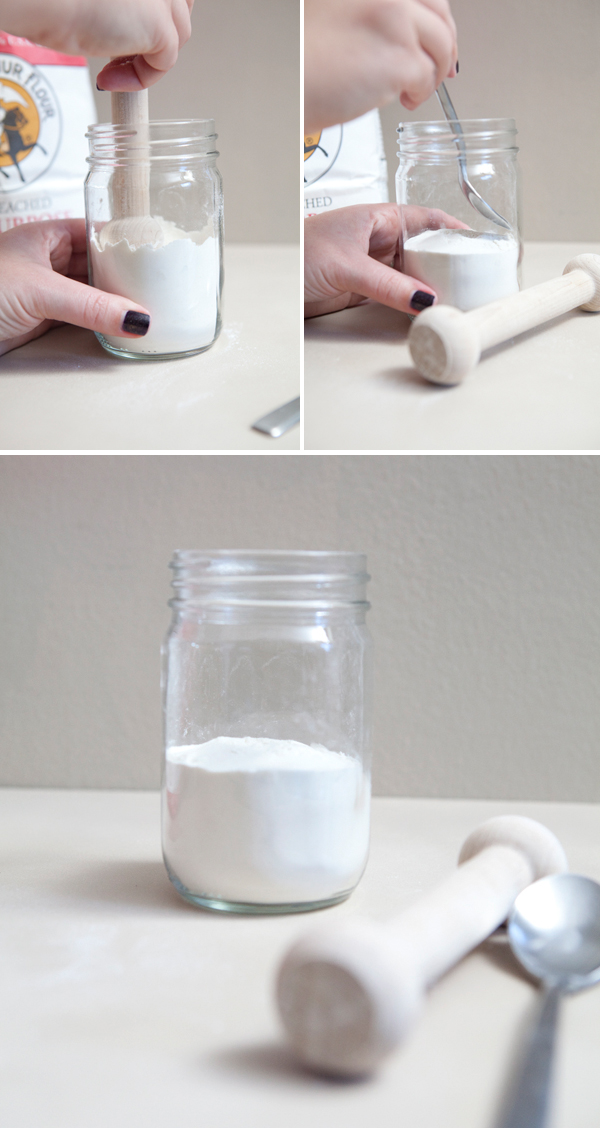
Once you have the flour, baking soda and salt in your jar – it’s time to pack the first layer. I used a dowel first and then I used the spoon to clean up the edges. When packing the flour mixture it can feel super fluffy at first, just keep pushing it down and it will quickly become compact. The packing of layers is very important – the cleaner the layers the cuter the jar looks.
Now it’s time for the sugar; sugar is much easier than flour. Measure and pack 1/3 cup white sugar – I prefer ‘baking sugar’ but you can use any type of white sugar. Add to your jar and pack the layer down.
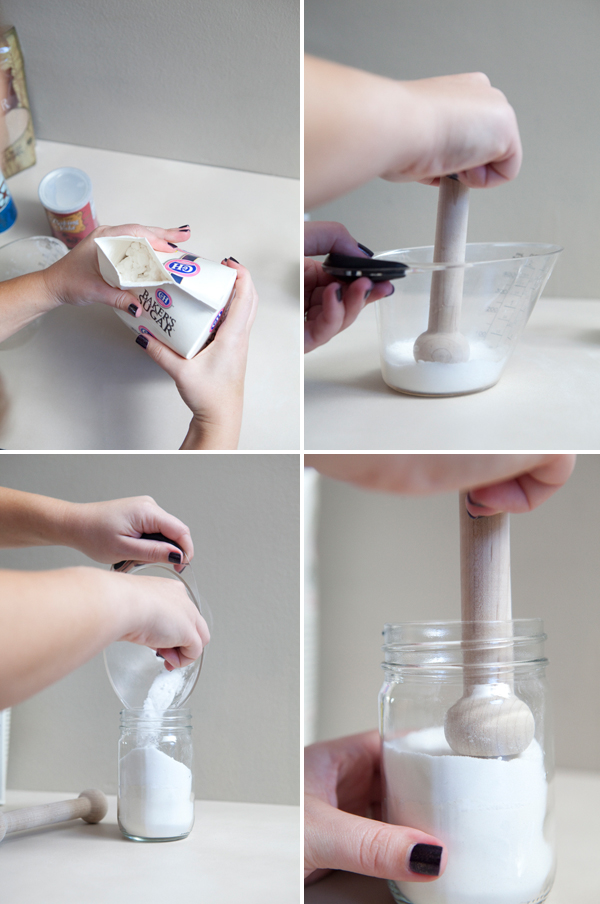
Now for the brown sugar; the easiest layer by far! Measure and pack 1/4 cup of brown sugar and add it to your jar.
CRAFTERS TIP // It’s very important to pack the ingredients in this order, flour – baking soda – salt – sugar – brown sugar, for the baking instructions to work properly. When your friends go to make these cookies, the first step is to ‘remove candy from top of jar’ – it’s very simple to separate the candy from the brown sugar. The brown sugar packs down so perfectly that the candy can be poured out of the jar without the brown sugar even moving! Also, by packing the brown sugar last – it ensures that no flower or sugar will float up and around the candy when it’s in transit.
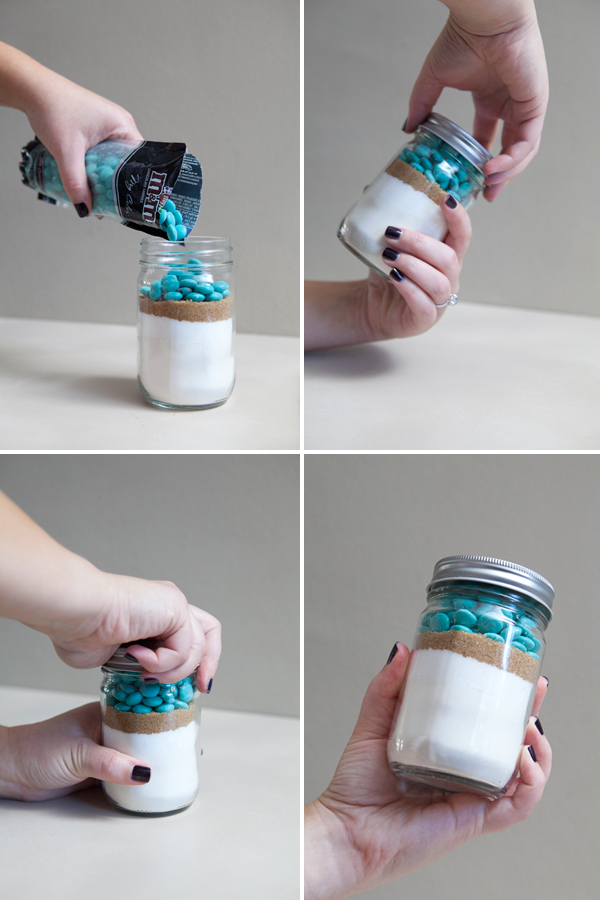
Now add your choice of cookie candy! From m&m’s, to butterscotch chips, to sixlets, to chocolate chips… any will work. Whatever candy fits the color theme of your event – will go perfectly in these cookies. Fill the remainder of your jar with the candy, should be about 1/3 cup. Screw the lid on tight and these adorable cookie mix jars will last up to six months!
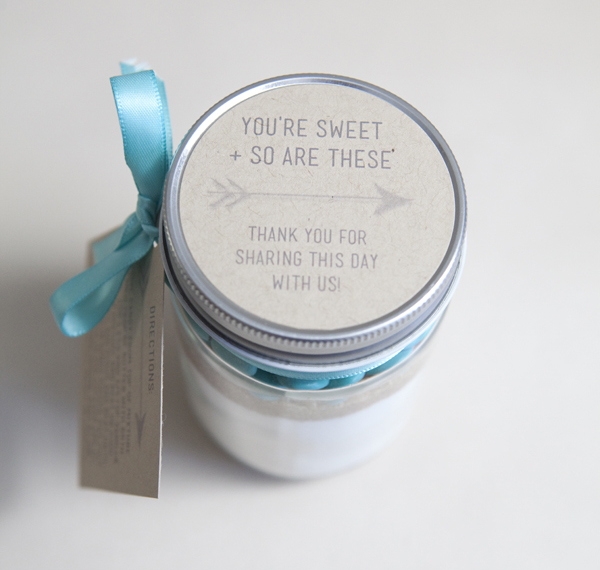
Now for the labels! Peel and stick to the top of the lid – SO CUTE!
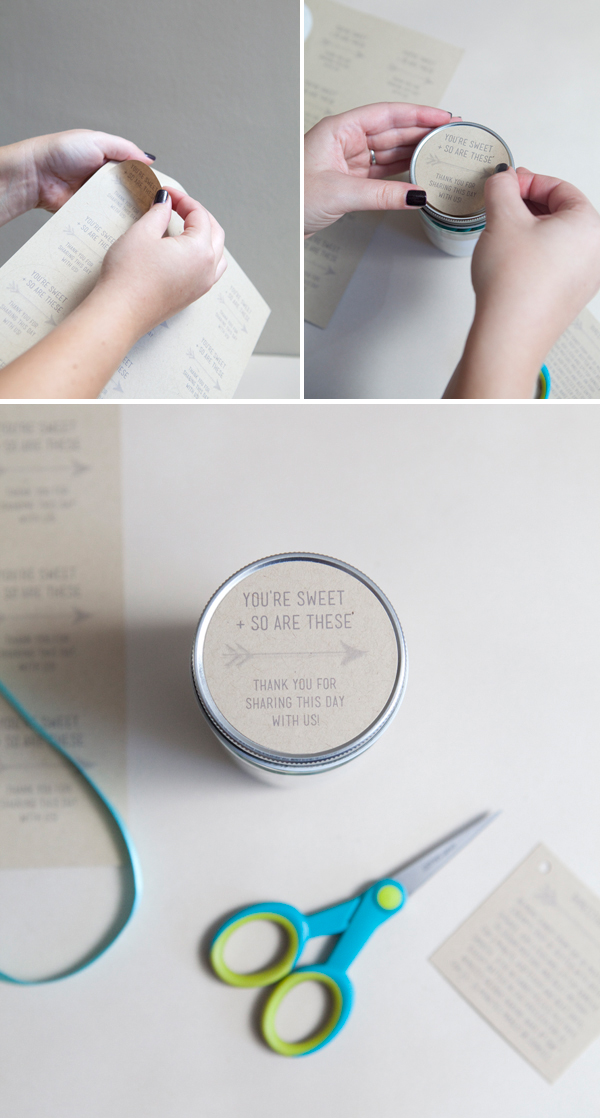
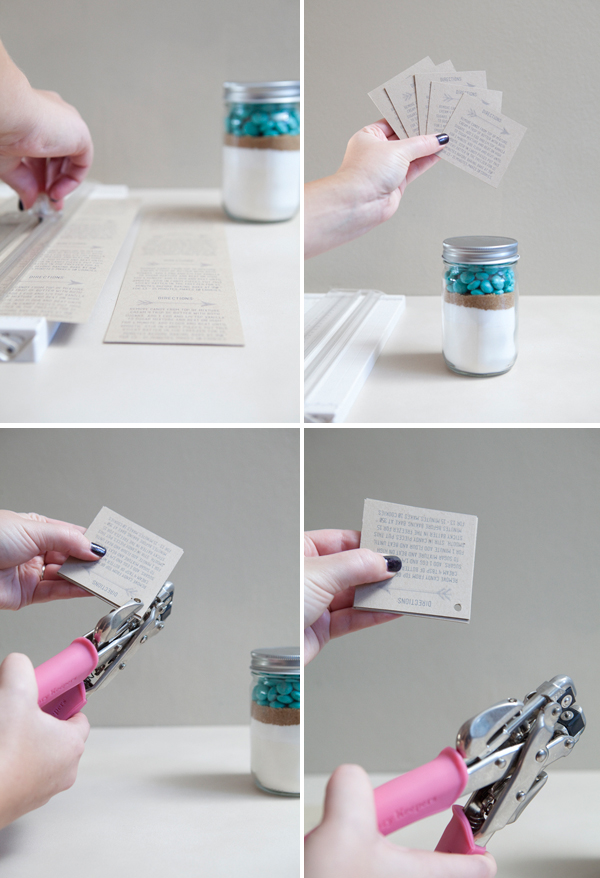
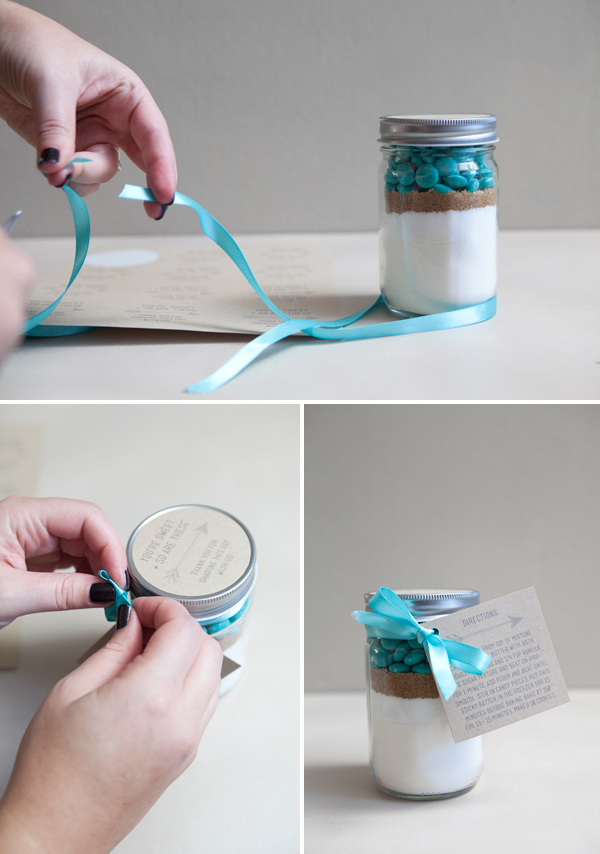
And now the baking direction cards. There are two ways to do this; print on regular cardstock, trim, hole punch and…
…and tie onto your cute jar!
I just love these!!!
Now for the other technique…
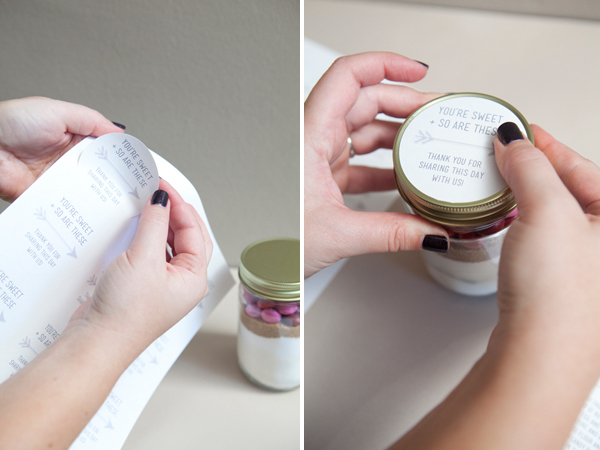
…you can print the baking directions onto sticker paper, trim, round the edges…
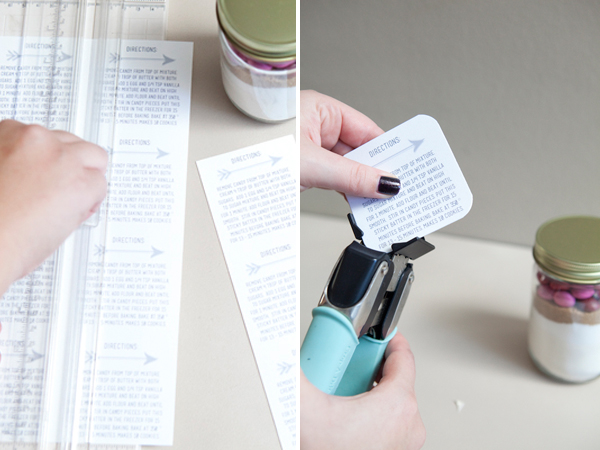
…and stick onto the backside of your jar!
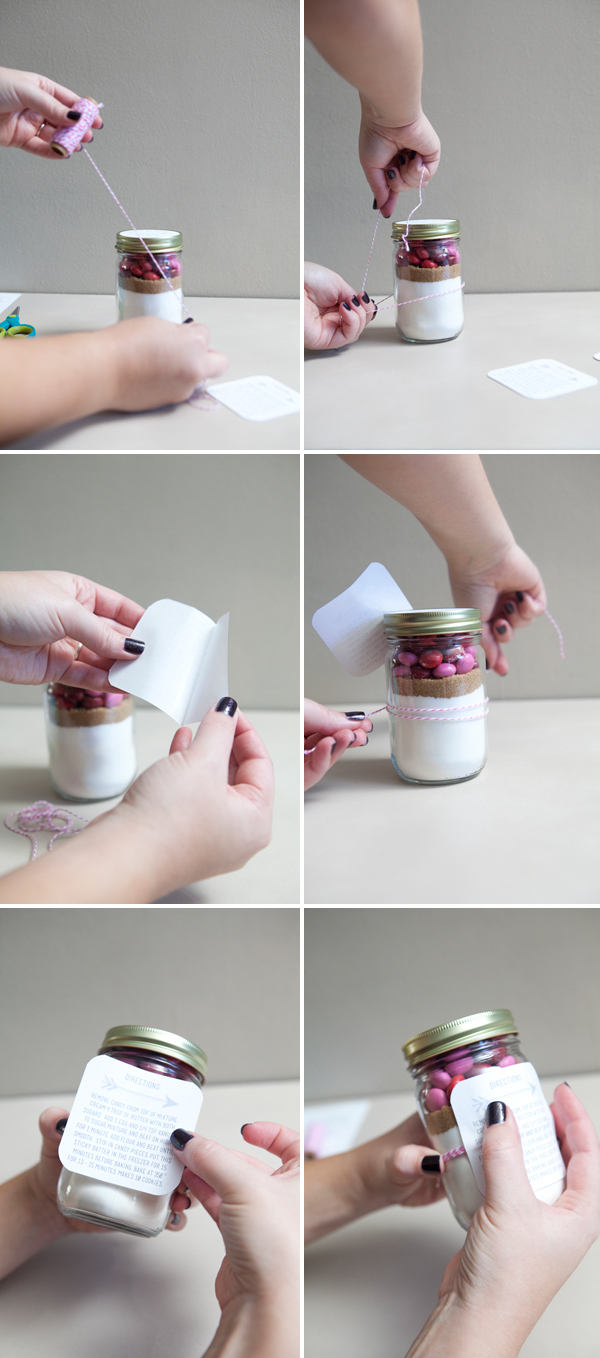
Carefully place the sticker over your twine or ribbon choice and trim the edges.

There are ENDLESS color combinations of cookie ‘candy’ and ribbon to fit any event! Here are a few ideas to get your creative juices flowing! White chocolate chips, mini-chocolate chips, dark chocolate raspberry M&M’s, turquoise M&M’s, mint M&M’s, and the super yummy butterscotch chips!
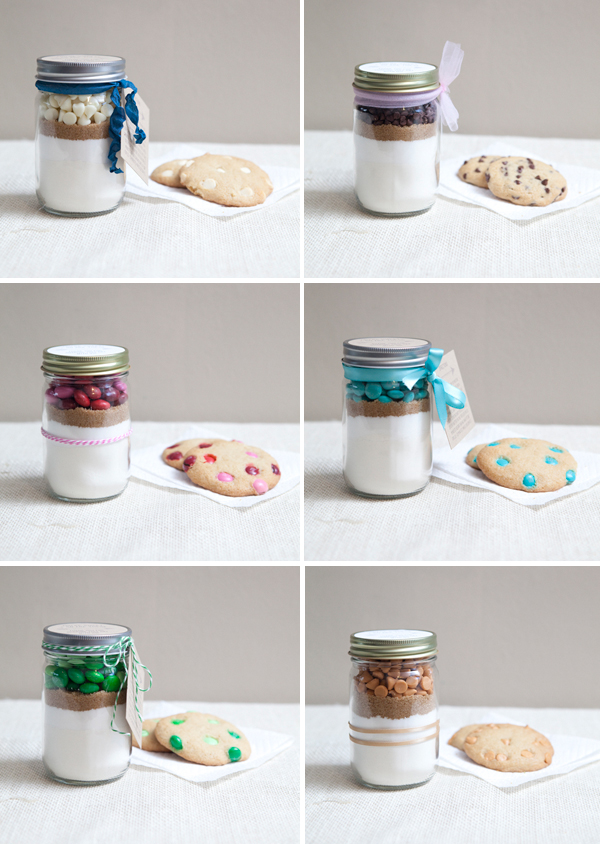
These mason jar cookie mix gifts are absolutely perfect for any occasion!
As with all our DIY tutorials, if you create one of our projects please send us a picture – We Love Seeing Your Creativity! If you use Instagram or Twitter please use the hashtag #SomethingTurquoiseDIY and it will show up on our Get Social page. Happy Crafting!
DIY Tutorial Credits
Photography: Studio 11 // DIY tutorial, cookie recipe and FREE downloads by: Jen | Something Turquoise // adorable, 12 ounce Eco mason jars with gold or silver lids: Specialty Bottle // 2.5″ round address labels (colors: Paper Bag and Eco White) and cardstock: Paper-Source // sticker paper: Staples // gorgeous navy blue shabby wrinkled ribbon: Prairie Bird Boutique via Etsy // Martha Stewart paper trimmer, Crop-a-dile hole punch and Corner Chomper: Michaels // all baking supplies and candy: Target & Vons // turquoise M&M’s: Party City // nail polish: OPI – DS Mystery

Comments