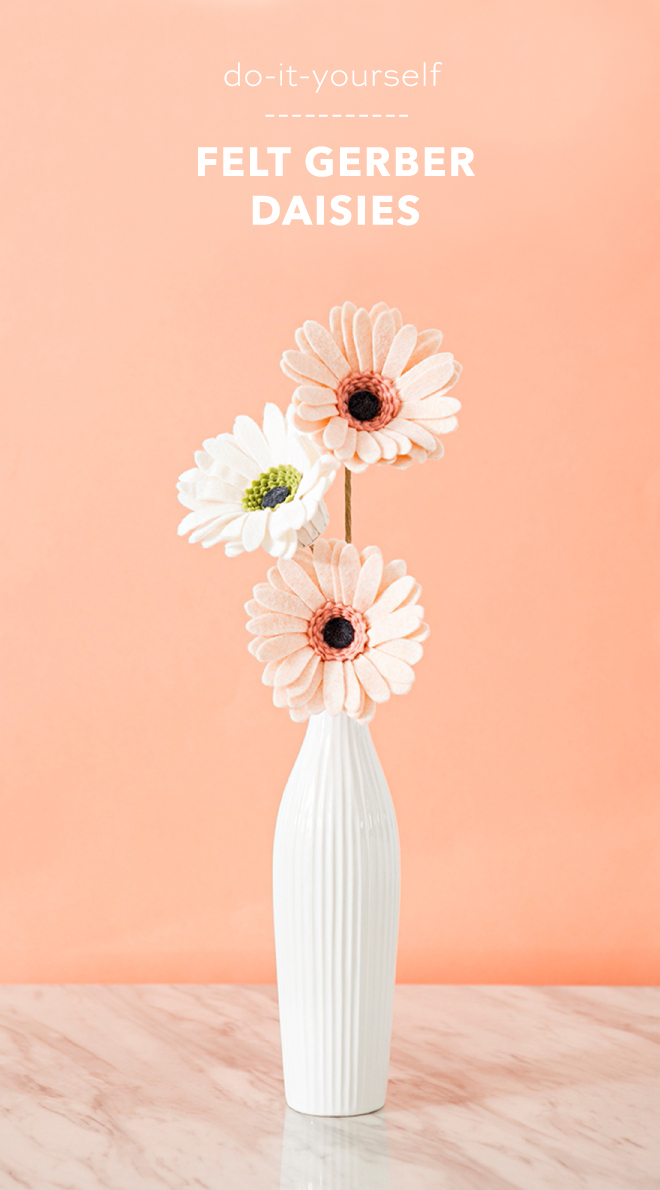

DIY Felt Gerber Daisy
-Sponsored Post-
It’s the third day of Felt Flower Week and our third time sharing felt flower patterns all week long that culminate in a stunning DIY felt flower wedding bouquet! But this week is extra, extra special because we’re cutting all our petals and leaves using our amazing Cricut Maker! Never before have felt flowers been SO easy to make. No longer do you have to sit and cut out petals for hours upon hours, instead let the Cricut do all the hard work for you! Today in our shop we’ve released all our past felt flower designs as Cricut .SVG cut files, and today’s design of course. Stop by the shop to purchase your Gerber Daisy pattern and other past flower favorites for only $1.99 each!
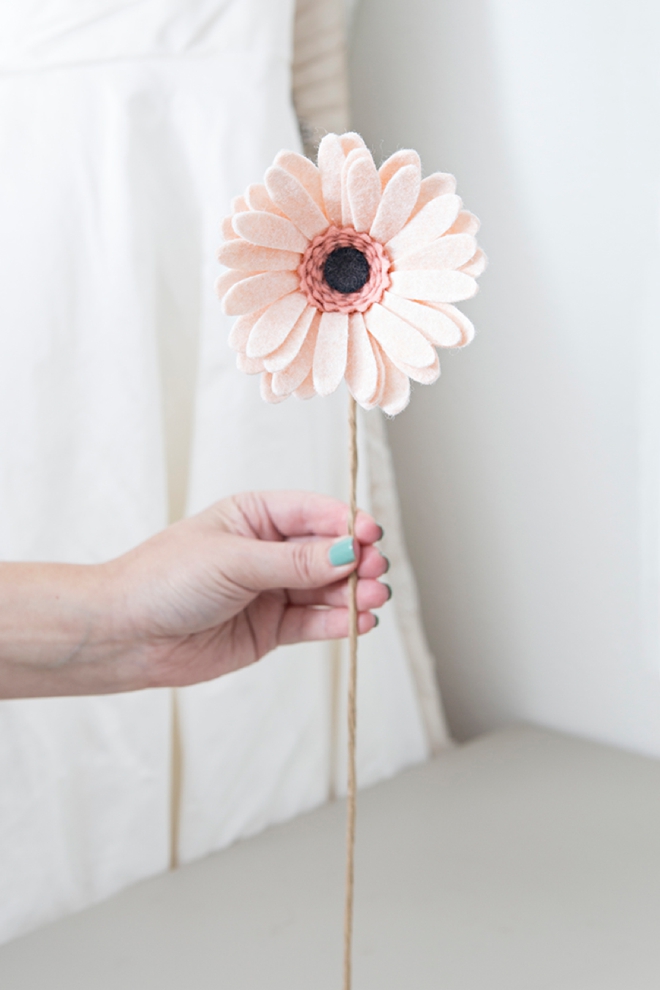
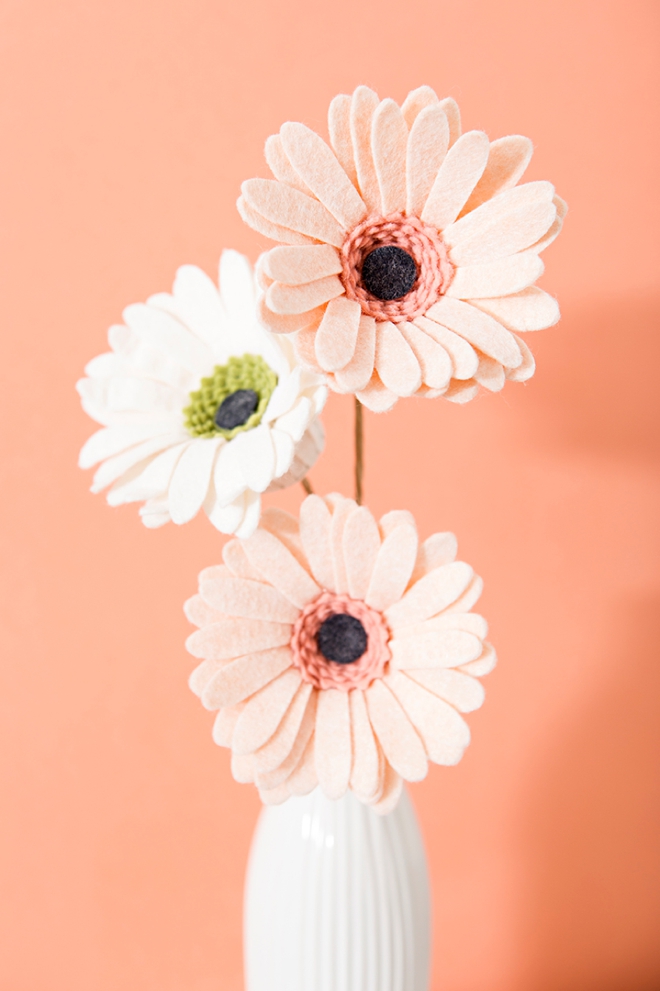
In talking about handmade flowers – I’m singing the praises of felt. Unlike paper, felt flowers are thick, sturdy and can withstand all that your wedding day could possibly throw at them. Paper can rip and crumple in a flash – but not felt! There is something so old-school crafty about felt… and I just love it. So without further ado, here is this weeks third felt flower design – the gorgeous gerber daisy.
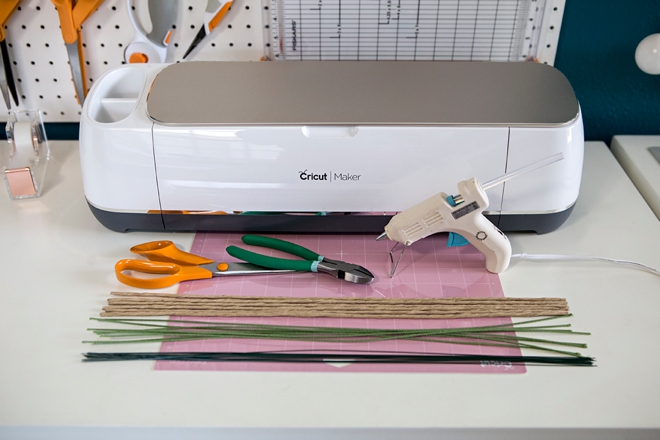
SUPPLIES:
- Cricut Maker
- Cricut Fabric Mat
- Cricut Rotary Blade
- Low-Heat Hot Glue Gun
- Floral Wire
- Wire Cutters
- Scissors
- Our Gerber Daisy felt flower .SVG cut file!

If you don’t have a Cricut we are sharing a free printable .PDF pattern at the end of the post that you can cut out by hand.
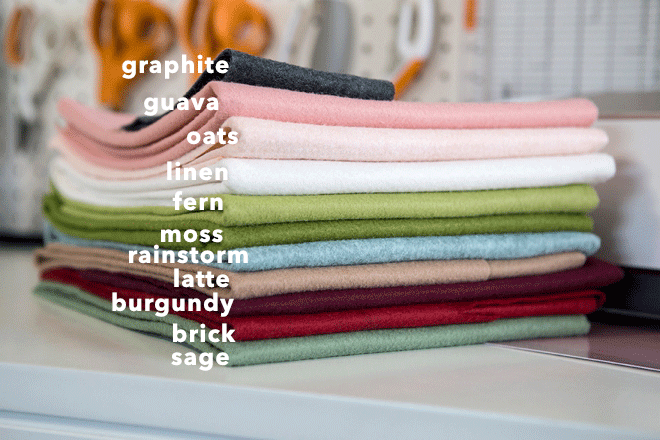
FELT:
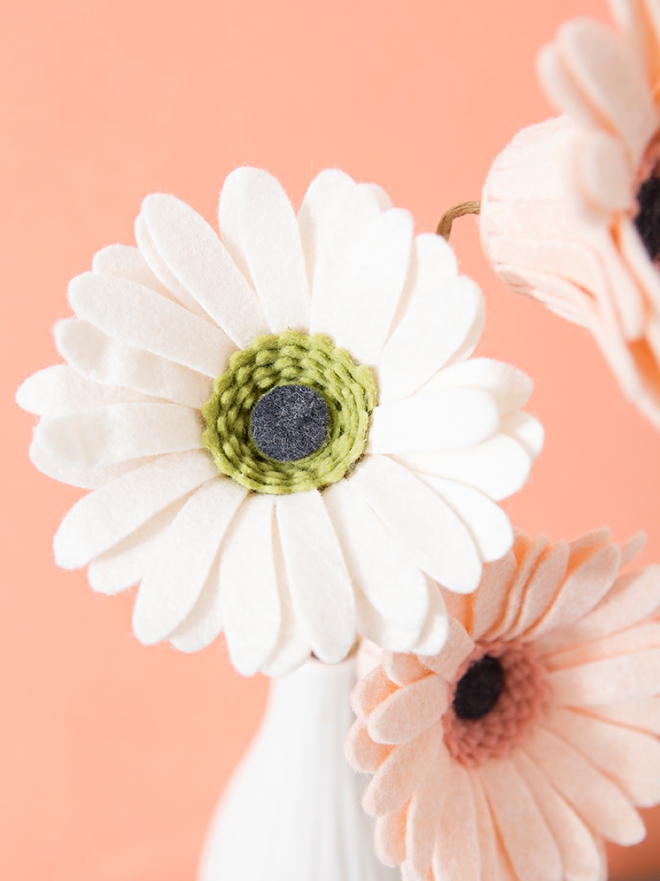
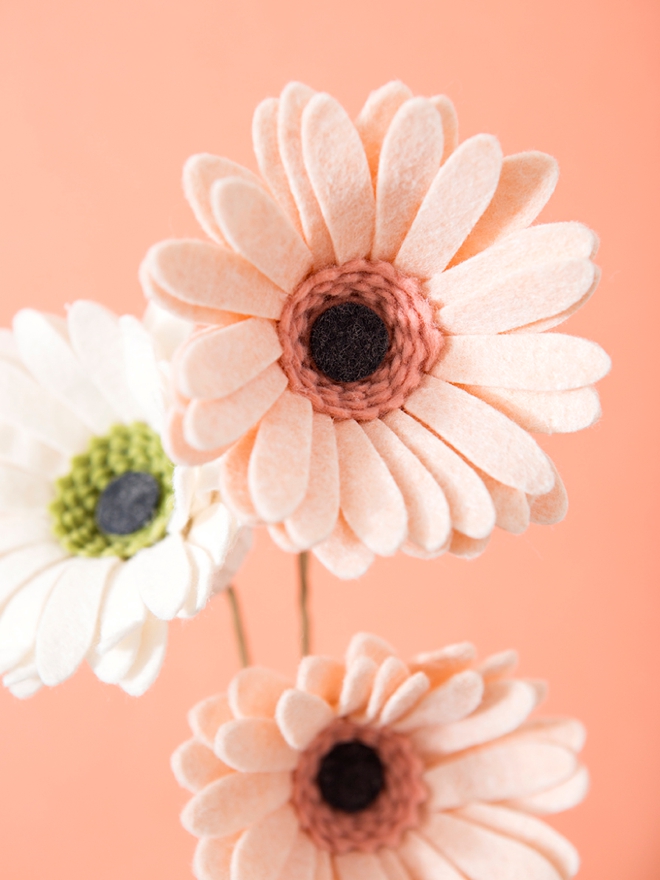
For the Gerber Daisies I used Linen and Oats for the petals, plus Fern and Guava for the centers and Graphite for the dark center. Find this exact felt and many more colors at Benzie Design.
- Pale Pink Petals: 9″ x 12″ rectangle of felt per flower
- Darker Pink Center: 6″ x 9″ rectangle of felt per flower
- Black Center: 1″ x 1″ square of felt per flower
Upload
Upload your felt flower .SVG cut file into Design Space and add it to your canvas. Then customize as you’d like and prepare to cut.
- Choose: Felt, Wool Fabric as your cut setting and use the rotary blade.
You can drag to resize this file larger with no problem, a little smaller is ok too, but if you try to make it too small the smaller details won’t cut properly.
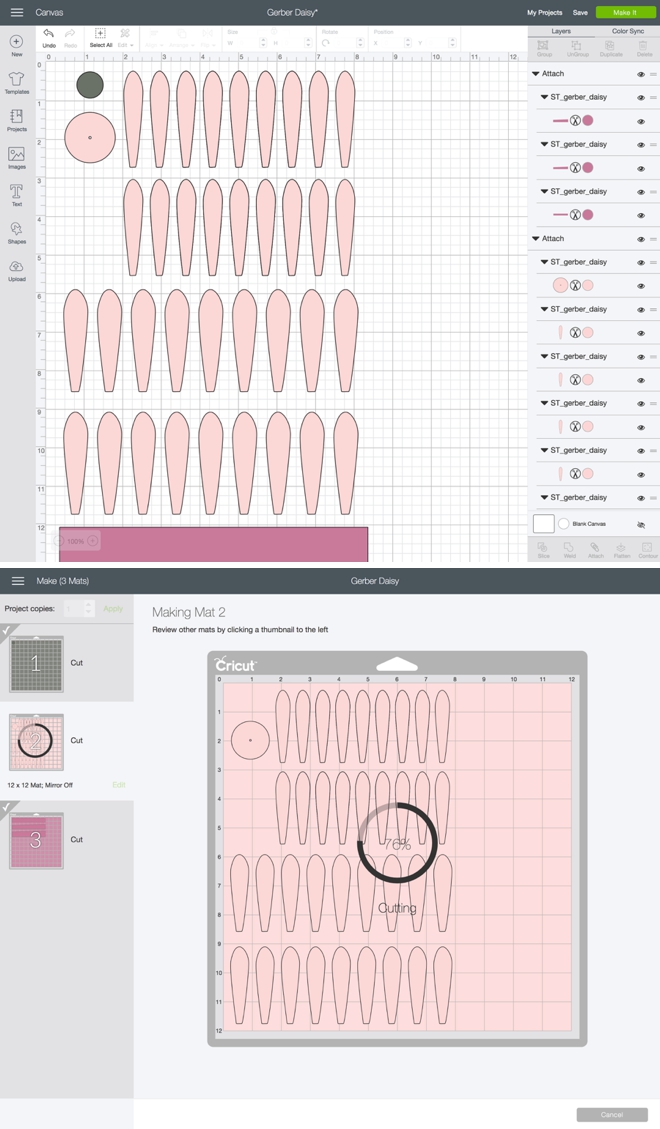
Let Your Maker Work Its Magic
Add the felt to the Cricut Fabric Mat, click to load the mat and press Go! Carefully remove the excess felt and the flower centers first…
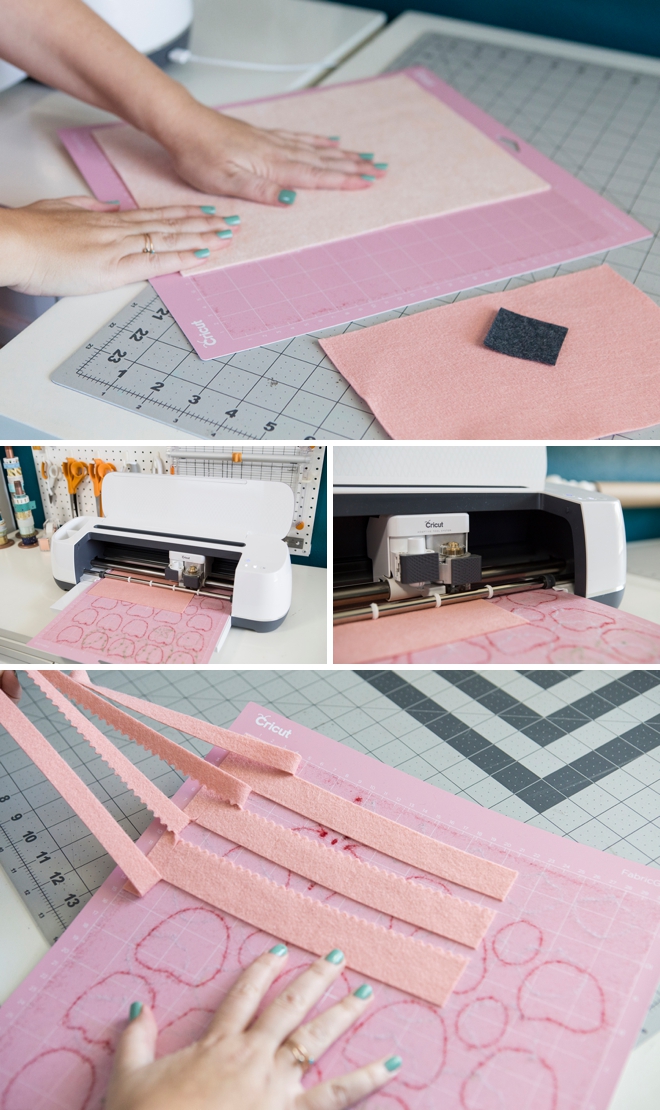
Keep following the mat prompts from Design Space to cut the petals…
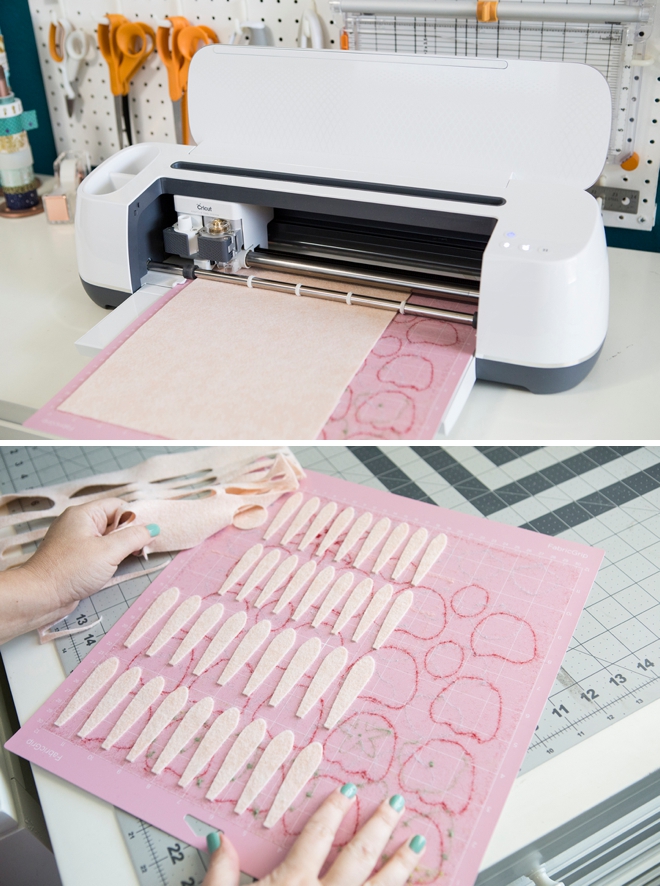
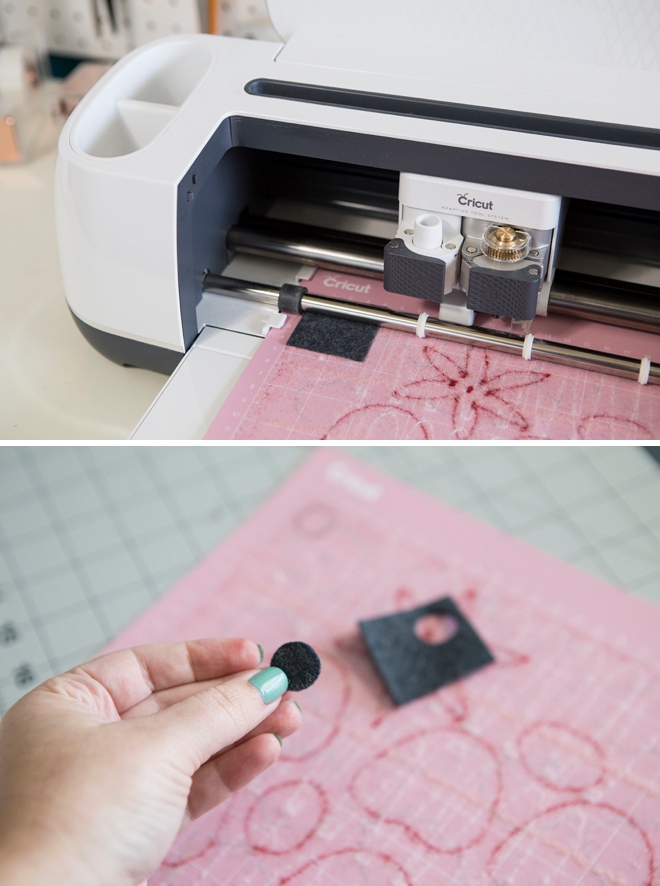
…and the last little center detail!
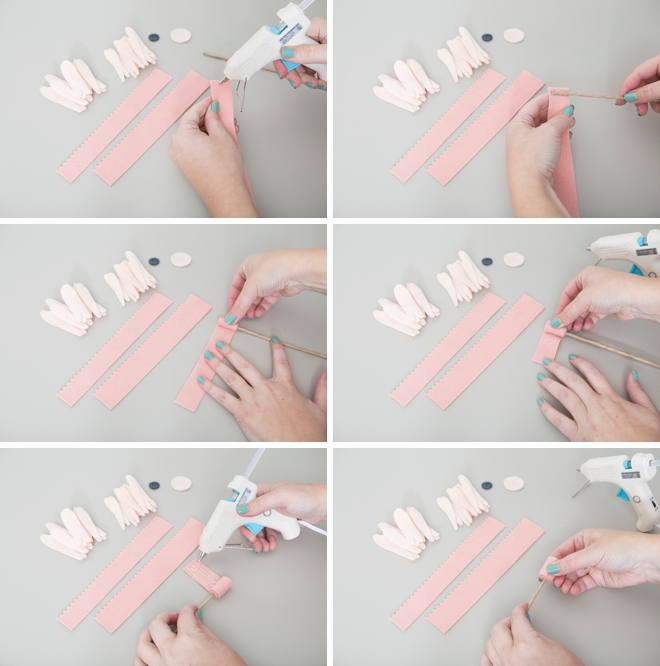
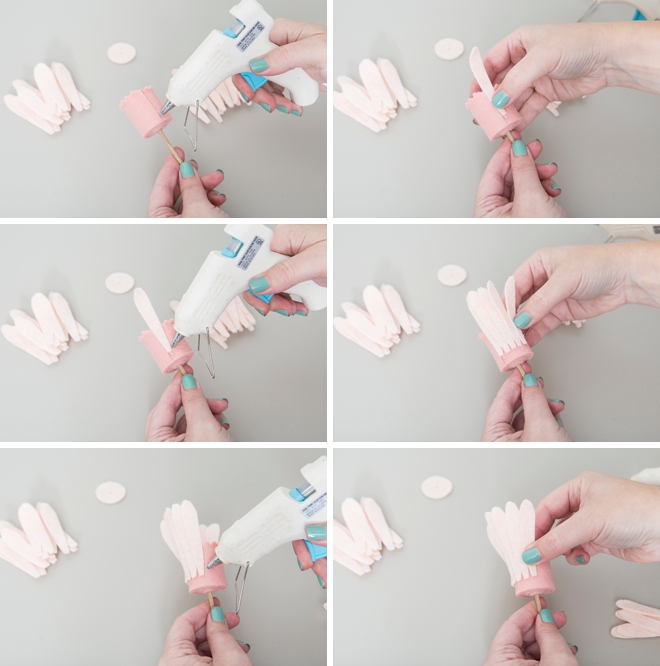
Assemble The Gerber Daisy Center
Take the small rectangle with straight sides, hot glue it to the end of a floral wire and wrap and glue until the entire rectangle is now a cylinder shape, wrapped around the wire.
You’ll want to use a glue gun that can do low-heat so you don’t burn your finger tips!
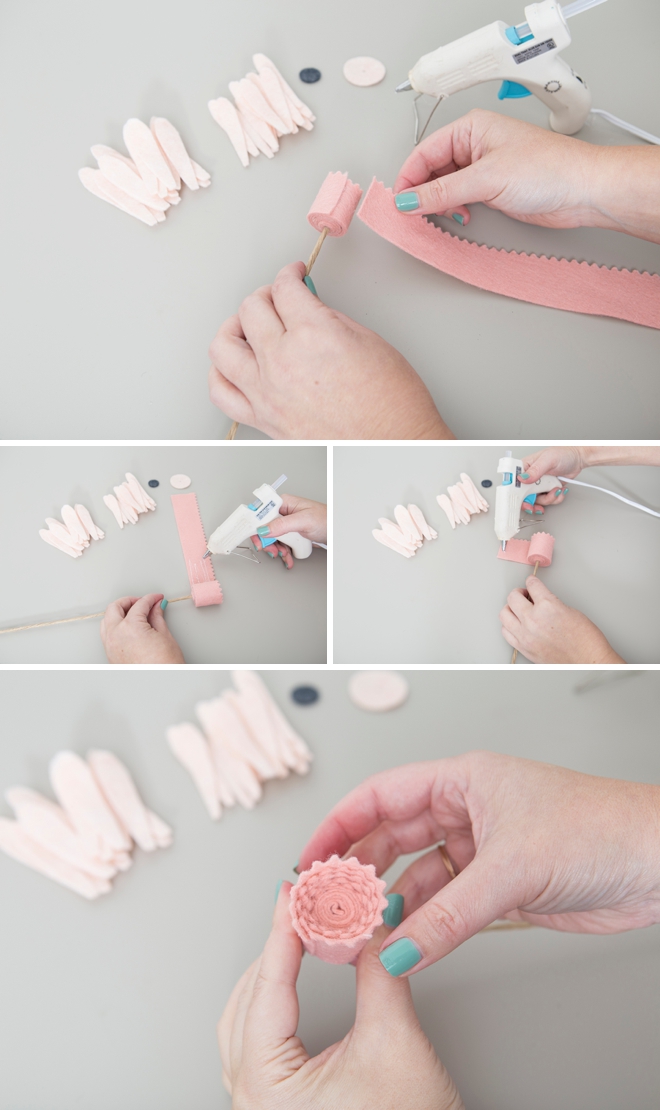
Next, using the rectangle with the wavy cut top that has the smallest end height of 1″, match it up to the end of the rectangle before… and glue and wrap again! Wavy edges to the top!
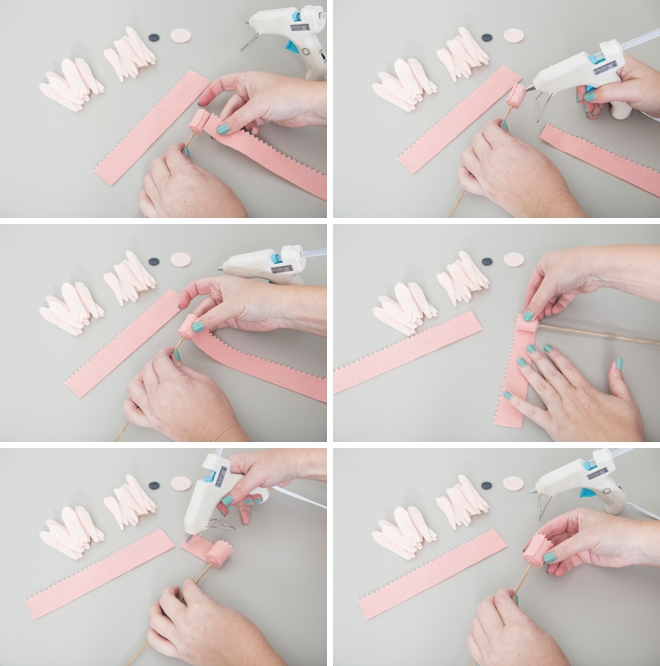
Same thing, one more time. Using the largest wavy rectangle, match up the ends and wrap and glue. You have now formed the gerber daisy center!
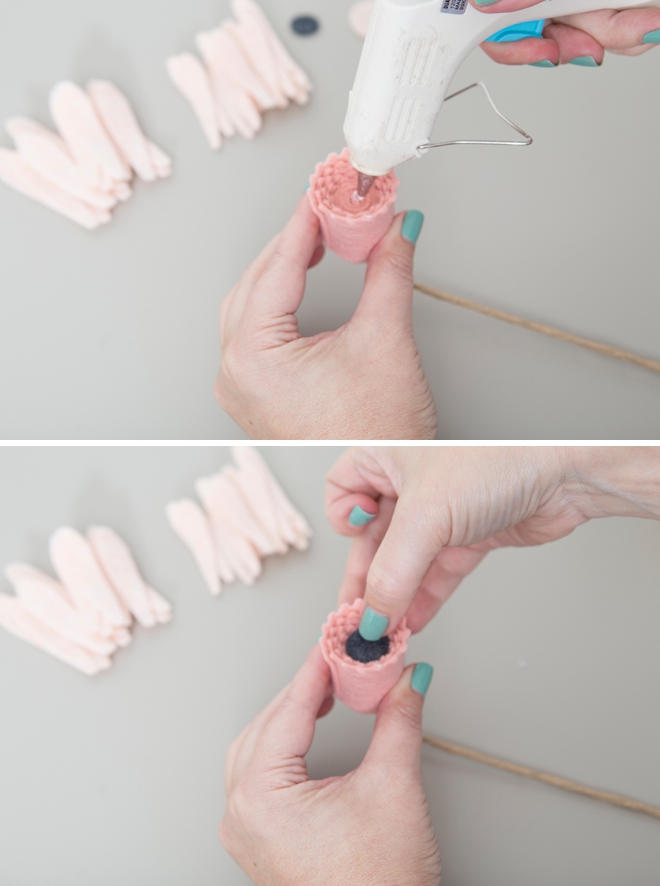
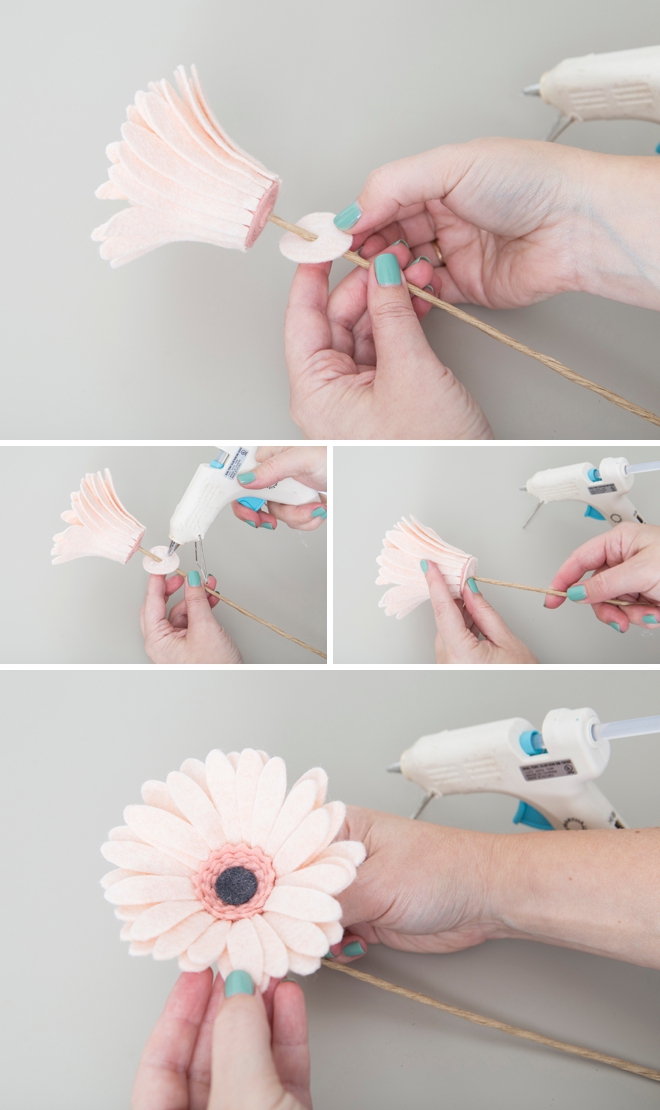
Add The Dark Center
Gerber Daisies are known for their dark black centers, so glue the little circle center into place on top of the flat rolled area.
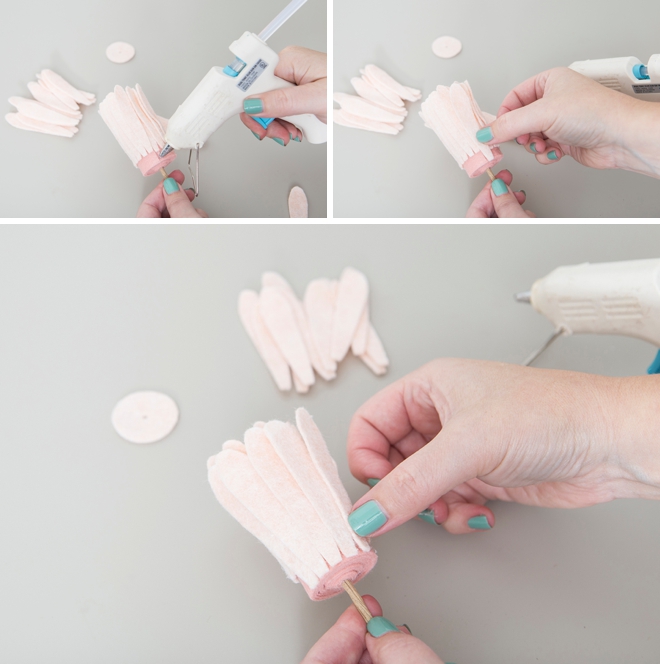
First Layer Of Petals
You’ll have 18 smaller petals and 18 larger petals, start by gluing and stacking all 18 of the smaller petals around the flower center. Add them about 1/3″ away from the bottom of the flower center. Glue each one slightly on top of the last petal.
Second Layer Of Petals
Now add the 18 larger petals in the same manor. One glued slightly on top of the last, right at the edge of the flower base until you’ve used all the petals.
Flower Base
The last step is to glue the circle flower base in place, to finish off the design. Then fluff out your petals and admire your felt craftiness!
Have A Few Questions?
- Can I cut the felt flowers with my Cricut Explore? Yes, but it will take a little bit more effort. Visit this page to learn about what materials your Cricut Explore can cut.
- How do I clean my fabric mat? To clean light scraps and fuzz, a lint roller works great. Try not to touch your mat as the oils in our skin can damage it. Use your tweezers to remove large strings and pieces.
- What if I don’t have a Cricut? You can print out our free .PDF pattern at the end of the post and cut the flowers out by hand, like we used to have to do before the Maker!
DIY TUTORIAL PARTNER:

Cricut is a world-class leader in personal electronic cutting machines that has enabled people to achieve their creative best for over 50 years. Today, millions of people use Cricut products to create unique projects, and they focus on enhancing lives with this power of creativity. Let Cricut help you take your wedding personalization and project creativity to the next level!

As with all our DIY tutorials, if you create one of our projects please send us a picture – We Love Seeing Your Creativity! If you use Instagram or Twitter please use the hashtag #SomethingTurquoiseDIY and it will show up on our Get Social page. Happy Crafting!
DIY Tutorial Credits
Photography + DIY Tutorial: Jen Causey of Something Turquoise // Cricut Maker, Rotary Blade and Fabric Mats: courtesy of Cricut // Wool Felt: courtesy of Benzie Design // Felt Flower .SVG Design: Julia Ensign // Floral Wire: Michaels // Wire Cutters: Amazon // Low-Heat Hot Glue Gun: Amazon // Mini-Glue Sticks: Amazon // Scissors: Fiskars // Nail Polish: OPI – Withstands the Test of Thyme
Shop The Supplies:
Find the supplies you’ll need for this project from our affiliate links below:

Comments