

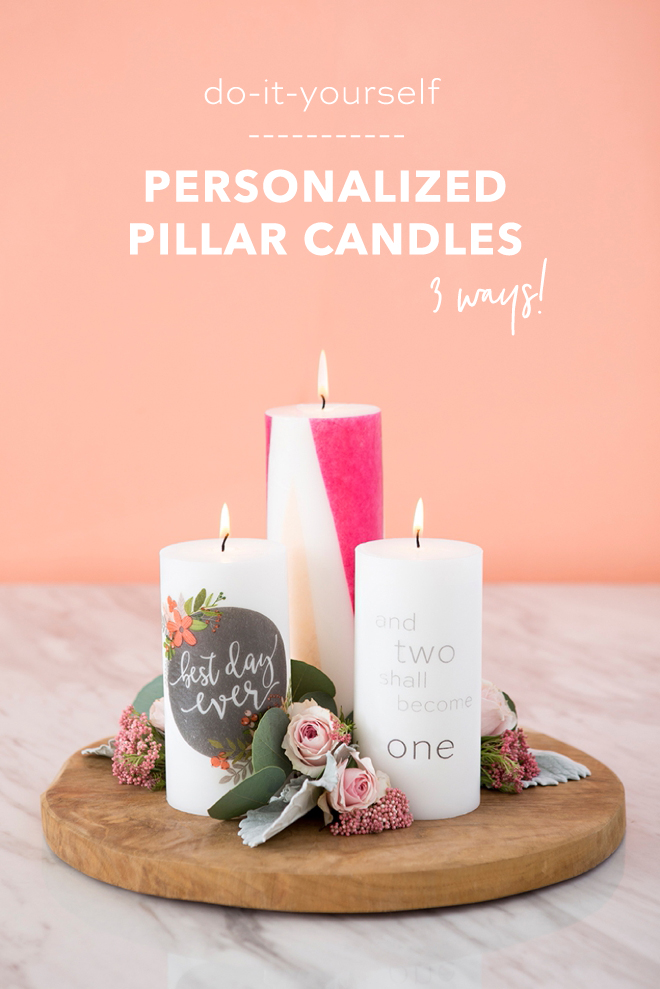
3 Ways To Personalize Pillar Candles For Your Wedding
Candles are synonymous with romance and there is nothing quite like the light that they give off, especially at a wedding reception. So today we’ve partnered with Jamali Garden, a leader in trendy, high-quality decor that won’t break your budget, to bring you this DIY feature. Here I’m sharing 3 ways that you can personalize inexpensive white pillar candles with napkins, printed designs, and tissue paper. Yes, you read that right… and it’s SO good! If you’ve never tried this melting technique before, even if you don’t plan on making this project for your wedding, you still have to try it because it’s shocking how easy and cool it is. You can totally personalize candles for gifts or home decor using the same ideas below!
Cheap But Fabulous
When you’re considering using candles, especially large pillar candles in your centerpieces or wedding decor – it can add up quickly. Which is why you have to check out Jamali Garden and all the decor elements they offer. Not only are their candles super high quality, but they are very reasonably priced and so are the rest of their decor items!
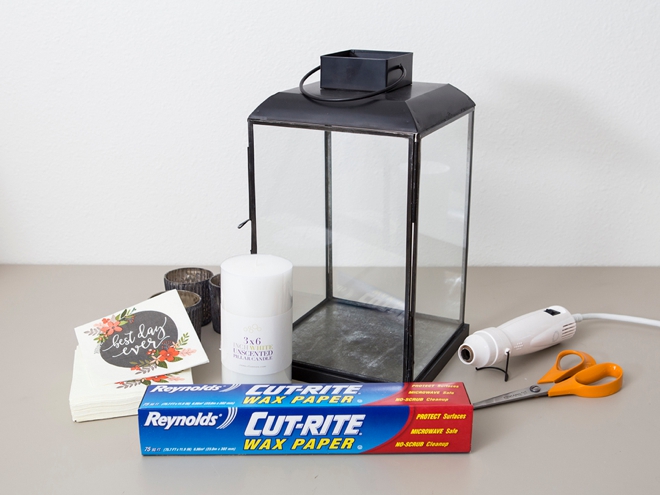
SUPPLIES:
- Large Antique Square Lantern
- Platinum Gray Ribbed Votive Holders
- 3 x 6 White Pillar Candle
- Super Cute Napkins
- Embossing Gun
- Wax Paper
- Scissors
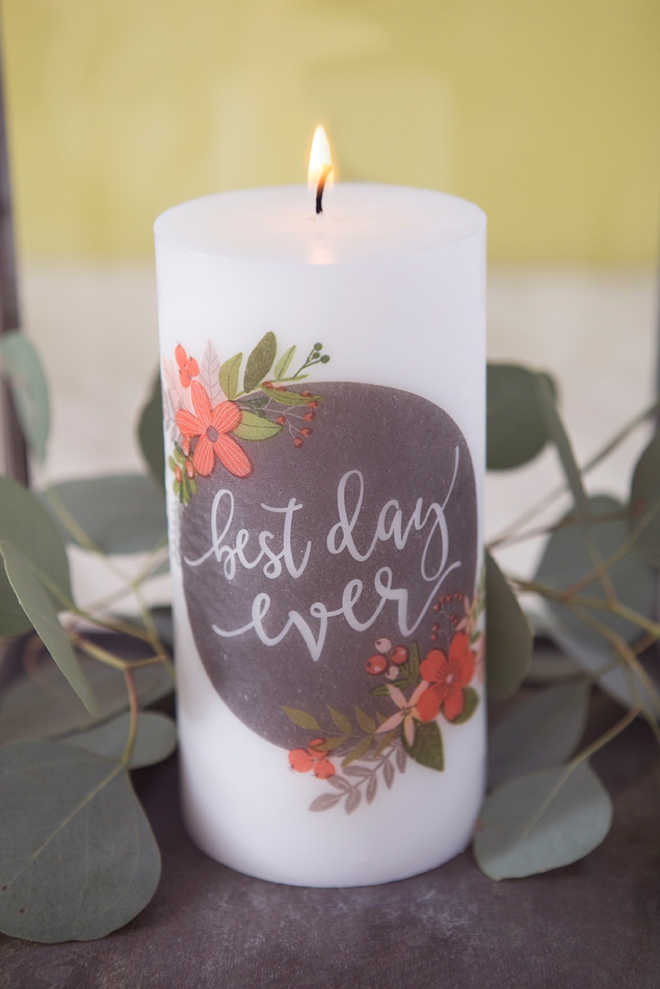
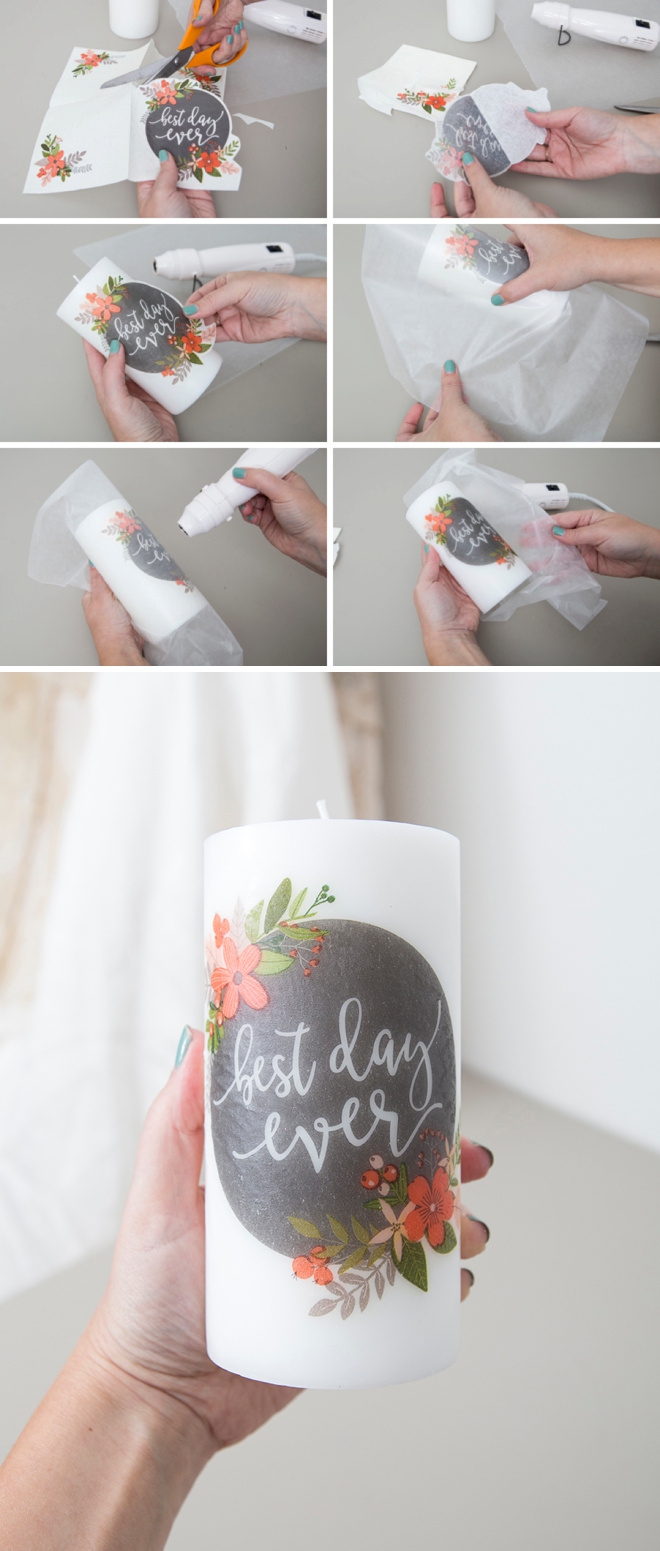
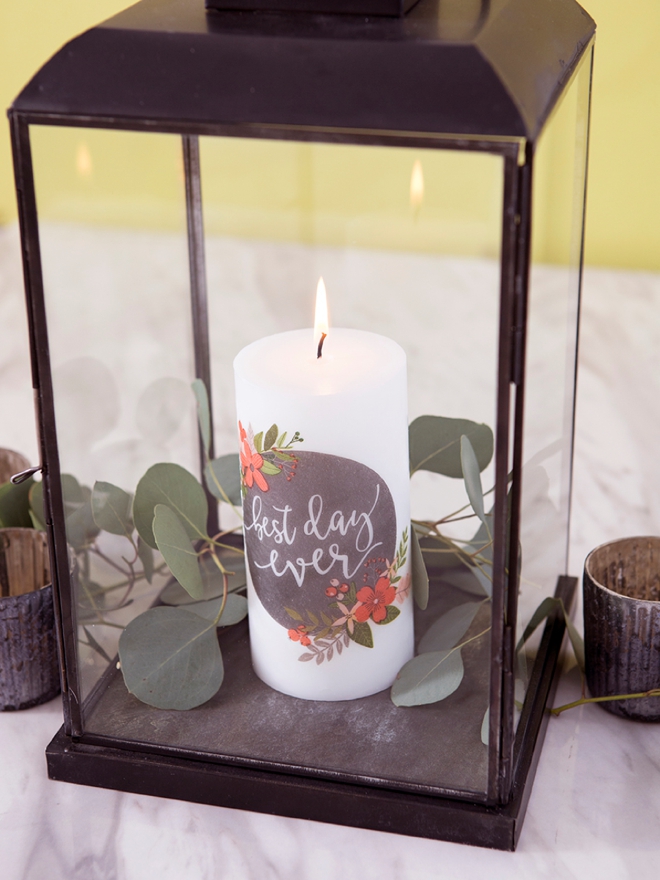
1. Napkin Technique
For this candle embellishment technique we’re going to melt super cute napkin designs onto the candle!
- Carefully cut out the cute design, any napkin design will do!
- If your napkin has more than 1 ply, peel it down to just one ply so that it’s the thinnest sheet possible
- Place on the candle and then cover with a piece of wax paper
- Evenly heat the candle, napkin, and wax paper with an embossing gun or heat gun
- Watch as the candle and napkin get shinny and appear to be melted
- Remove the wax paper and melt again if there are any raised areas
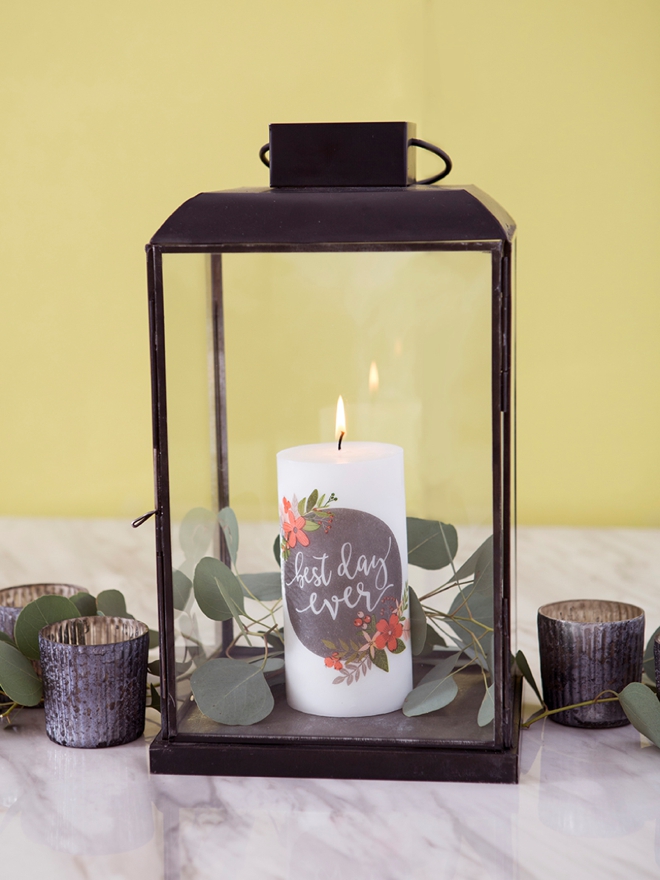
- Place candle in a lantern for a pretty DIY centerpiece!
SO cool right!?! When you heat the candle, it melts that first layer of wax and the wax actually absorbs through the napkin, securing it to the candle!
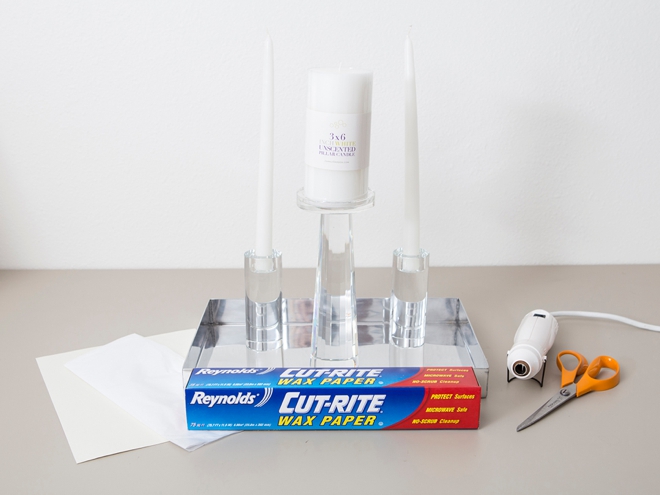
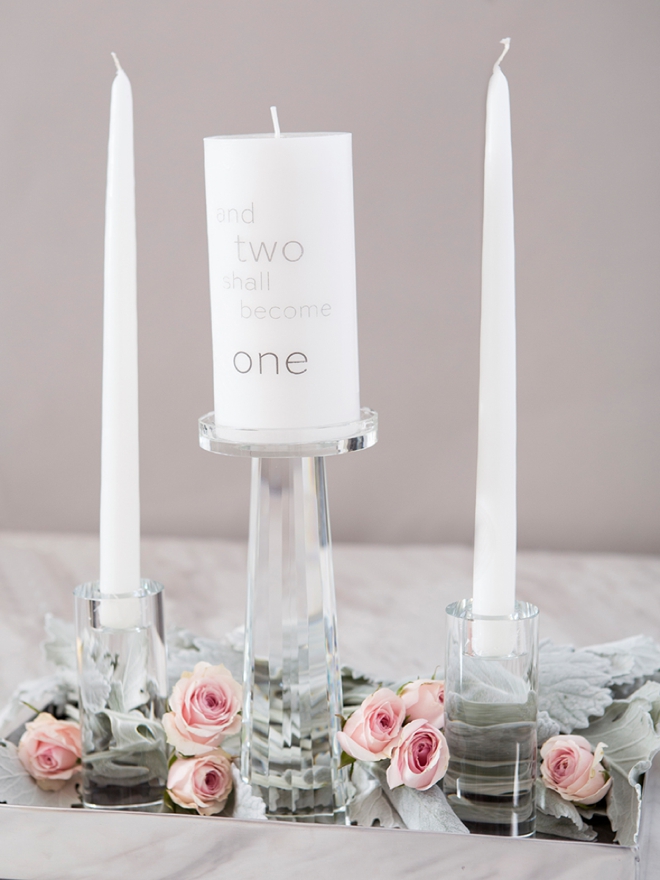
SUPPLIES:
- 14″ Rectangular Aluminum Tray
- 5 3/4″ Crystal Pillar Candle Holder
- 5″ Round Crystal Block Taper Candle Holders
- 3 x 6 White Pillar Candle
- White Taper Candles
- Embossing Gun
- White Tissue Paper
- Home Printer
- Cardstock
- Glue Stick
- Wax Paper
- Scissors
- Our free printable design at the end of the post!
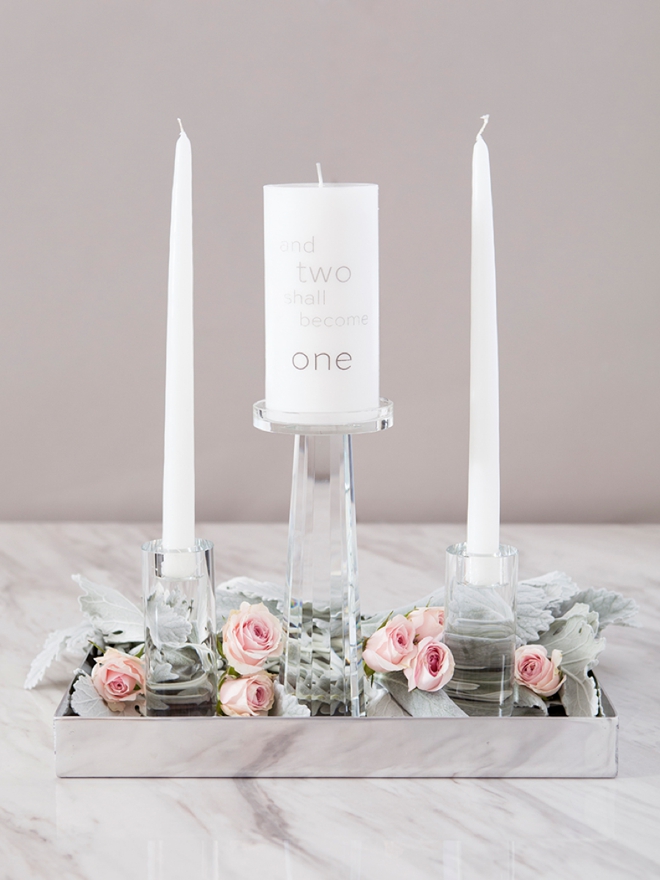
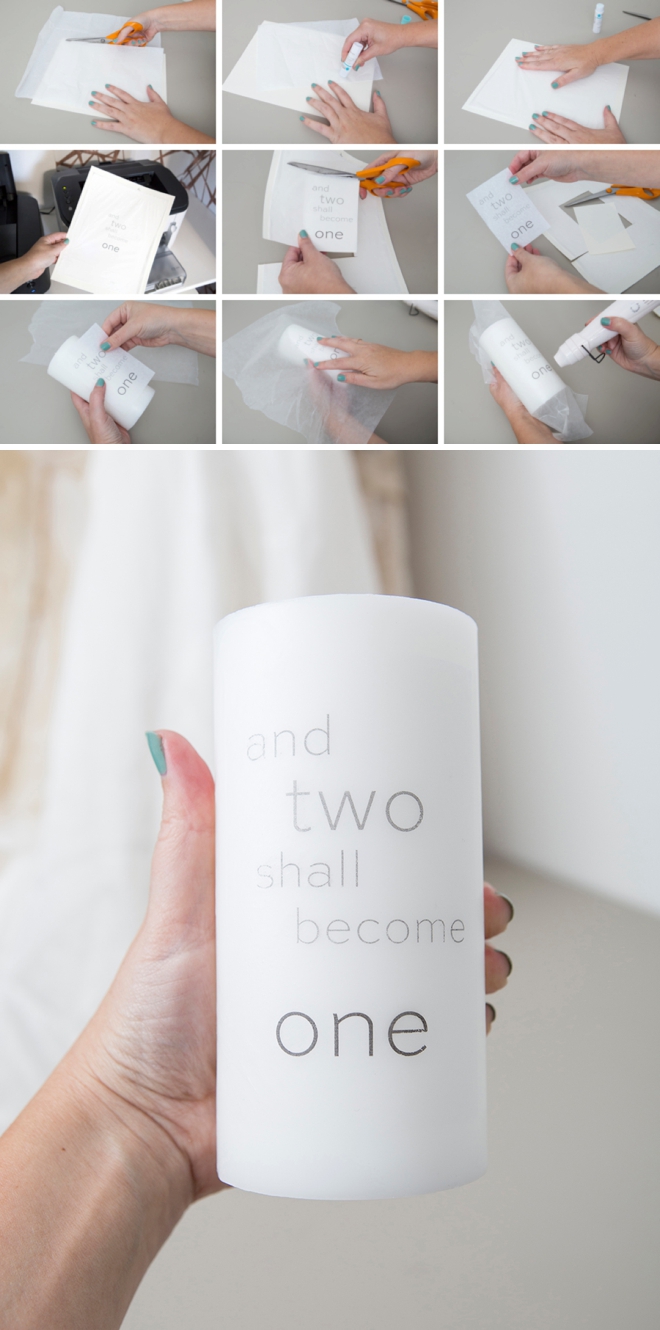
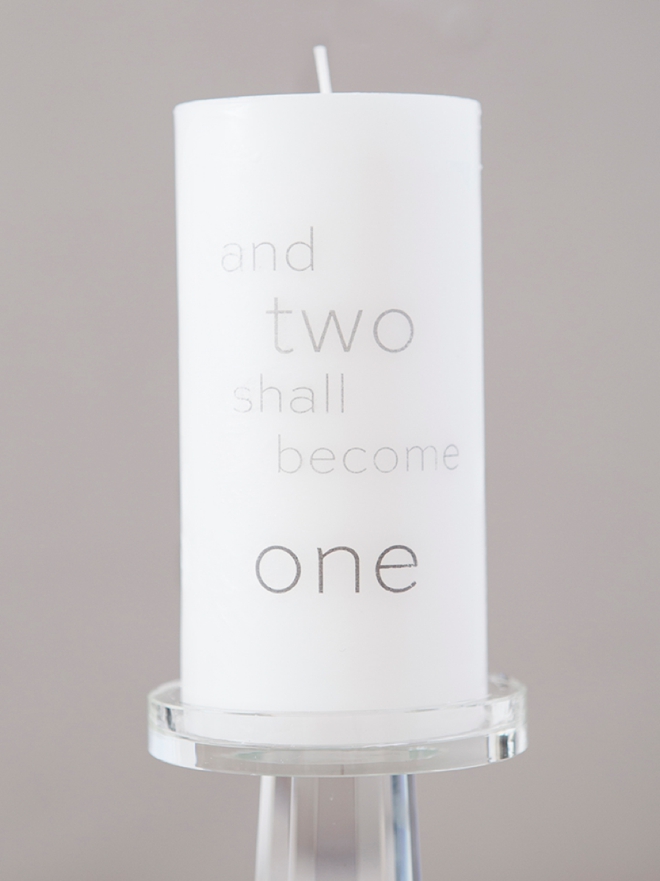
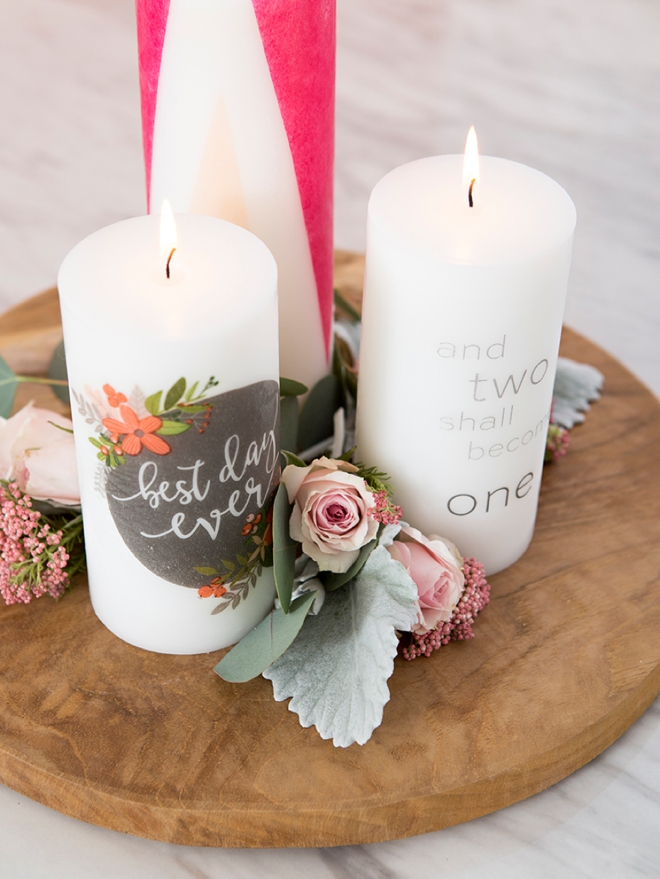
2. Printed Tissue Paper Design
OMG, this technique is awesome and limitless. Just know that you can create or use ANY printed design to embellish candles like this, or even design your own Unity Set!
- Cut a piece of tissue paper down to fit onto a 8.5″ x 11″ piece of cardstock
- Add a swipe of a glue stick all around the tissue to adhere it to the cardstock
- Create your own unity candle design or download our free design at the end of the post!
- Print your design onto the prepared tissue paper
- Cut out the printed design, leaving only the piece of printed tissue paper
- Place on the candle and then cover with a piece of wax paper
- Evenly heat the candle, tissue, and wax paper with an embossing gun or heat gun
- Watch as the candle and tissue get shinny and appear to be melted
- Remove the wax paper and melt again if there are any raised areas
- Add two taper candles for the perfect unity ceremony!
This technique works best on white candles with white tissue paper!
SUPPLIES:
- Round Teak Wood Board
- 3 x 6, 3 x 9, 3 x 12 White Pillar Candles
- Colored Tissue Paper
- Embossing Gun
- Wax Paper
- Scissors
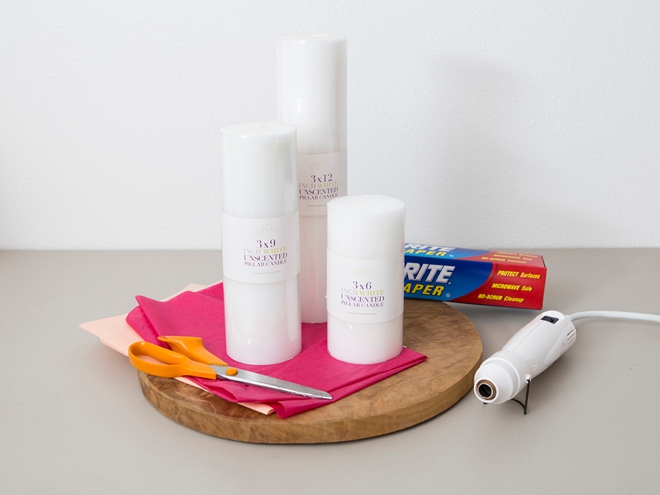
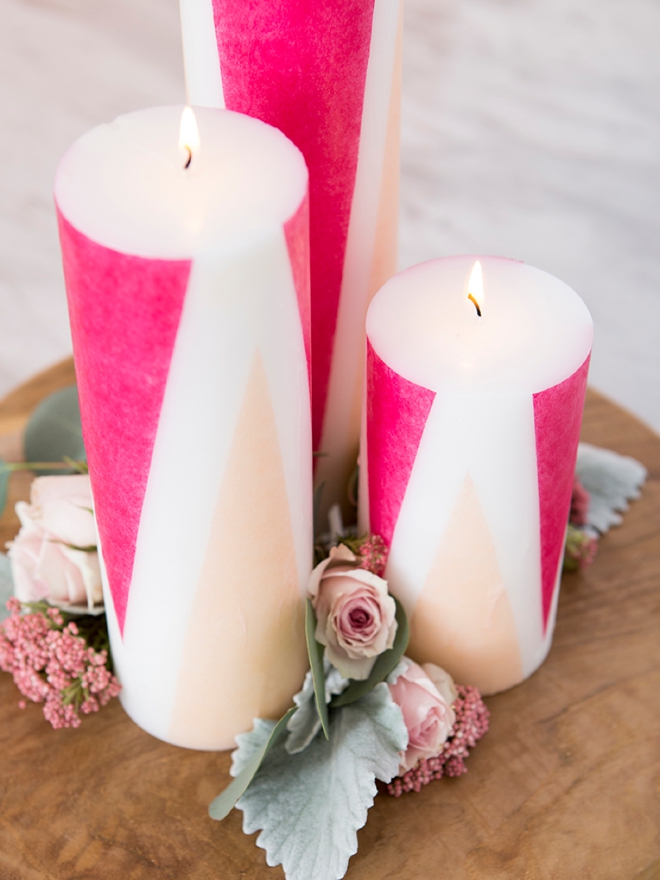
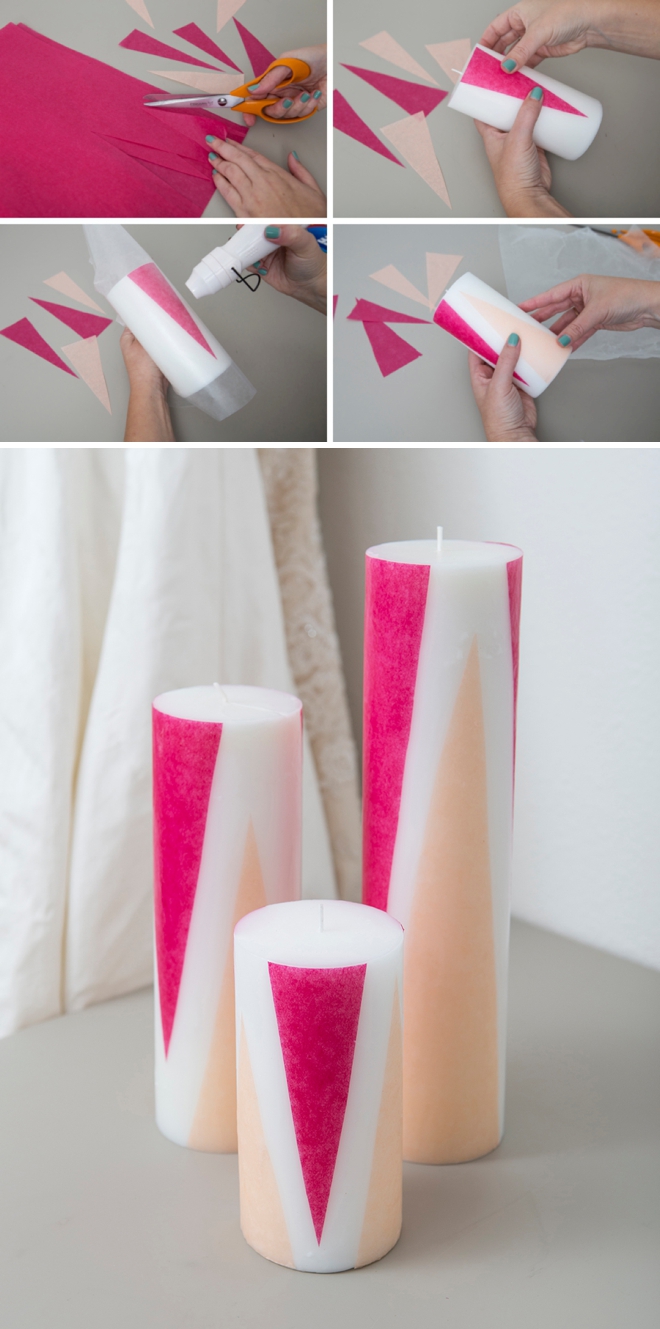
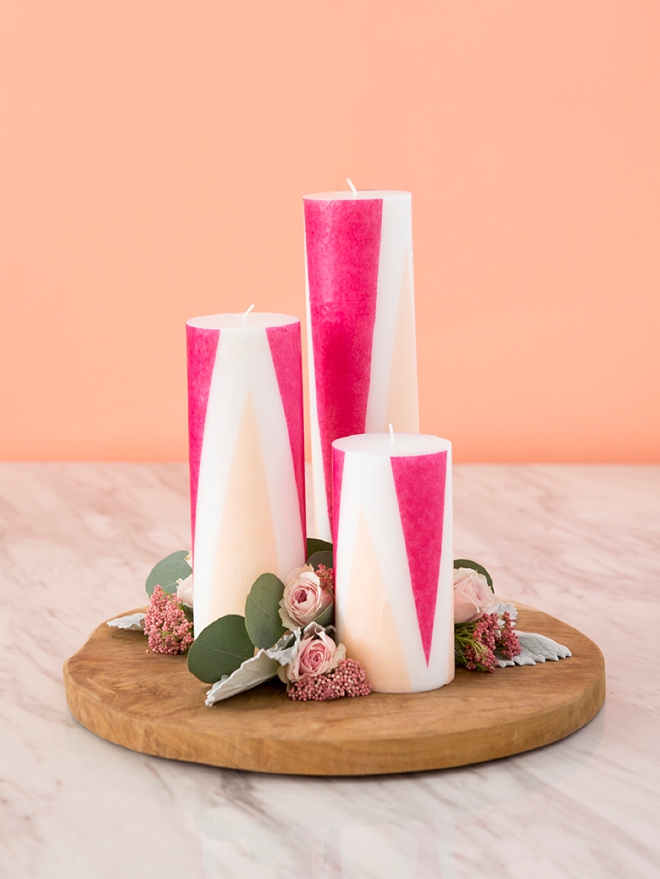
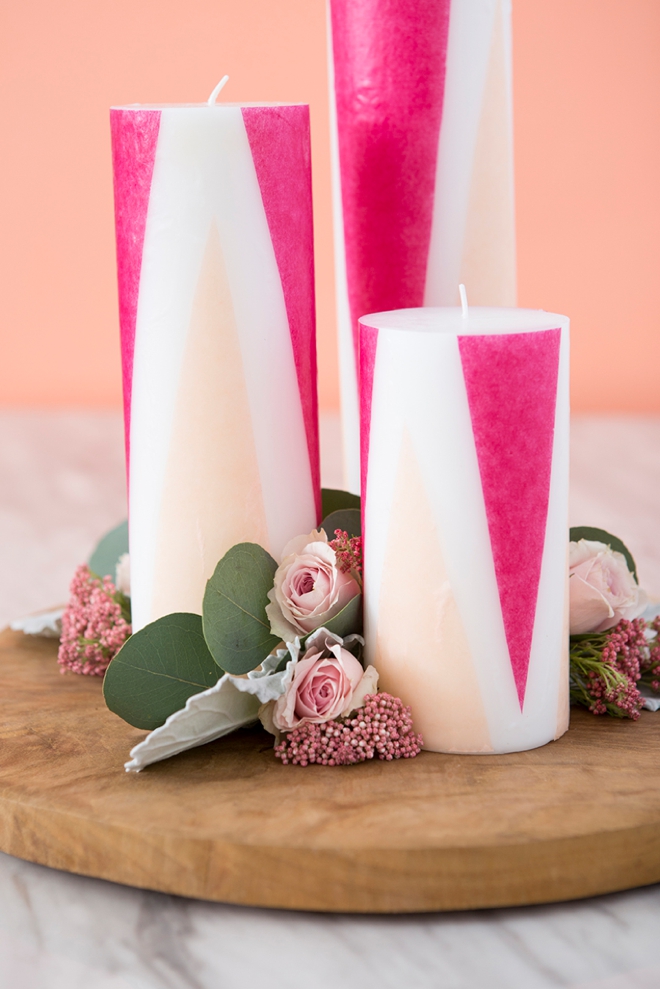
3. Colored Tissue Paper Design
This third technique is a terrific cost effective way to have lots of candles at your wedding, that are colored! These candles are high quality and super inexpensive and so is tissue paper. Cut out any design you can imagine and melt onto each candle!
- Cut out fun shapes from colored tissue paper, you can even tear the tissue
- Place 1 tissue shape on the candle and then cover with a piece of wax paper
- Evenly heat the candle, tissue, and wax paper with an embossing gun or heat gun
- Watch as the candle and tissue get shinny and appear to be melted
- Remove the wax paper and melt again if there are any raised areas
- Keep adding shapes until your desired design is complete
- Place three candles together on a teak wood board with a few flowers for the perfect DIY centerpiece!
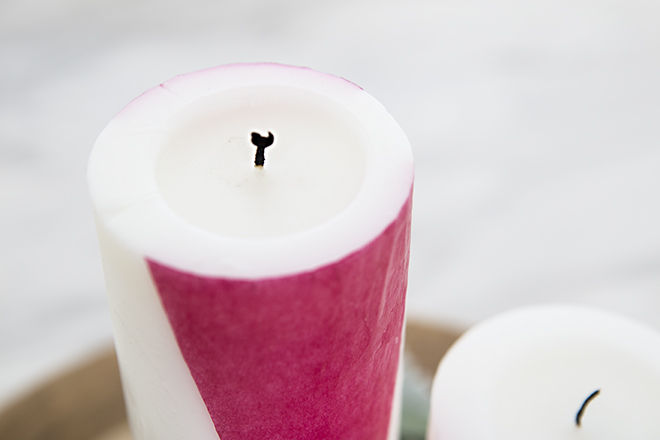
Keep Them Safe To Burn
The best way to keep your tissue embellished candles safe to burn is to “pre-burn” them before your event. Let the candle burn until the melted wax ring is about 3/8″ from the edge of the candle, then blow it out. From now on, every time you burn that candle, it will only burn inside that circle – meaning it will never touch the paper on the outside!
DIY Tutorial Sponsored By:

Jamali Garden is a family-owned, wholesale source for florists, wedding and event planners, stylists, decorators, and set designers, for exclusive decor, floral, home, holiday, lighting, and garden products. Jamali’s mission is to bring customers unique products that would inspire them to create beautiful events. Influenced by having lived all over the world, our high design and well-curated selection of decor products comes from every corner of the globe.

As with all our DIY tutorials, if you create one of our projects please send us a picture – We Love Seeing Your Creativity! If you use Instagram or Twitter please use the hashtag #SomethingTurquoiseDIY and it will show up on our Get Social page. Happy Crafting!
DIY Tutorial Credits
Photography + DIY Tutorial: Jen Causey of Something Turquoise // All Candles and Decor: courtesy of Jamali Garden // Wax Paper: Amazon // Embossing Gun: Amazon // Napkins + Tissue Paper: from local party store // Nail Polish: OPI – Withstands the Test of Thyme
Shop The Supplies:
Find the supplies you’ll need for this project from our affiliate links below:

Comments