
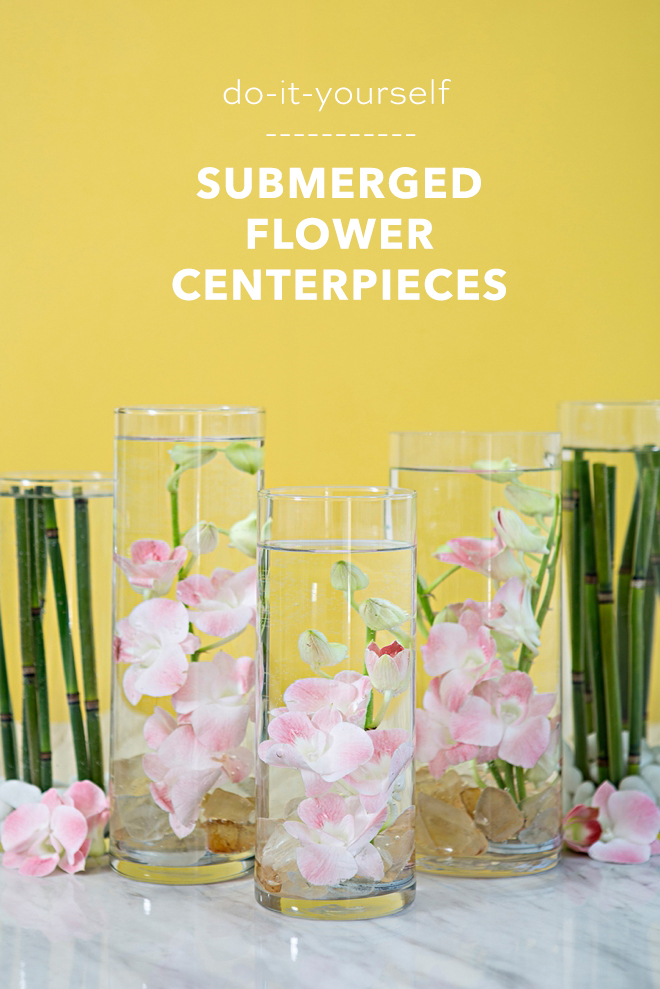
DIY Submerged Flower Centerpieces with FiftyFlowers.com
-Sponsored Post-
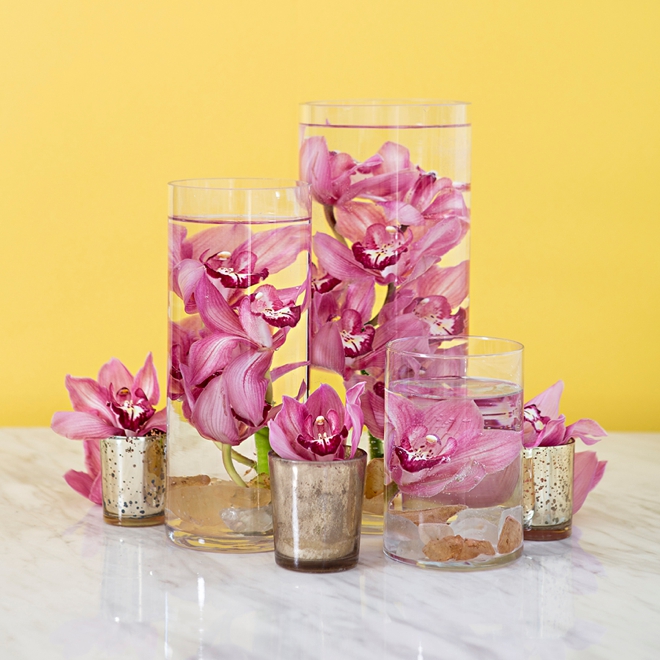
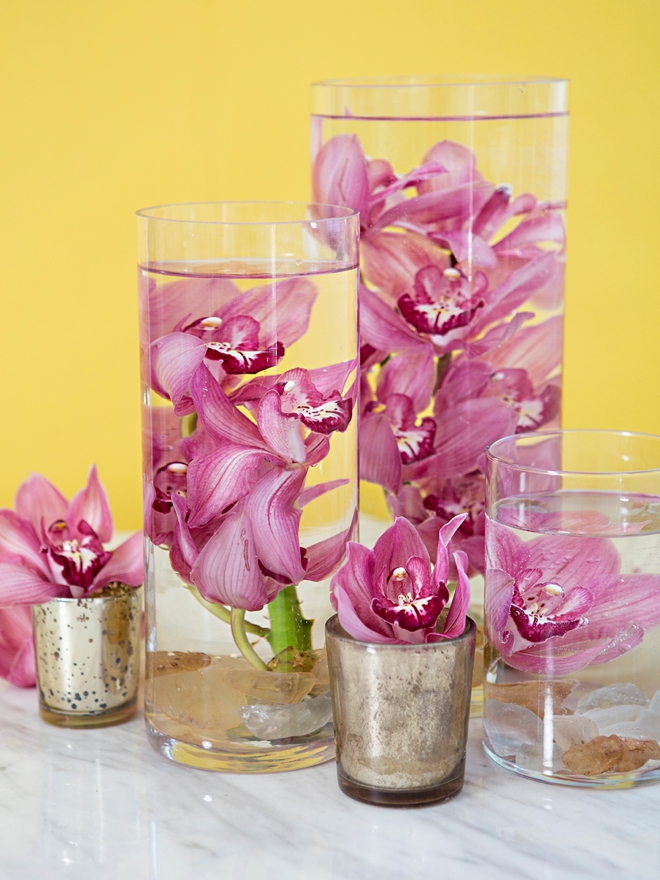
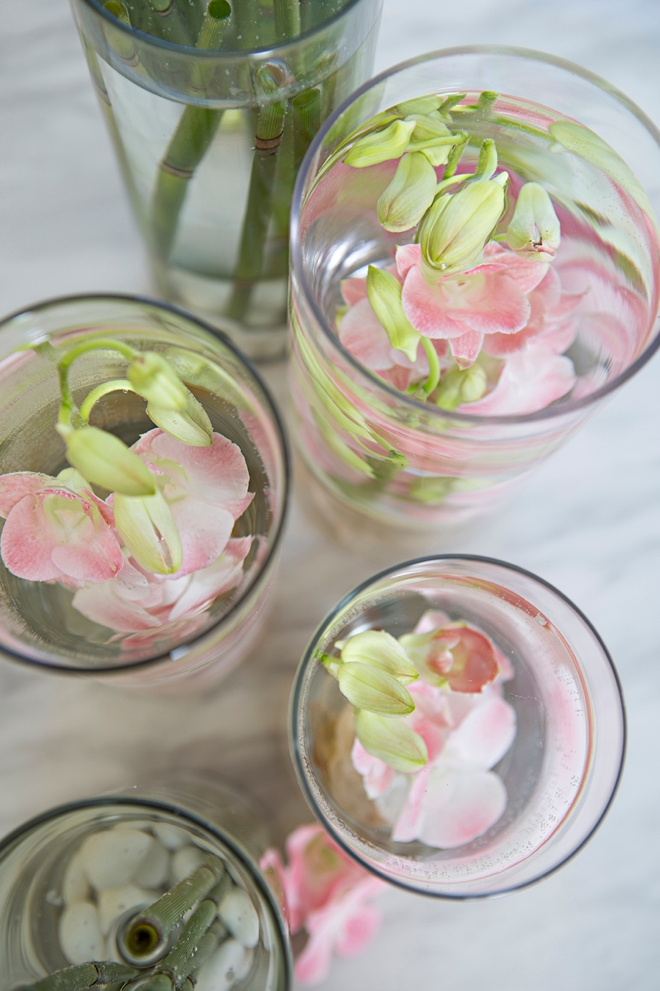
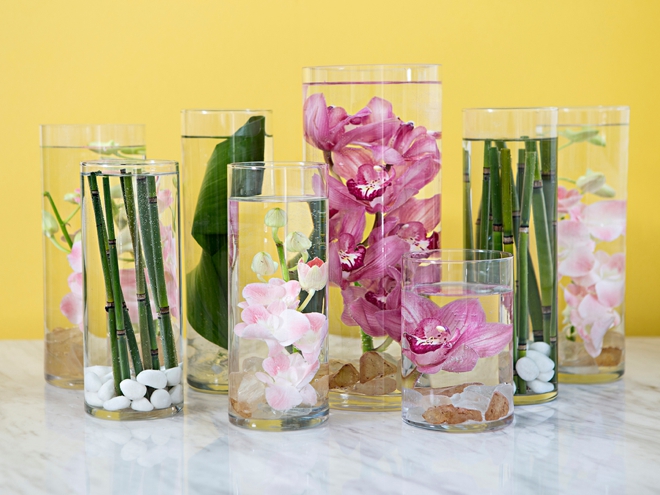
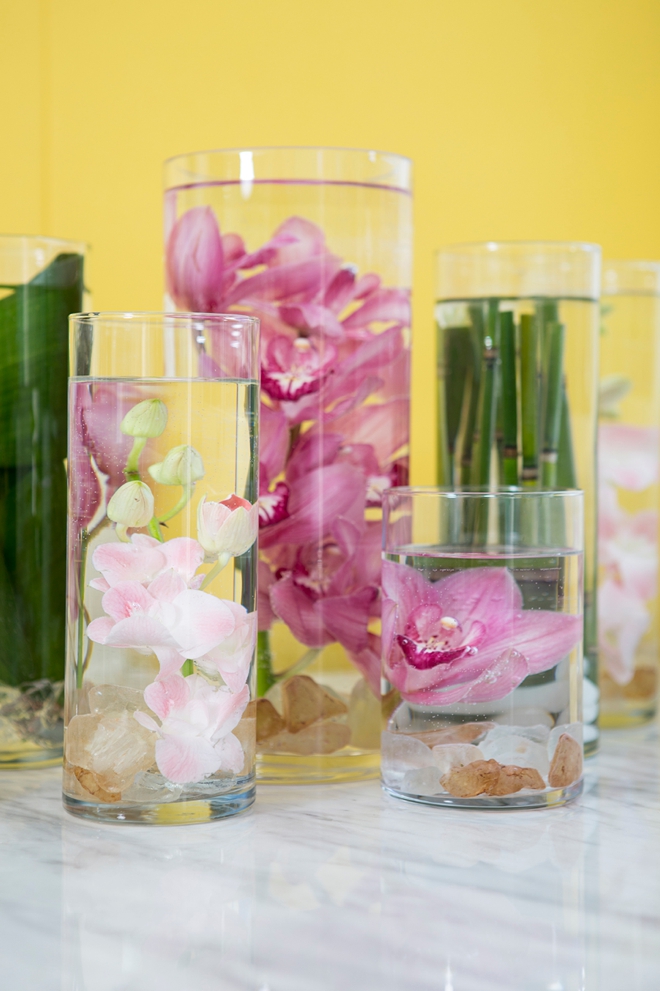
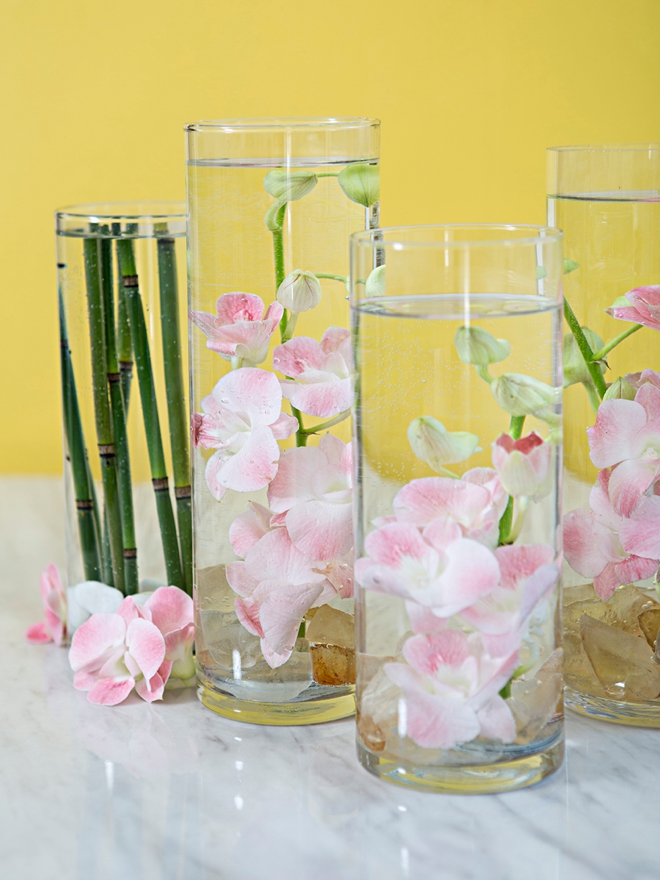
For our third DIY Flower feature with FiftyFlowers (you might remember our first one the floral hoop decor and our second the adorable mini-bouquets), today we’re sharing a professional trick for making submerged flower centerpieces! Here I’m using a FiftyFlowers DIY Flower Combo Pack, which is a thoughtfully curated collection of flowers and foliage, perfect for the DIY bride and projects like this. We’re immersing the most gorgeous orchids and tropical foliage into water, making show-stopping centerpieces that are as easy to make as they are pretty. My good friend Jaqueline is a currently retired, extremely talented florist, you might remember her from our Bouquet Blueprint features and she’s the one sharing this super easy, amazing trick with us today. Once you learn how easy it is, you’ll want to submerge flowers for all your different parties and events because they look so rich, with such little effort!
Orchid Colors
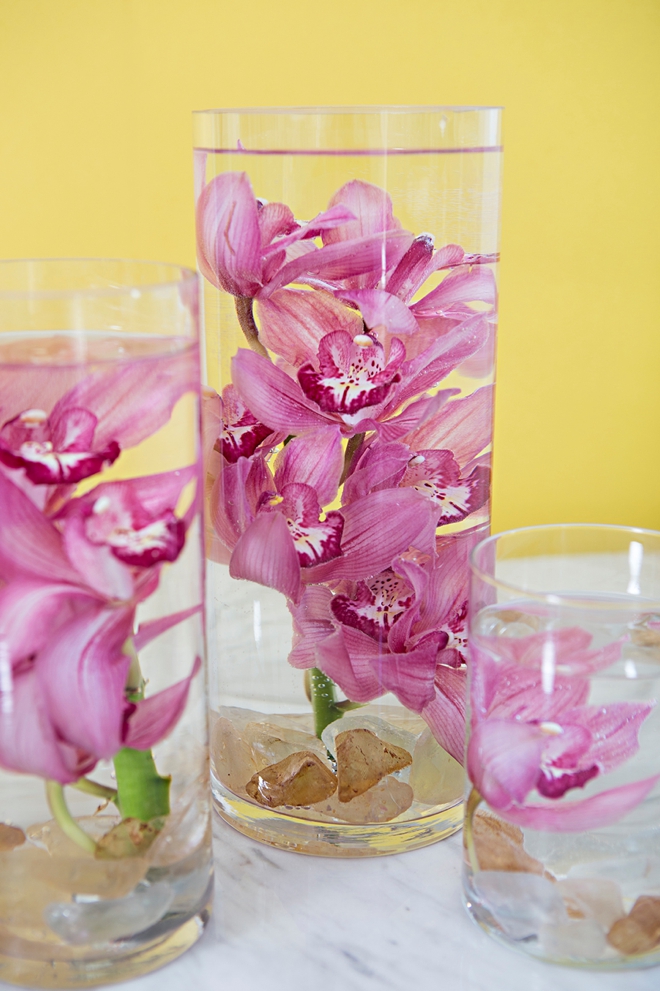
For this project we only recommend using natural-colored orchids, not died blooms. If the orchids or flowers you submerge have been tinted with an artificial color, that color can leach into the water!
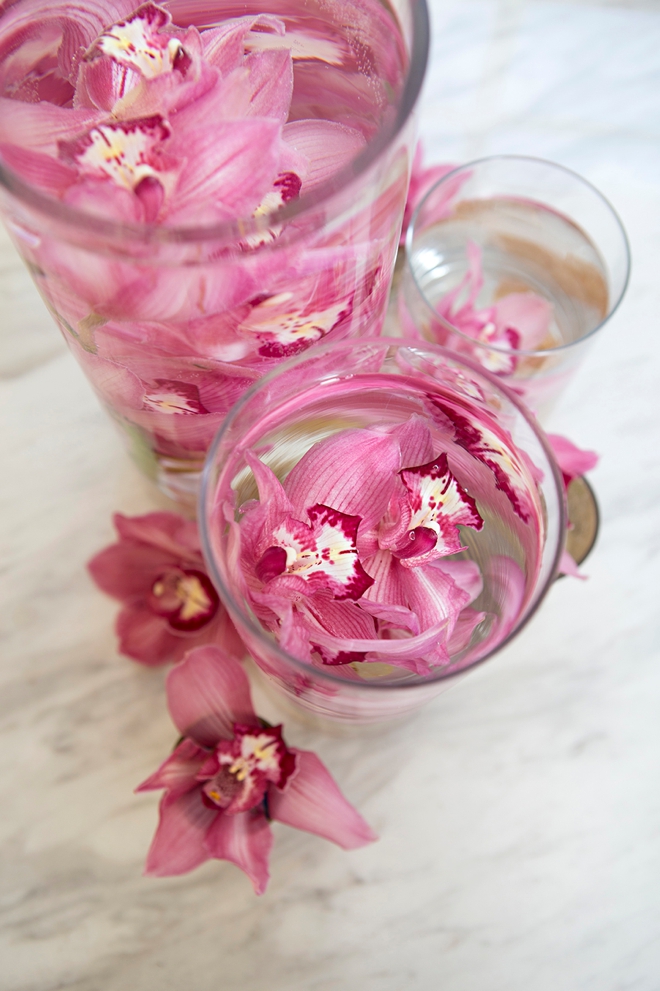
Orchids that are primarily white or have large areas of white coloring will turn clear after being submerged for 10-12 hours. Isn’t that interesting!?
SUPPLIES:
- Tropical Orchid Wedding Flower Package from FiftyFlowers.com
- Tall Glass Vases (at least 3″ wide)
- Pretty Filler Rocks
- Large Washers
- Wire Cutters
- 22 Gauge Floral Wire
- Flower Knife or Pruning Shears
- Windex Wipes
- 2 Hardware Store Buckets (to hold all the flowers)

DIY Flower Combo Packs
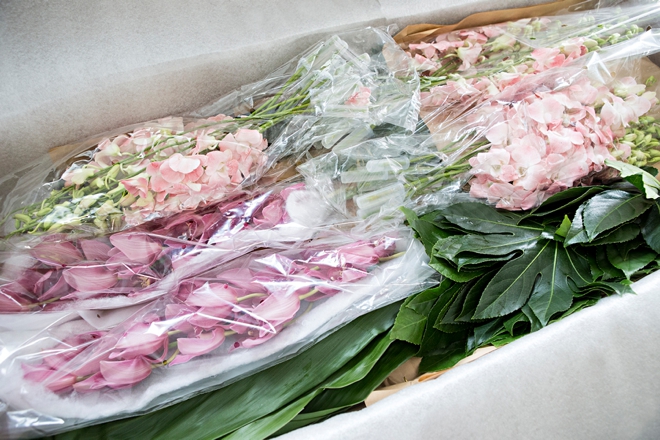
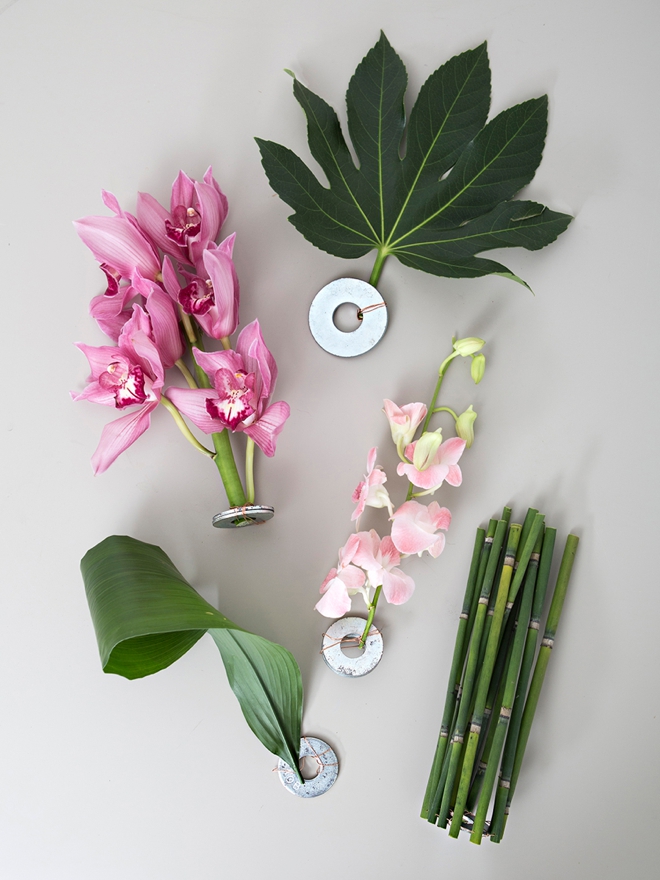
FiftyFlowers sells these awesome DIY flower combo packs that have been curated by color or style. They have everything you need to create well-styled floral designs. The pack I’m featuring today is the, Tropical Orchid Wedding Flower Package, it contains:
- Cymbidium Orchids, Hot Pink with Pink Lip
- Dendrobium Orchids, Don’t Make Me Blush Pink
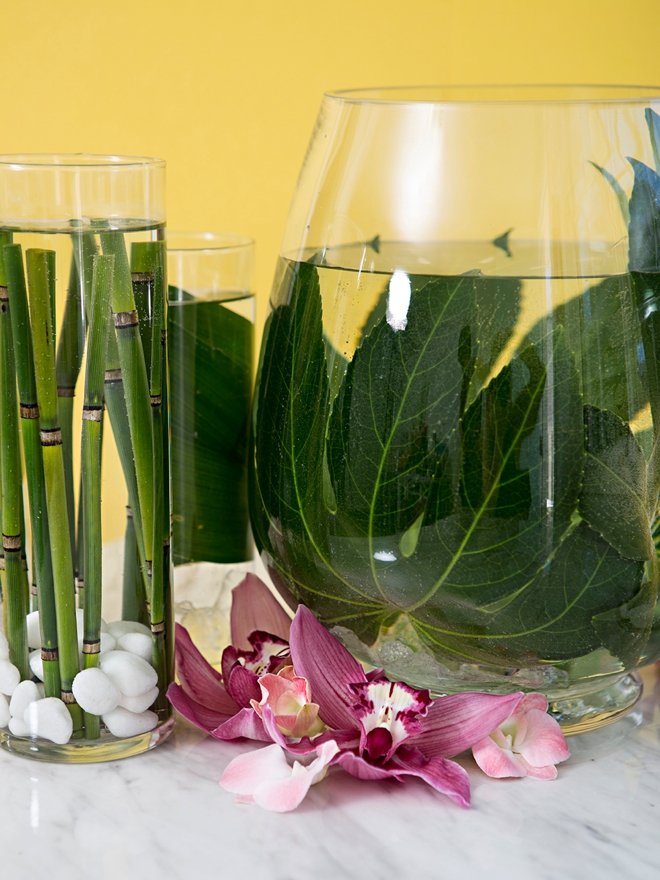
- Fatsia Leaves
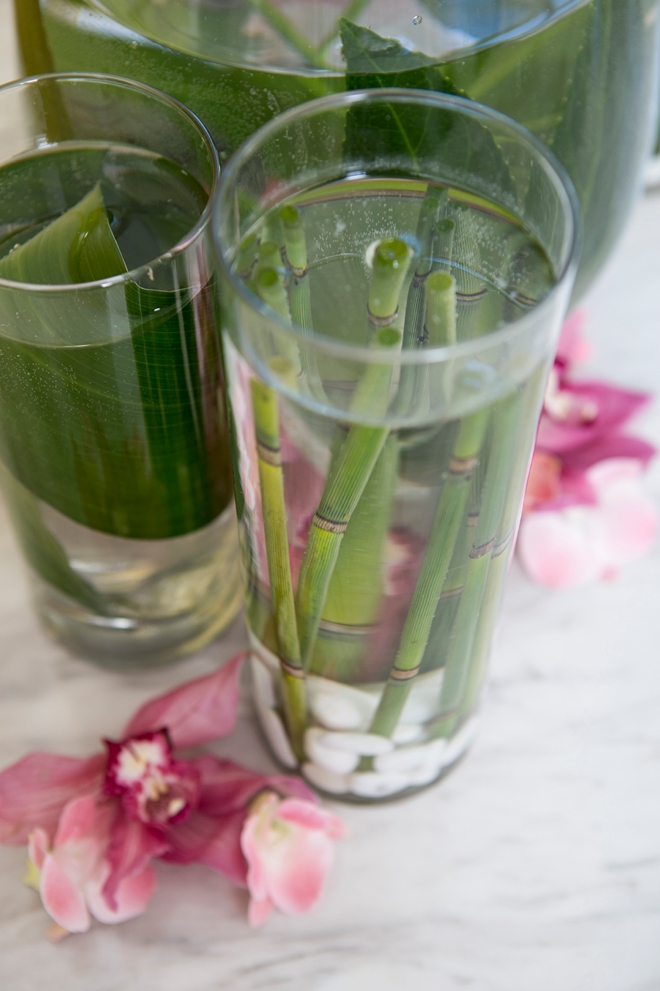
- Horsetail
- Cordyline Green Leaves (Ti Leaves)
- With this combo pack there are quite a few different color options to pick from!

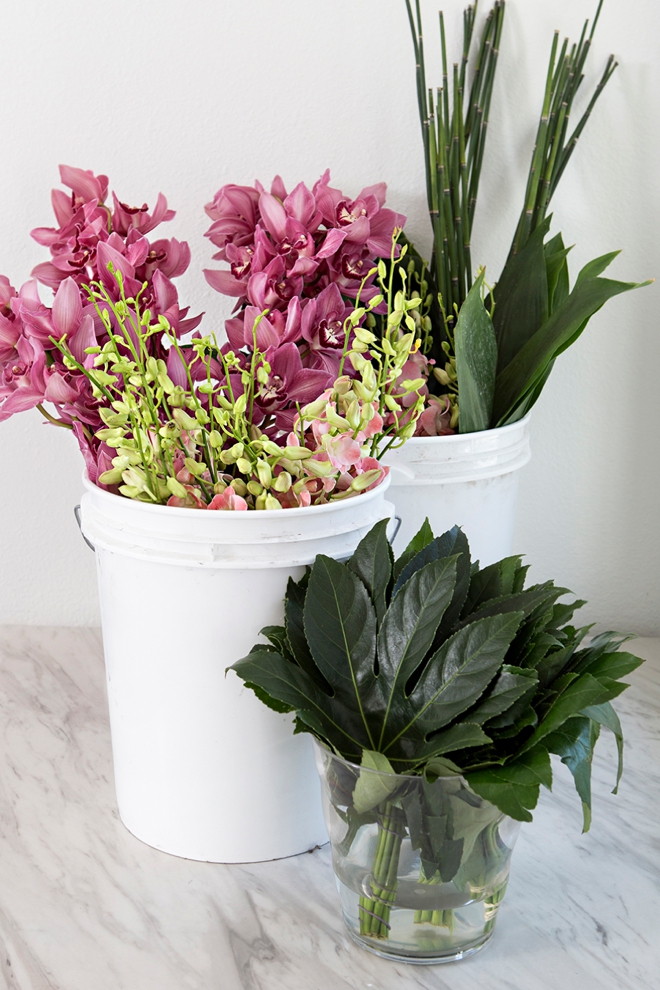
Reydrating
FiftyFlowers is a farm to customer, wholesale flower company. Which means that your flowers are shipped straight to you from the farm! They will arrive in large cardboard boxes.
- Using two hardware store style buckets, fill them up 1/4 of the way with water, make sure they are clean to start with.
- Carefully unbox and unpackage your flowers, per the instructions from FiftyFlowers. Each flower is different and their team can walk you through the prep for each flower if needed.
- It is 100% normal for your flowers to look a bit tired and lifeless, they’ve been on a long journey to you.
- Give each stem a fresh diagonal cut and place in the water to rehydrate for 4-12 hours.
- Keep out of the heat and sun while rehydrating.
Cleaning
This pack of flowers was incredibly easy to process, clean and prep for this project. Simply keep the water clean, changing it every 24 hours is recommended as the Horsetail can dirty the water quickly. Pull off any leaves or blooms that are damaged and that’s it!
Cut To Fit
Cut each orchid stem to fit the vase you’re using. It should be about 3″ shorter than the vase as you don’t want the flowers sticking out of the top. If there are many orchid buds at the top of the stem that haven’t opened, they won’t open so just cut them off to use the open blooms instead.
We were able to get at least 3 vases out of each individual orchid stem!
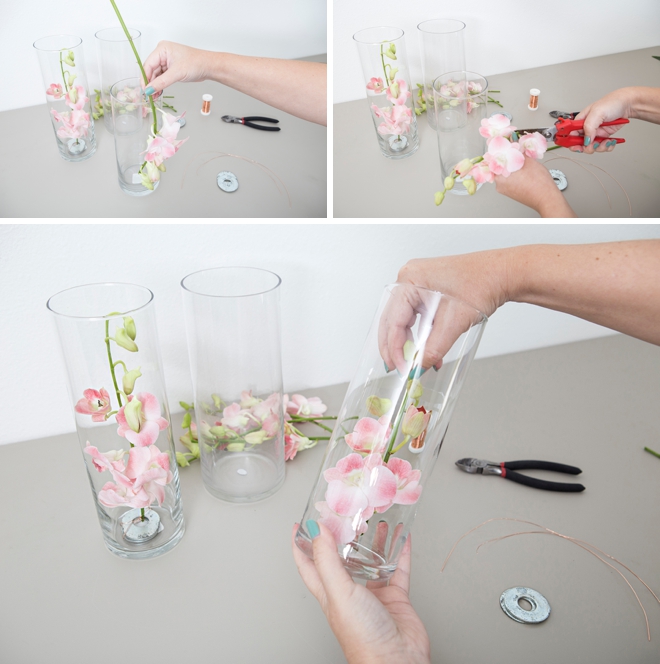
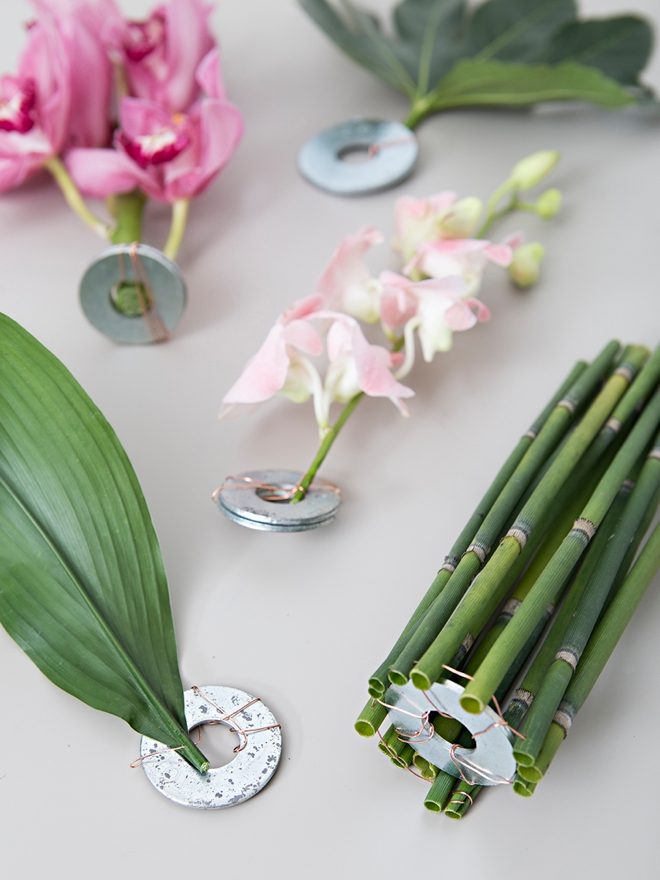
Washer Trick
Flowers will not normally stay submerged in water, it’s a physics thing. Jaqueline’s professional trick is to wire hardware store washers to the ends of each flower stem! Insert a 22 gauge floral wire through the end of the flower stem and wrap around and through two washers to secure… we’ll talk sizing next…
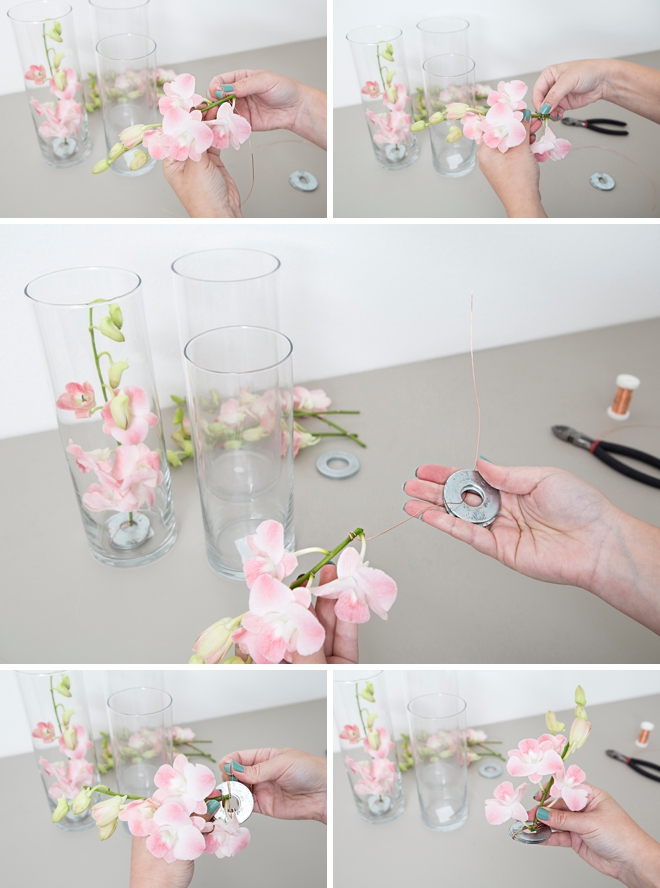
Washer Size
You’ll want to use washers that are 1.5″ to 1.75″ in diameter that total 1-2 ounces in weight per stem. Lighter stems require less weight, heavier stems require more weight. For the leaves we only used one 1.5″ washer that weighed 1 ounce. For the orchids we used two 1.5″ washers together that added a total weight of 2 ounces. Yes the washers will rust overtime but that could take 1-2 weeks of being submerged in the water, so you shouldn’t have that issue.
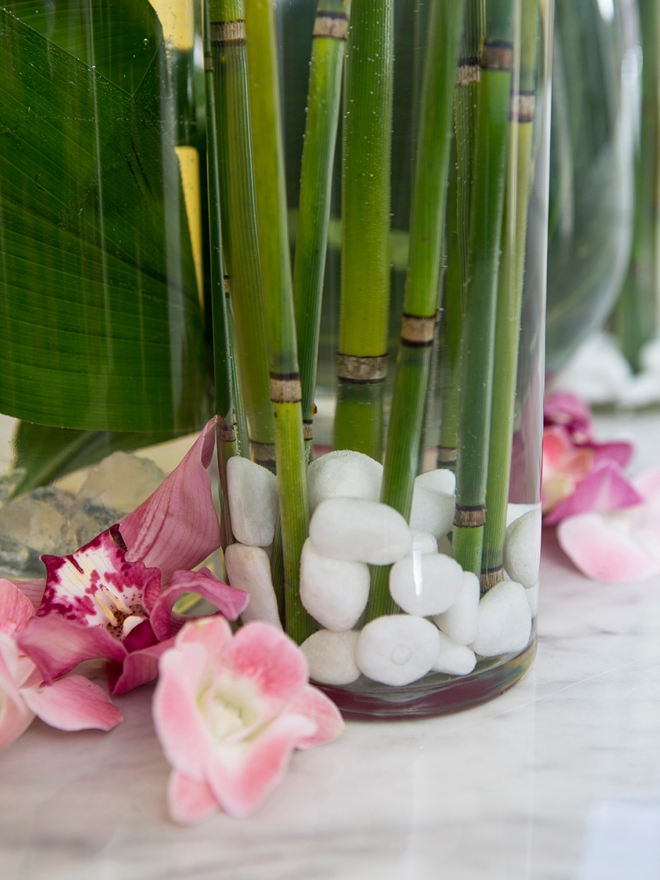
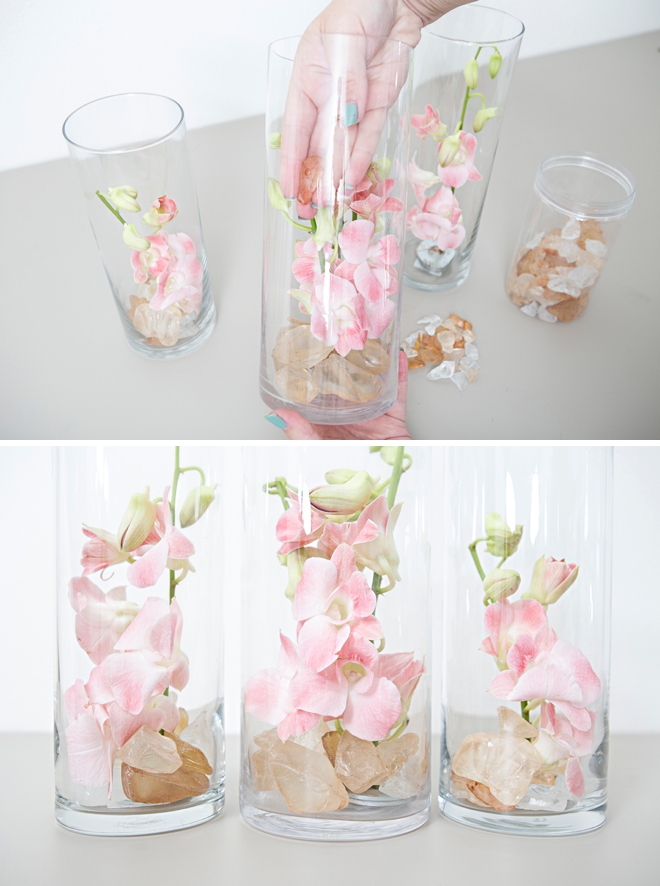
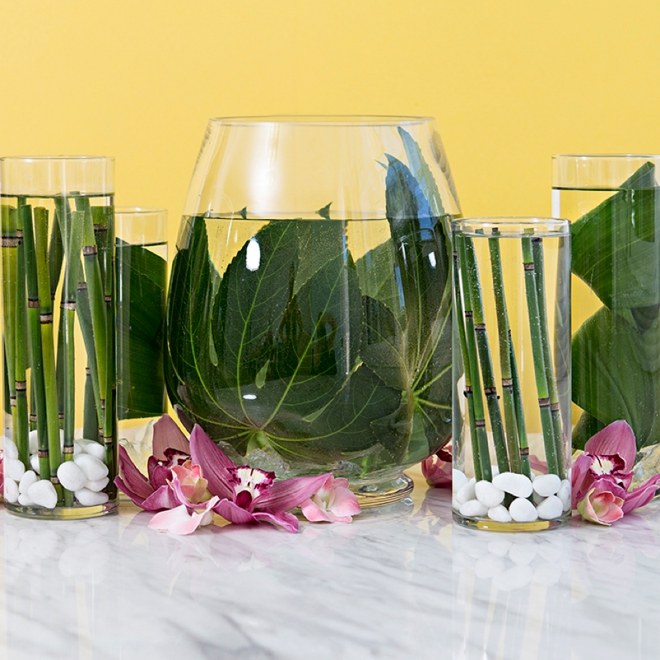
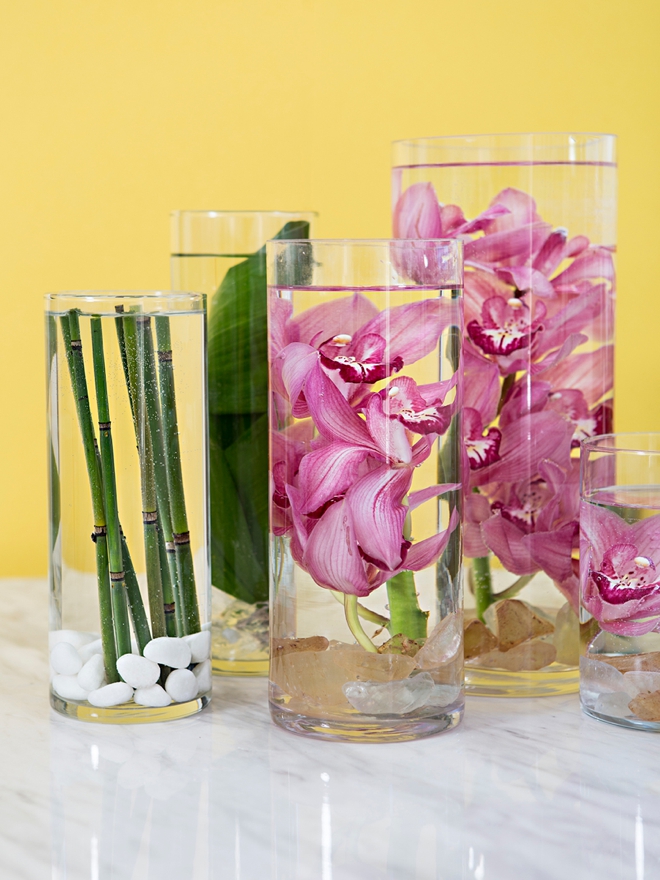
Add Rocks
Add 5-10 rocks to the bottom of each vase to add color, texture and to cover up the washer! You’ll want to use real rocks or stones for this project. Many acrylic styles will end up floating in the water! Some rocks might also have a layer of dirt on them, so if they look dusty or dirty give them a quick wash in a colander before you use them.
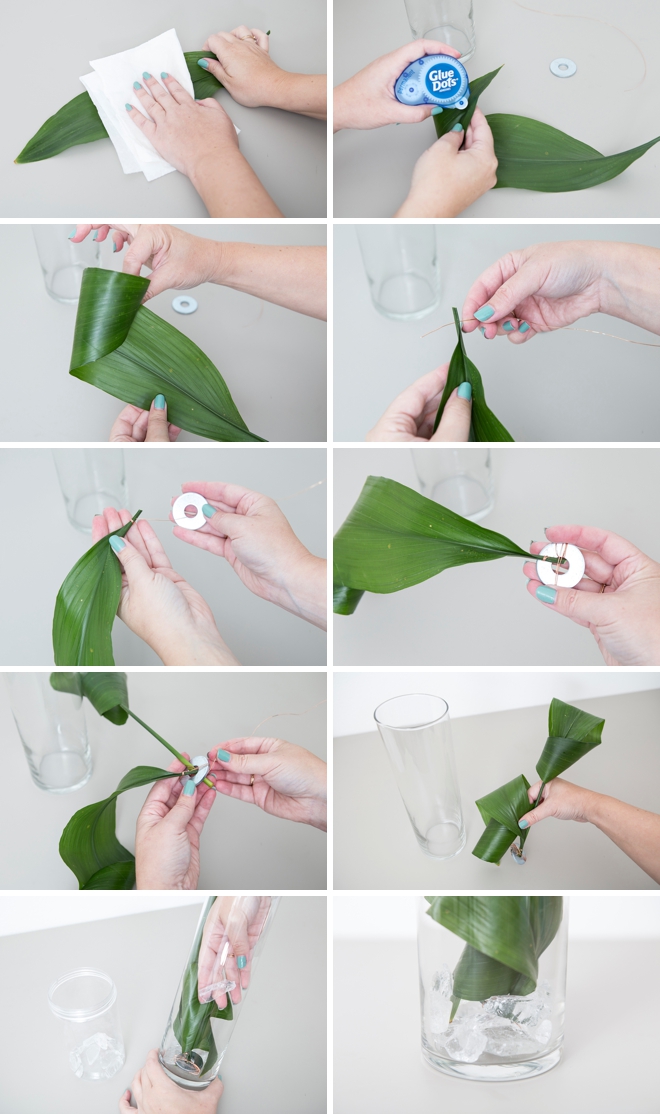
Wiring Leaves
Wiring leaves is the same as wiring flower stems. Insert the wire through the end of the stem then wrap around and through a washer or two. If you’re using large Ti Leaves like these, you can wrap them around themselves for more movement in the vase and secure using a permanent Glue Dot or the like. **Keep in mind, leaves can be shockingly dirty – so make sure to wipe them clean with water and paper towel, otherwise you’ll end up with dirty water!
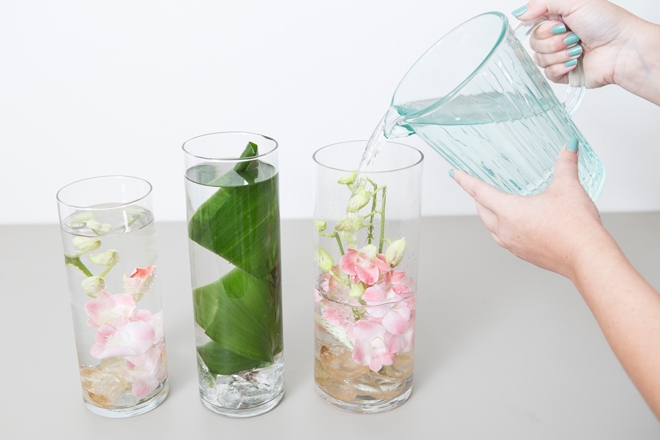
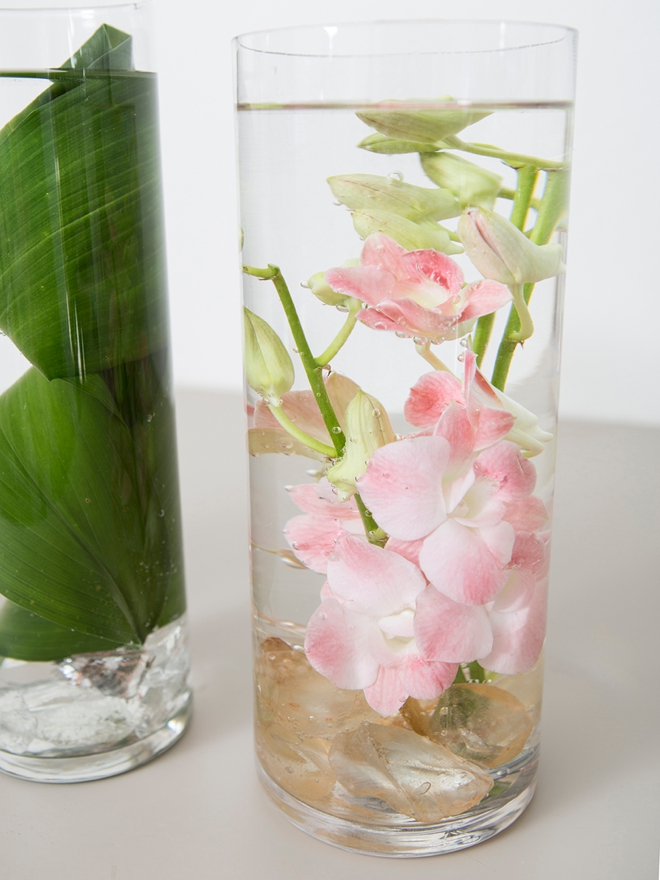
Carefully Add Water
Add water to fill each vase at least 1 hour before your event. The reason being is that there are bubbles that will show (see photo below) up and it takes about an hour or so for them to disappear. If making these off-site, fill the bottom of the vases with just 1″ of water to keep the stems hydrated then fill completely once you get to the venue.
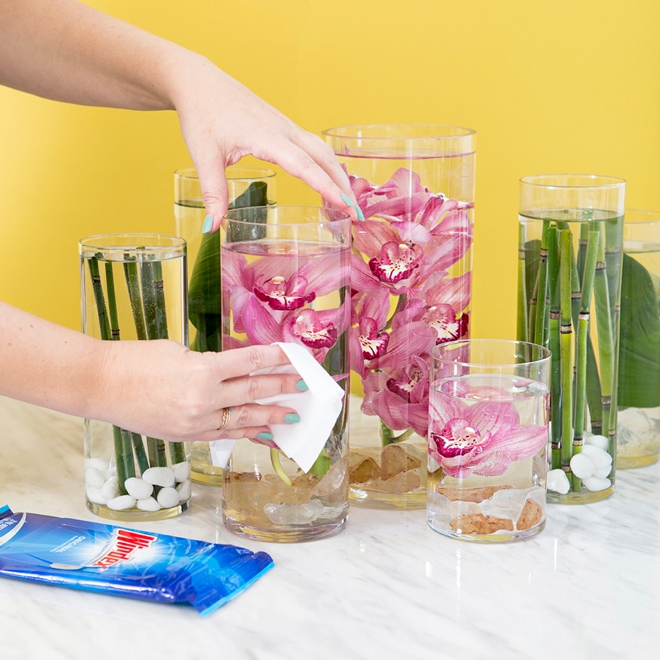
Clean The Vases
Since you’ll be handling the vases a lot, you’ll end up with lots of fingerprints and water spots so make sure to give them a quick Windex wipe before the event starts.
Floating Candles
It’s popular to float candles on the top of vases like this and if you want to to that, make sure to have at least 2″ of free water at the top of each vase (meaning make your flowers a bit shorter) and use a candle that is 1″ smaller than the opening of your vase.
DIY Tutorial Sponsored By:
FiftyFlowers is the customer-centric, online destination for wholesale wedding flowers, shipped fresh from the farm straight to your door! Inspired by the DIY bride, we offer an extensive selection of fresh flowers, greenery, and floral accessories because we believe anyone can create their own wedding flowers.
As with all our DIY tutorials, if you create one of our projects please send us a picture – We Love Seeing Your Creativity! If you use Instagram or Twitter please use the hashtag #SomethingTurquoiseDIY and it will show up on our Get Social page. Happy Crafting!
DIY Tutorial Credits
Photography + DIY Tutorial: Jen Causey of Something Turquoise // Flowers: courtesy of FiftyFlowers.com // Glass Vases: Michaels and Personal Collection // Washers: Personal Collection // Floral Wire: Amazon // Vase Rocks: Michaels and Personal Collection // Nail Polish: OPI – Withstands the Test of Thyme
Shop The Supplies:
Find the supplies you’ll need for this project from our affiliate links below:

Comments