
How to Use Cricut Infusible Ink – A Step-by-Step Guide
Are you a craftsperson wanting to make unique, colorful designs that last? If you wish to create a one-of-a-kind T-shirt, a custom mug as a birthday present, or a bridal party gift, then Cricut Infusible Ink is just the product you need. From tote bags and fabric cases to mugs and coasters, you can take personalization to the next level with this magical ink.
But what’s Cricut Infusible Ink, and how do you use it?
Keep reading to learn everything you need to know about this unique ink transfer technology. I’ll take you through the steps and help you complete your exclusive design project with a Cricut Infusible Transfer Sheet or Infusible Ink Pens.
So, let’s start by learning how to use Cricut Infusible Ink to make a personalized bag and cute coaster!
What Is Cricut Infusible Ink?
Cricut Infusible Ink is a specialized ink that directly “infuses” into compatible materials, such as T-shirts, bags, coasters, etc. In other words, it doesn’t sit on top like traditional heat-transfer vinyl (or HTV) or iron-on materials.
The result is clean, vibrant, and long-lasting designs that WON’T flake, peek, crack, or wrinkle because the transfers become one with the material.
The Cricut Infusible Ink products include Infusible Ink Transfer Sheets or Infusible Ink Pens and Markers, which you can use to design your artwork freestyle.
How Does Cricut Infusible Ink Work?
The Cricut Infusible Ink products work via a sublimation process. This means that the solid material (the ink) turns directly into gas, skipping the liquid stage. Once the gas permeates the material, be it a T-shirt or a ceramic coaster, it becomes a solid substance again (and part of the material) when it dries out. This is what makes Cricut Infusable Ink so desirable. The designs made with it are durable and look as if they’ve just come out of the factory.
What Does Cricut Infusible Ink Do?
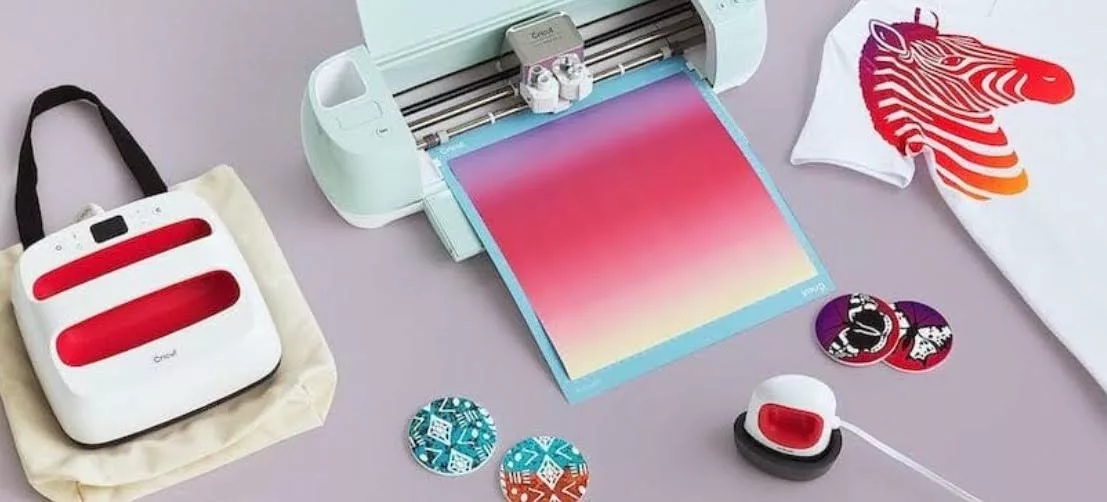
Cricut Infusible Ink lets you craft unique, long-lasting, and fade-resistant designs on compatible materials, such as polyester fabric and items made of ceramic, acrylic, aluminum, glass, untreated wood, and more. It’s ideal for creating personalized gifts or clothing and can be used in various home decor projects.
Can You Use Cricut Infusible Ink on Any Material?
You cannot use Cricut Infusible Ink on any material. While you don’t necessarily need to use Cricut blanks (though I recommend it for consistent results); the material you want to personalize has to be compatible with Cricut products. The Infusible Ink transfer technology is effective if used on polymer-coated or polyester-based blanks to achieve a permanent bond between the ink and the base material.
Until you get confident in selecting your materials for Cricut Infusible Ink, I recommend sticking with Cricut-branded Infusible Ink blanks, at least for your first few projects.
How To Use Cricut Infusible Ink: A Step-by-Step Guide
I’ve picked two easy and beginner-friendly design projects that you can try using Cricut Infusible Ink Transfer Sheets and Cricut Infusible Ink Pens and Markers. In the first one, you’ll make a lovely cosmetic bag. Once you get familiarized with the transfer sheet process, you can have a go at personalizing a T-shirt in the same way.
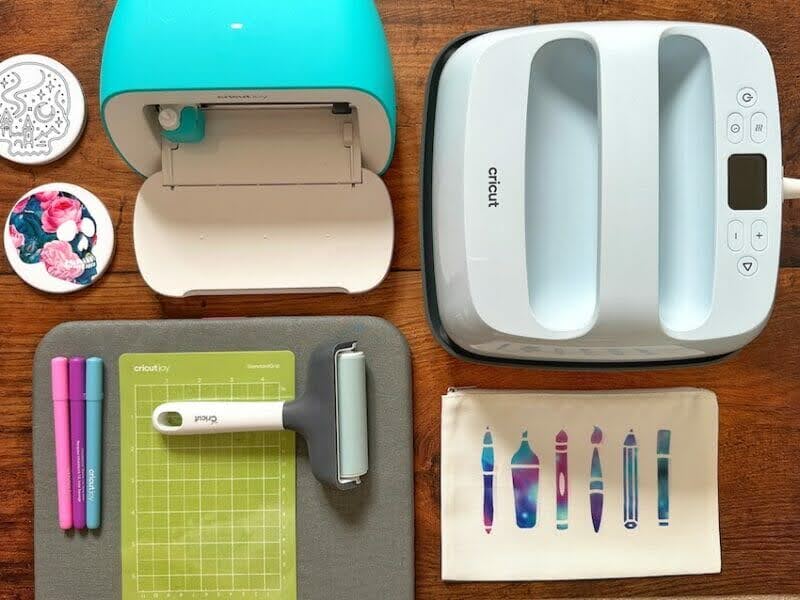
Cricut Infusible Ink: Materials and Supplies
Here’s the list of materials you’ll need to complete BOTH projects:
- Cricut Joy, Cricut Explore Air 2, Cricut Explore 3, Cricut Maker or Cricut Maker 3
- Cricut Fine Point Blade (the one it comes with)
- Design Space software on a mobile device or computer
- Infusible Ink Pens and Markers
- Cricut Infusible Ink Transfer Sheets
- A Cricut bag blank (or a compatible garment)
- Cricut Ceramic Coaster Blank
- Cricut Light Grip cutting mat (blue)
- Cricut EasyPress 2 or 3*
- Cricut EasyPress mat
- Heat Resistant Tape
- Butcher paper
- Laser copy paper
- White cardstock
- Lint-free cloth
- Scissors
- Lint roller
How to Use Cricut Infusible Ink Transfer Sheets: The Cosmetic Bag Project
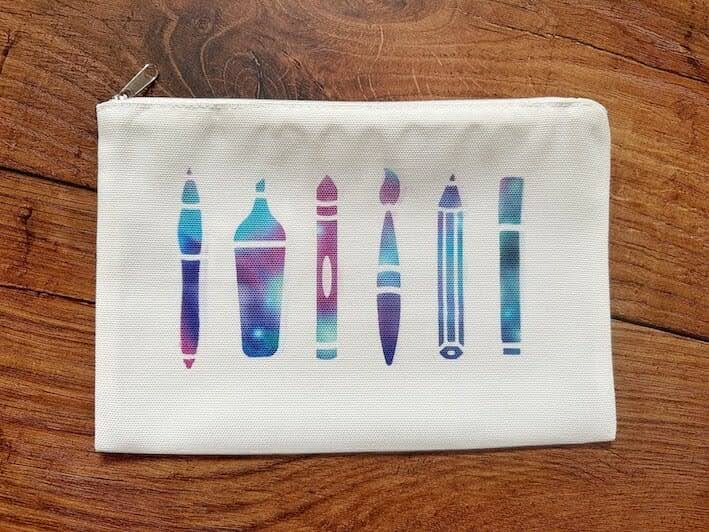
For personalizing and decorating your cosmetic bag you’ll use a Cricut Infusible Transfer Sheet. You can employ this method on T-shirts, tote bags, pillow covers, and more. Just follow the simple steps below:
Step 1: Prepare Your Design
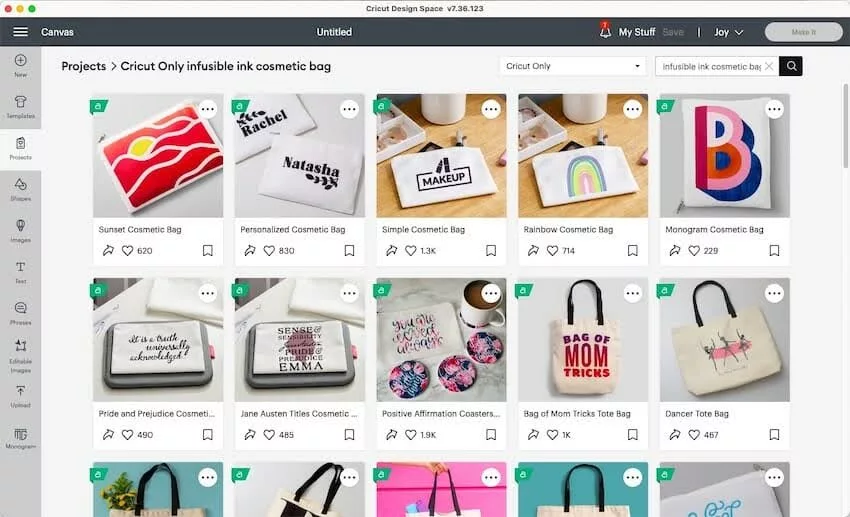
- Select a design from the Design Space or upload your own.
- Set the operation to “Cut” from the top menu bar.
- Ensure your design is compatible with the bag’s size (allow some space from the edges to avoid patchy results during the transfer process).
- Click “Make It”.
Step 2: Cut Your Design
- Connect your Cricut machine via Bluetooth or a cable, and choose your mat type and size.
- Use the left-hand side menu to mirror your design and select Invisible Ink Transfer Sheet as the base material.
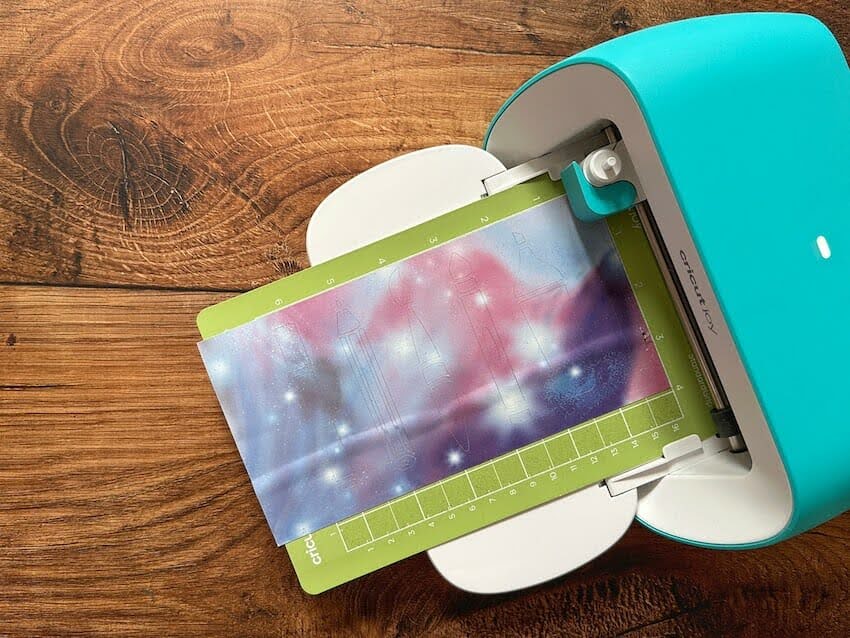
- Load the Transfer Sheet placed on the cutting mat (with the liner side facing down) into the Cricut machine and press ‘Go’.
- Unload the mat once the design is complete and remove the transfer sheet.
- Roll and press it gently to make the cut lines visible, so you can separate the design easily using tweezers.
Step 3: Apply Your Design
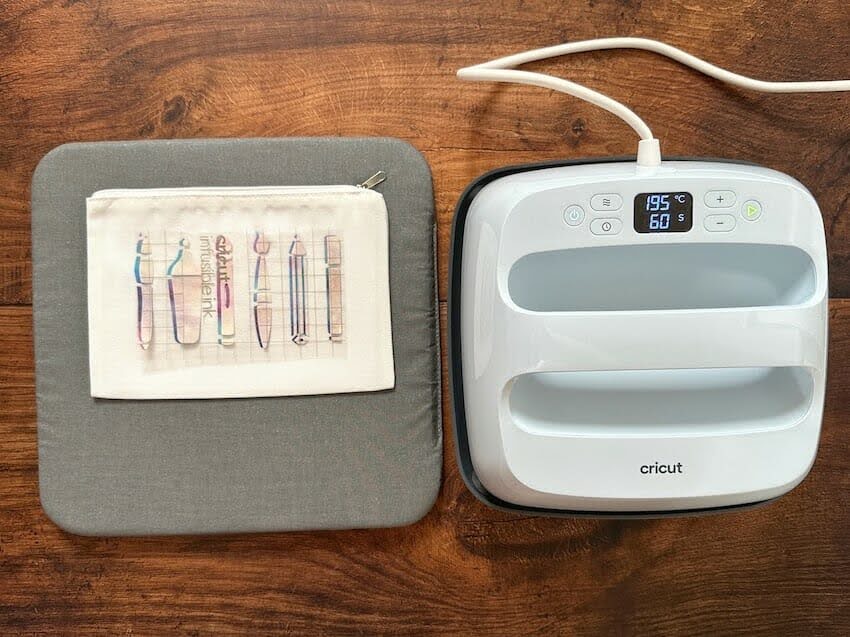
- Clean the bag with a lint roller and pre-heat it at 385°F (or 195°C) for 15 seconds to remove any moisture and creases. Then, cover it with butcher paper.
- Place your cut and weeded design liner (with side up) onto your project, ensuring it’s centered, straight, and not too near the seams or zipper.
- Secure your design with Cricut Heat Proof Tape if using an EasyPress Mini. For an EasyPress 3, use the Cricut Heat app to select your project and transfer the settings via Bluetooth.
- If using a Cricut EasyPress 2, set your EasyPress to 385°F (or 195°C) for 60 seconds (or 40 seconds for a tote bag, T-shirt, or baby bodysuit). For an EasyPress Mini, set it to “High” heat and set a timer for 75 seconds.
- Lower your EasyPress directly onto your project, applying light and even pressure. Set the timer ON.
- Once the timer goes off, carefully lift your EasyPress; remove the butcher paper and Transfer Sheet while still warm.
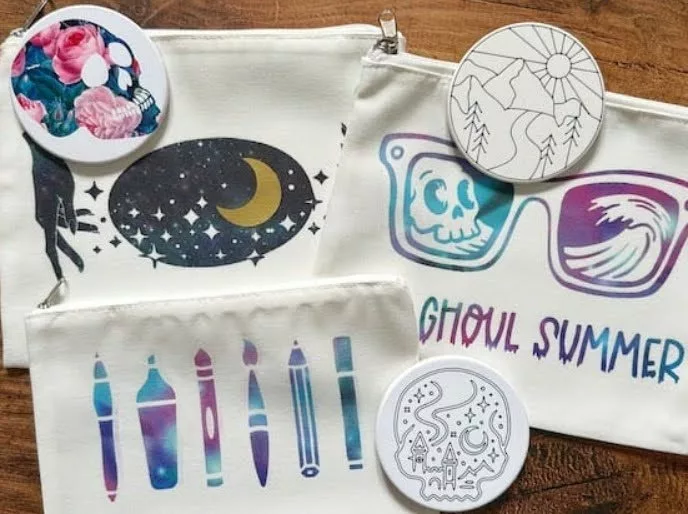
Your professional-looking ink-infused cosmetic bag is now ready to use! To prolong its life, machine-wash it on cold; don’t use bleach; tumble dry on low, and iron on medium heat without steam.
How to Use Cricut Infusible Ink Pens and Markers: The Ceramic Coaster Project
Cricut Infusible Ink Pens and Markers are ideal for customizing a blank ceramic coaster in a few steps, described below:
Step 1: Prepare Your Design
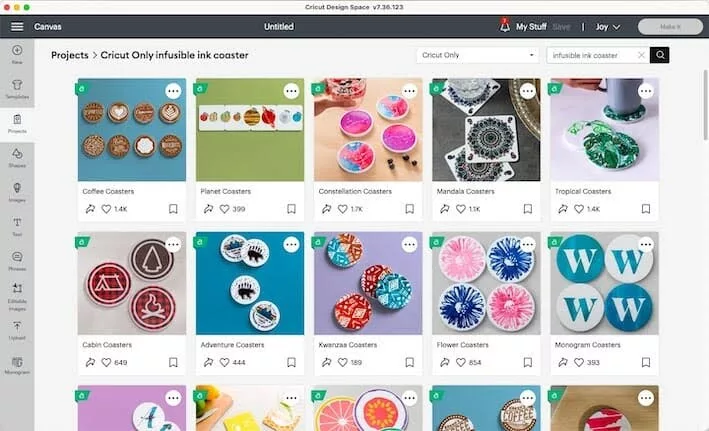
- Select a design from the Cricut Design Space or upload your own.
- Setting the operation to “Draw”, assign the correct Cricut Infusible Ink Pen or Marker from the drop-down menu.
- Ensure your design for Cricut Ceramic Coasters measures 3.5” (or 8.9 cm) across. Next, hit the “Make It” option.
Step 2: Draw Your Design(s)
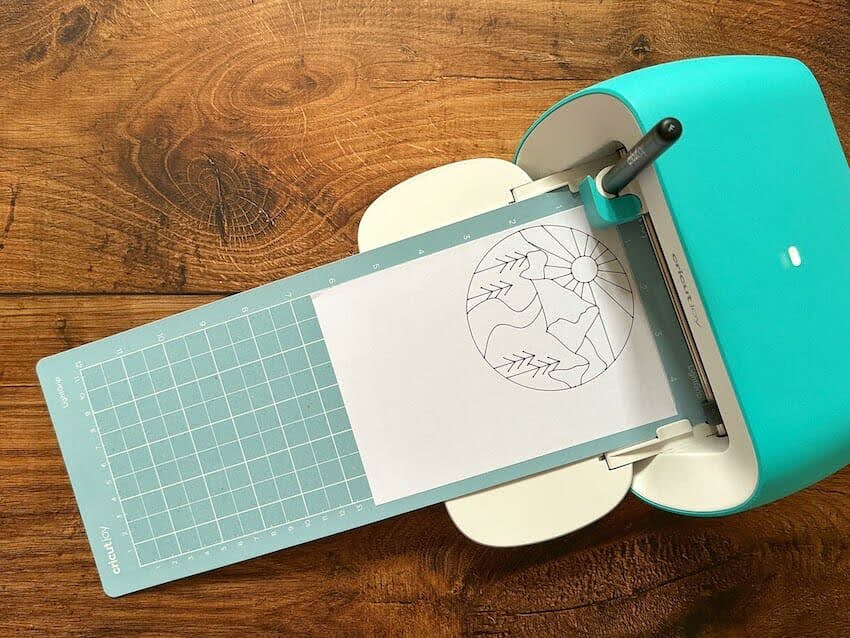
- Connect your Cricut machine via Bluetooth or a cable. Once done, select the mat type and size.
- Use the menu on the left-hand side to mirror your design and set “laser copy paper” as the base material.
- Load your Cricut Infusible Ink Pen or Marker. Click “Go”.
- Unload your mat when your design is complete and bend the mat away from the laser copy paper to remove it.
- If you want to color some areas of your design with Cricut Infusible Ink Pen or Marker, you can do so now!
Note: If your design uses more than one type or color of pen, Design Space will prompt you when to load them.
Step 3: Apply Your Design(s)
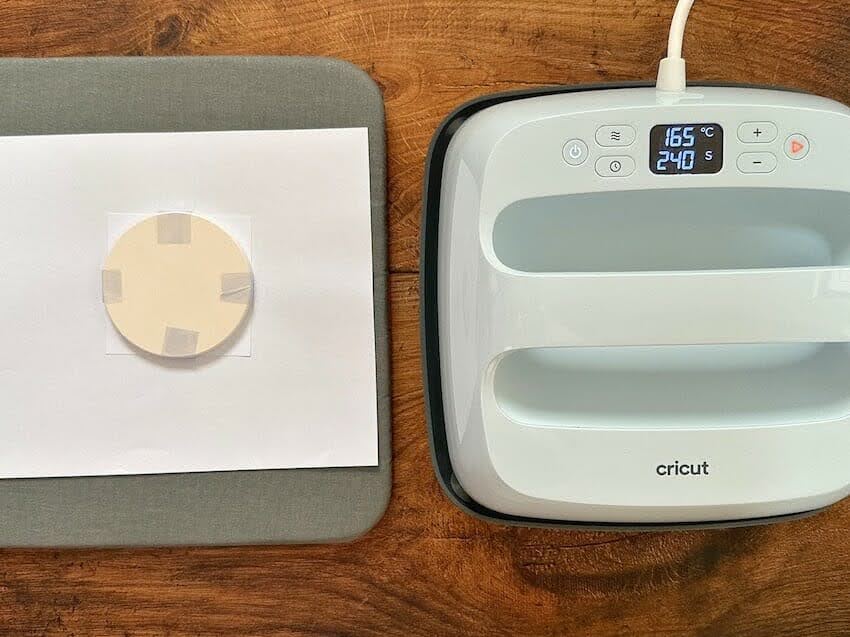
- Clean your coaster blank using a lint-free cloth and cover the Cricut EasyPress Mat with white cardstock to protect it from Cricut Infusible Ink.
- Place your laser copy paper with the design on your coaster and fix it using the Cricut Heat Resistant Tape.
- Flip your coaster over, so that the design faces down to your EasyPress mat. Use butcher paper to cover your coaster.
- For an EasyPress 3, use the Cricut Heat app to select your project and transfer the settings via Bluetooth. If you’re using Cricut EasyPress 2, set the EasyPress to 400°F (or 205°C) for 240 seconds.
- Gently lower your EasyPress down onto your coaster. Press the countdown timer for 240 seconds.
- Lift your EasyPress upwards once the timer stops.
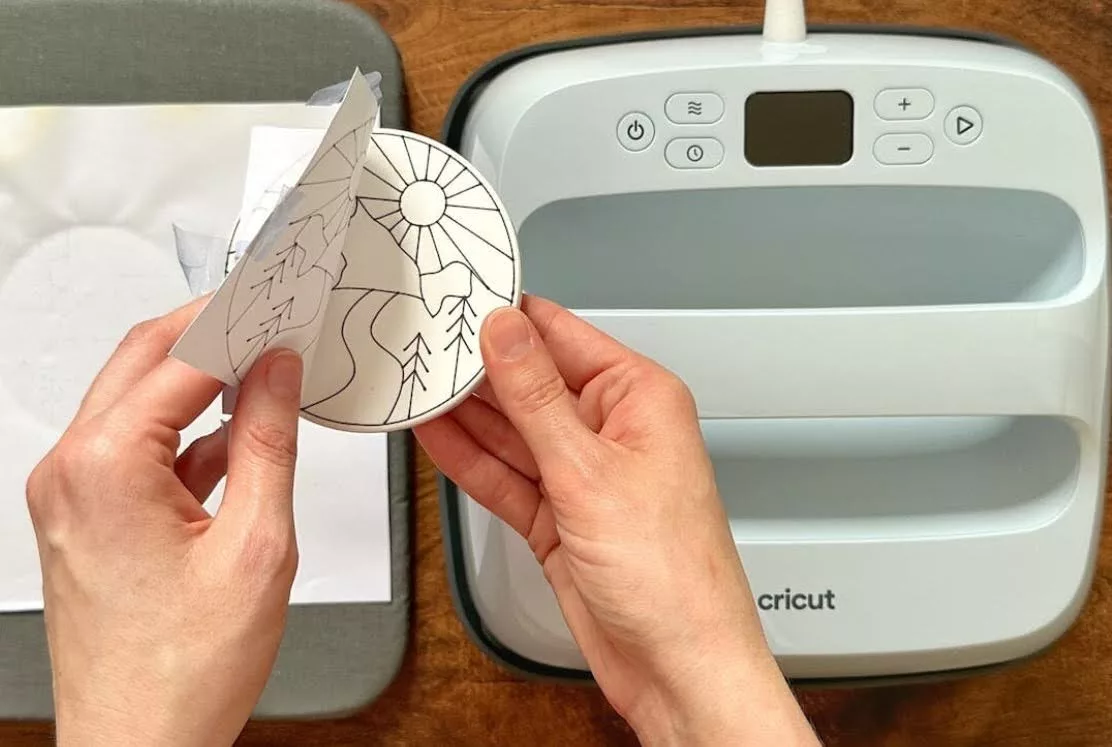
- Your ceramic coaster will be VERY HOT right now. Thus, wait until it cools down slightly, then remove the butcher paper, tape, and laser copy paper.
Congratulations, your ceramic coaster is ready to impress! Don’t wash it in the dishwasher or use abrasive cleaning products. Clean your coaster with mild soap and warm water, or use glass cleaner and a lint-free cloth.
Tips on How to Use Cricut Infusible Ink
If you’re a first-time user of Cricut Infusible Ink, these handy tips will help you master it in no time:
- Use only Cricut Infusible Ink compatible blanks.
- Wash and dry your hands before handling Cricut Infusible Ink Transfer Sheets and blanks.
- Double-check to mirror your design before cutting.
- Carefully weed away excess material from your design.
- Infusible Ink sheets are more delicate than vinyl, so handle them carefully.
- Wipe off any dust or debris from the surface of your items using a lint-free cloth or lint roller (for fabrics). This will ensure no interference with the Cricut Infusible Ink transfer process.
- Use the correct temperature and pressure settings for best results.
- Inspect your project for imperfections, like missed spots; repeat the pressing with fresh butcher paper.
- Store unused Infusible Ink sheets in a cool, dry place.
- Never reuse cardstock or butcher paper for another project!
How to Use Cricut Infusible Ink: FAQs
Q: Is Cricut Infusible Ink the same as sublimation?
A: Pretty much, yes! Cricut Infusible Ink uses the same process as sublimation printing, but Cricut has simplified it to make it easy and accessible for everyone to do at home.
Q: How long does Cricut Infusible Ink last on shirts?
A: Indefinitely! Cricut Infusible Ink becomes one with the material, unlike other heat transfer systems that use an adhesive and may eventually crack. Hence, designs made with Cricut products would never flake, peel, or wrinkle.
Q: Do you have to use Cricut brand Infusible Ink?
A: While you can use non-Cricut brand Infusible Ink for your projects, the results may fail to meet your expectations. In addition, using non-Cricut branded sublimation sheets or pens with your cutting machine may also violate its warranty.
Q: Do I have to be an experienced crafter to use Infusible Ink?
A: No, not all! That’s the best advantage of Cricut Infusible Ink. Cricut has highly simplified the sublimation process to make it accessible for everyone to do at home!
Q: Can I use Cricut Infusible Ink on regular paper?
A: There is hardly any difference between transfers, done on regular and laser printer paper. Still, Cricut recommends using the latter.
Final Thoughts
That’s how to use Cricut Infusible Ink to print creative designs on select base materials, from ceramic coasters and mugs to polyester cosmetic bags, T-shirts, and tote bags. Whether you want to create a beautiful fabric case for a gift or design matching tees for a family holiday, the power of Cricut Infusible Ink is now in your hands!
I hope you’ve found this blog post helpful and are ready to use Cricut Infusible Ink!
Happy crafting!
25:

Comments