
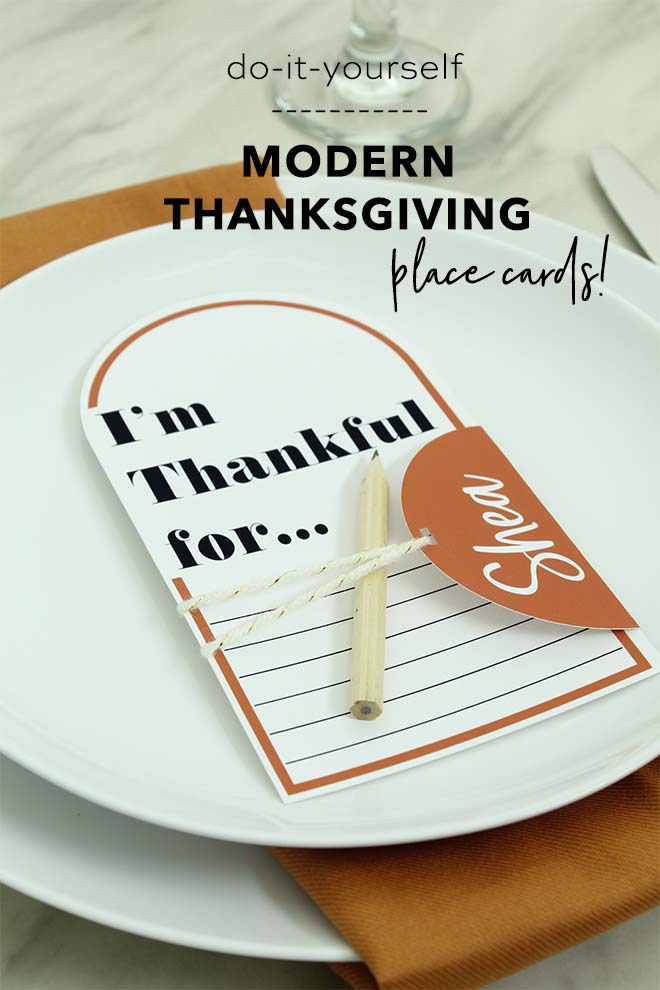
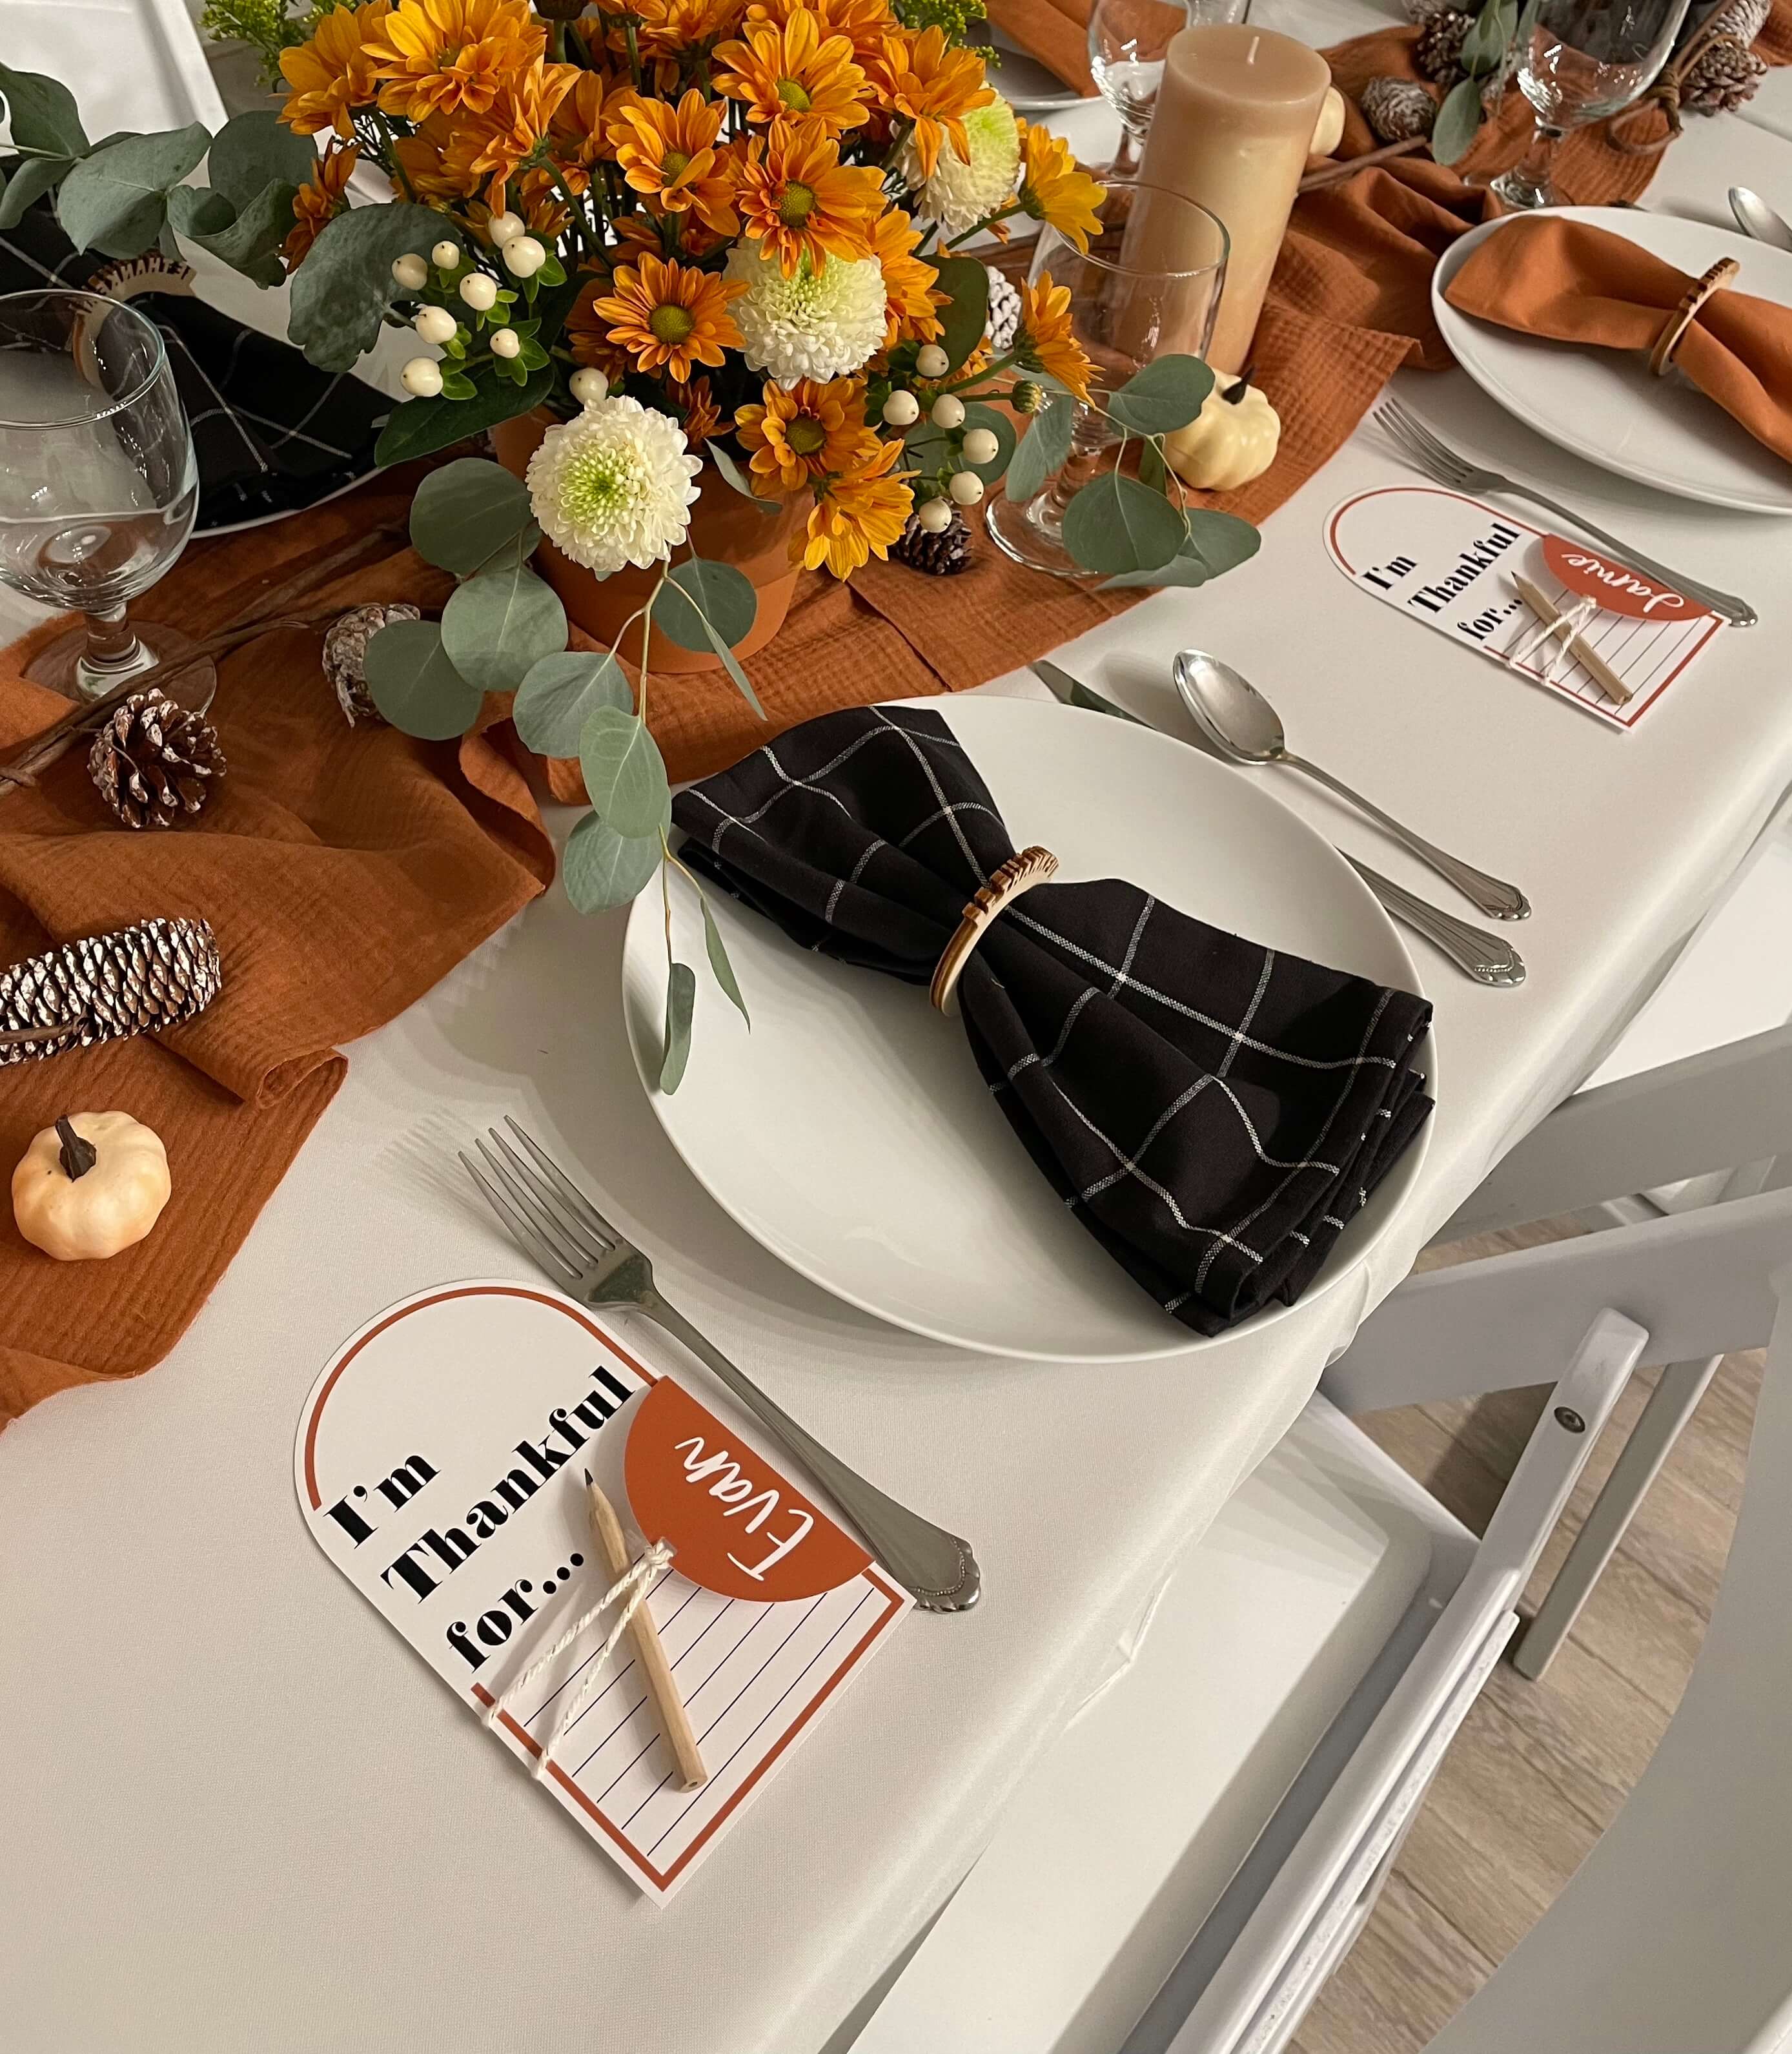
DIY Modern Thanksgiving Place Cards
Uuuum HOW is is Thanksgiving TOMORROW!? I still think it’s 2020 most days and not only is it definitely NOT 2020 anymore, but 2021 is almost over! If you’re like me and a little behind on your Thanksgiving prep but you’ve got your trusty Cricut handy, I’ve got an easy DIY for you to elevate your Thanksgiving table.
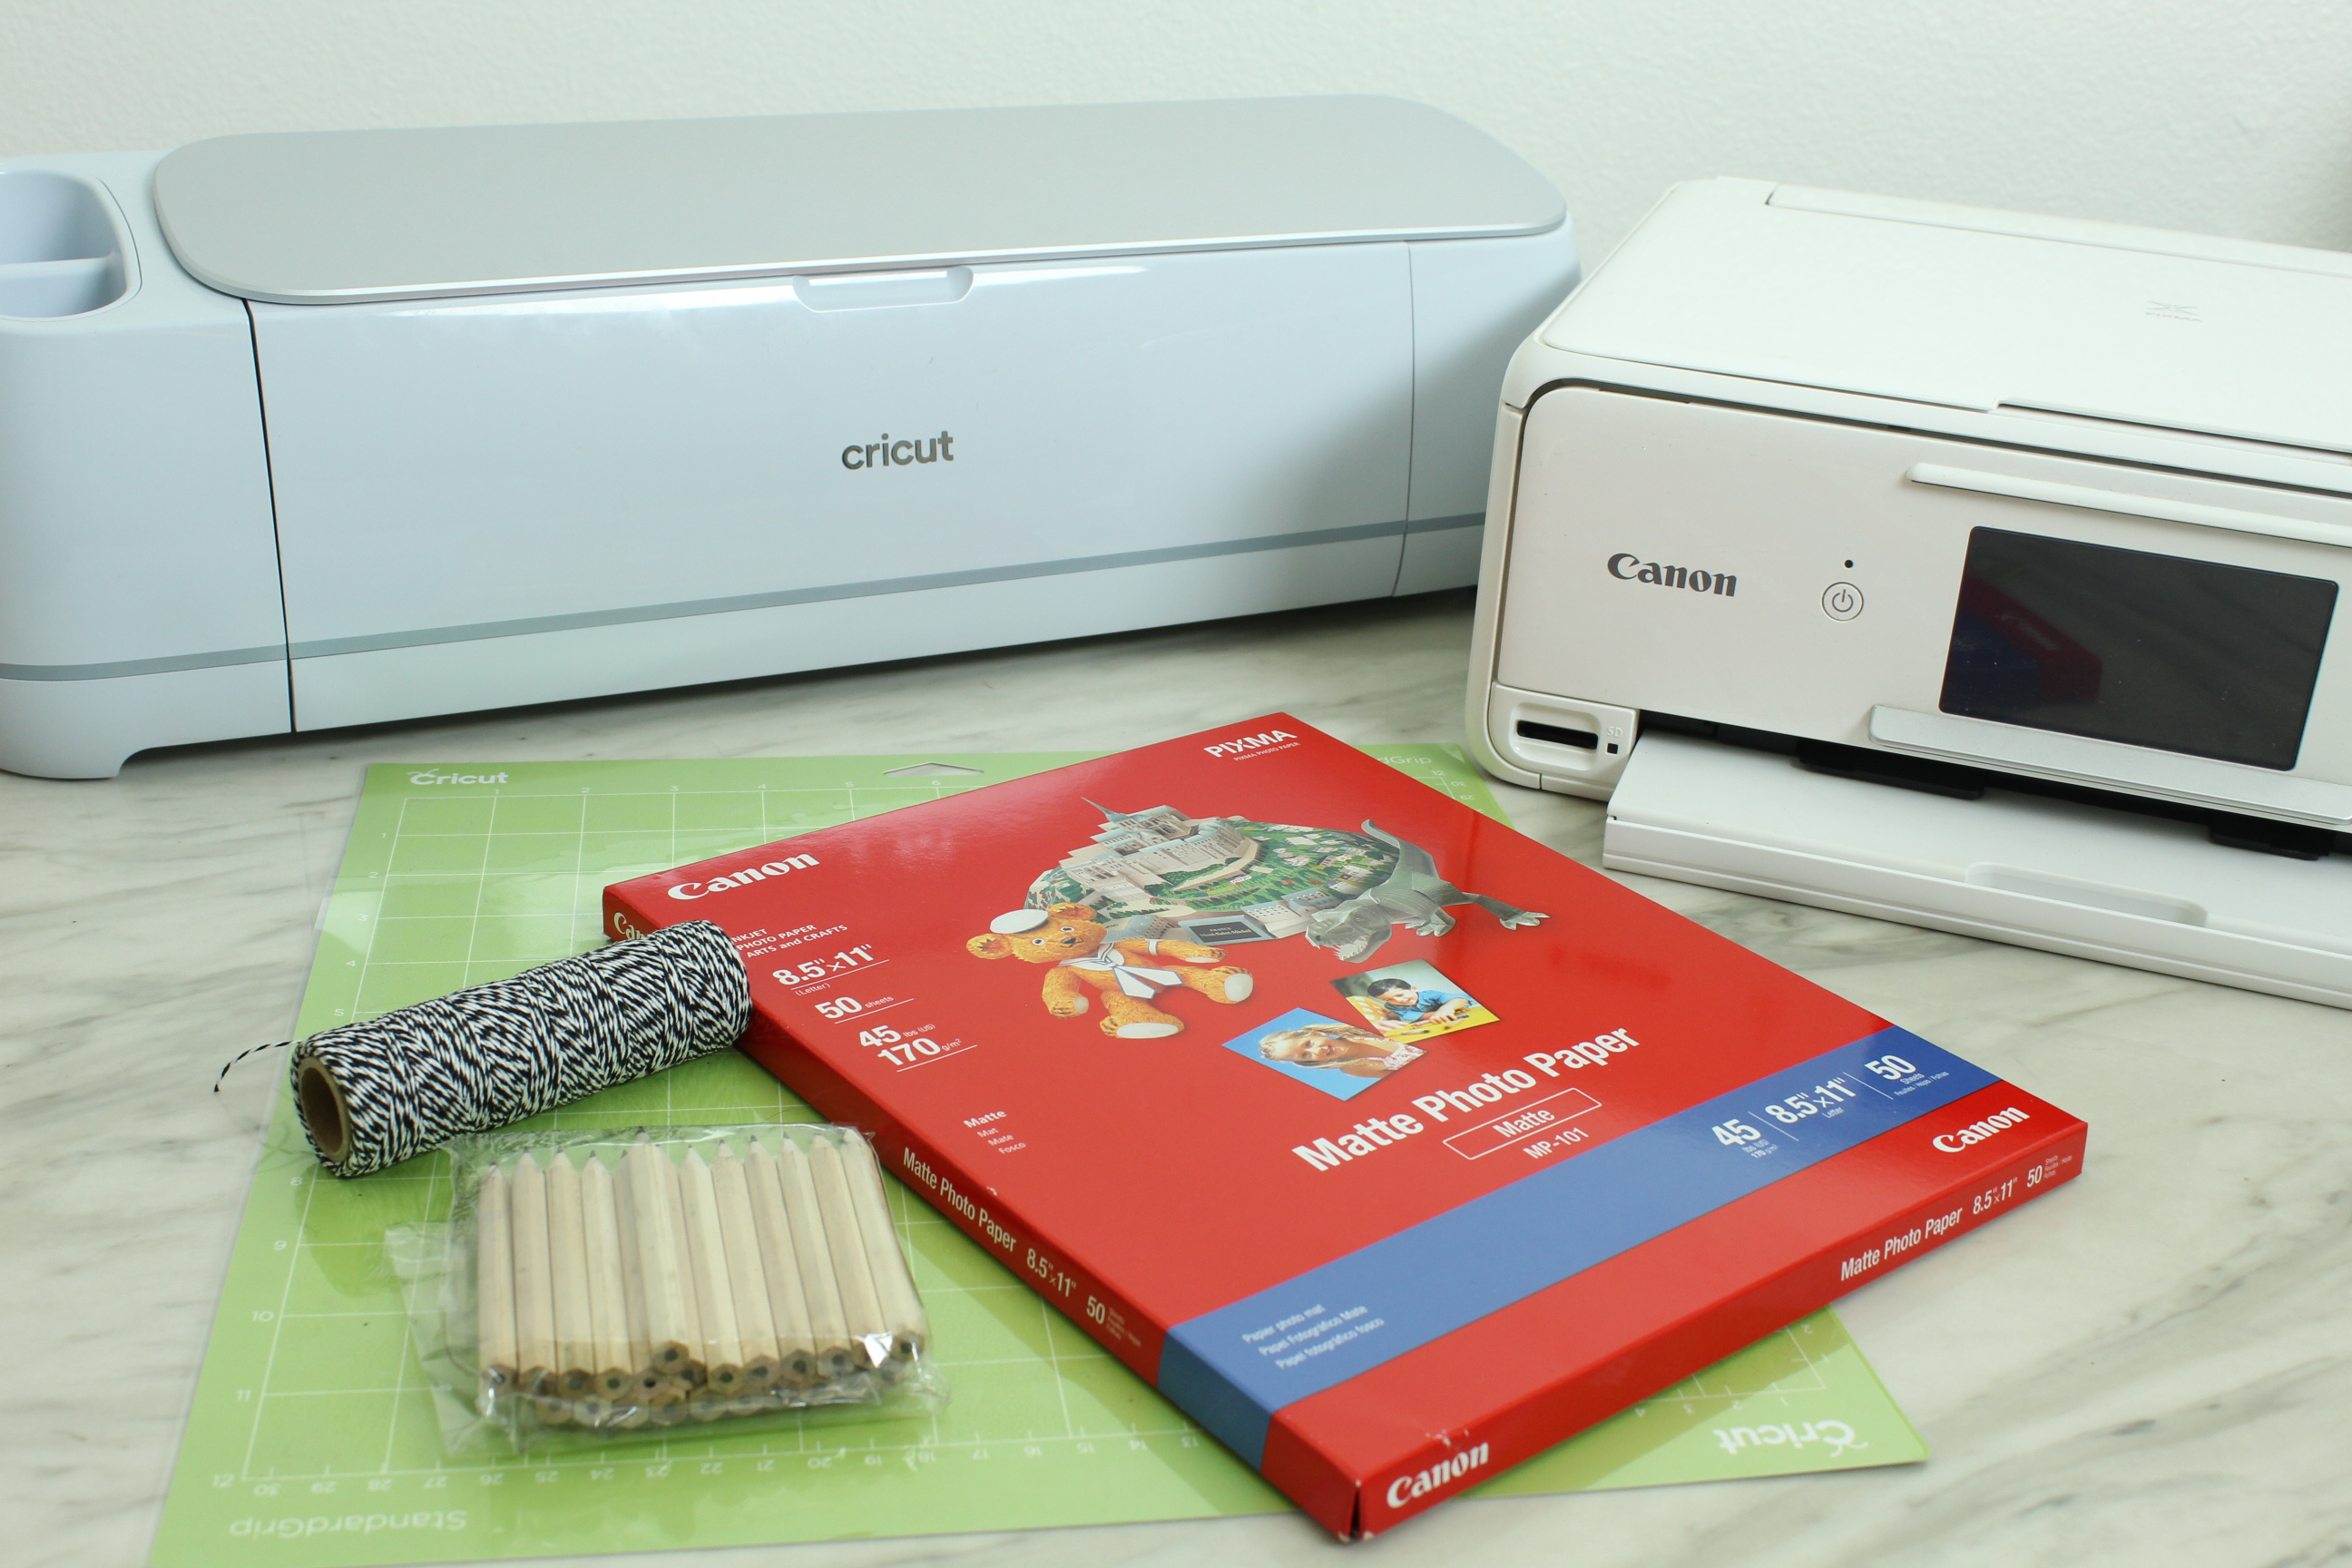
Supplies:
- Cricut Machine
- Cricut Mat
- Printer
- Matte Photo Paper
- Twine
- Mini Pencils
- Scissors (Not pictured)
- Hole Punch (Not pictured)
- Our FREE Cricut file
Open Design Space
I got a little extra with this project and I created three versions because I just couldn’t decide. The best part is, that you can go in and change the colors to whatever fits your Thanksgiving table!
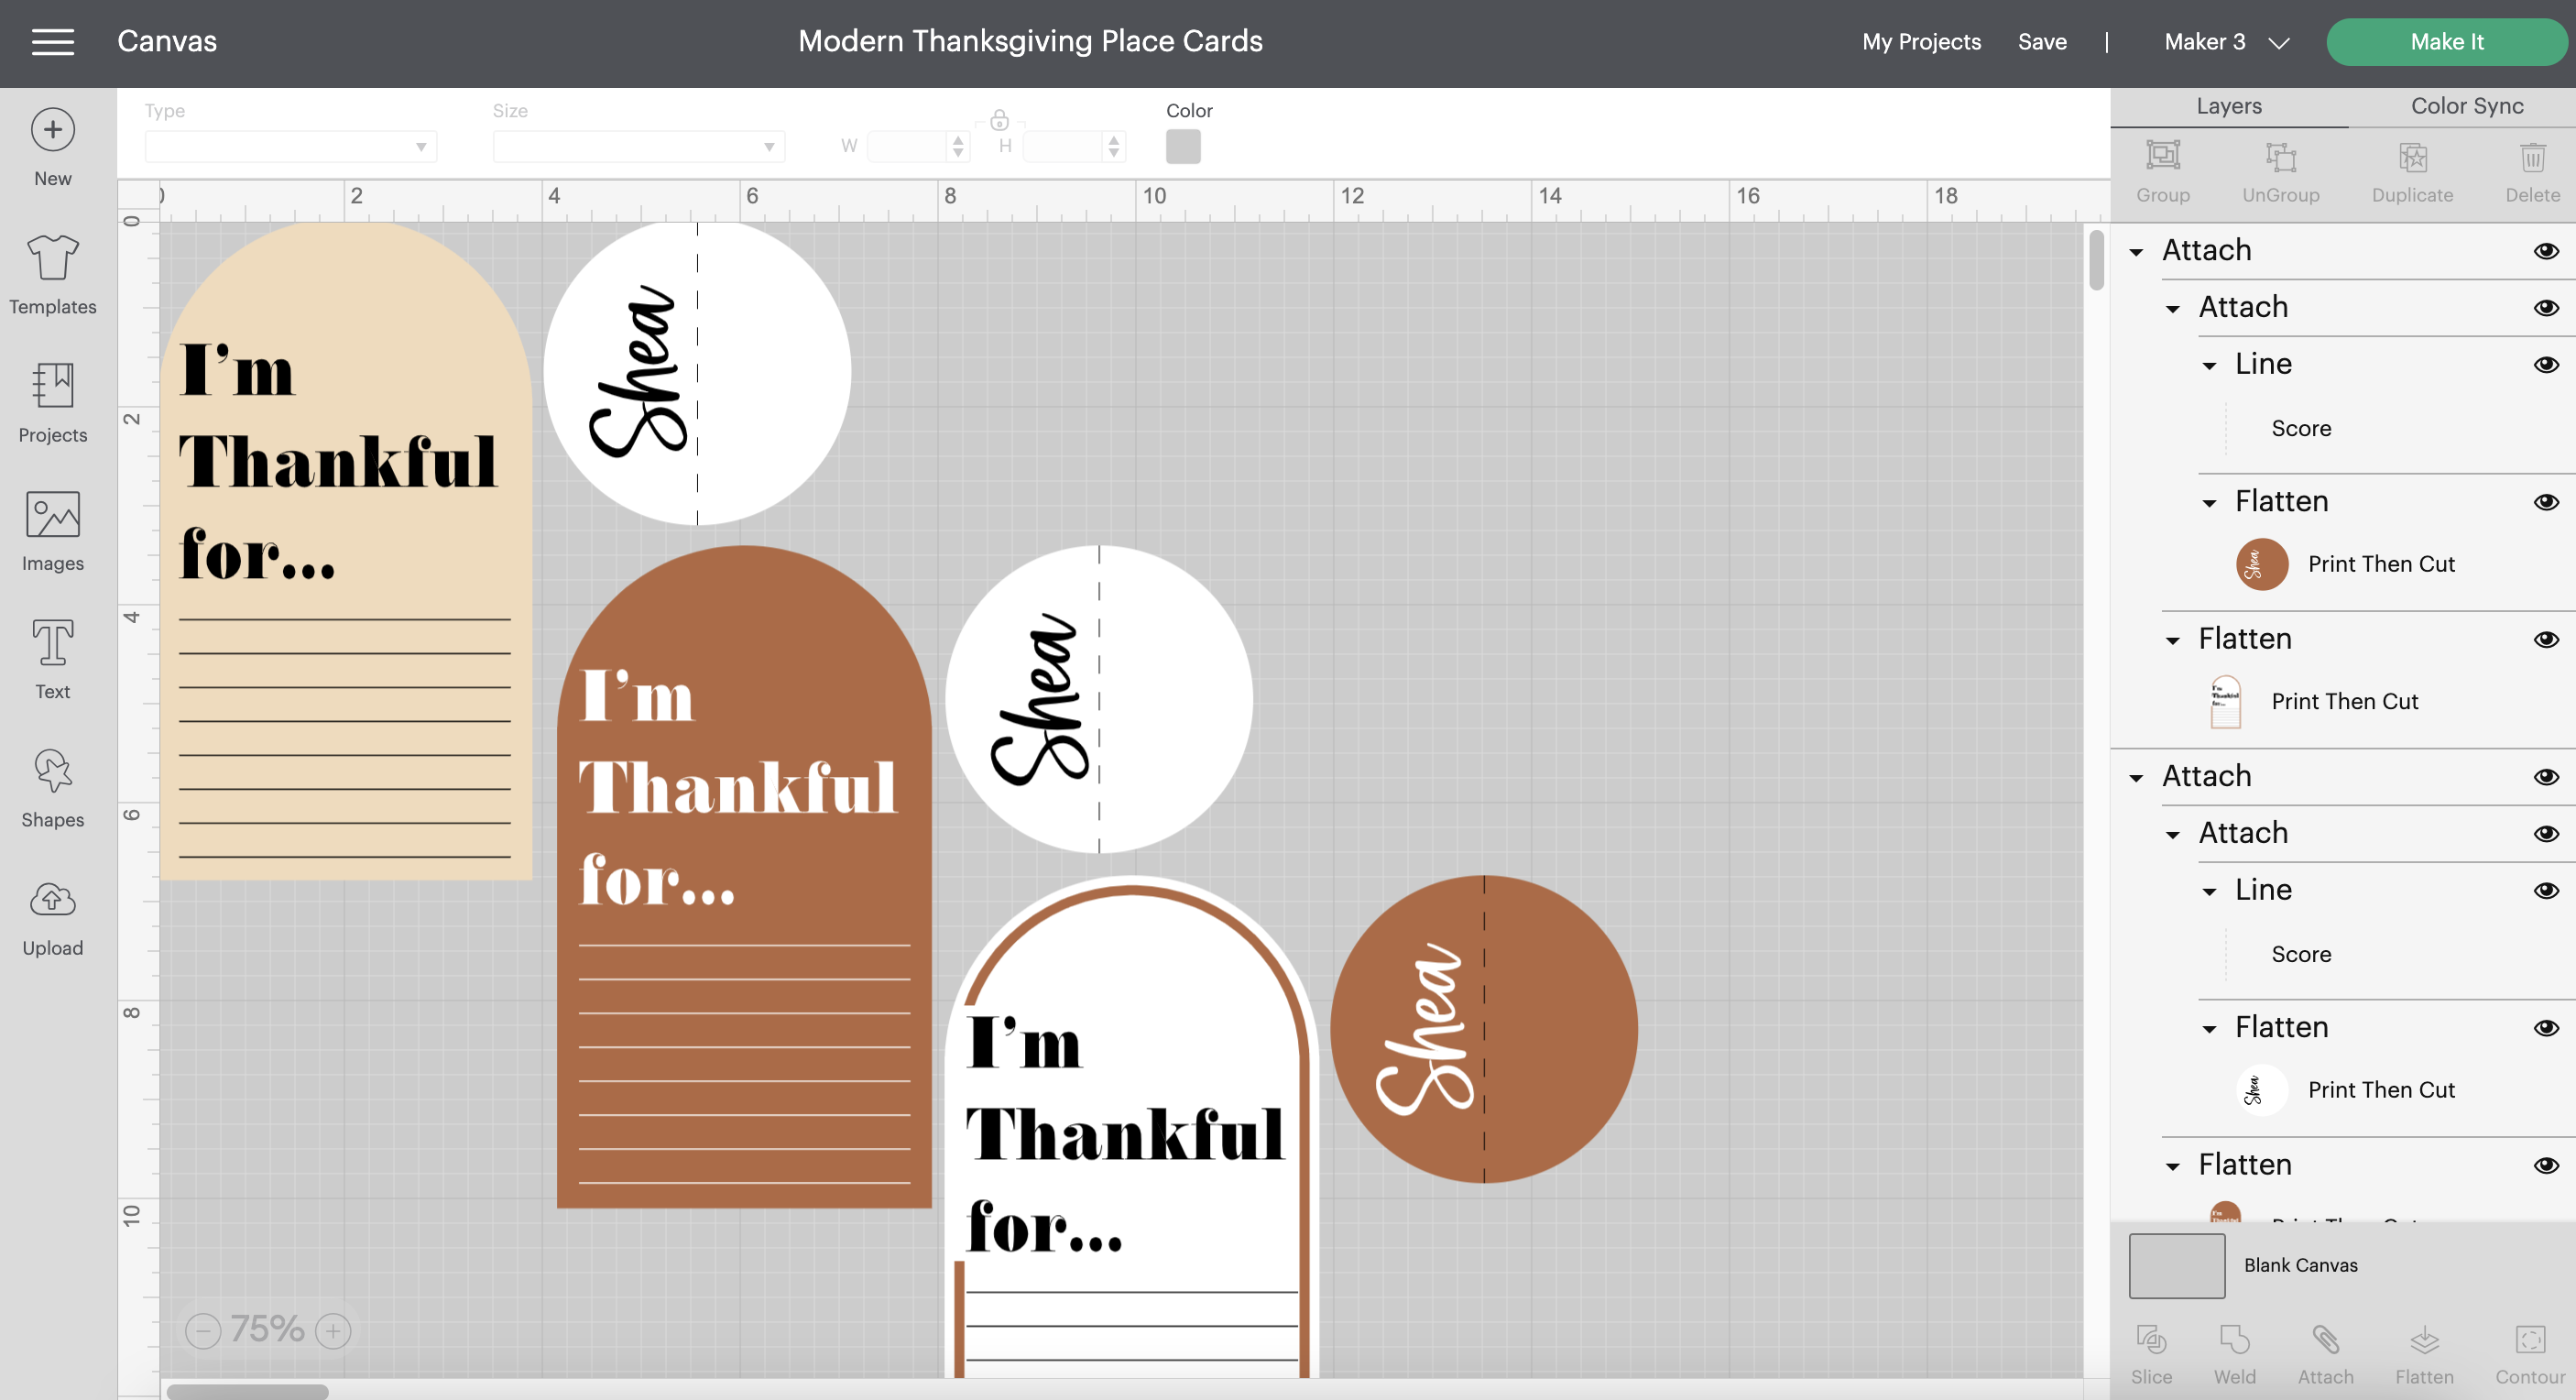
Feel free to play around with the colors and obviously change the name and then add as many as you need for your feast! Once you’re ready click Make It!
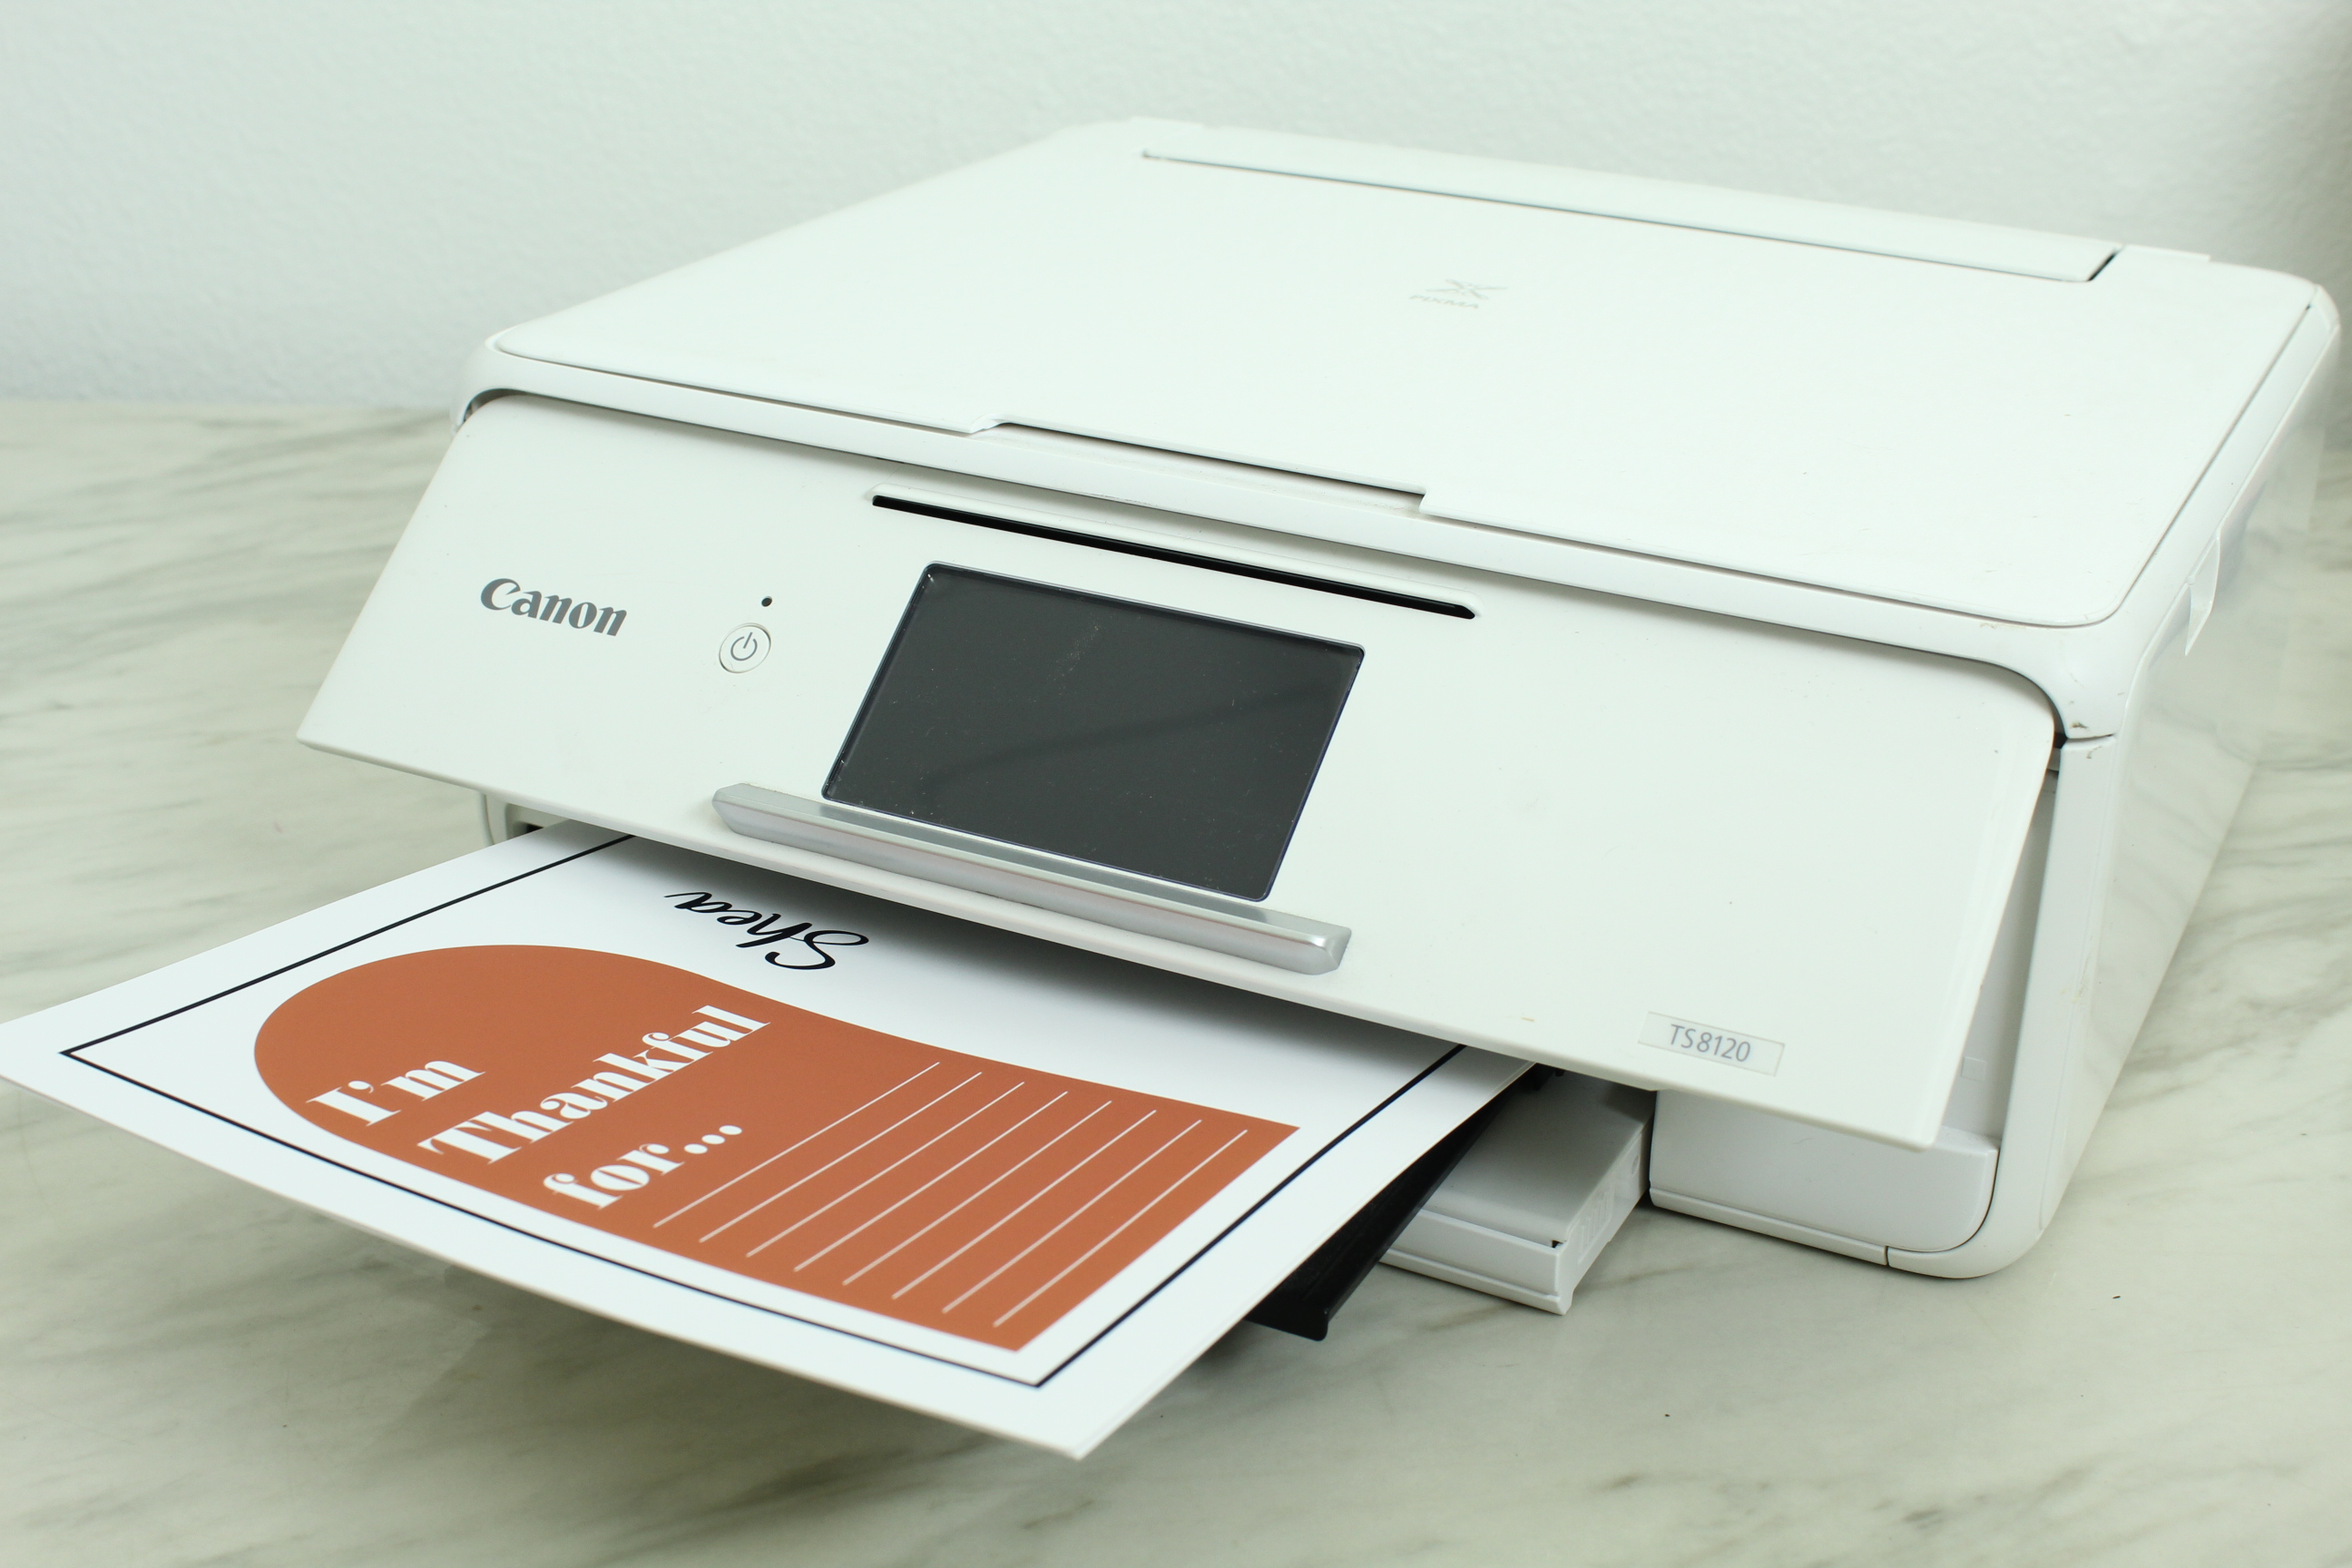
Time to Print
Print then cut is by far my favorite and most used feature of my Cricut. I absolutely love the precision you get coupling your printer and your Cricut machine. For best results I definitely recommend using Canon matte photo paper. Then from the print setup page be sure to click the toggle to turn on “Use System Dialog”.
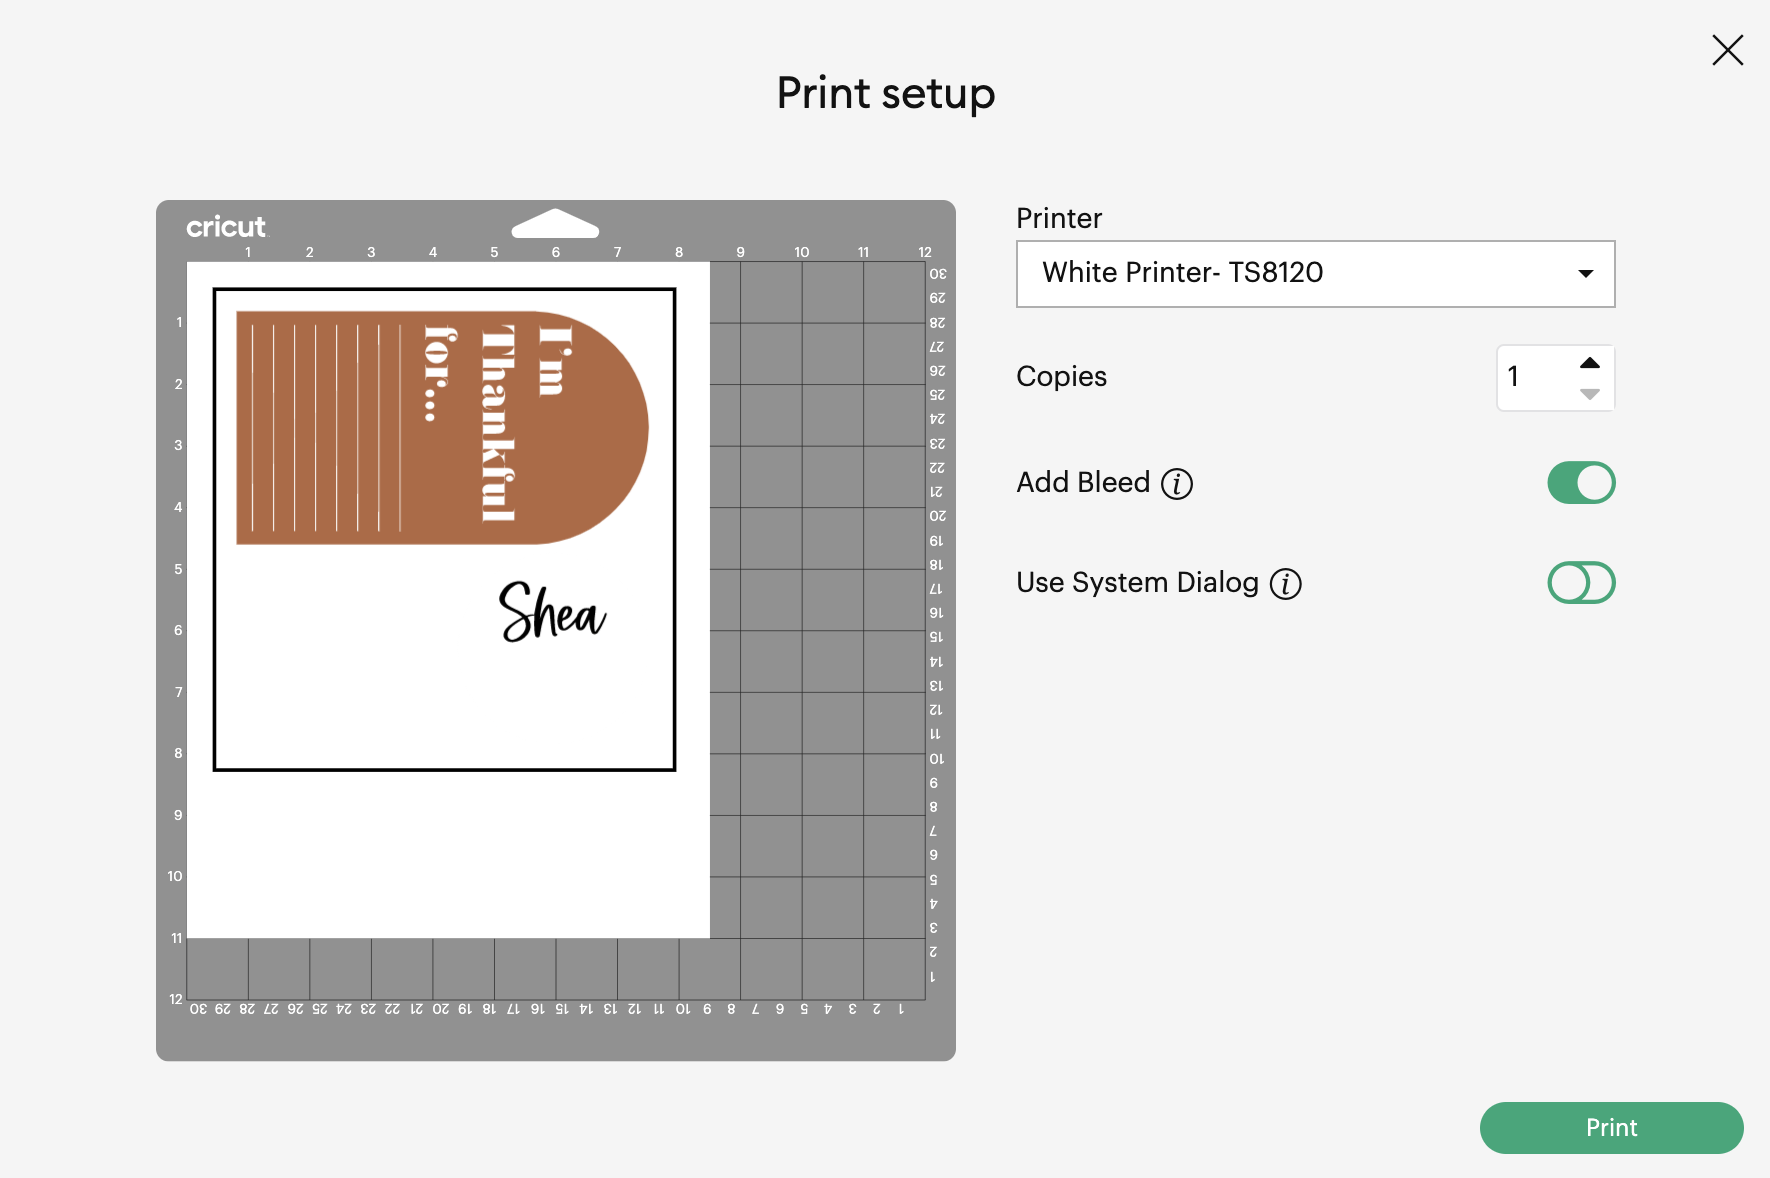
The next screen will likely pop up BEHIND your Cricut screen so be sure to minimize it. Make sure that your “Media & Quality” settings are set to Rear Tray, Photo, and Normal or Best and then click print.
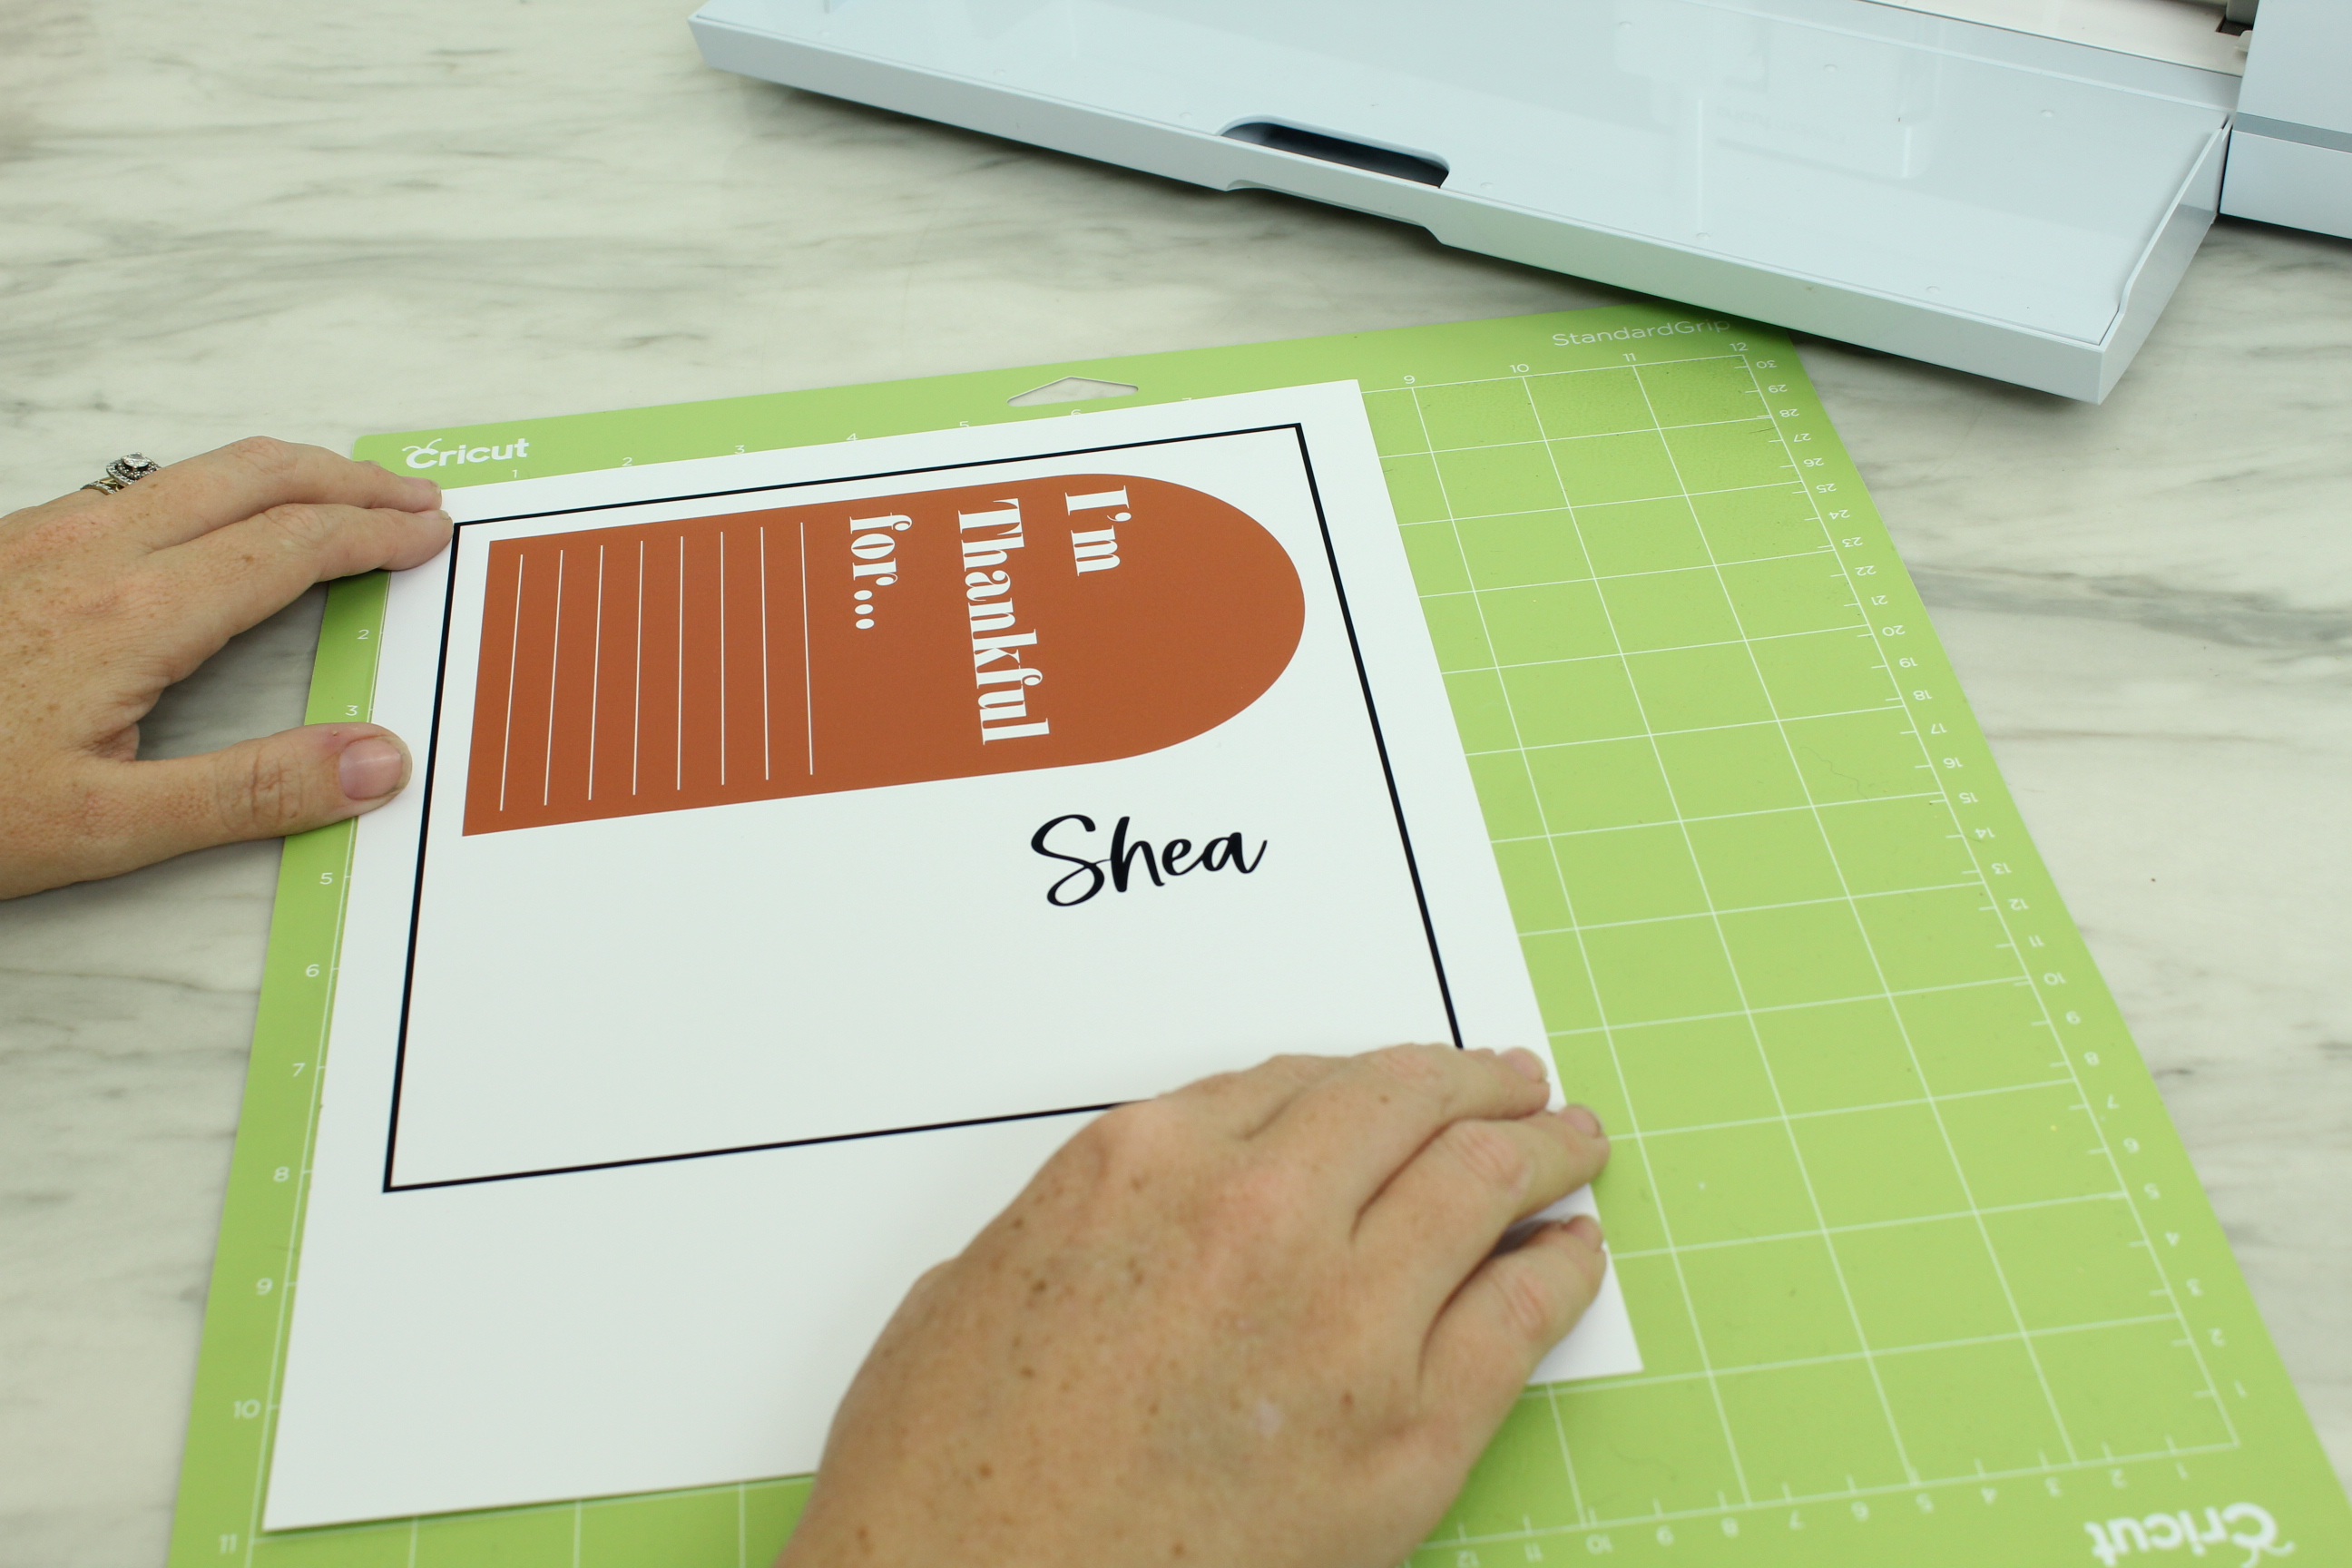
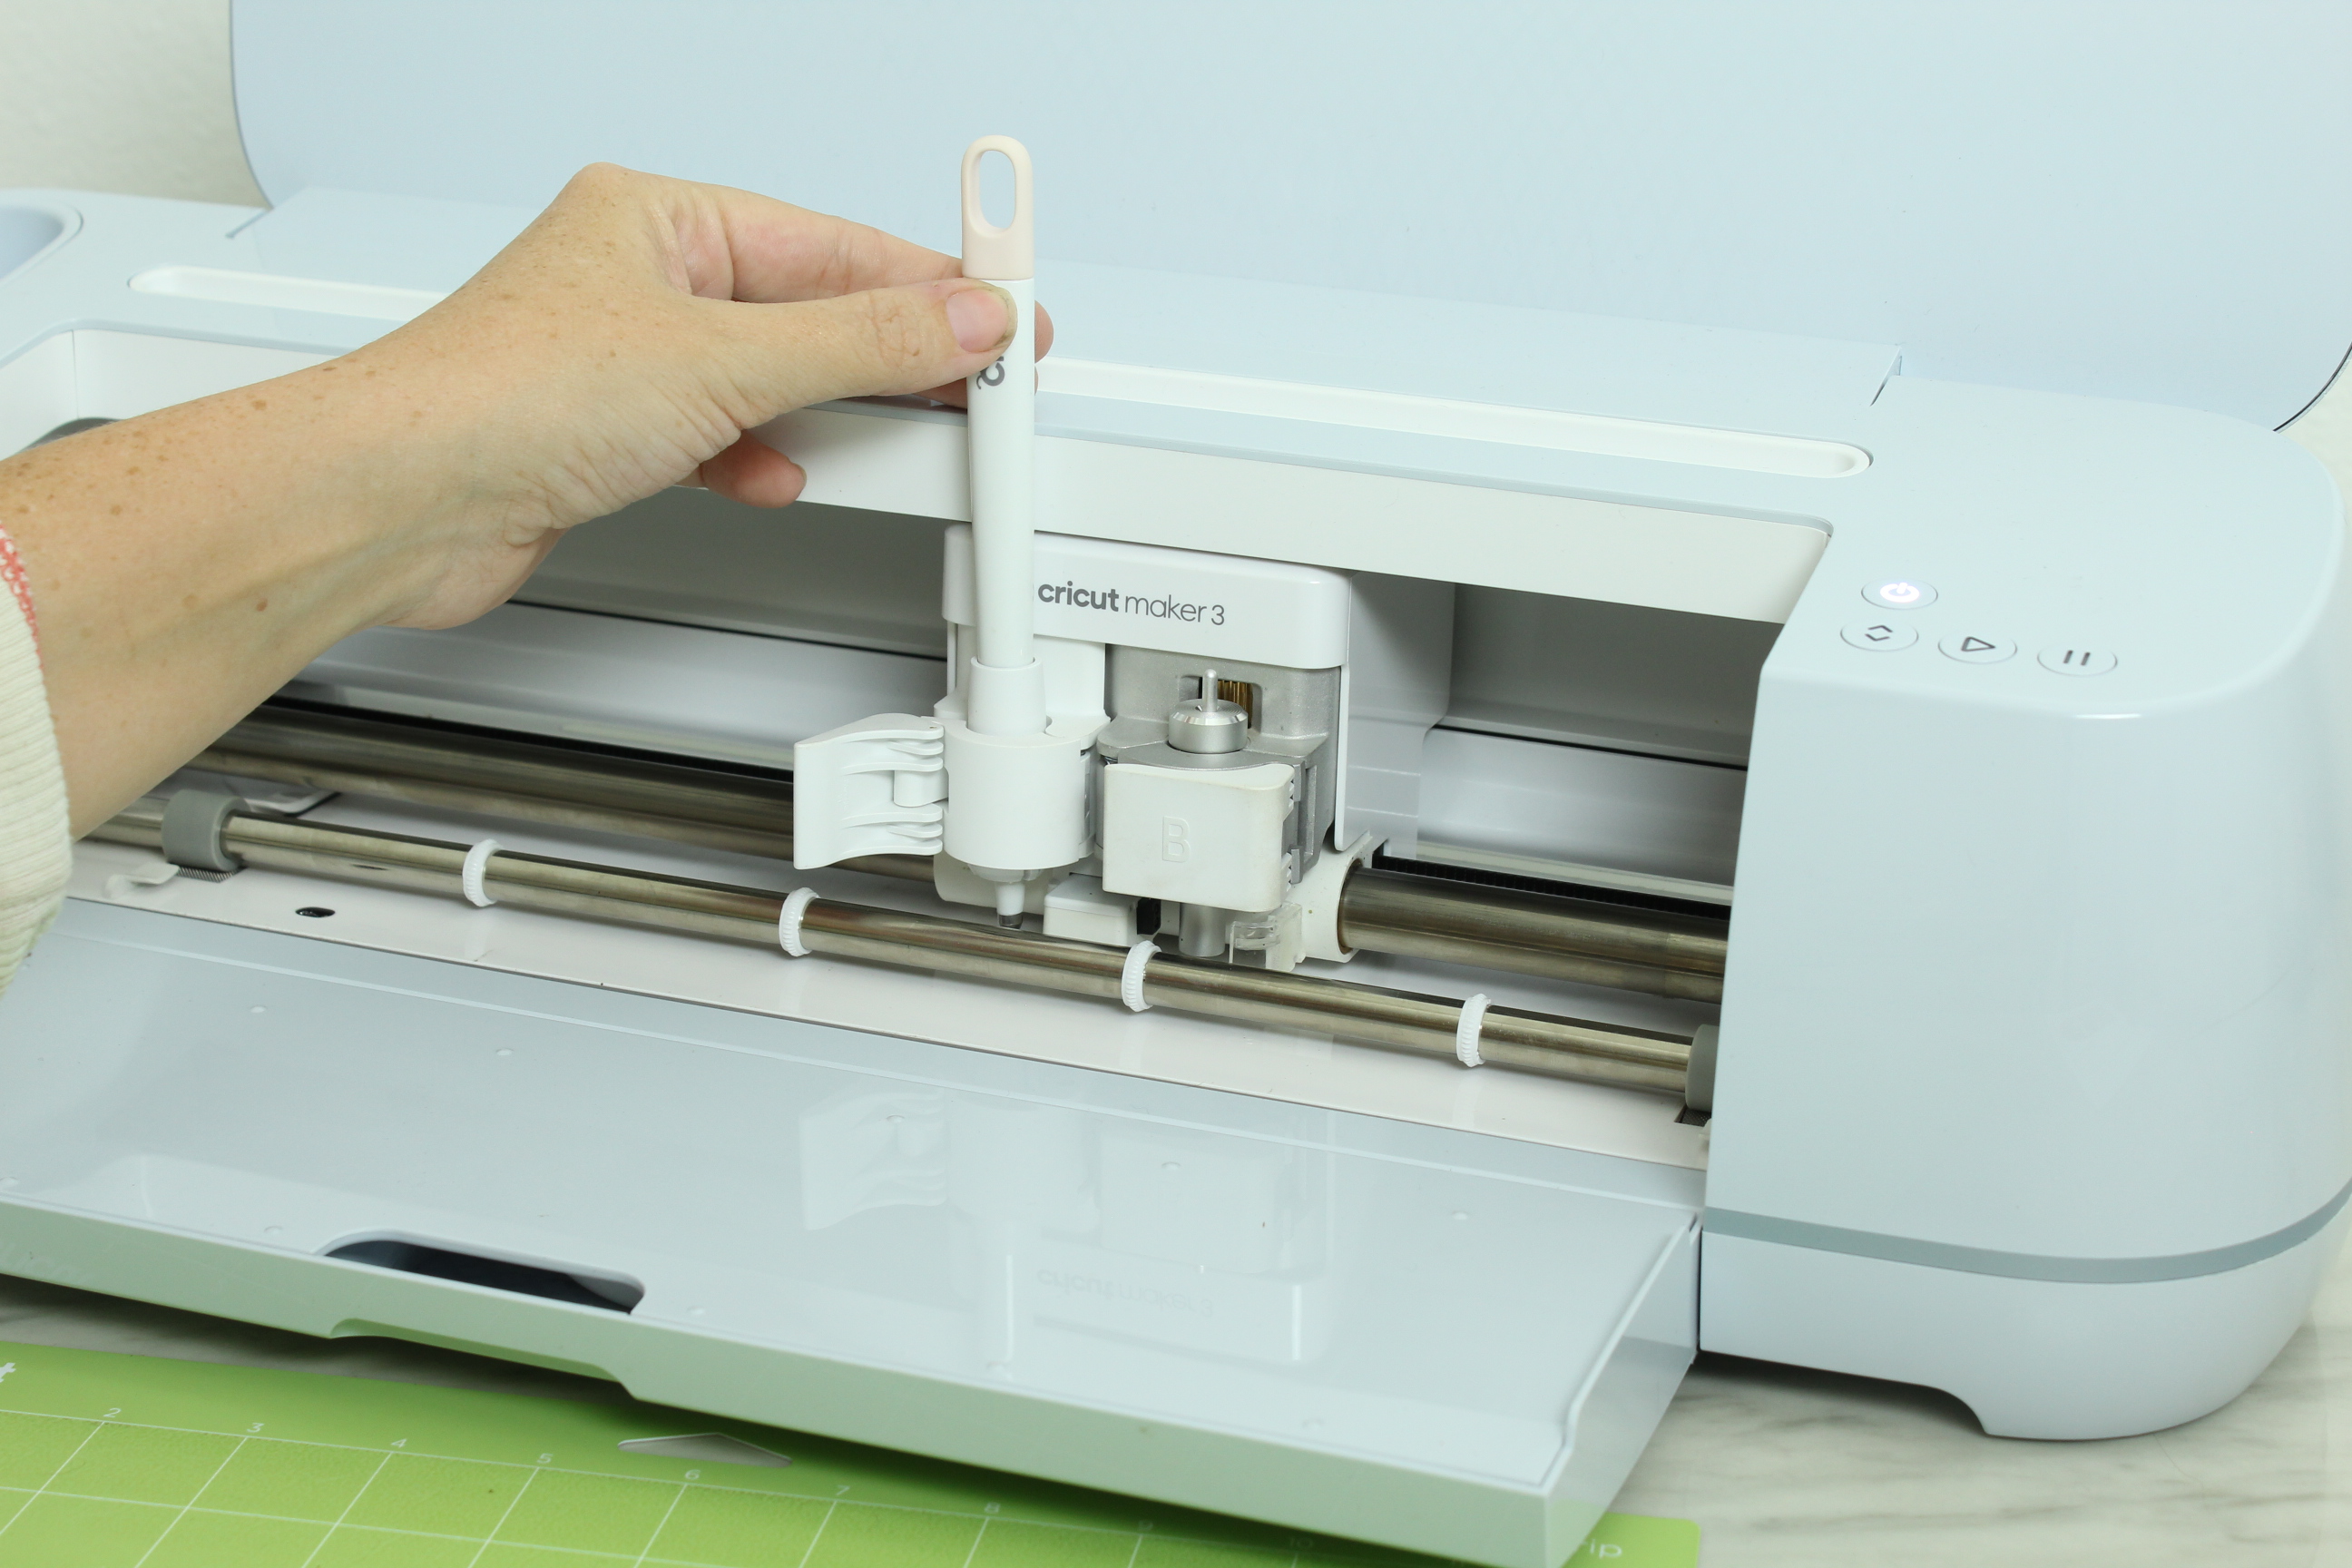
Time to Cut
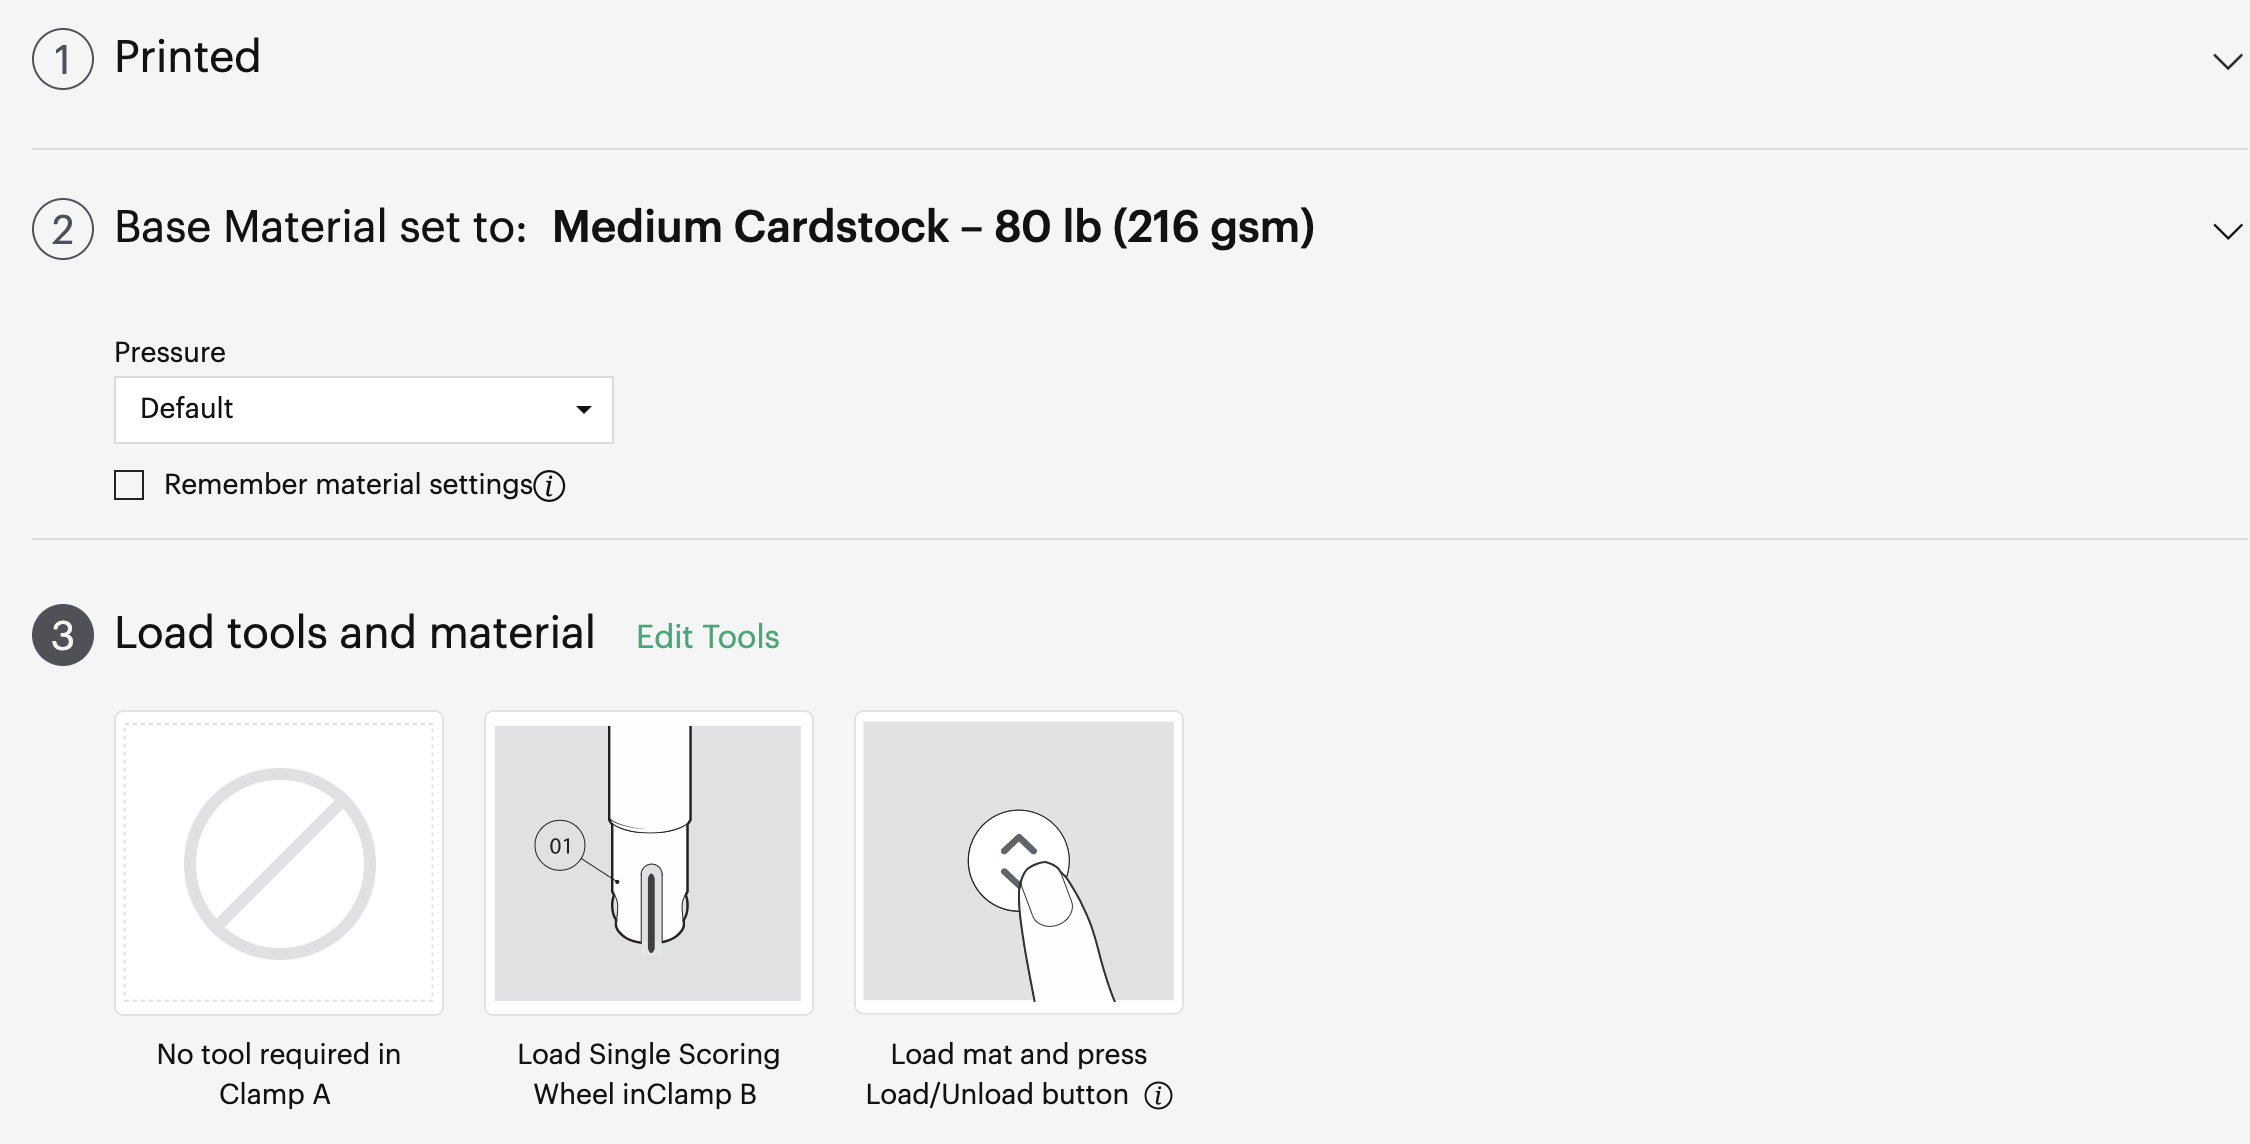
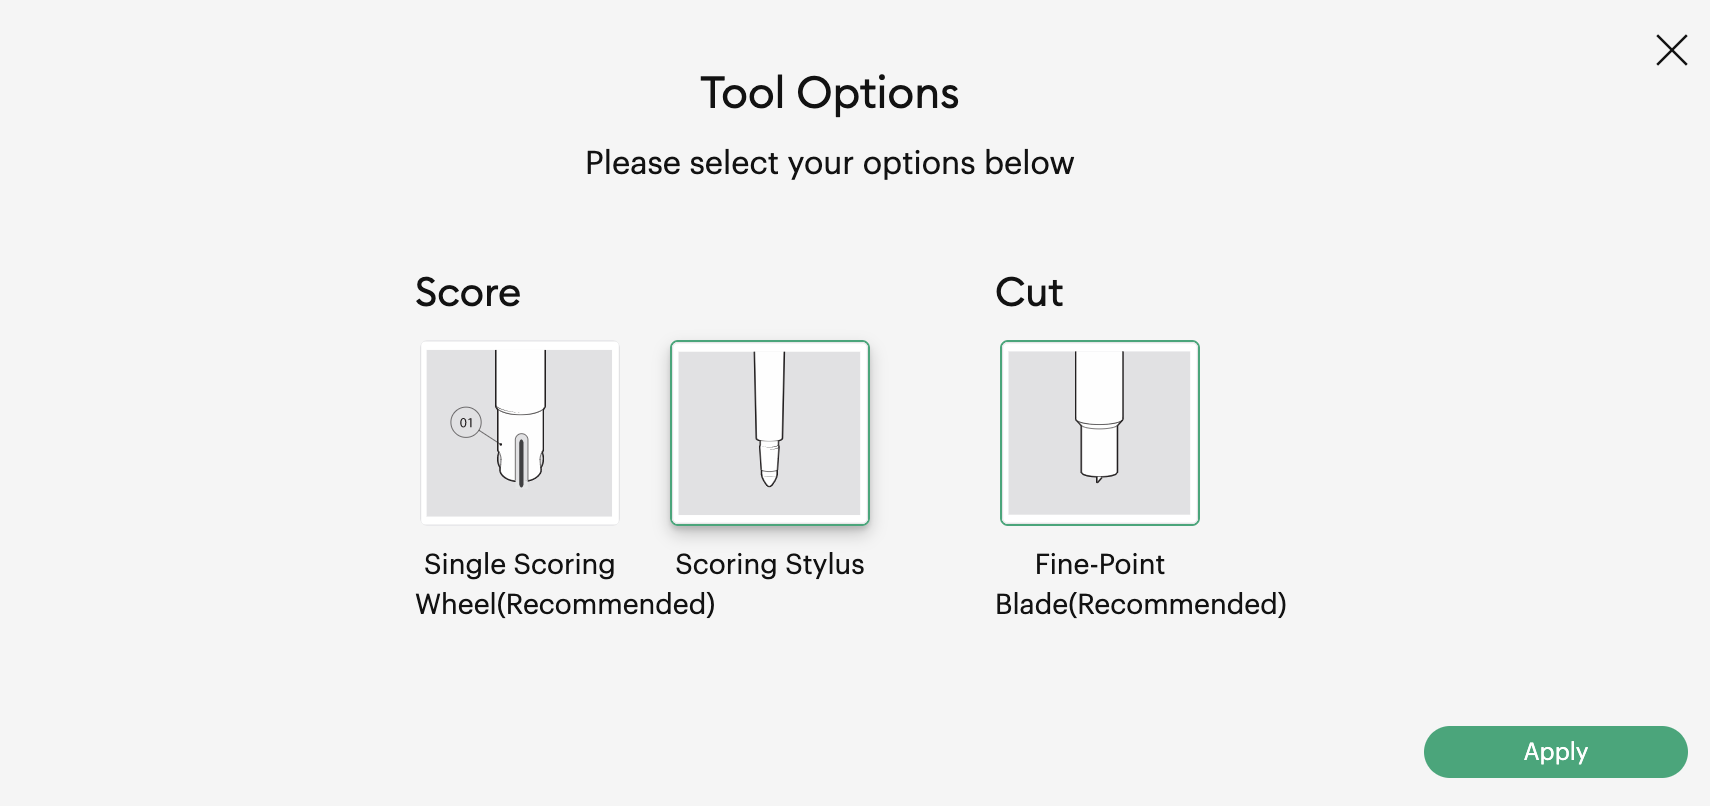
Now time for the Cricut to work its magic. Set your machine to medium cardstock, place your project onto your mat, load it into your machine and click that button and let your Cricut do the hard part.
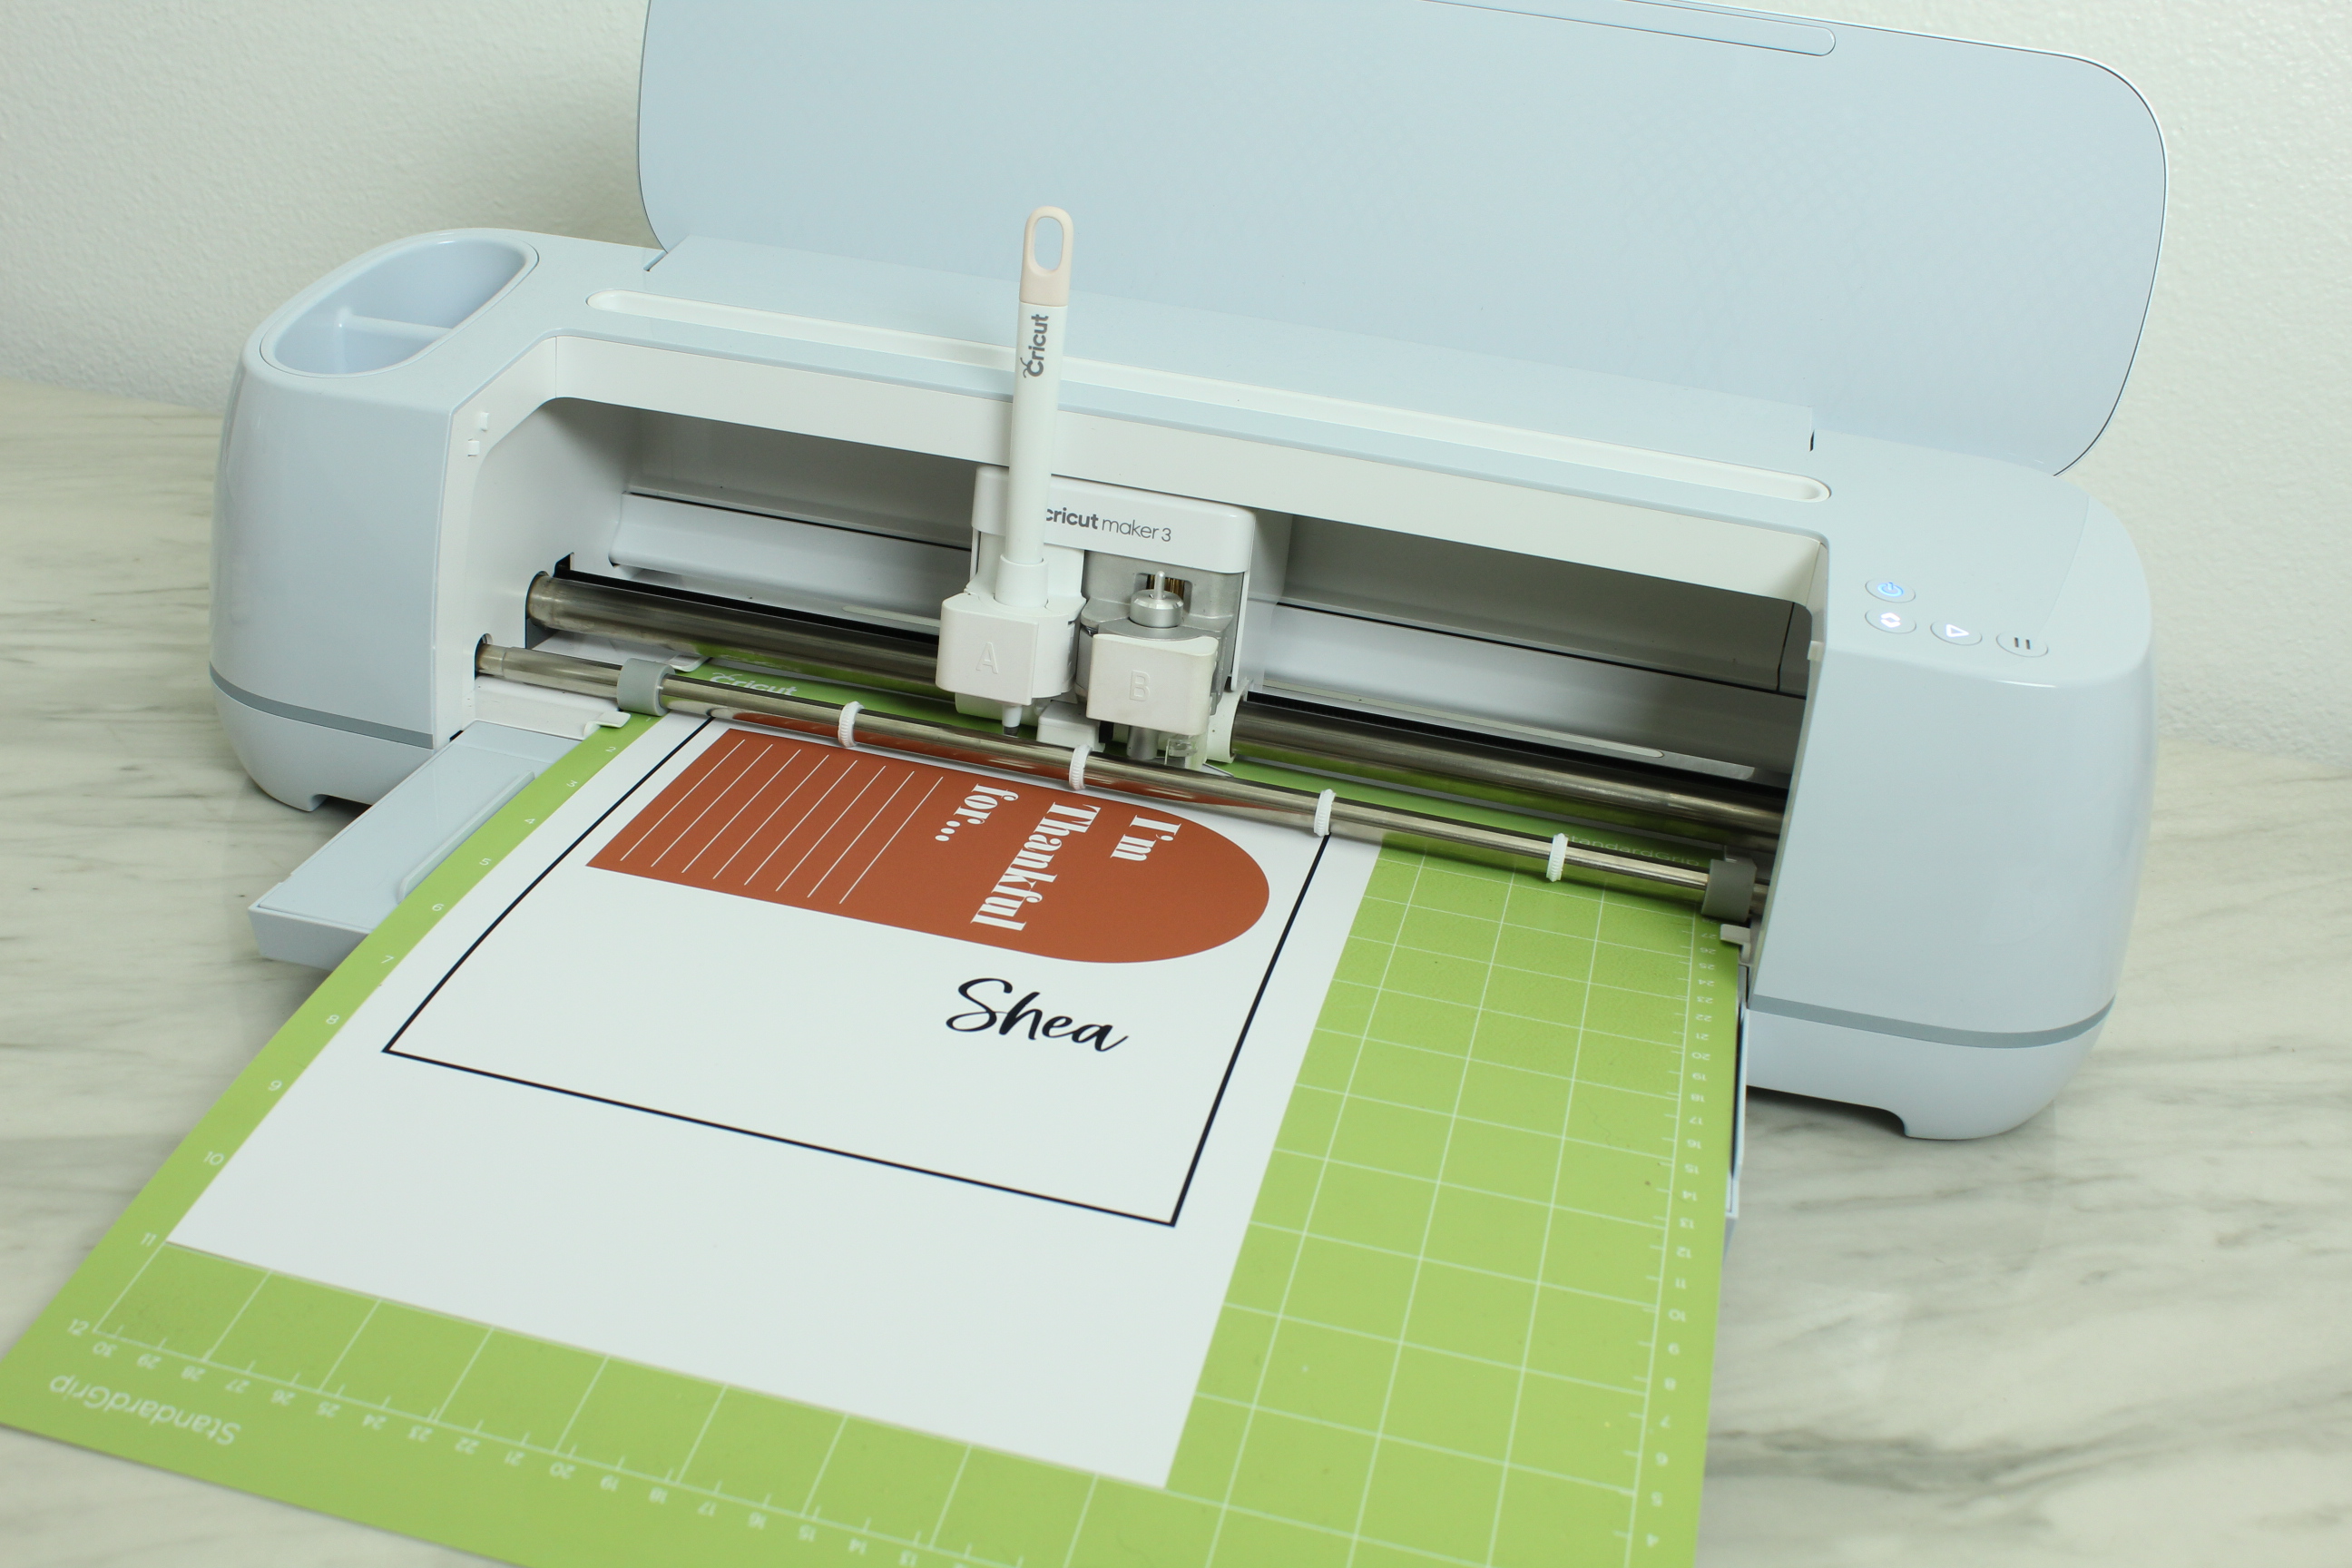
(This is totally personal preference, but I just prefer to use the scoring stylus on quick little projects like this instead of swapping the blade for the scoring wheel.)
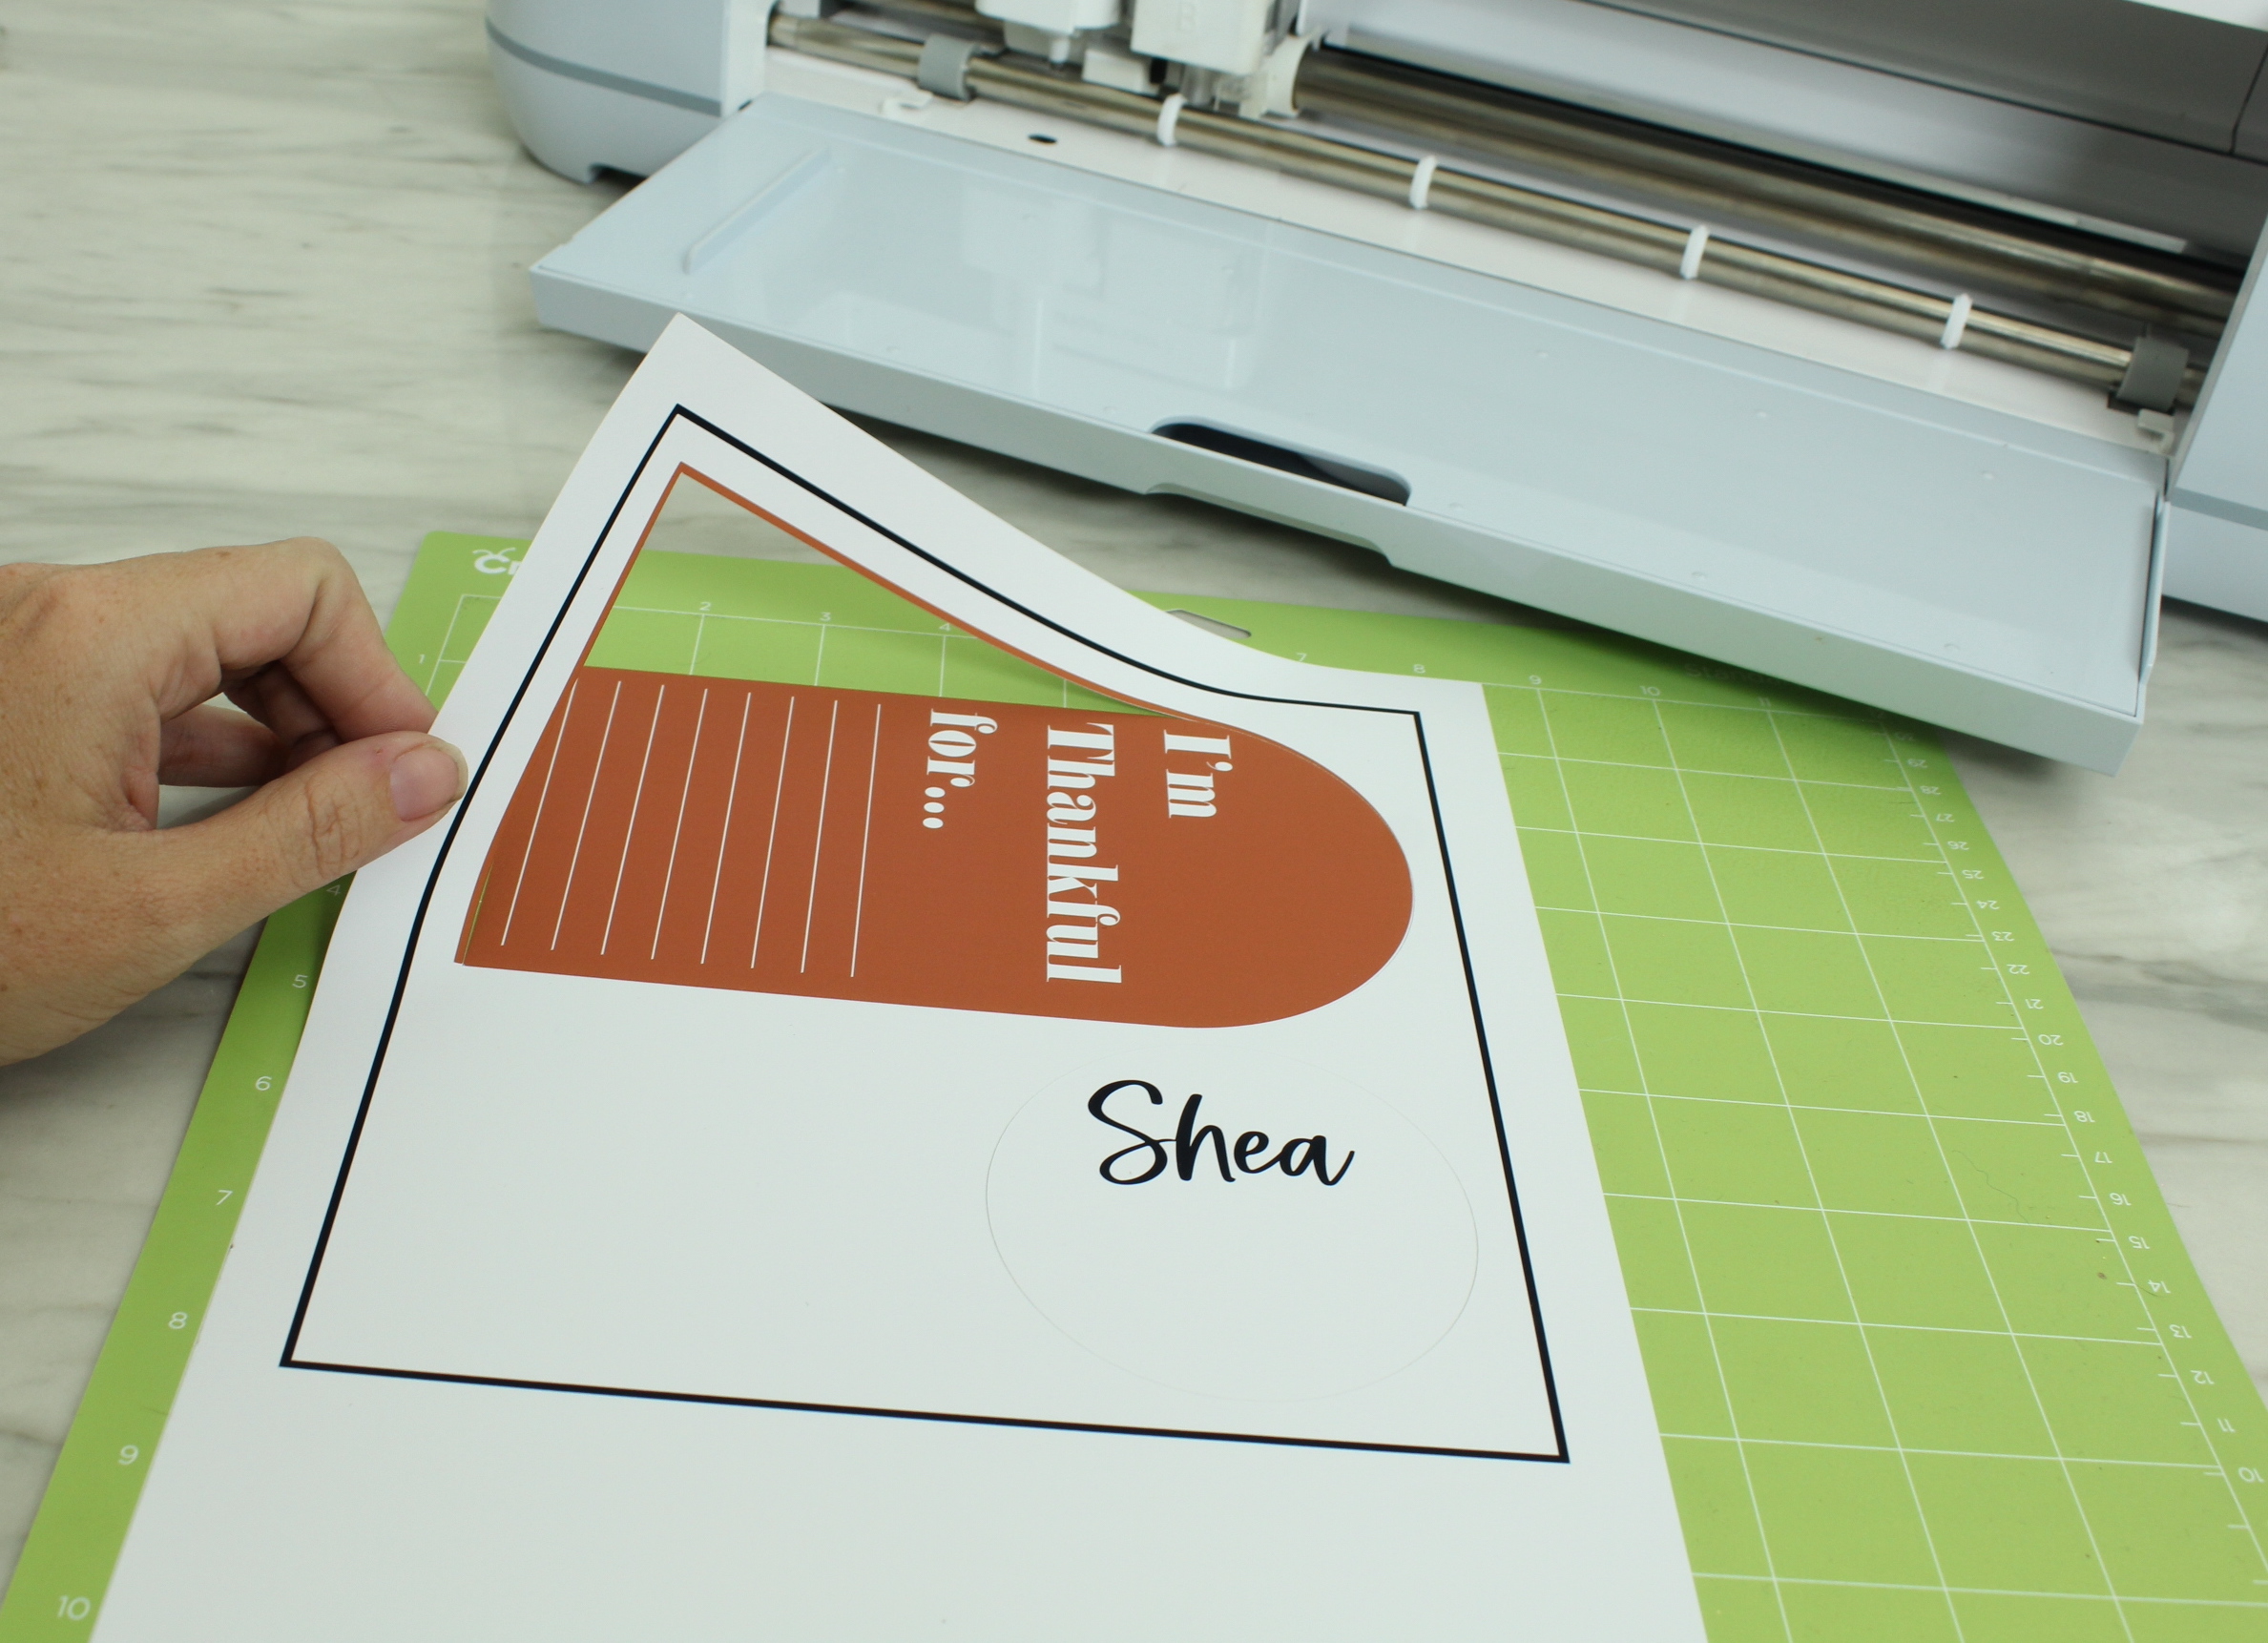
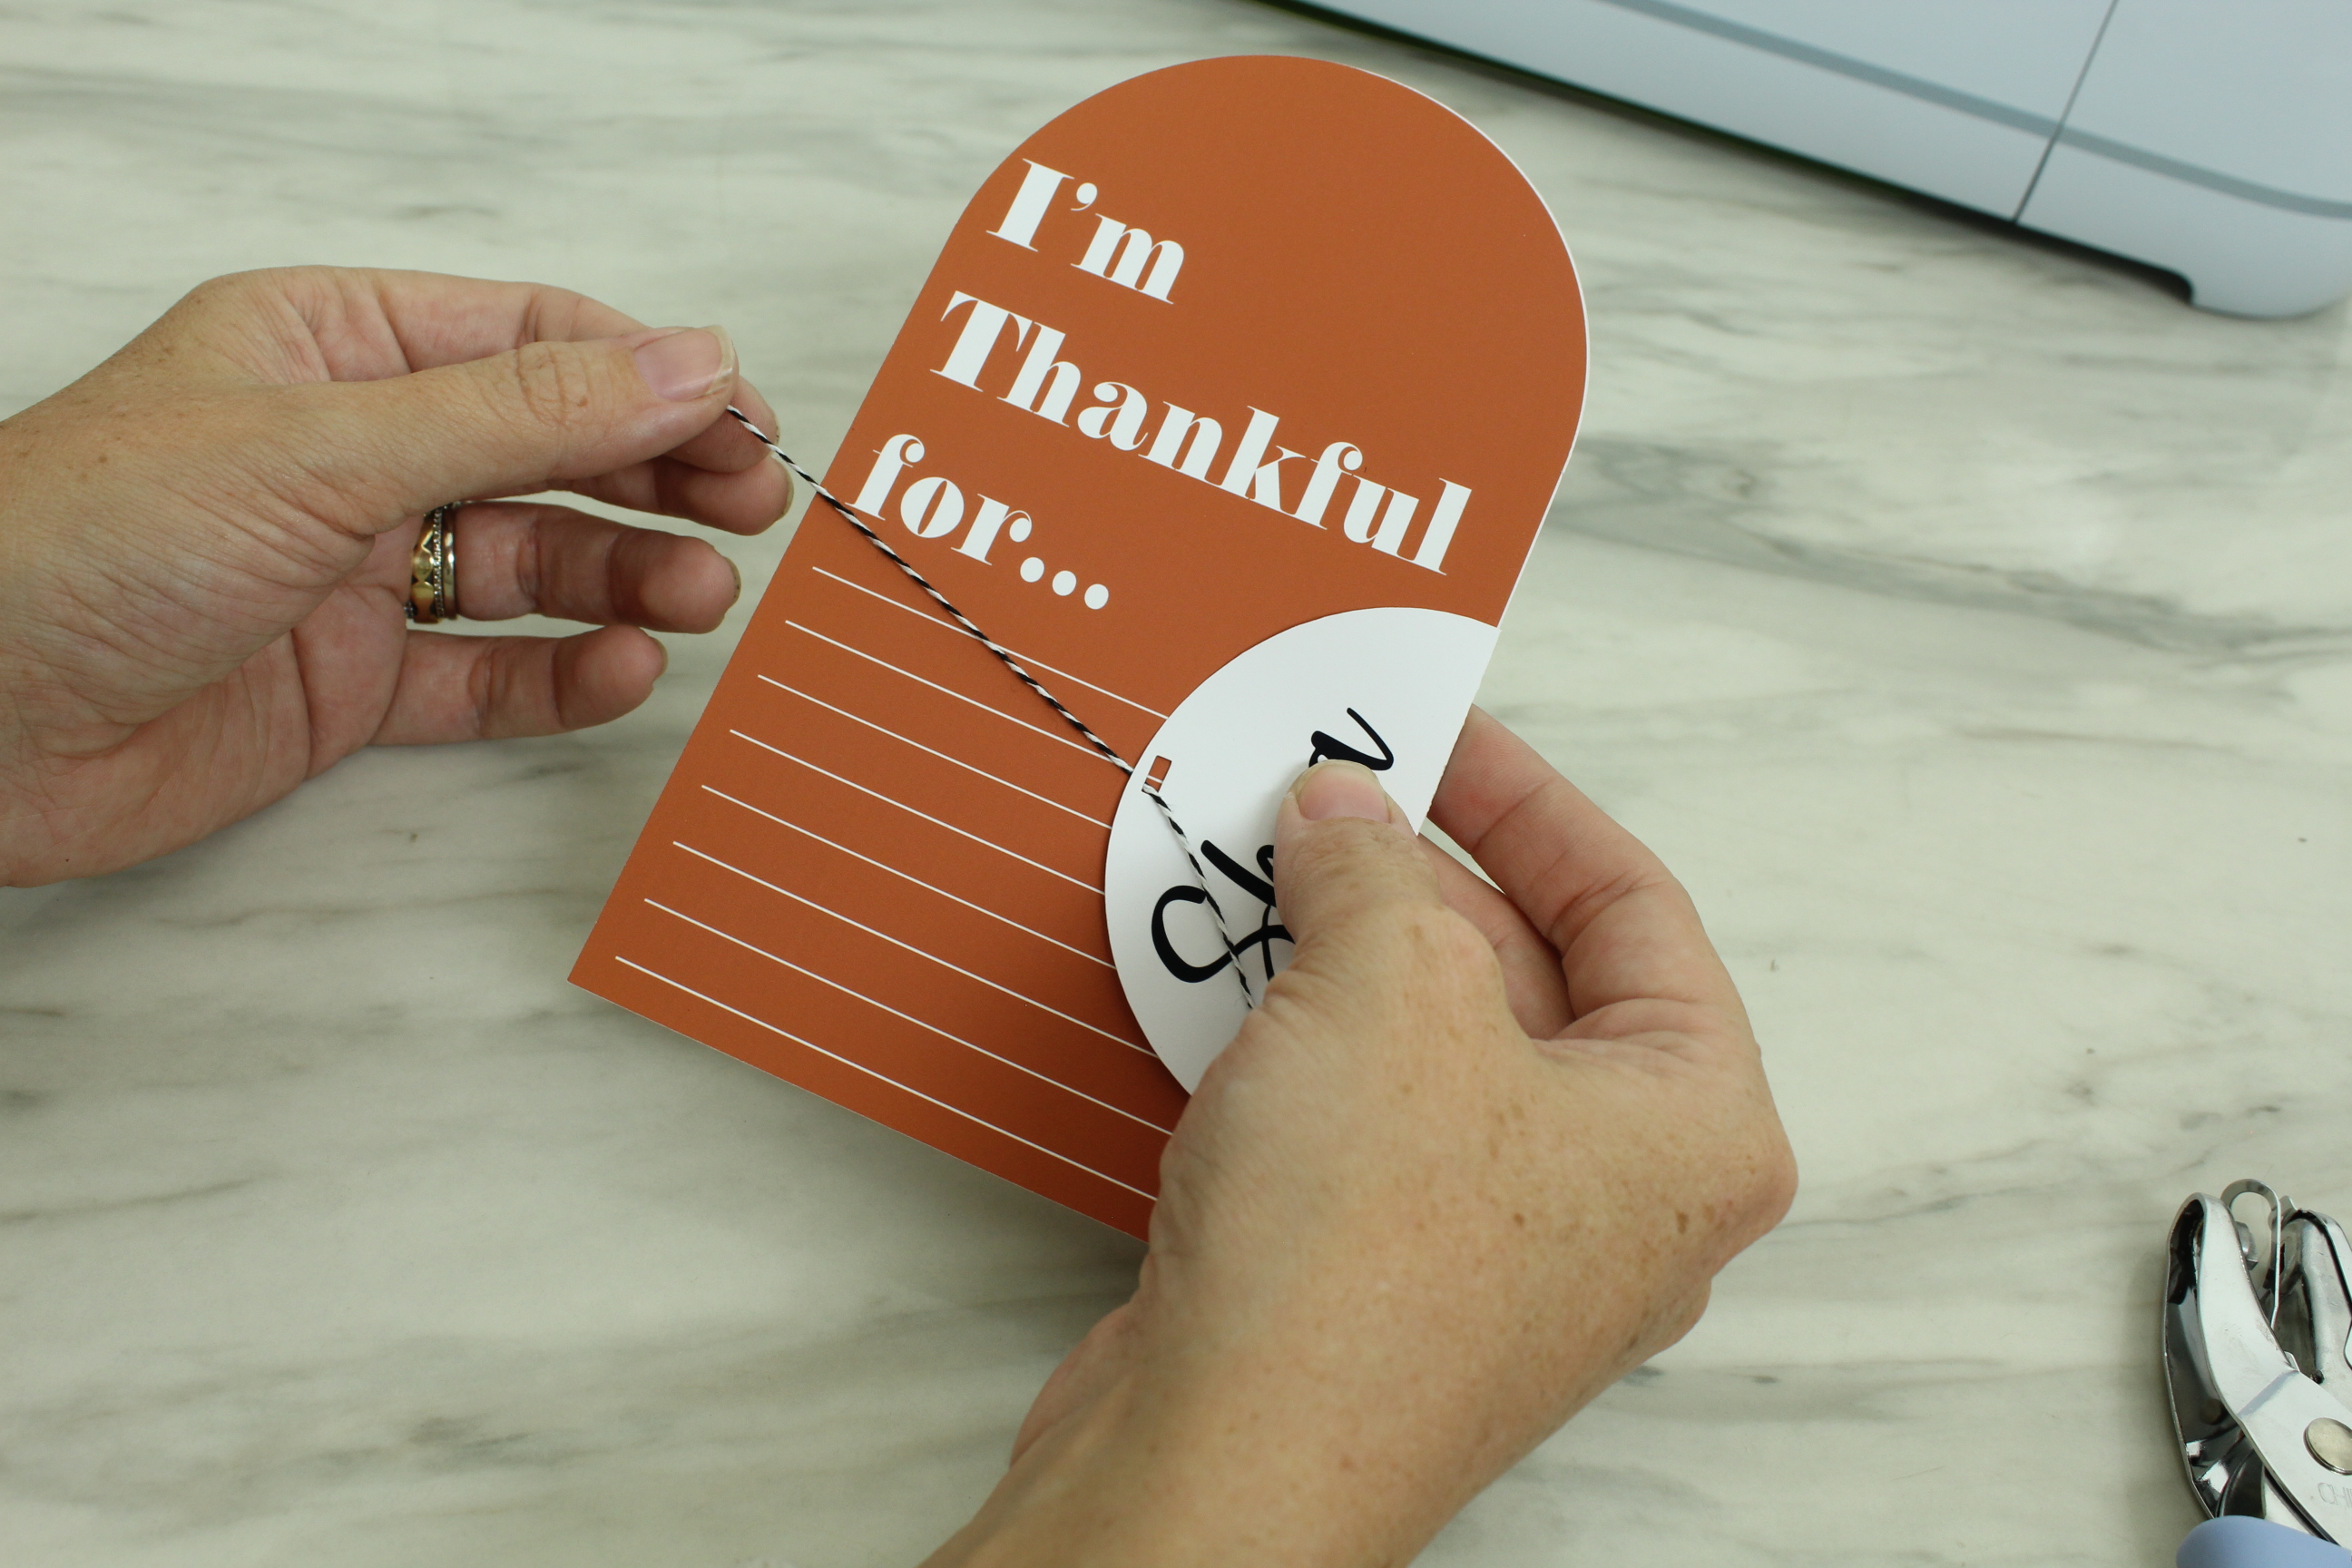
Time for Finishing Touches
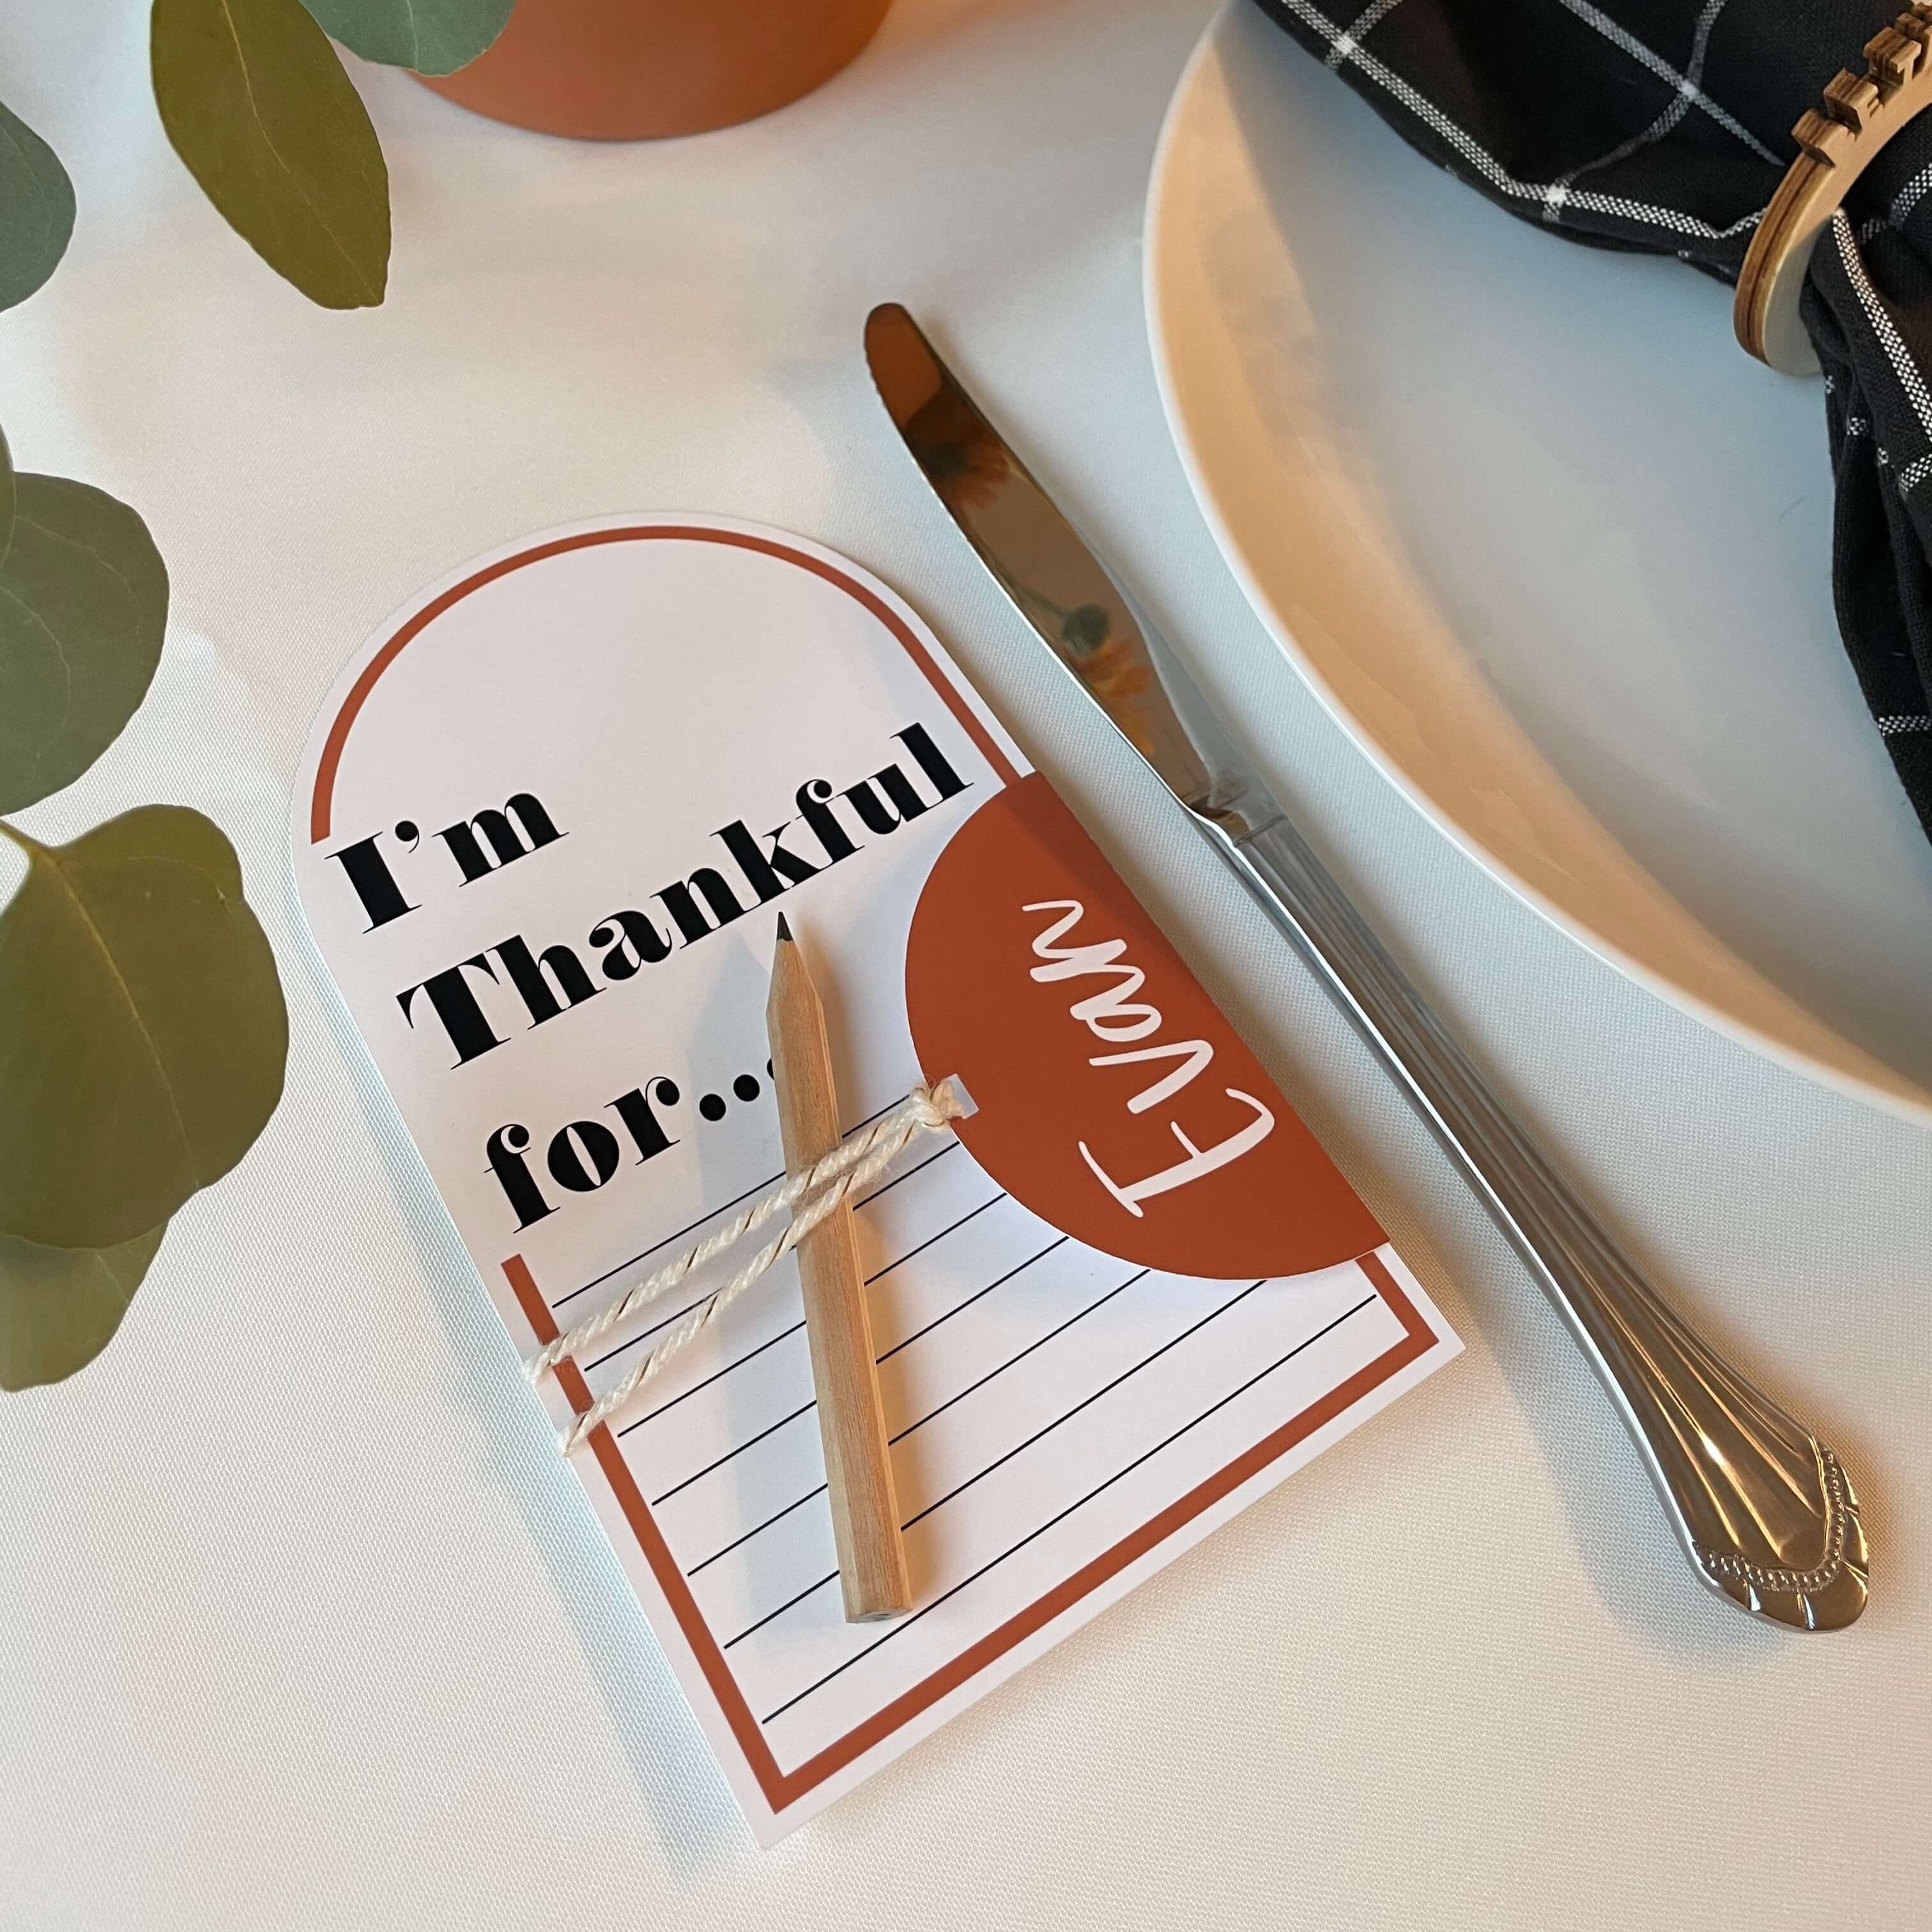
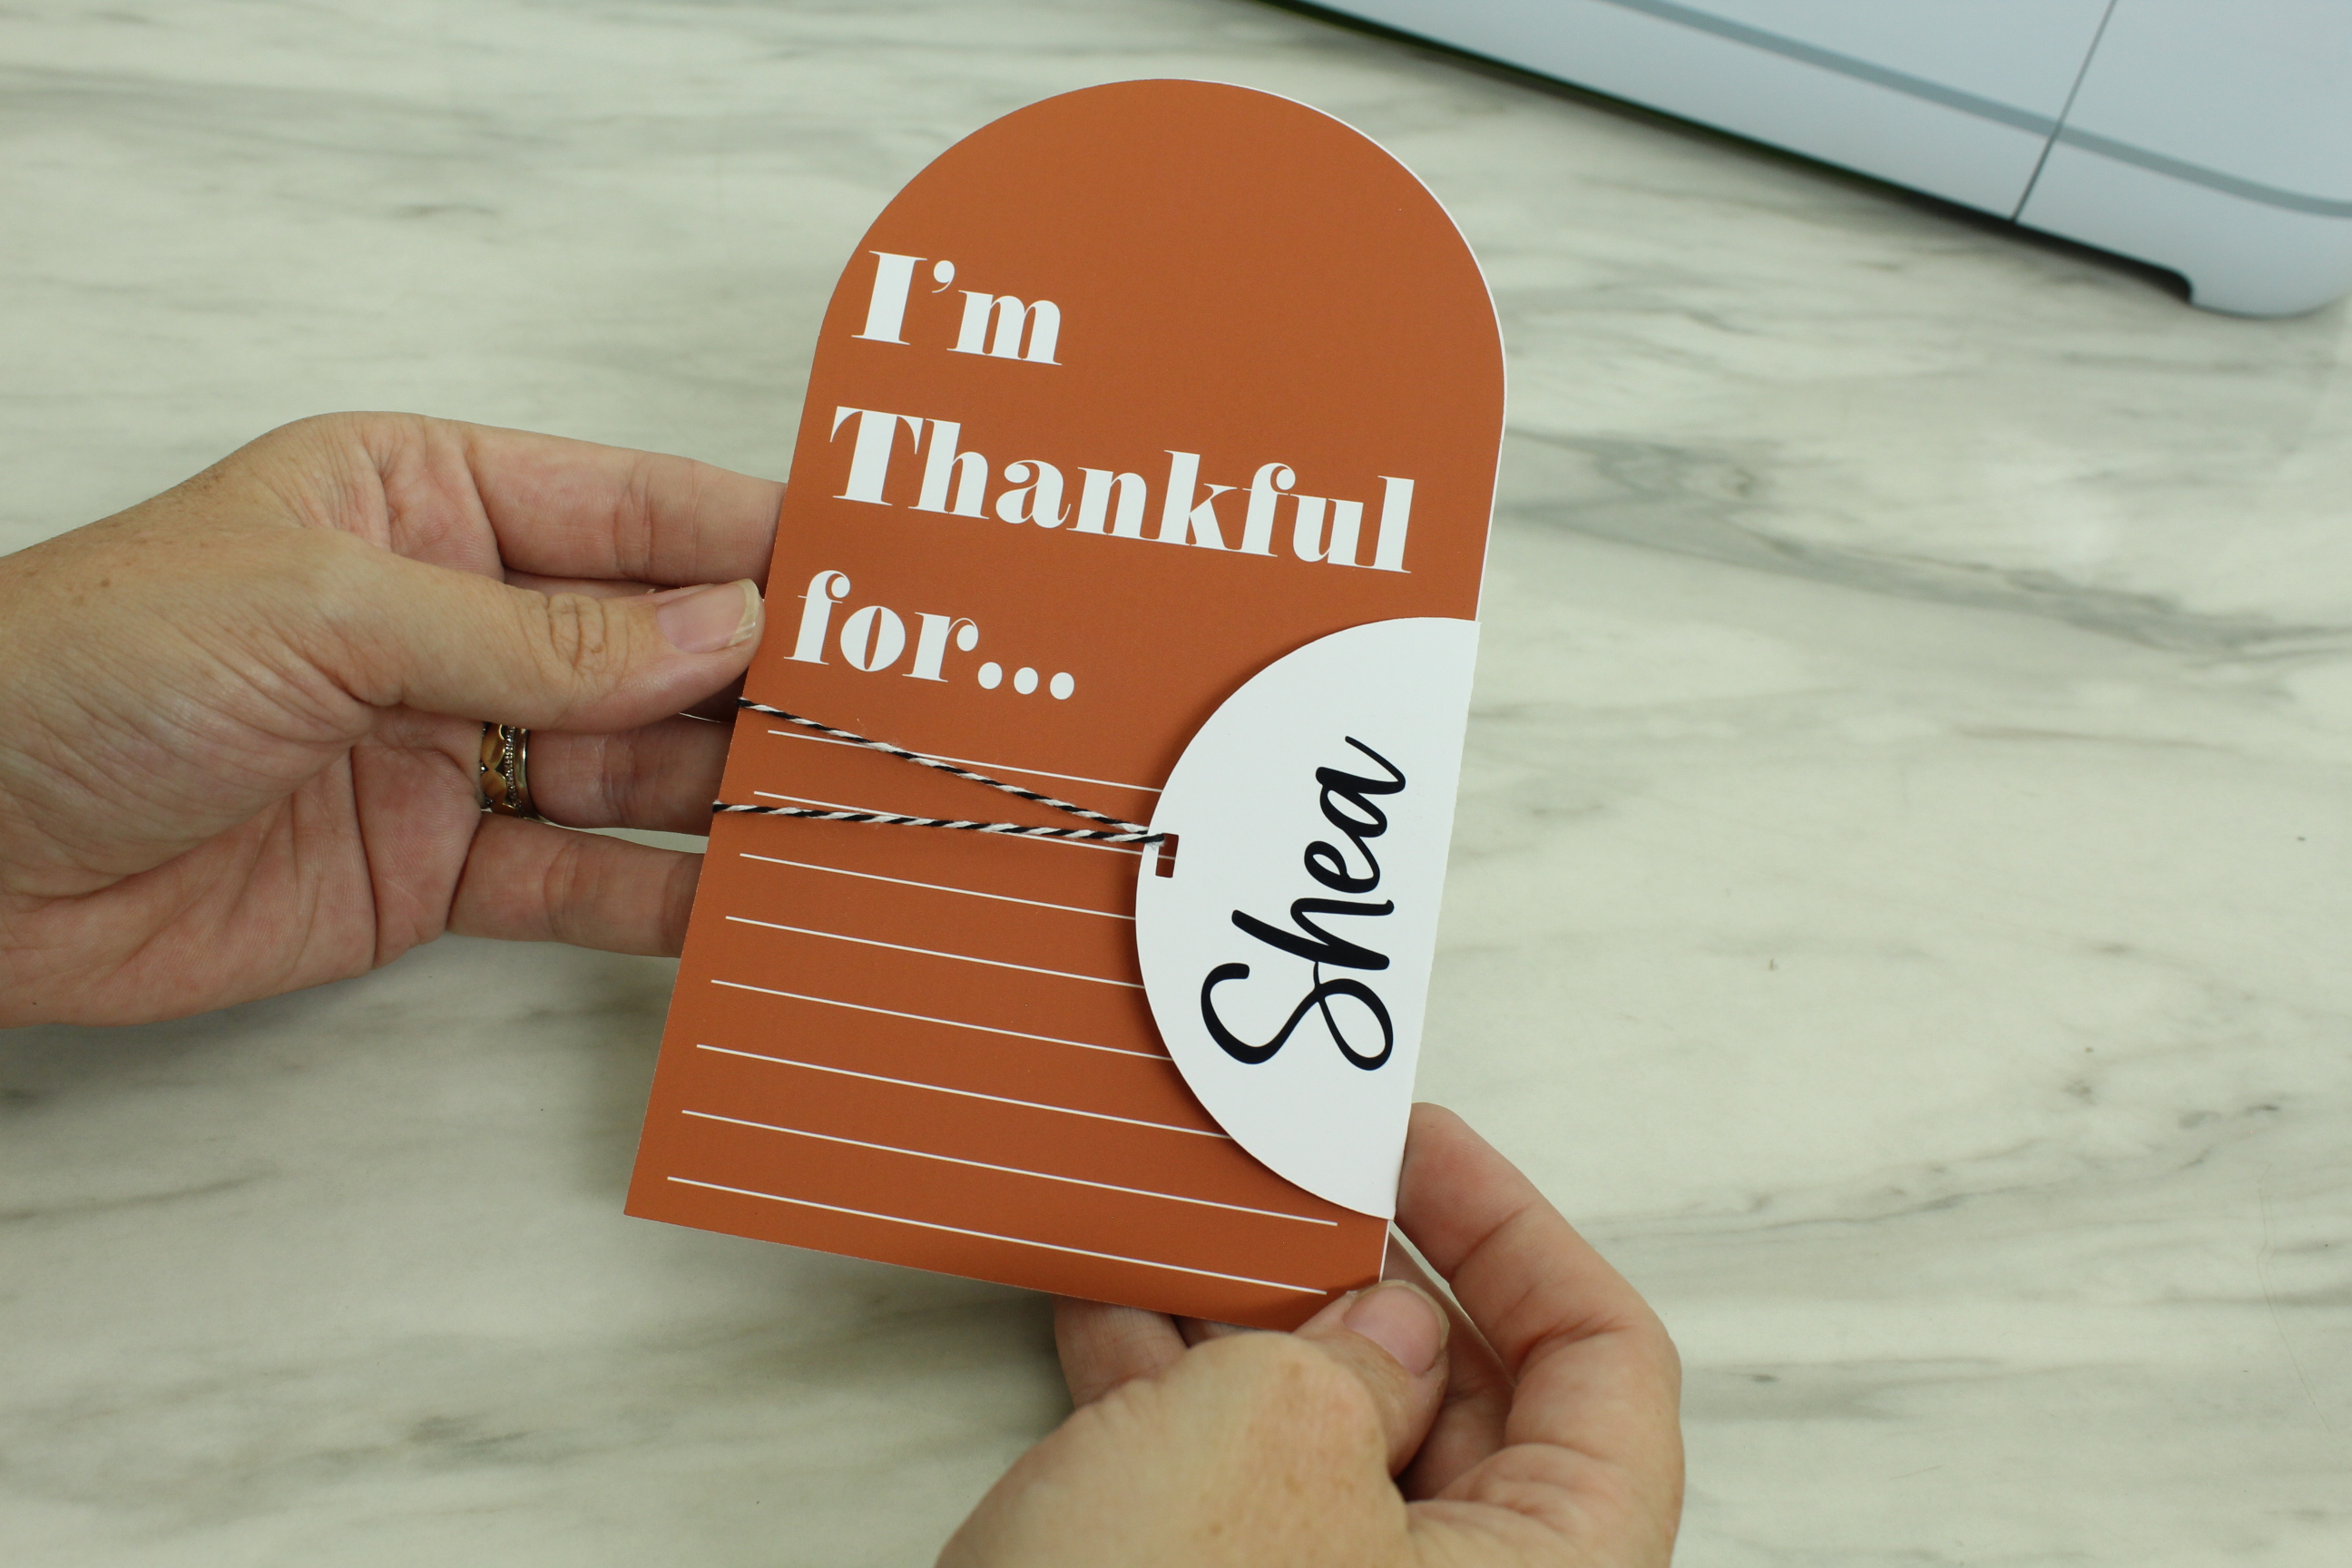
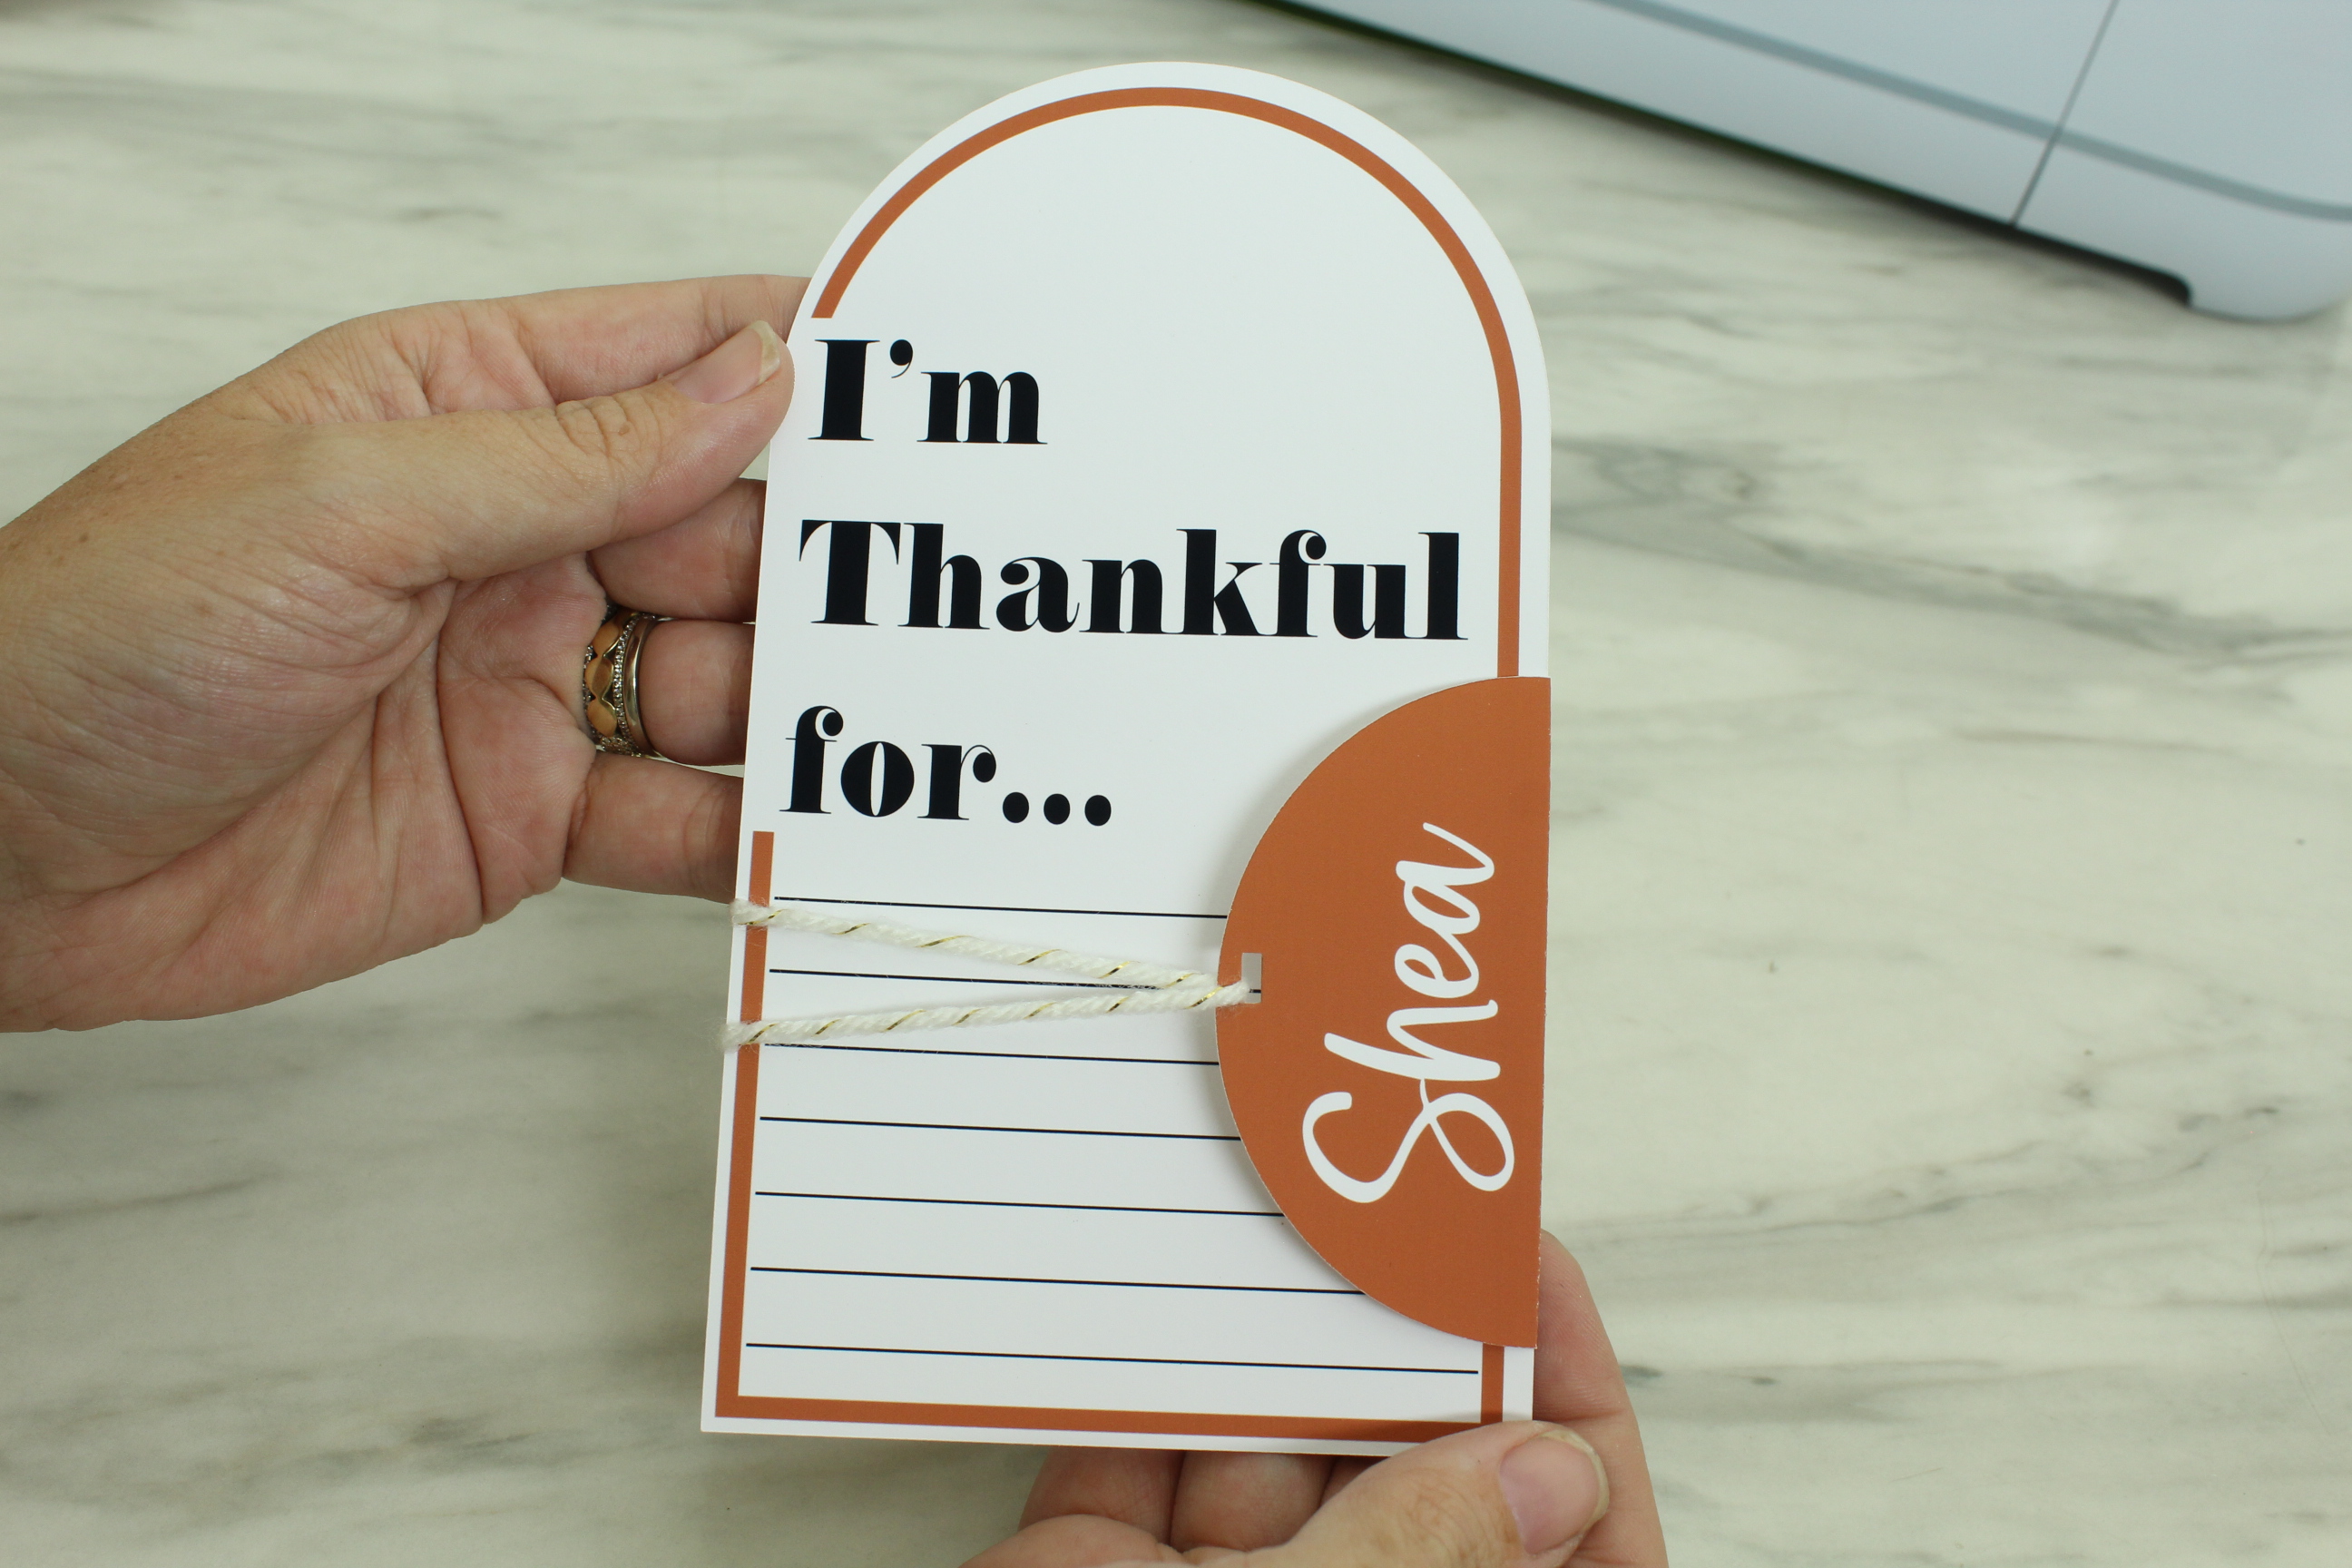
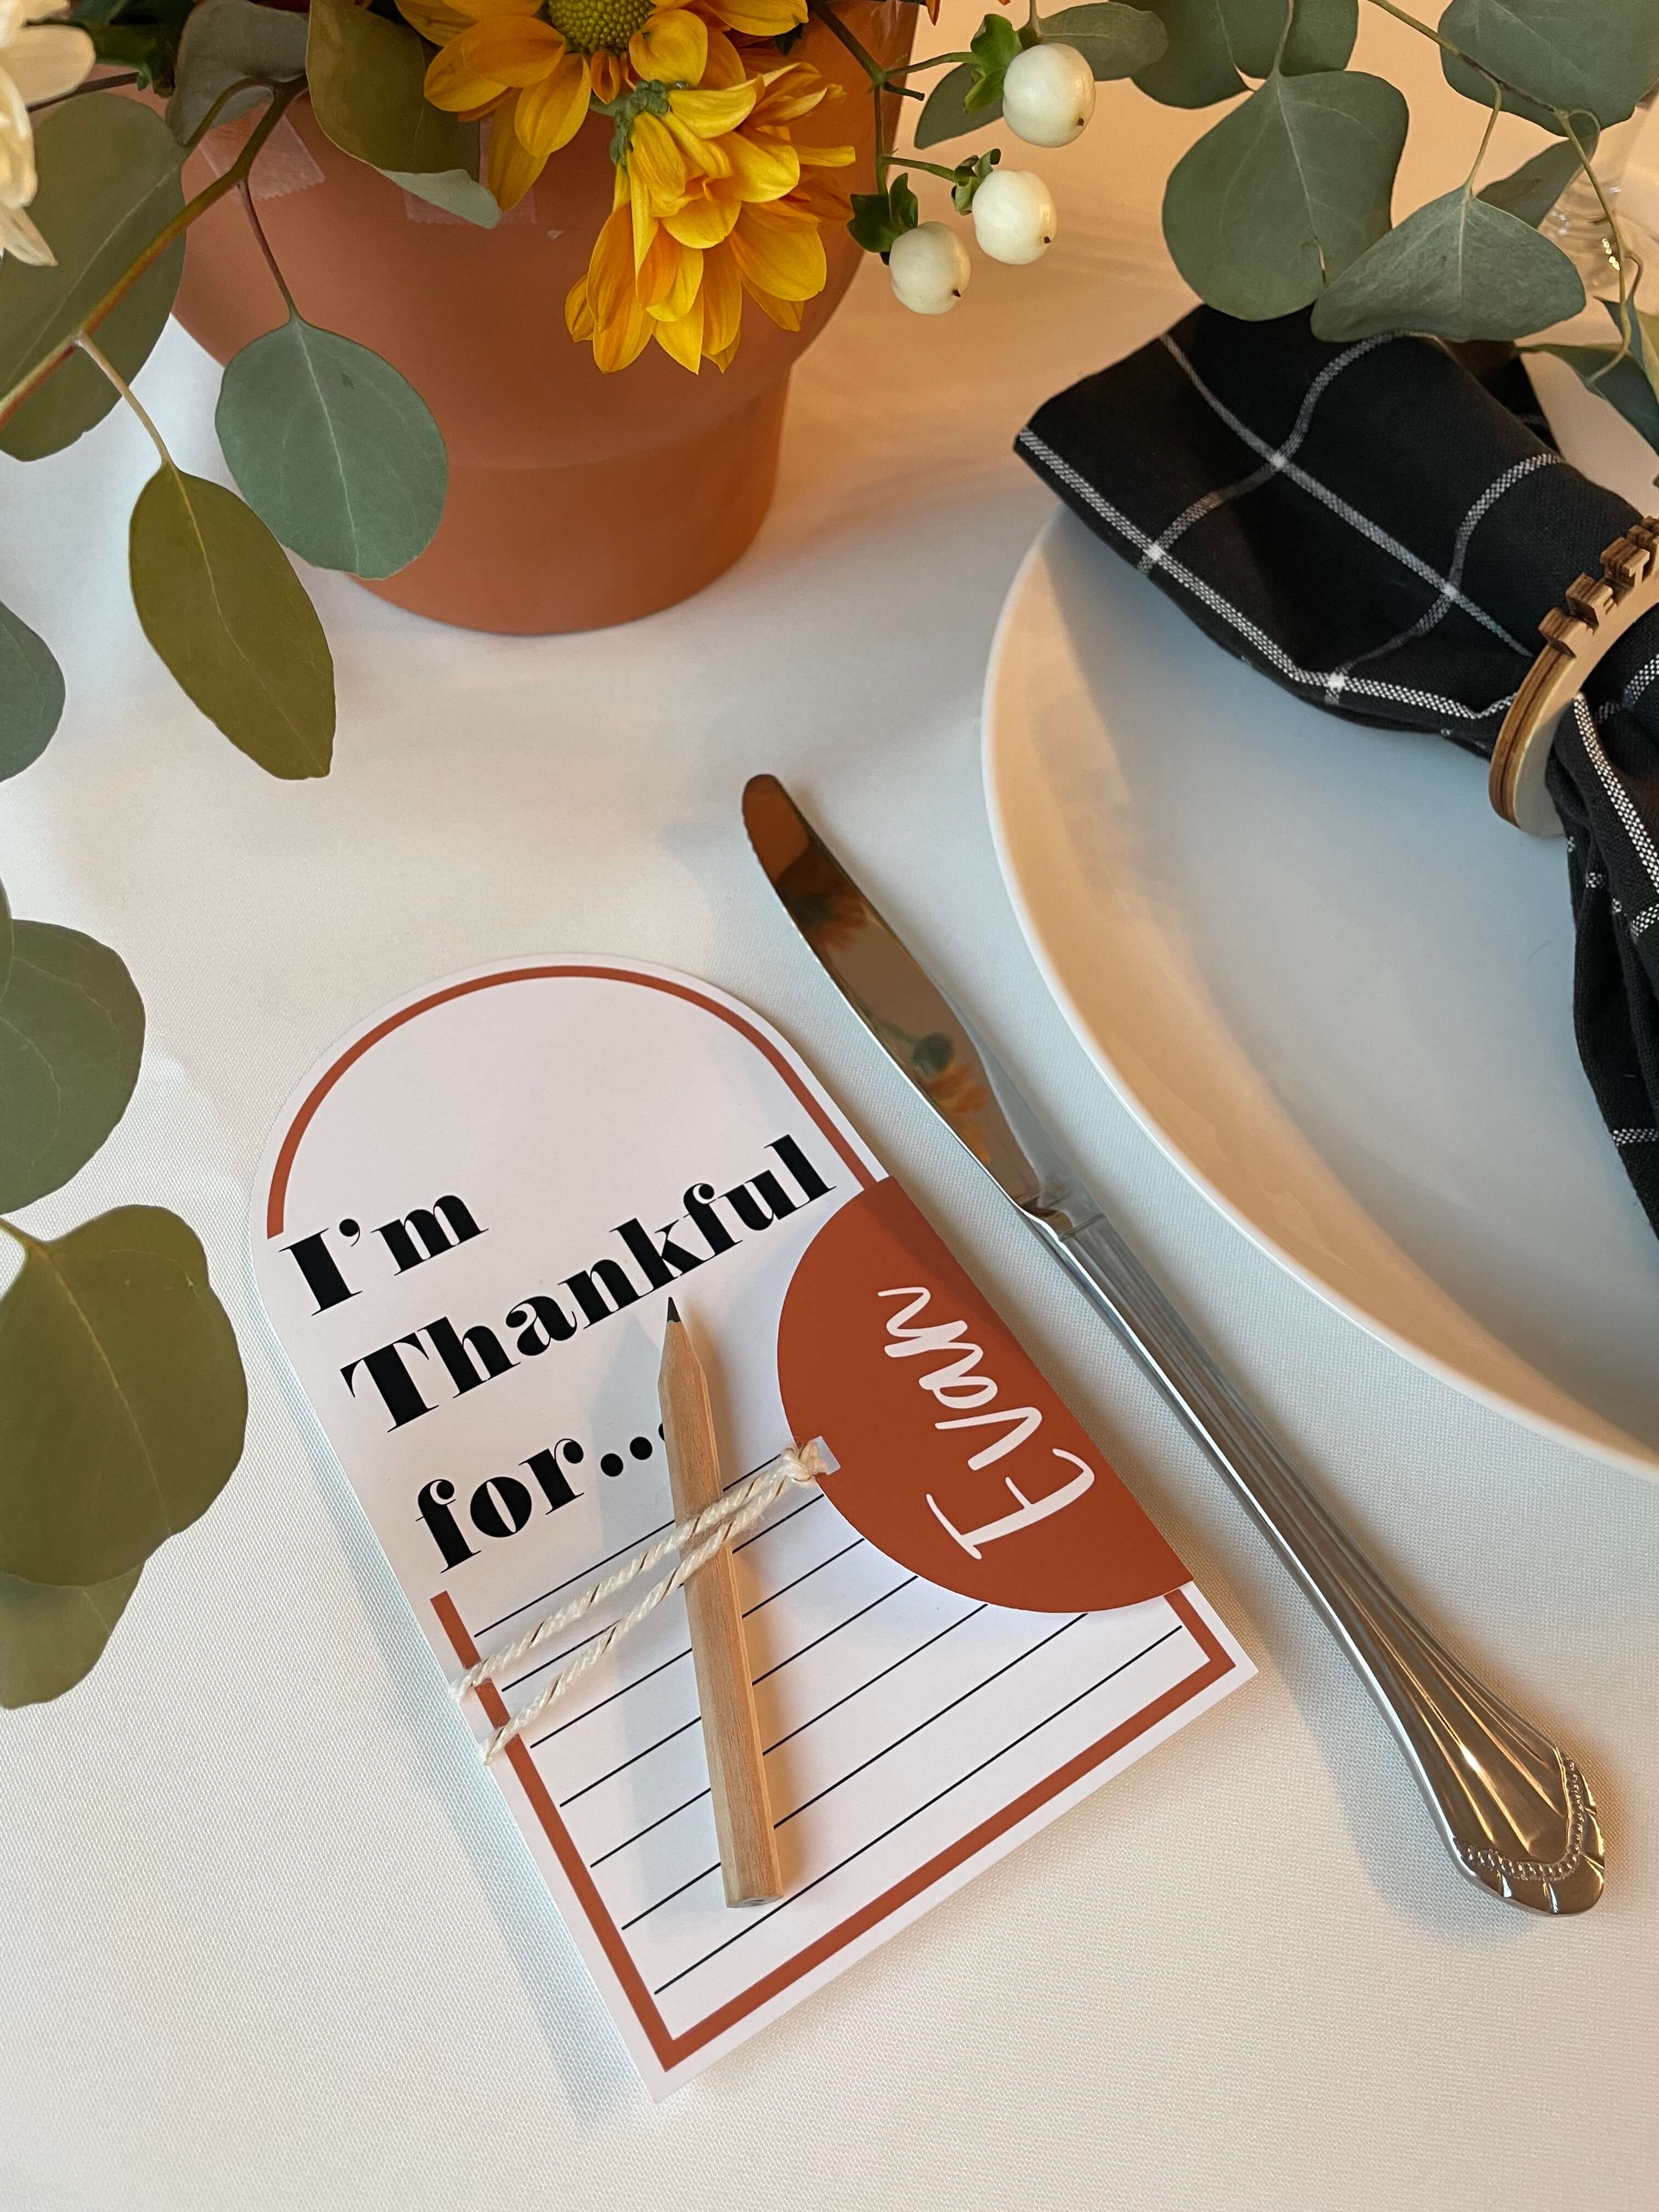
Now just fold your name portion in half using the scored line as your guide. Then hole punch (I love this Fiskars rectangle punch for projects like this).
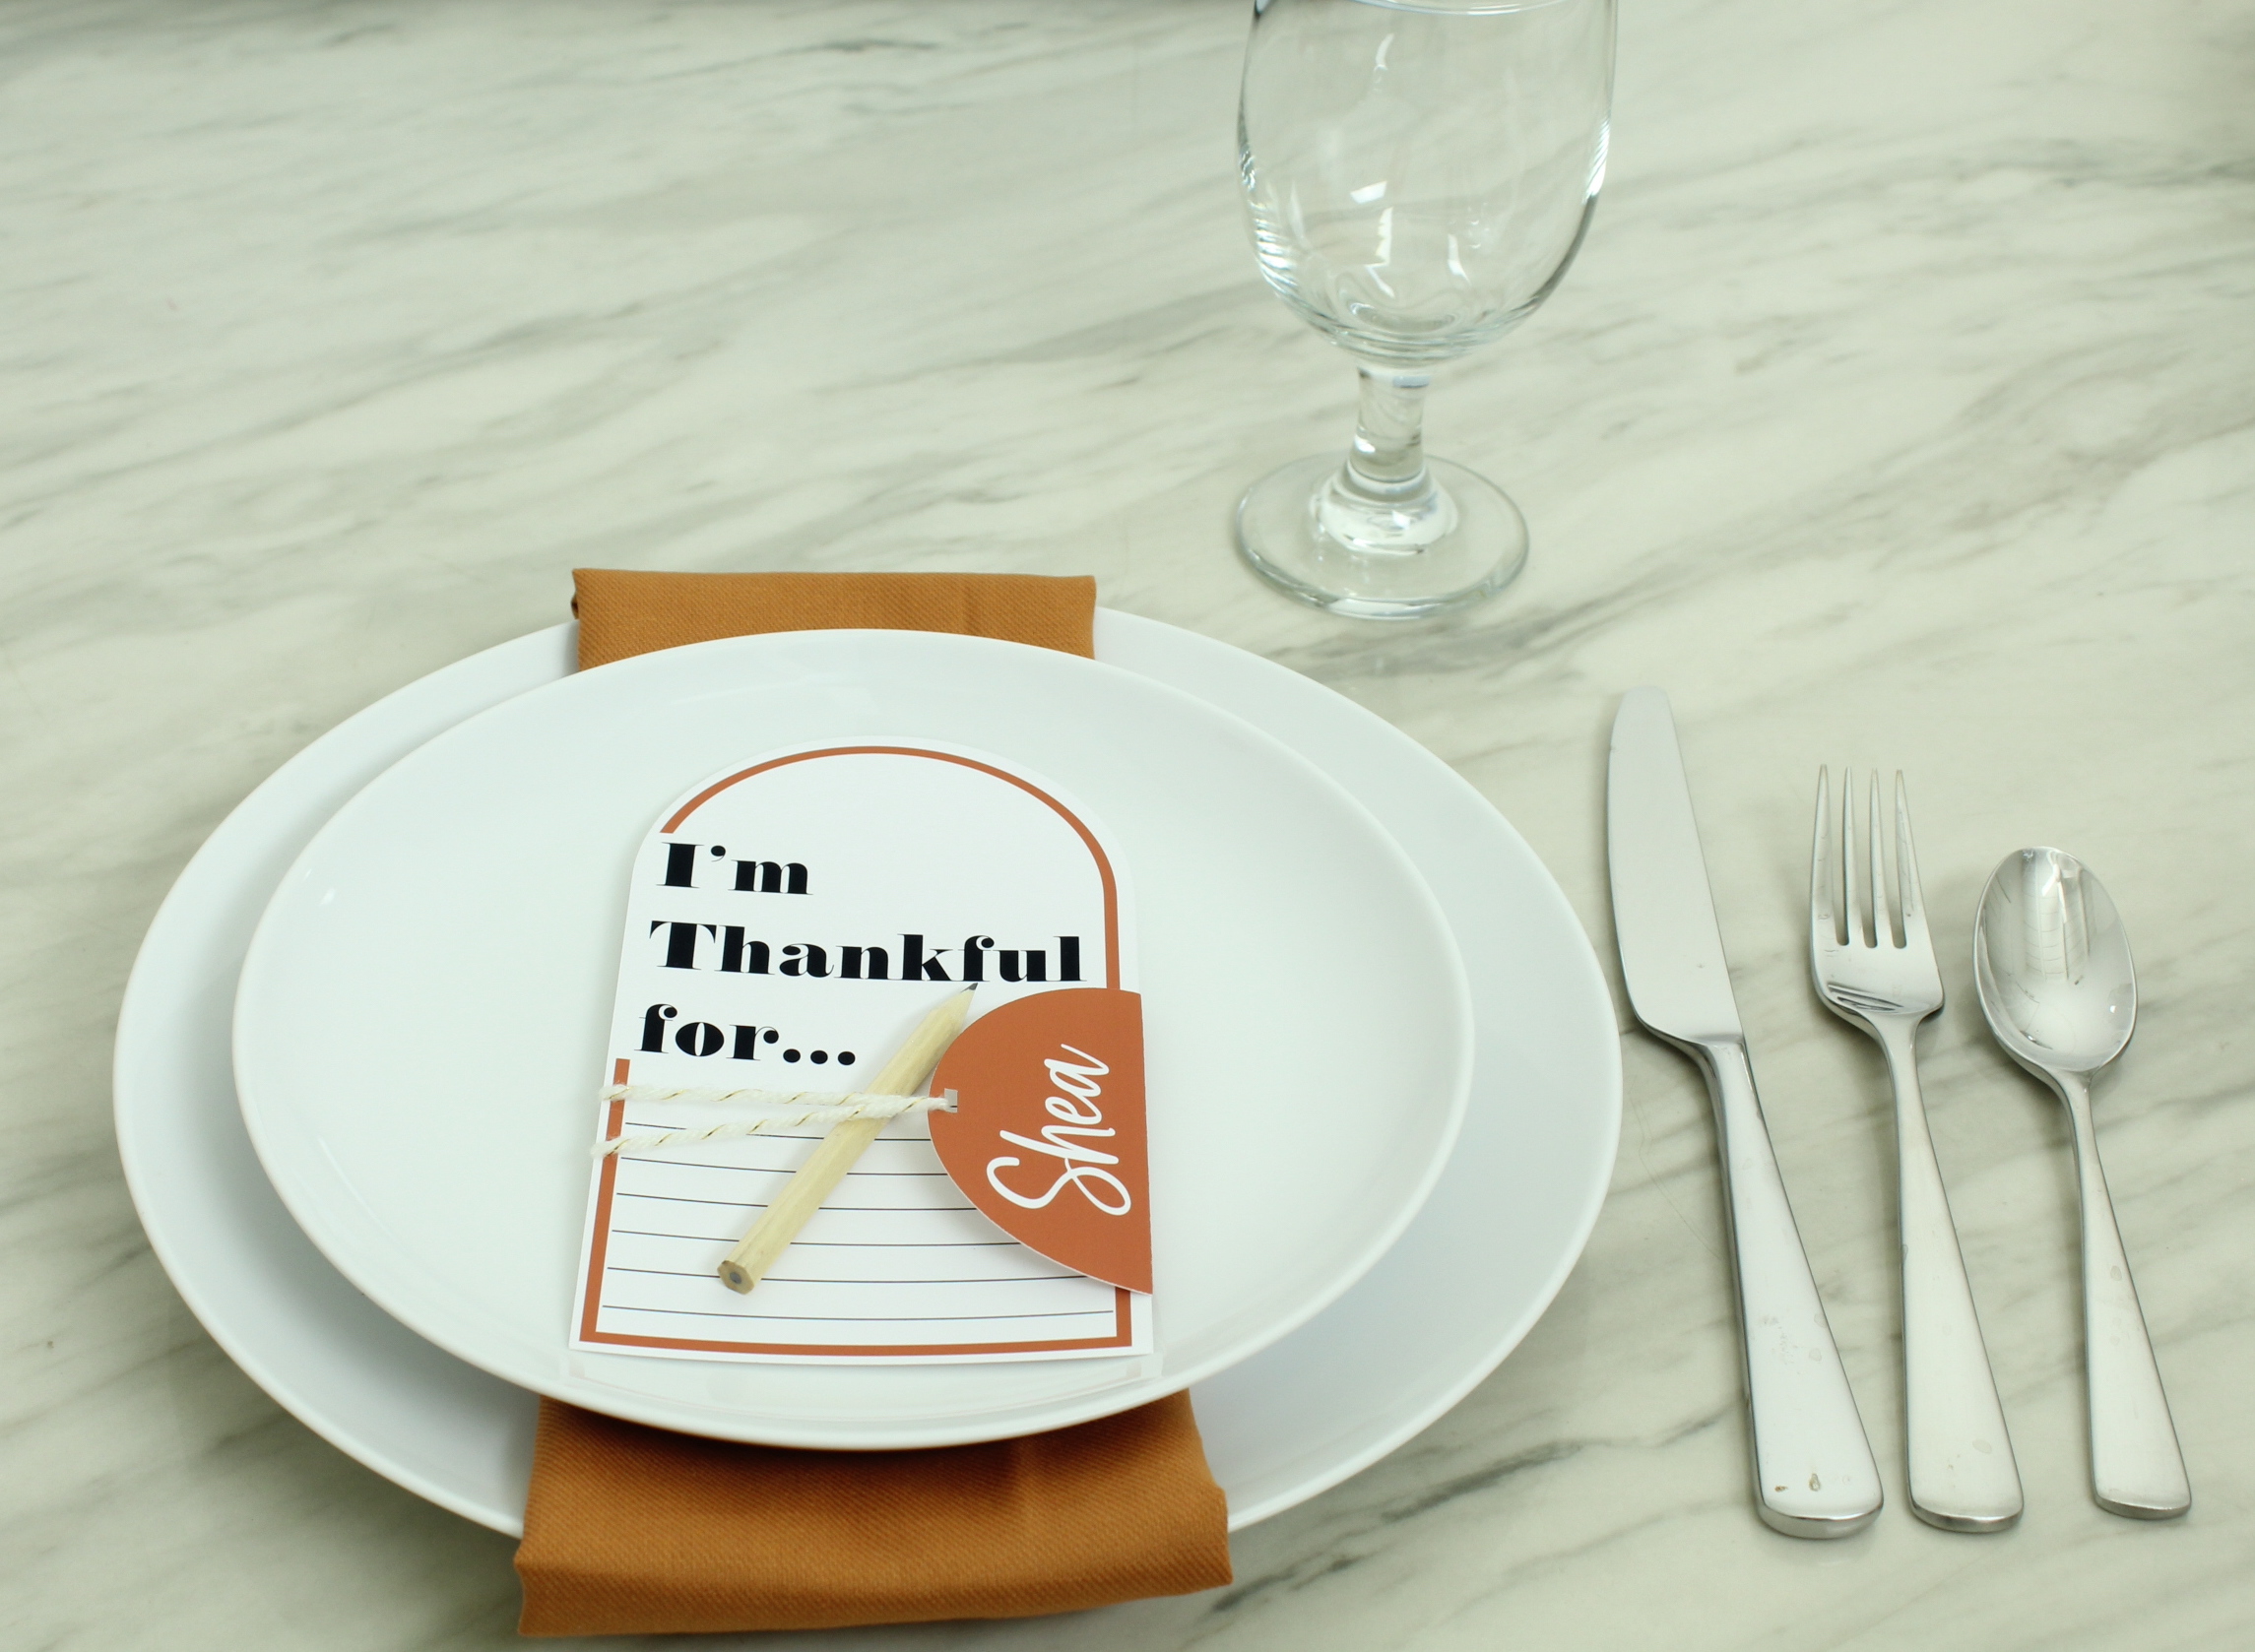
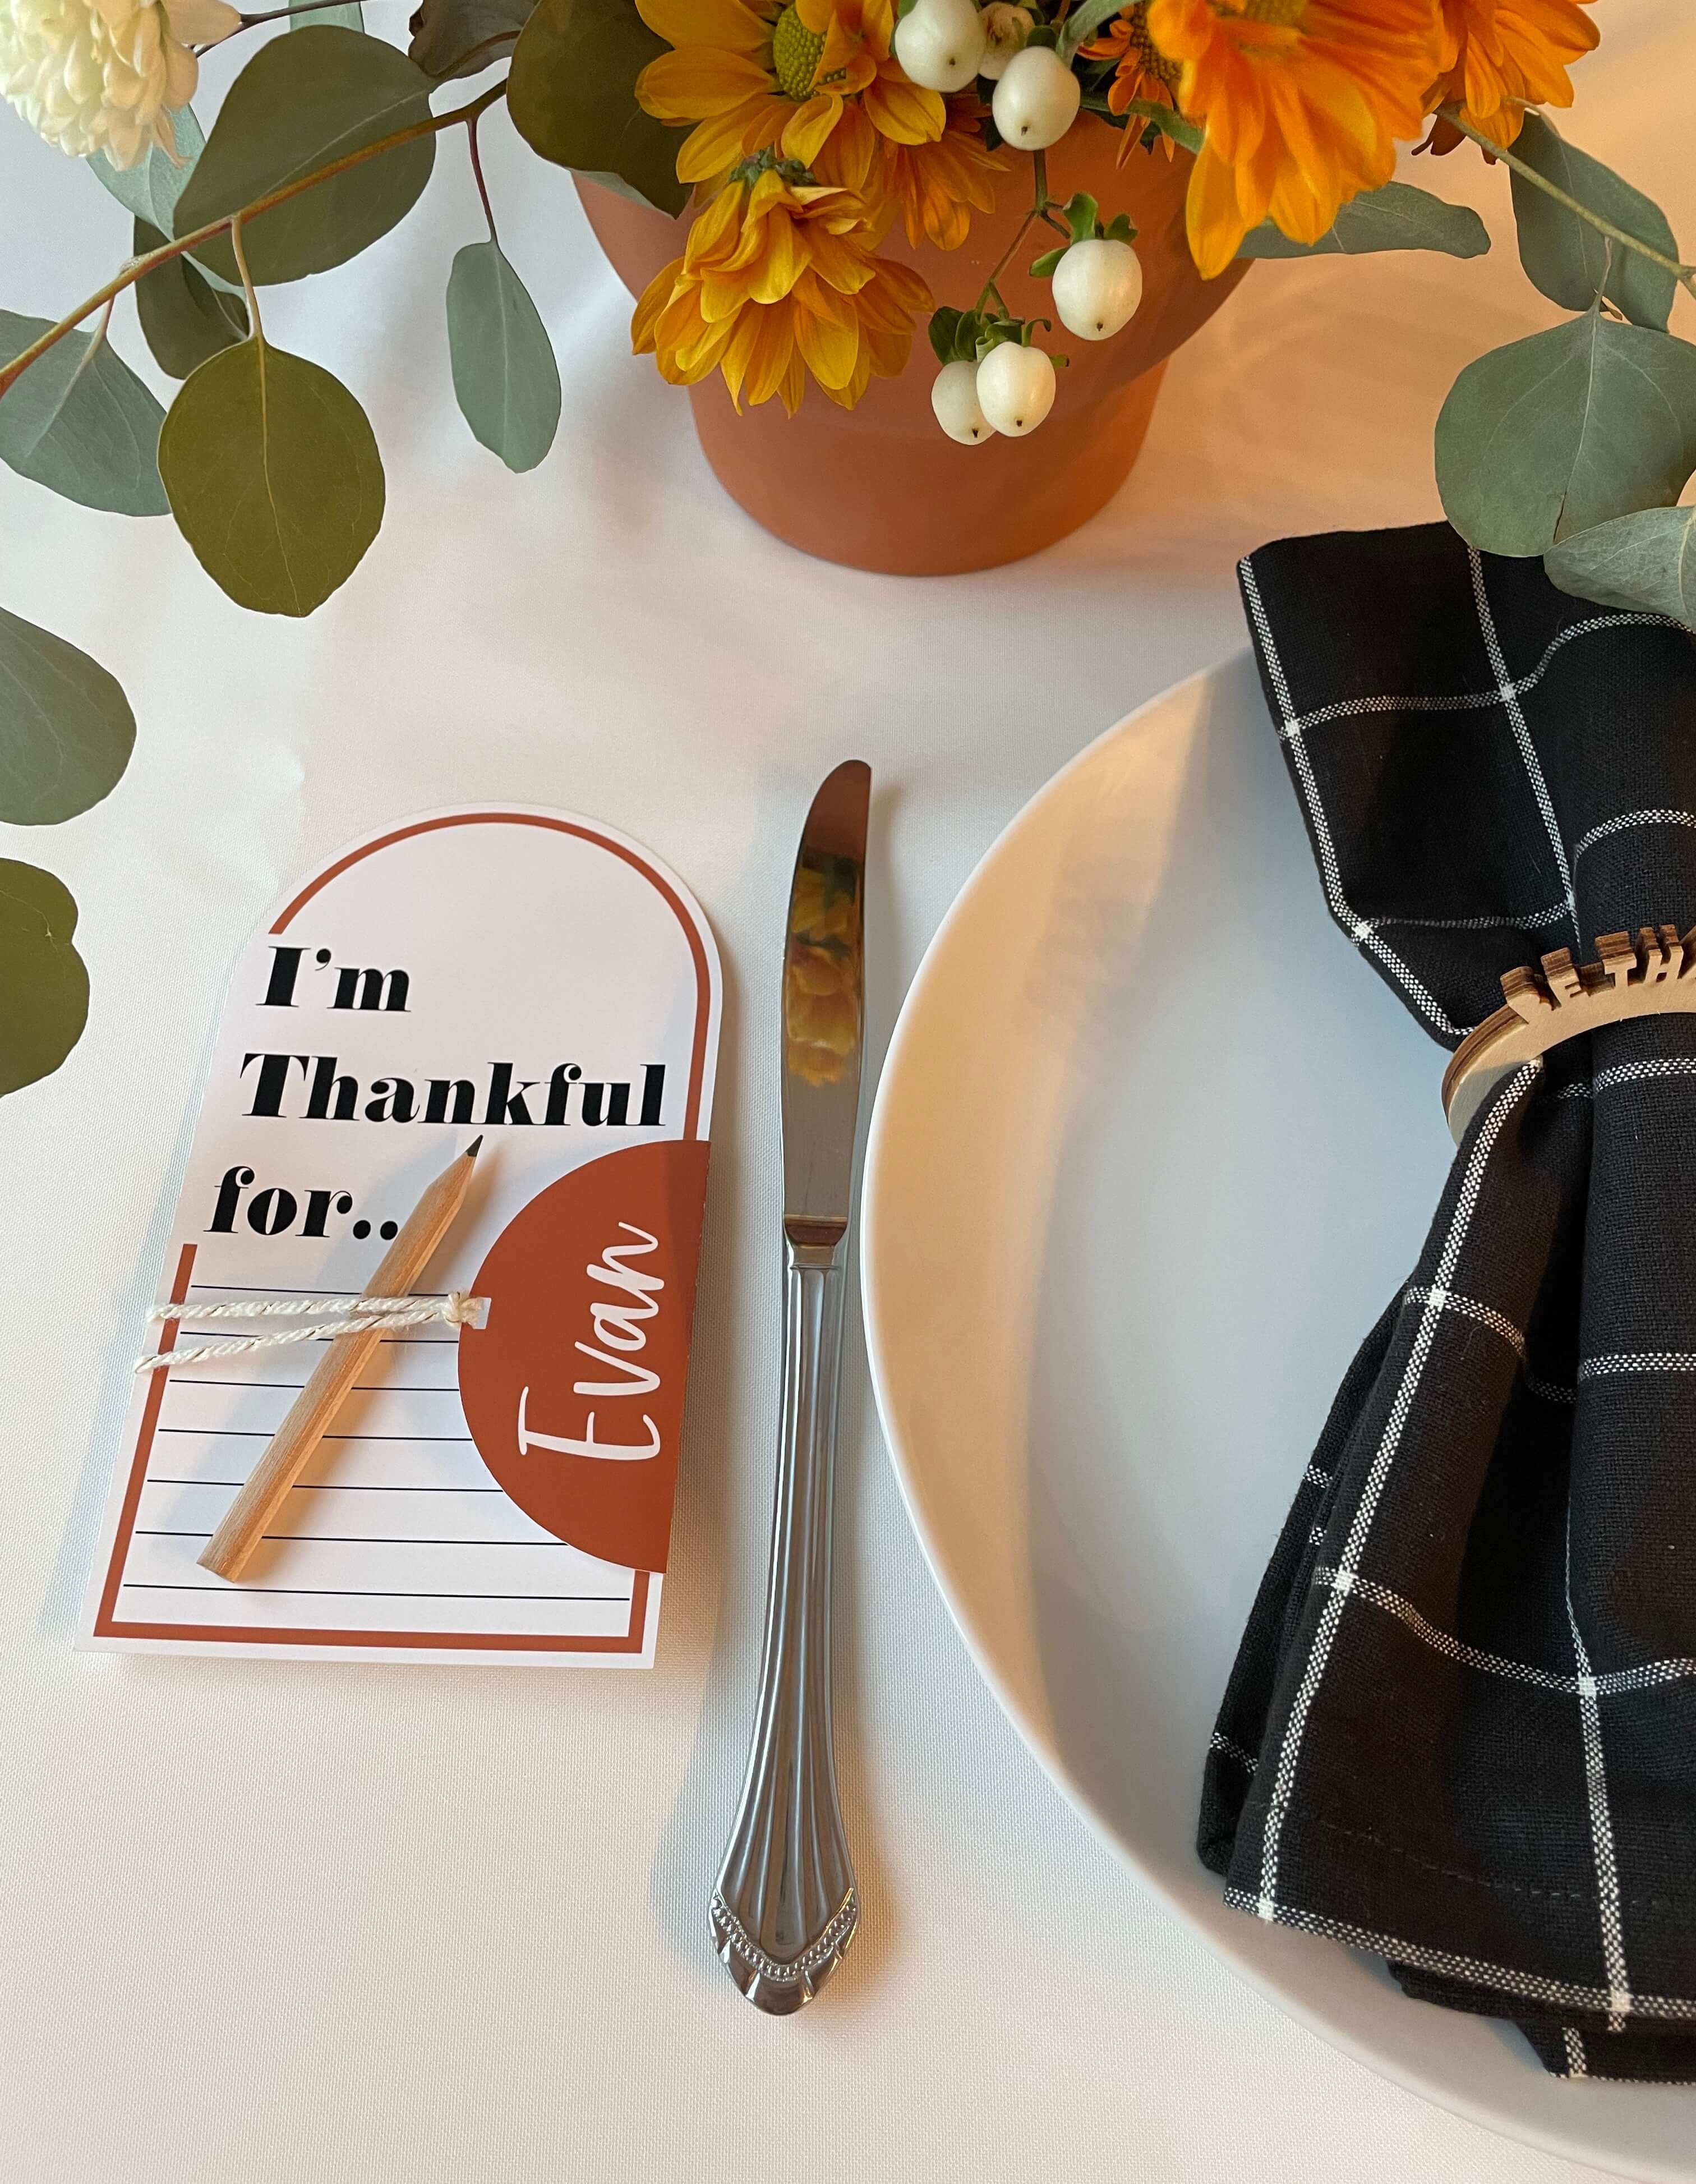
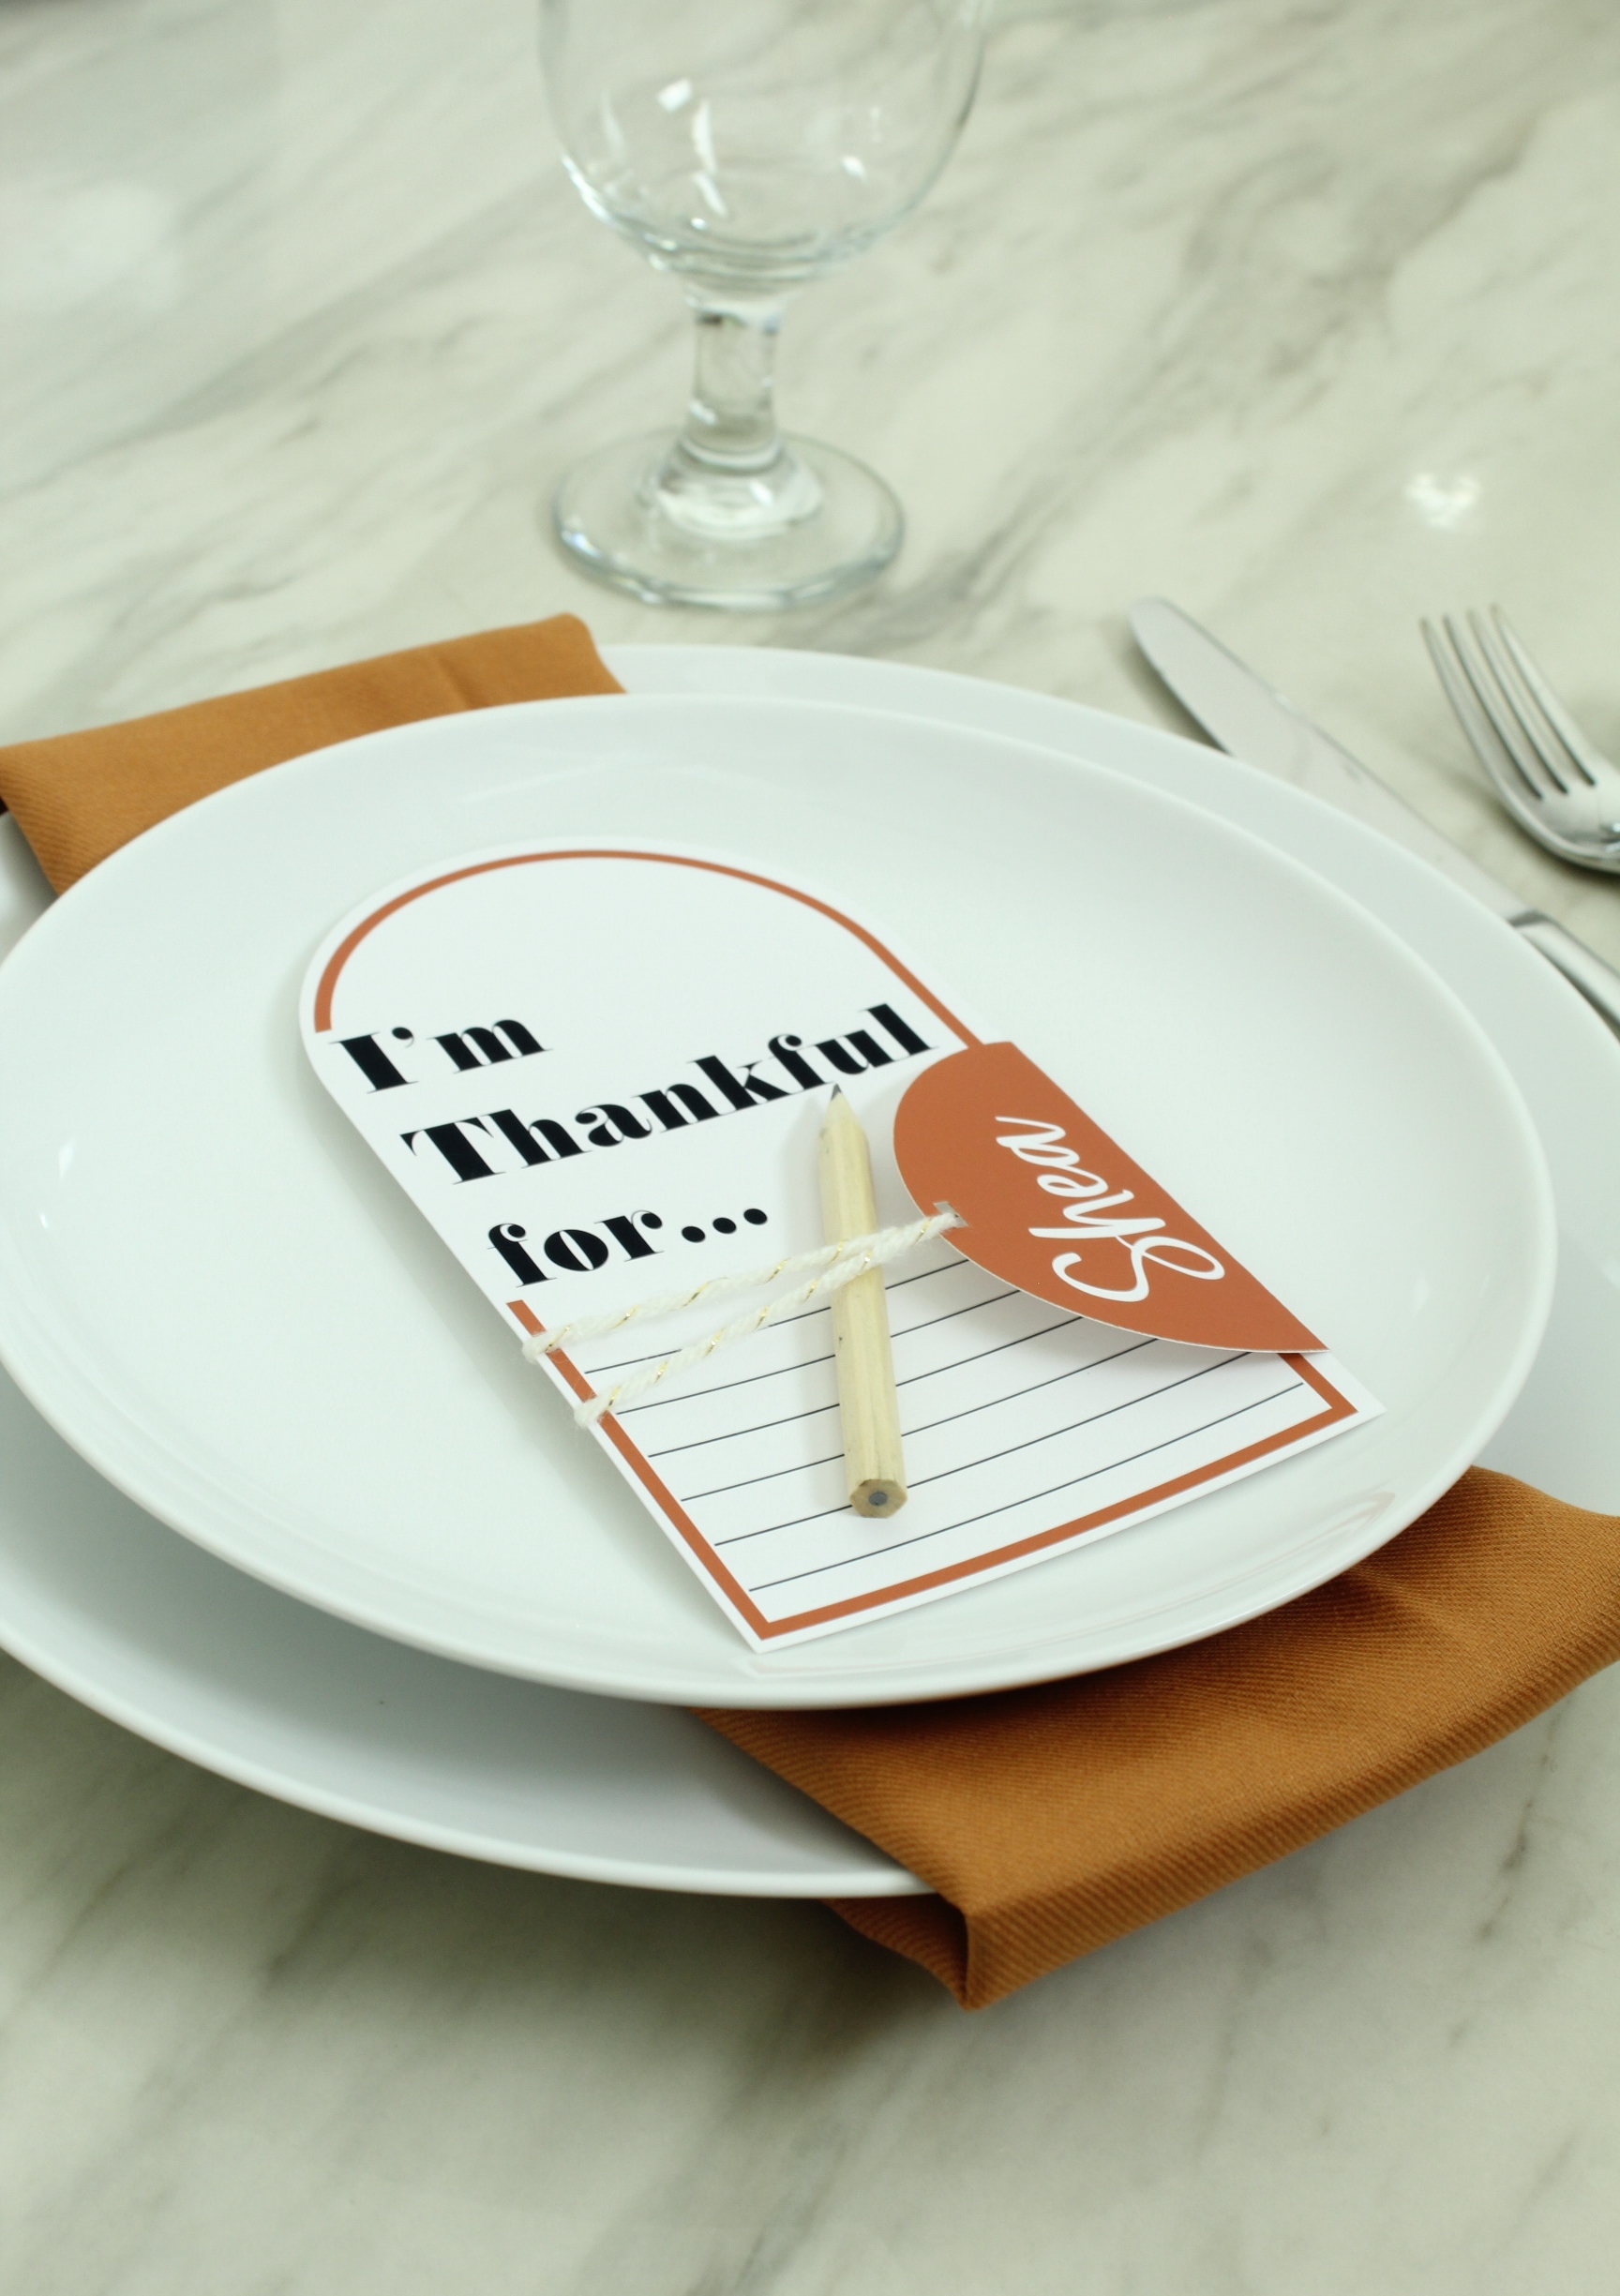
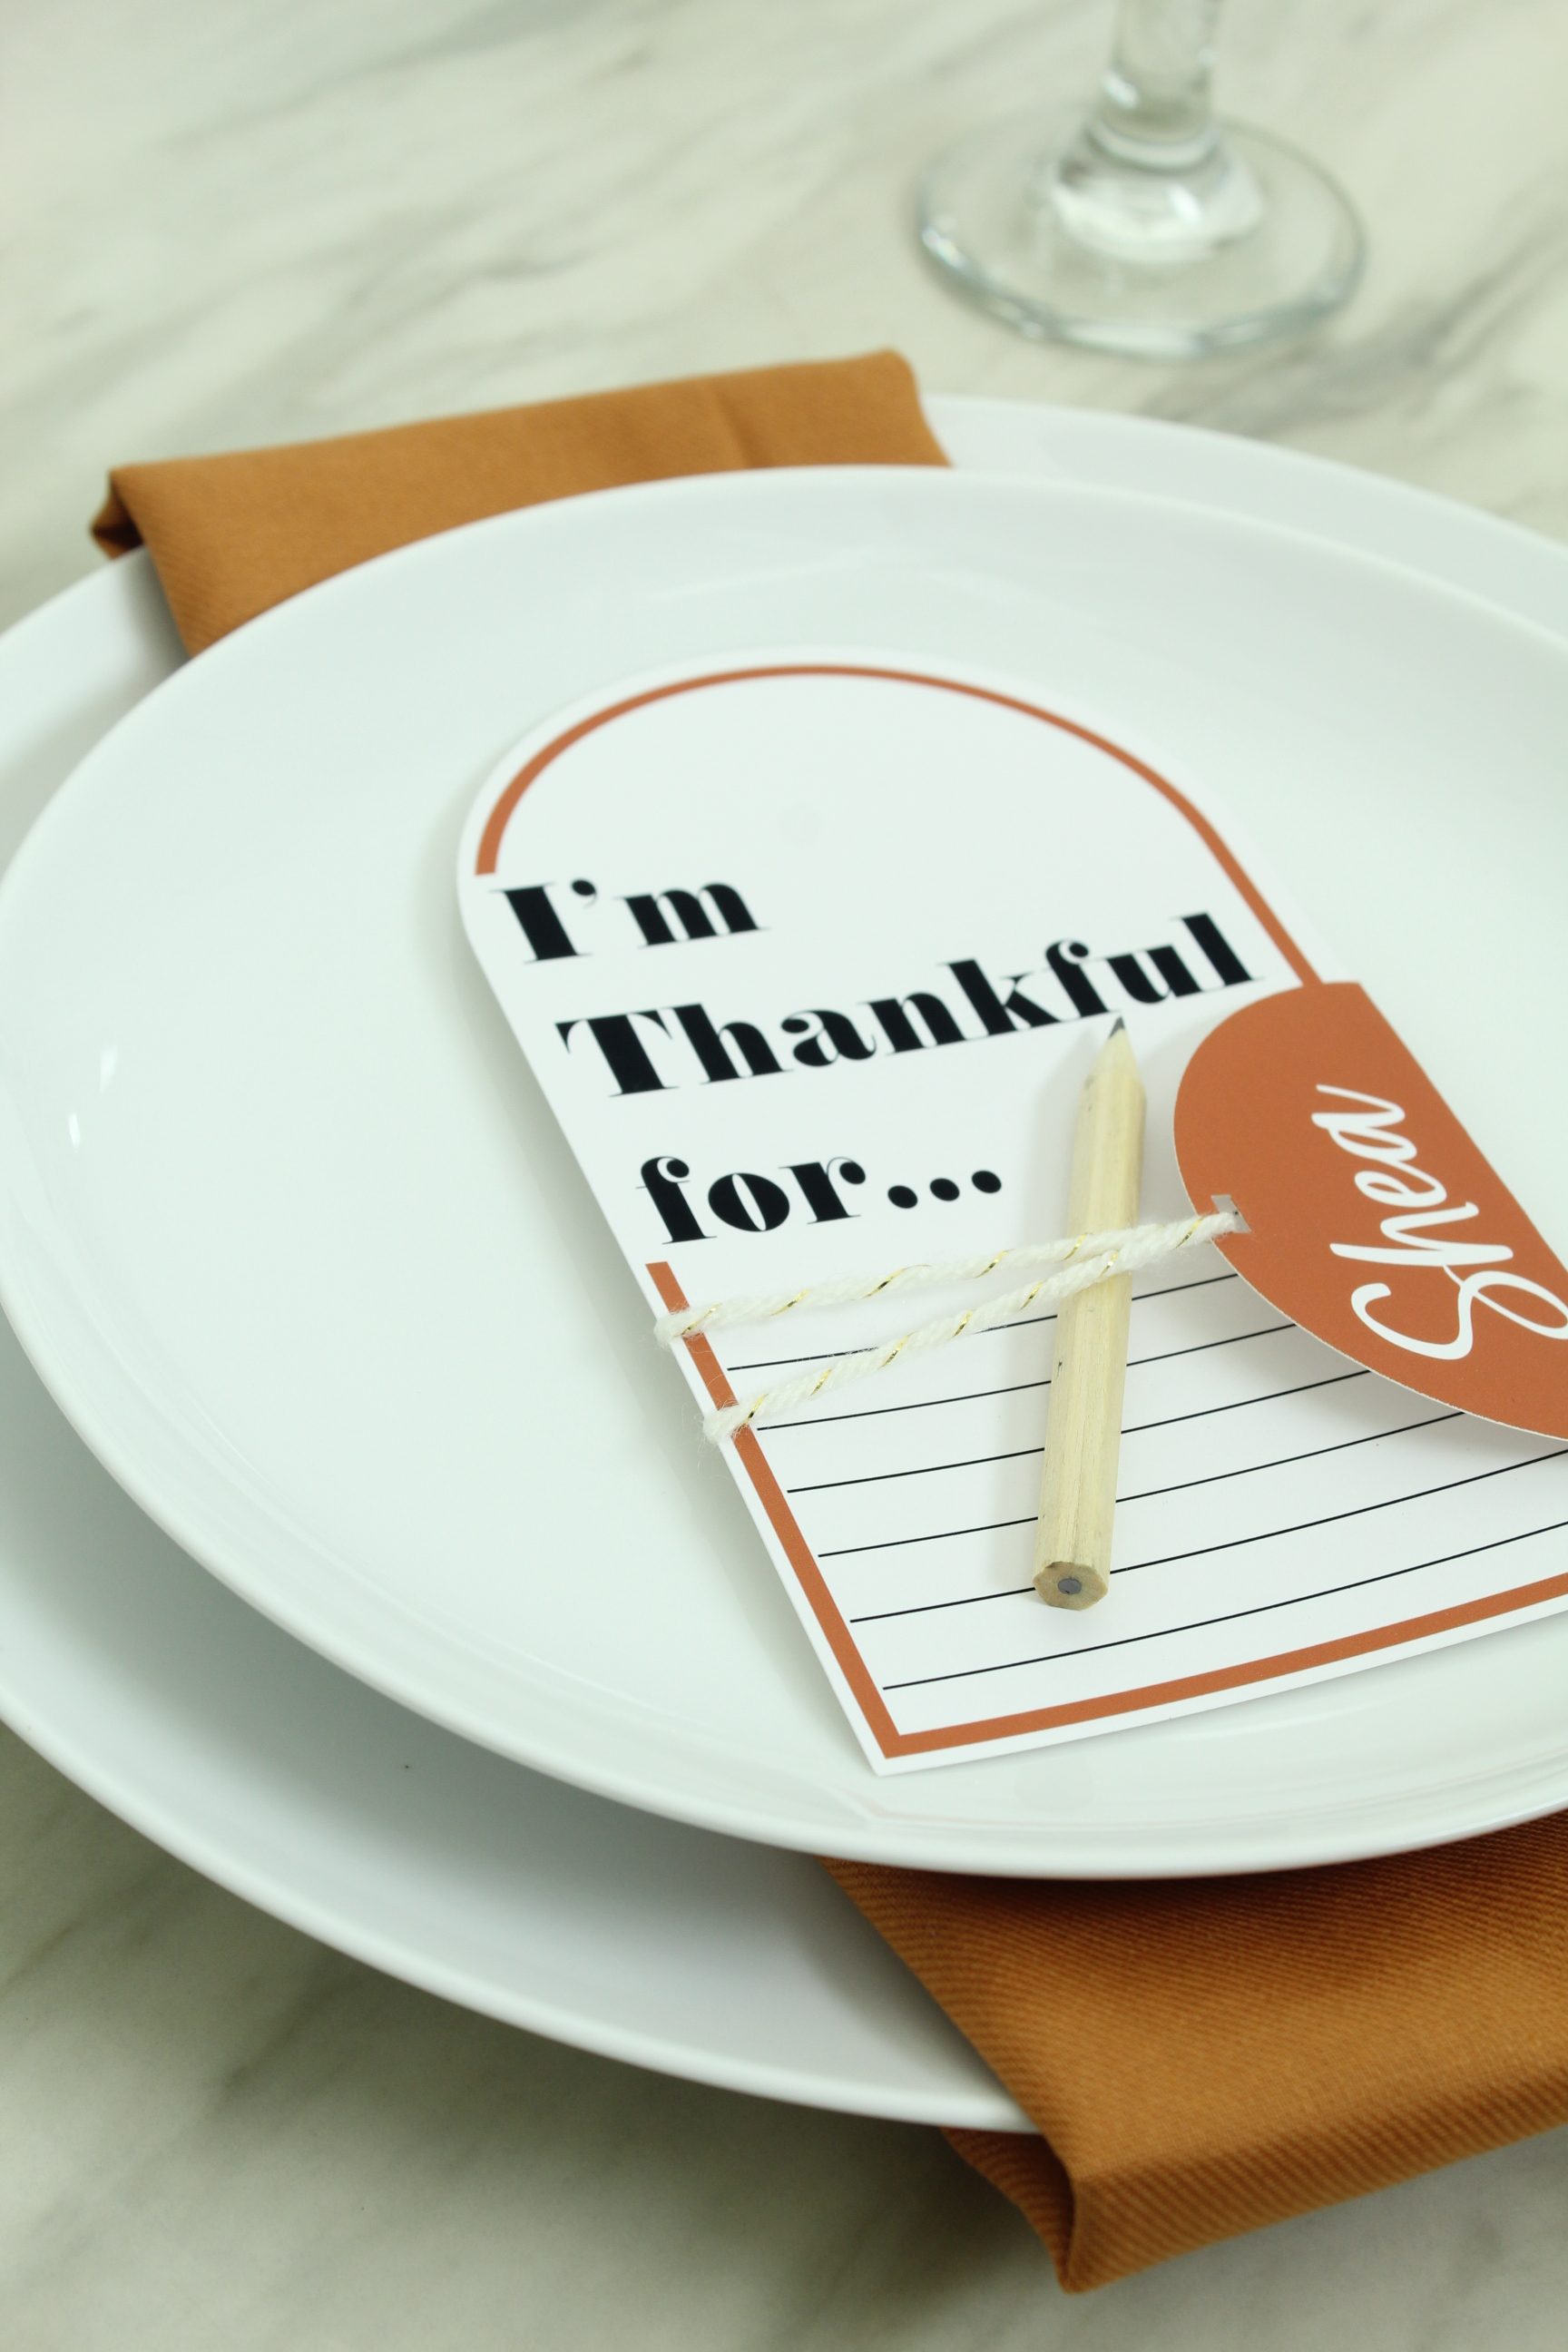
Then add your twine and tie your name card onto your “I’m thankful for” sheet. Slide a little pencil in and you’re done!
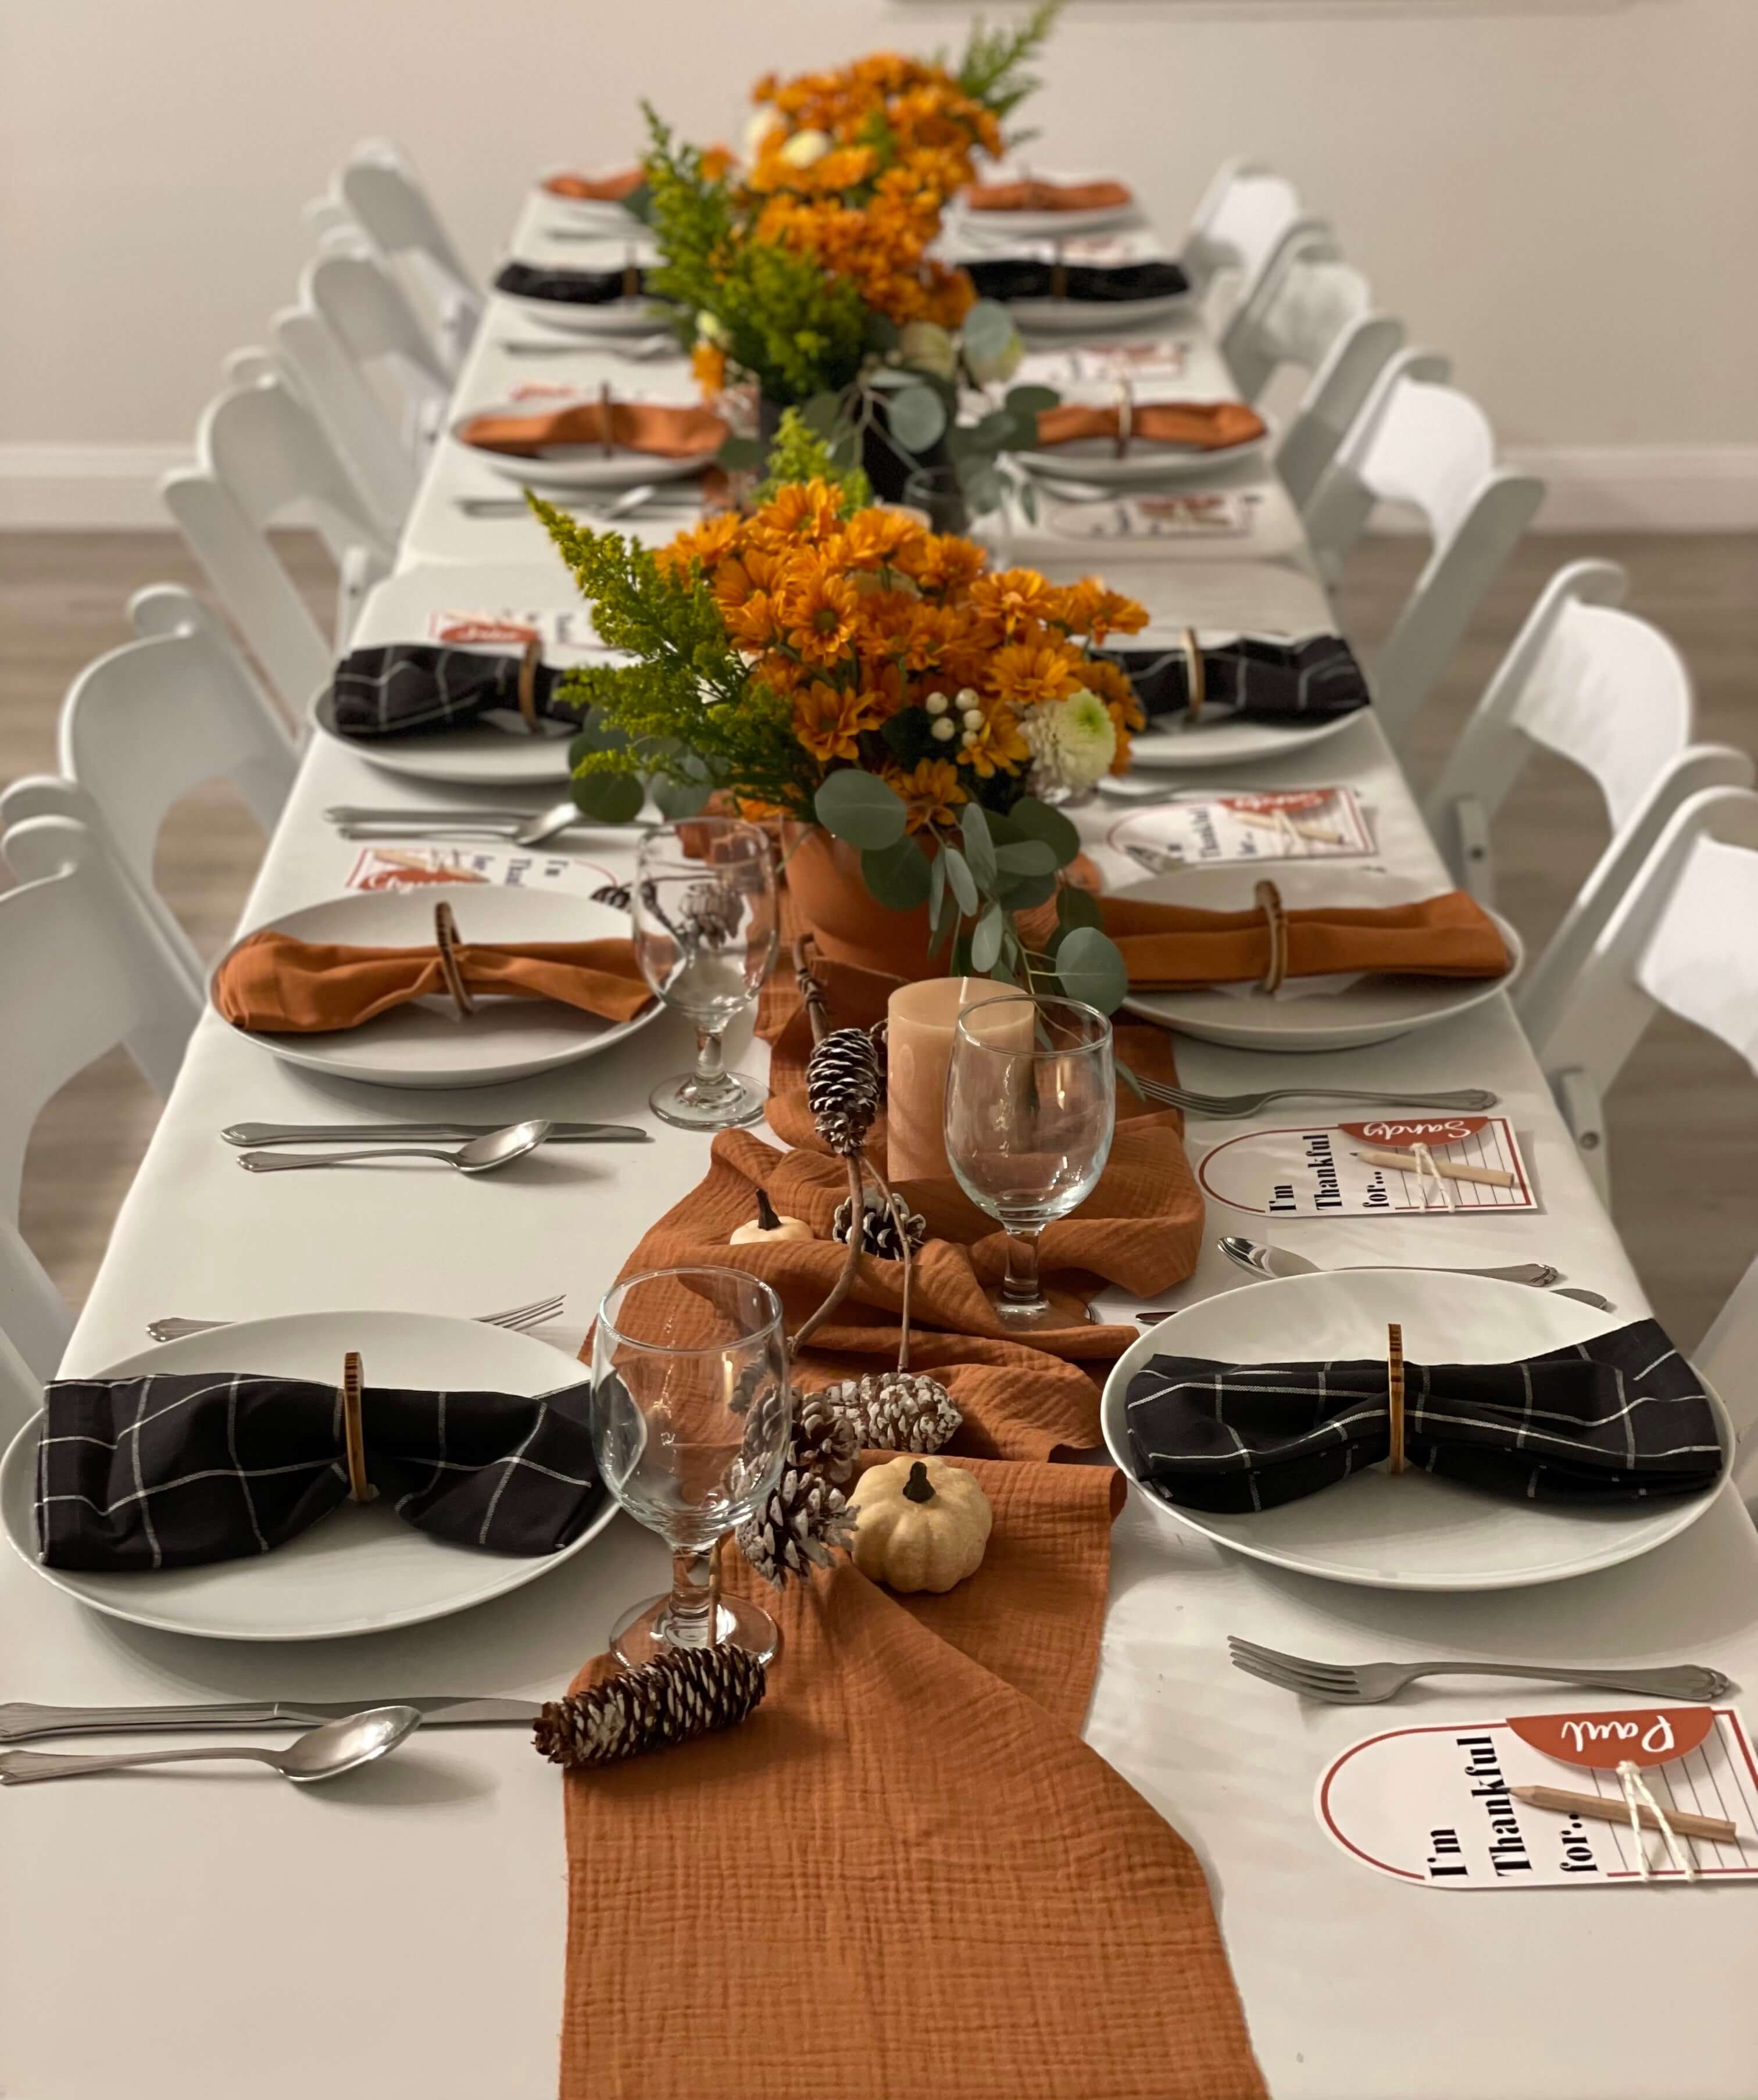
And that’s it! Having a Cricut seriously makes being the hostess with the mostest a piece of cake!

Pick your favorite of the three versions I created or even mix and match them! I’m so looking forward to having this little personal touch on our Thanksgiving table and going around and all sharing what we’ve written that we are thankful for.
On behalf of me and the whole ST team, I hope you have a wonderful and safe Thanksgiving.
If you create one of our projects, please share a picture with us on Instagram or Twitter using the hashtag #somethingturquoisediy, we regularly reshare our favorites! Your profile will need to be public for us to see it otherwise, you can always DM us!
DIY Tutorial Credits
Photography + DIY Tutorial: Shea O’Quinn of Not So Cli-Shea // Cricut Maker and accessories: courtesy of Cricut // Printer: Courtesy of Canon // Matte Photo Paper // Twine // Mini Pencils // Rectangle Hole Punch
Shop The Supplies:
Find the supplies you’ll need for this project from our affiliate links below:
Post Checklist:

Comments