
DIY “That Pink Door” Pumpkin
Hi friends! Shea here. Happy Fall! I’m still trying to figure out where 2020 went and meanwhile fall 2021 is well underway. HOW?! I don’t know about you but I have a sort of love hate relationship with Halloween. I love me a good costume, but I’ve never been a fan of the spooky and scary elements of Halloween. Bats? Spiders? Witches? Skeletons? No thanks. But pumpkins, a warm beverage and some candy? Count me in! I actually had the idea for todays DIY several years ago when I was trying to come with some Halloween decor that was very “me”. I even created the file, bought all the supplies to make it and then… I never did. This year when I pulled out my fall decorations I was reminded of it and thought it would be a great one to share with all of you!
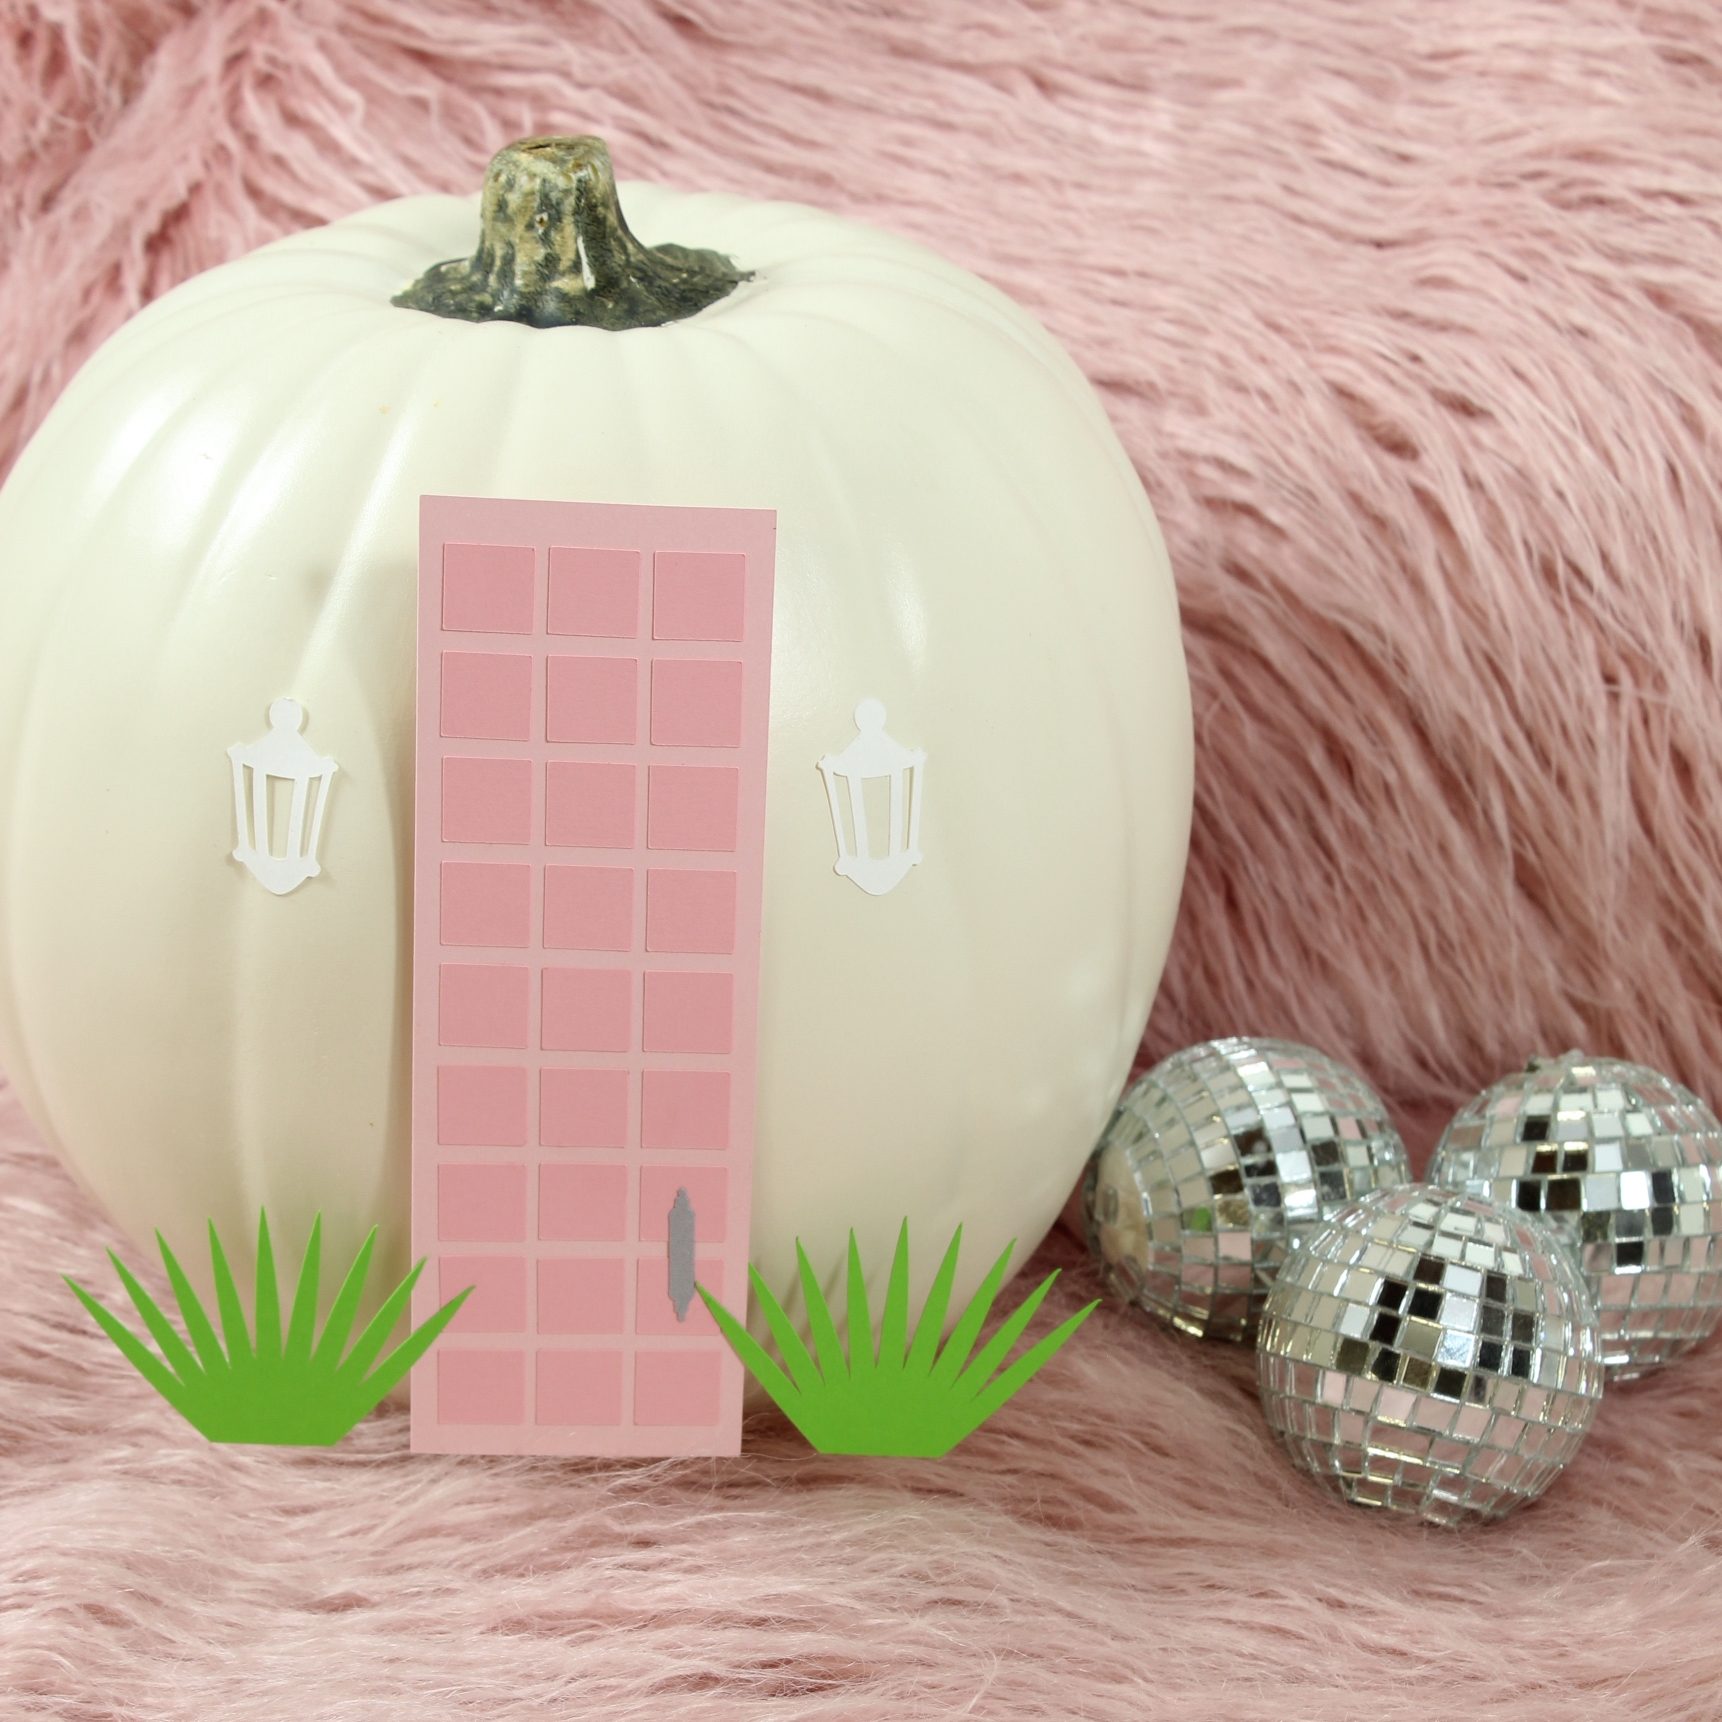
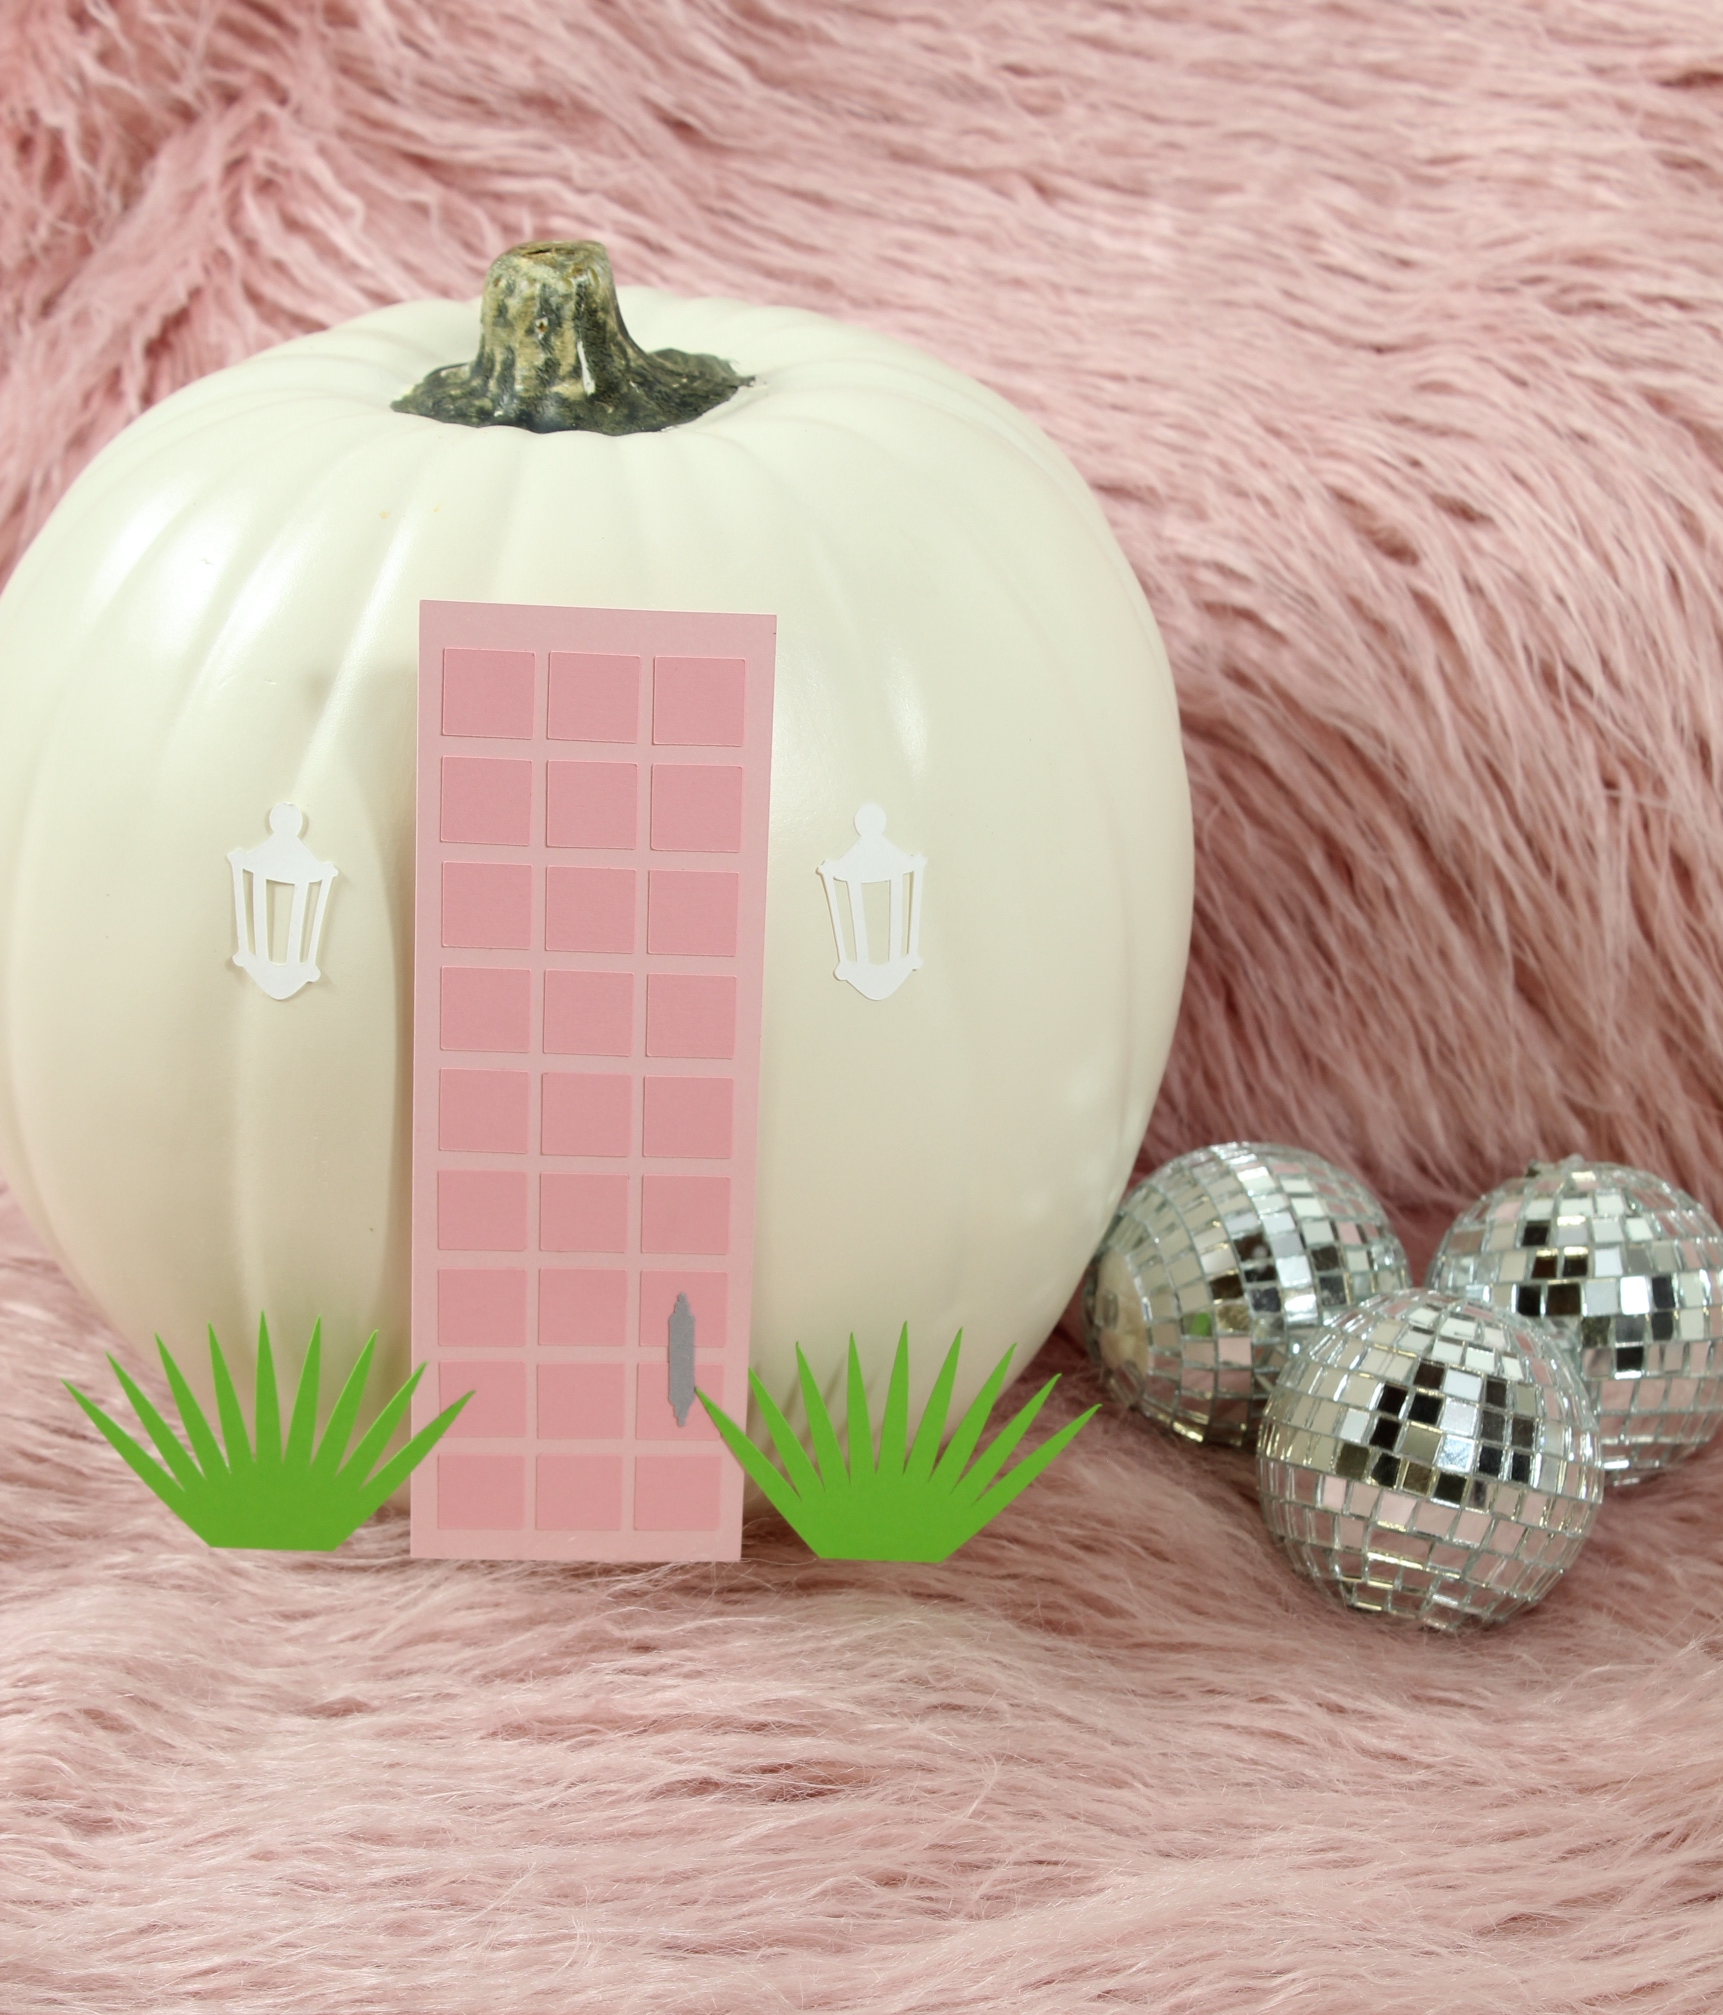
You may or may not know, I’m a lover of Palm Springs (see my Palm Springs wedding here). If you’re a fellow Palm Springs lover, I’m sure you’re familiar with That Pink Door, an iconic mid century home in the heart of Palm Springs with, you guessed it, a larger thank life gorgeous pink front door. My favorite artist Paige Poppe even has a print of the beauty.
So back to me trying to come up with Halloween decor that was perfectly “me” and I got to daydreaming about Palm Springs and then, that was it! That Pink Door! I opened up Cricut Design Space and did my best to recreate it using shapes and images in the Design Space library and, voila! I did it!
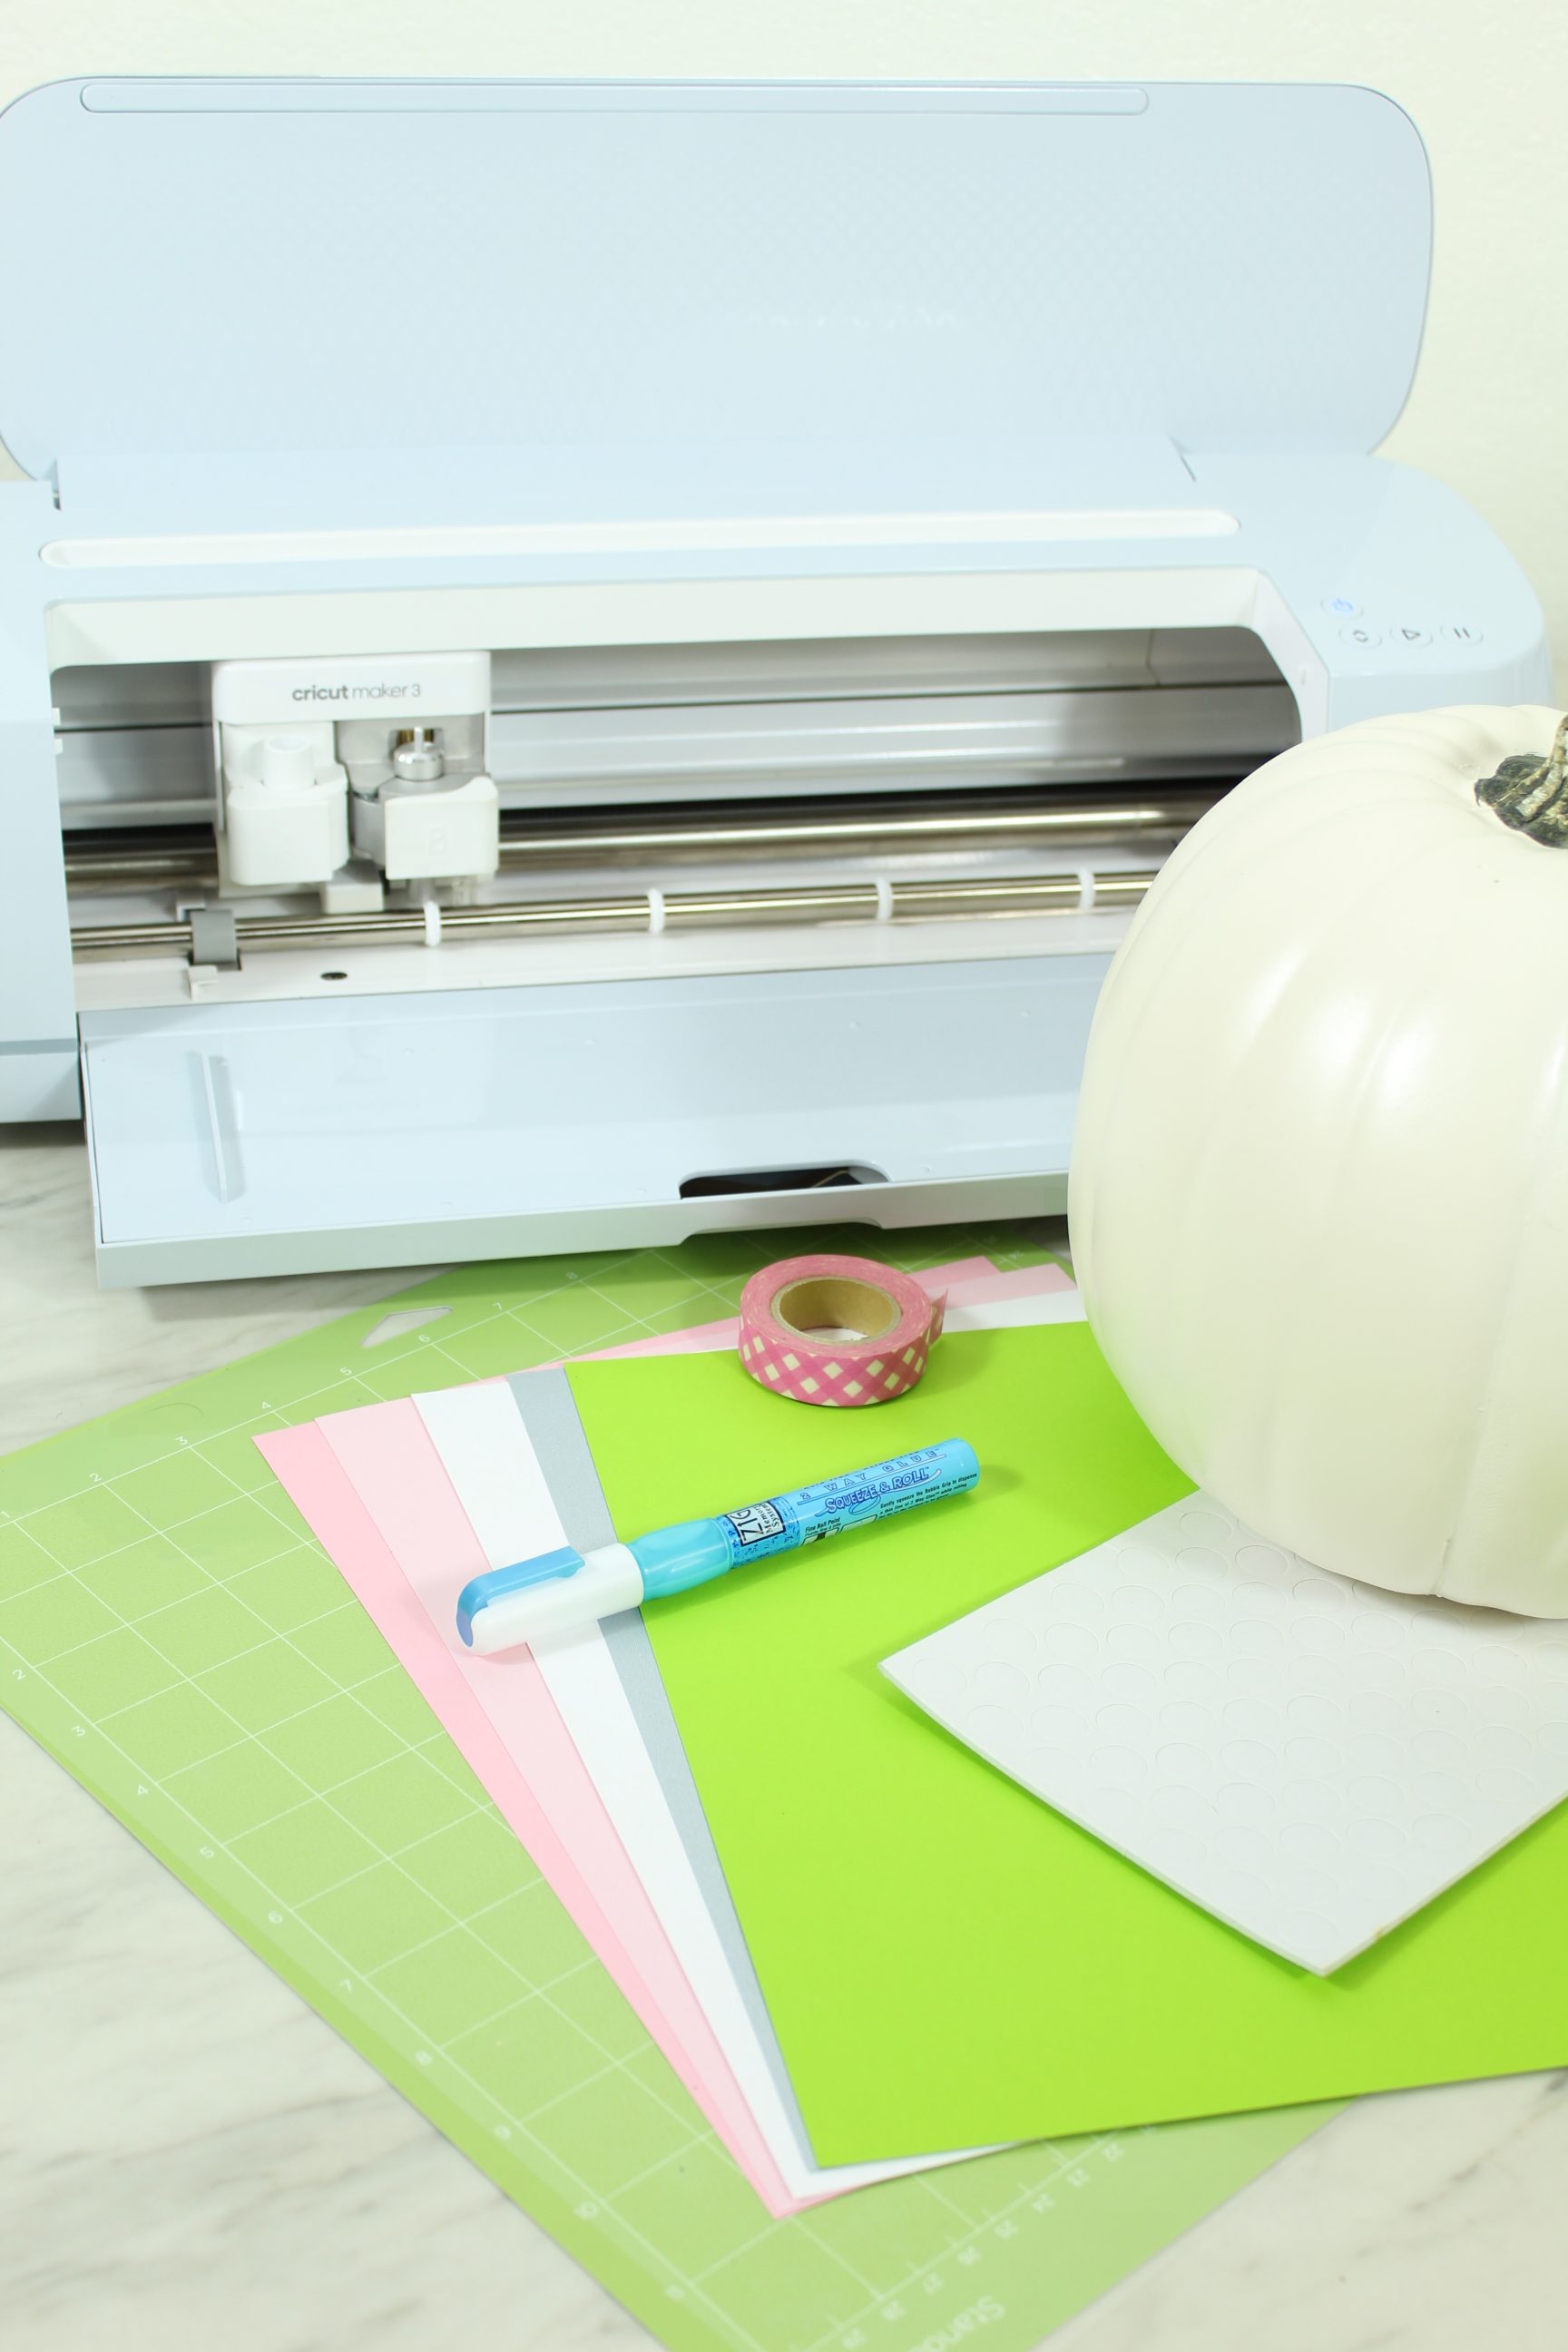
Supplies:
- Cricut Machine
- Cricut Standard Grip Mat
- Cardstock in two shades of light pink, white, grey/silver and green
- Glue Pen
- Foam Dots
- Faux Pumpkin
- Washi Tape
- Our Design Space File
Open Design Space
I spent an embarassing amount of time designing this file so that the hard part is done for you! Simply click here to be taken to the project.
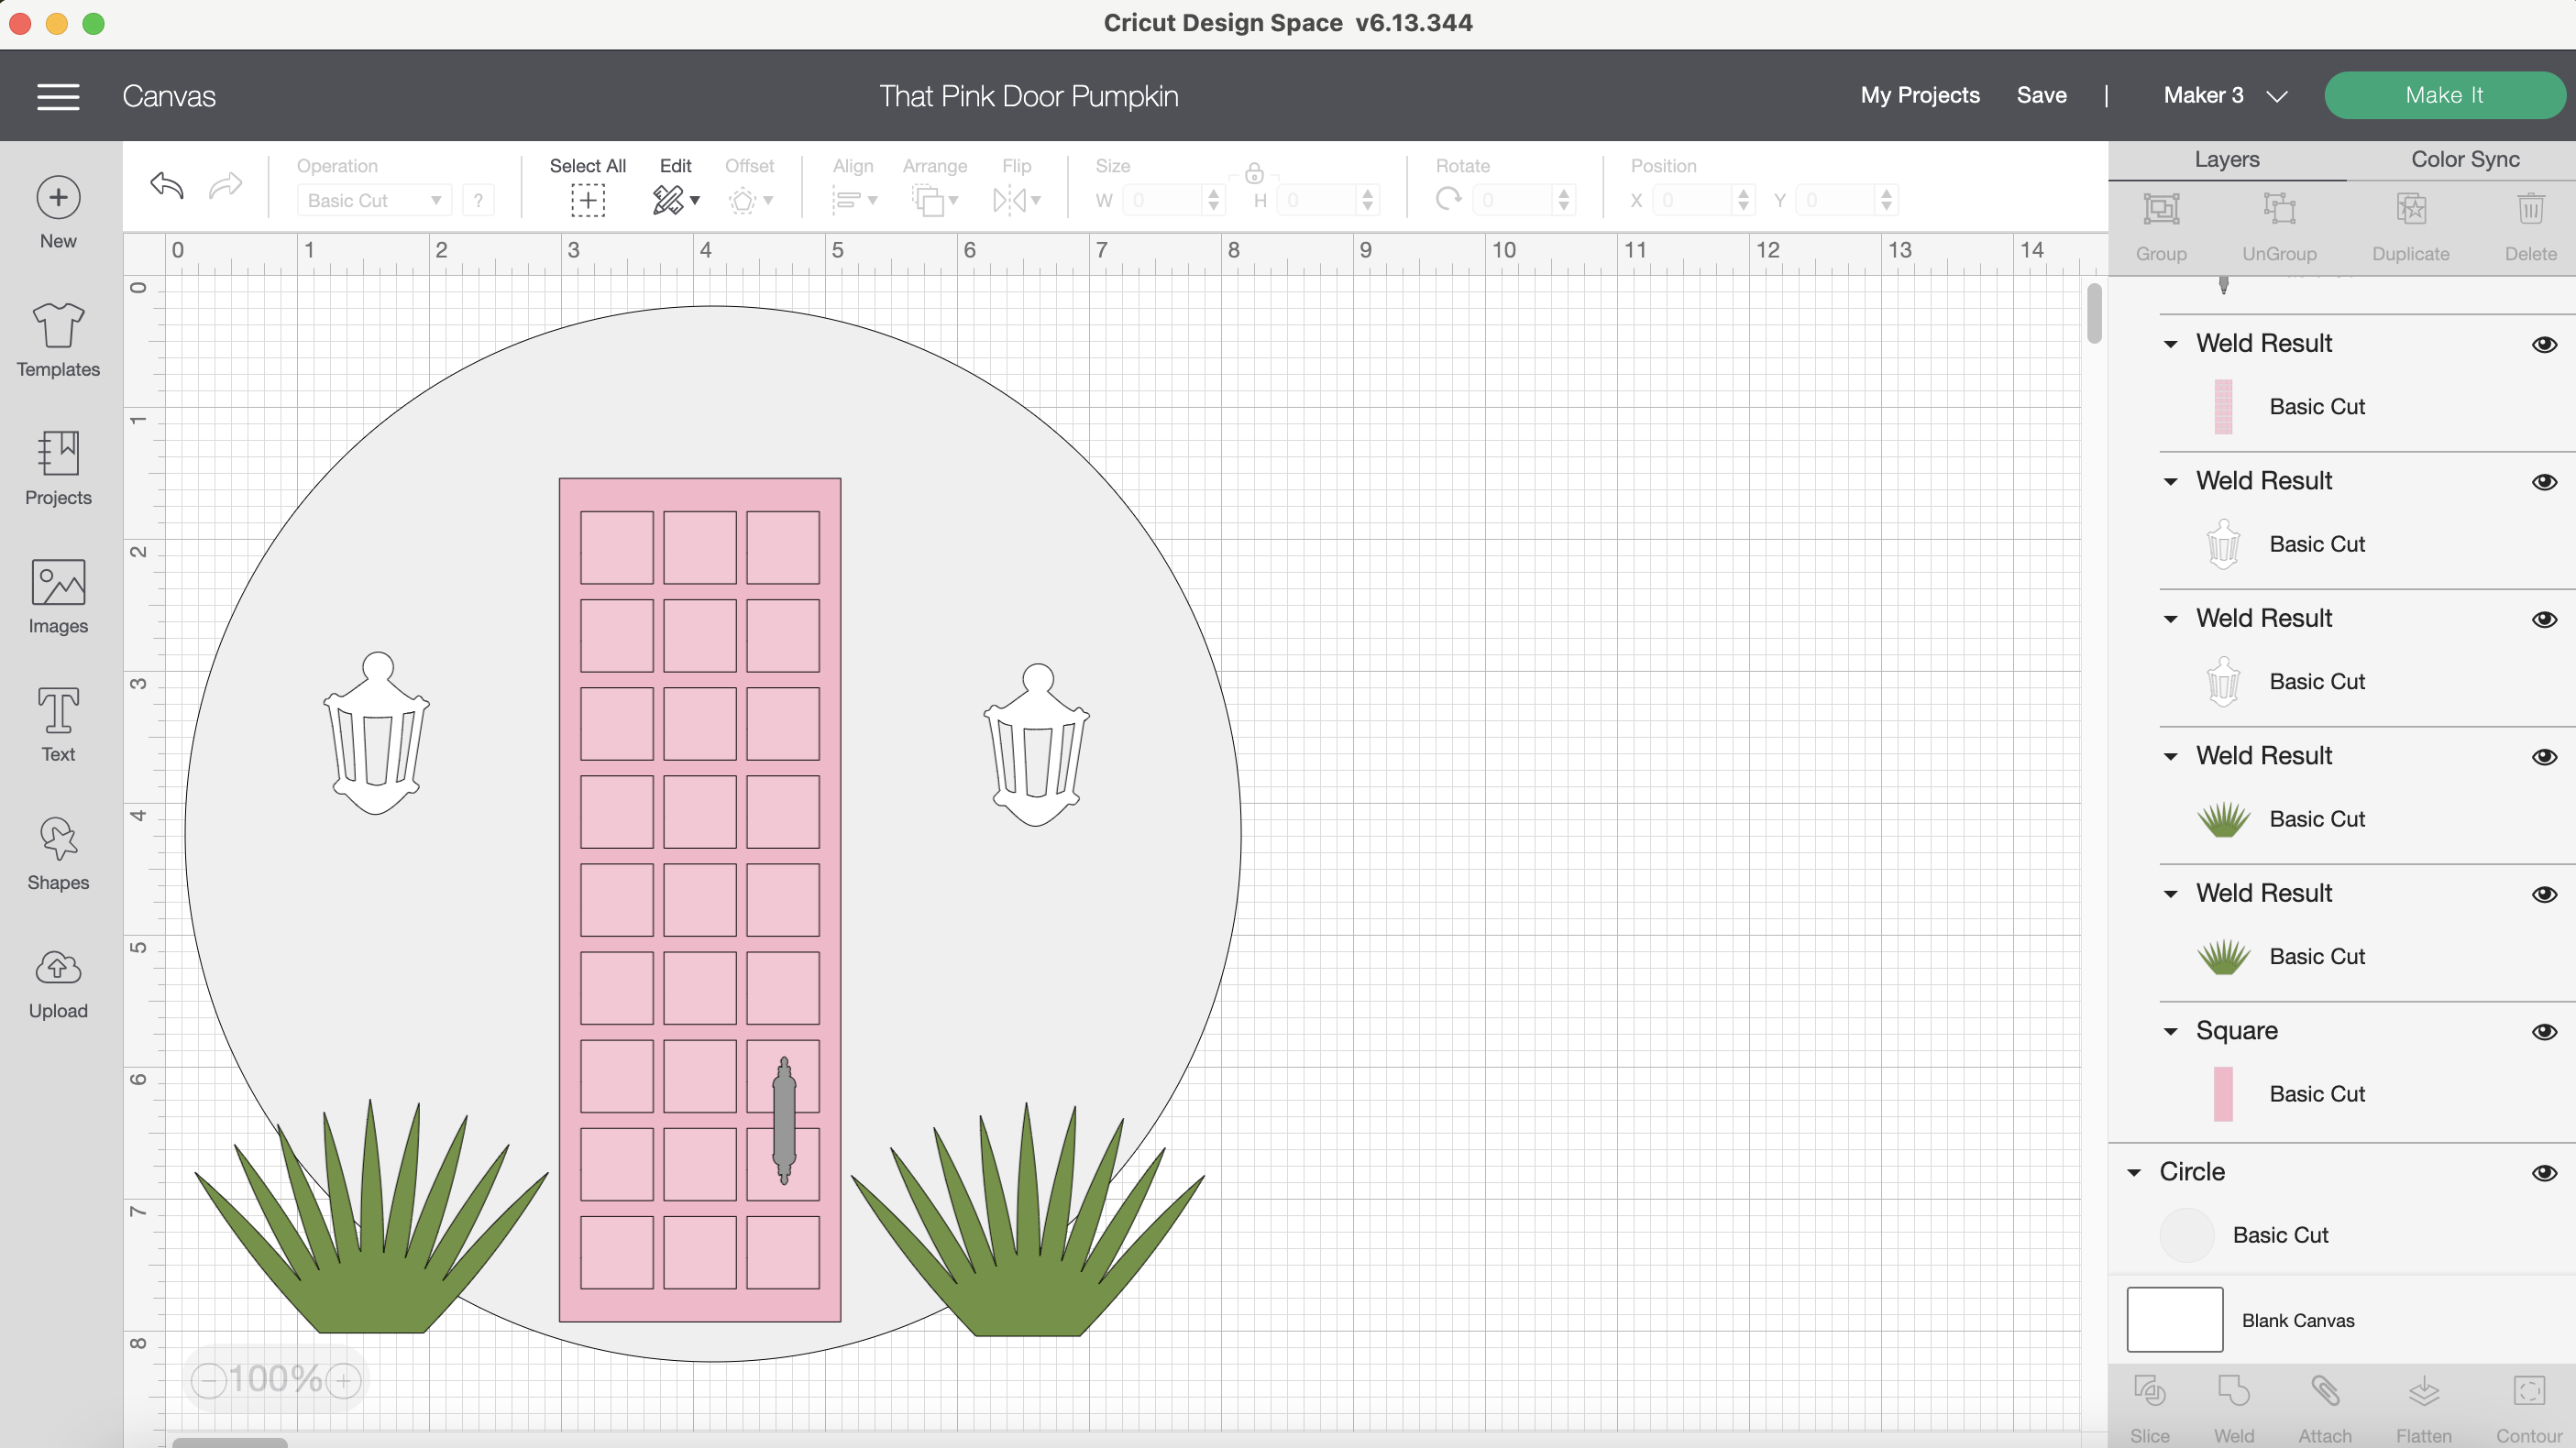
I added an 8 inch circle behind the project just to give a visual of the pumpkin but you can either hide this later or delete it all together if you’d like.
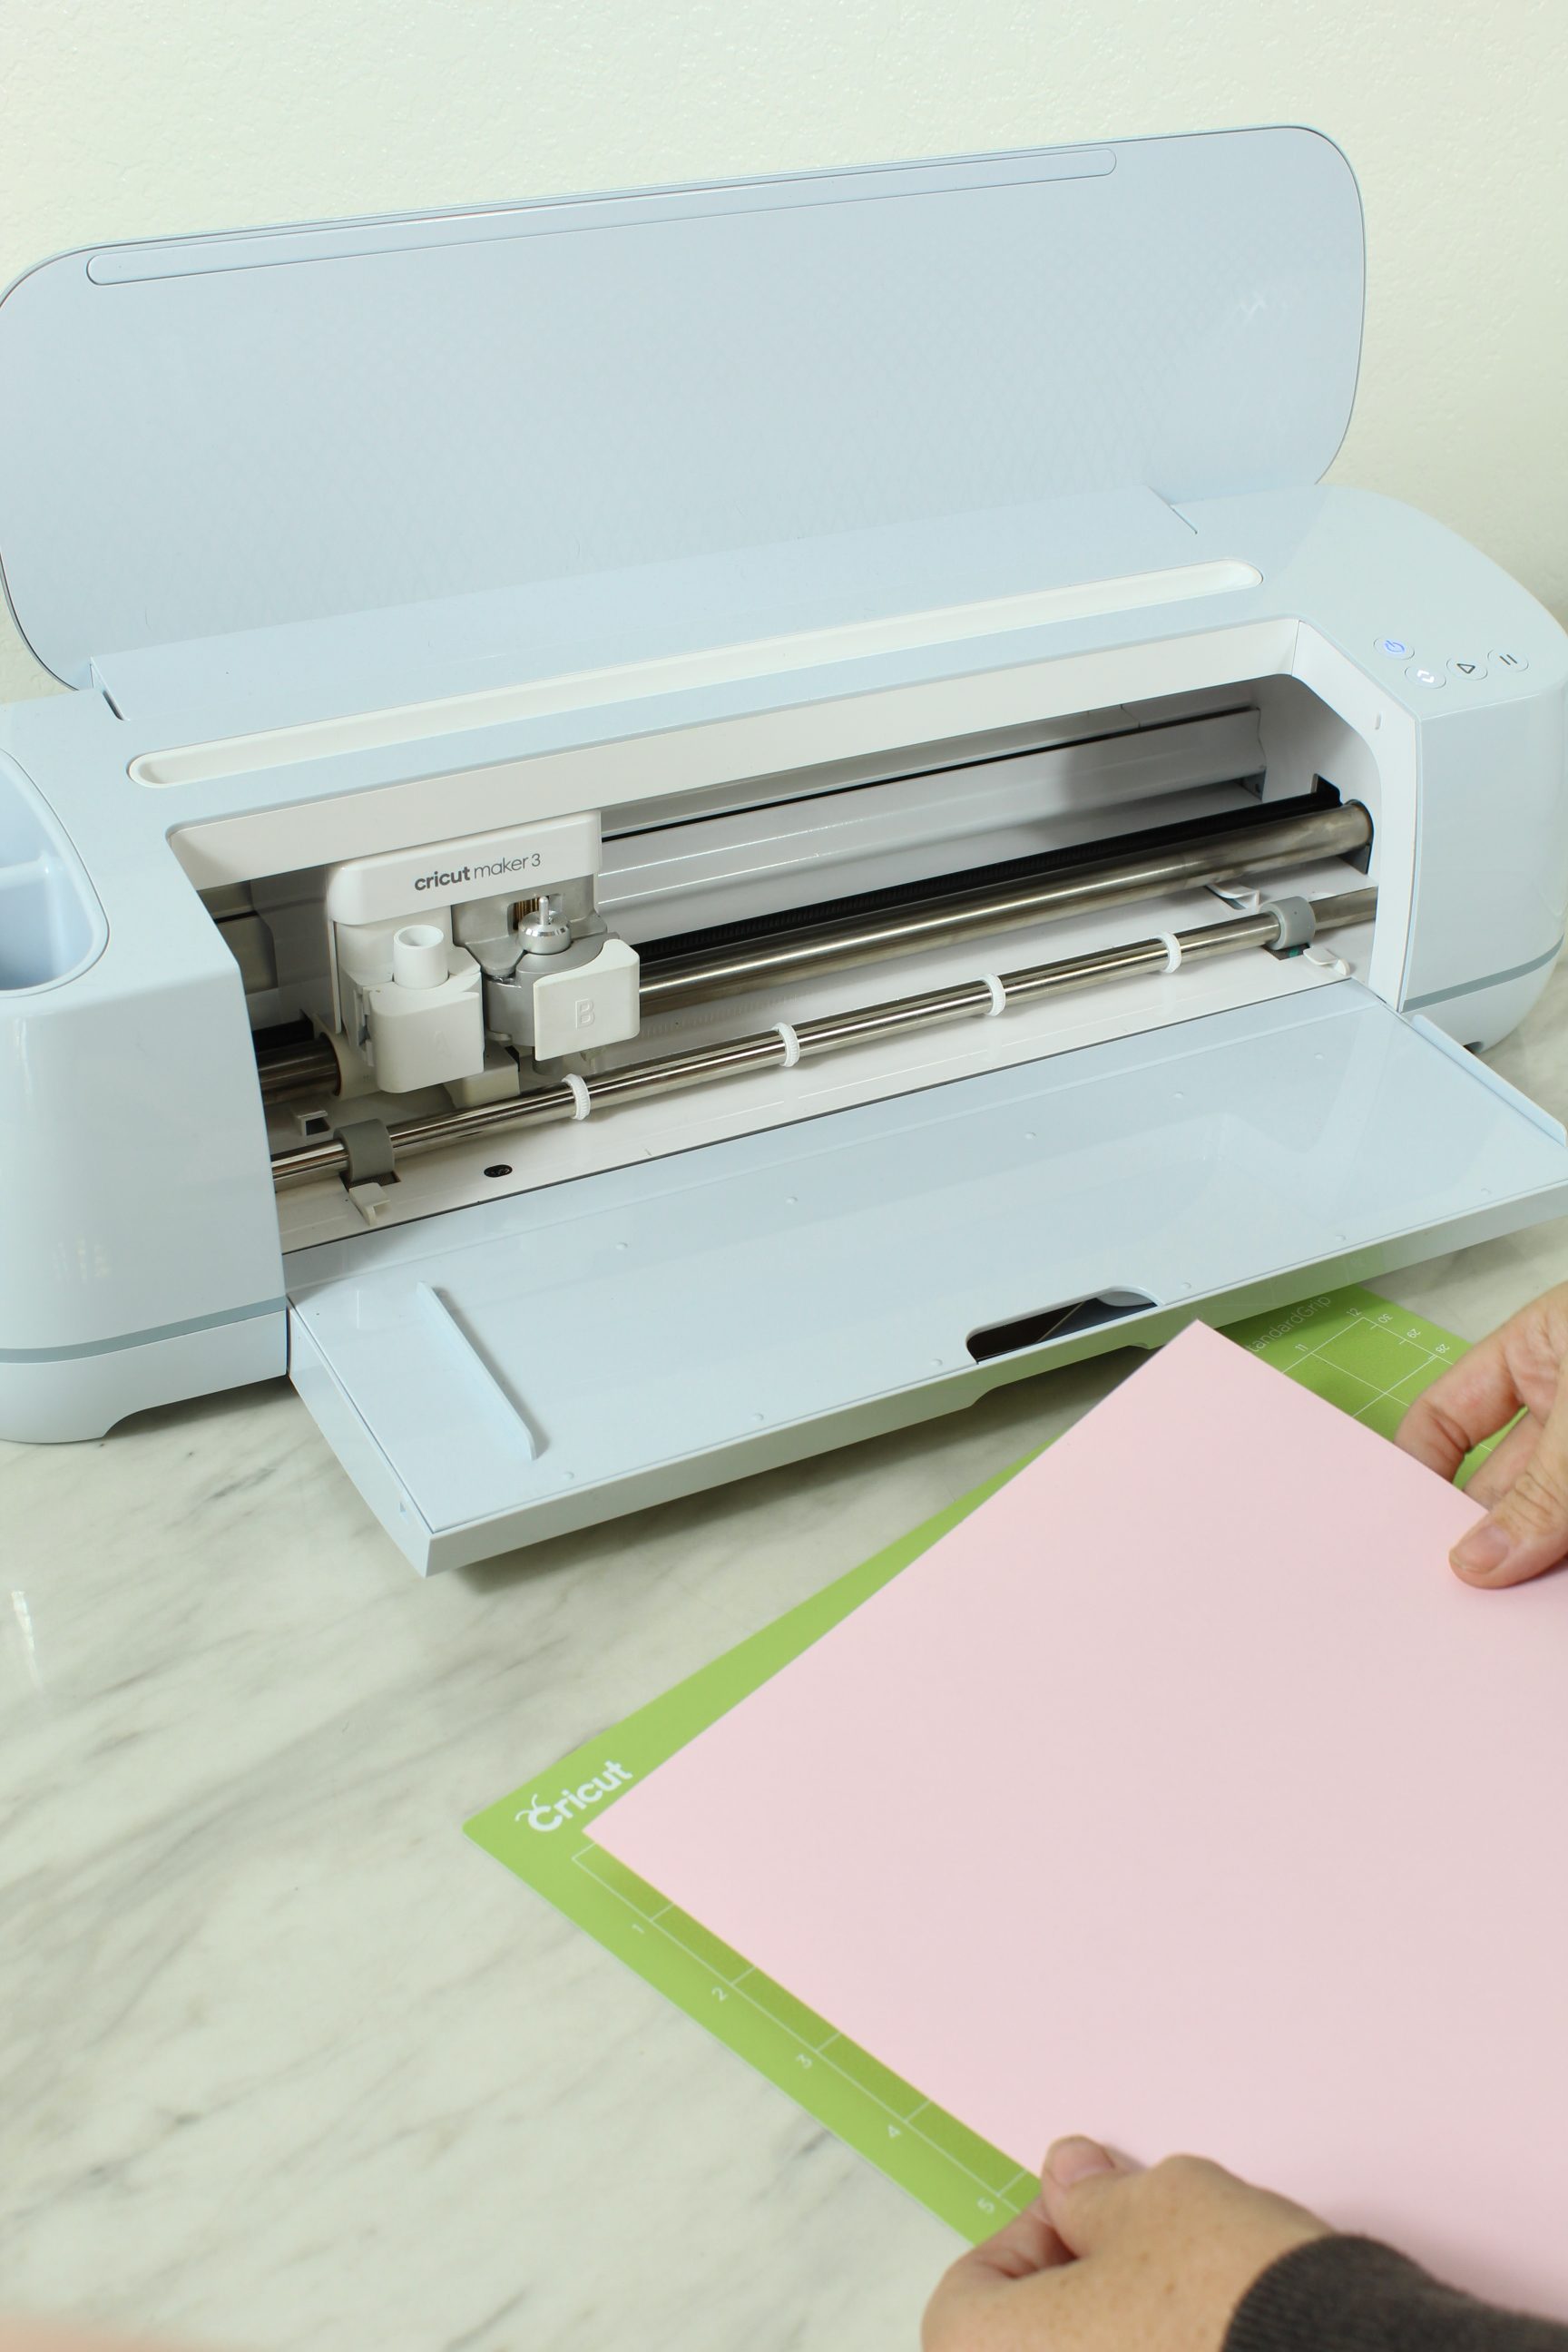
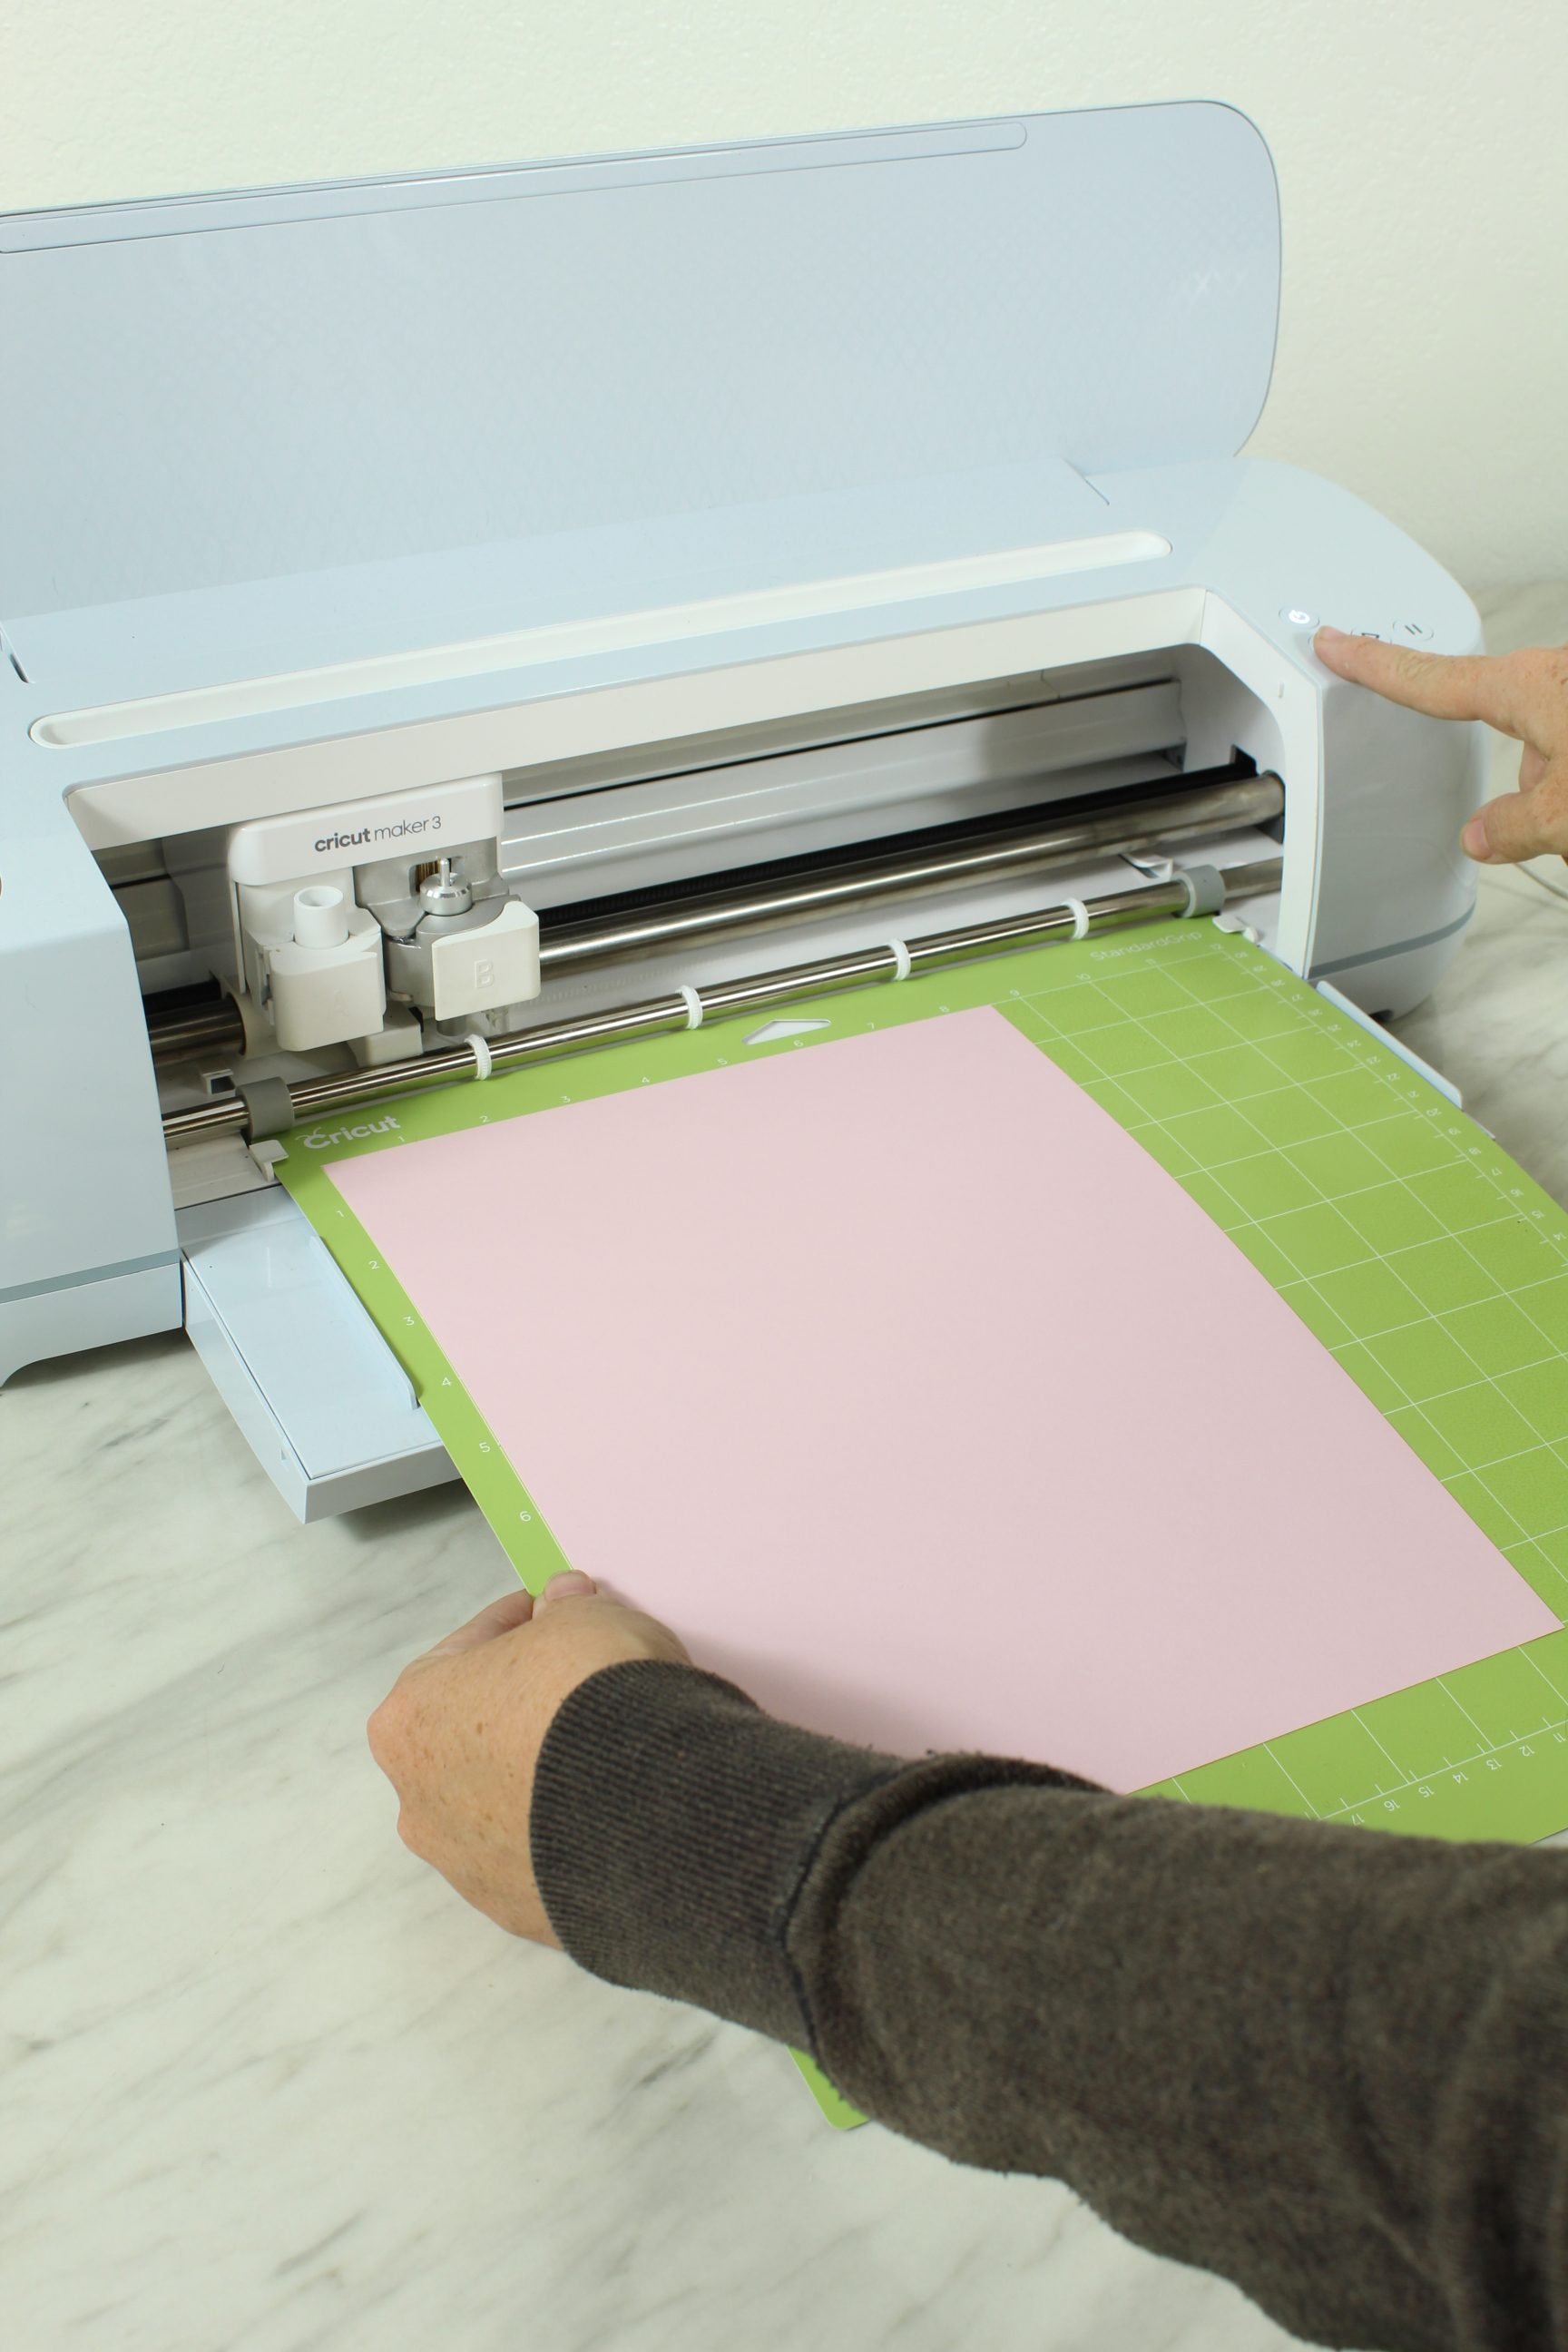
Cut Your Project
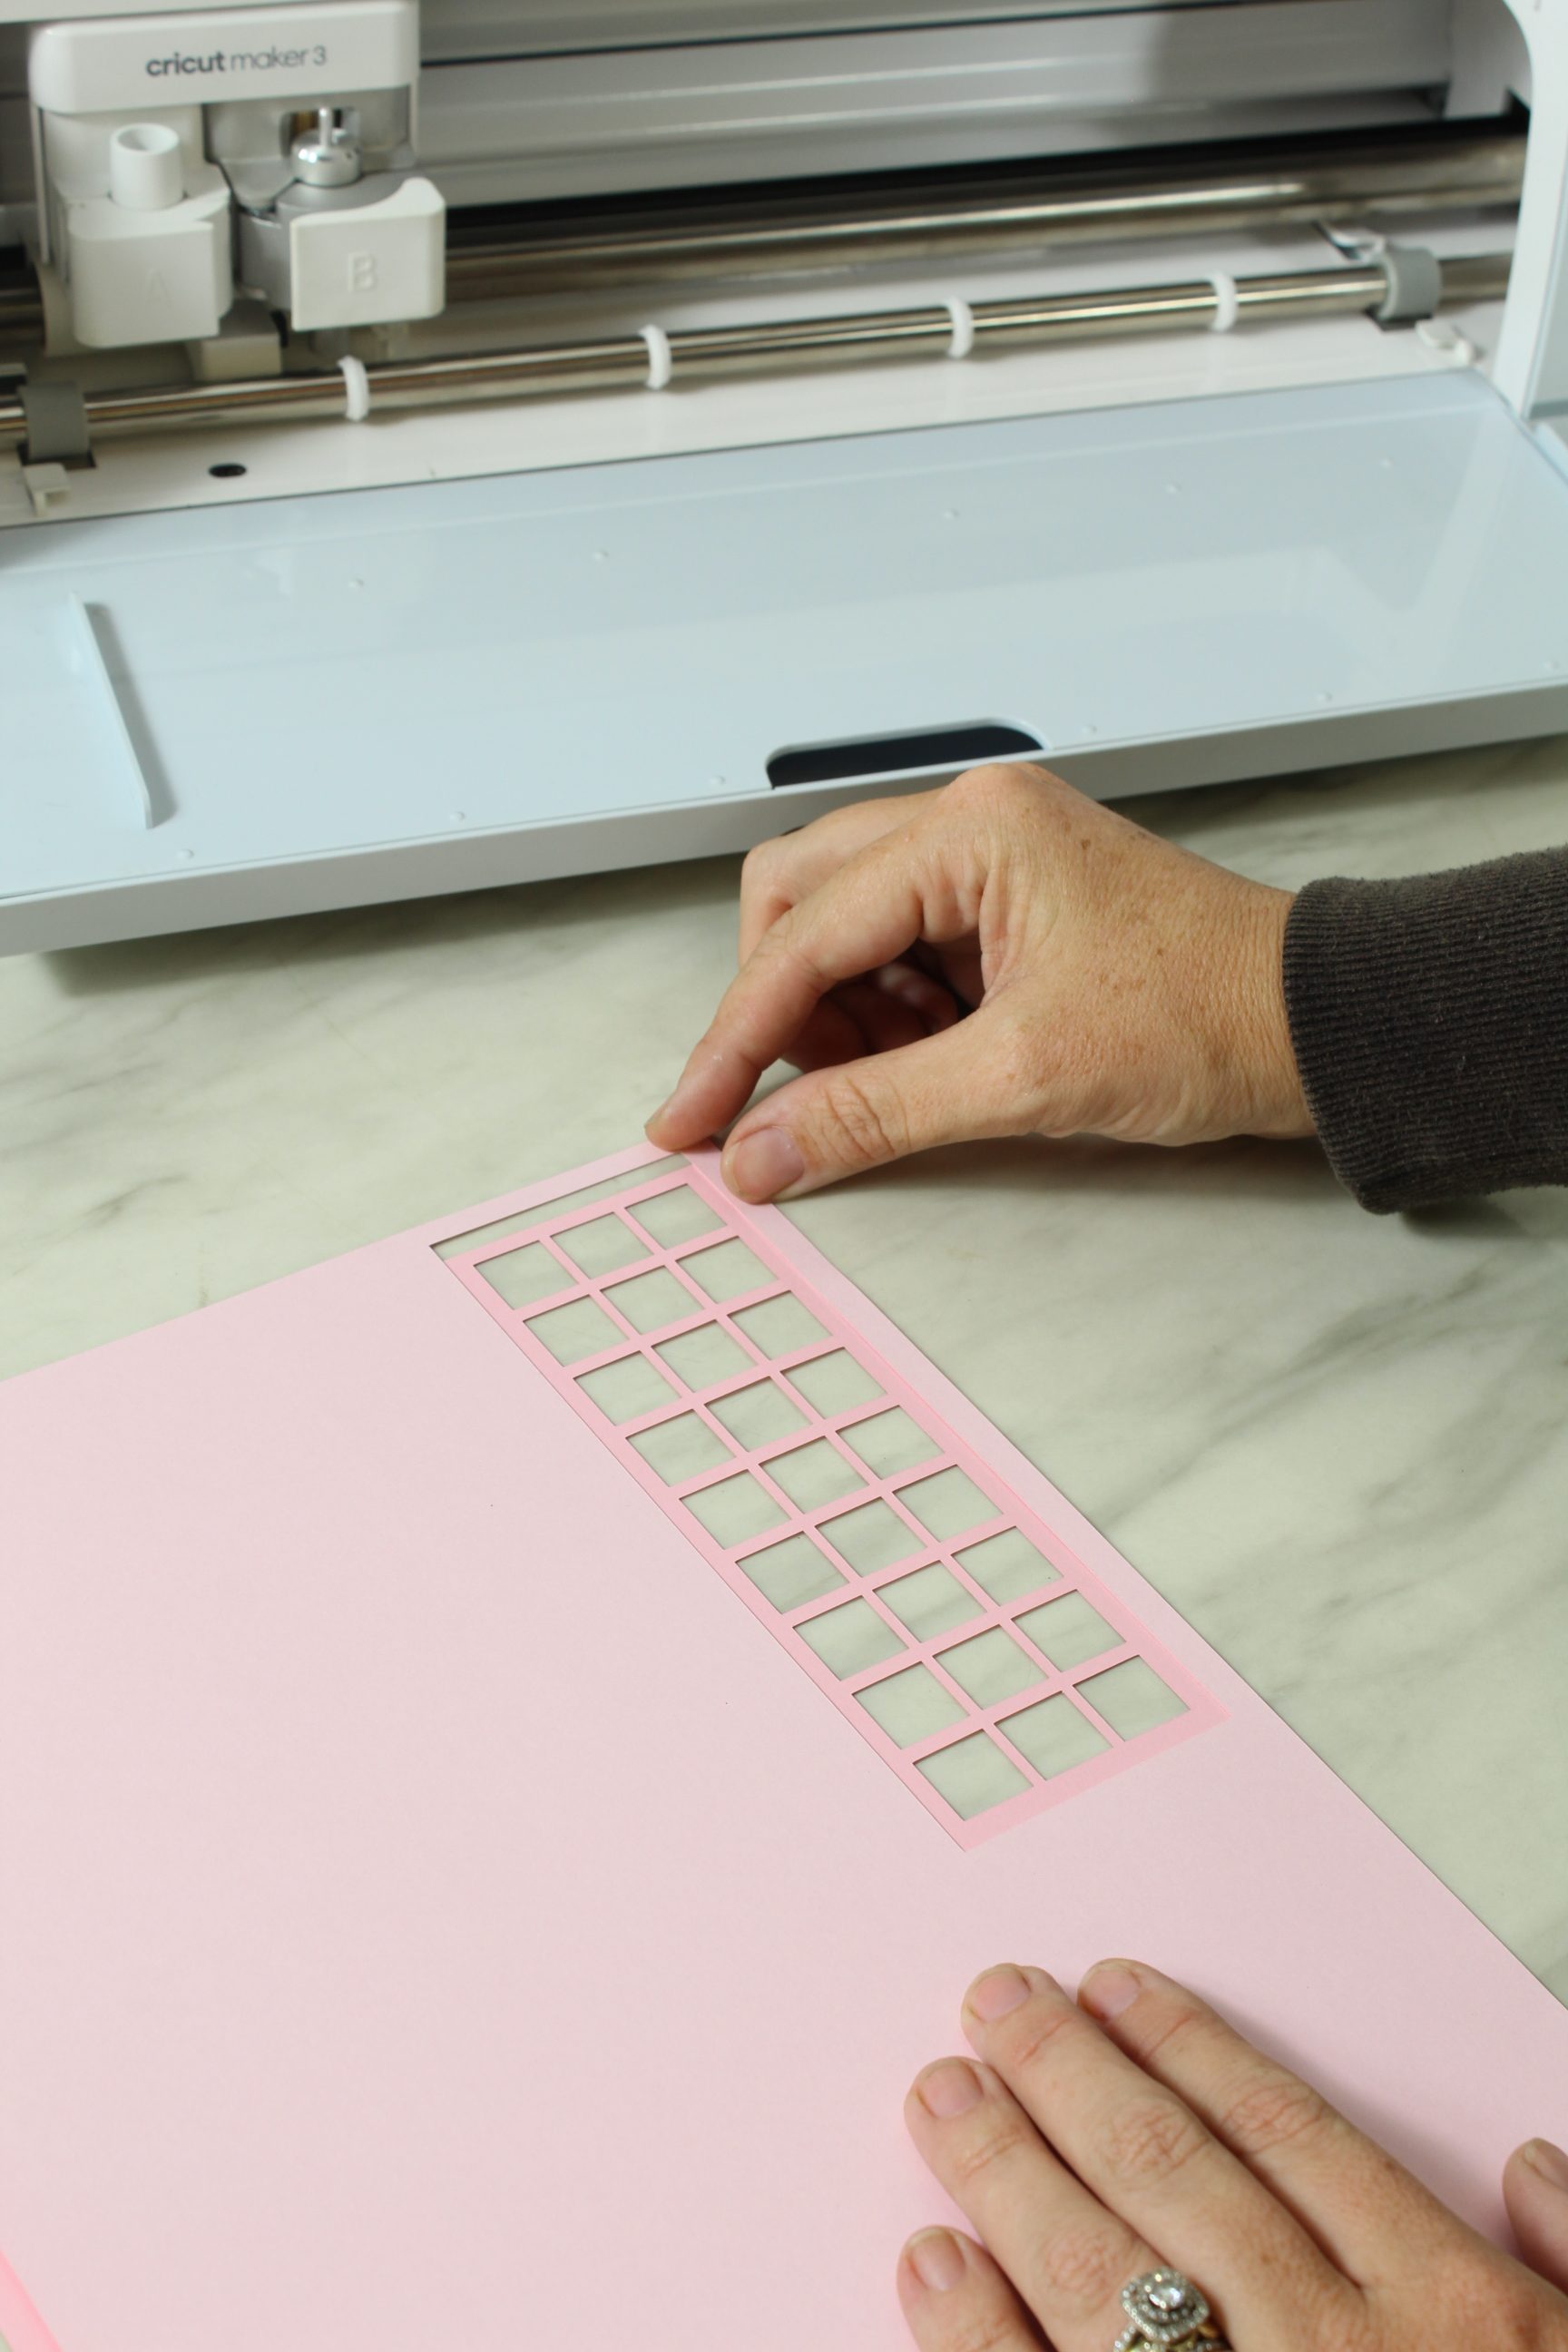
Load each of your pages onto your mat when prompted and cut them all out.

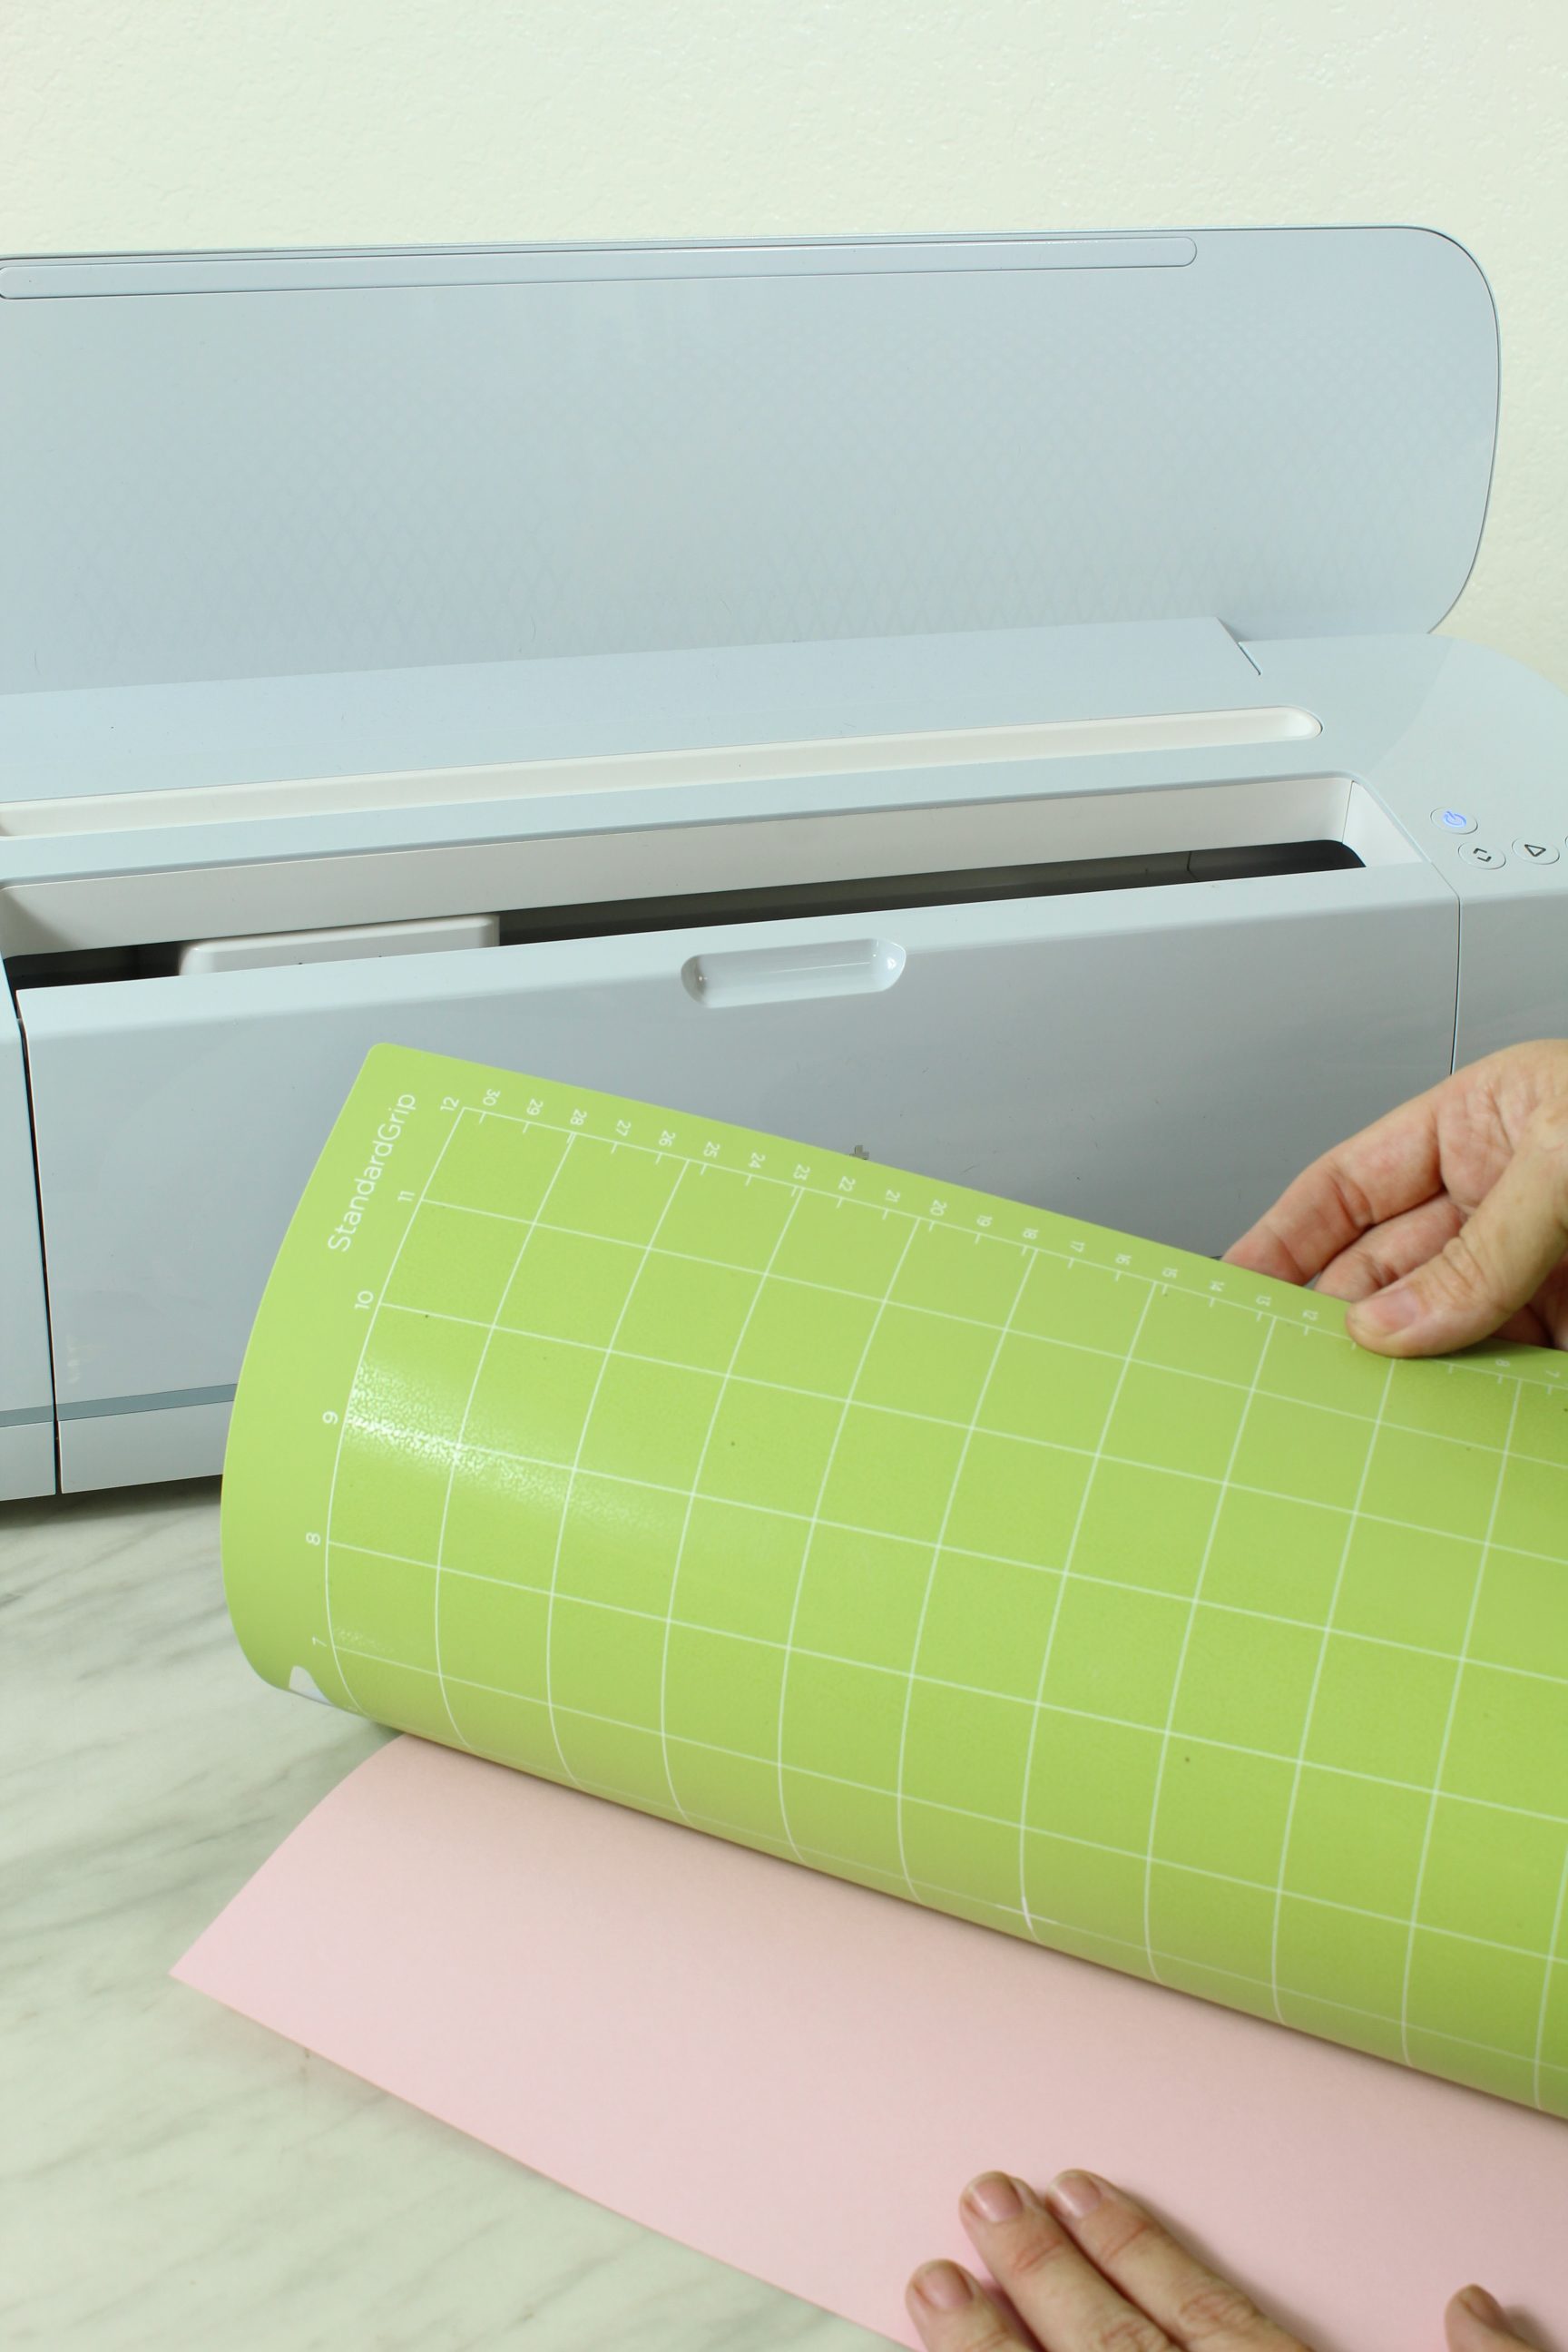
Remember, when it’s time to remove your project from your mat, flip your mat over and peel the mat from your paper, not your paper from your mat. This will help prevent any curling.
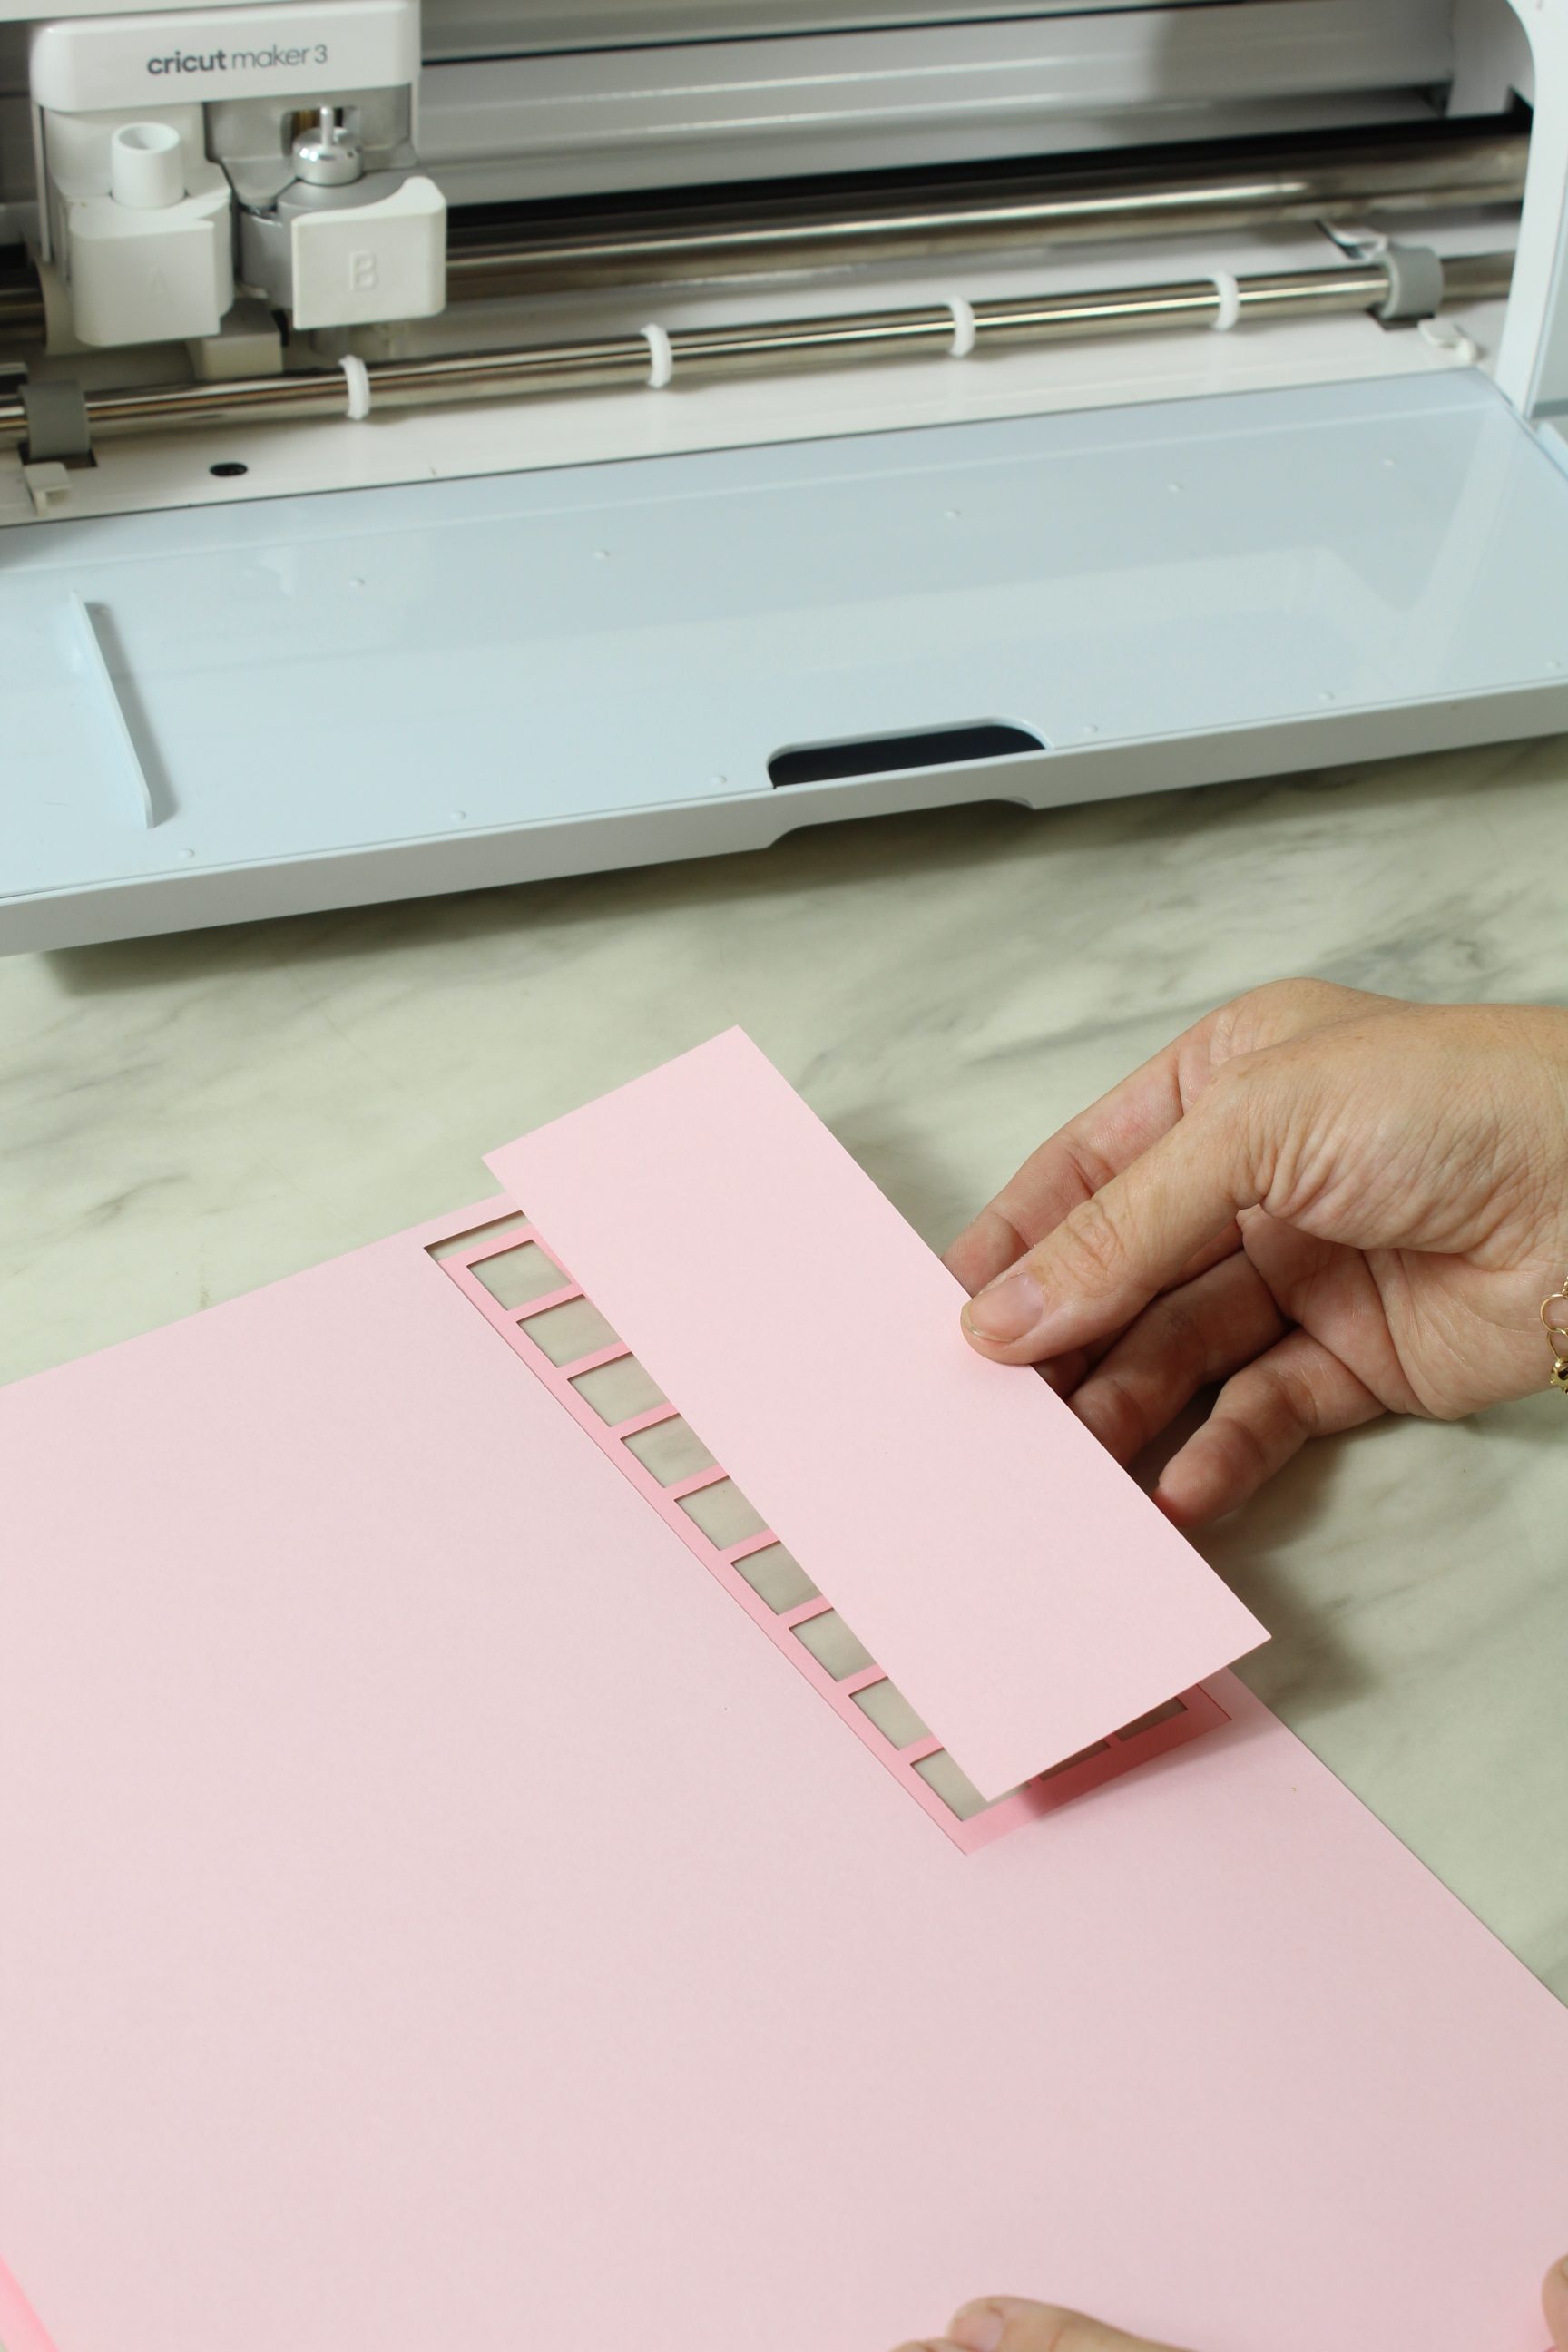
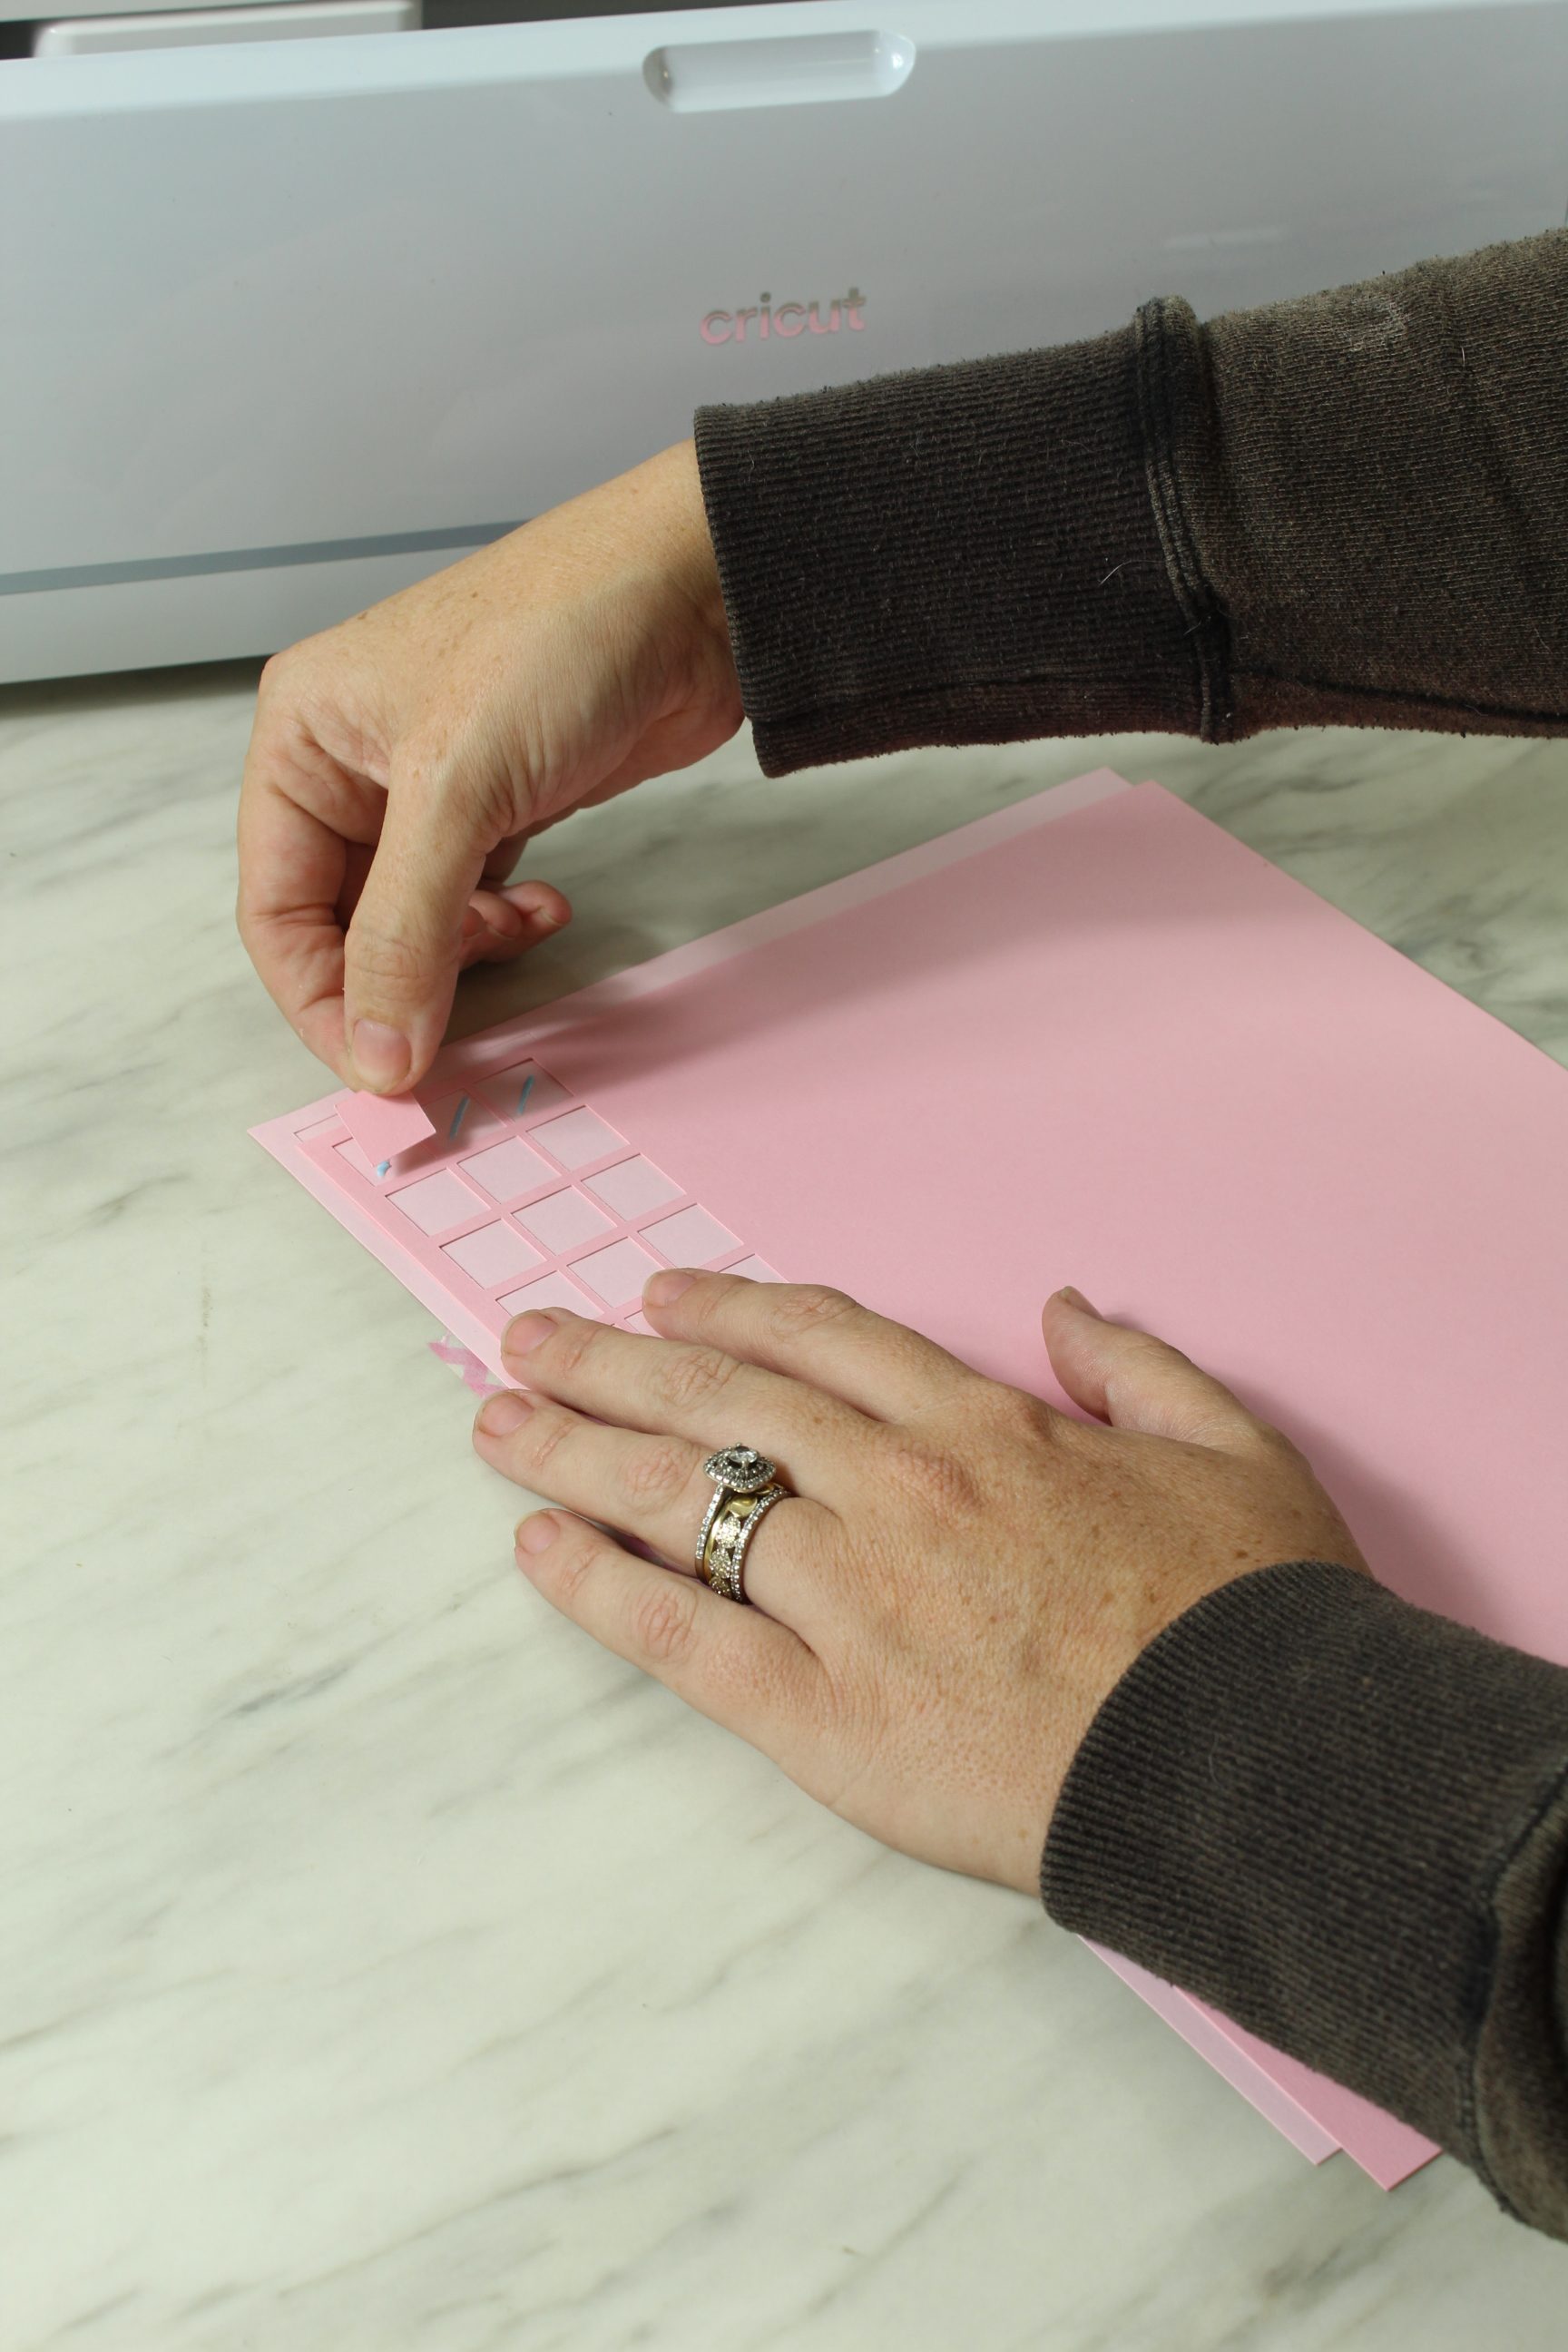
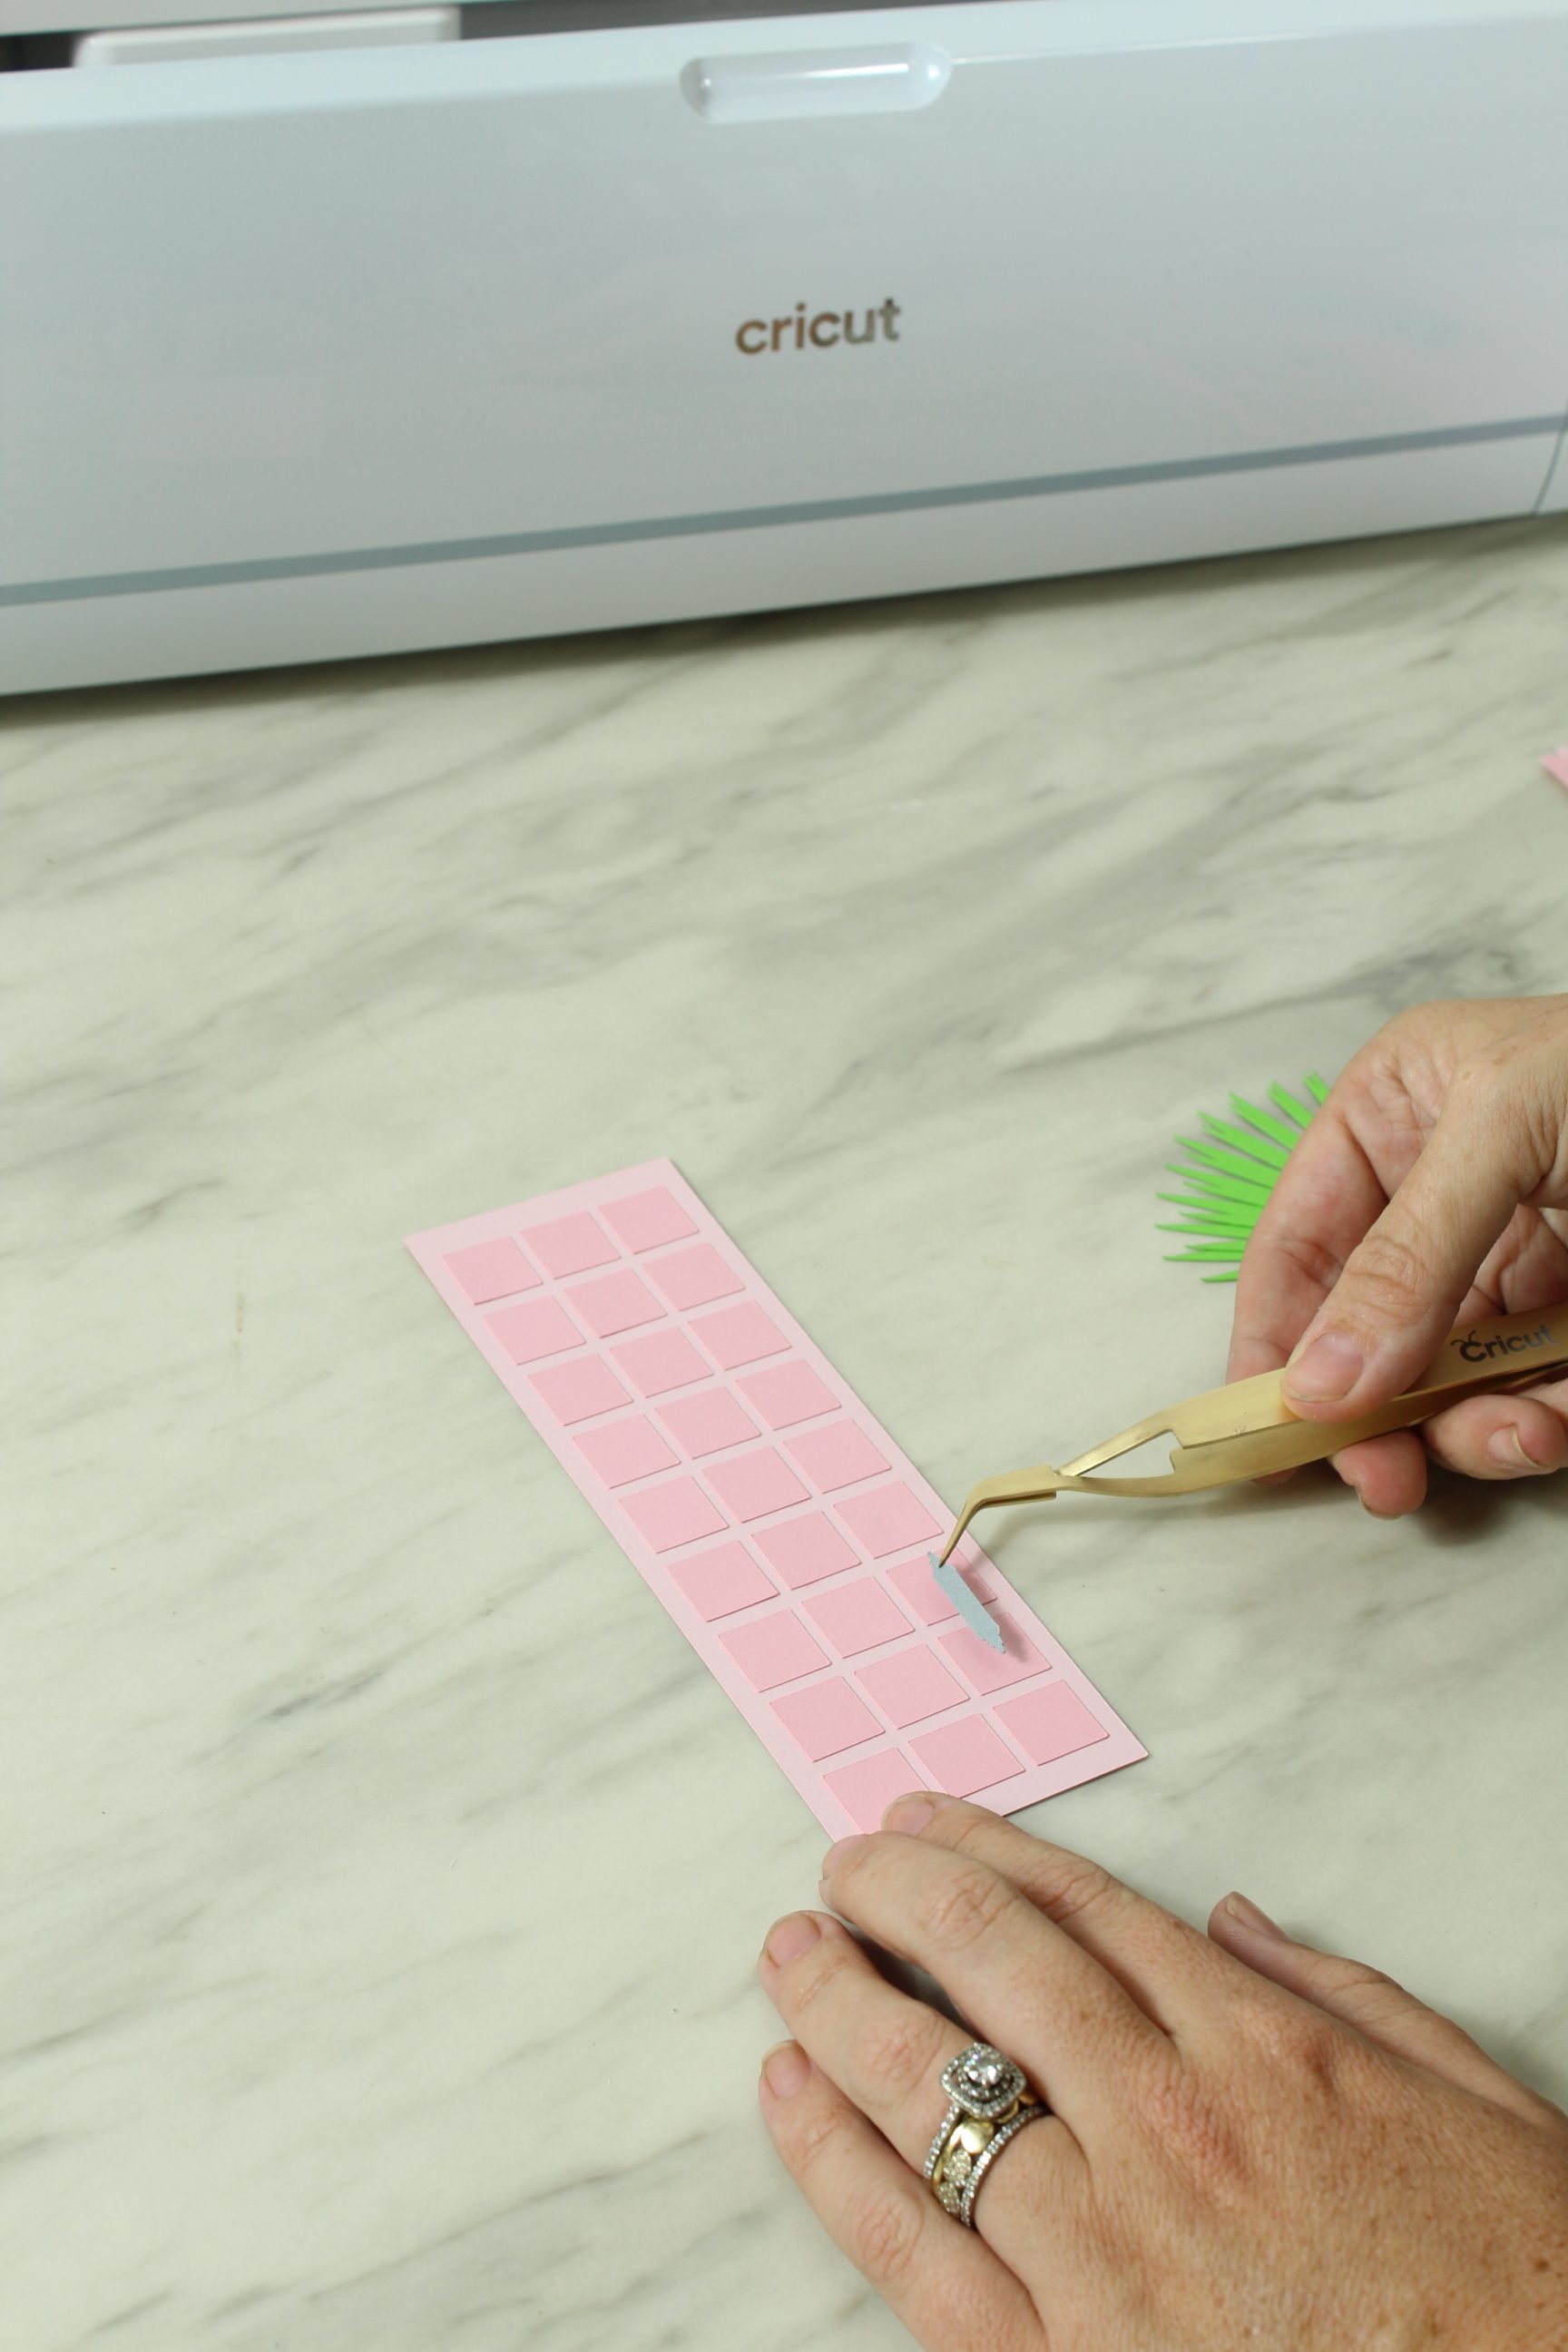
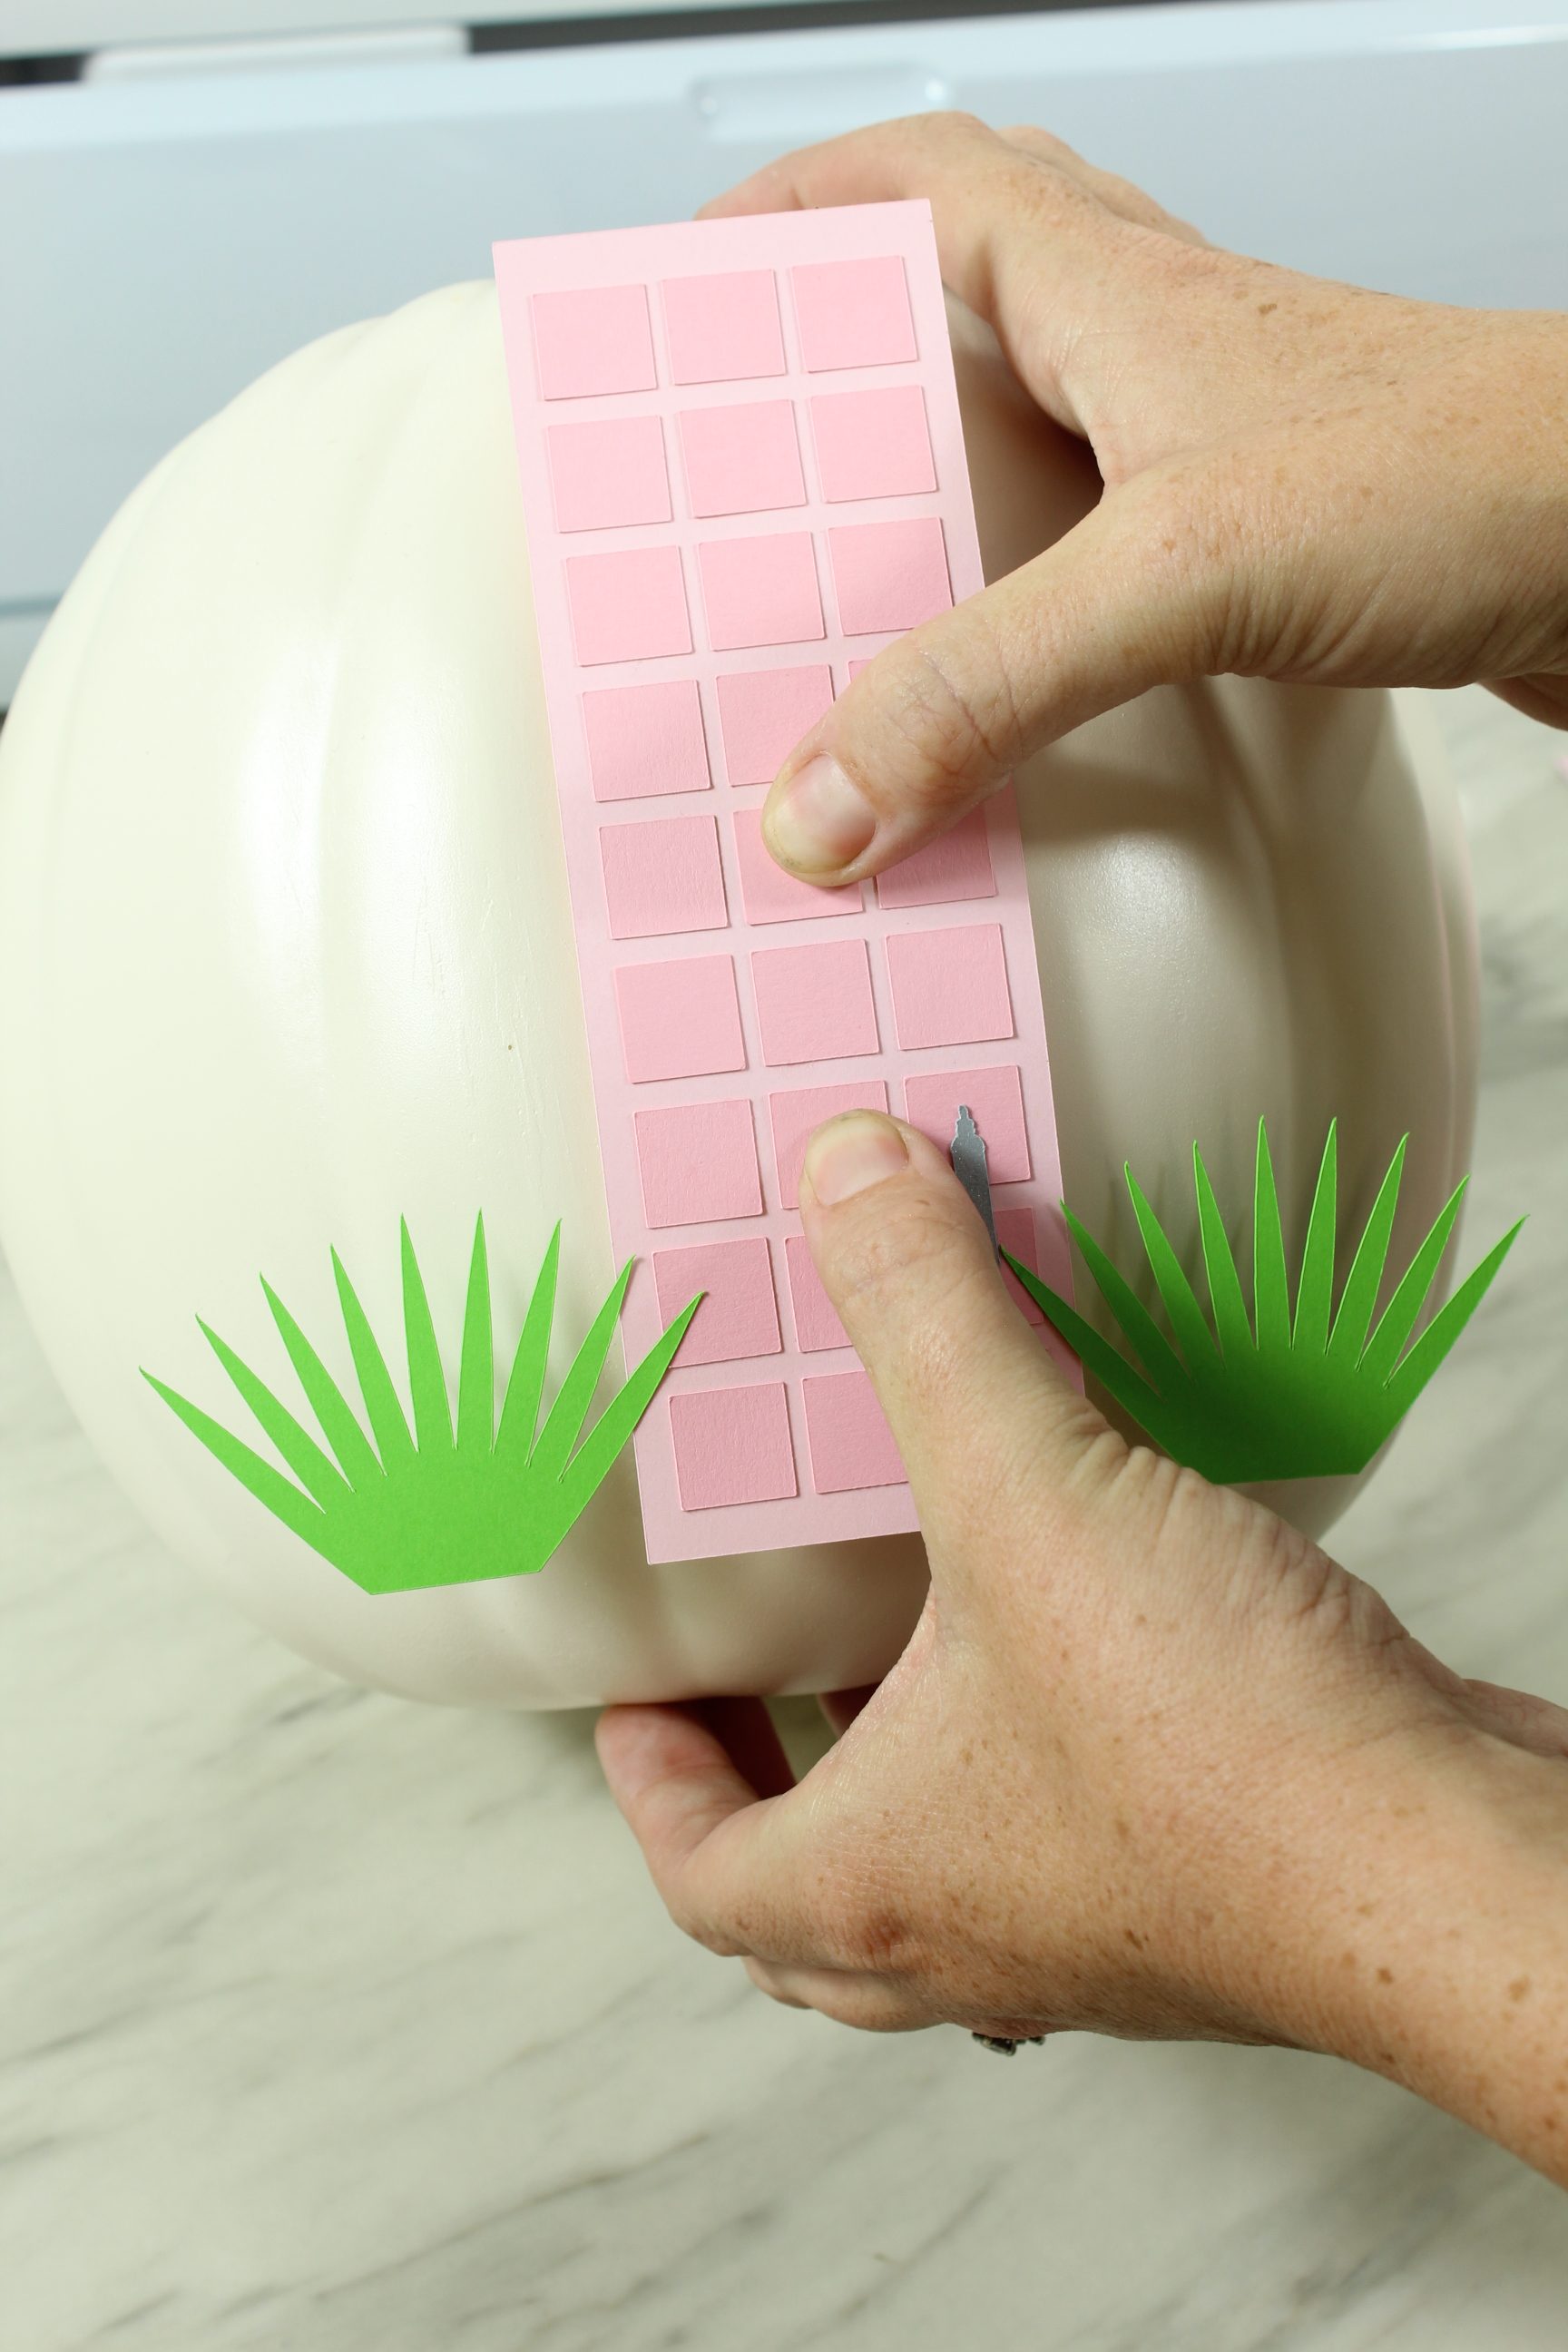
Keep your scraps for both of your pink pages. We’re going to use them for a sneaky trick later.
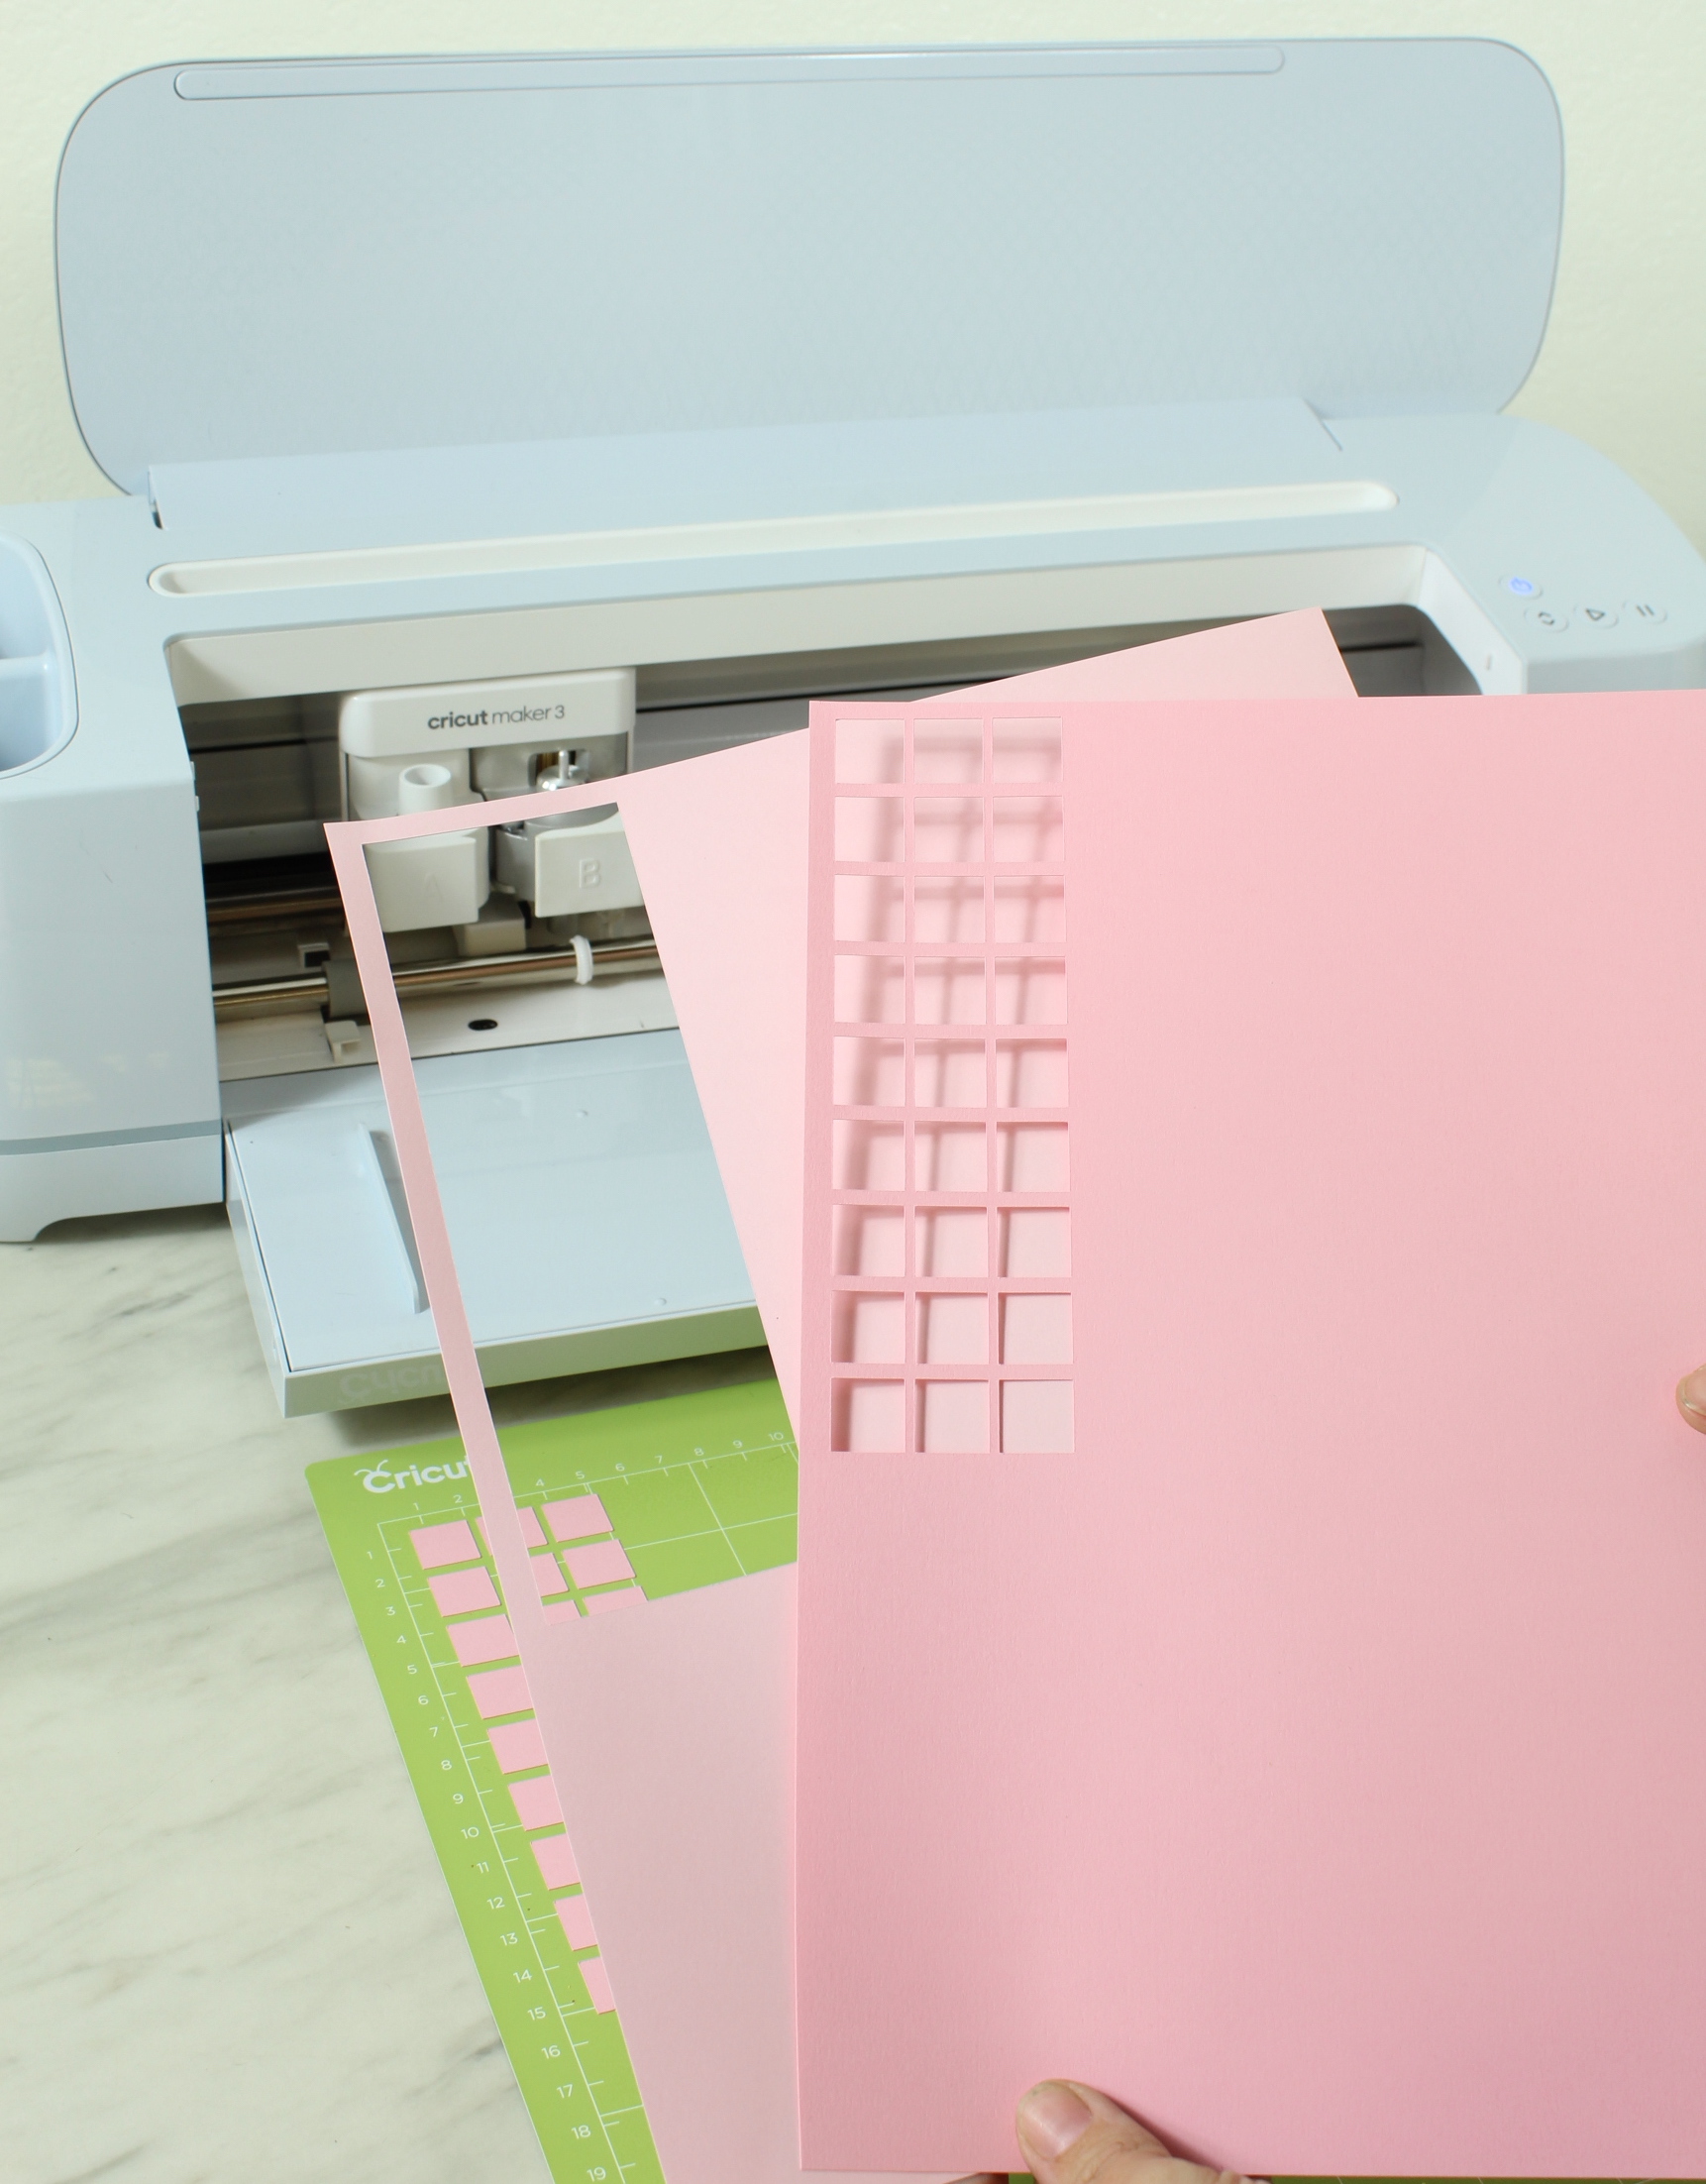
Placing your Squares
When I started to assembly this project I had a little mini freak out when I realized I was going to have to place all the little individual squares. But then I had an idea! Using the scraps from the pieces they were cut from, I could use them as a guide for the perfect placement!
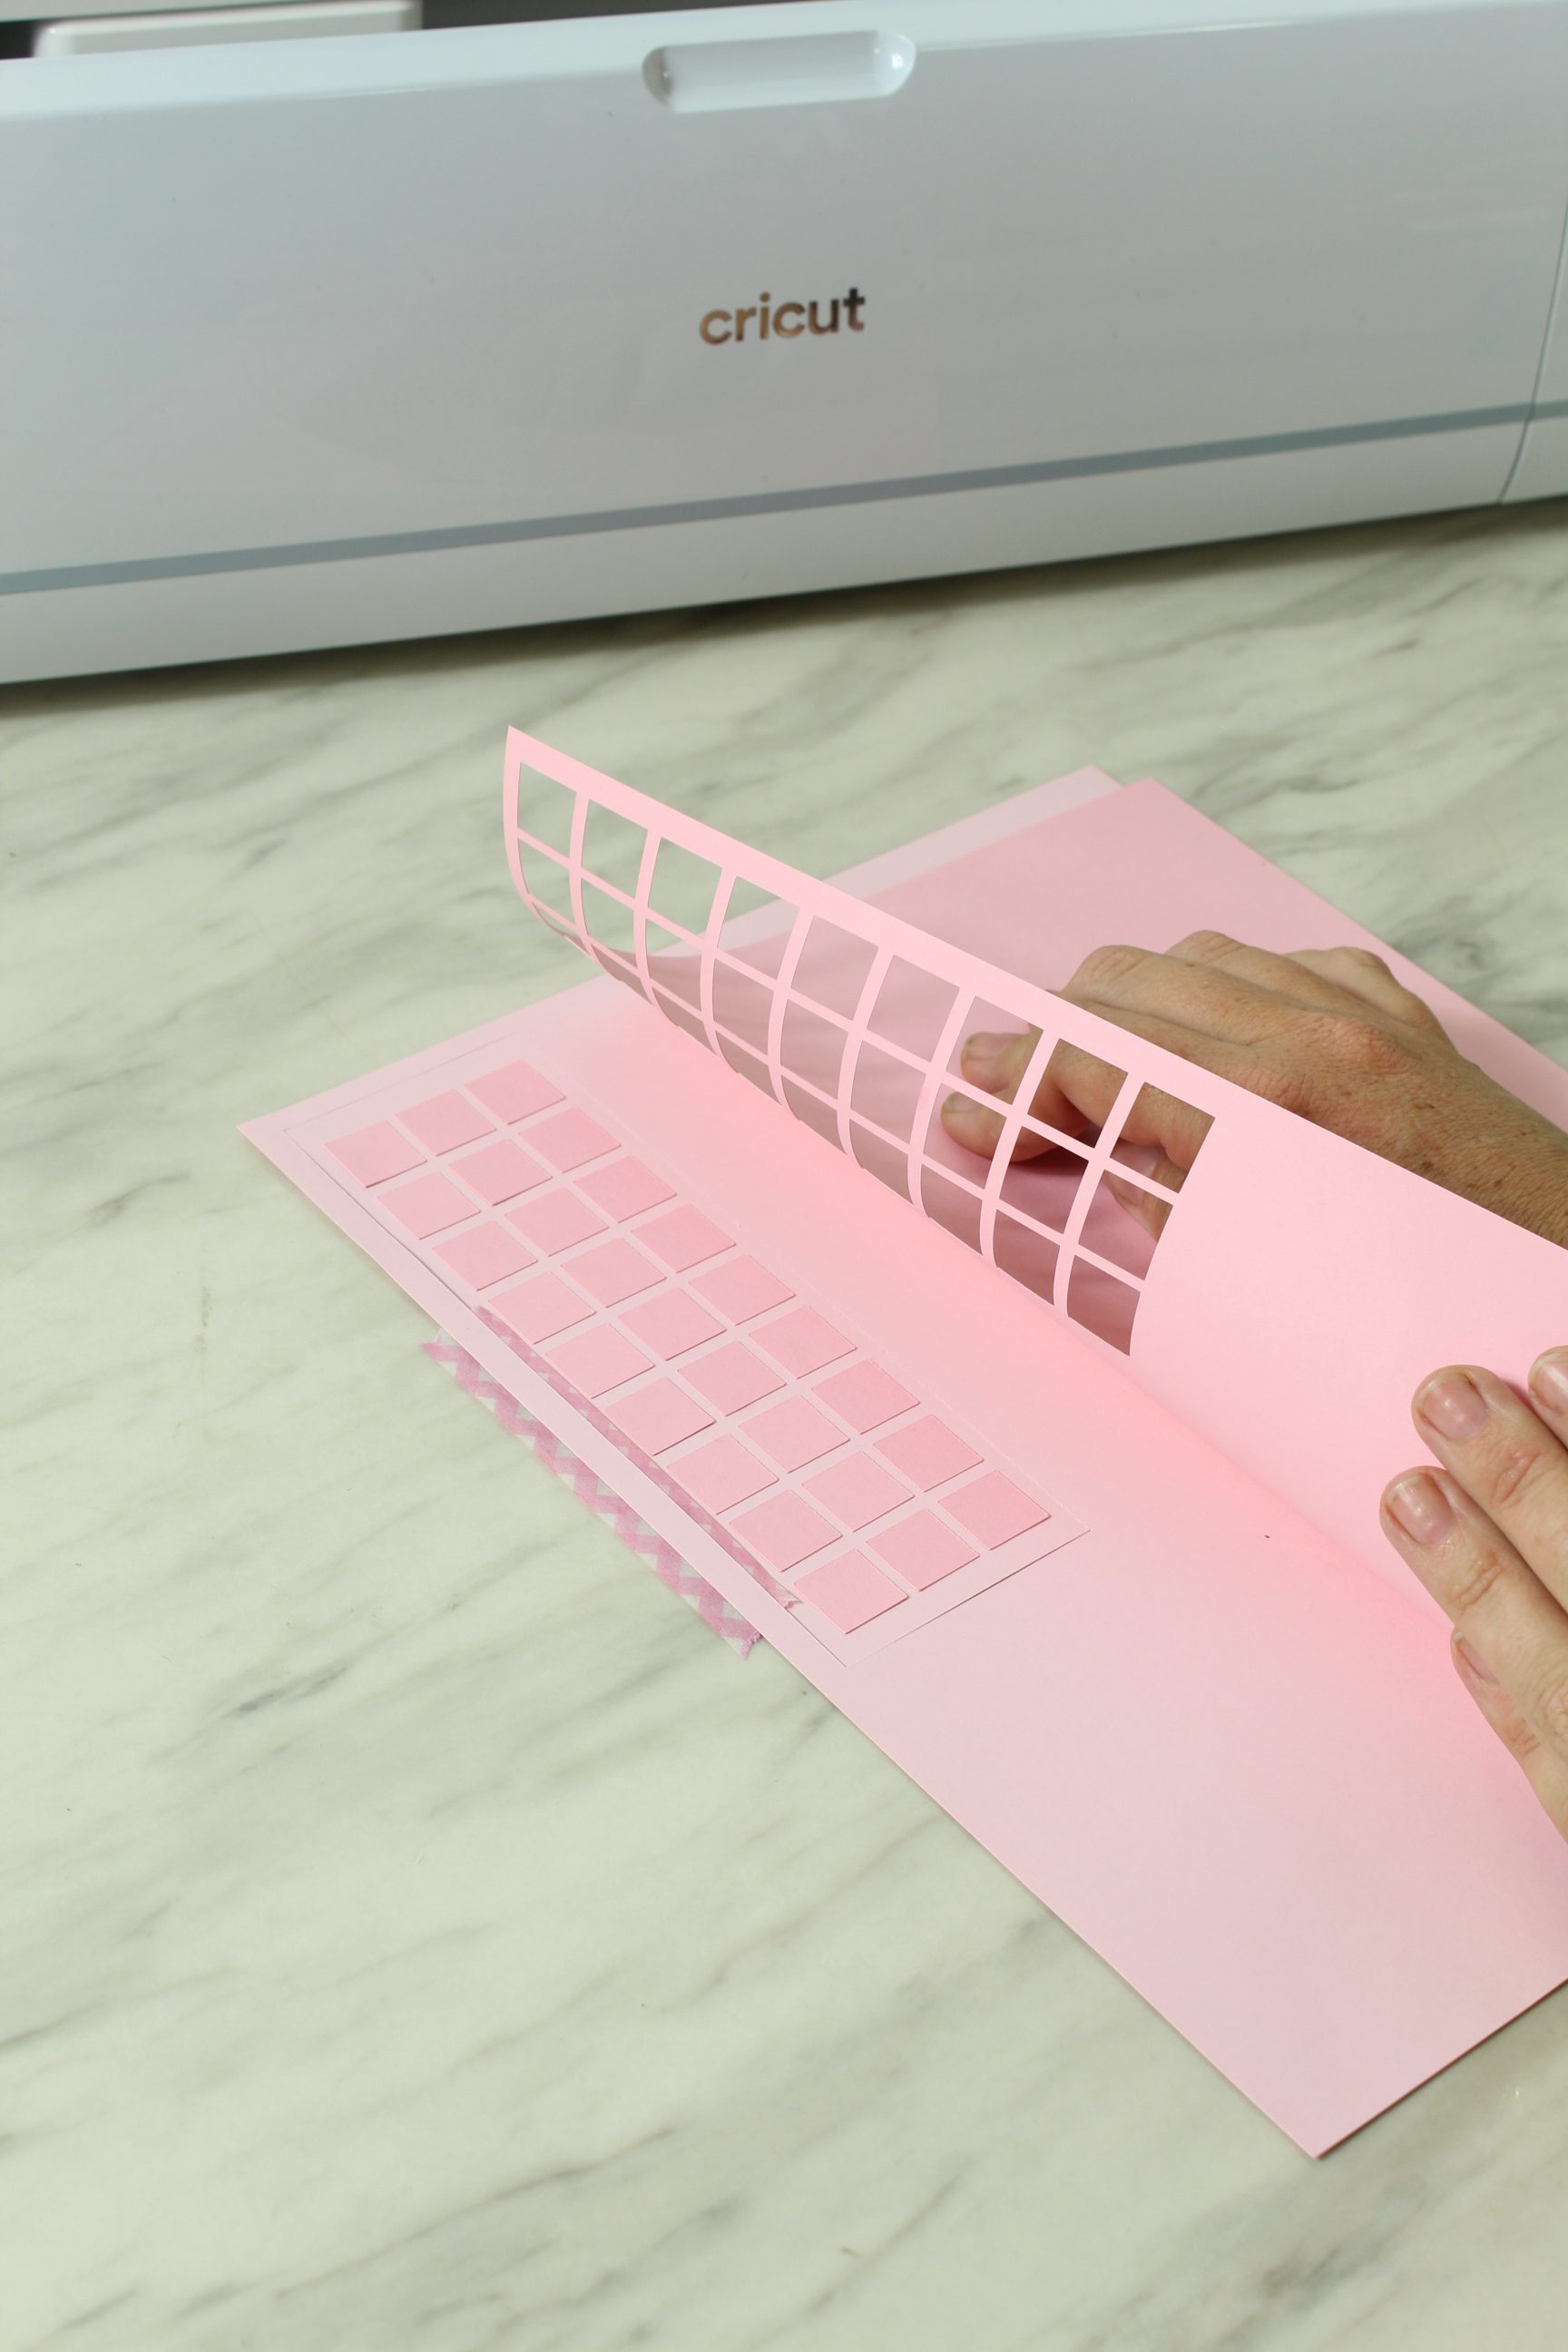
I started by lining them up just right.
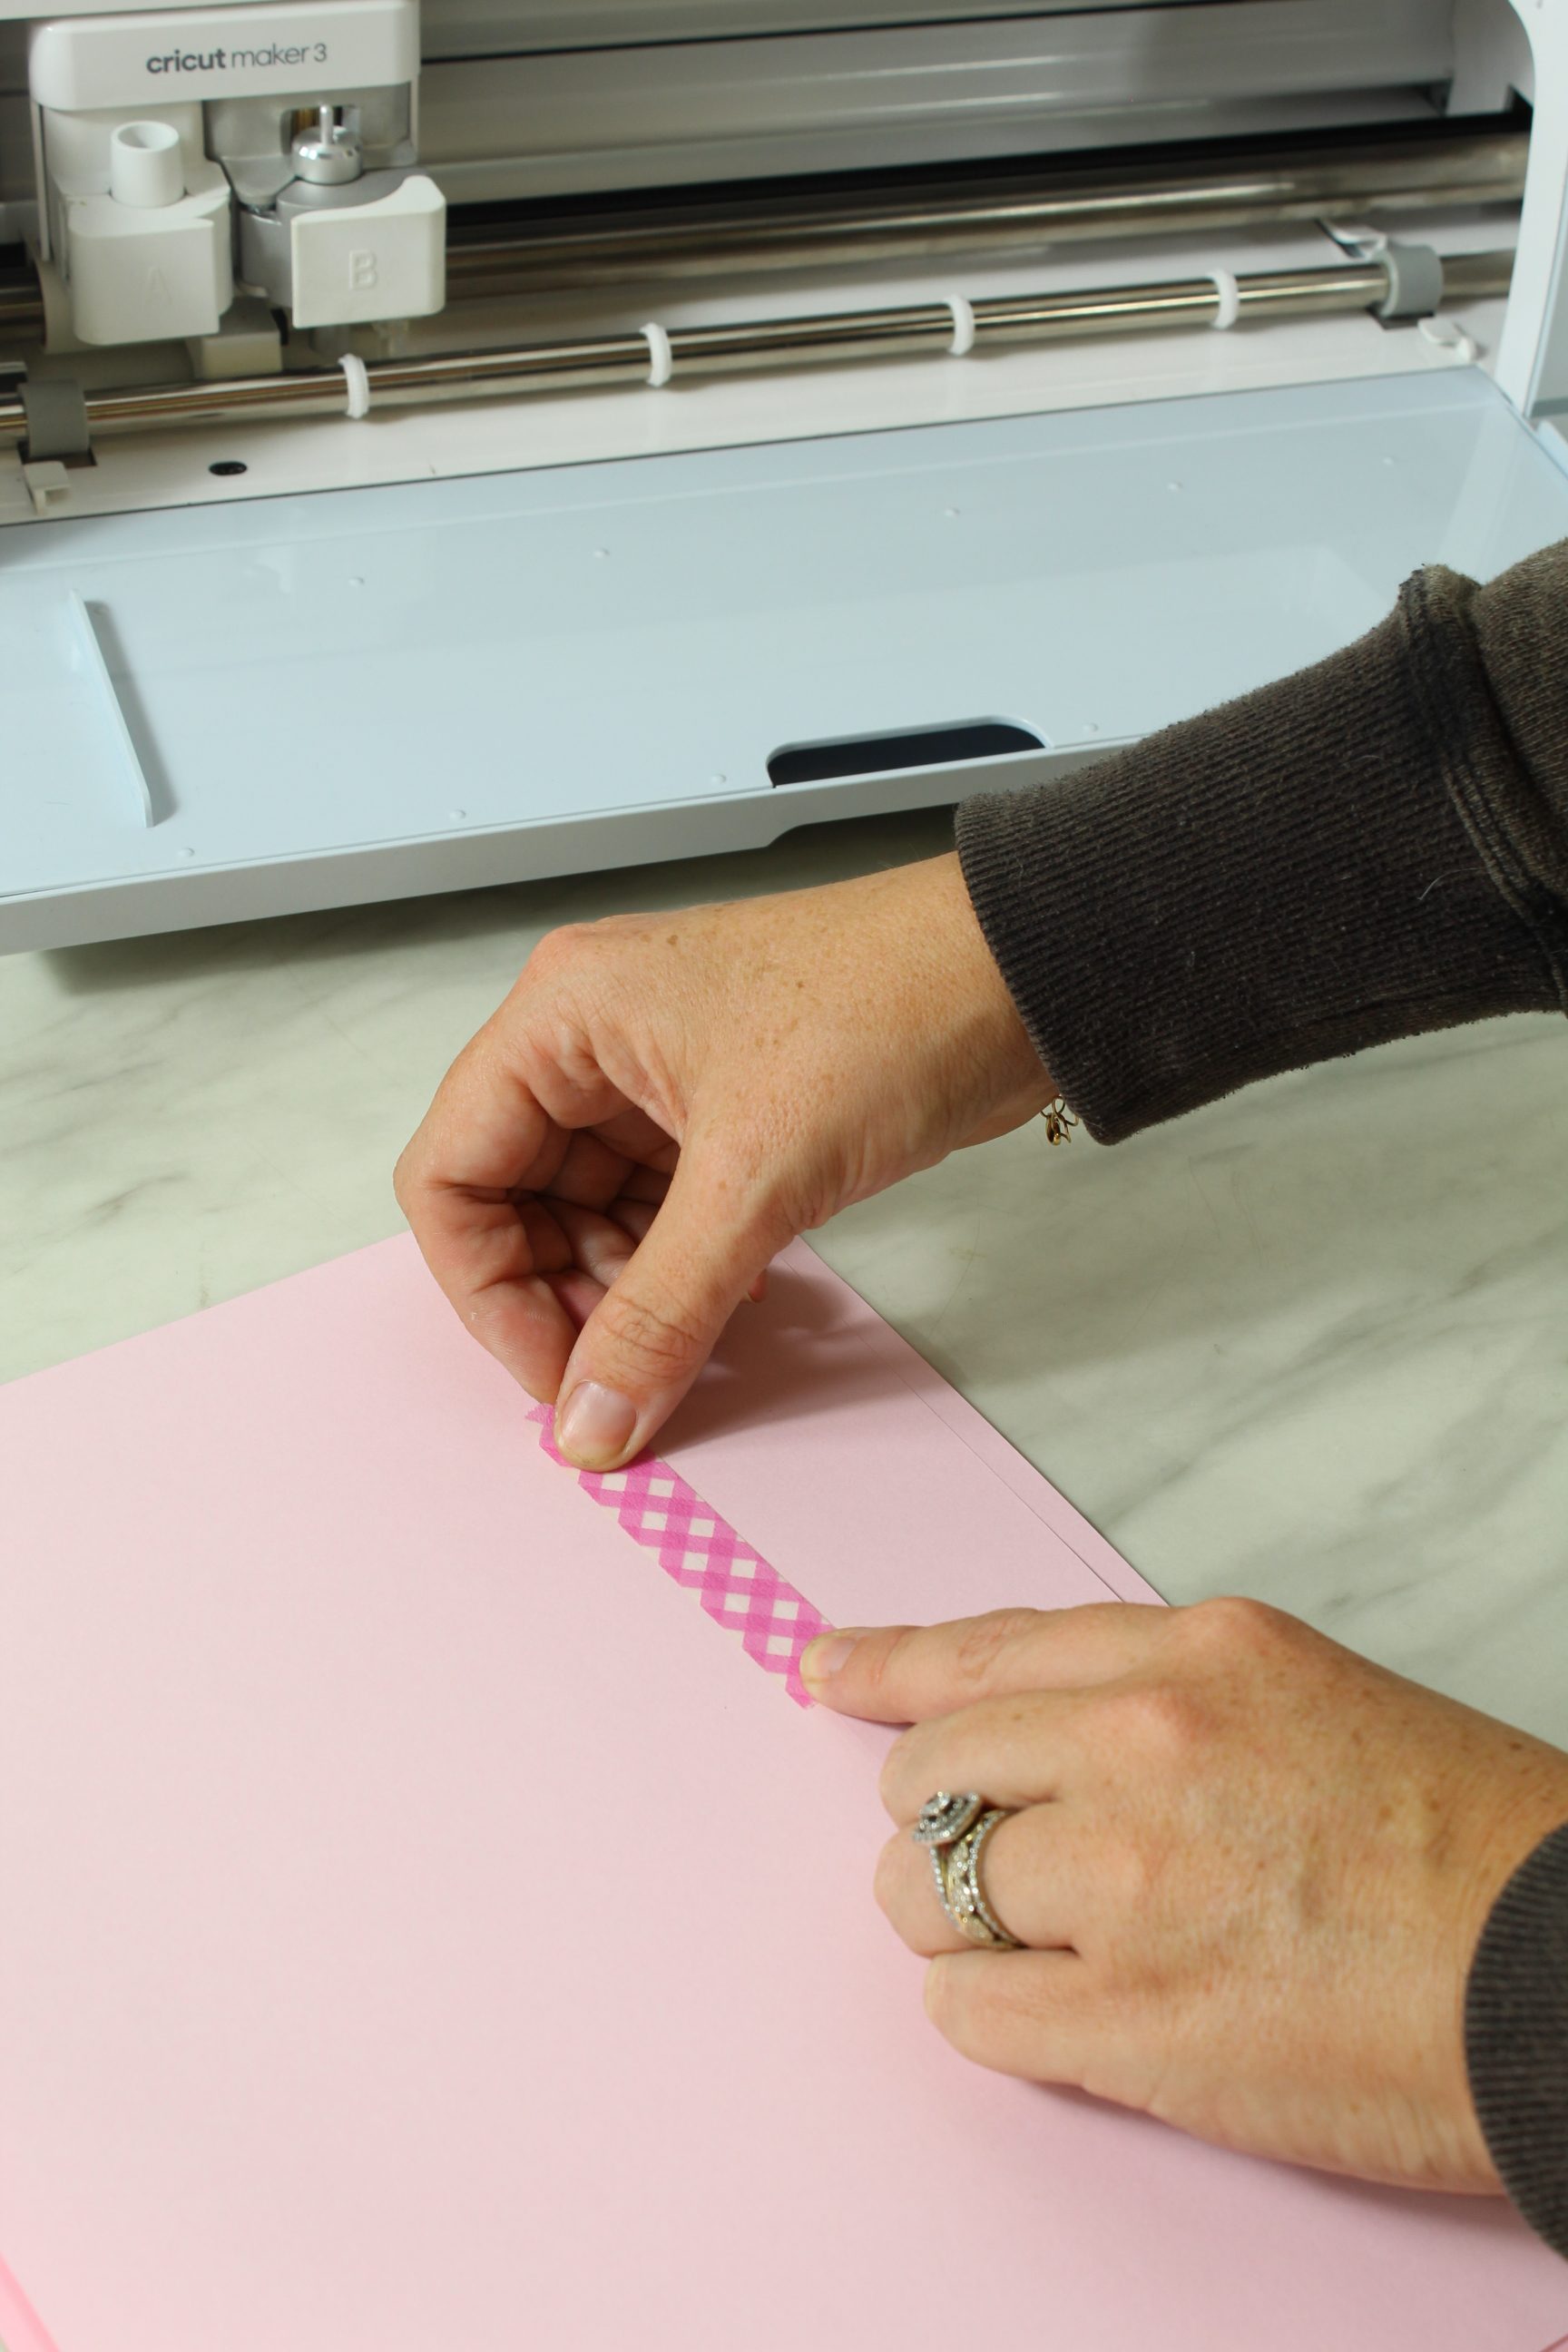
Then adding my large rectangle and taping it down. Then I opened it like a door and taped the two pink pieces together.
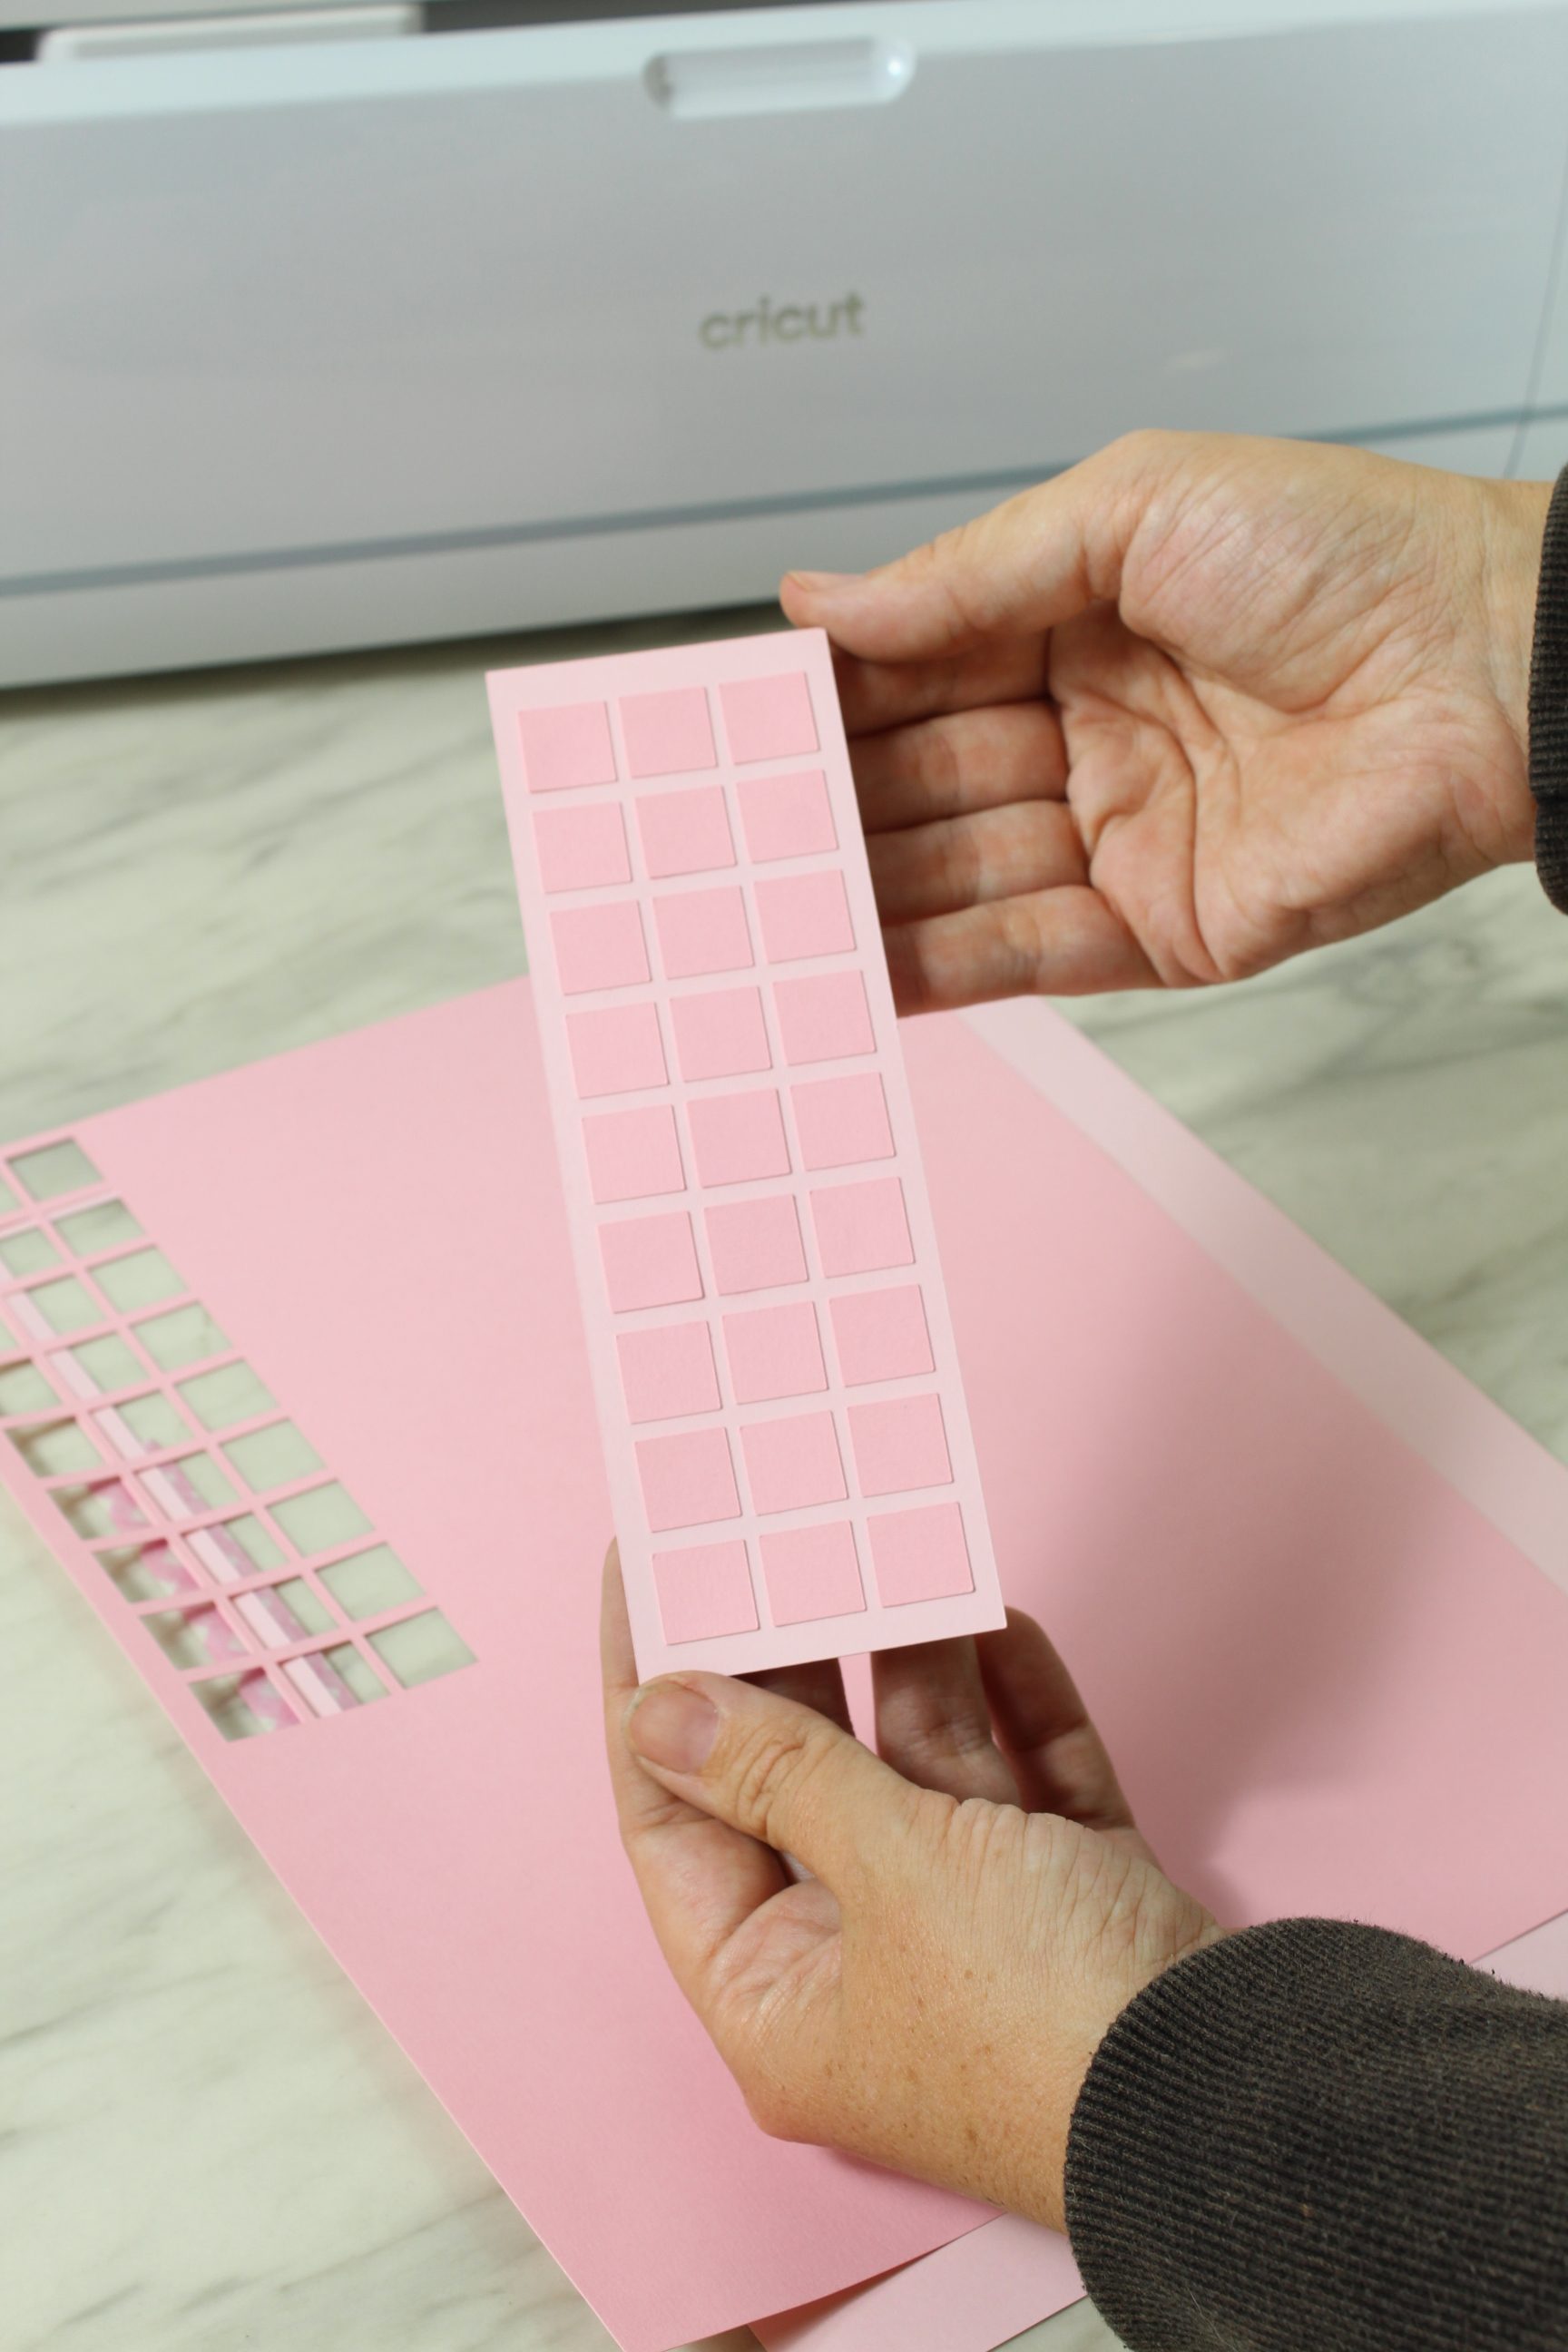
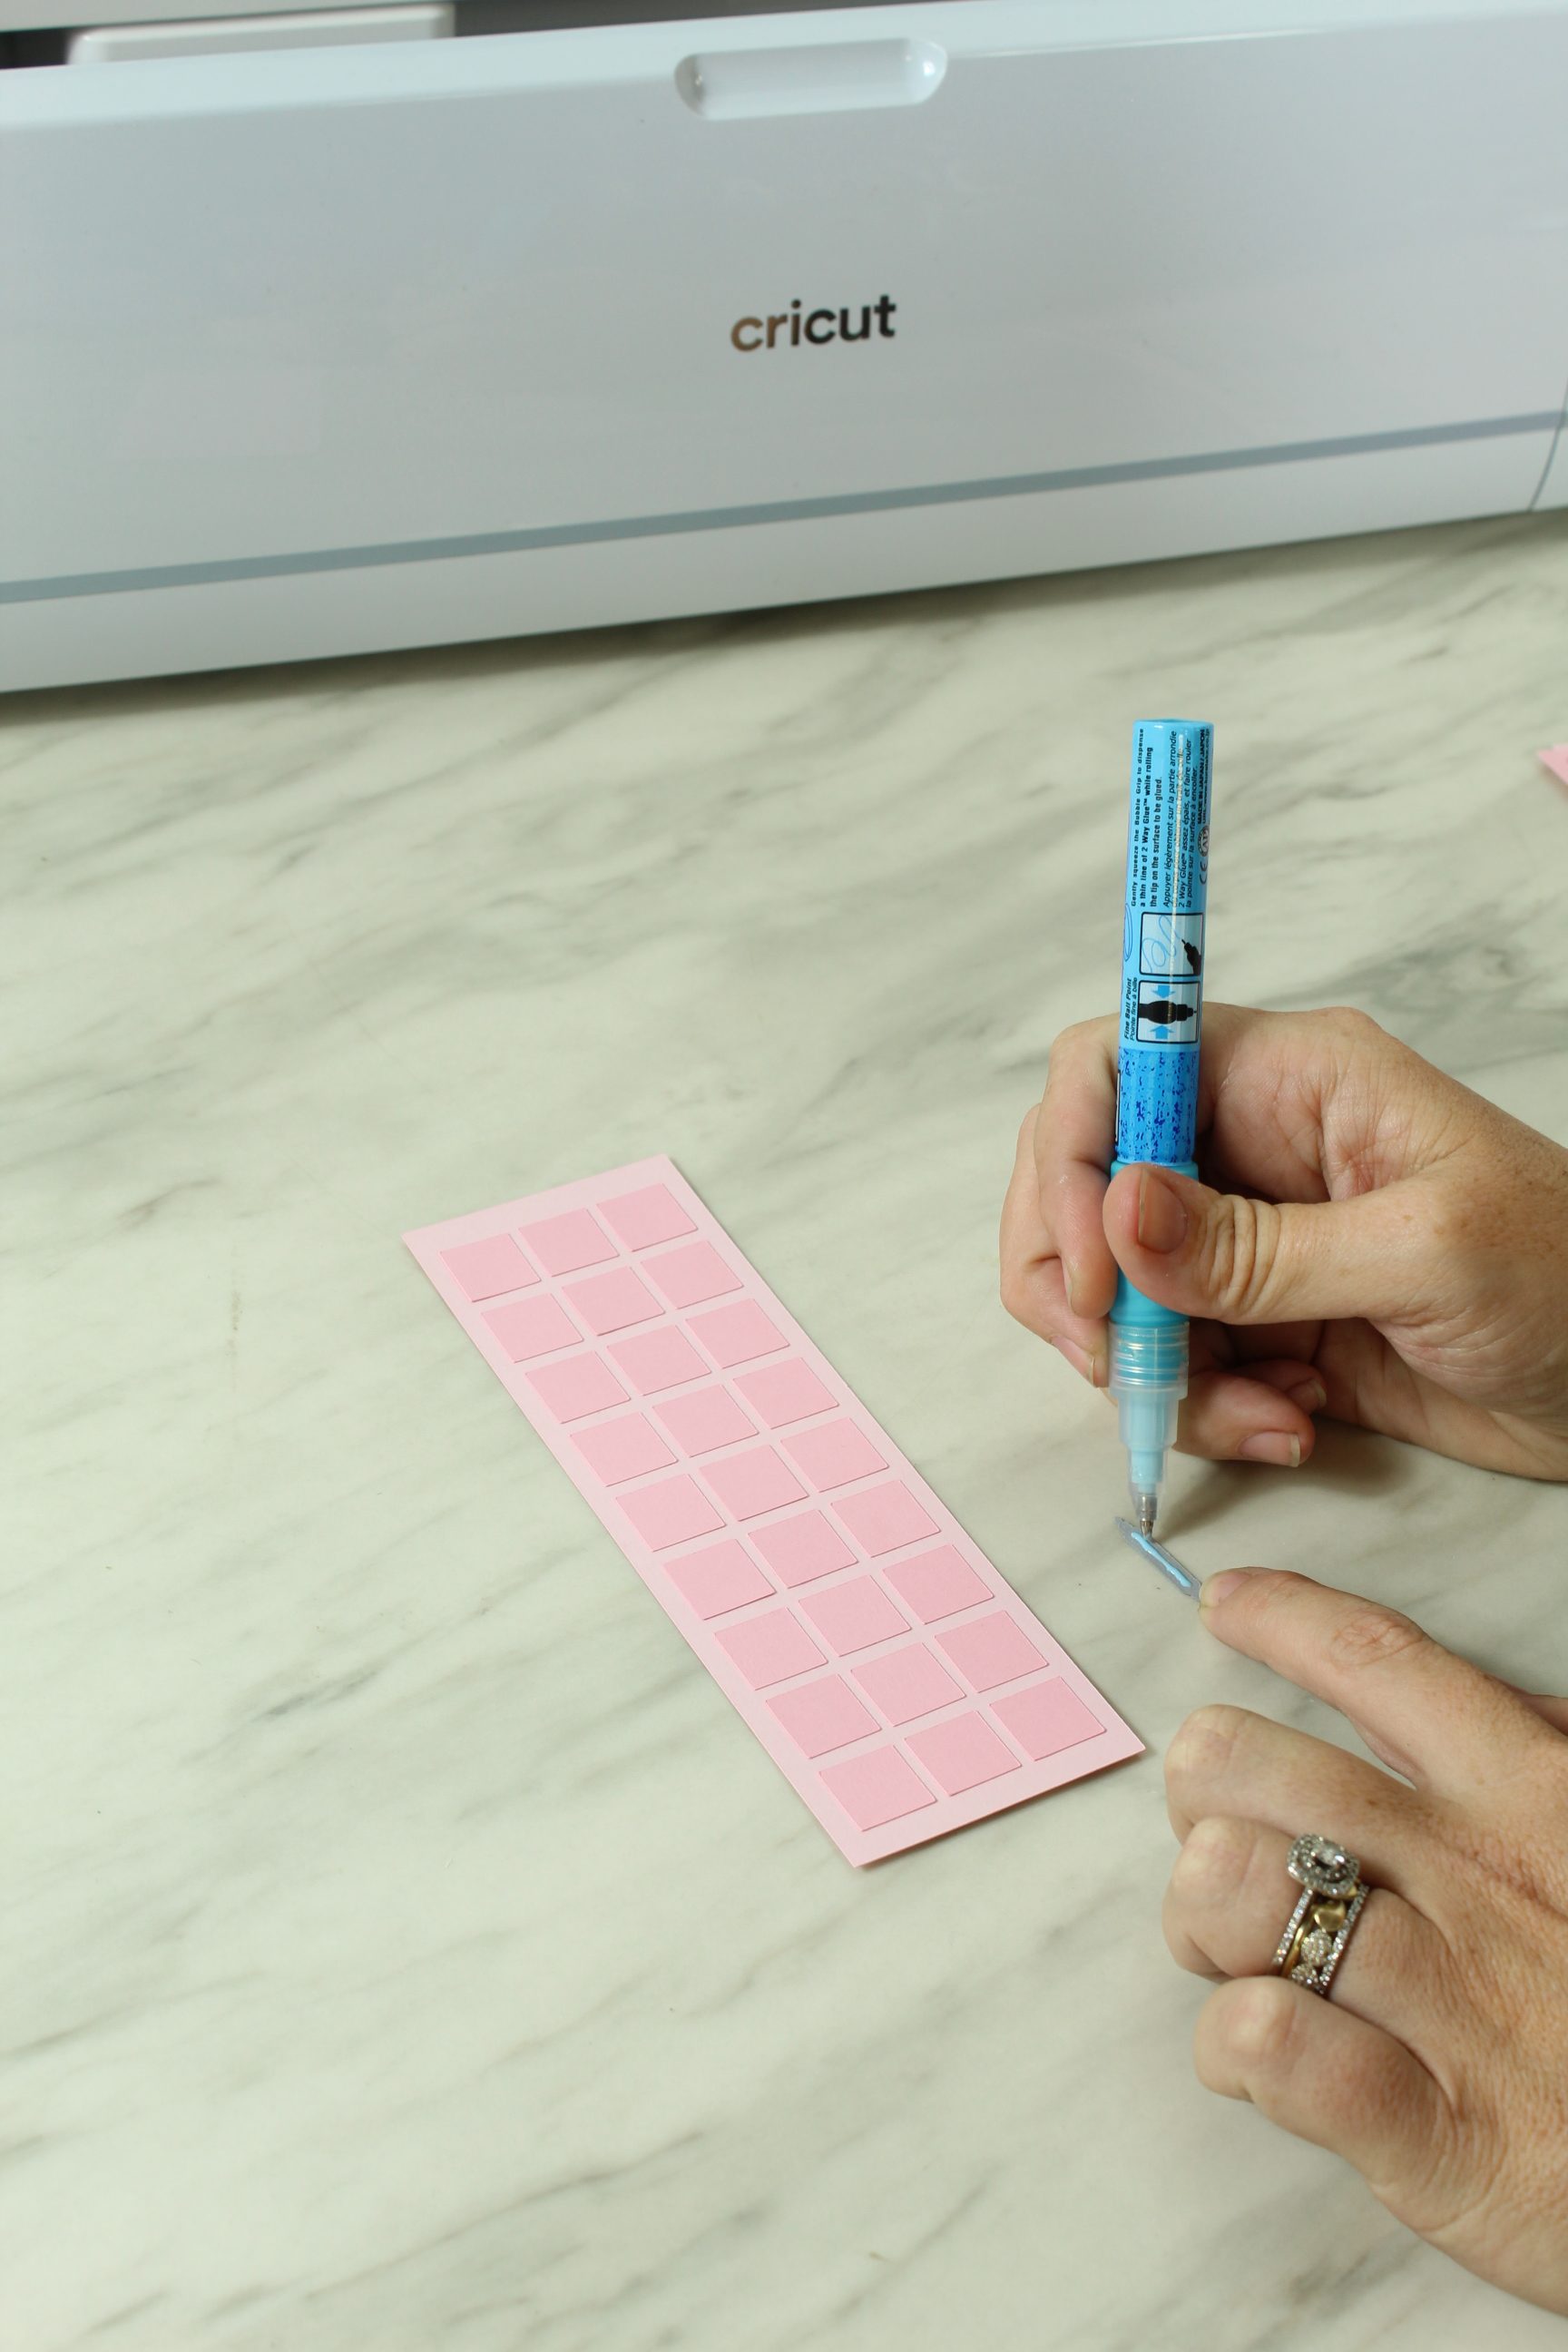
Then I carefully flipped the two pieces over and added glue to each row and slowly pieced each square in its spot.
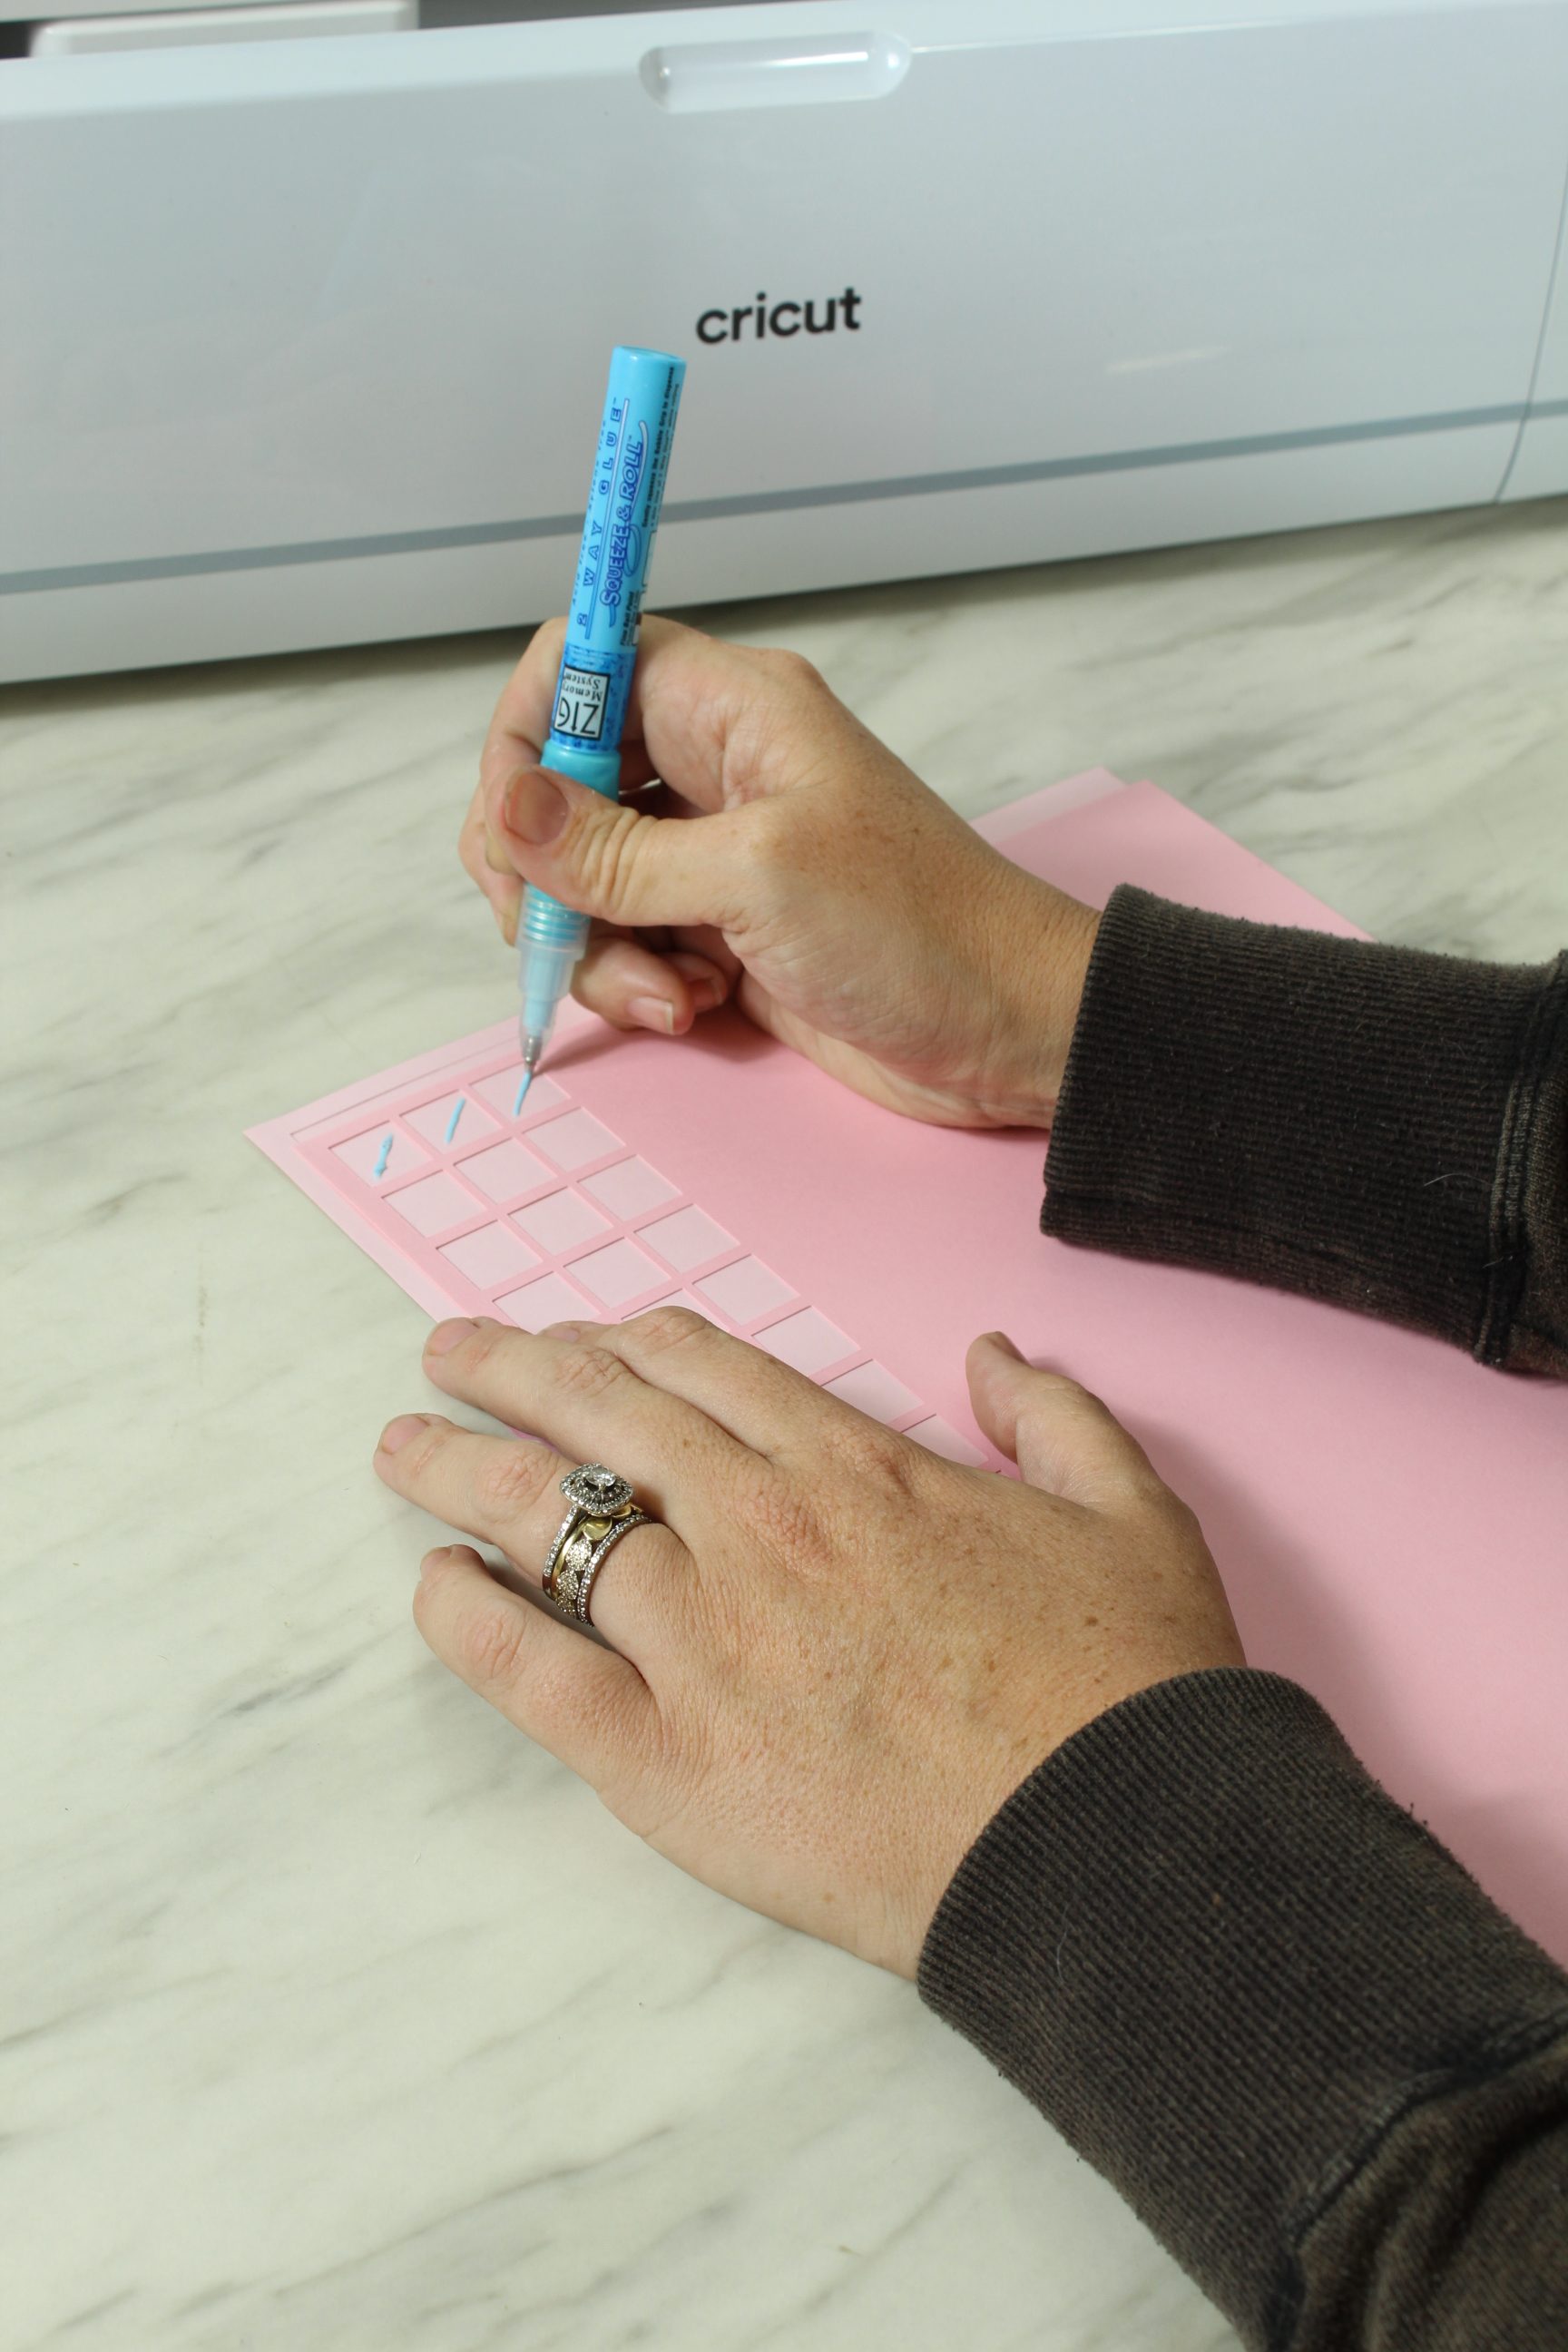

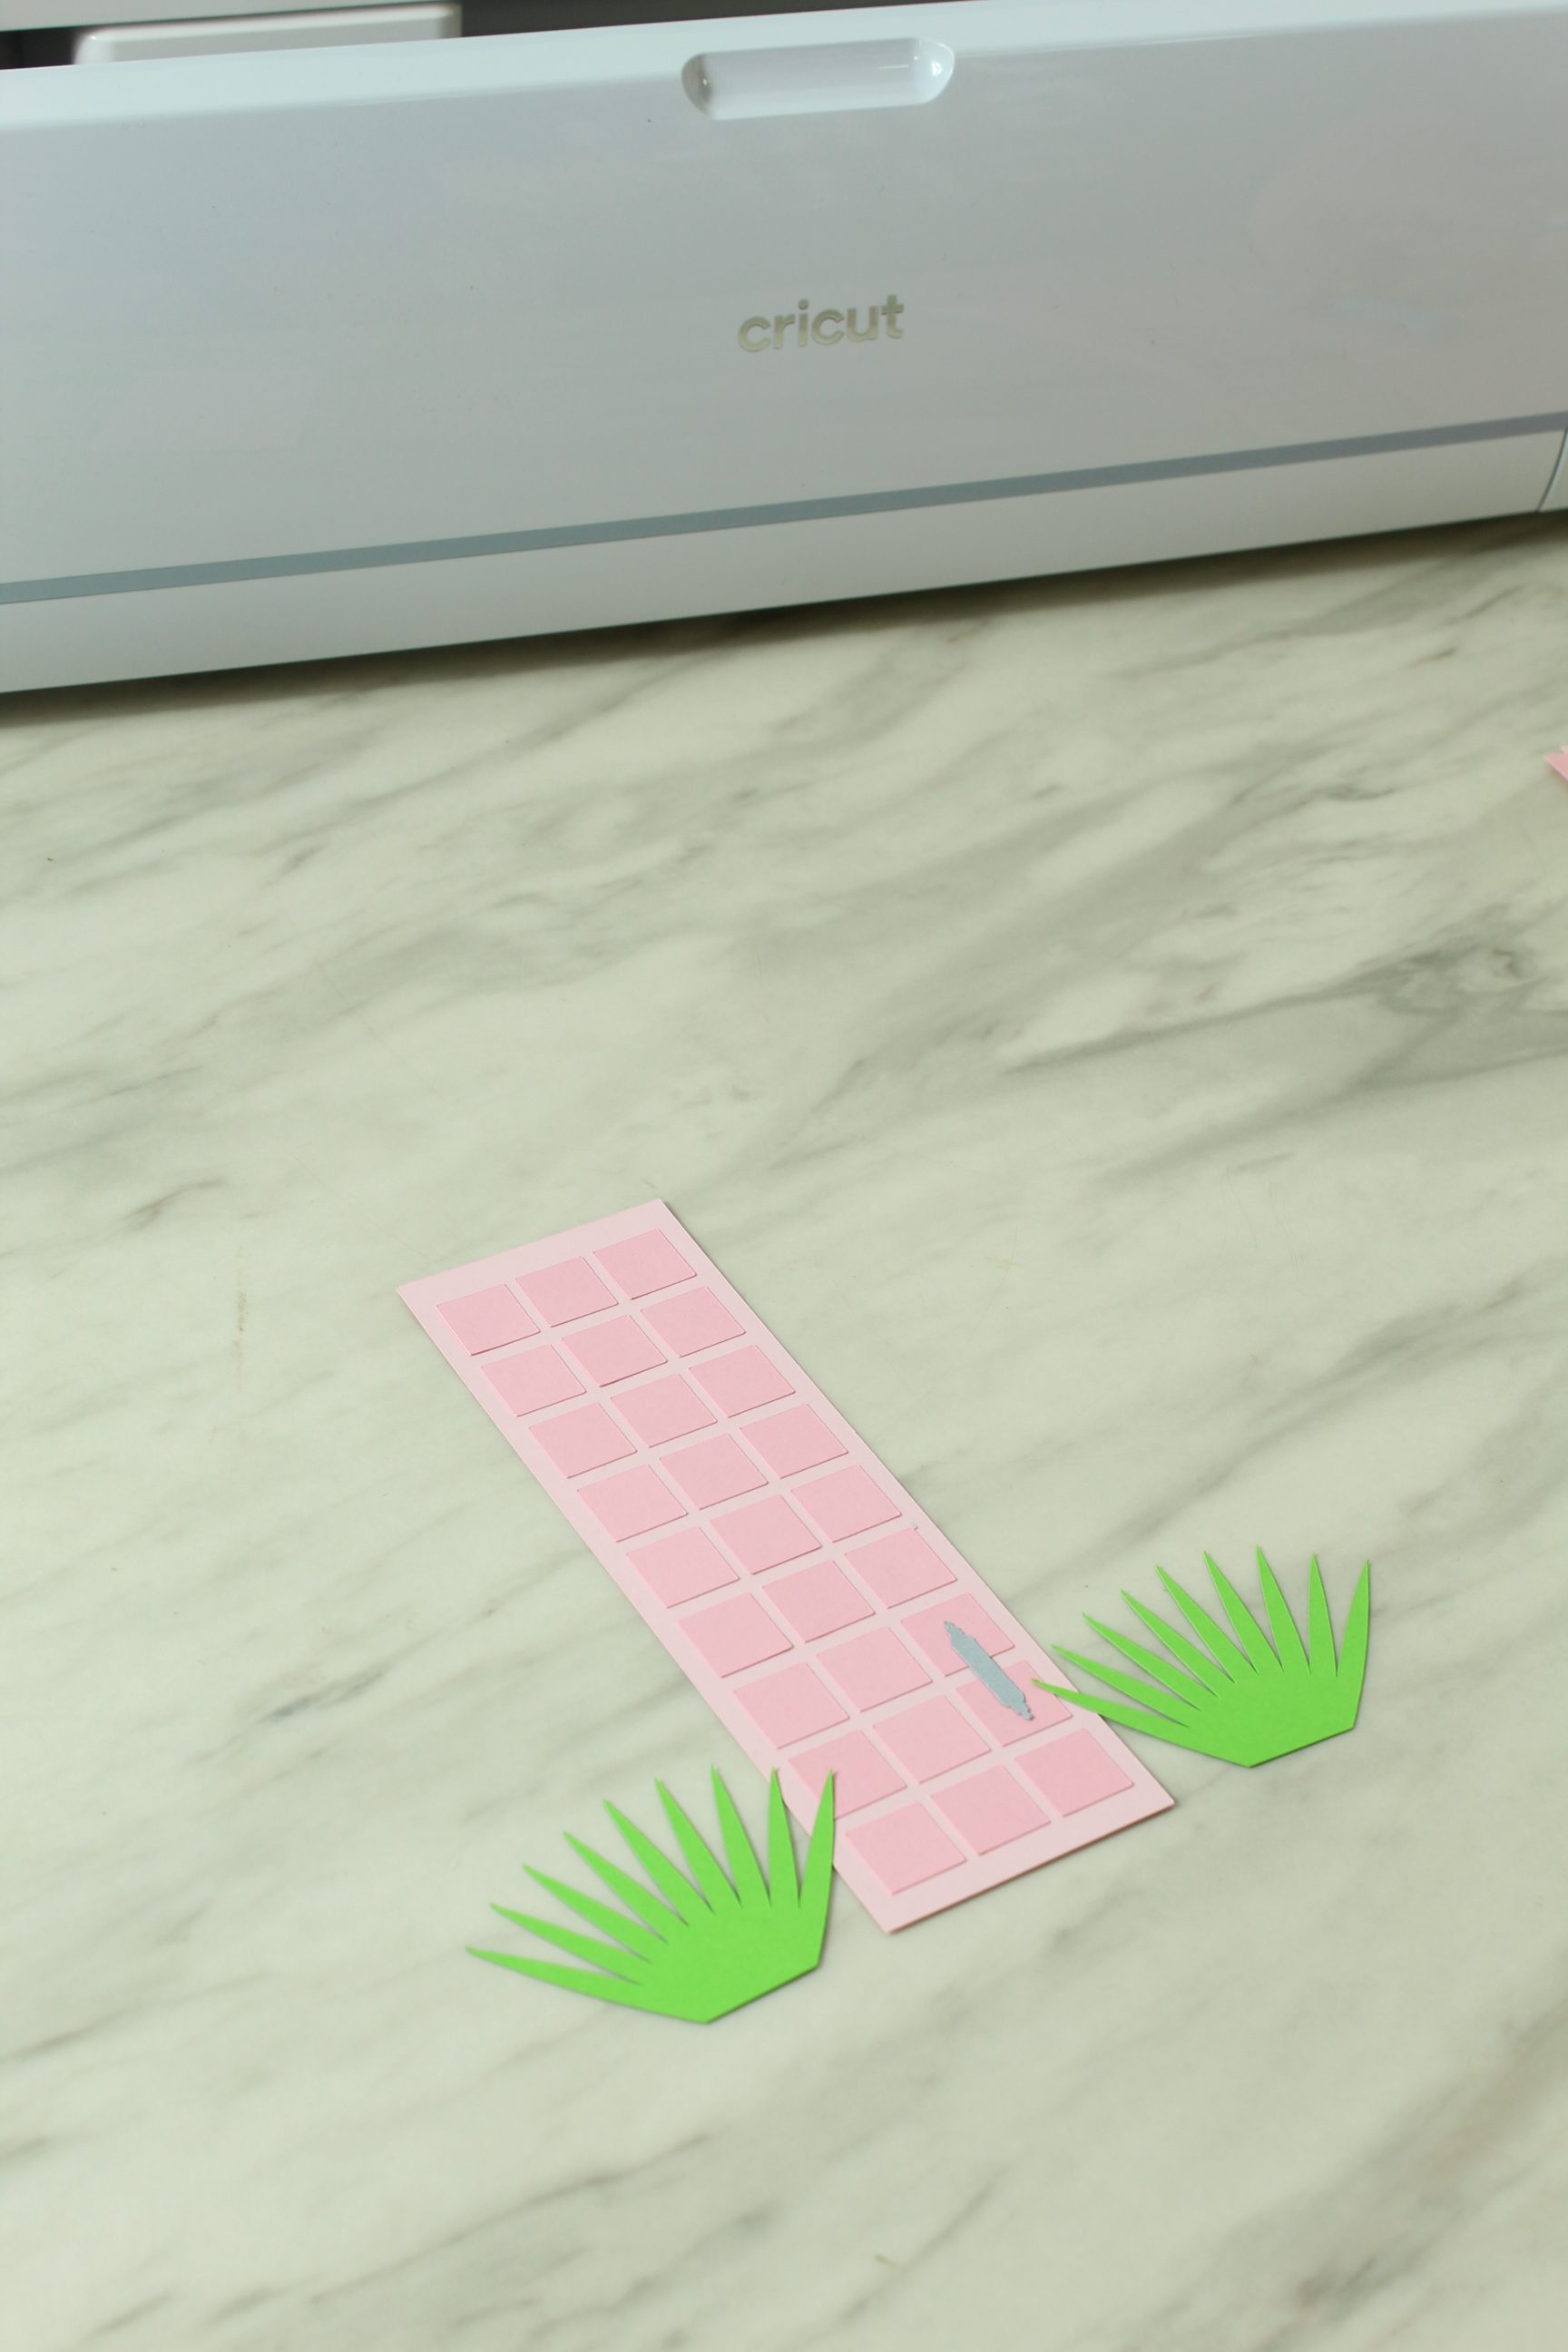
Once you’ve glued all the squares down remove your guide and be impressed with your handiwork!
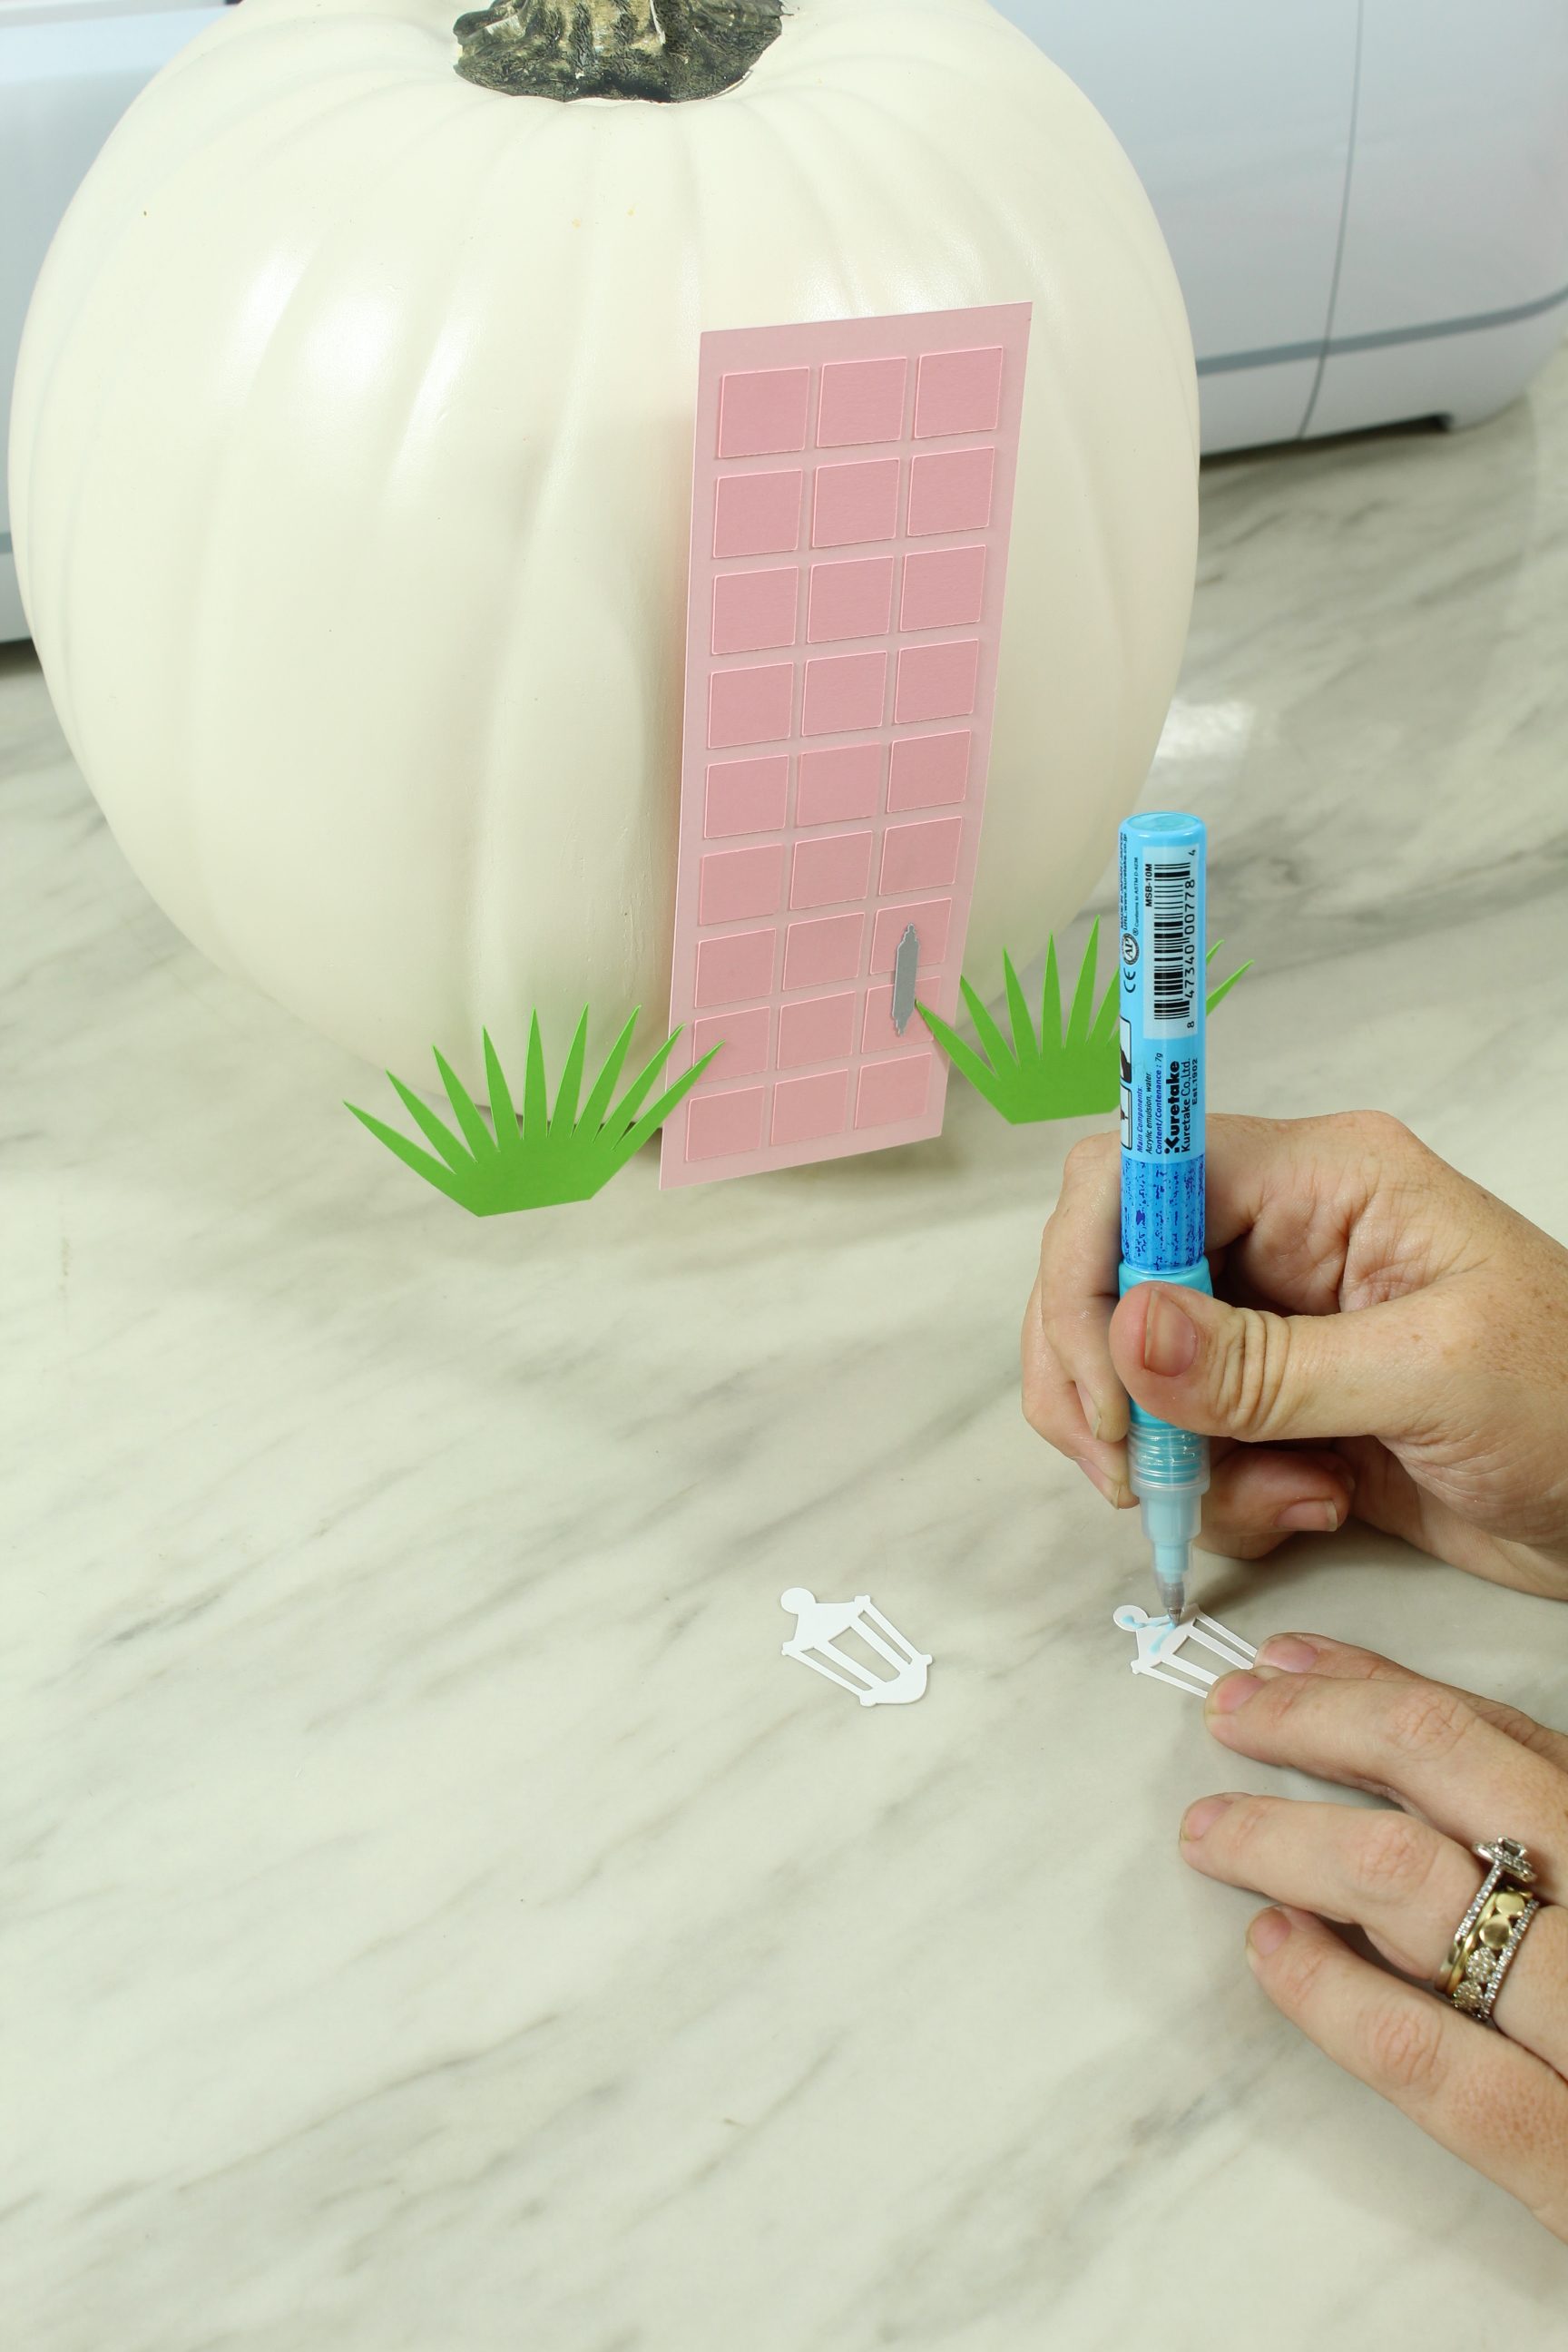
Time for the Details
Now that the hard part is done, time for all of the finishing details. Glue on the door handle and the plants.
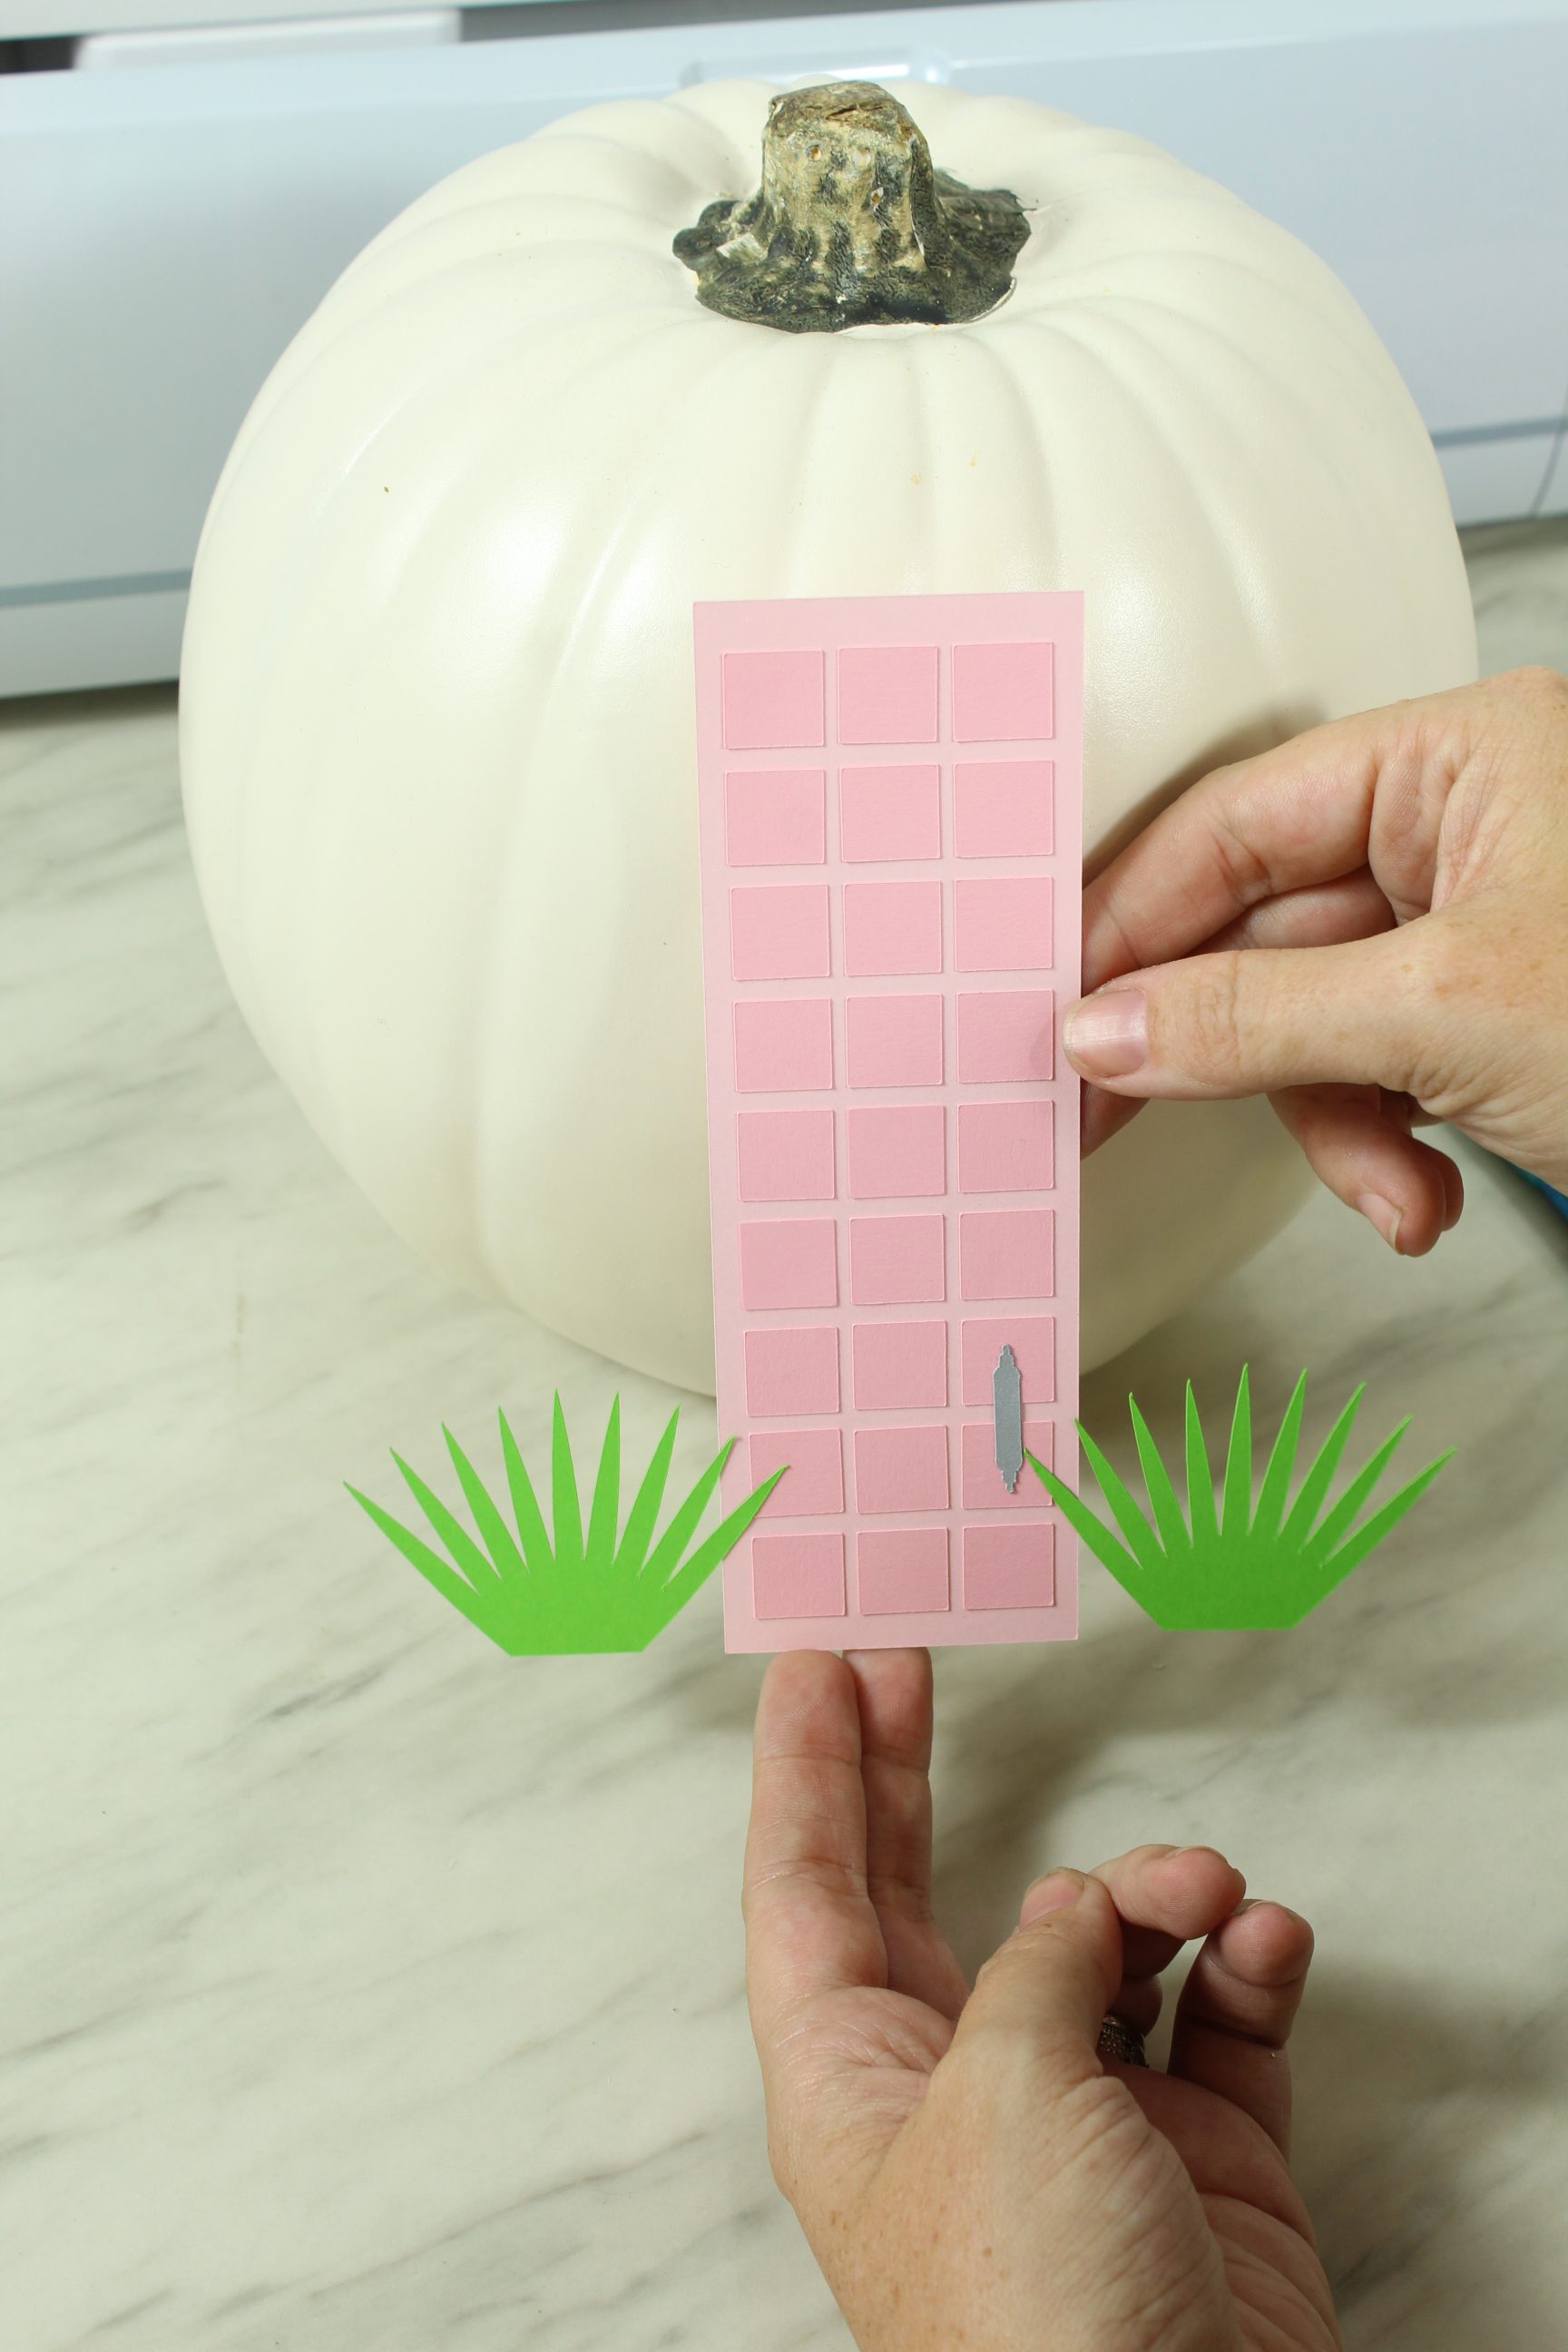
Attach to Pumpkin
Using foam dots, attach the door to your pumpkin.
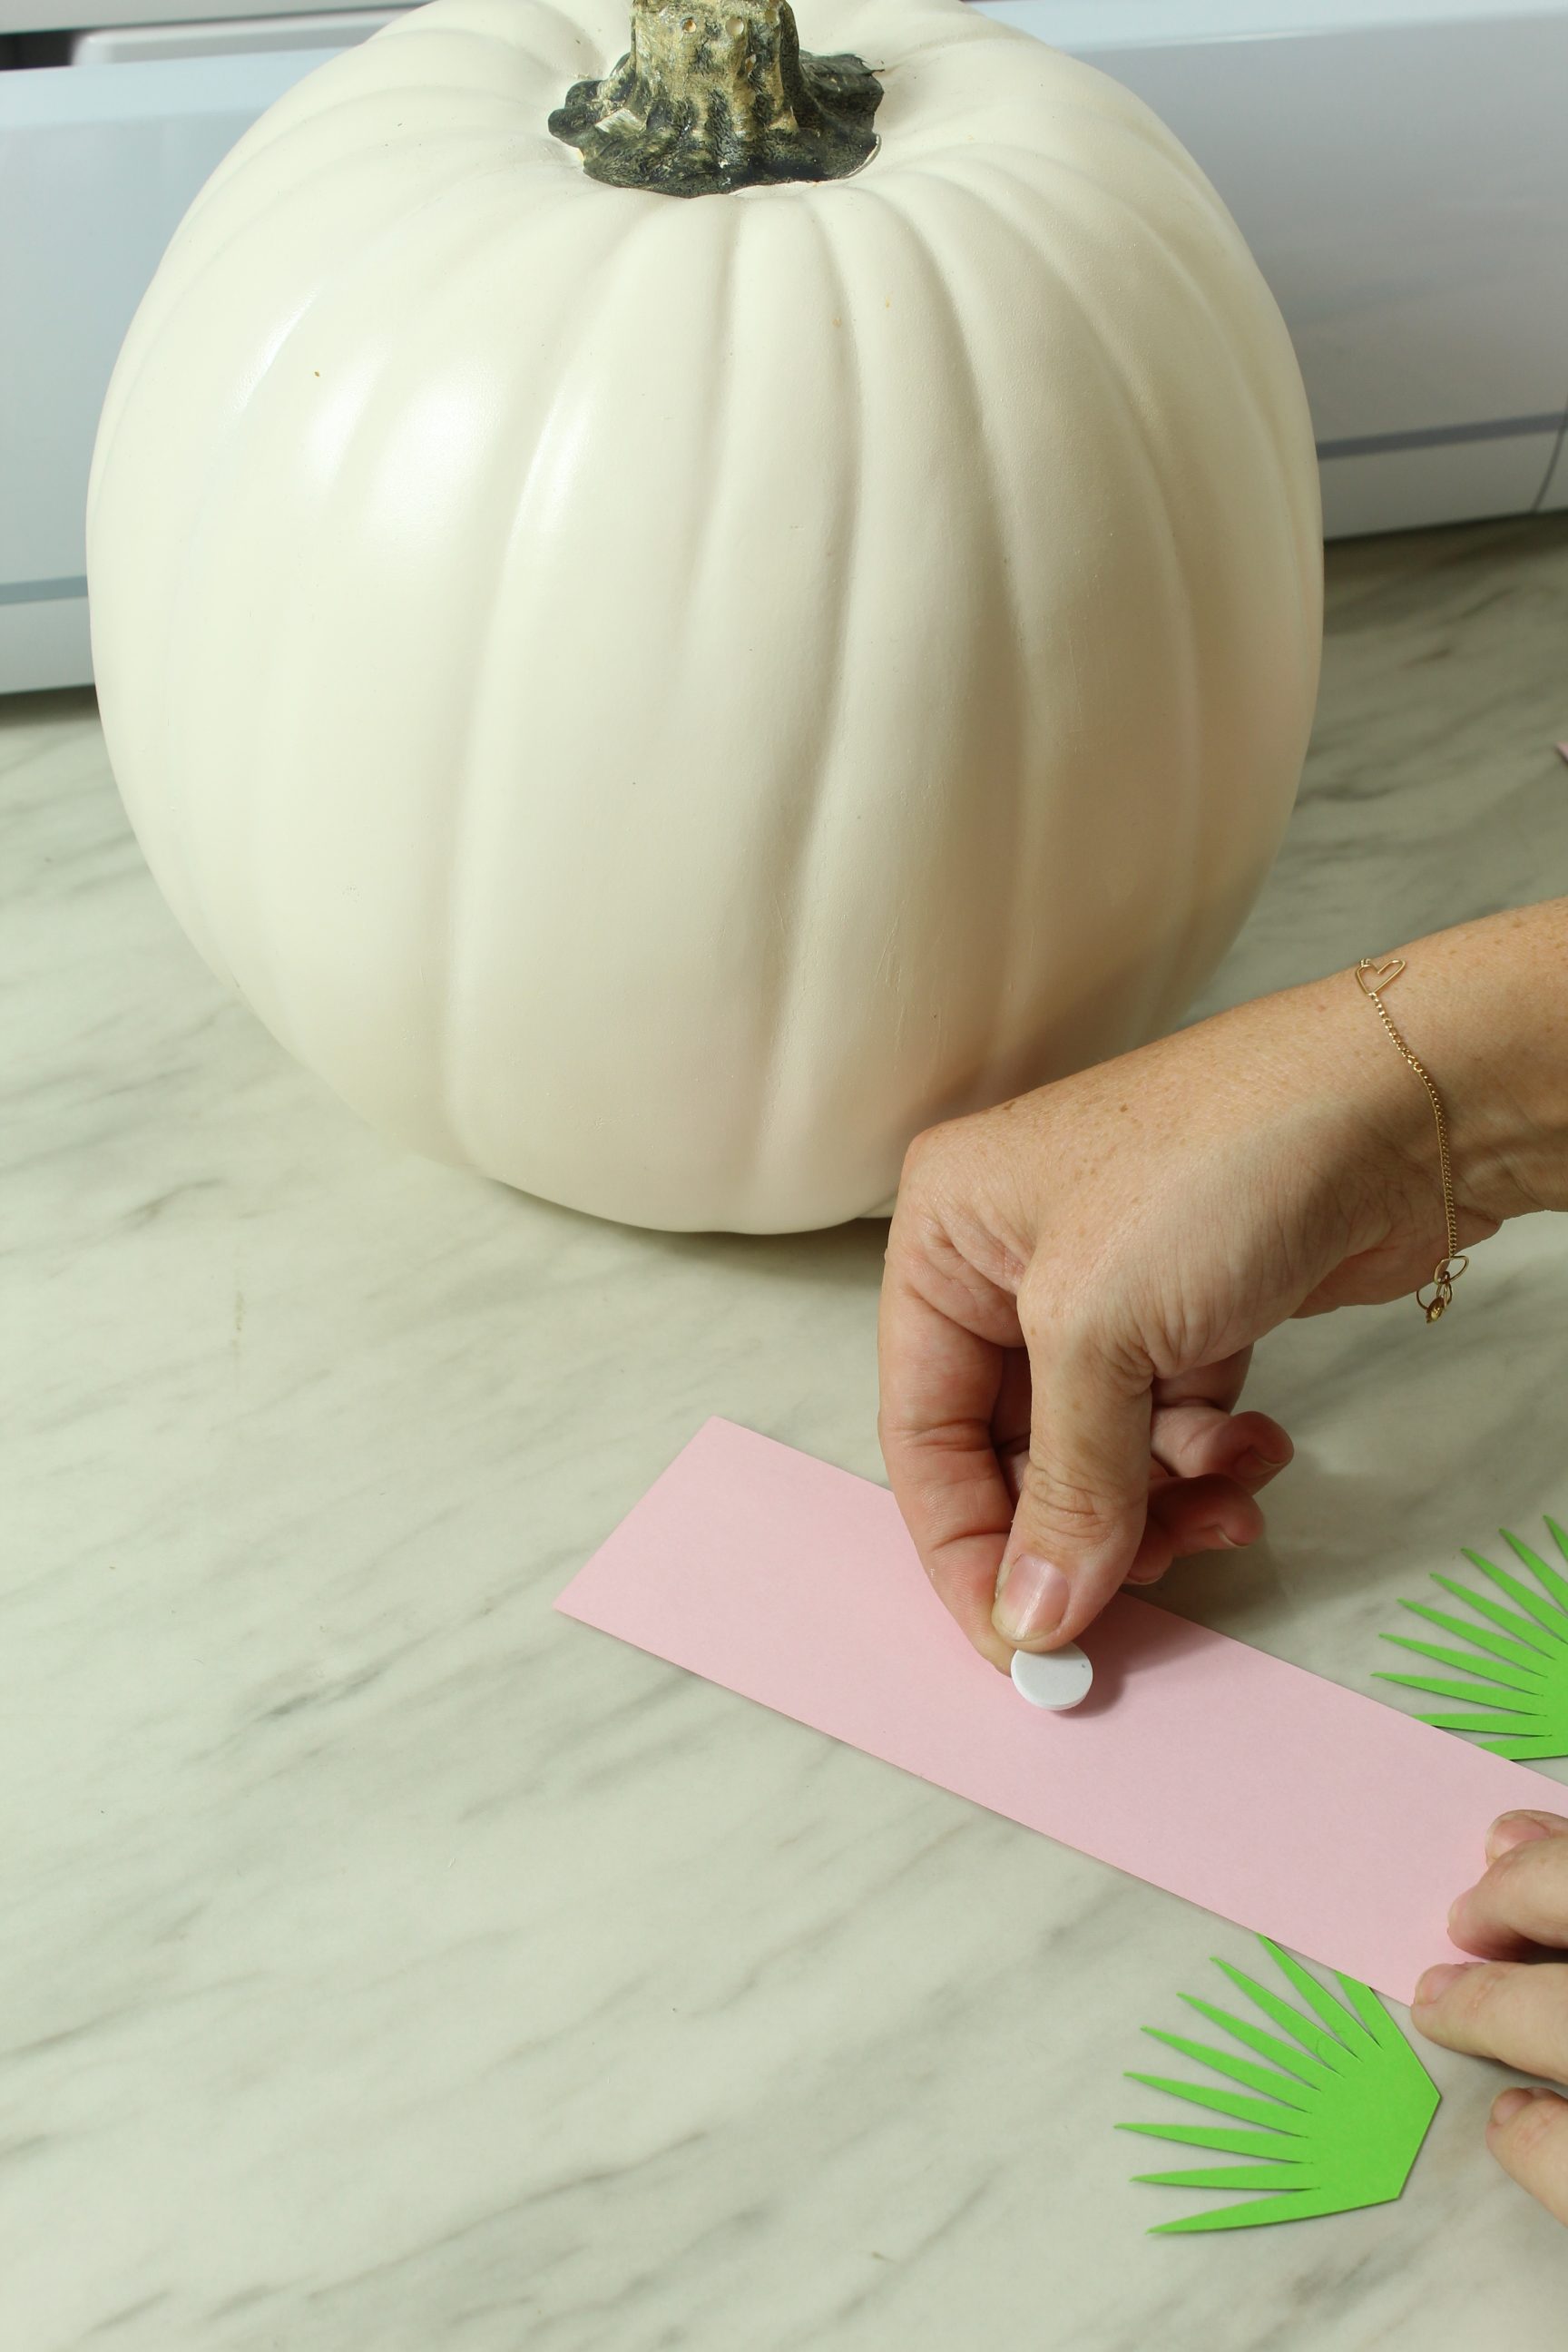

Add a little glue to your lights and attach them directly onto the pumpkin.

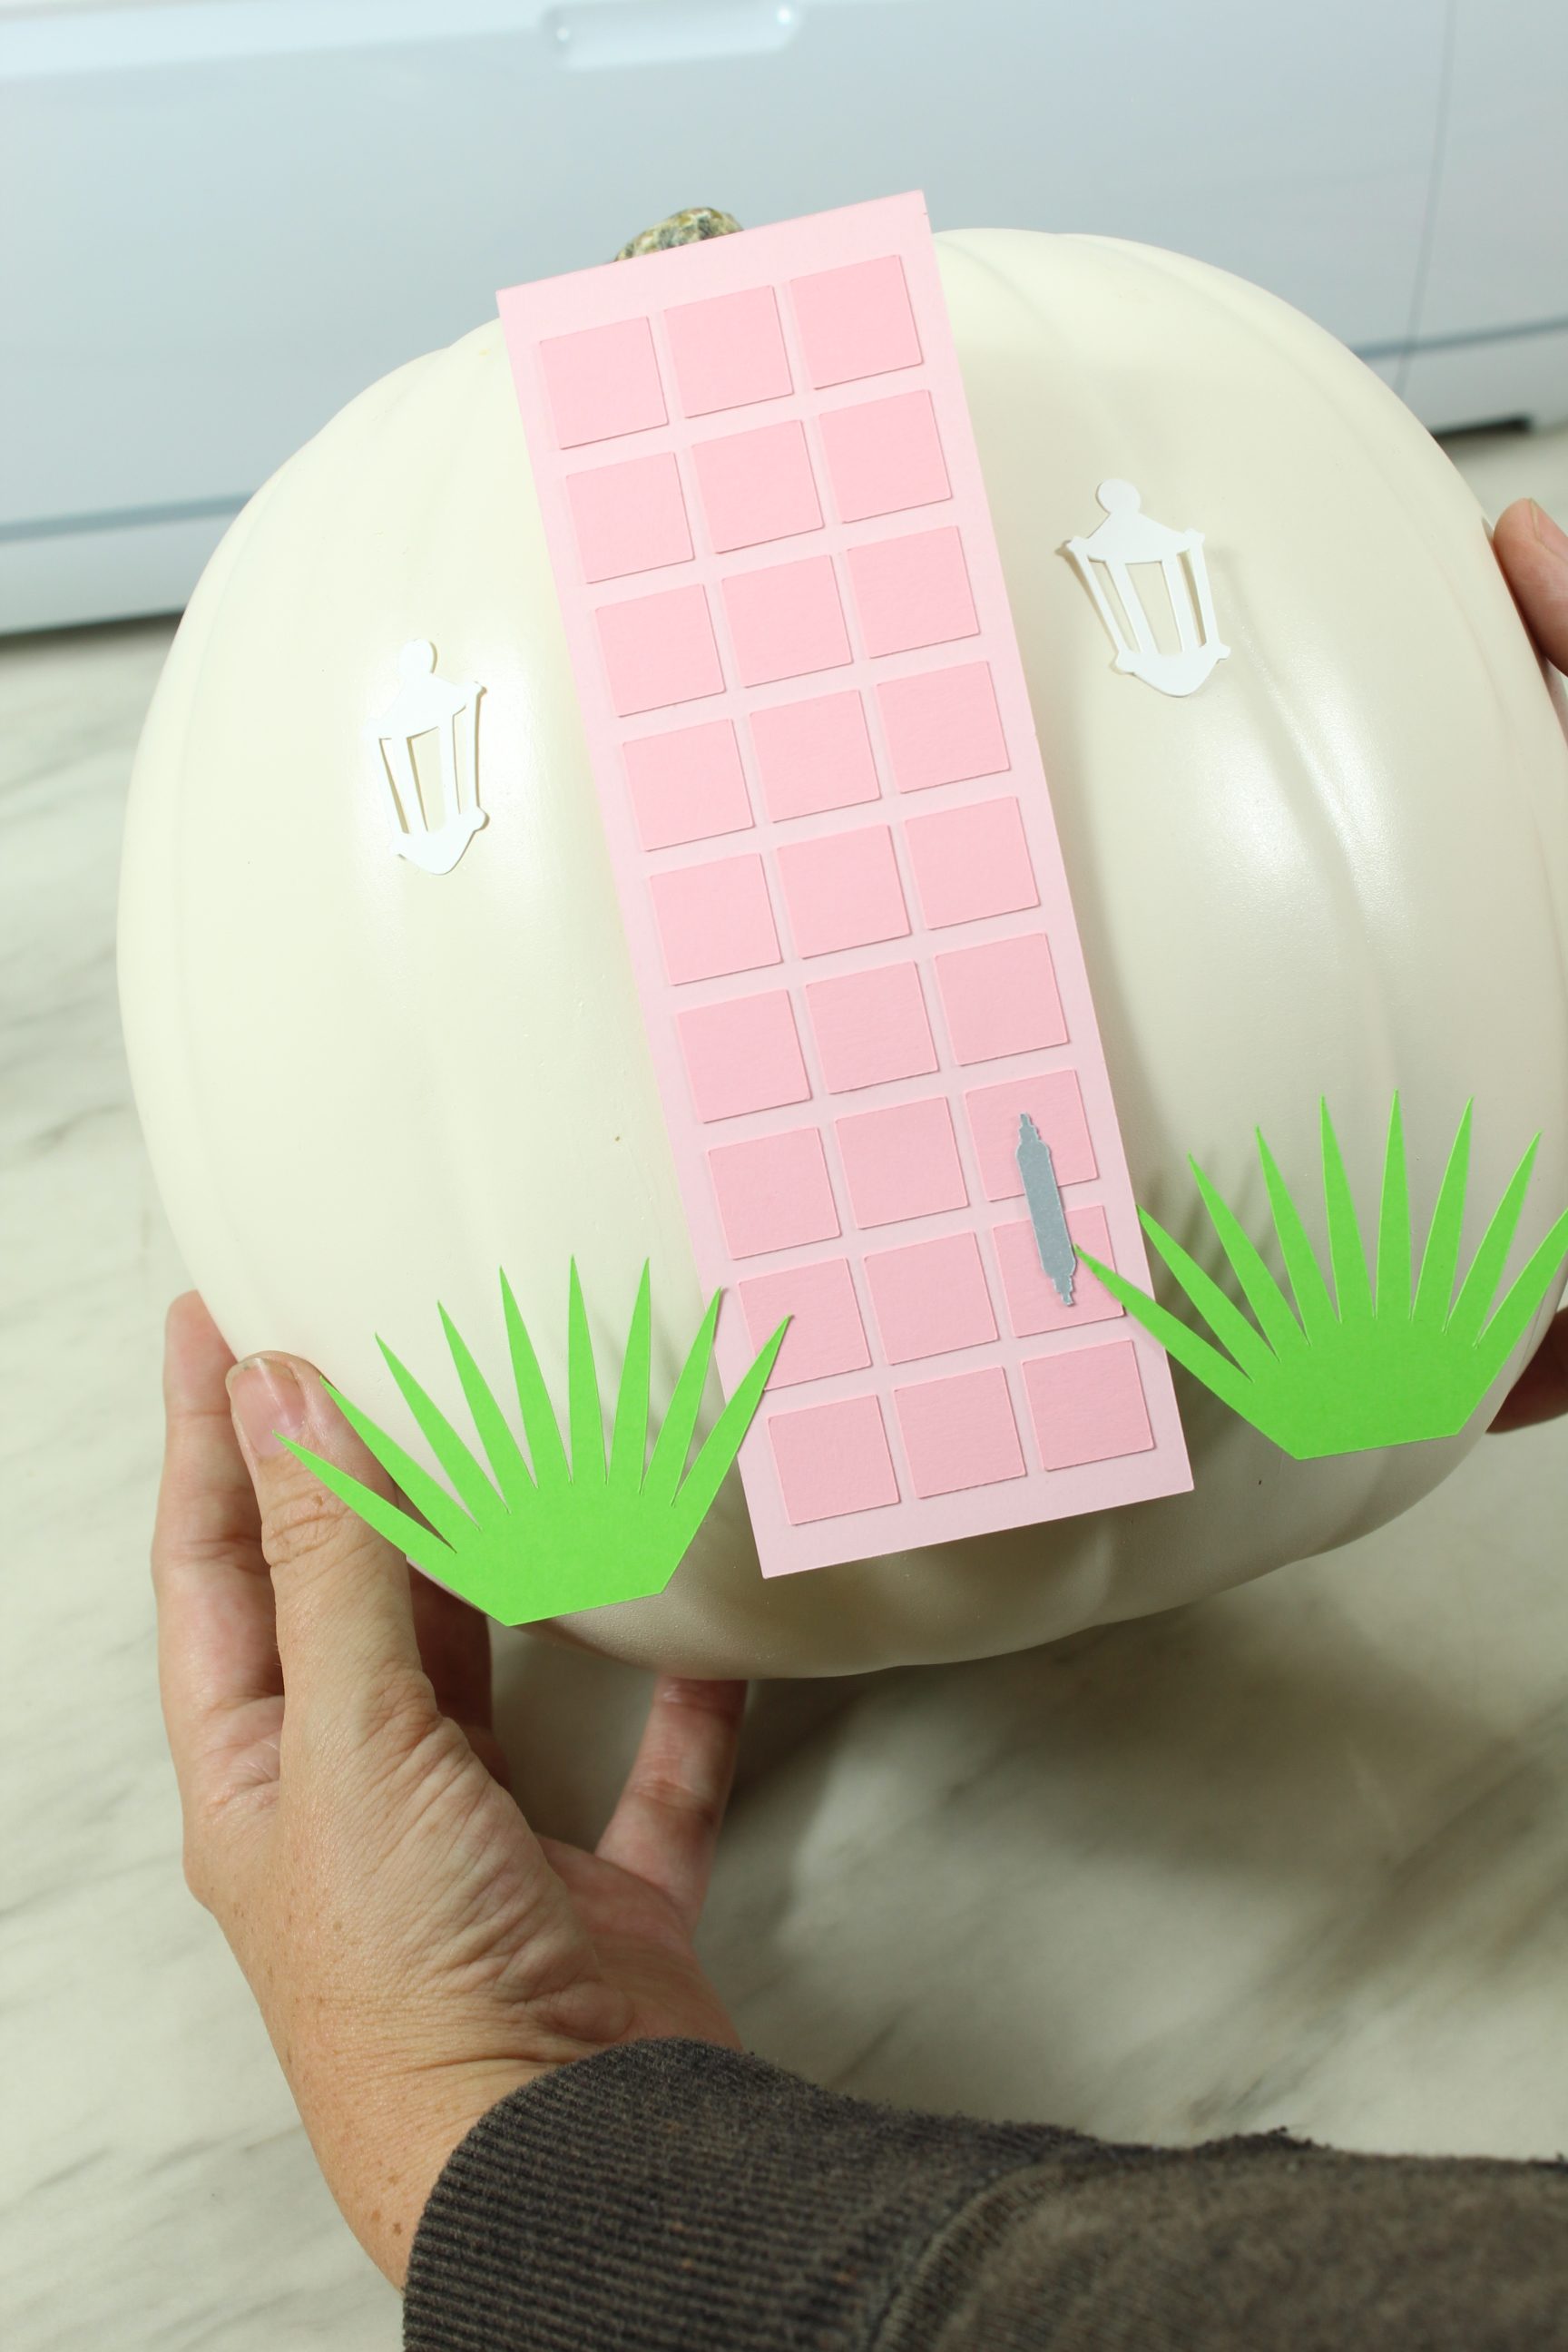
And that’s it! A perfectly Palm Springs Pumpkin!

If you create one of our projects, please share a picture with us on Instagram or Twitter using the hashtag #somethingturquoisediy, we regularly reshare our favorites! Your profile will need to be public for us to see it otherwise, you can always DM us!
DIY Tutorial Credits
Photography + DIY Tutorial: Shea O’Quinn of Not So Cli-Shea // Cricut Machine and accessories: courtesy of Cricut // Cardstock: Michael’s // Glue Pen: Michael’s // Foam Dots: Michael’s // Faux Pumpkin: Michael’s
Shop The Supplies:
Find the supplies you’ll need for this project from our affiliate links below:

Comments