

How to make over a nursery in one day (and with a one-year-old!)
– Partnered Post –
If you want to keep your sanity, a nursery makeover and a one-year-old seem like two things that should never be combined. My daughter just turned one and she’s in to everything; yesterday I caught her eating toilet paper right off the role and this morning I found dog kibble in the toilet bowl. Yet, somehow I got it in my head that now would be a great time to finish my daughter’s bedroom.
To do it, I needed to be as efficient as possible; I wanted something that would make a bold statement with minimal effort on my part. I loved the idea of wallpaper, but I couldn’t commit to it because what I like now likely won’t be what my daughter likes once she’s a full-blown toddler. It was also important for me to find something that wouldn’t ruin the paint on our walls, as we got our place re-painted and I have no desire to do it again anytime soon.
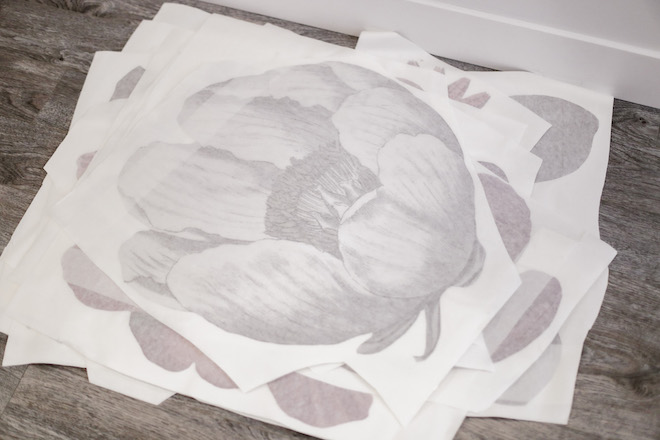
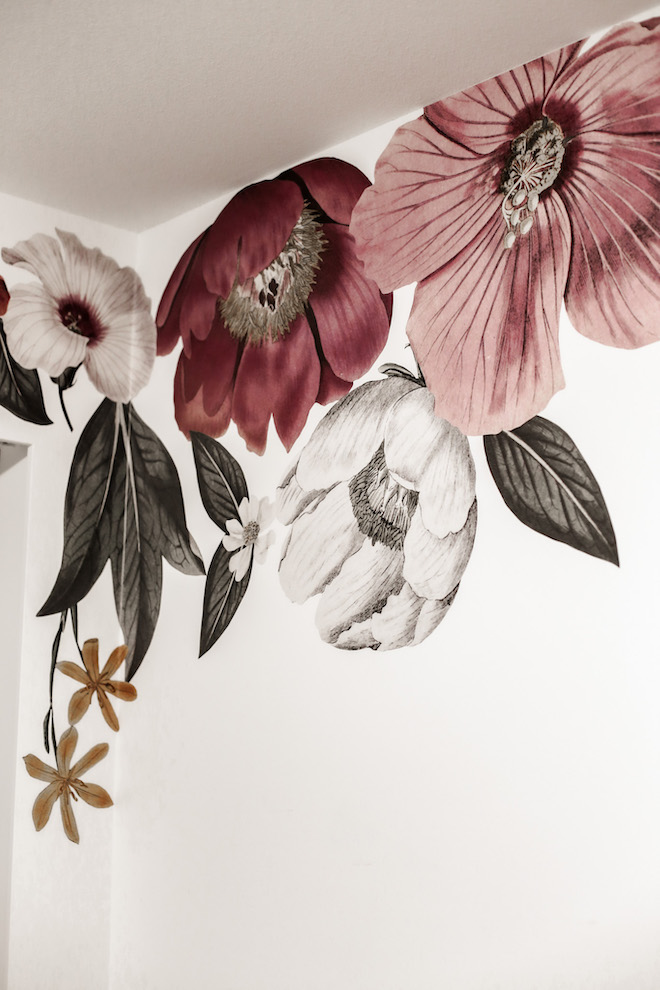
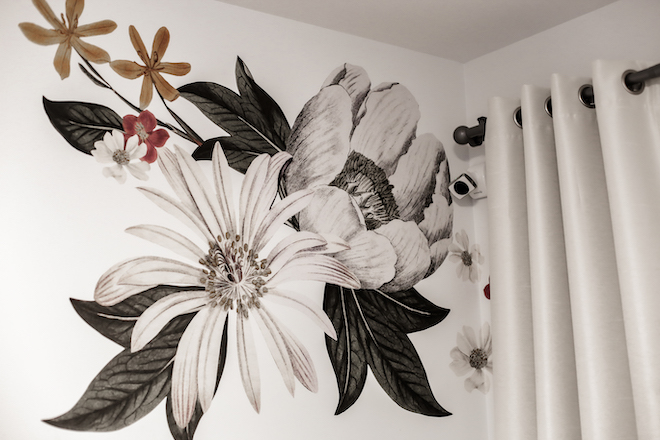
After doing some research, UrbanWalls decals fit everything that I needed (stylish, low effort, eye-catching, and removable). Their peel-and-stick decals seemed incredibly easy to install and their Eden Floral Decals were feminine without being too cutesy or girly.
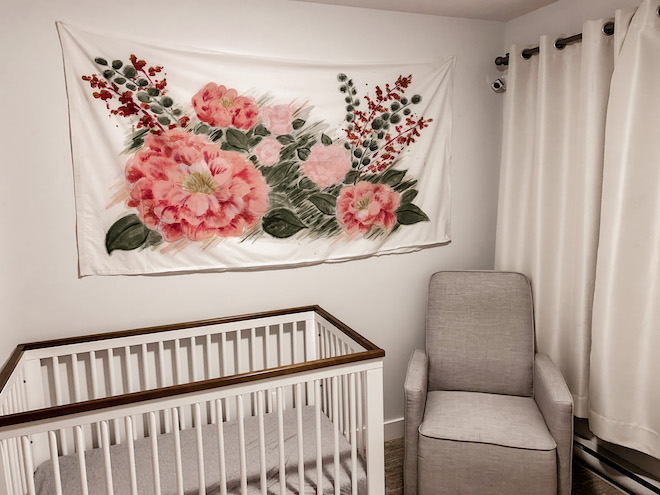
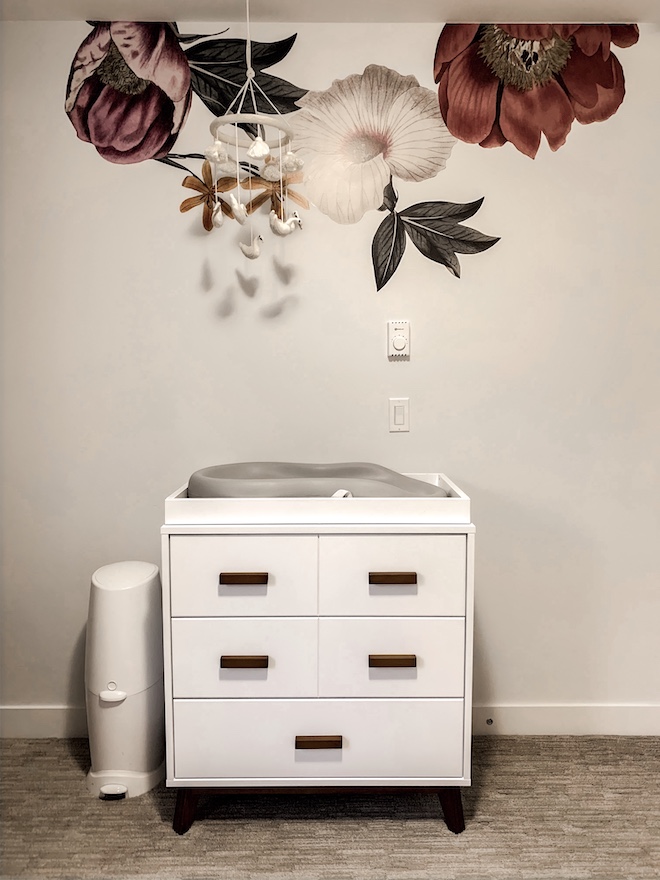
Before the makeover.
We don’t have family or much support nearby, so one Saturday morning, my husband, my daughter, and I all got to work. I was skeptical that it was as easy at it seemed (place, peel, and stick), but I can assure you that it was. The decals are cut from specialized vinyl with no edges or backgrounds, so what you see is what you get. Here’s how it all went down…
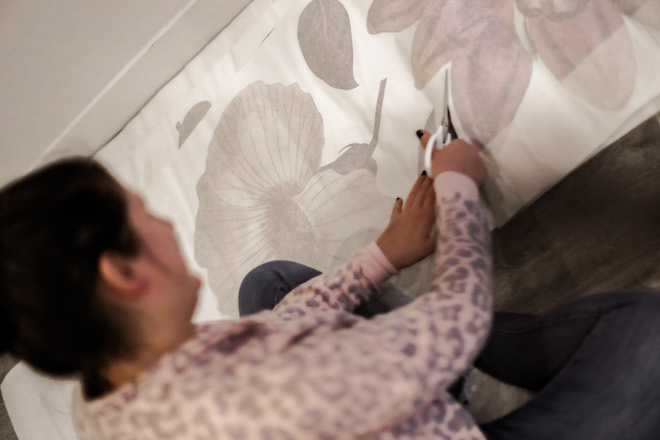
First, I roughly cut out all the decals.
Once the furniture was moved out from the wall that I wanted to use, I taped the decals to the wall with painters tape. Note: if you want to prevent your paint from chipping, use painters tape (not masking tape or any other kind of adhesive).
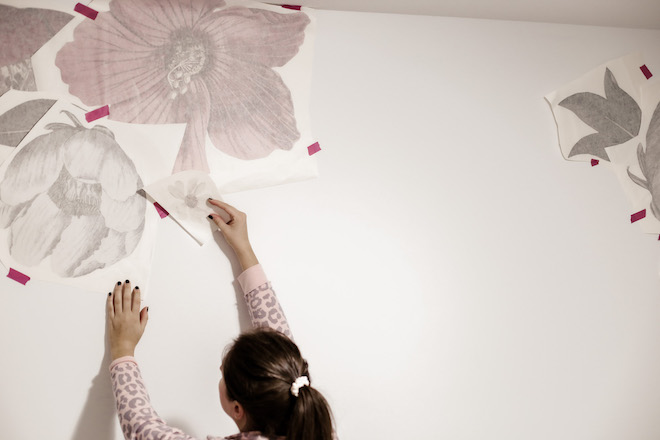
I let my creativity flow and continued this process until I had a design that I was happy with. It felt overwhelming at first because the possibilities were endless, but I kept reminding myself that the decals are completely removable (you just use a hairdryer to warm the adhesive and peel it off), so I could always remove and discard it if need be.
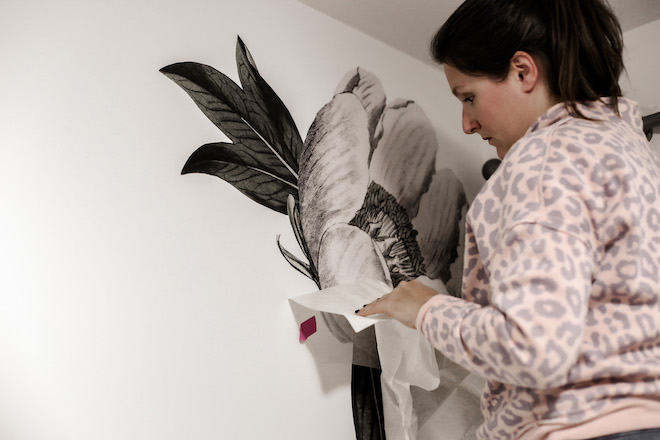
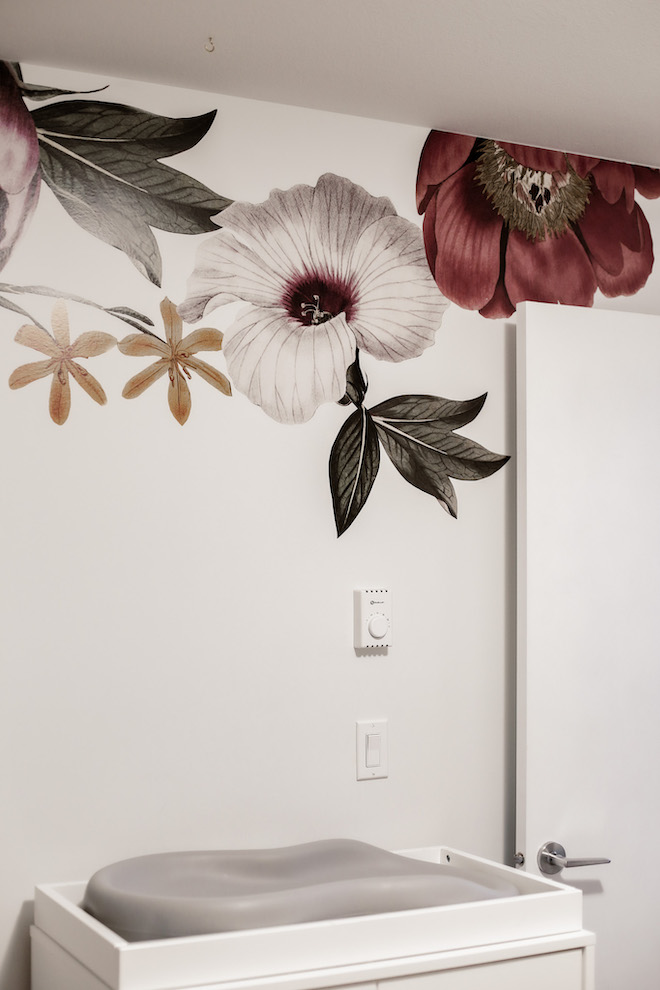
Then I started applying the design to the wall. To mount the smaller decals, I just peeled off the entire back and stuck them on the wall; for the larger decals, I stuck a corner of the decal to the wall and then peeled off the backing at a 45 degree angle. As I applied the flowers, I used a shower squeegee to flatten out any air bubbles and make sure it was evenly applied to the wall. If you don’t have a squeegee, you can use a credit card or anything with a sturdy edge.
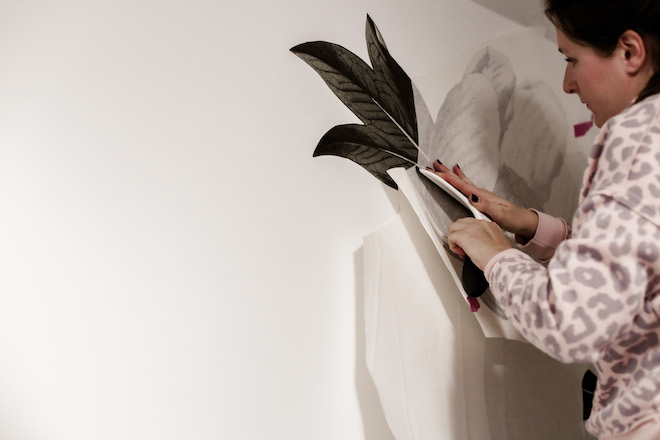
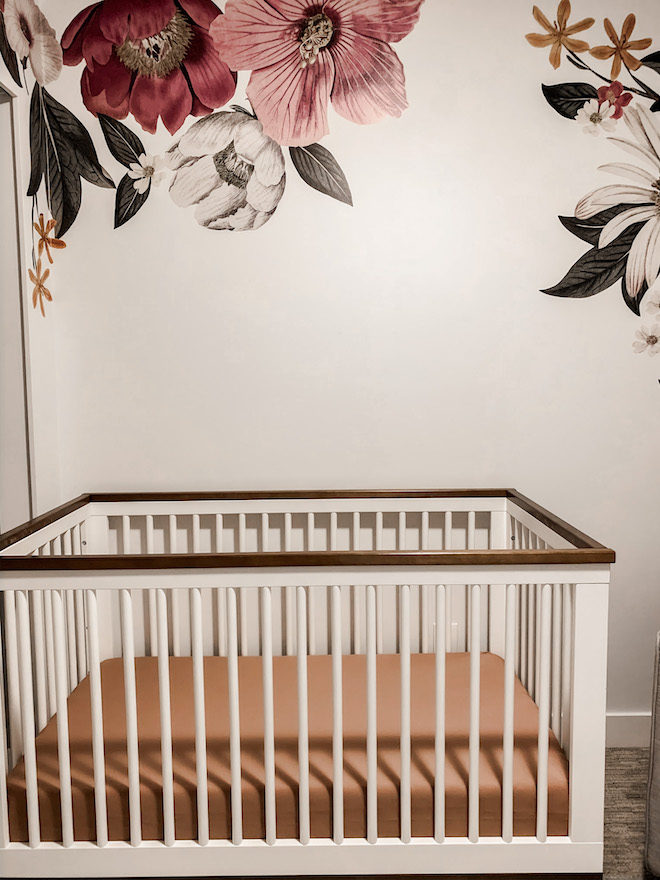
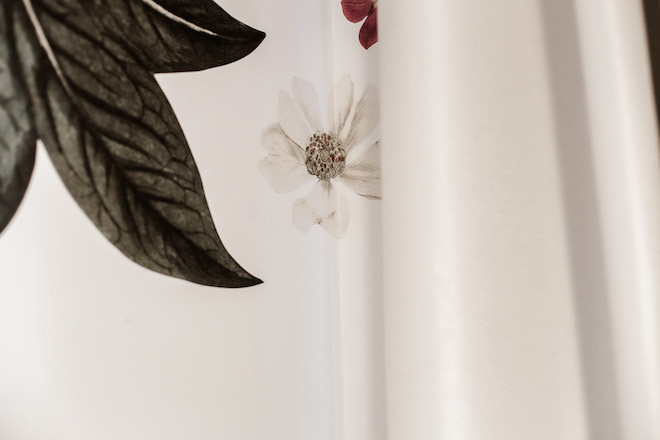
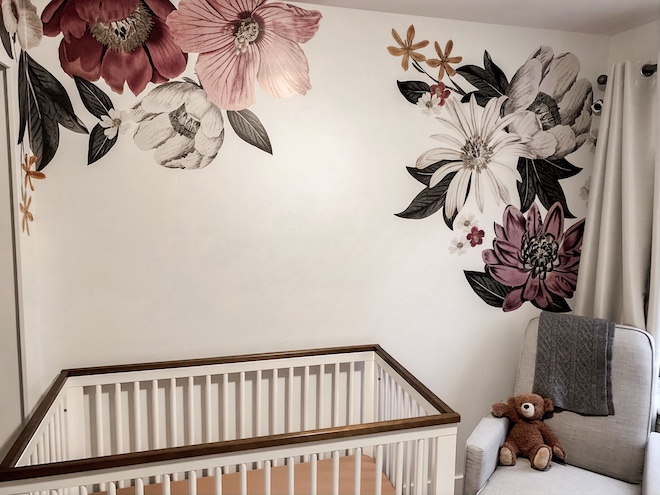
I got creative and cut some of the decals so I could apply them flush against the ceiling and overlapped some of them to create a layered look. The final step was to peel the transfer paper off the front of the decal and reveal the design underneath. It was seriously that simple.
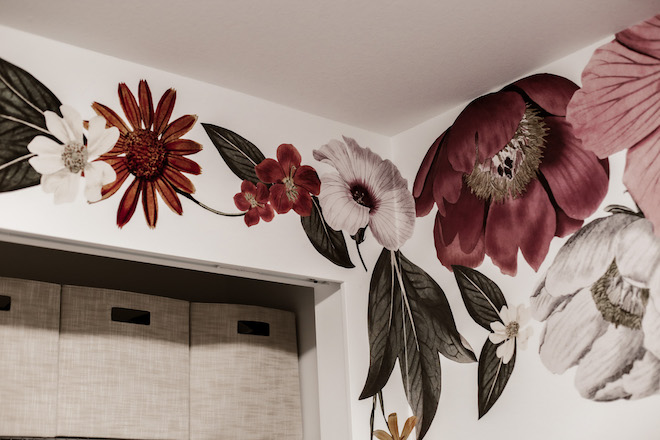
I found the application process incredibly satisfying because it came together quickly once you decide on the setup — the hardest part was choosing where everything was going to go. We originally were only going to decorate one wall, but we loved the look so much that we decided to extend the decals on to other walls in the room for a larger impact.
The entire process took us one full day and I think we could have done the entire room in one morning if we didn’t have a little person demanding attention, trying to eat the decals, wanting to help, and occasionally needing a nap.
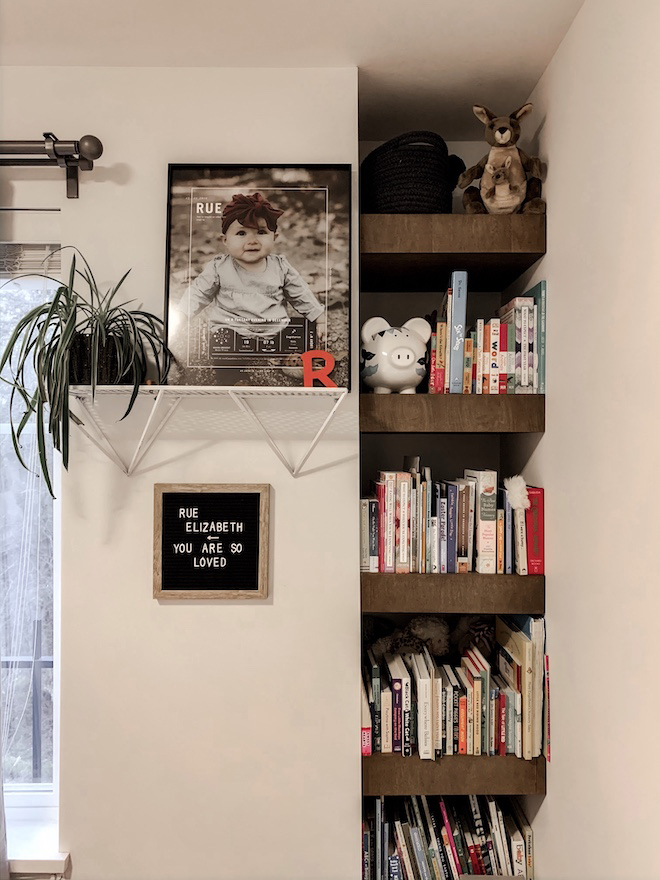
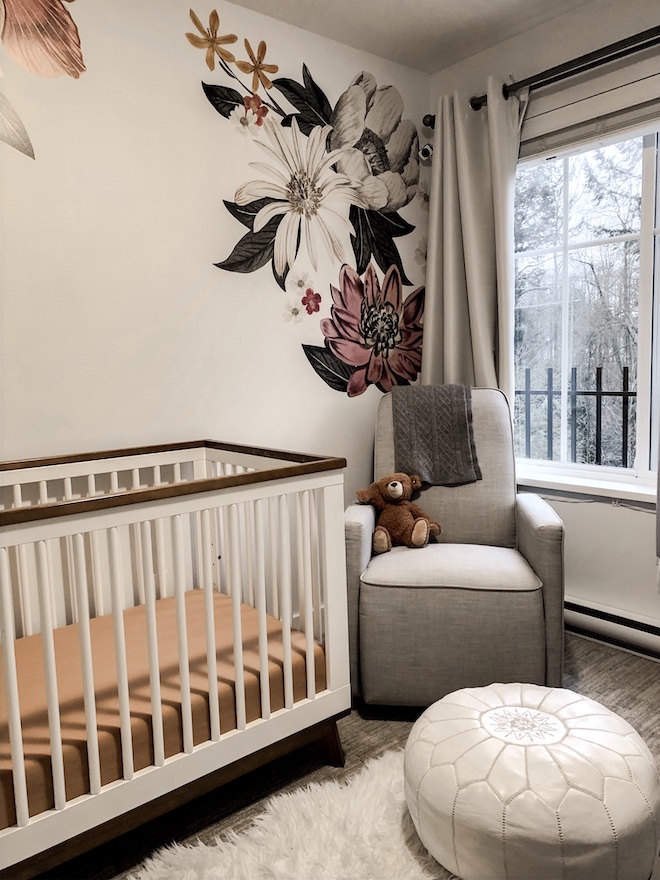
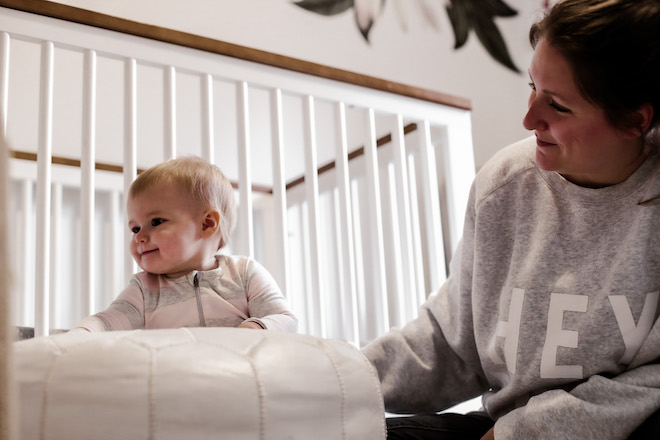
To finish things off, I got a new terracotta-coloured crib sheet that matches the decals perfectly. I also finally hung her letter board, which has been sitting on her floor for a year now (better late than never).
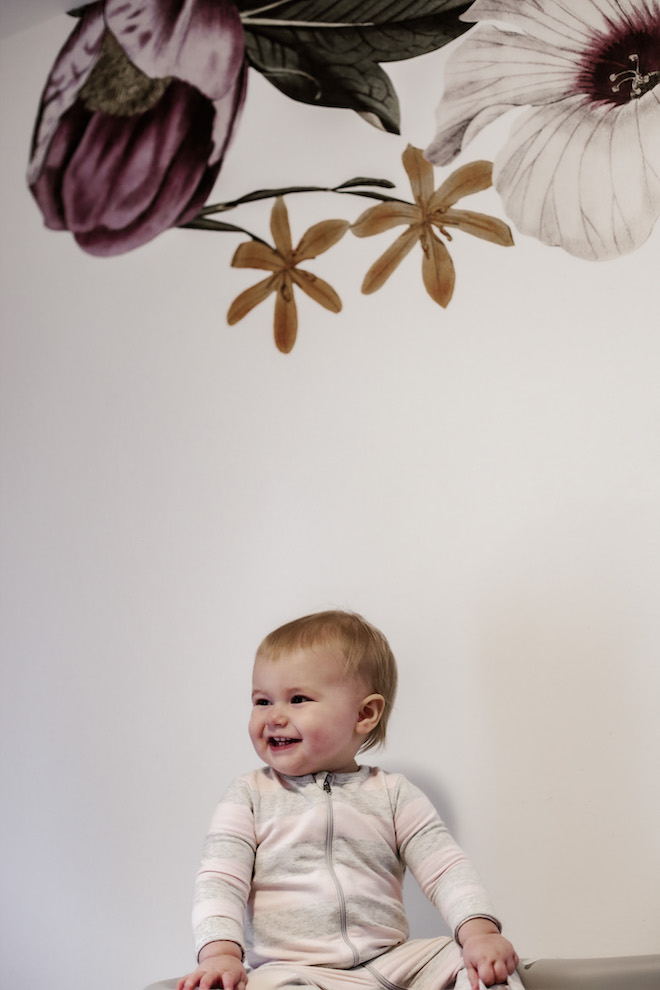
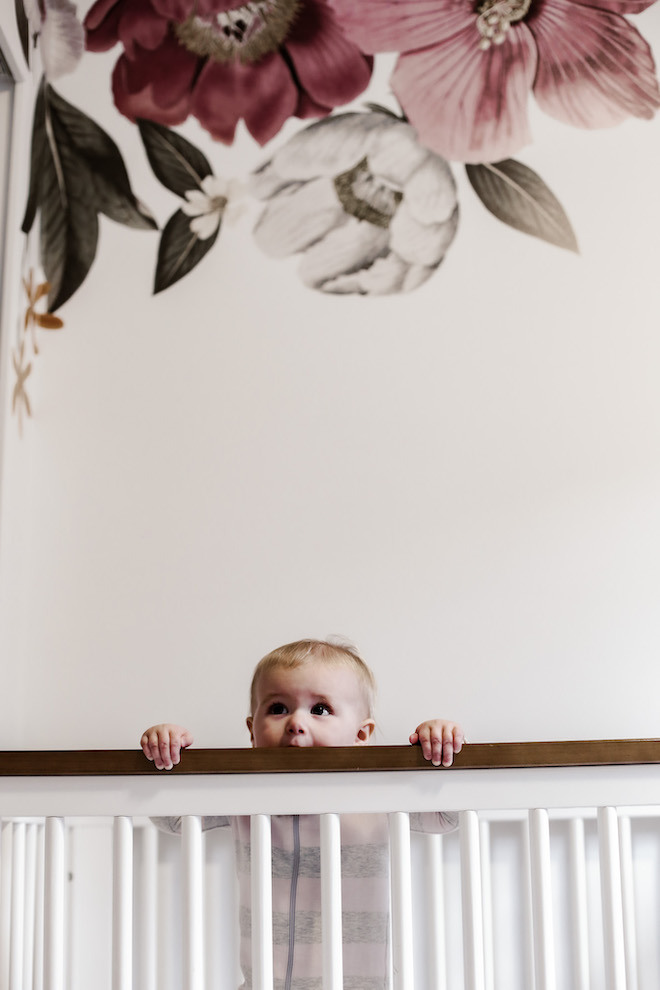
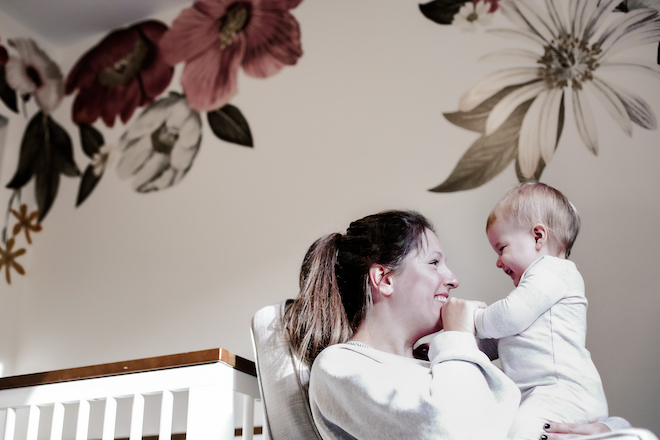
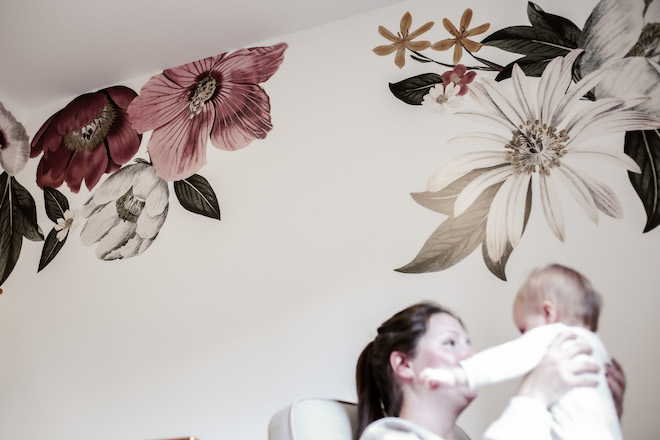
I’ve always enjoyed my daughter’s room because it reminds me of her, but now I love my daughters room. It’s a labour of love and when I see her pointing at the flowers, it makes me so happy to know that I’ve given her something that she loves also.

 ]3
]3

I received the decals in exchange for sharing this post. Contains affiliate links.
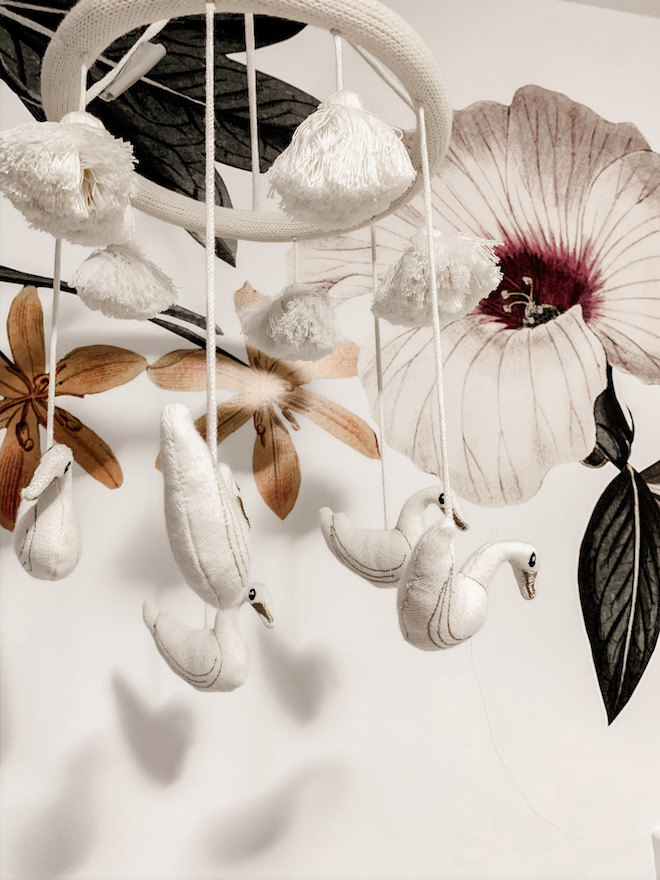
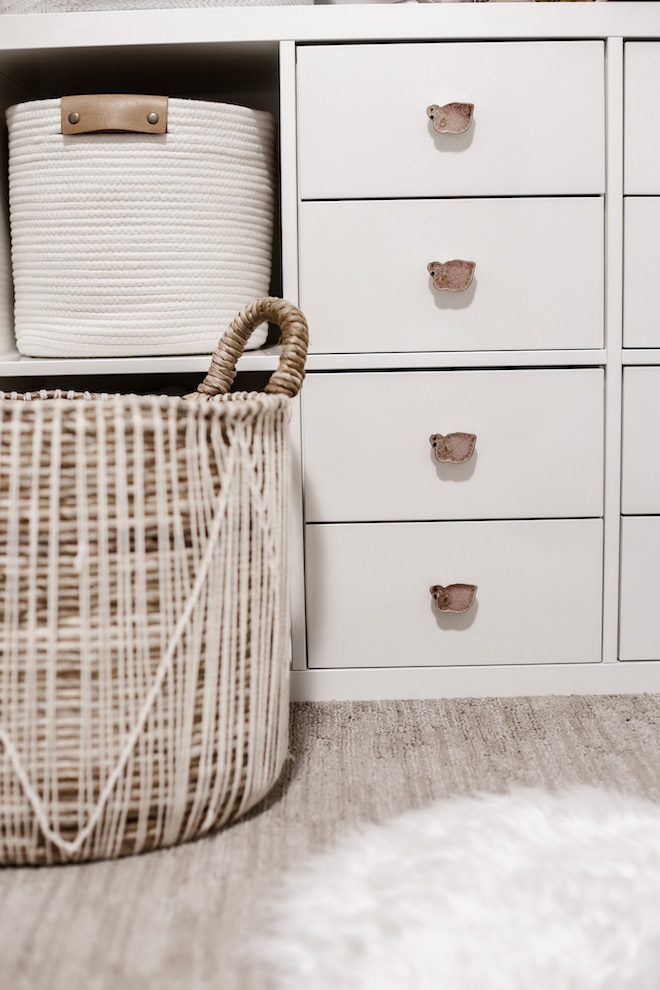
Decals: c/o UrbanWalls Eden Decals / Crib Sheet: c/o Solly Baby / Crib: Babyletto Scoot 3-in-1 Convertible Crib in White/Walnut / Birth Print: c/o Still Novel / Mobile: Homesense, similar here / Dresser: Babyletto Scoot 3-Drawer Changer Dresser in White/Walnut / Glider: Million Dollar Baby Whitney Glider / Pouf: All Modern White Moroccan Pouf / Storage Basket with Leather Handles: Target (multiple sizes available) / White Dresser: IKEA Kallax / Change Pad: Keekaroo Peanut Changer.

Comments