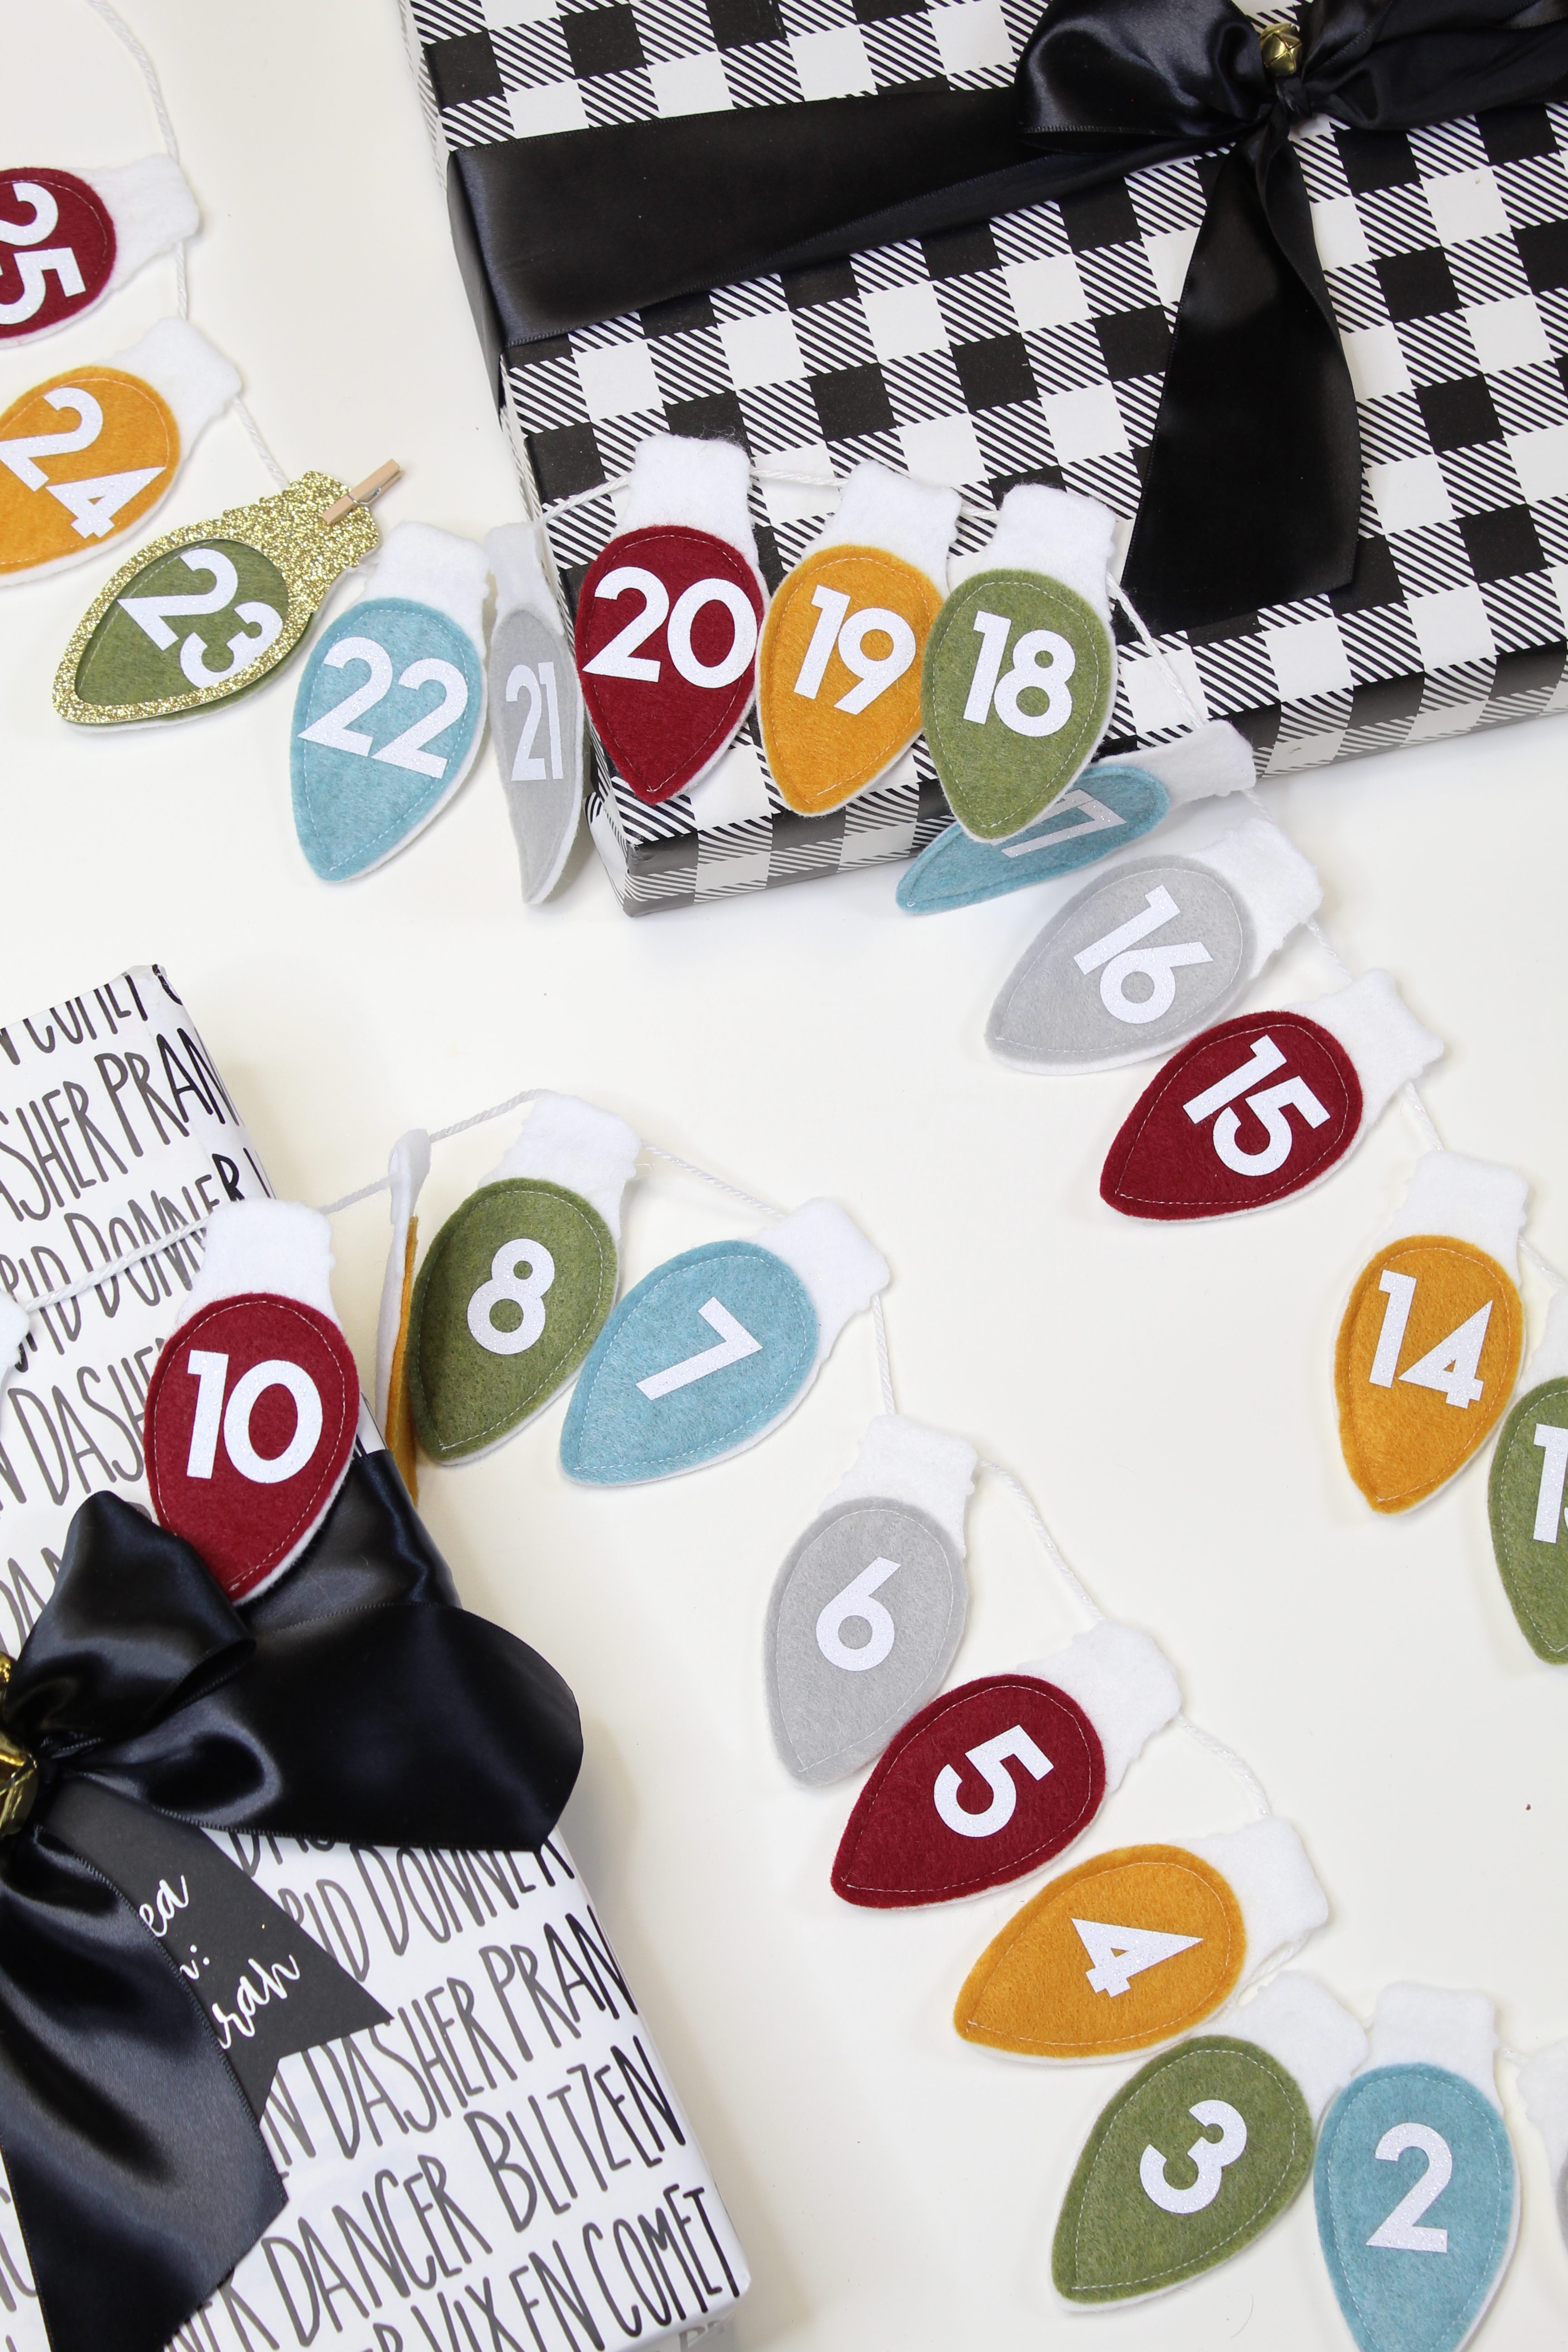

DIY Felt Advent Banner
Hi friends! It’s Shea back to share another fun DIY with you! Even though we are still getting temps in the high 80’s here in sunny So Cal, I’ve got Christmas on the brain. Having a new little one has got me so excited for the holiday season! I was at Home Depot with him the other day and they had their Christmas tree’s out and seeing his eyes twinkle in the Christmas lights has me counting down the days. And speaking of counting down the days, I created a fun DIY felt advent banner I wanted to share with you!

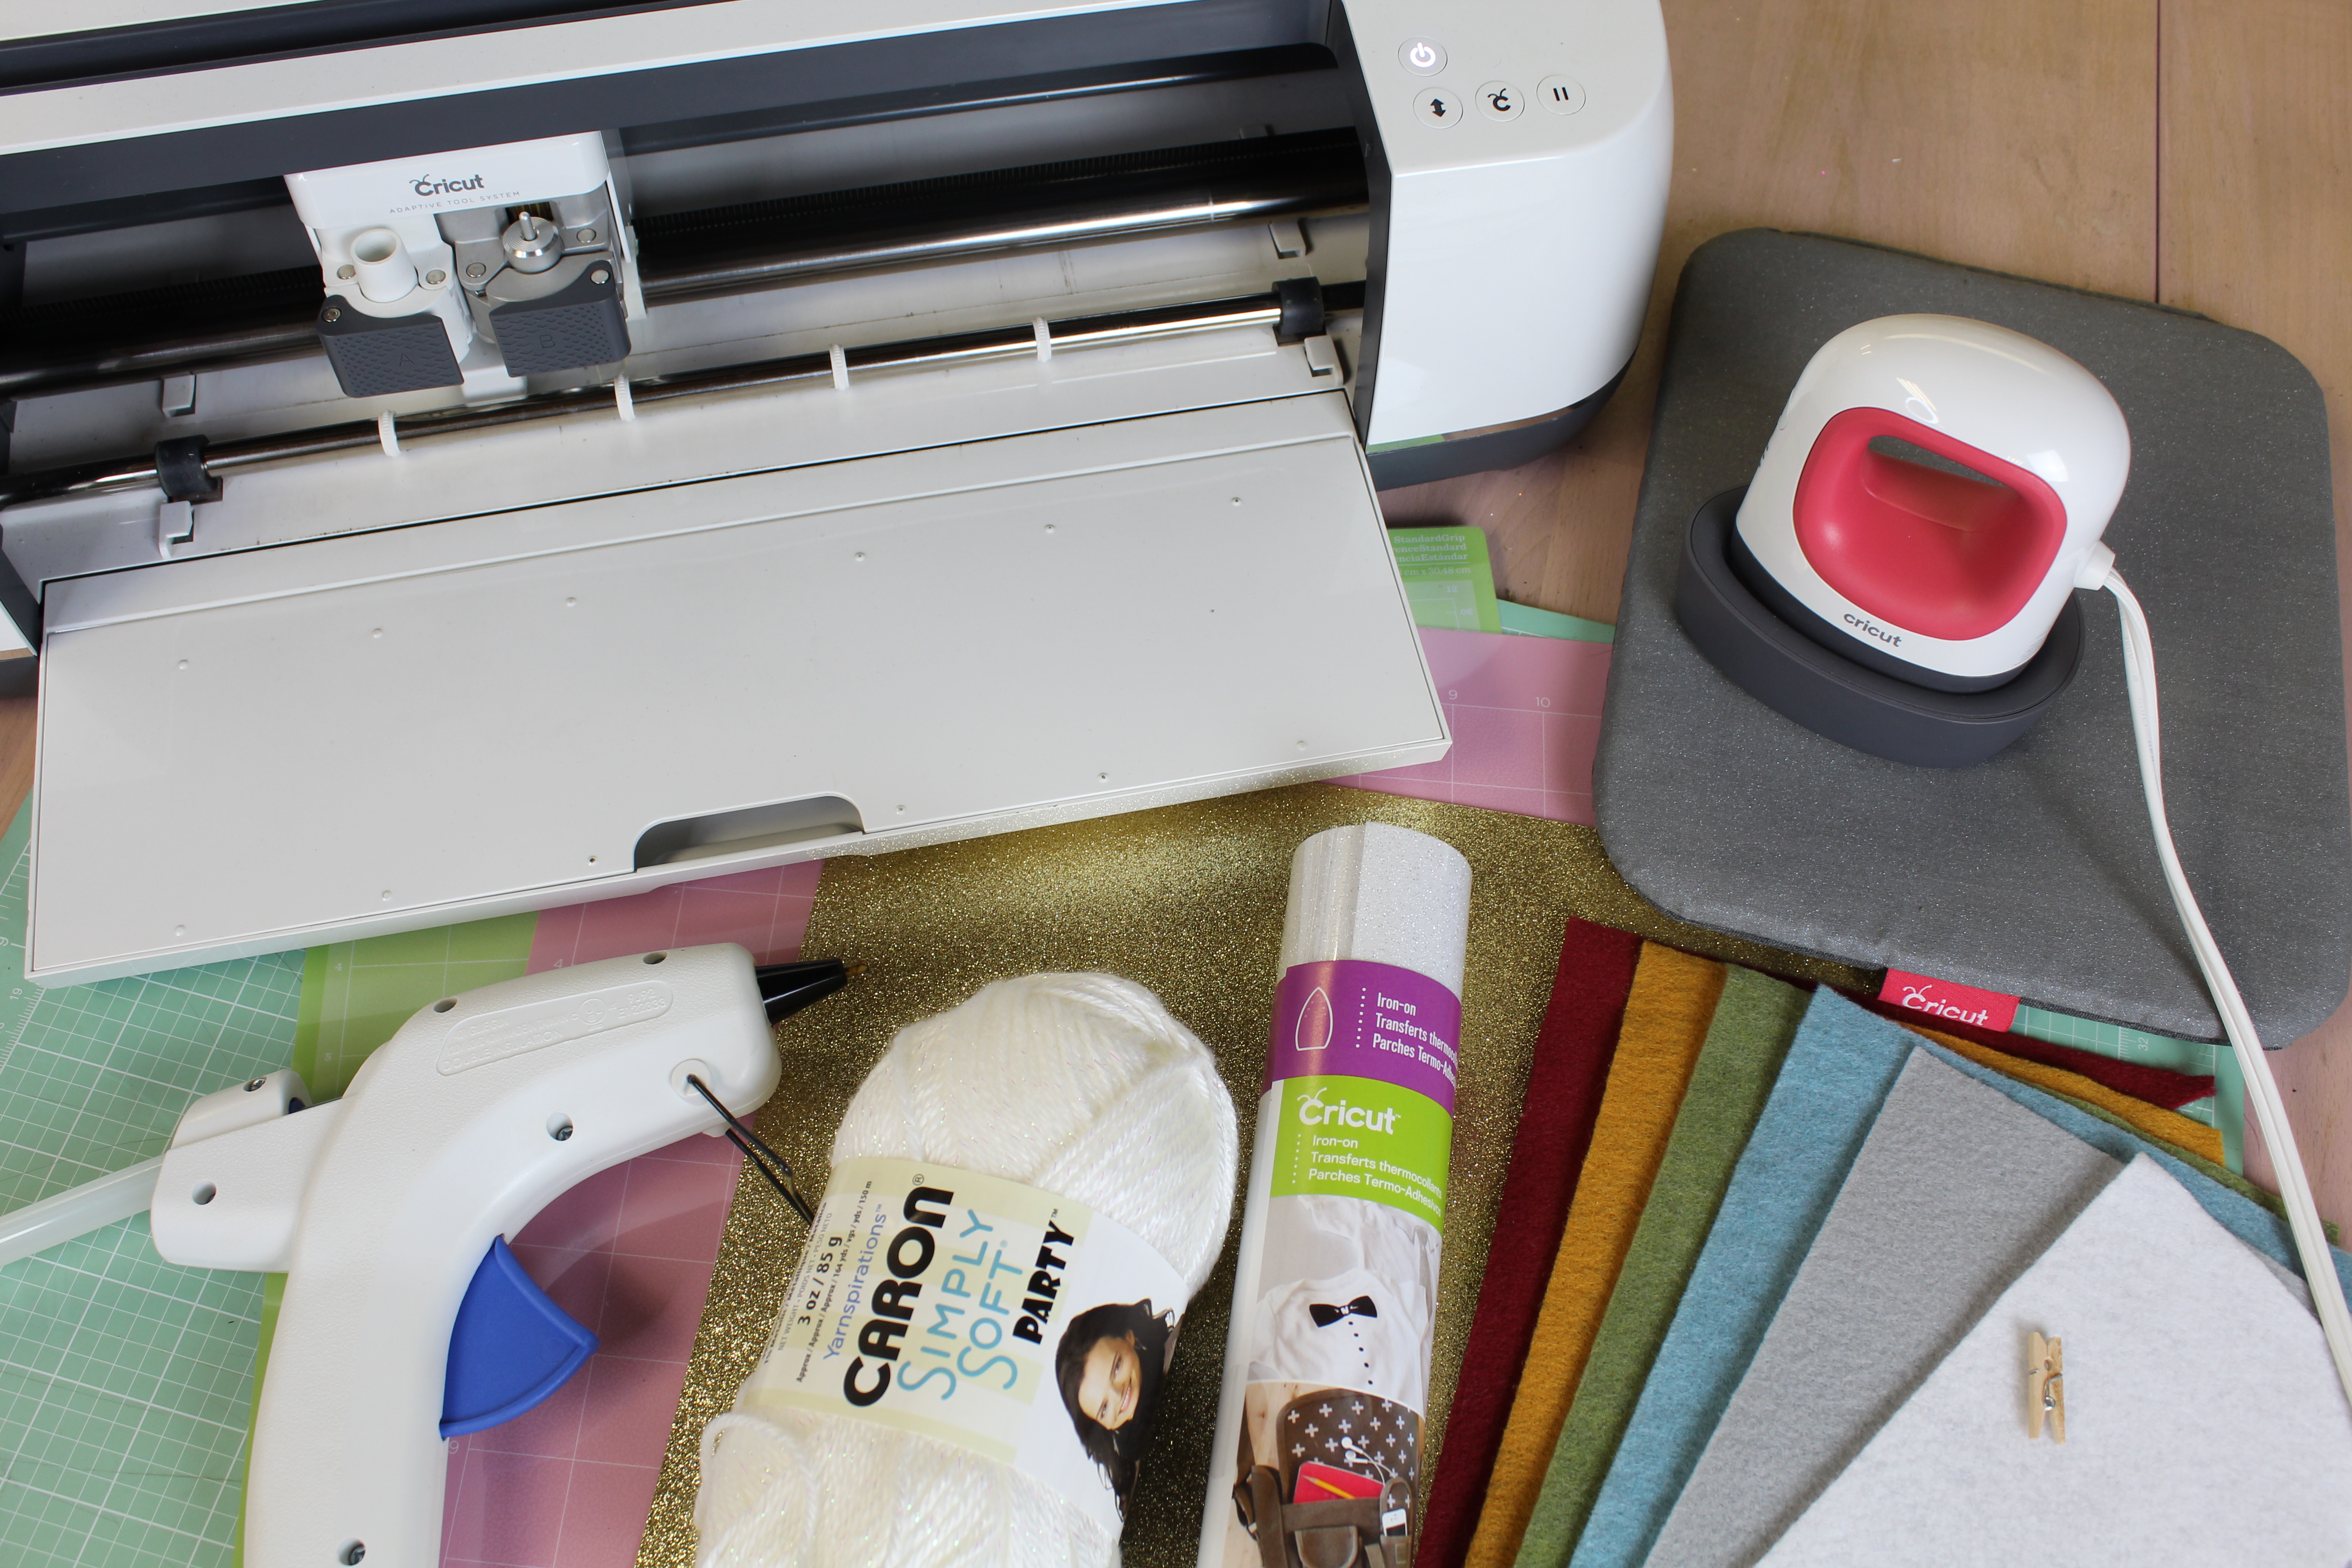
Supplies:
- Cricut Maker
- Cricut Fabric Mat
- Cricut Standard Grip Mat
- Cricut EasyPress Mini
- Cricut EasyPress Mat
- Cricut Iron On
- Felt in various colors (5 9″x12″ sheets for the colored bulbs and 2 12″x18″ of a single color for the base)
- Yarn
- Glitter Cardstock
- Mini Clothespin
- Glue Gun
- Sewing Machine (not pictured)
- Thread (not pictured)
Design Space
Begin by opening THIS PROJECT in Cricut Design Space.
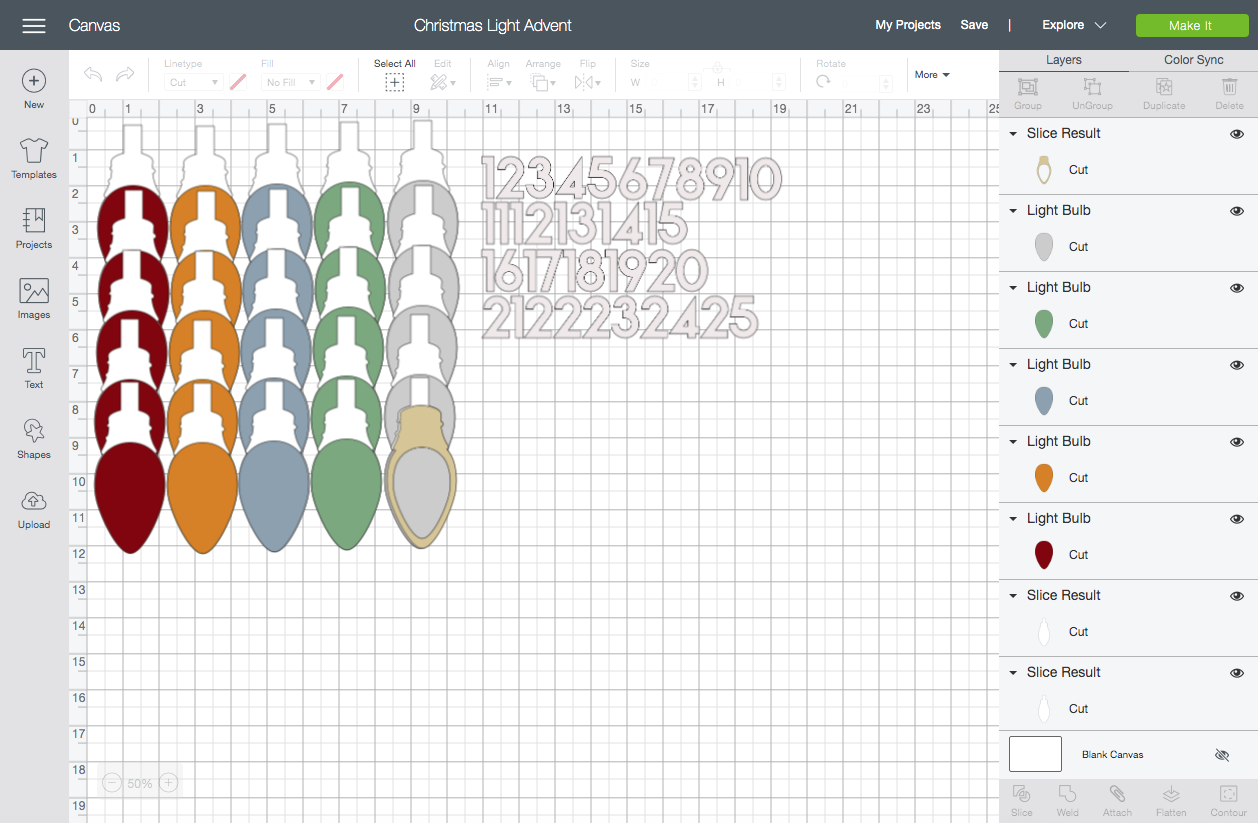
Cut
I decided to go for a vintage holiday look with my colors but the beauty of this project (and most Cricut projects) is that you can totally make it your own. Feel free to use any color felt that you prefer!
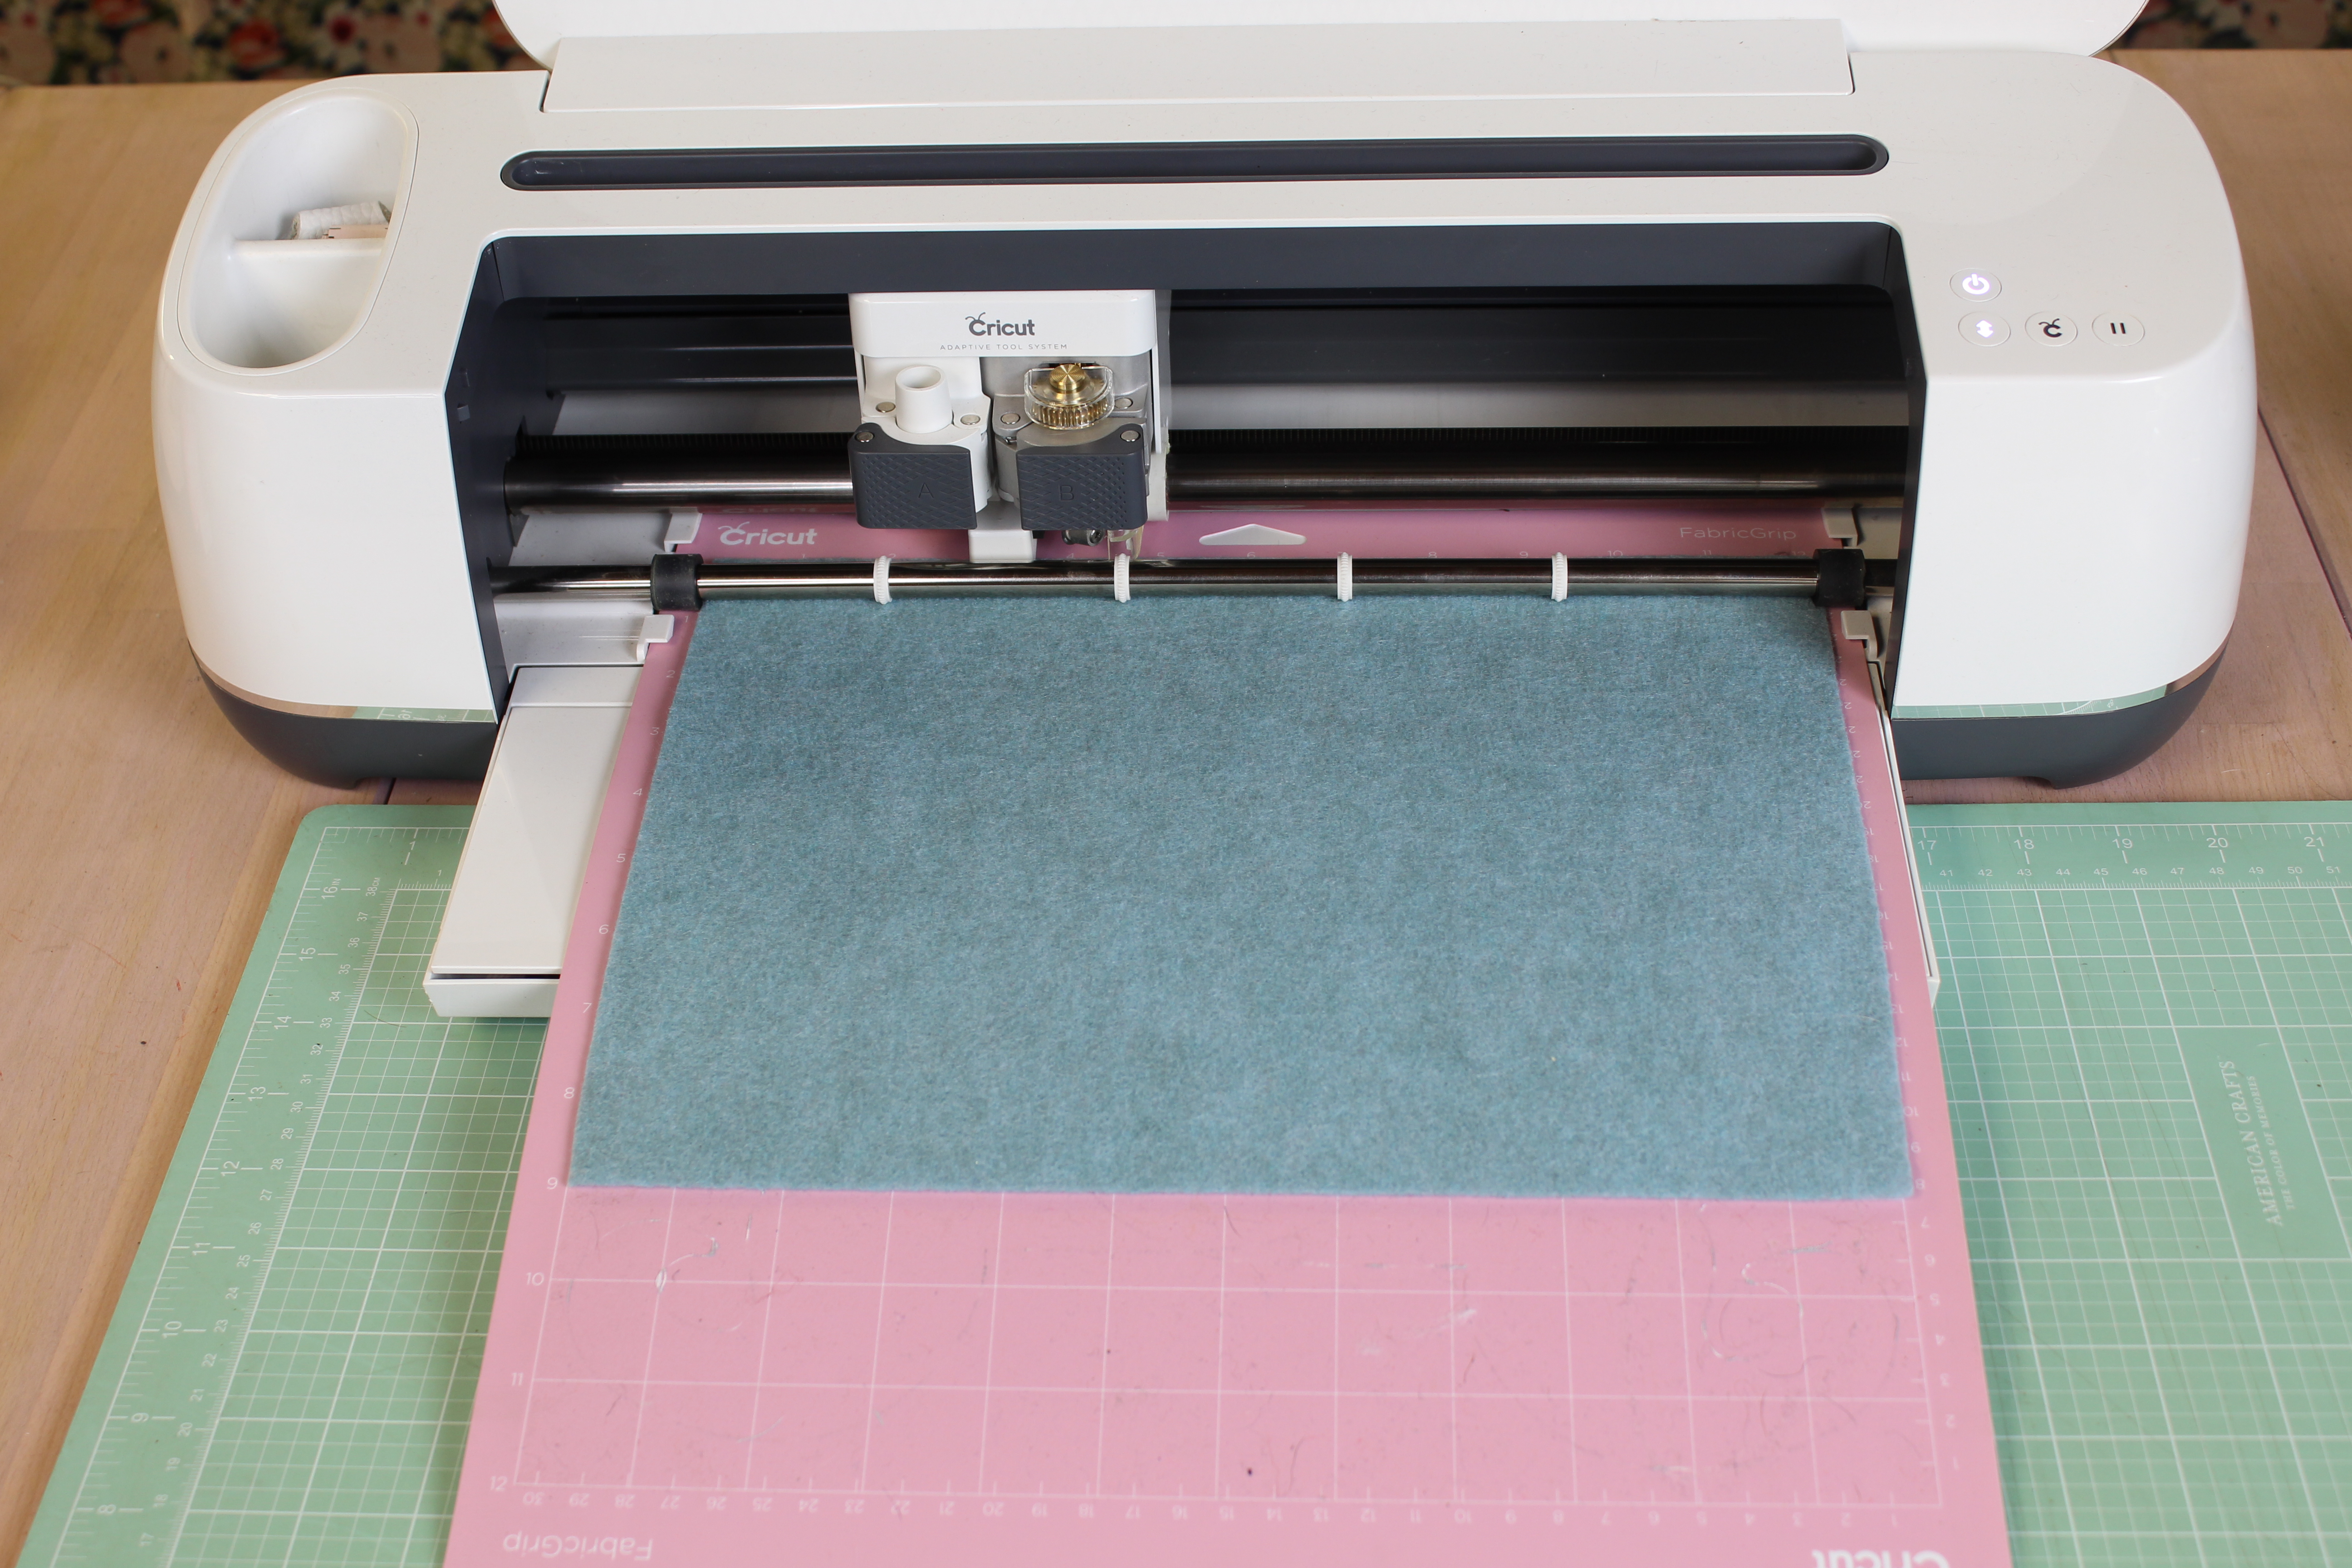
Some tips when working with felt… first of all, the Cricut Maker is amazing with felt but you have to know what you’re doing. When prompted to choose your material choose “felt”. I generally switch my pressure to “more” and then I also change the blade (it originally wants you to use the fine point blade, I have much better luck with the rotary blade though.)
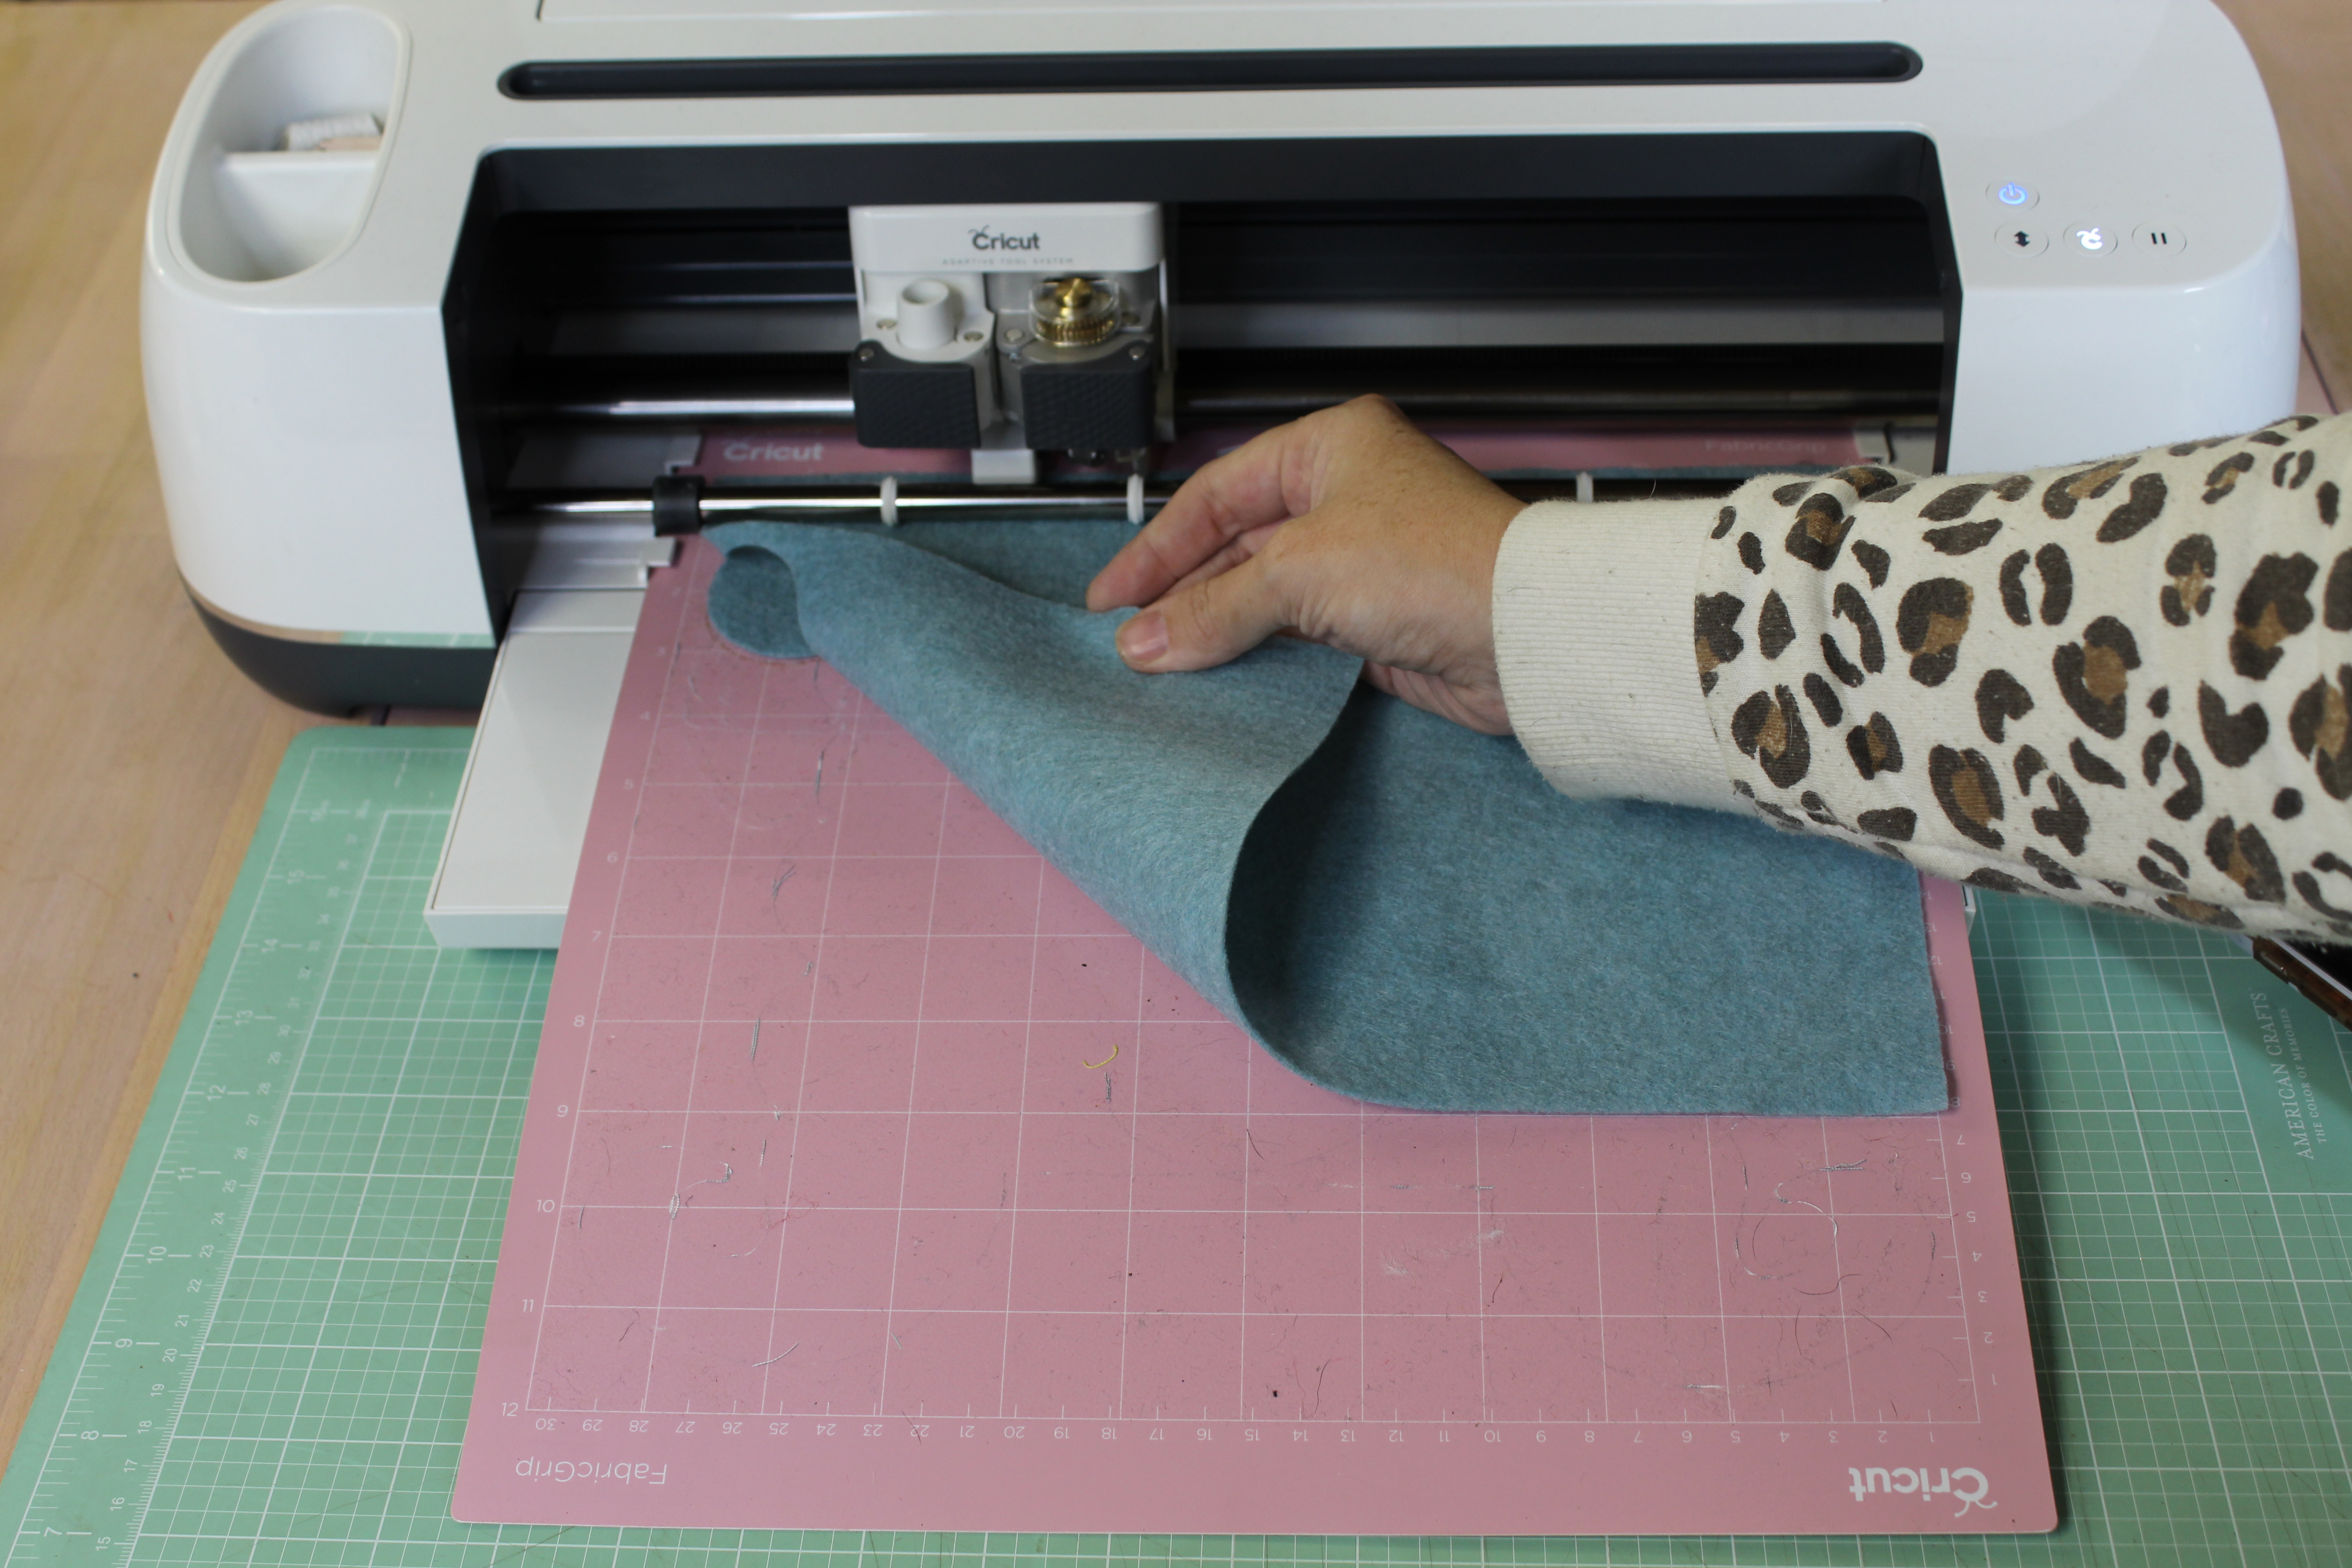
When the cut is finished, before you unload the mat, lift the felt to make sure that it’s cut all the way through. If it isn’t, you can hit the Cricut “C” button again and it will recut your project.
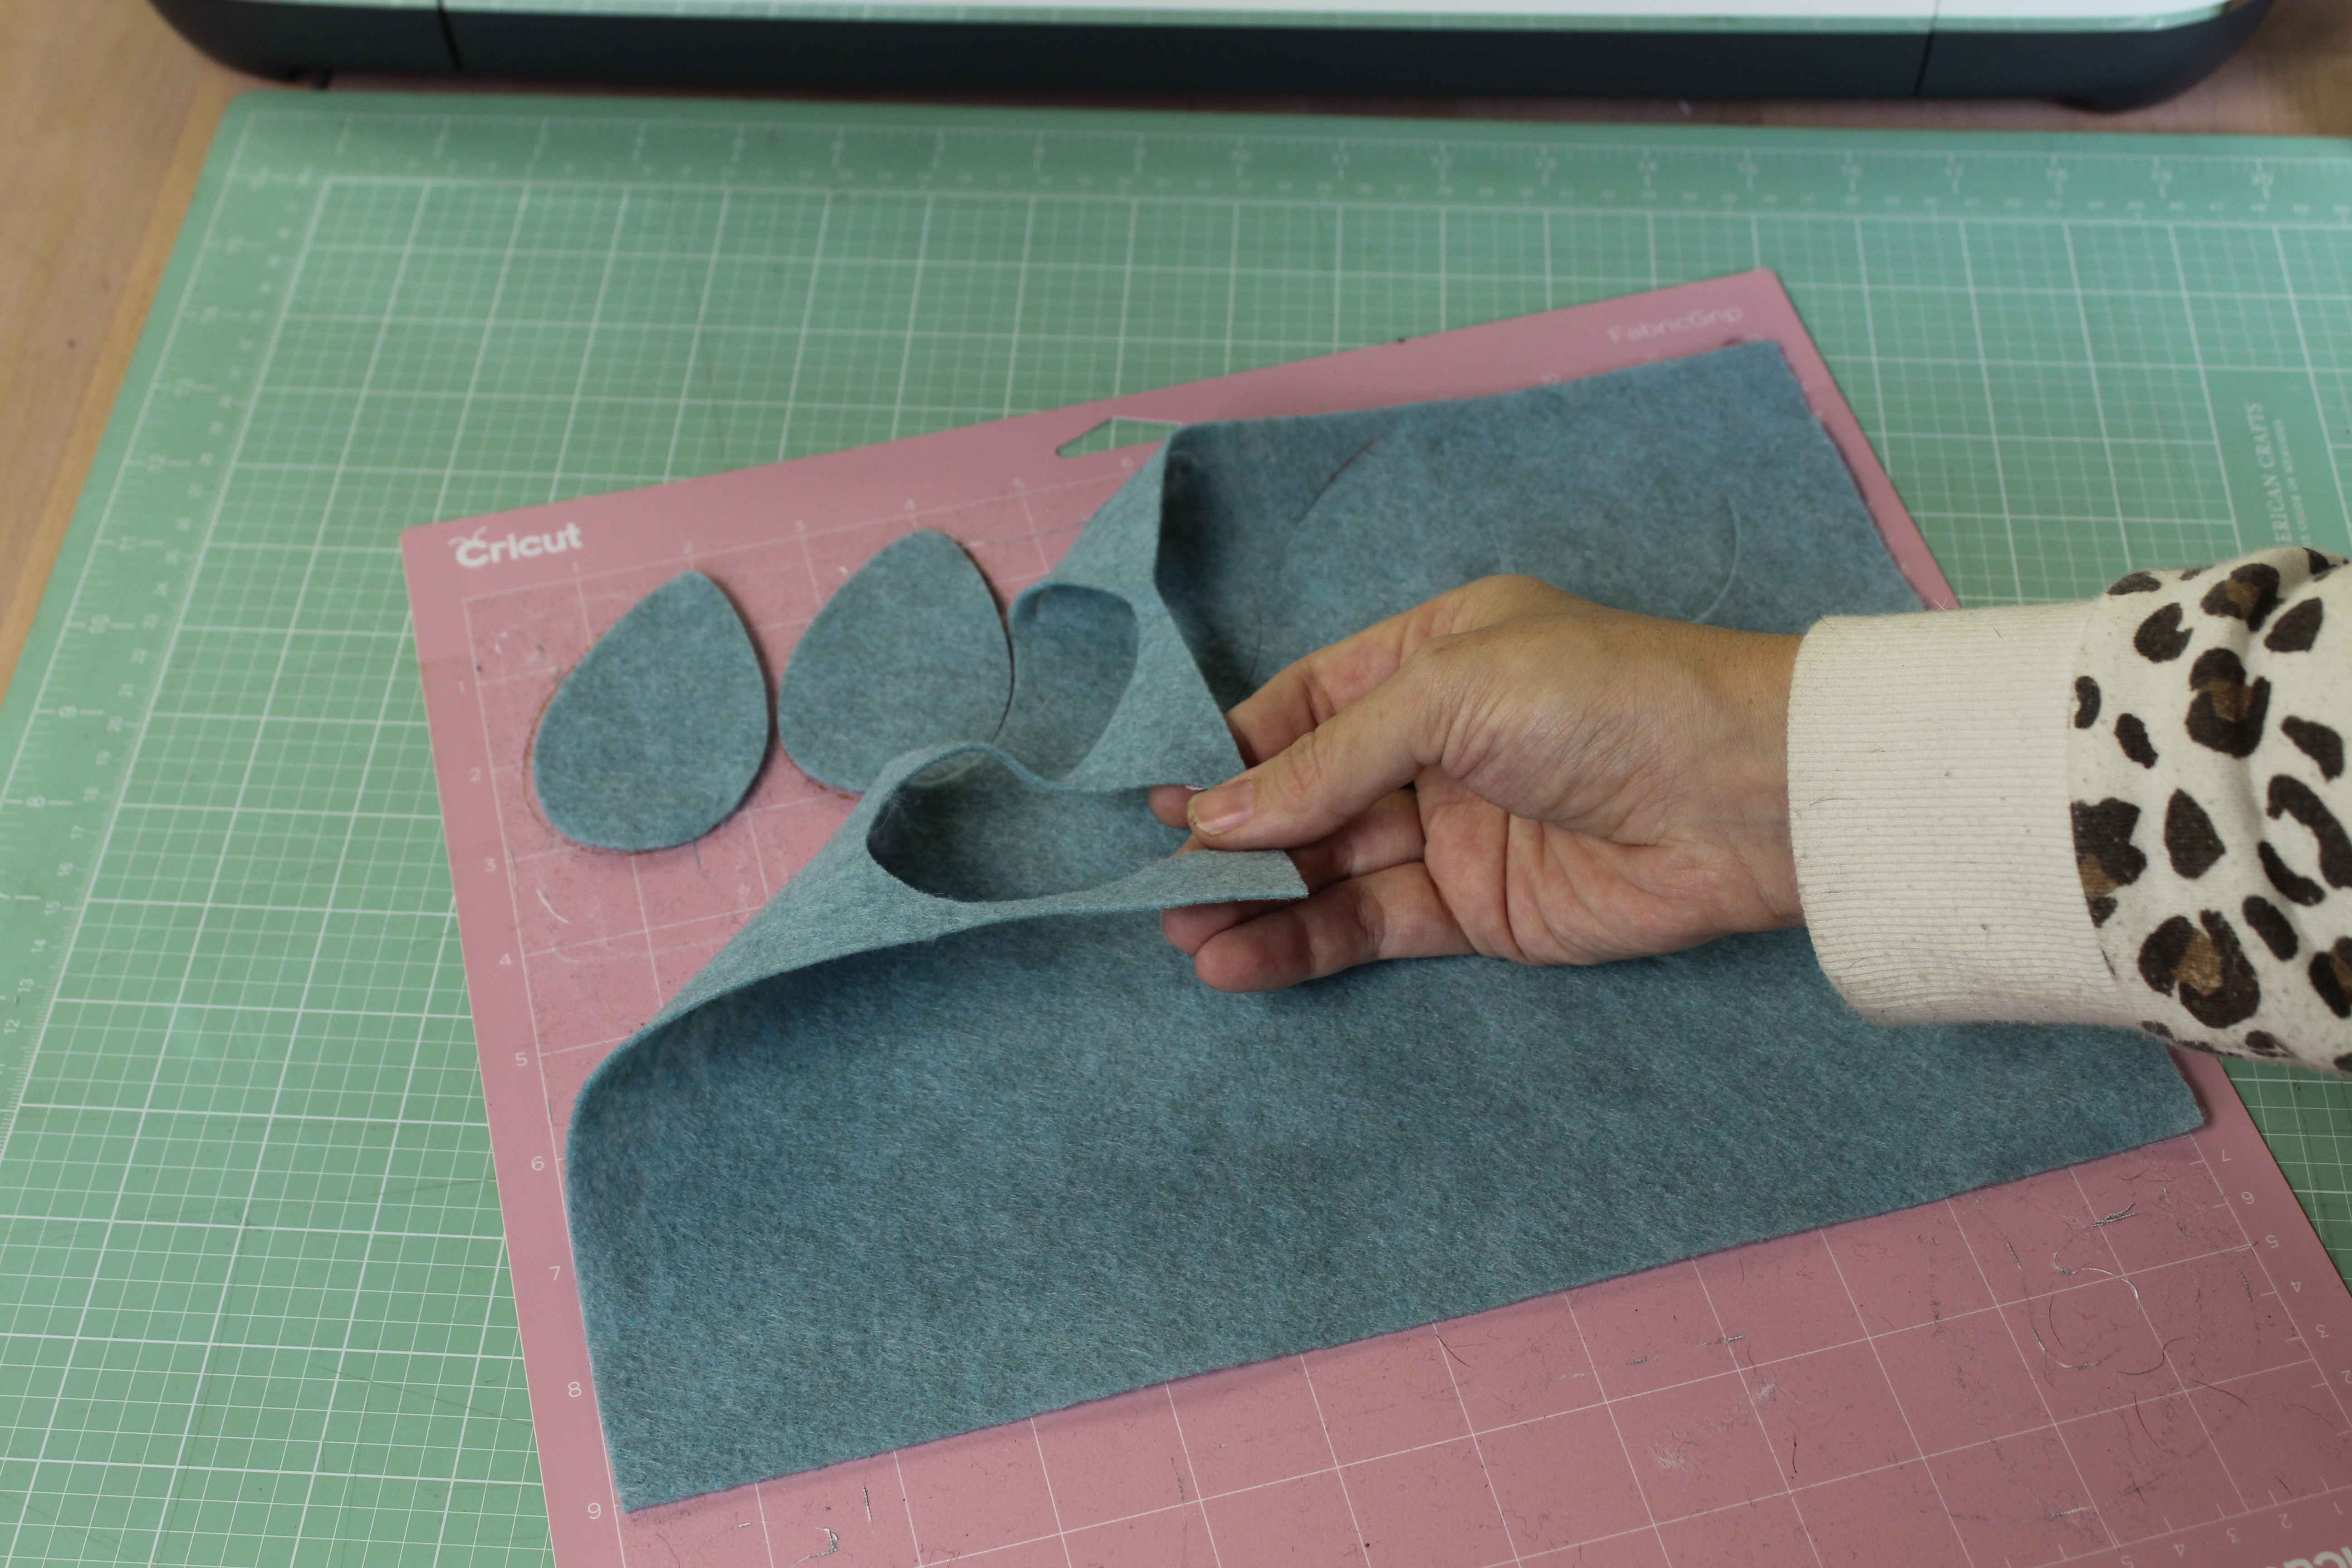
Look at those cuts!
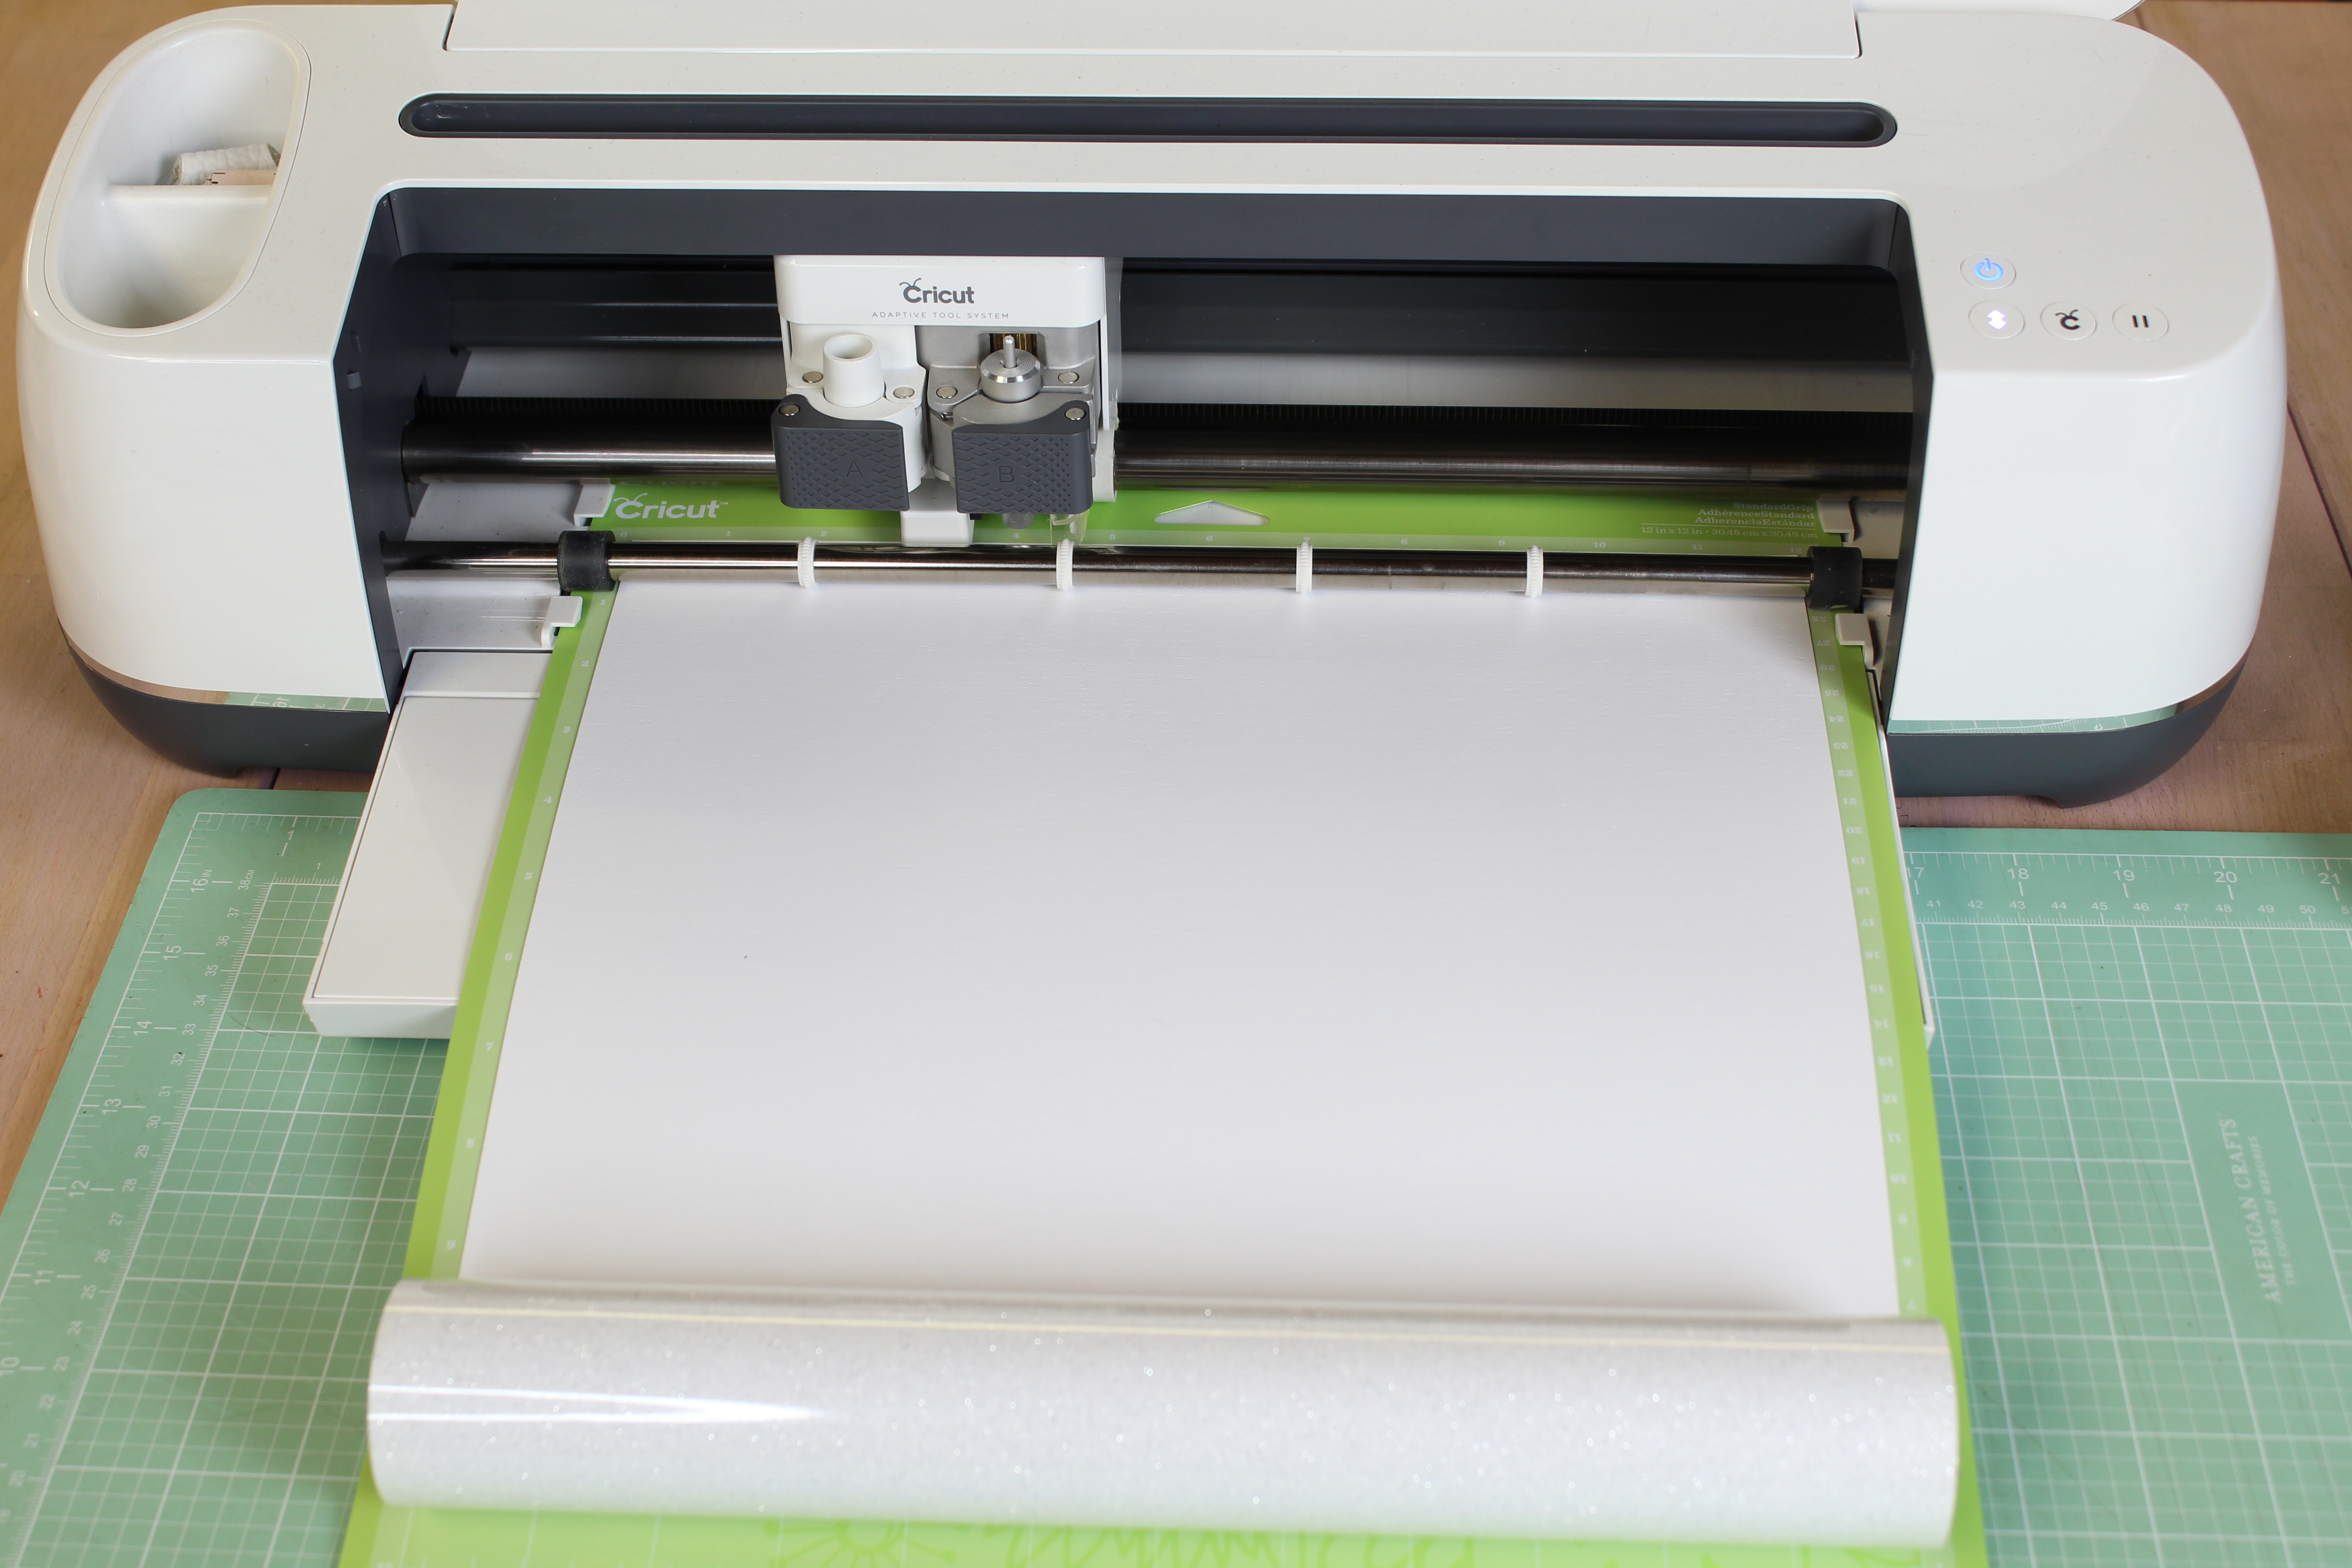
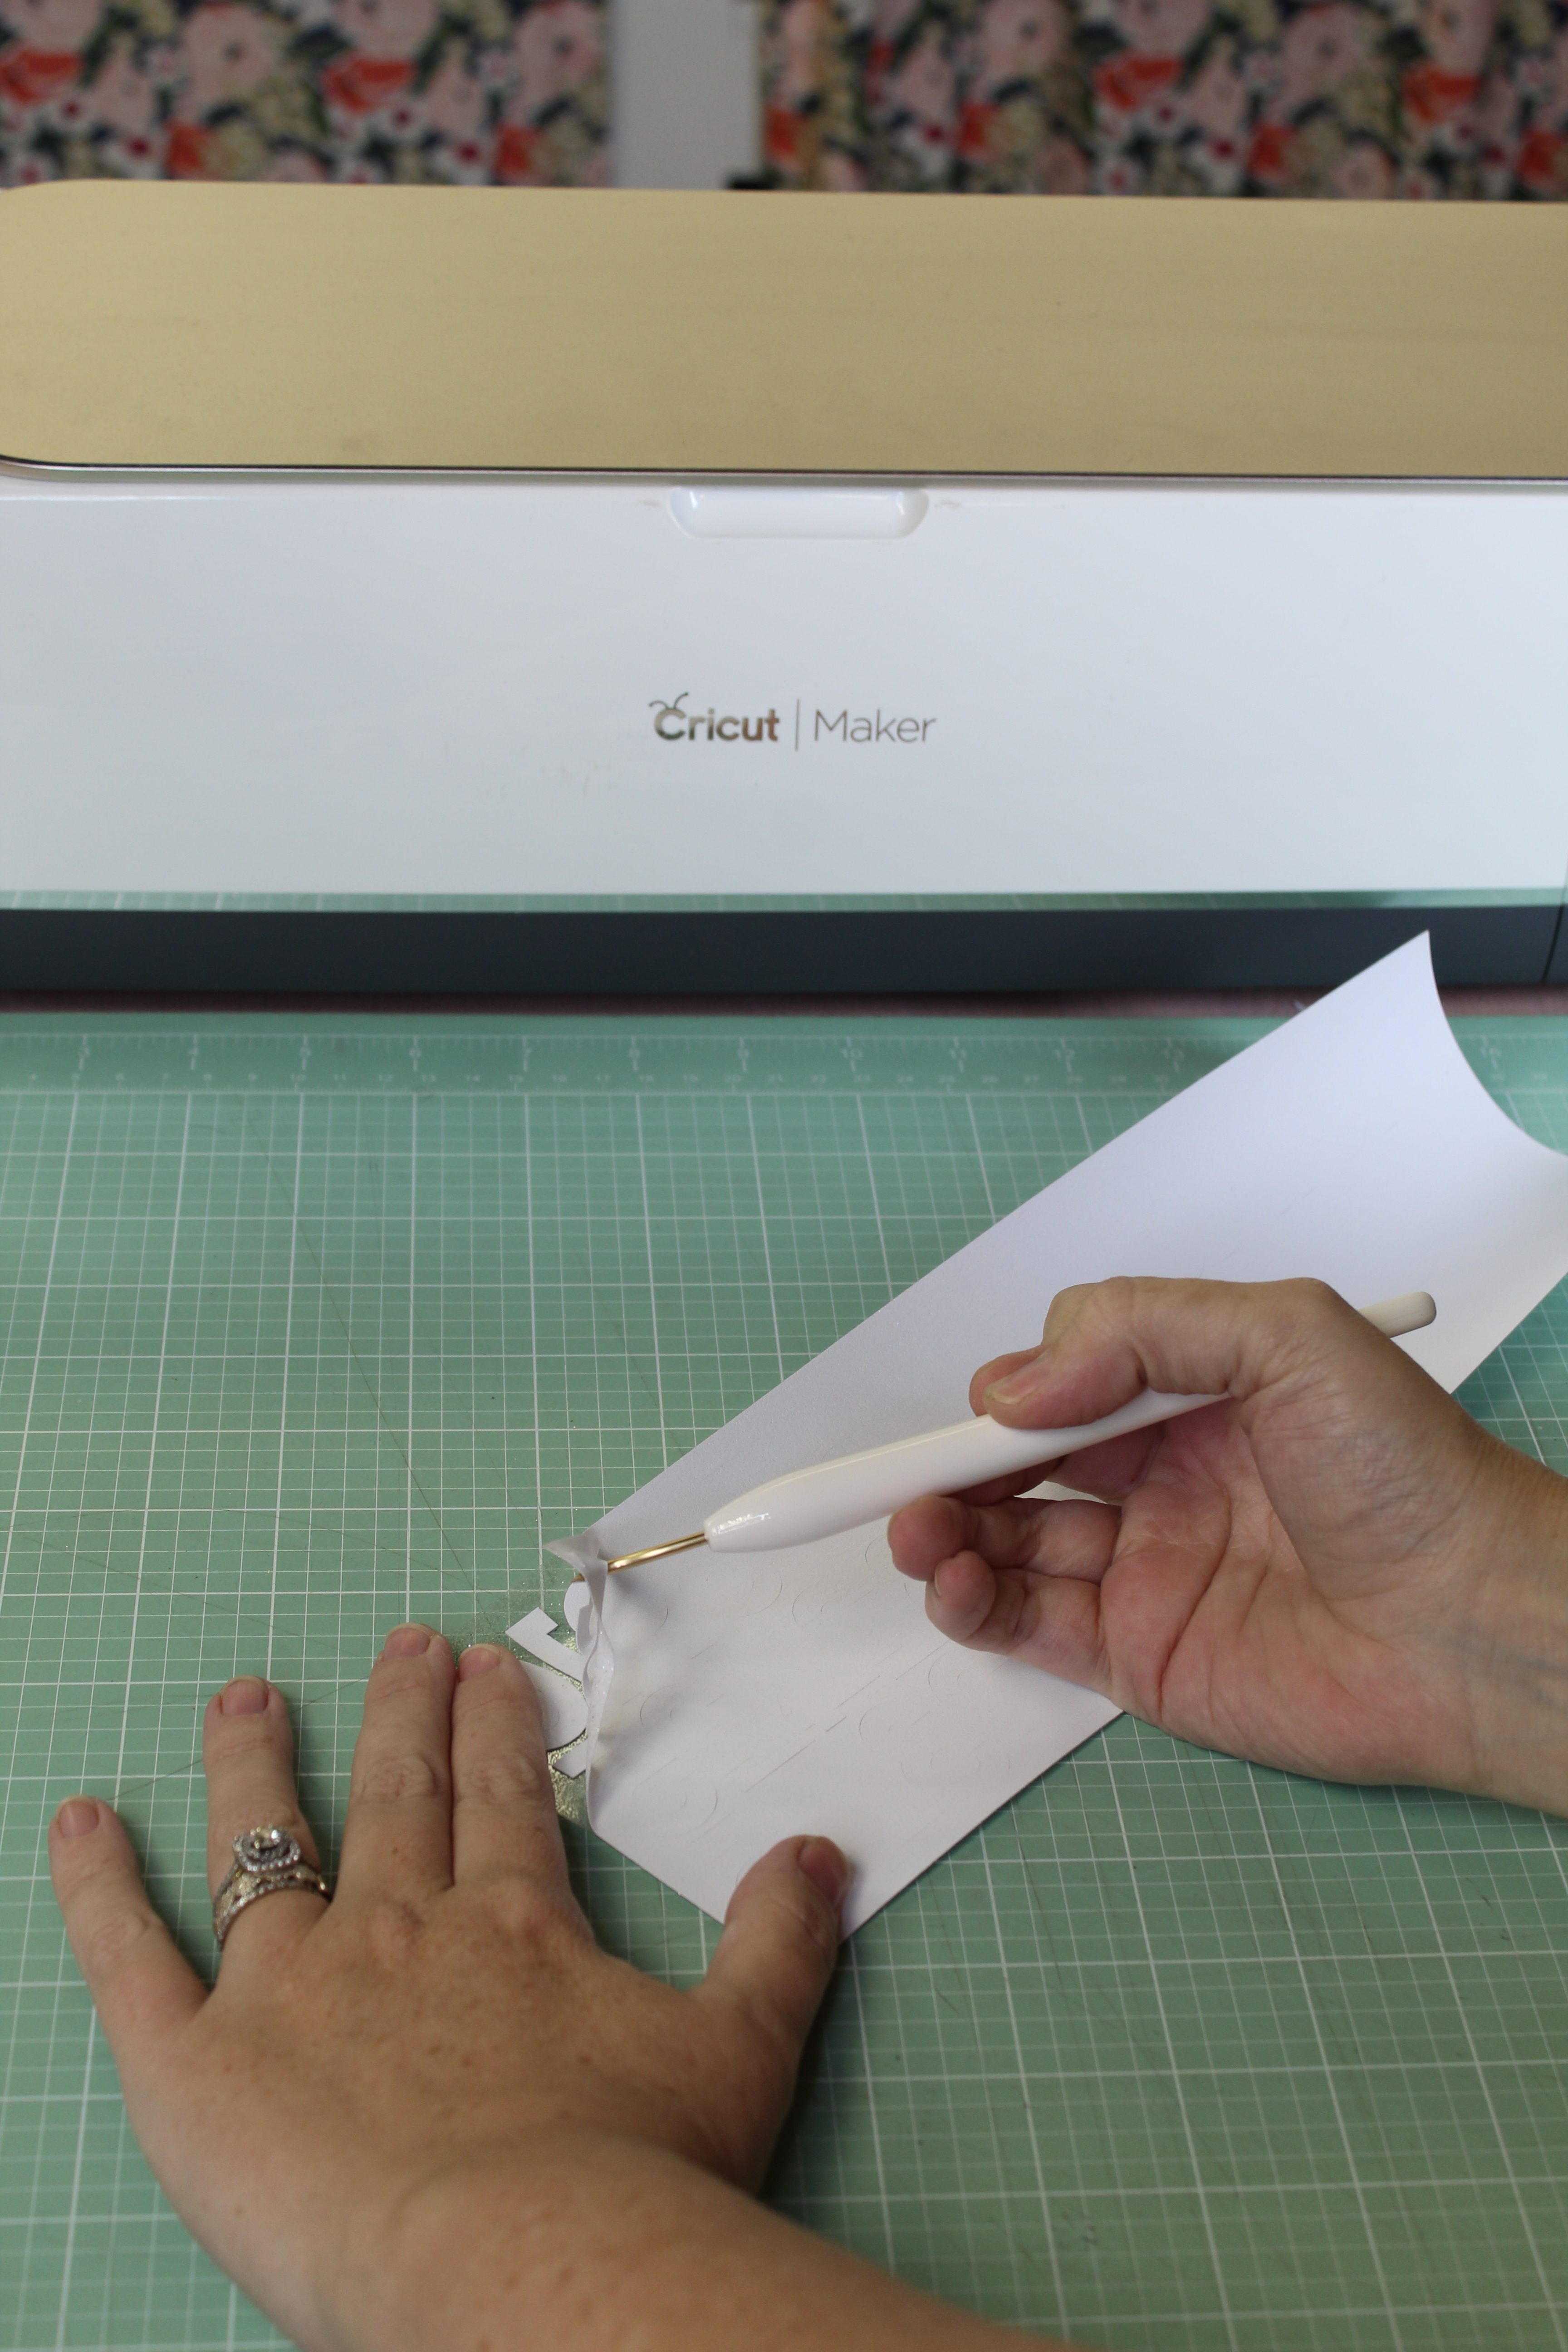
Once you’ve cut all of your felt, it’s time for your iron on. Don’t forget to lay it shiny side down and to mirror your image.
Once my iron on is cut, I like to use my trimmer to trim it down before I begin weeding, to make it more manageable. (This also gives you a clean cut for the next time you grab that roll of vinyl for a project.)
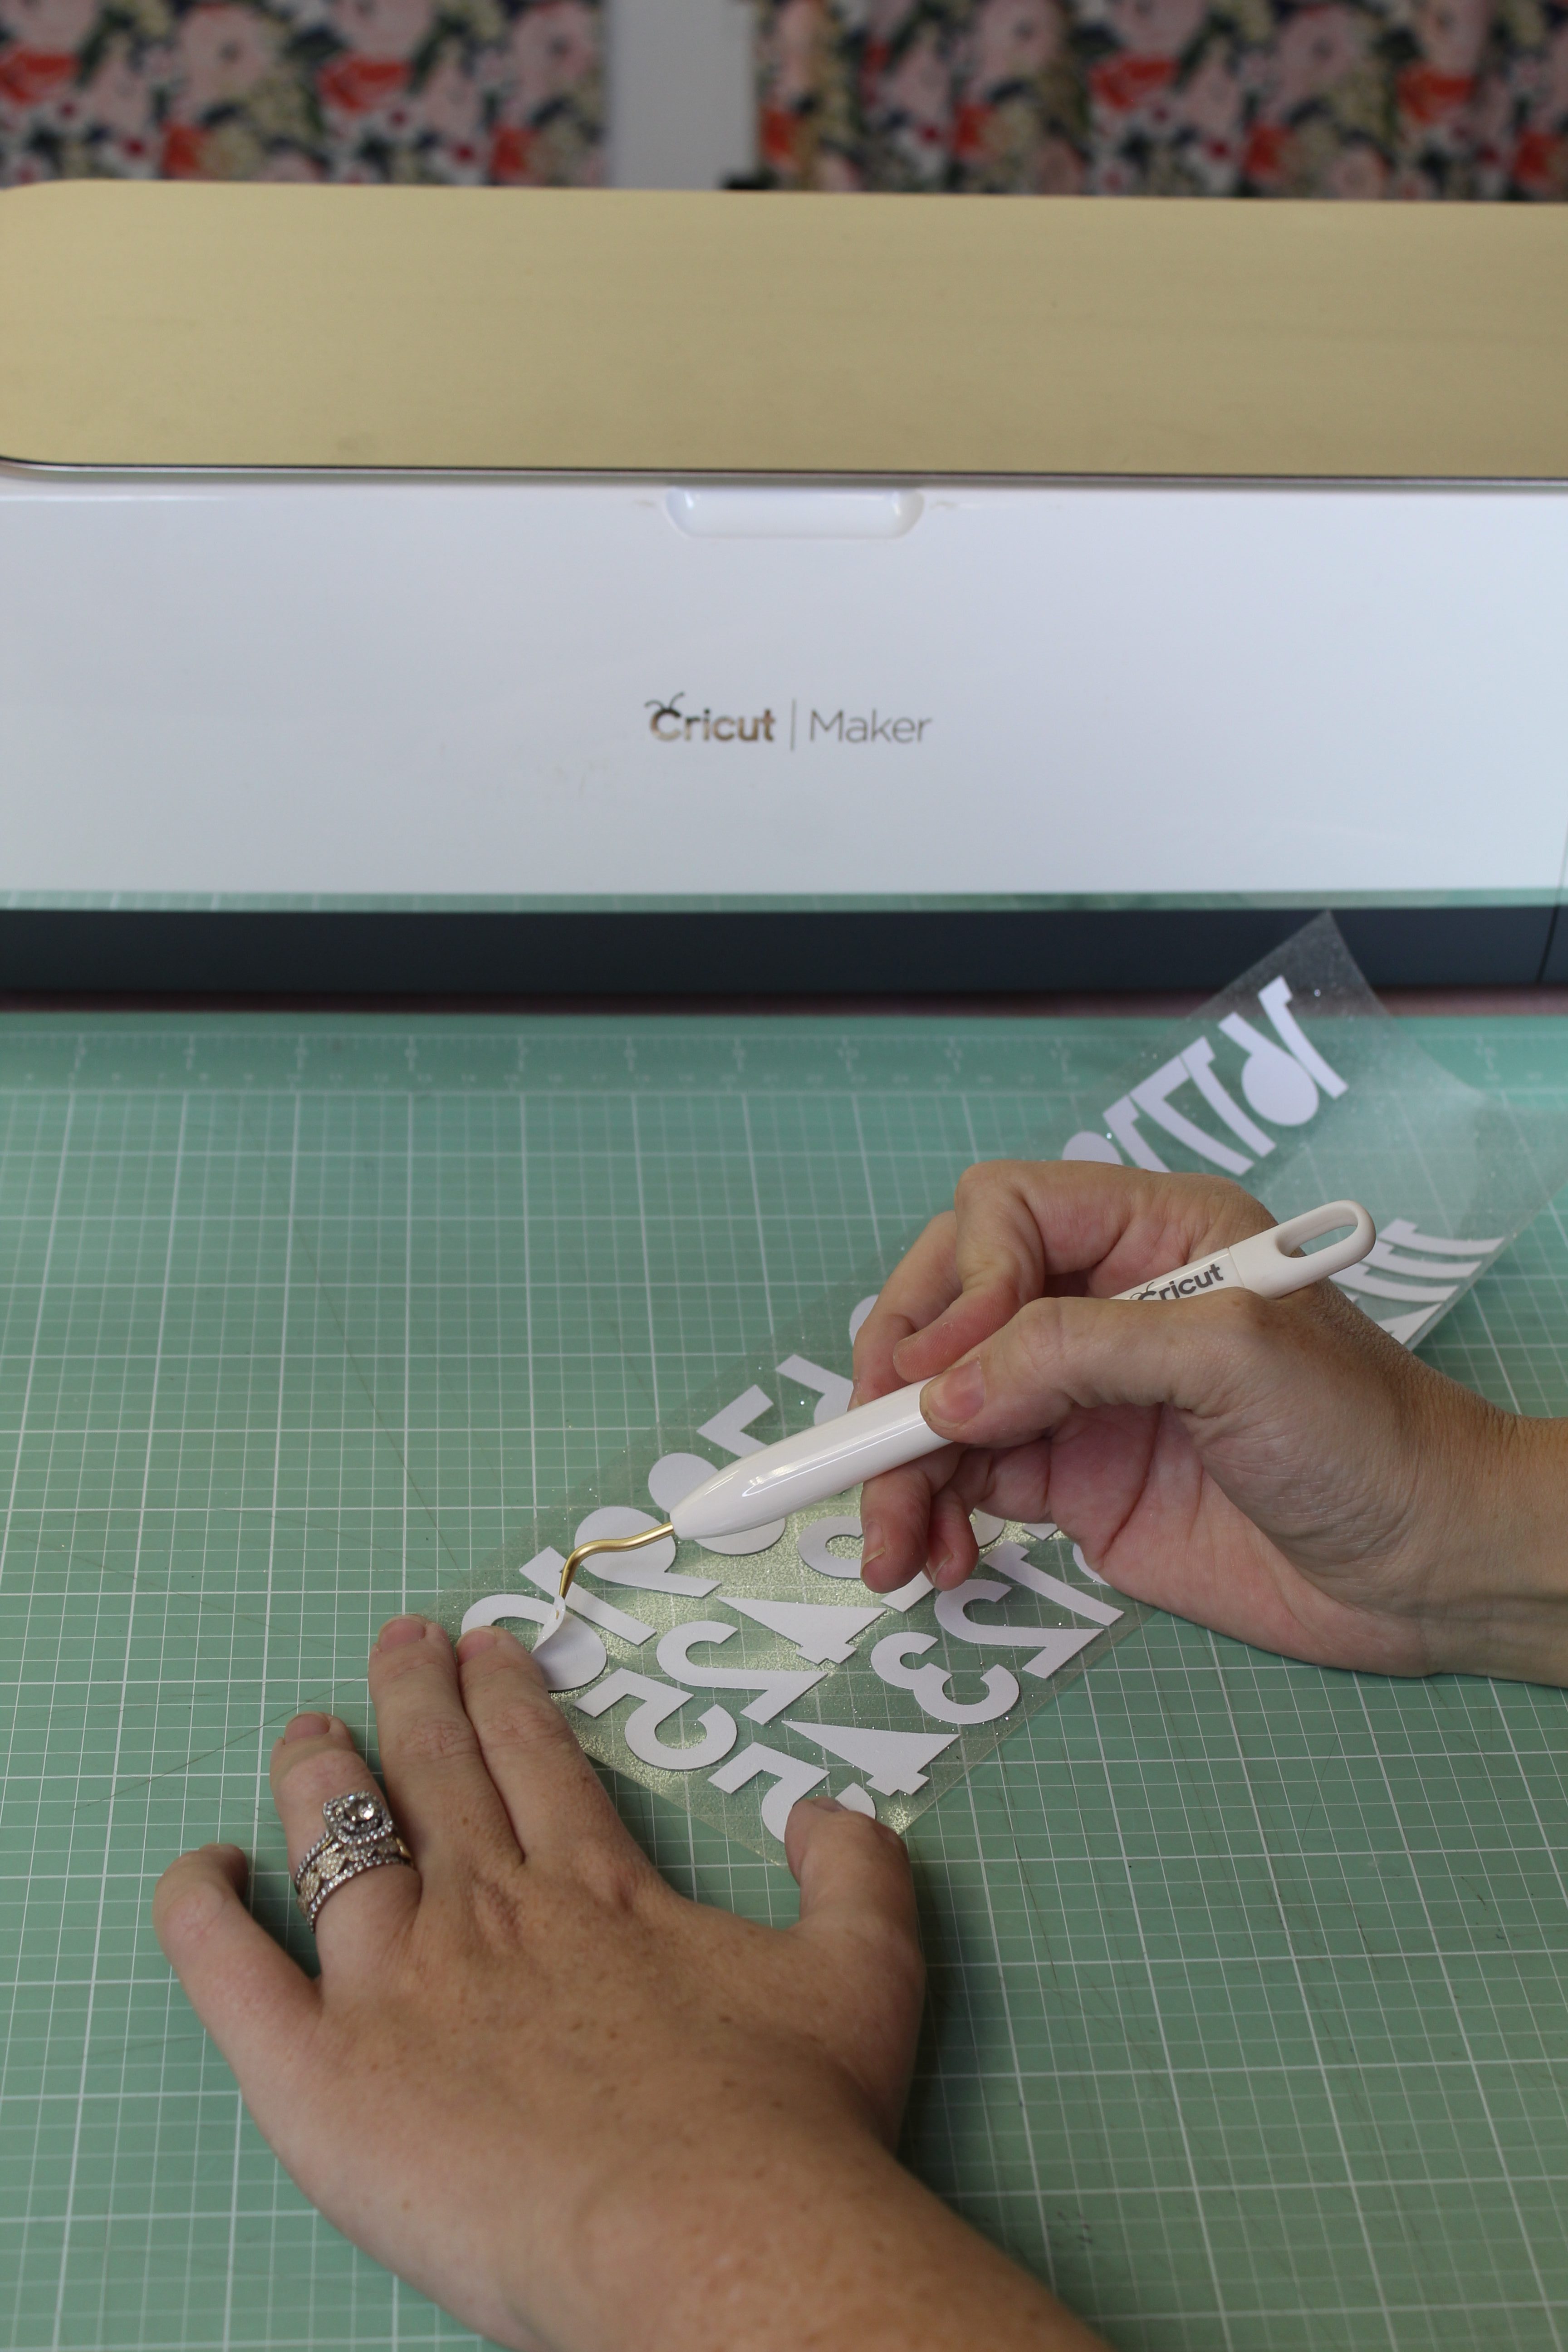
Weed
Then you weed your project by removing the vinyl that you don’t want.
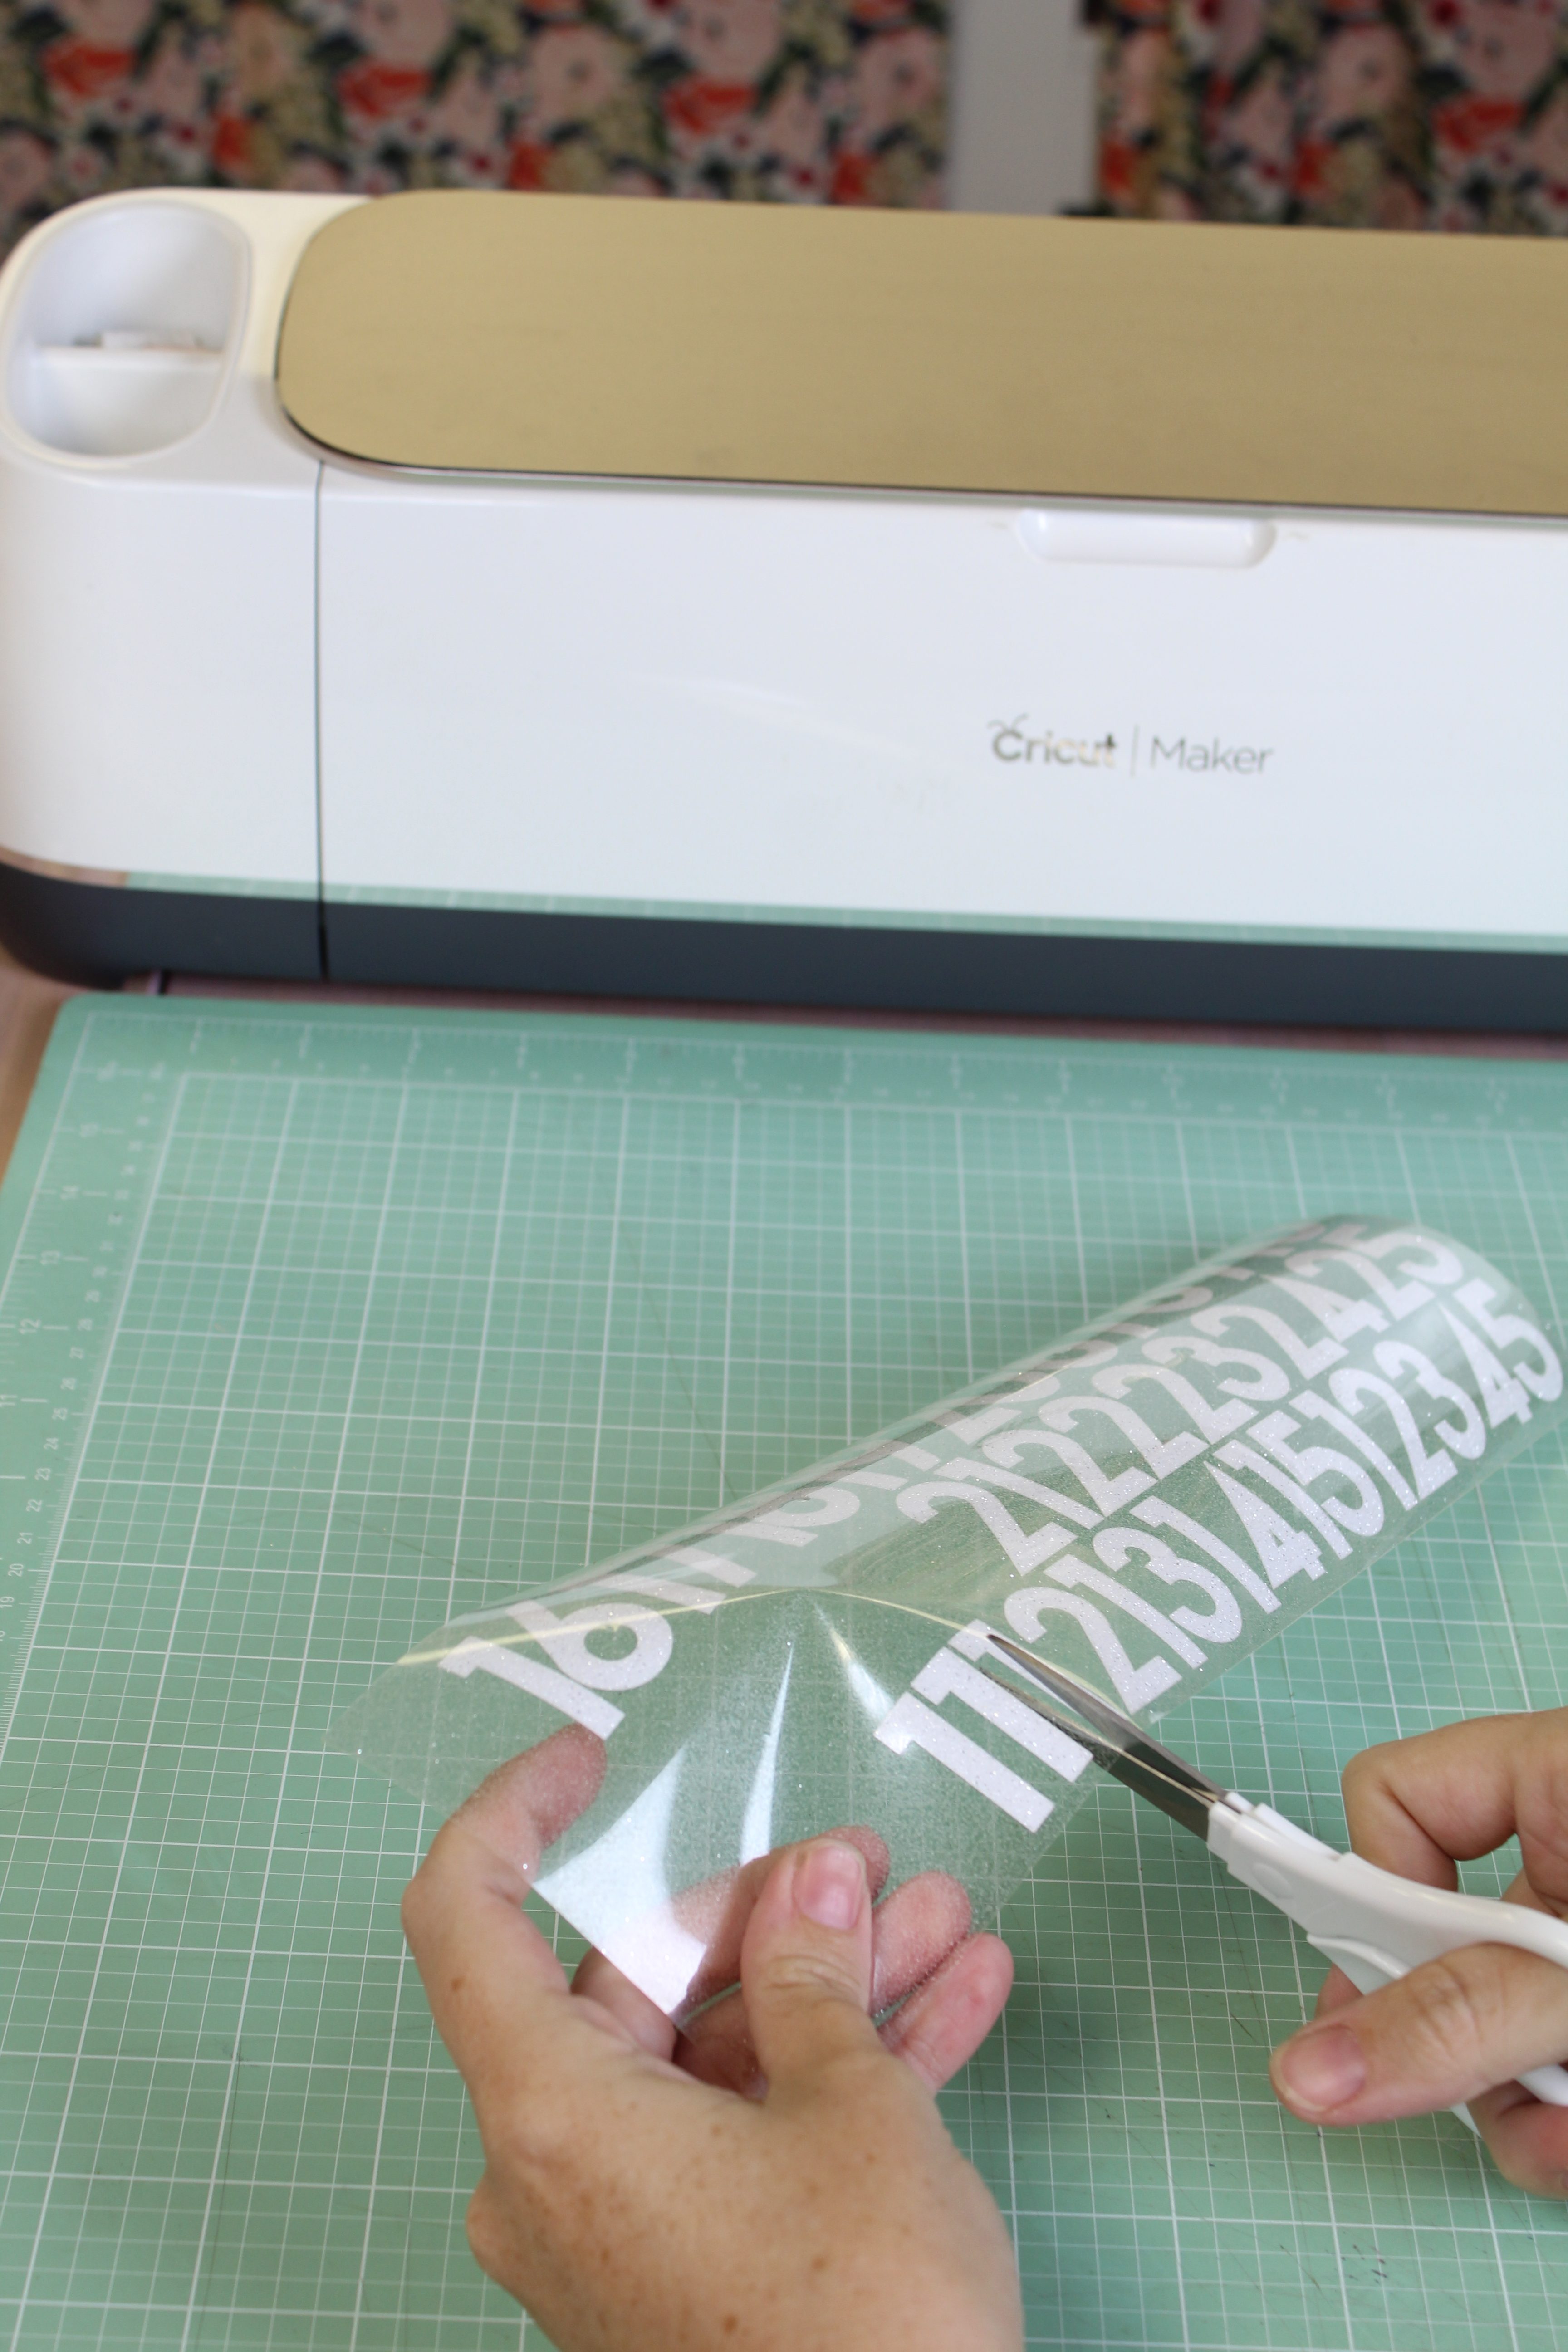
Cut each number down.
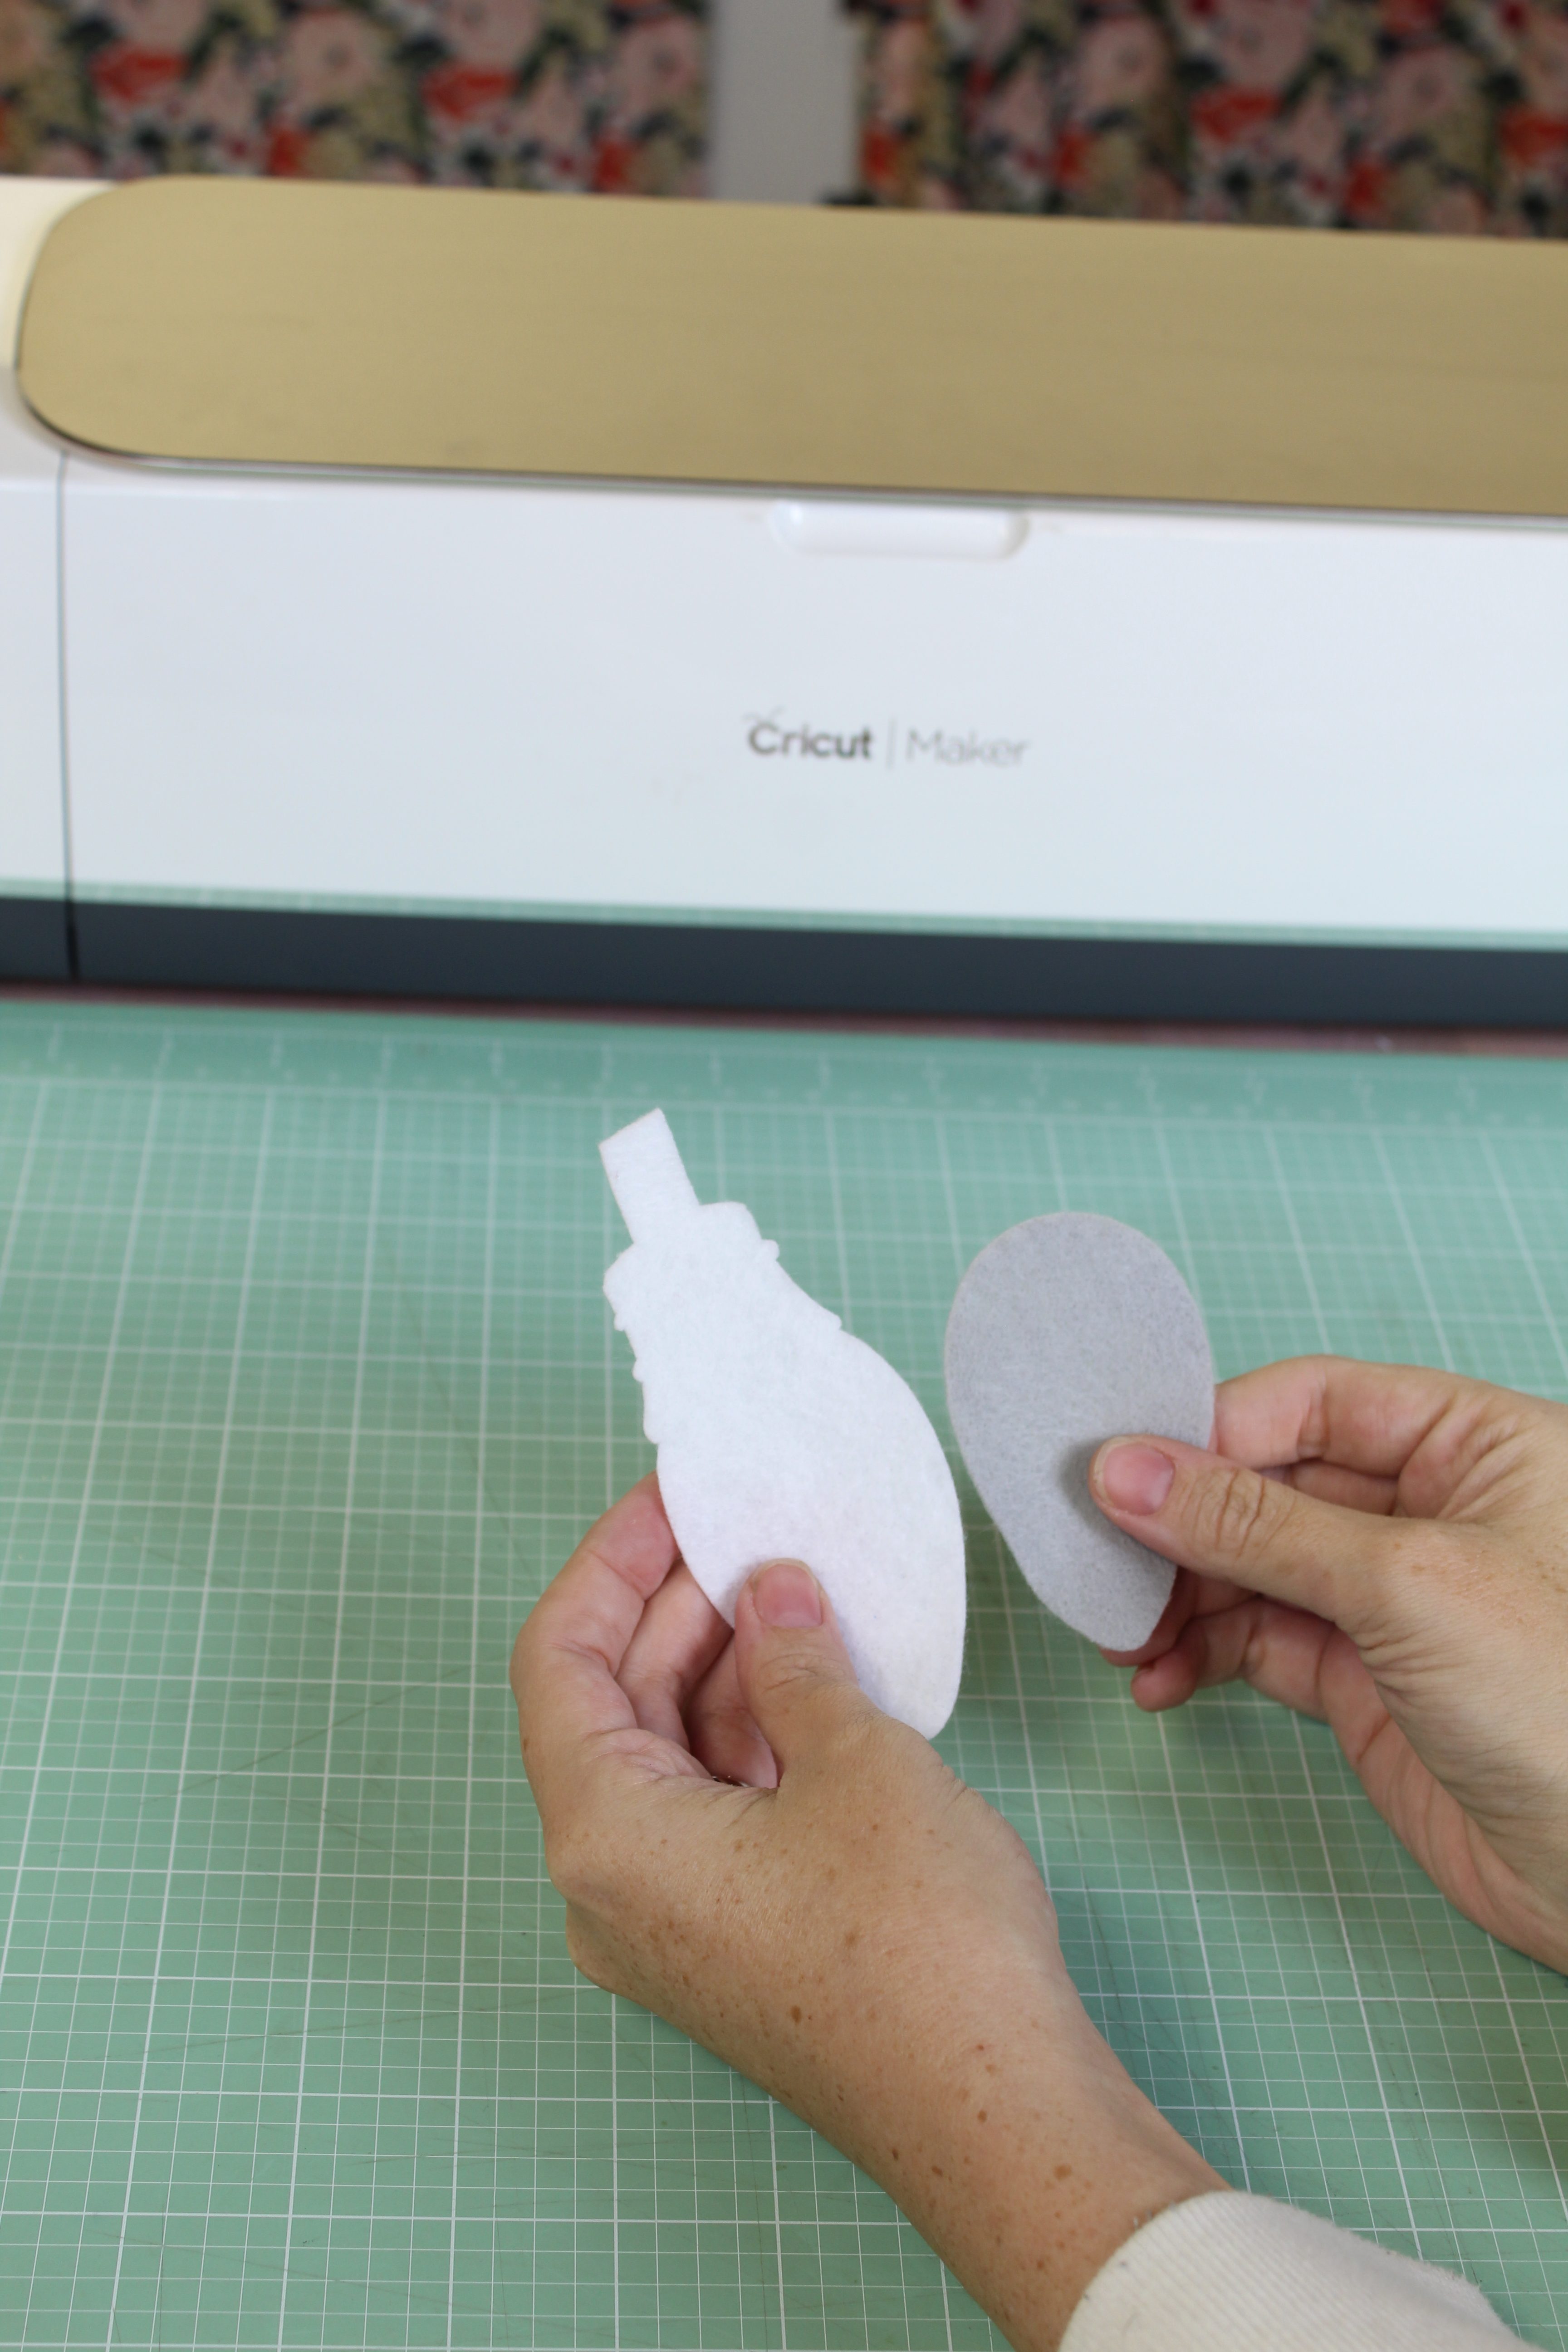
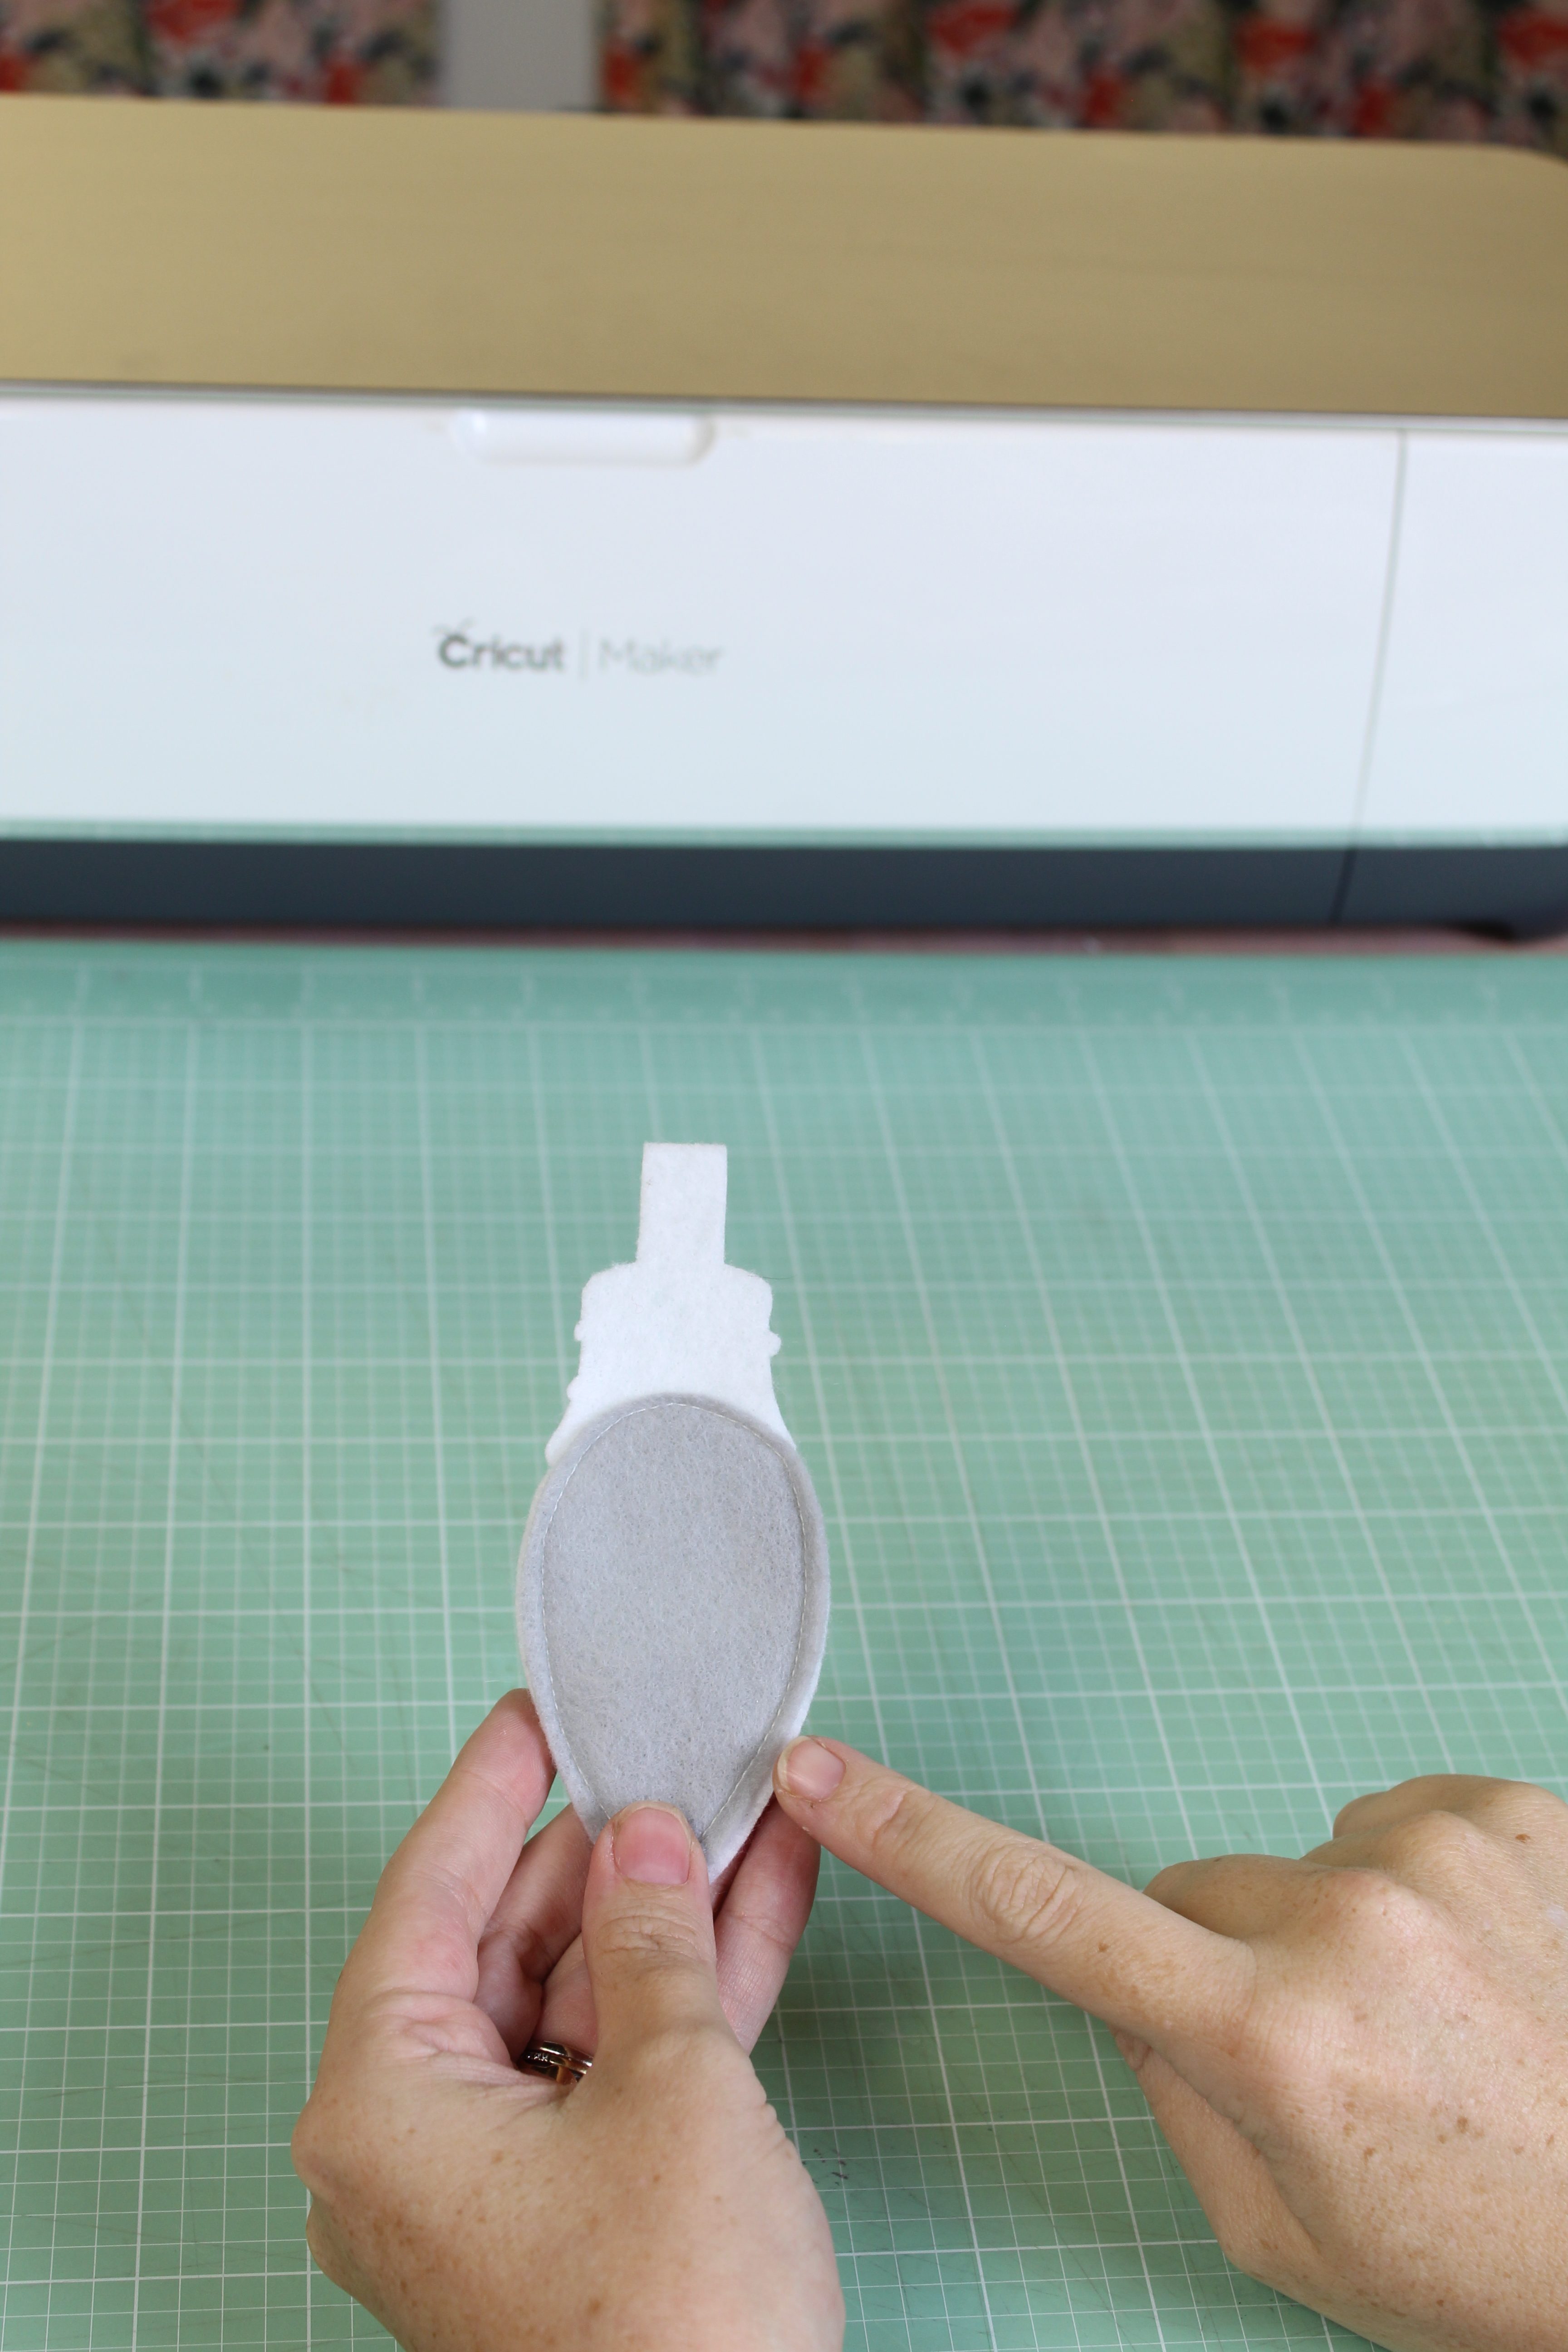
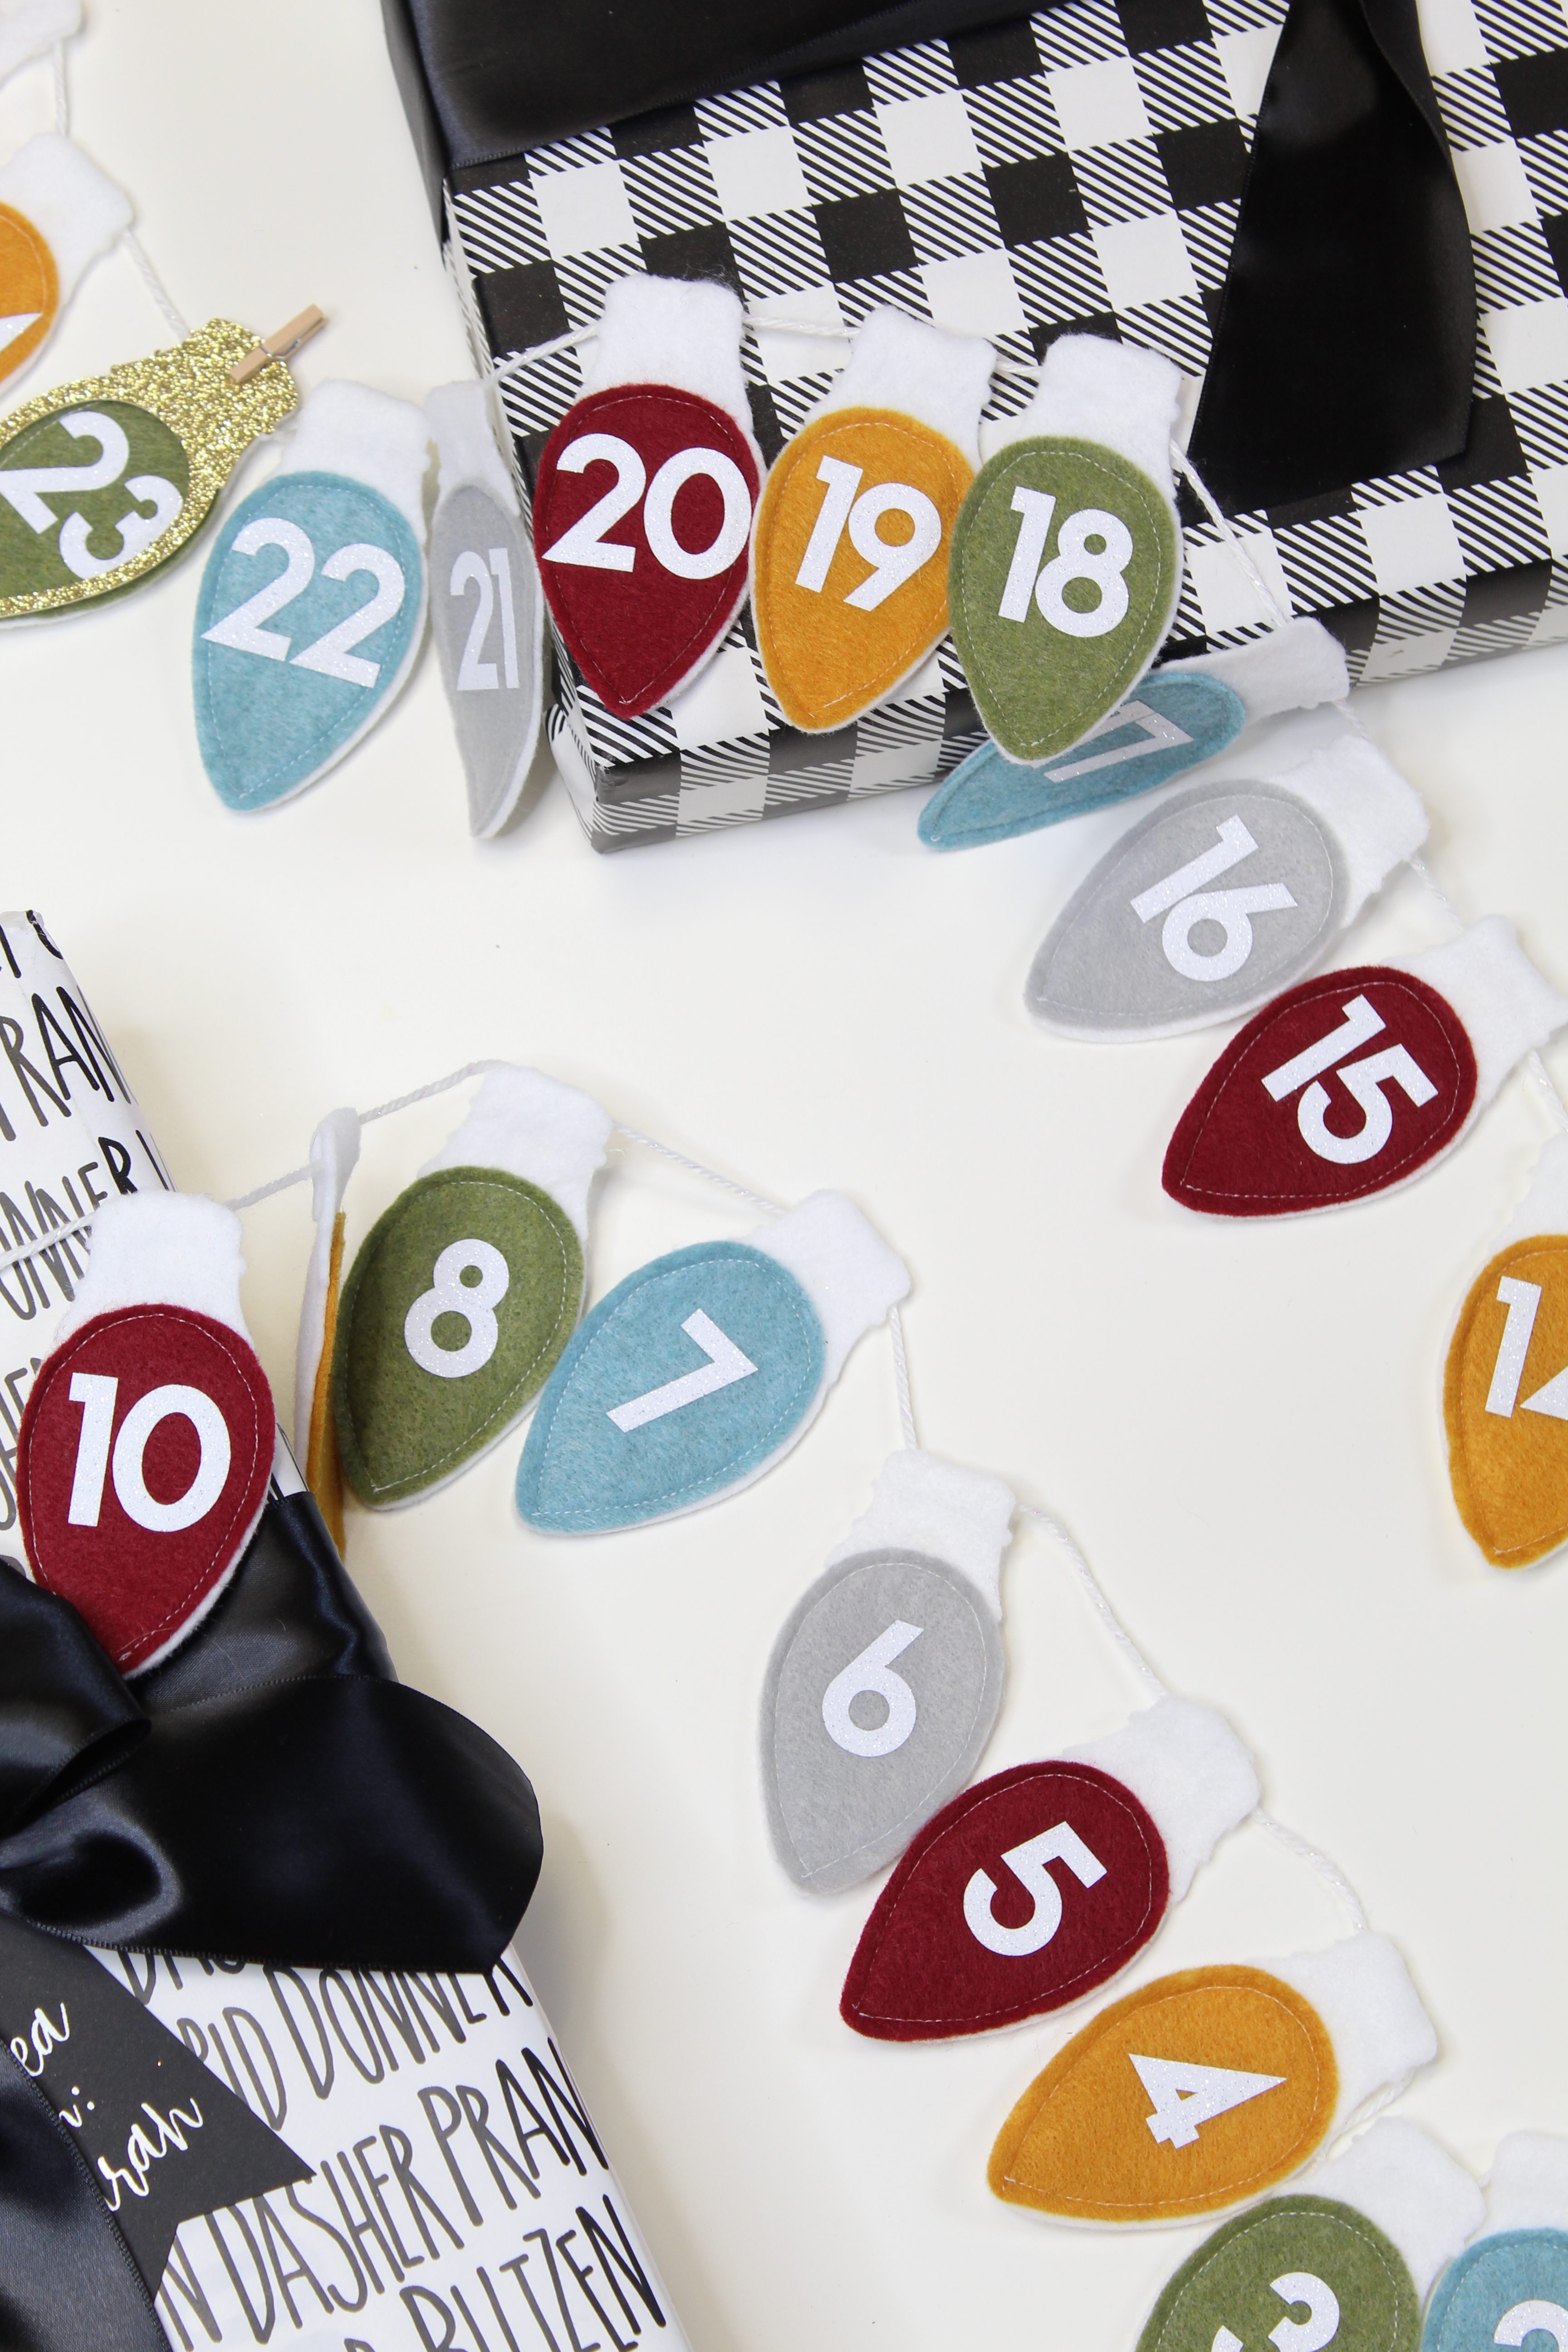
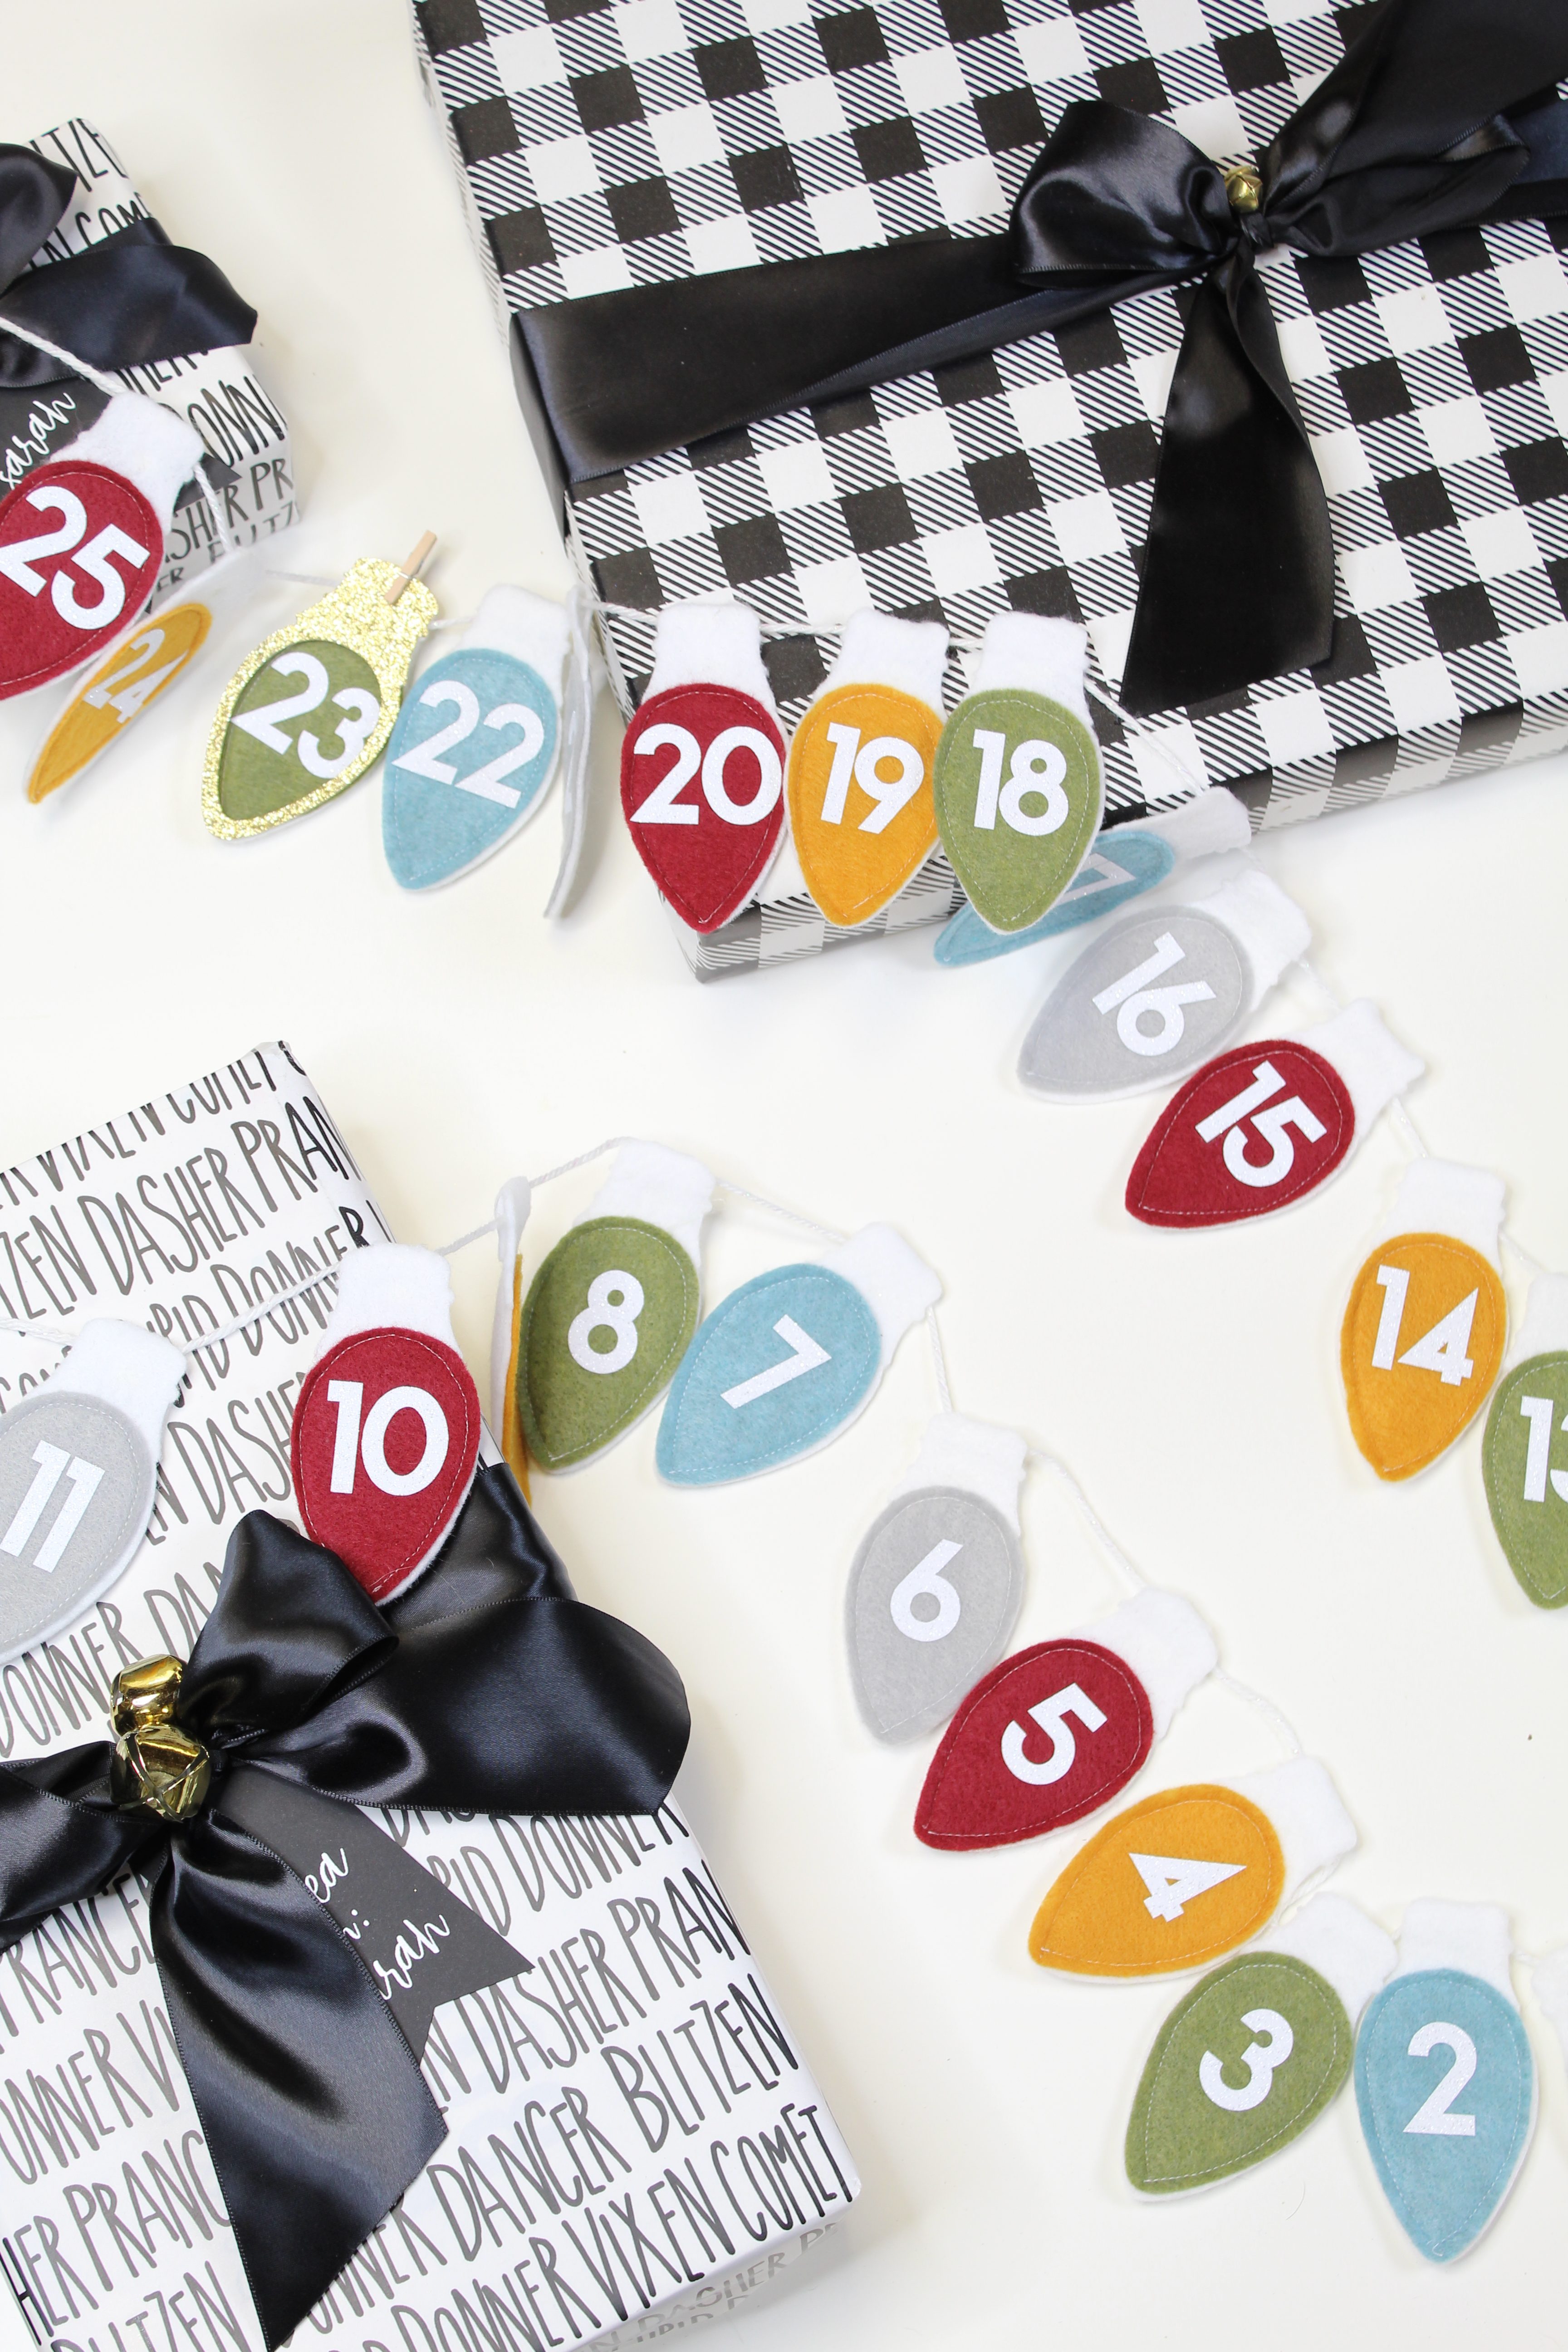
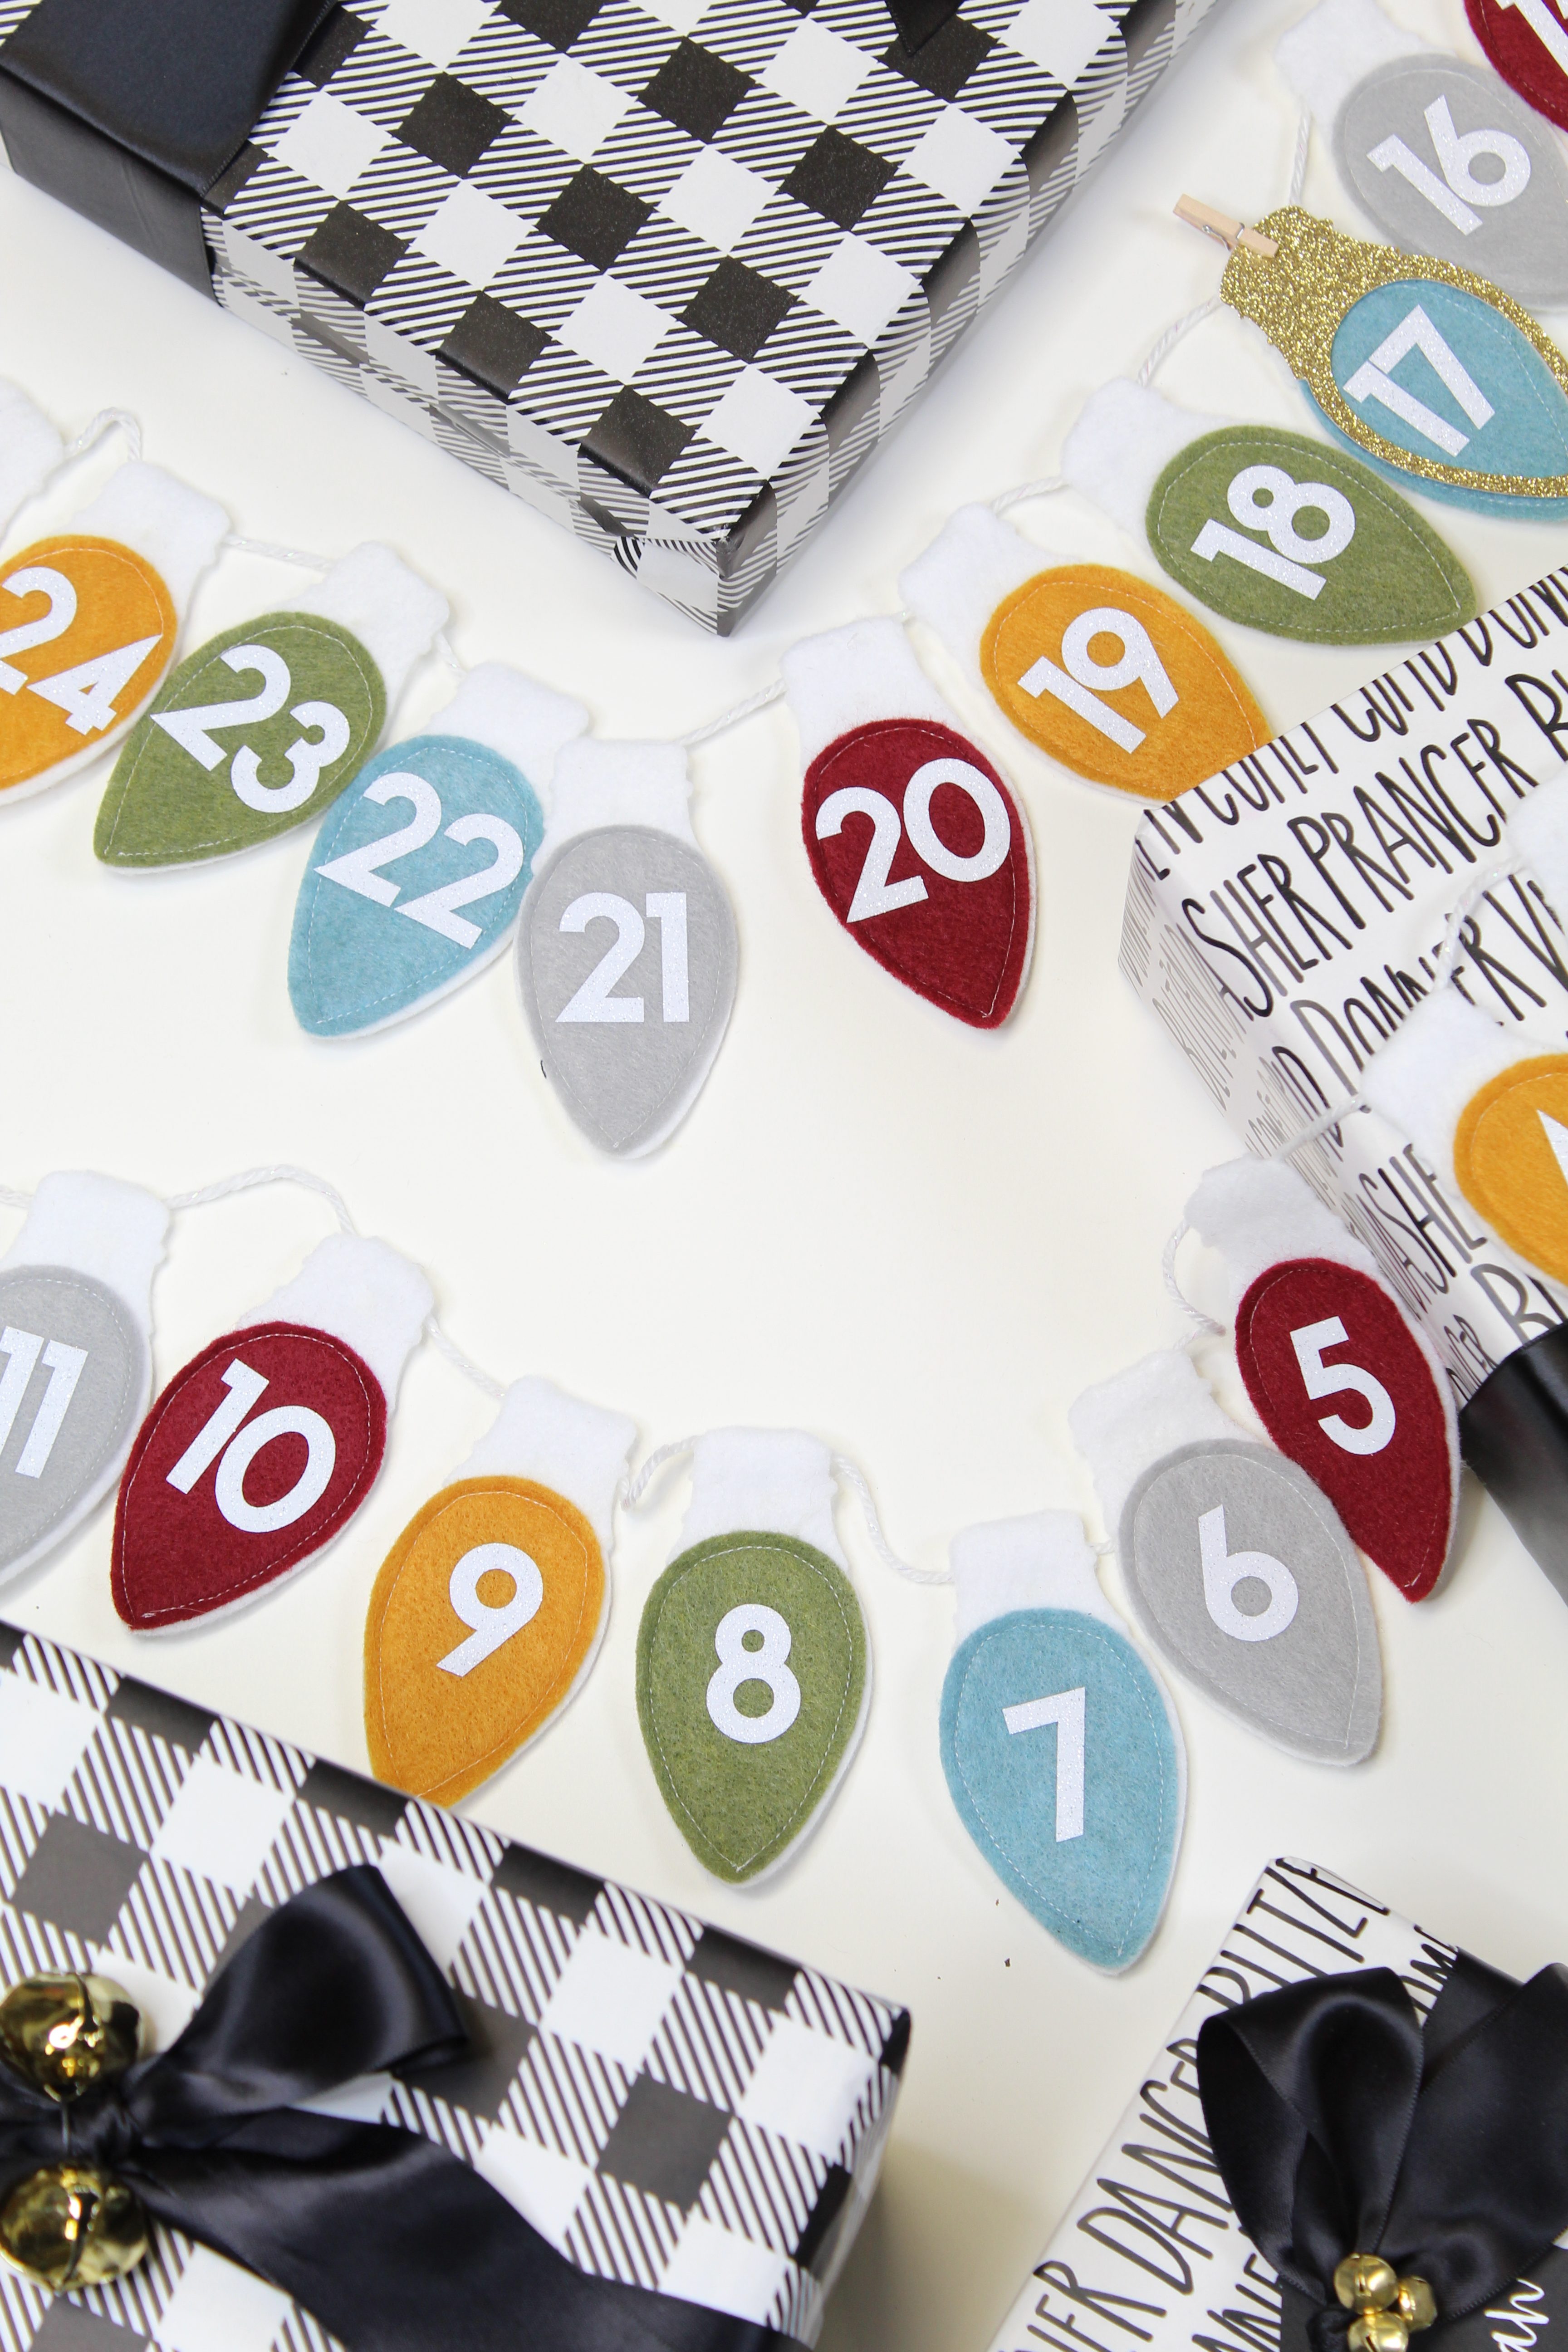
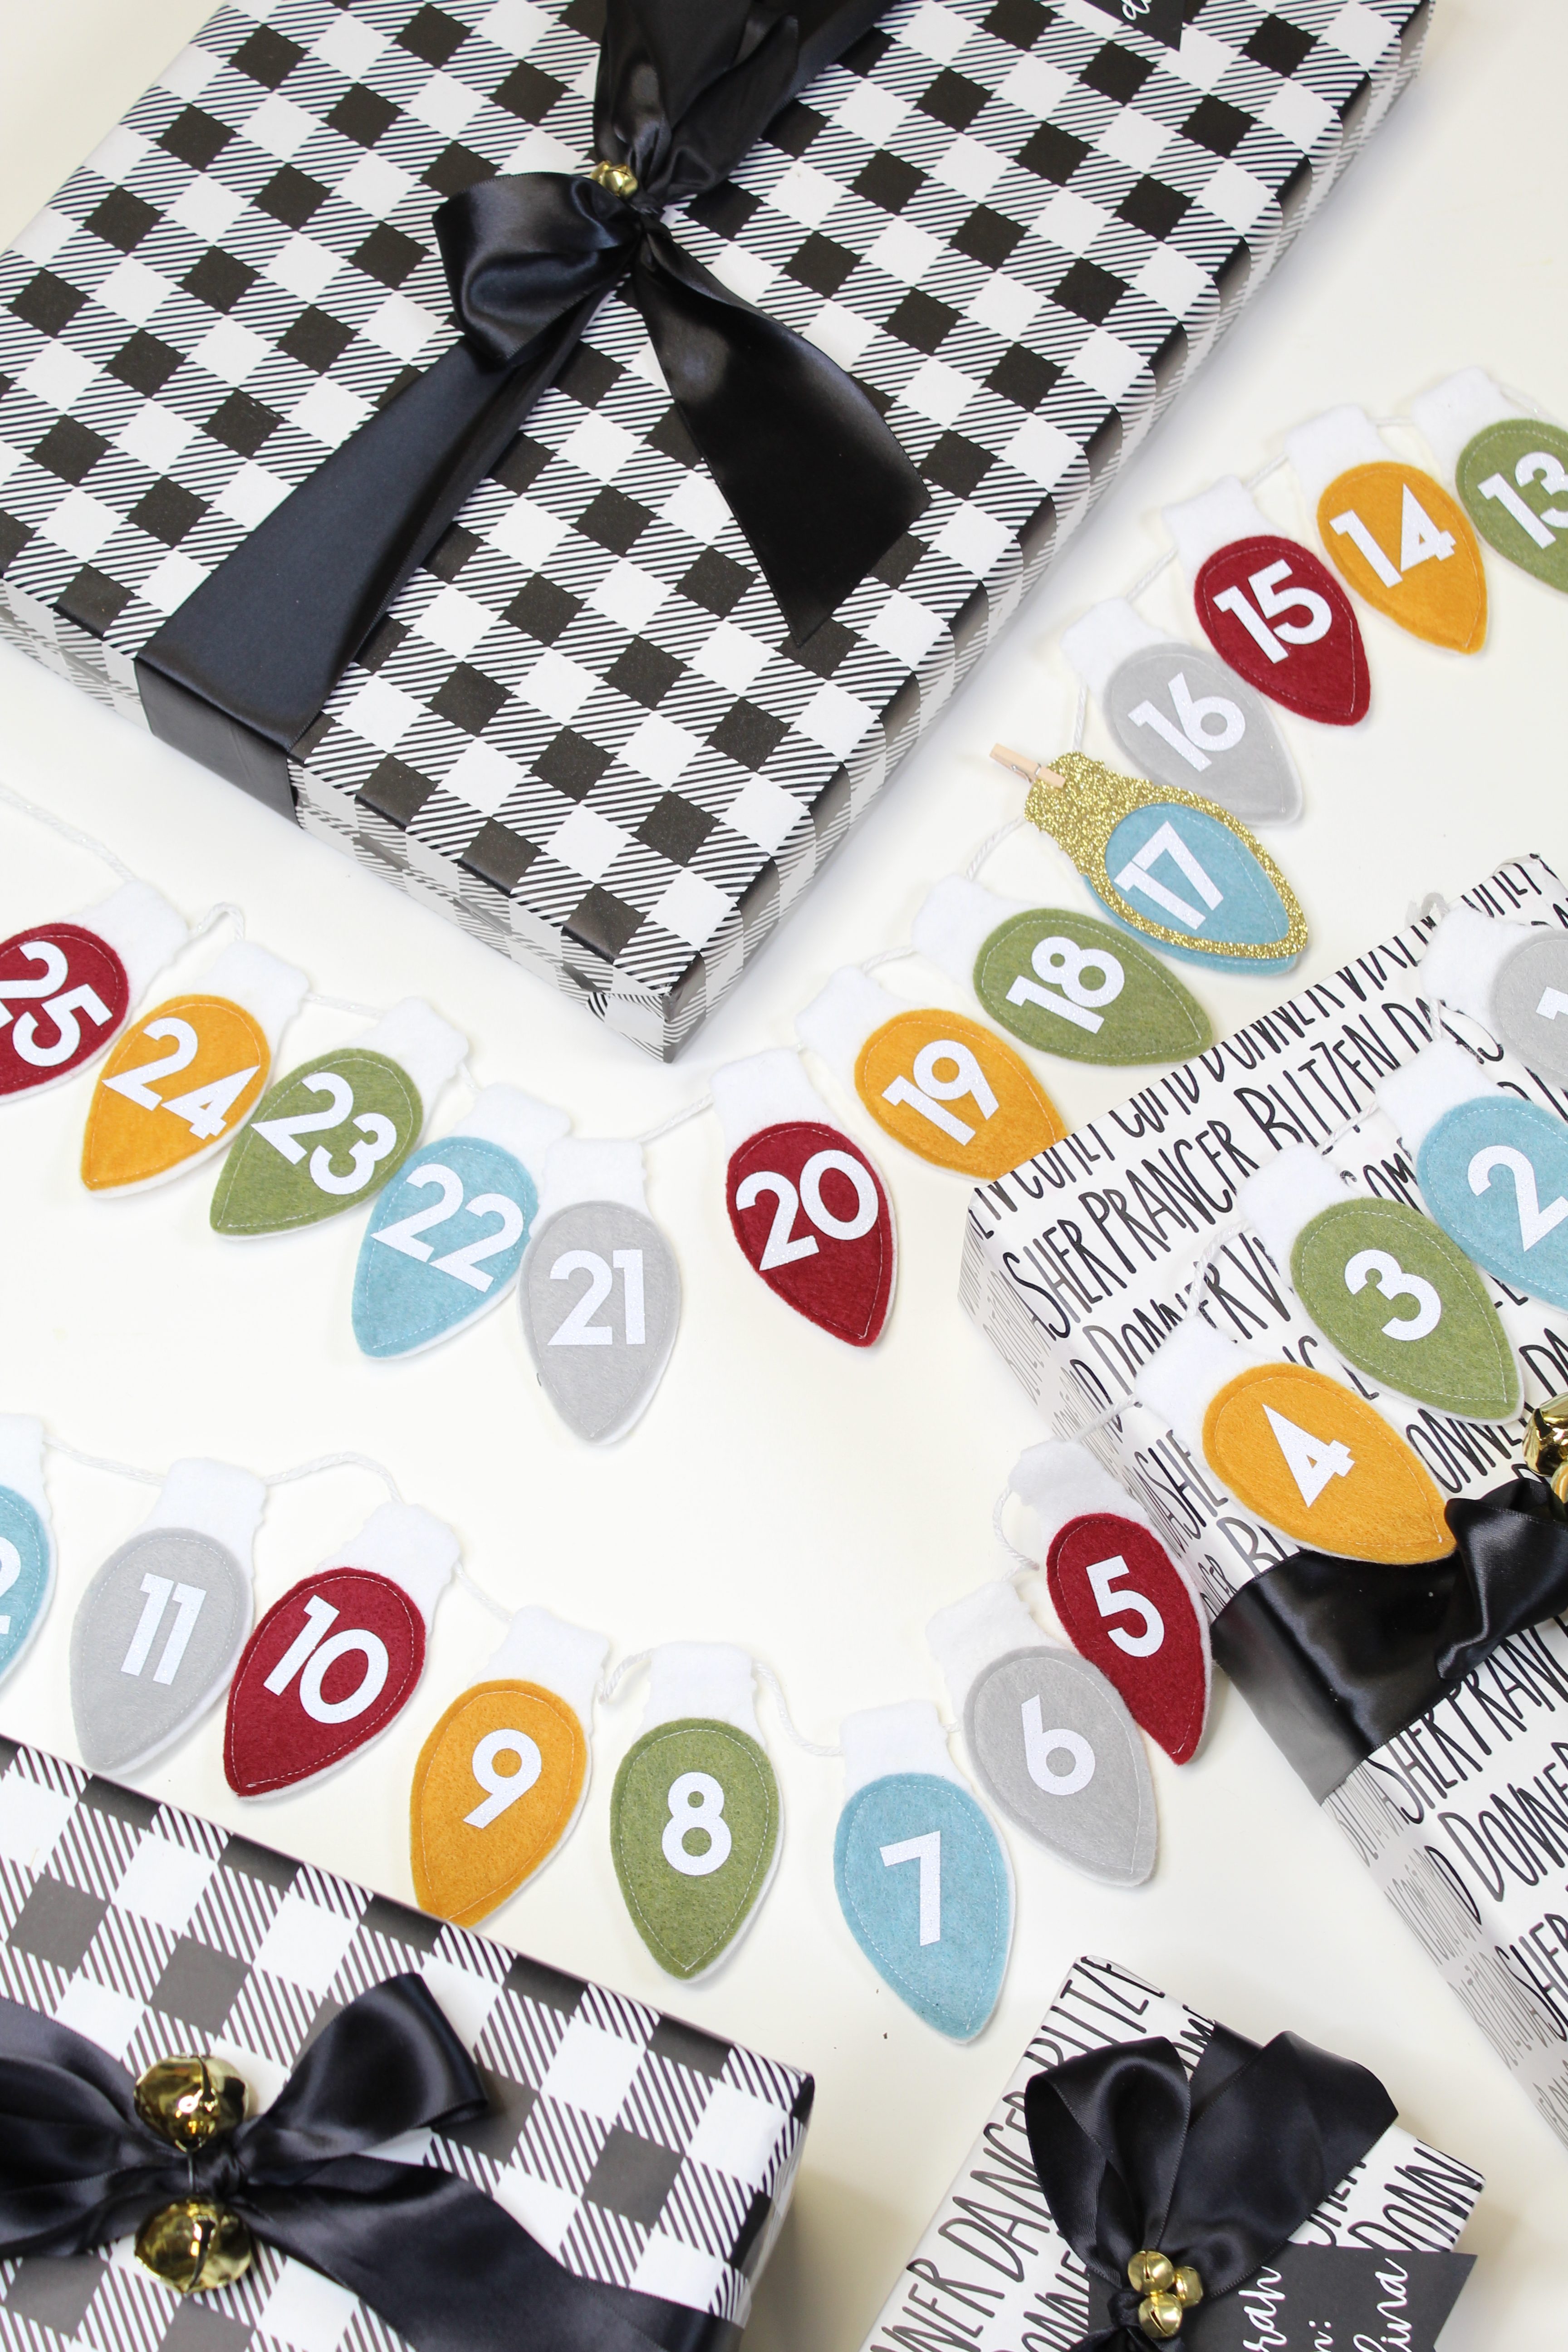
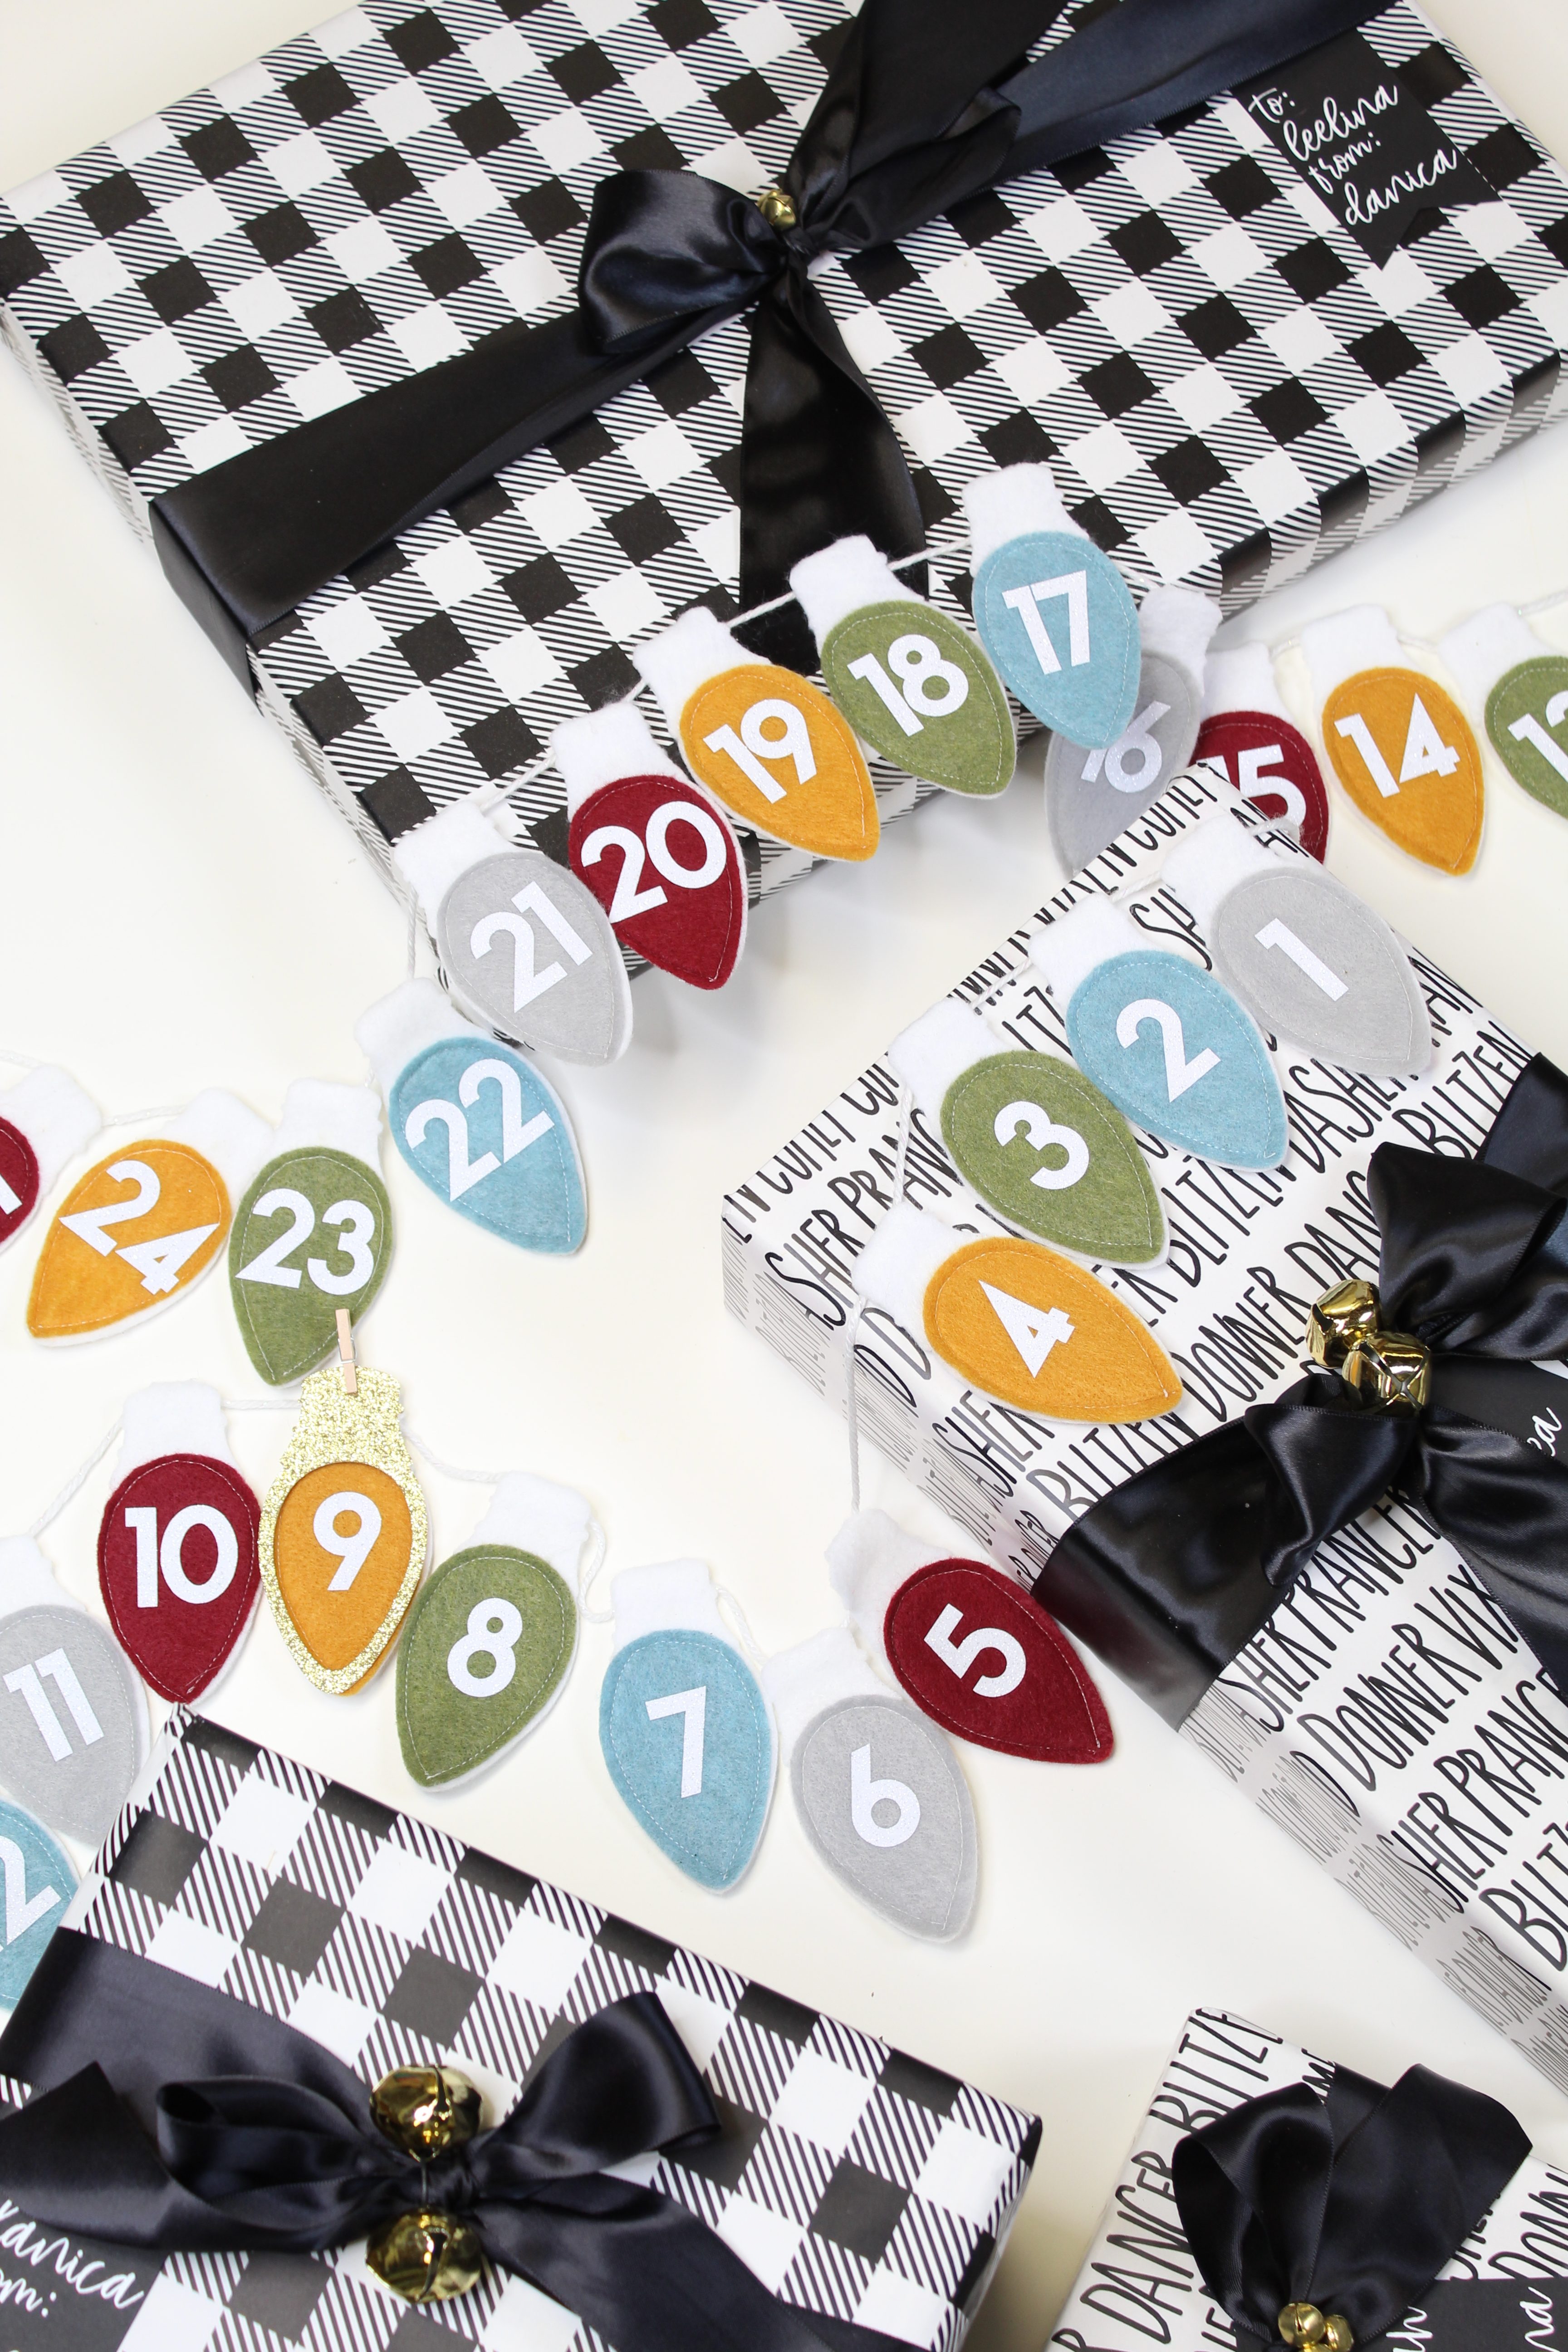
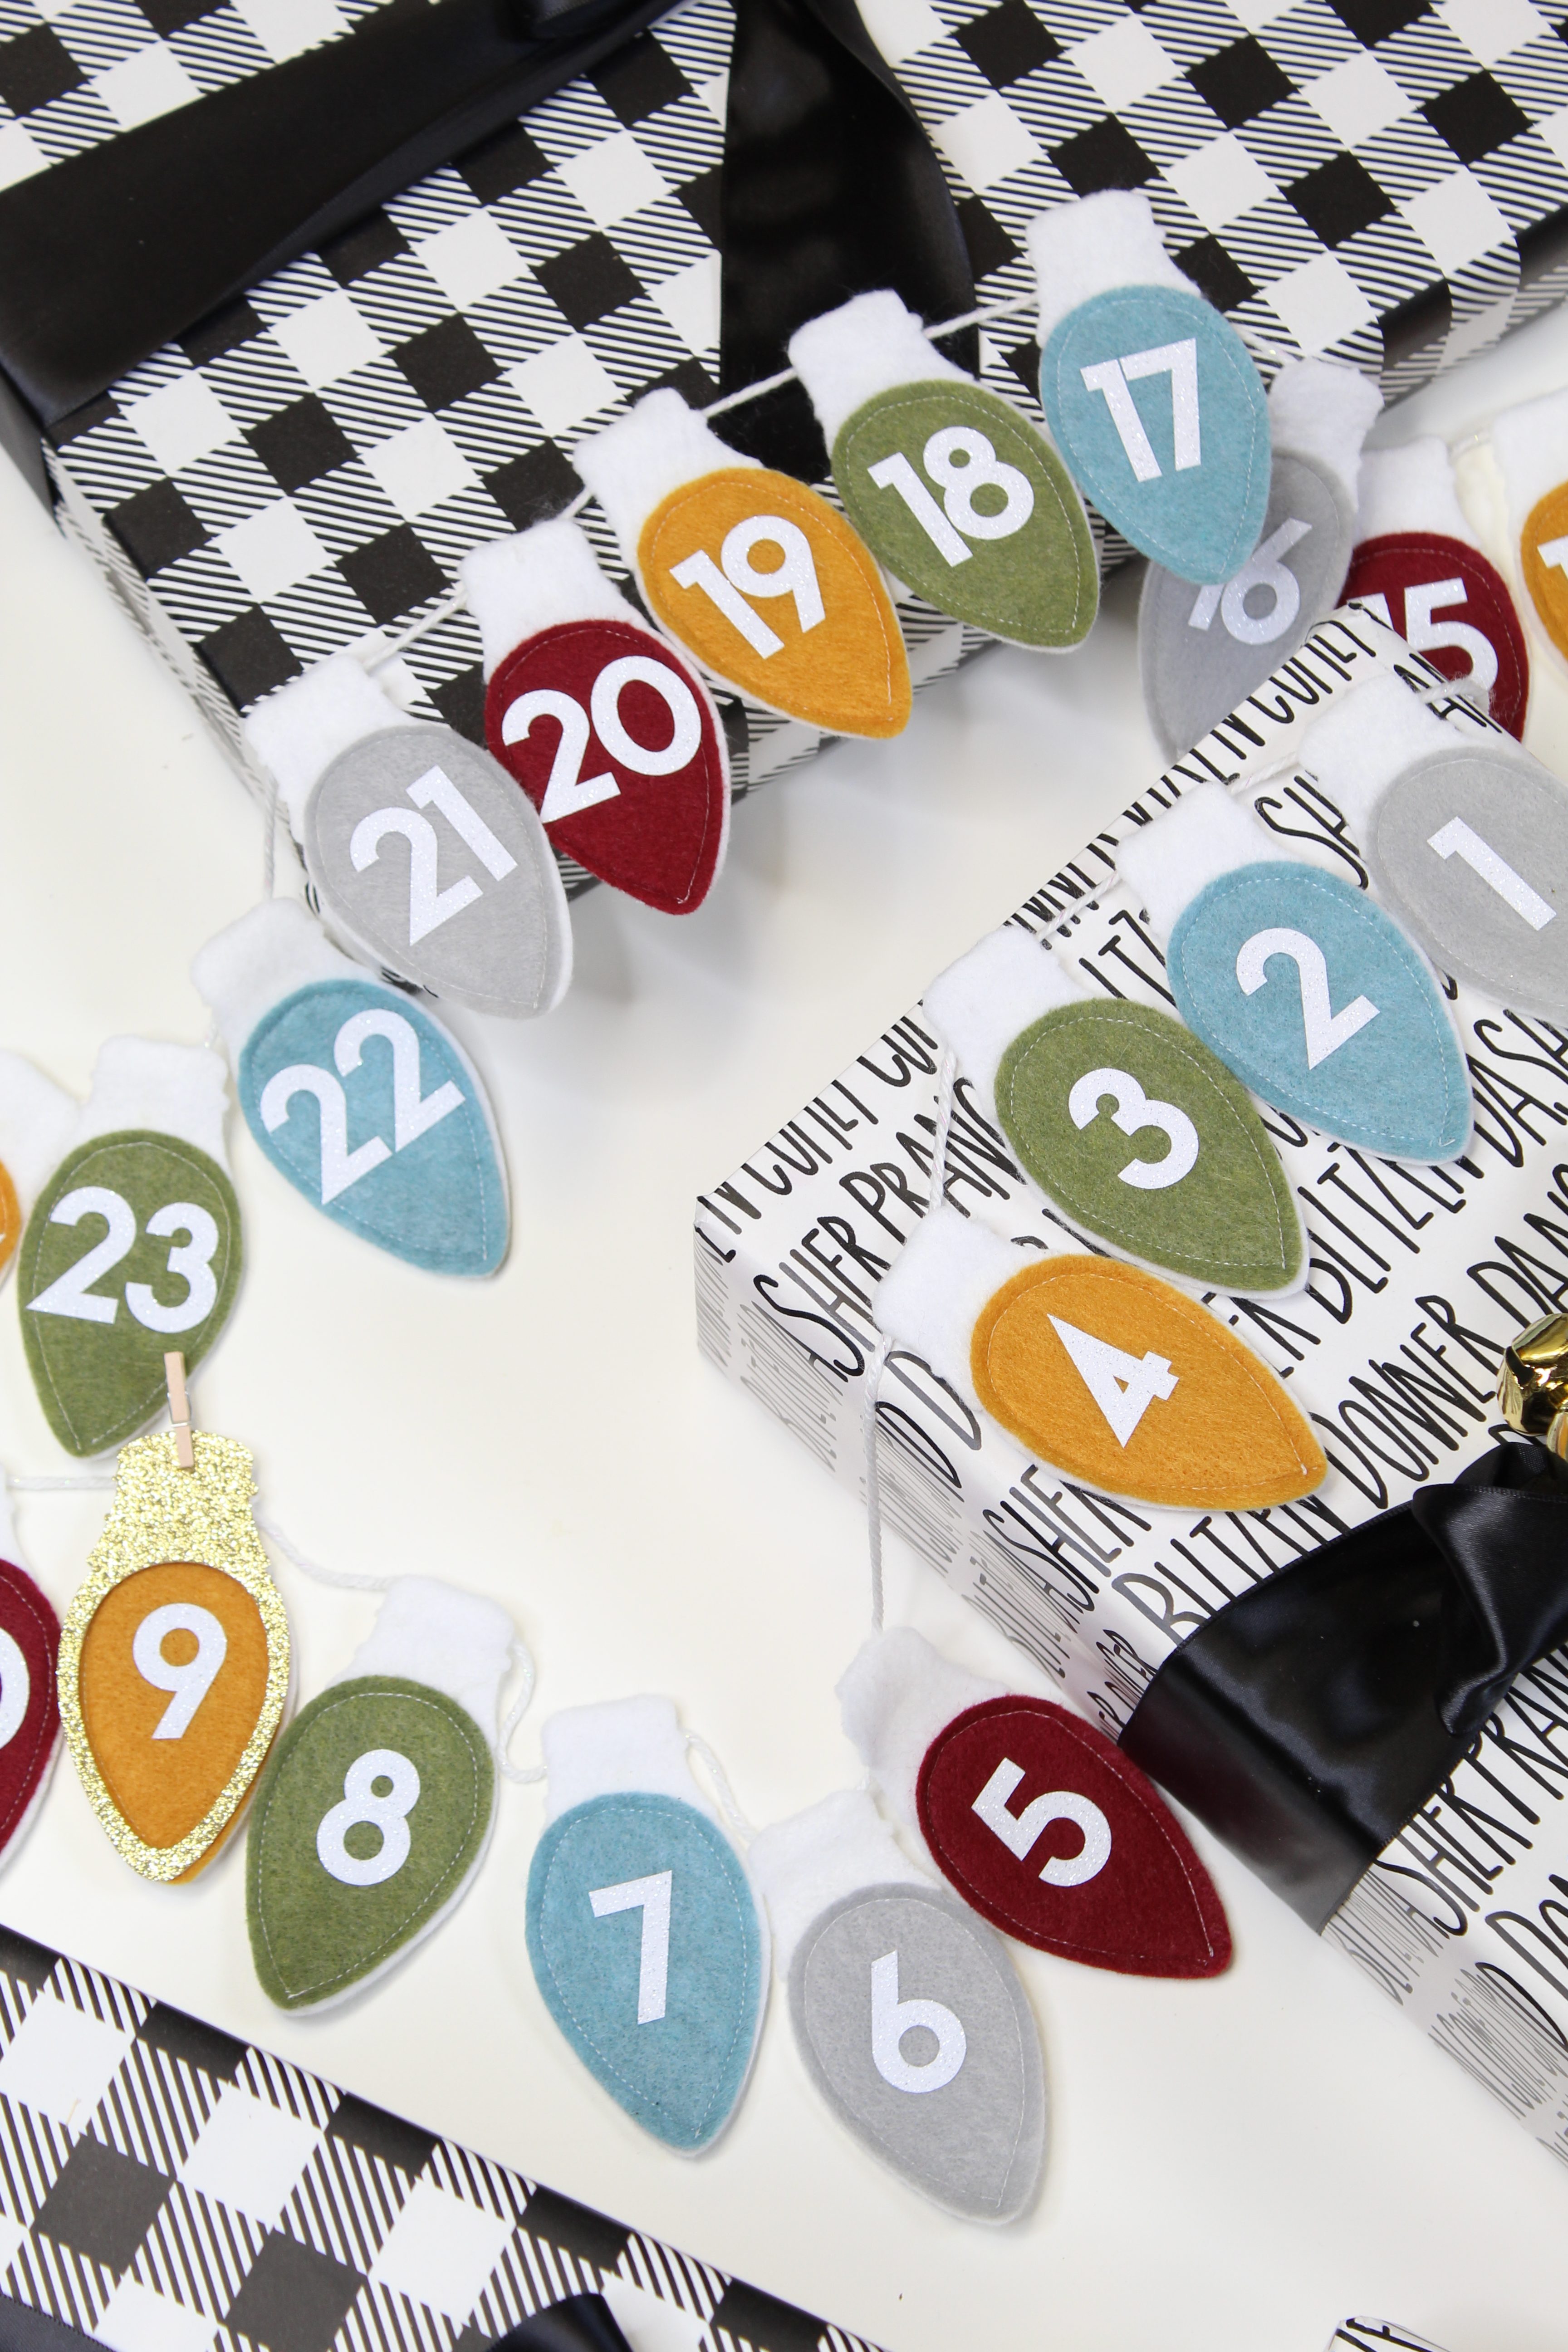
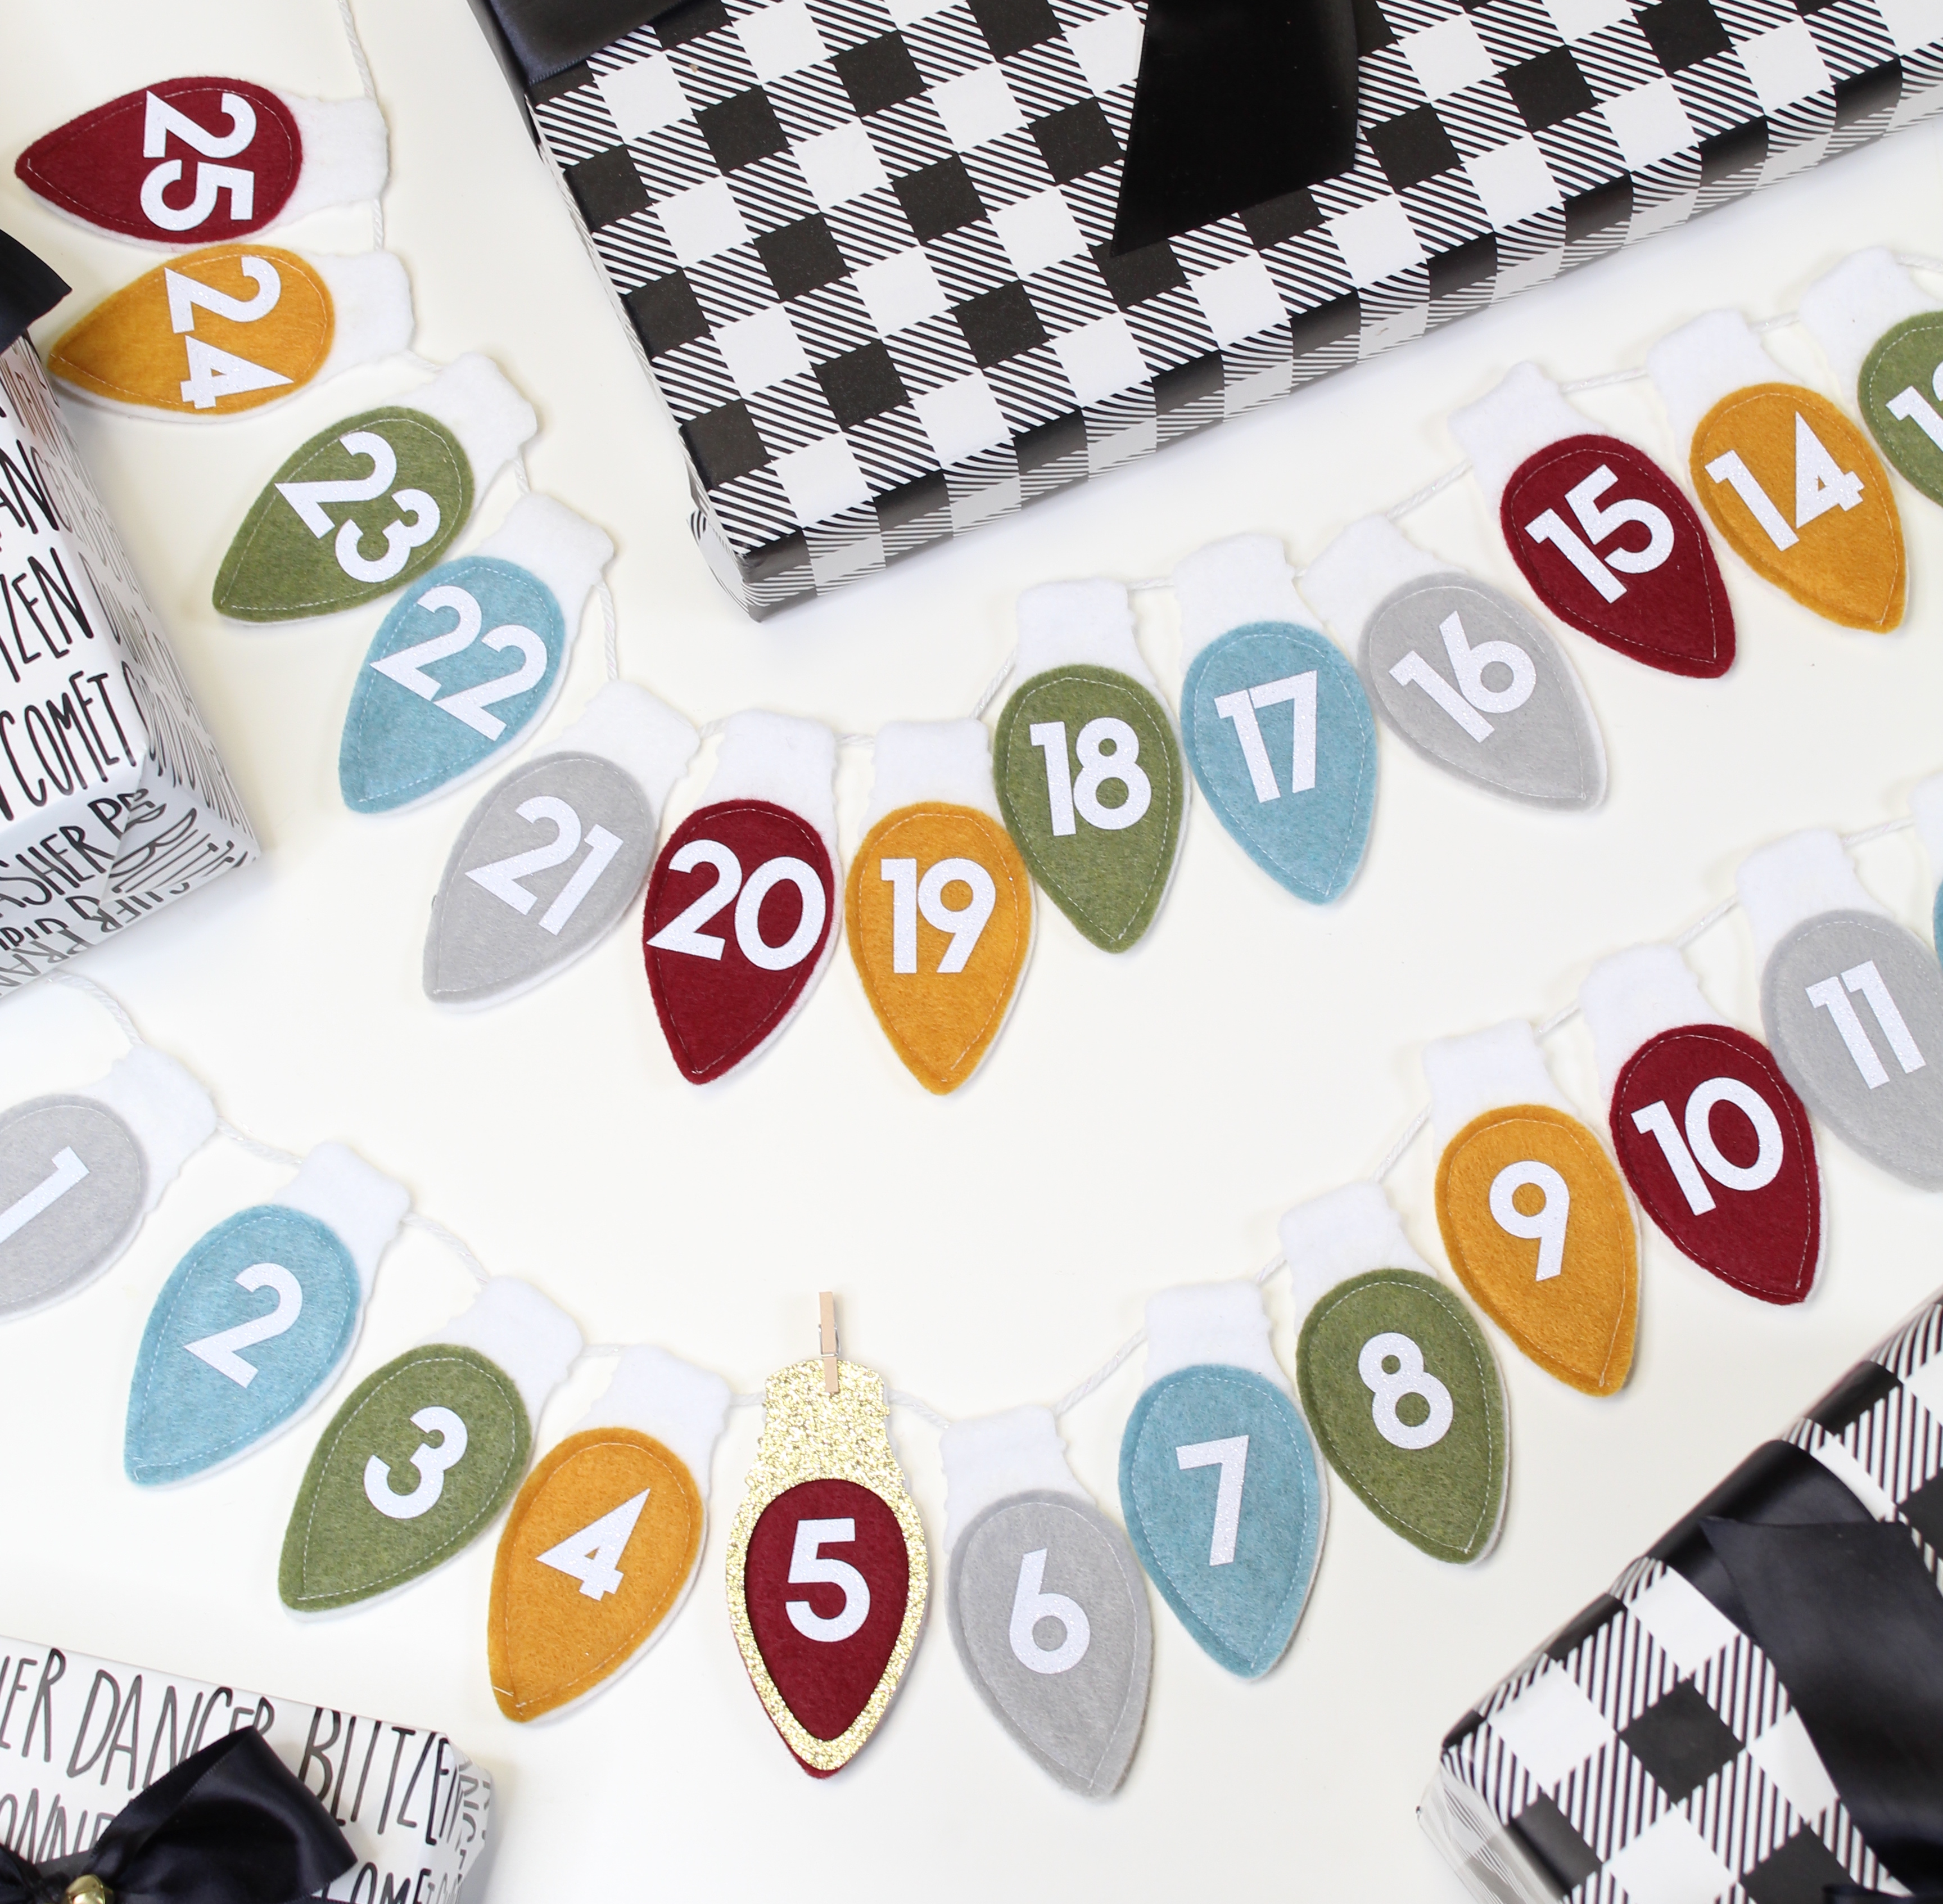
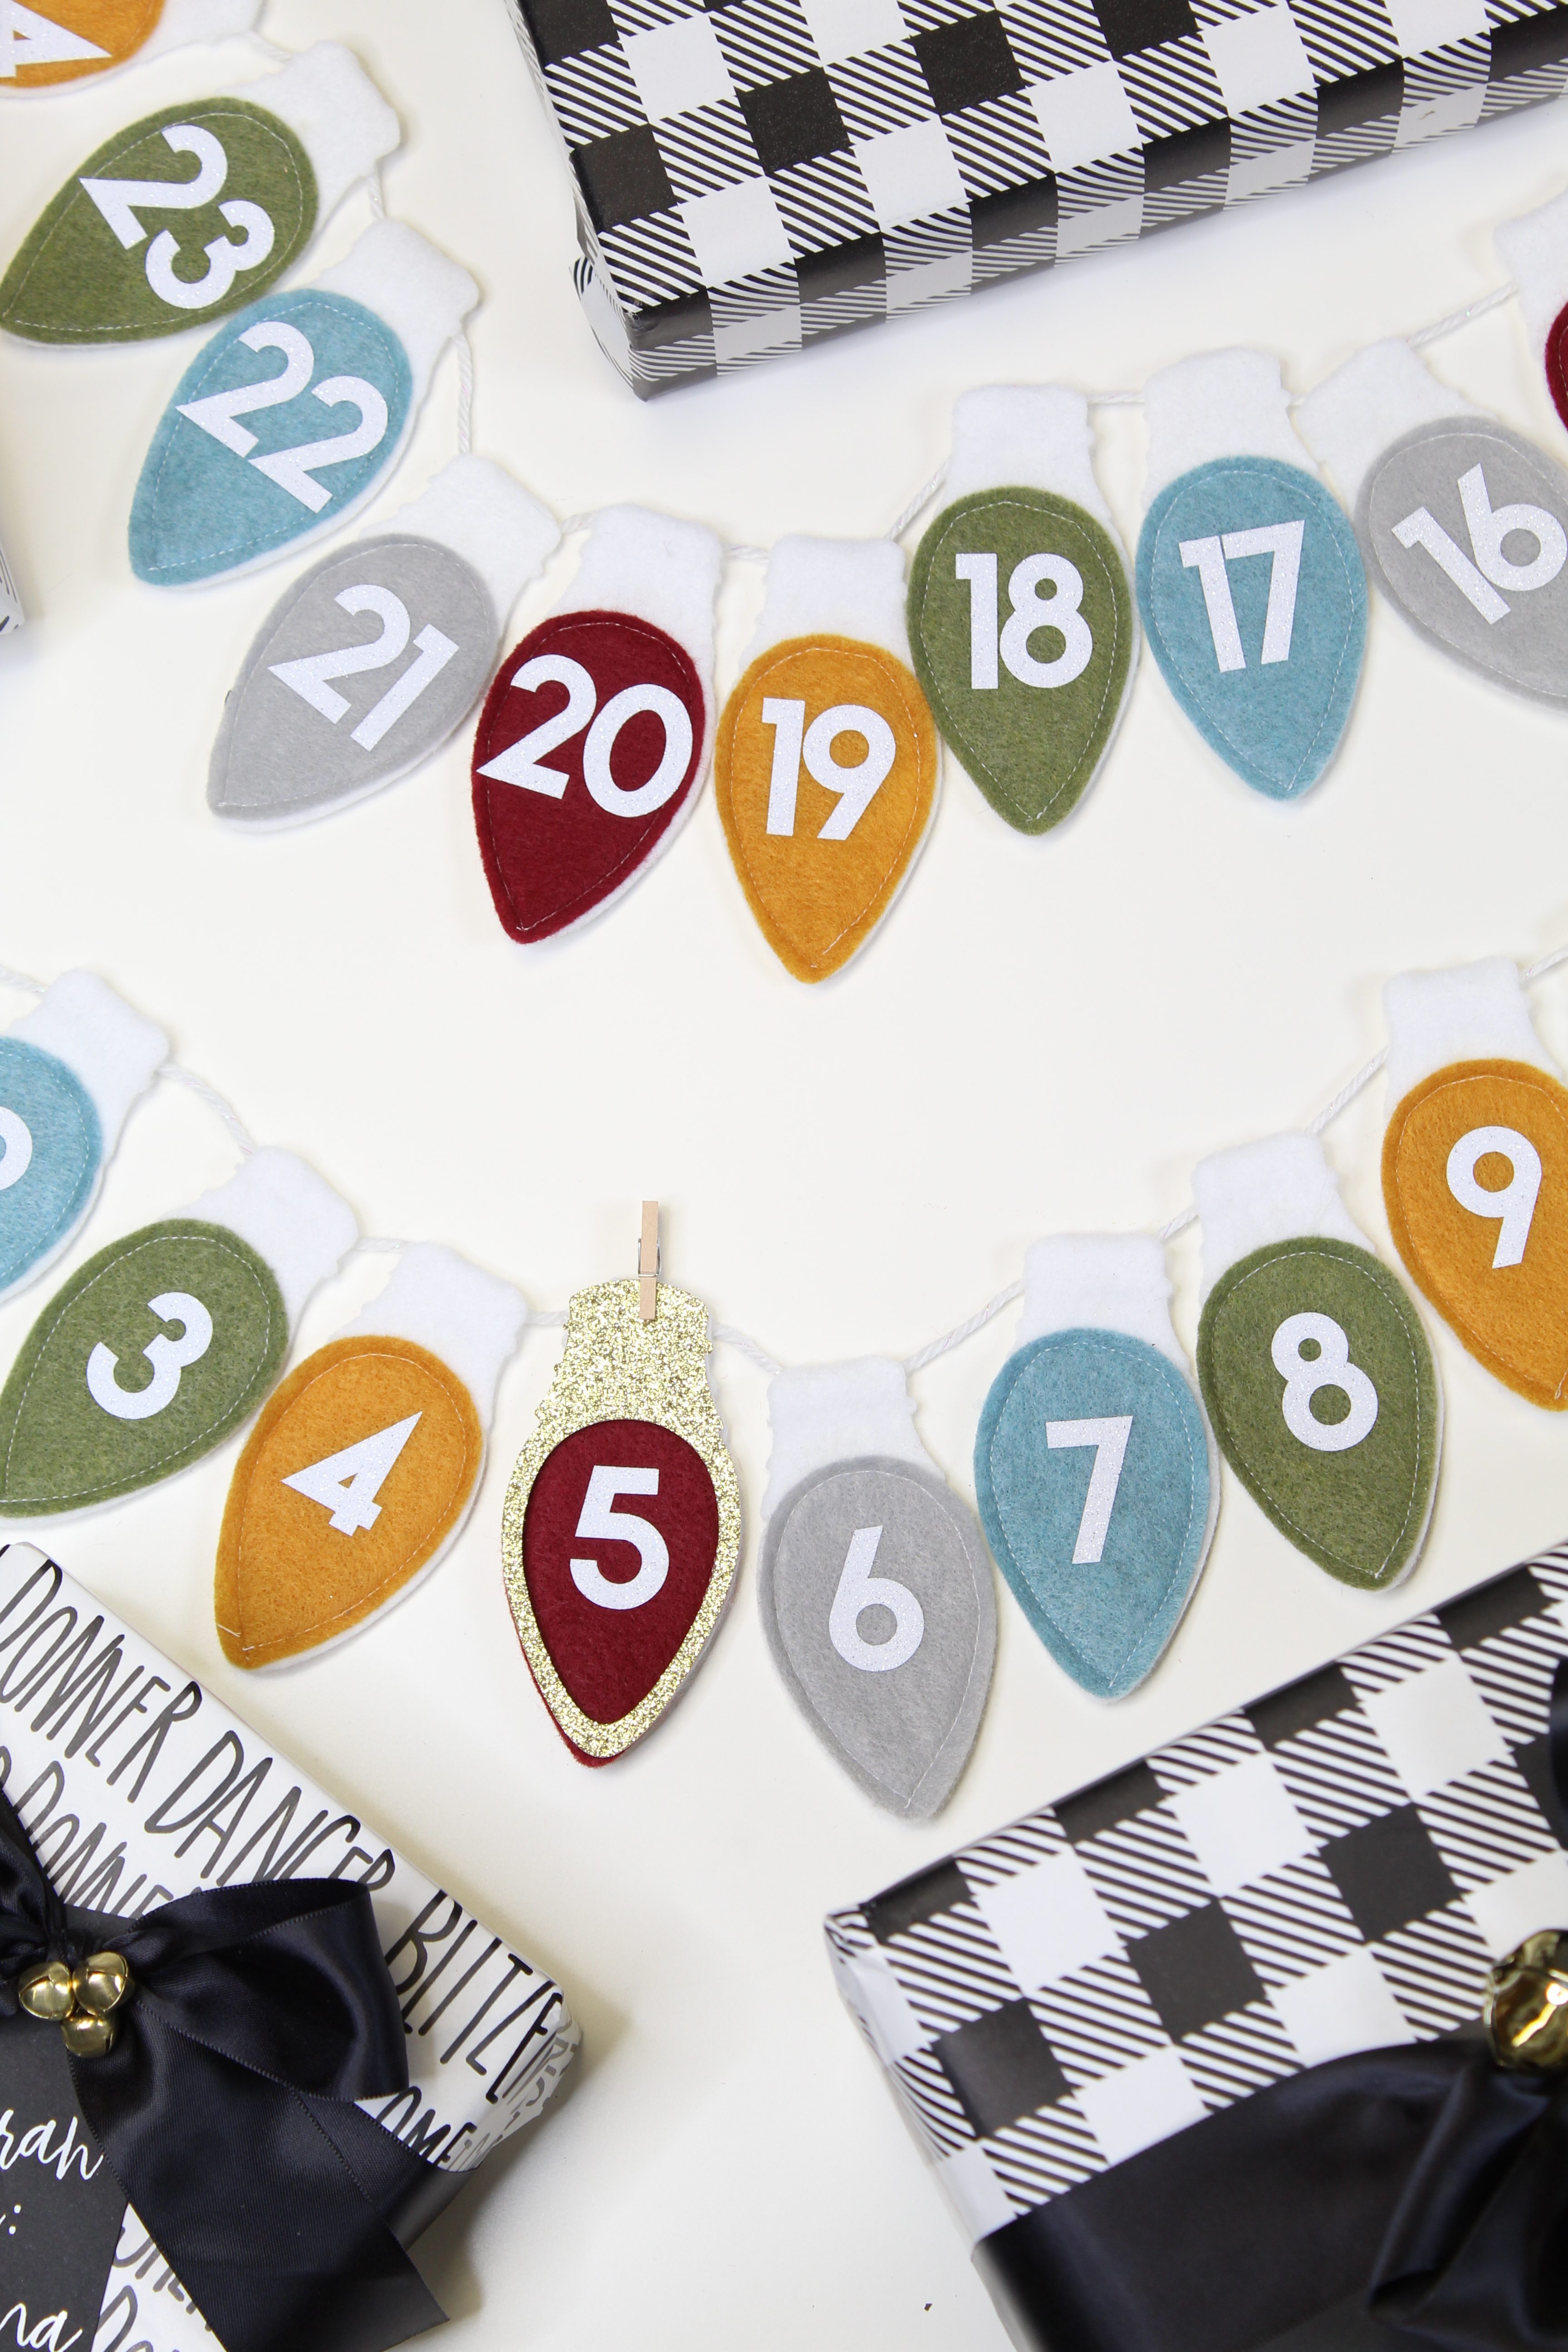
You should have 25 colored bulbs cut out as well as 25 bases.
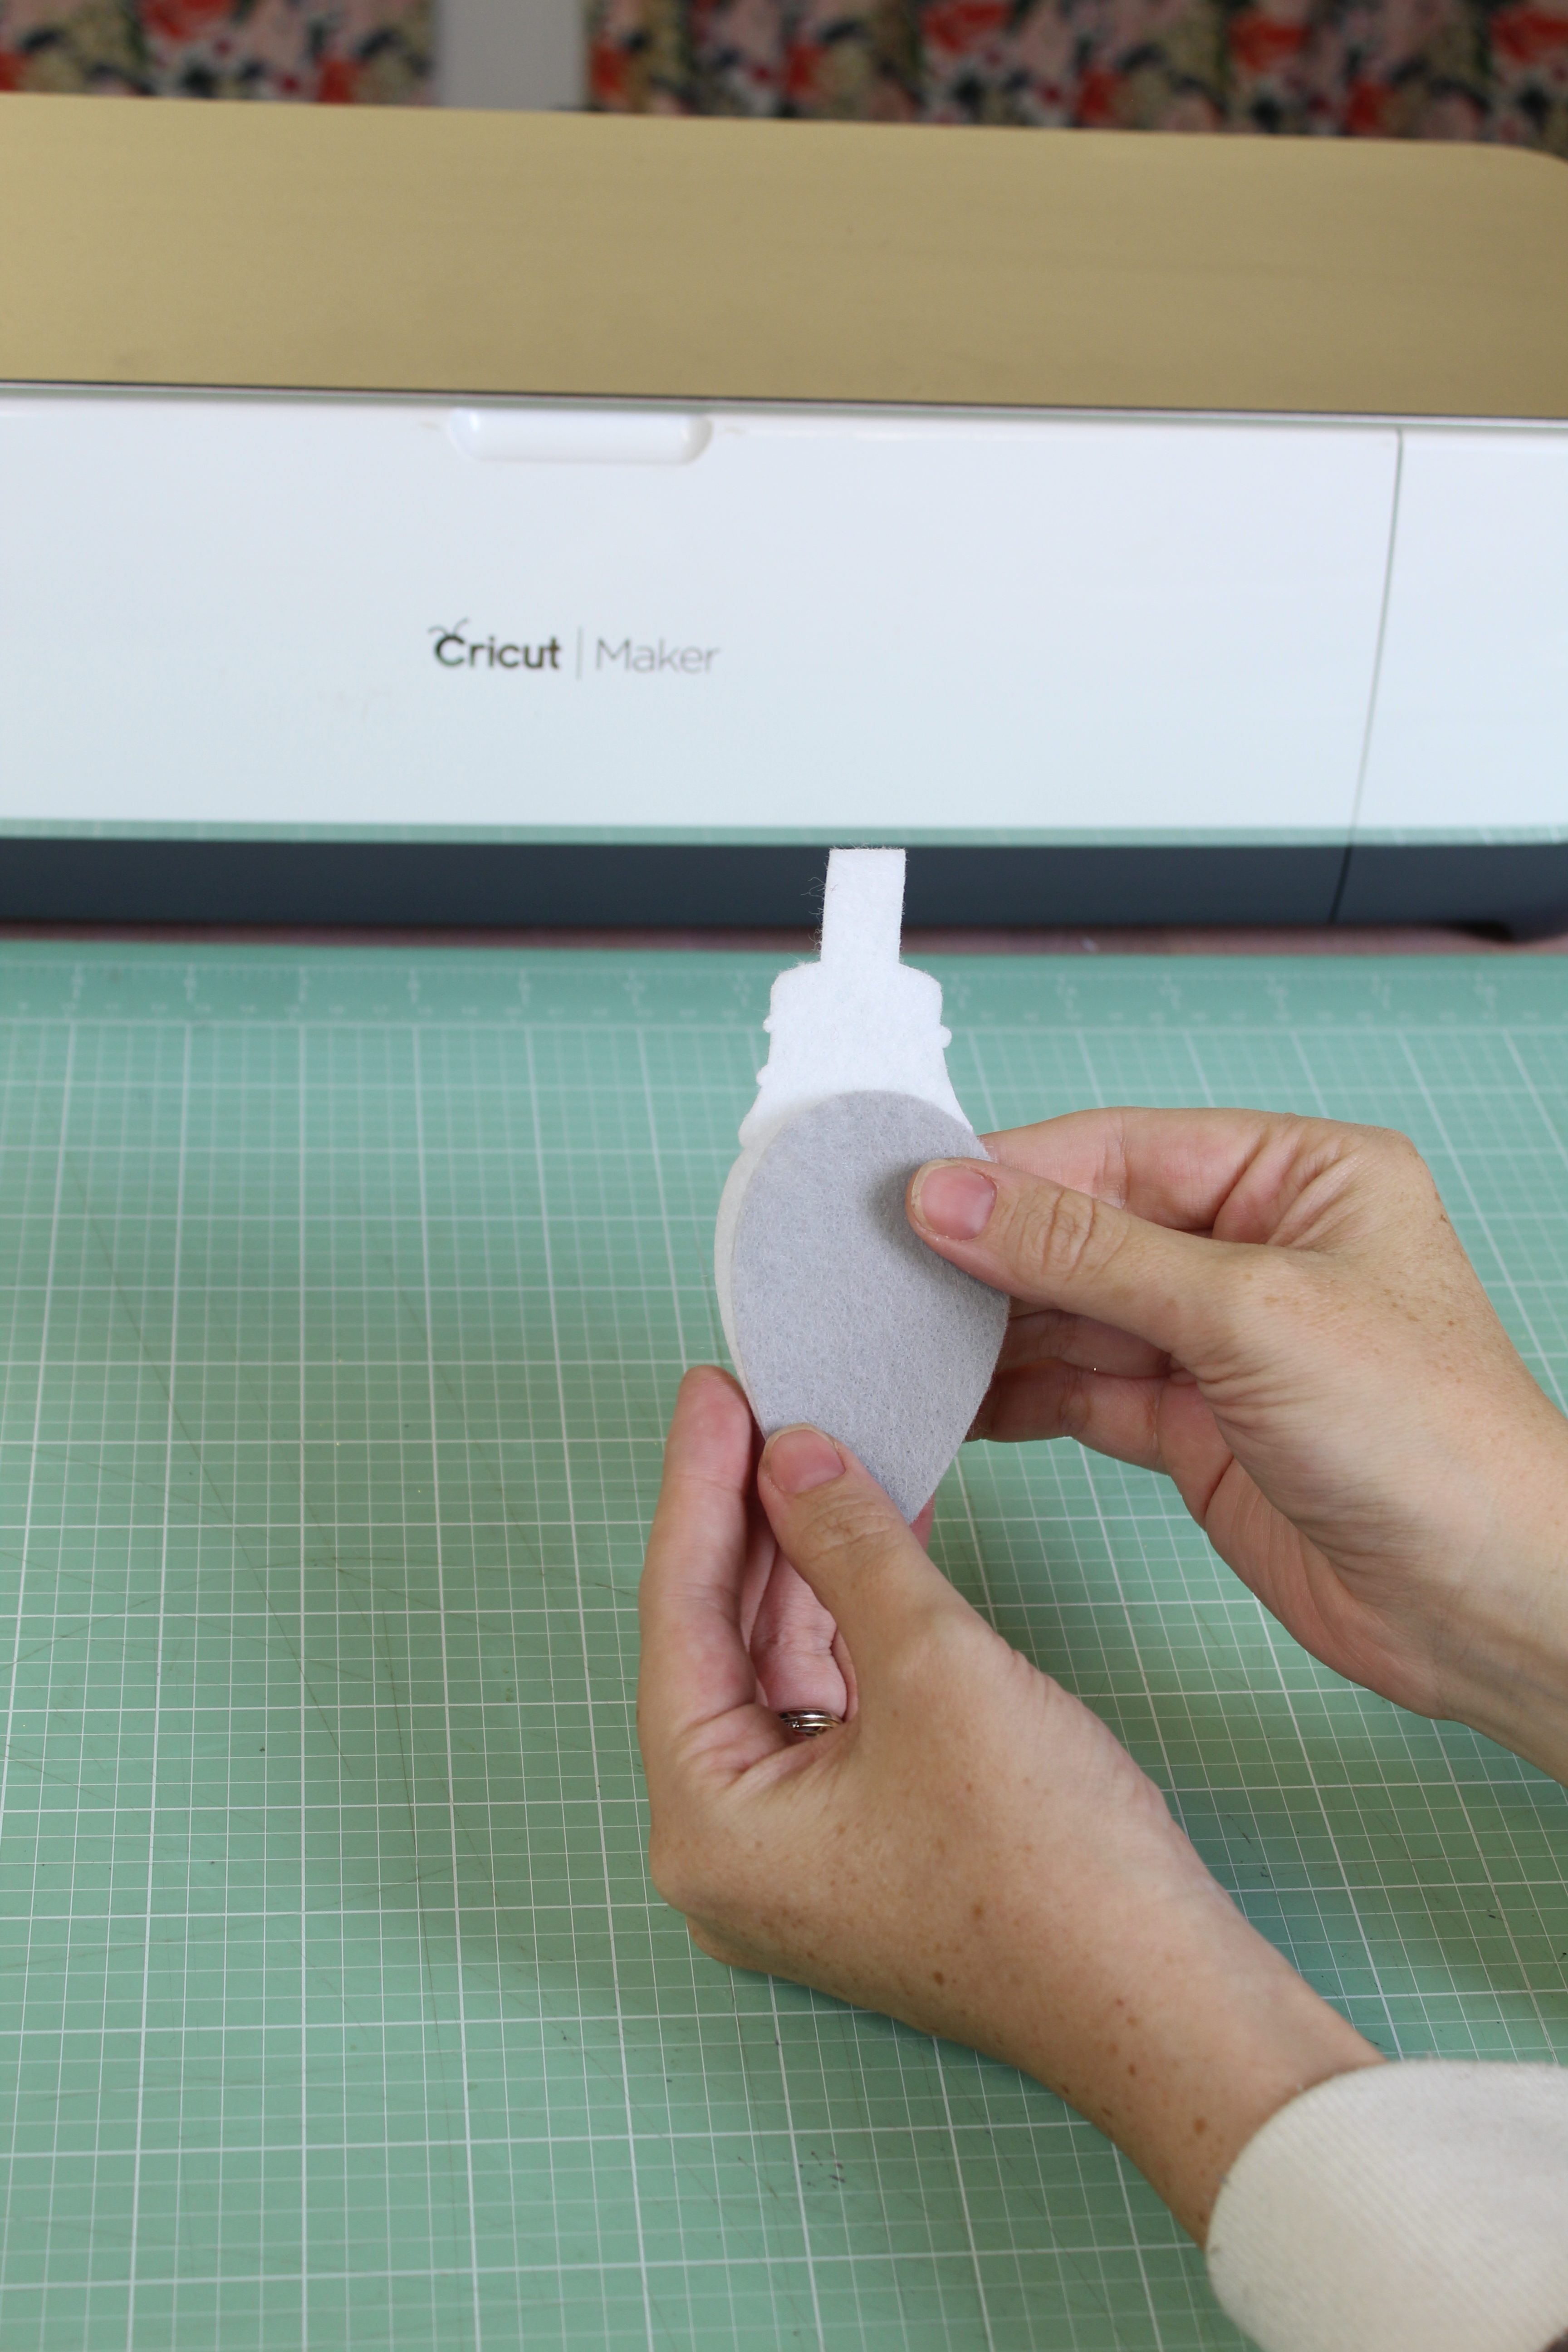
Lay the bulb overtop and sew around the outer edge. If sewing isn’t your thing, you can definitely glue them down as well.
Sew
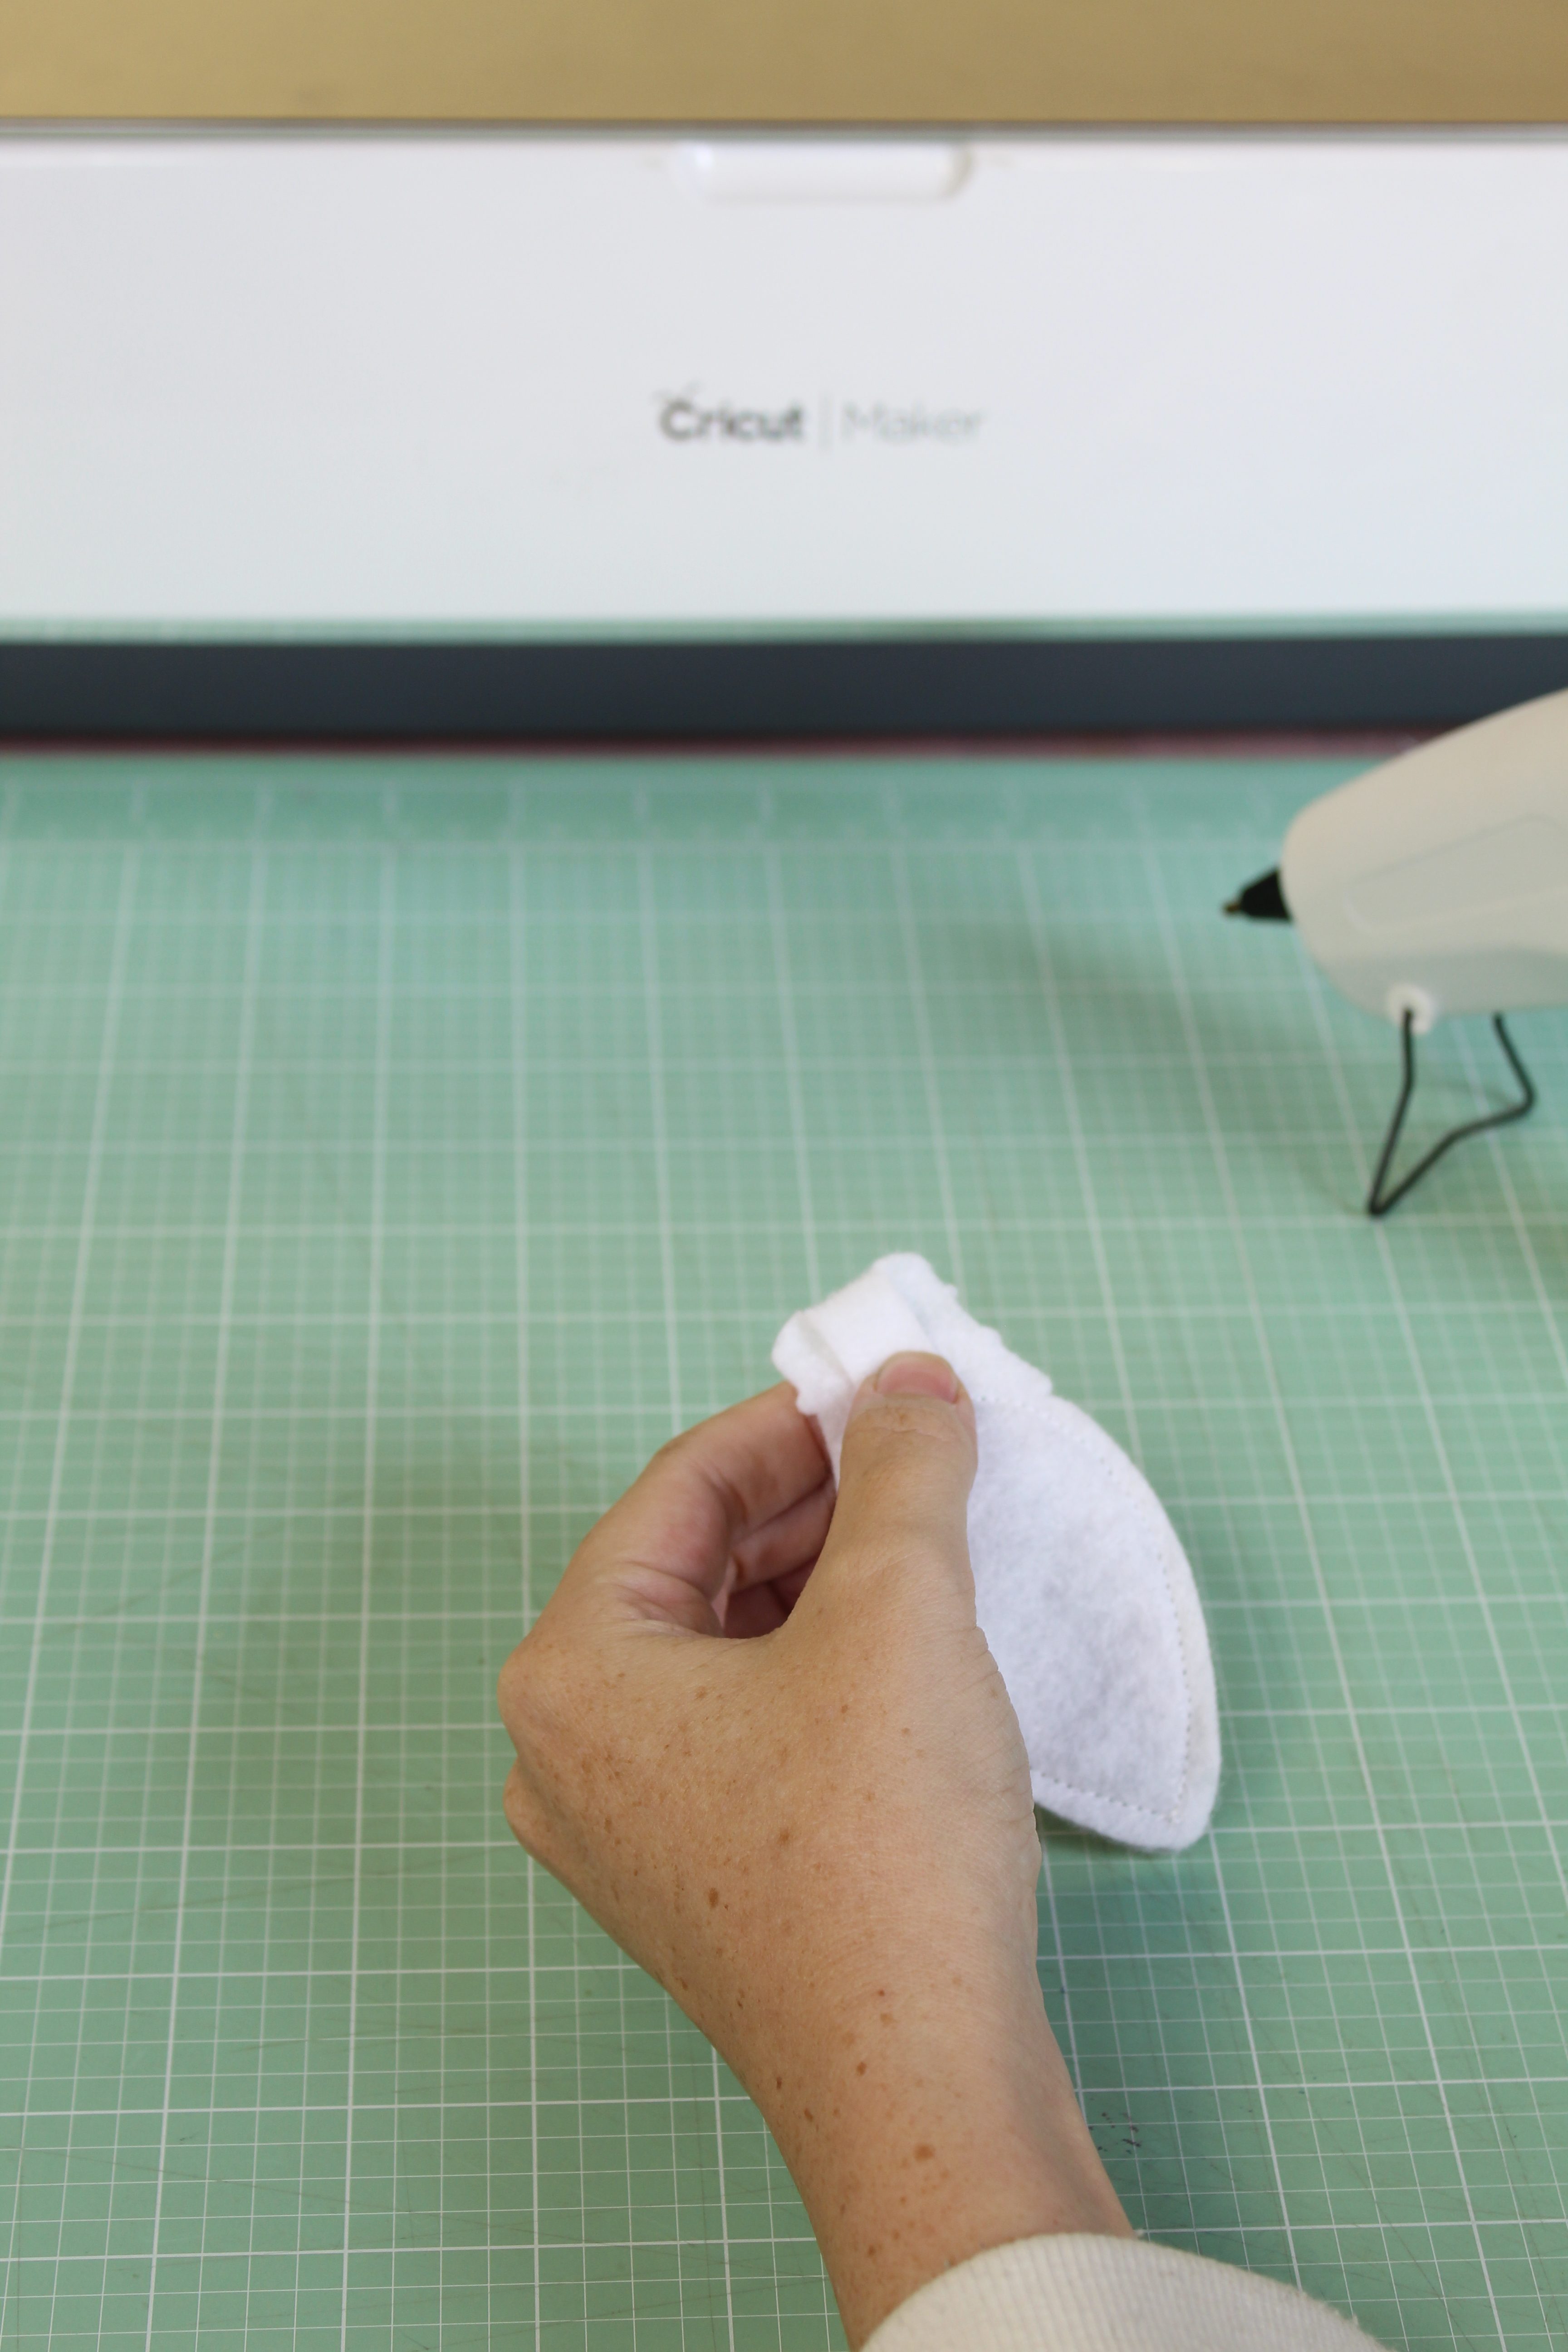
Glue
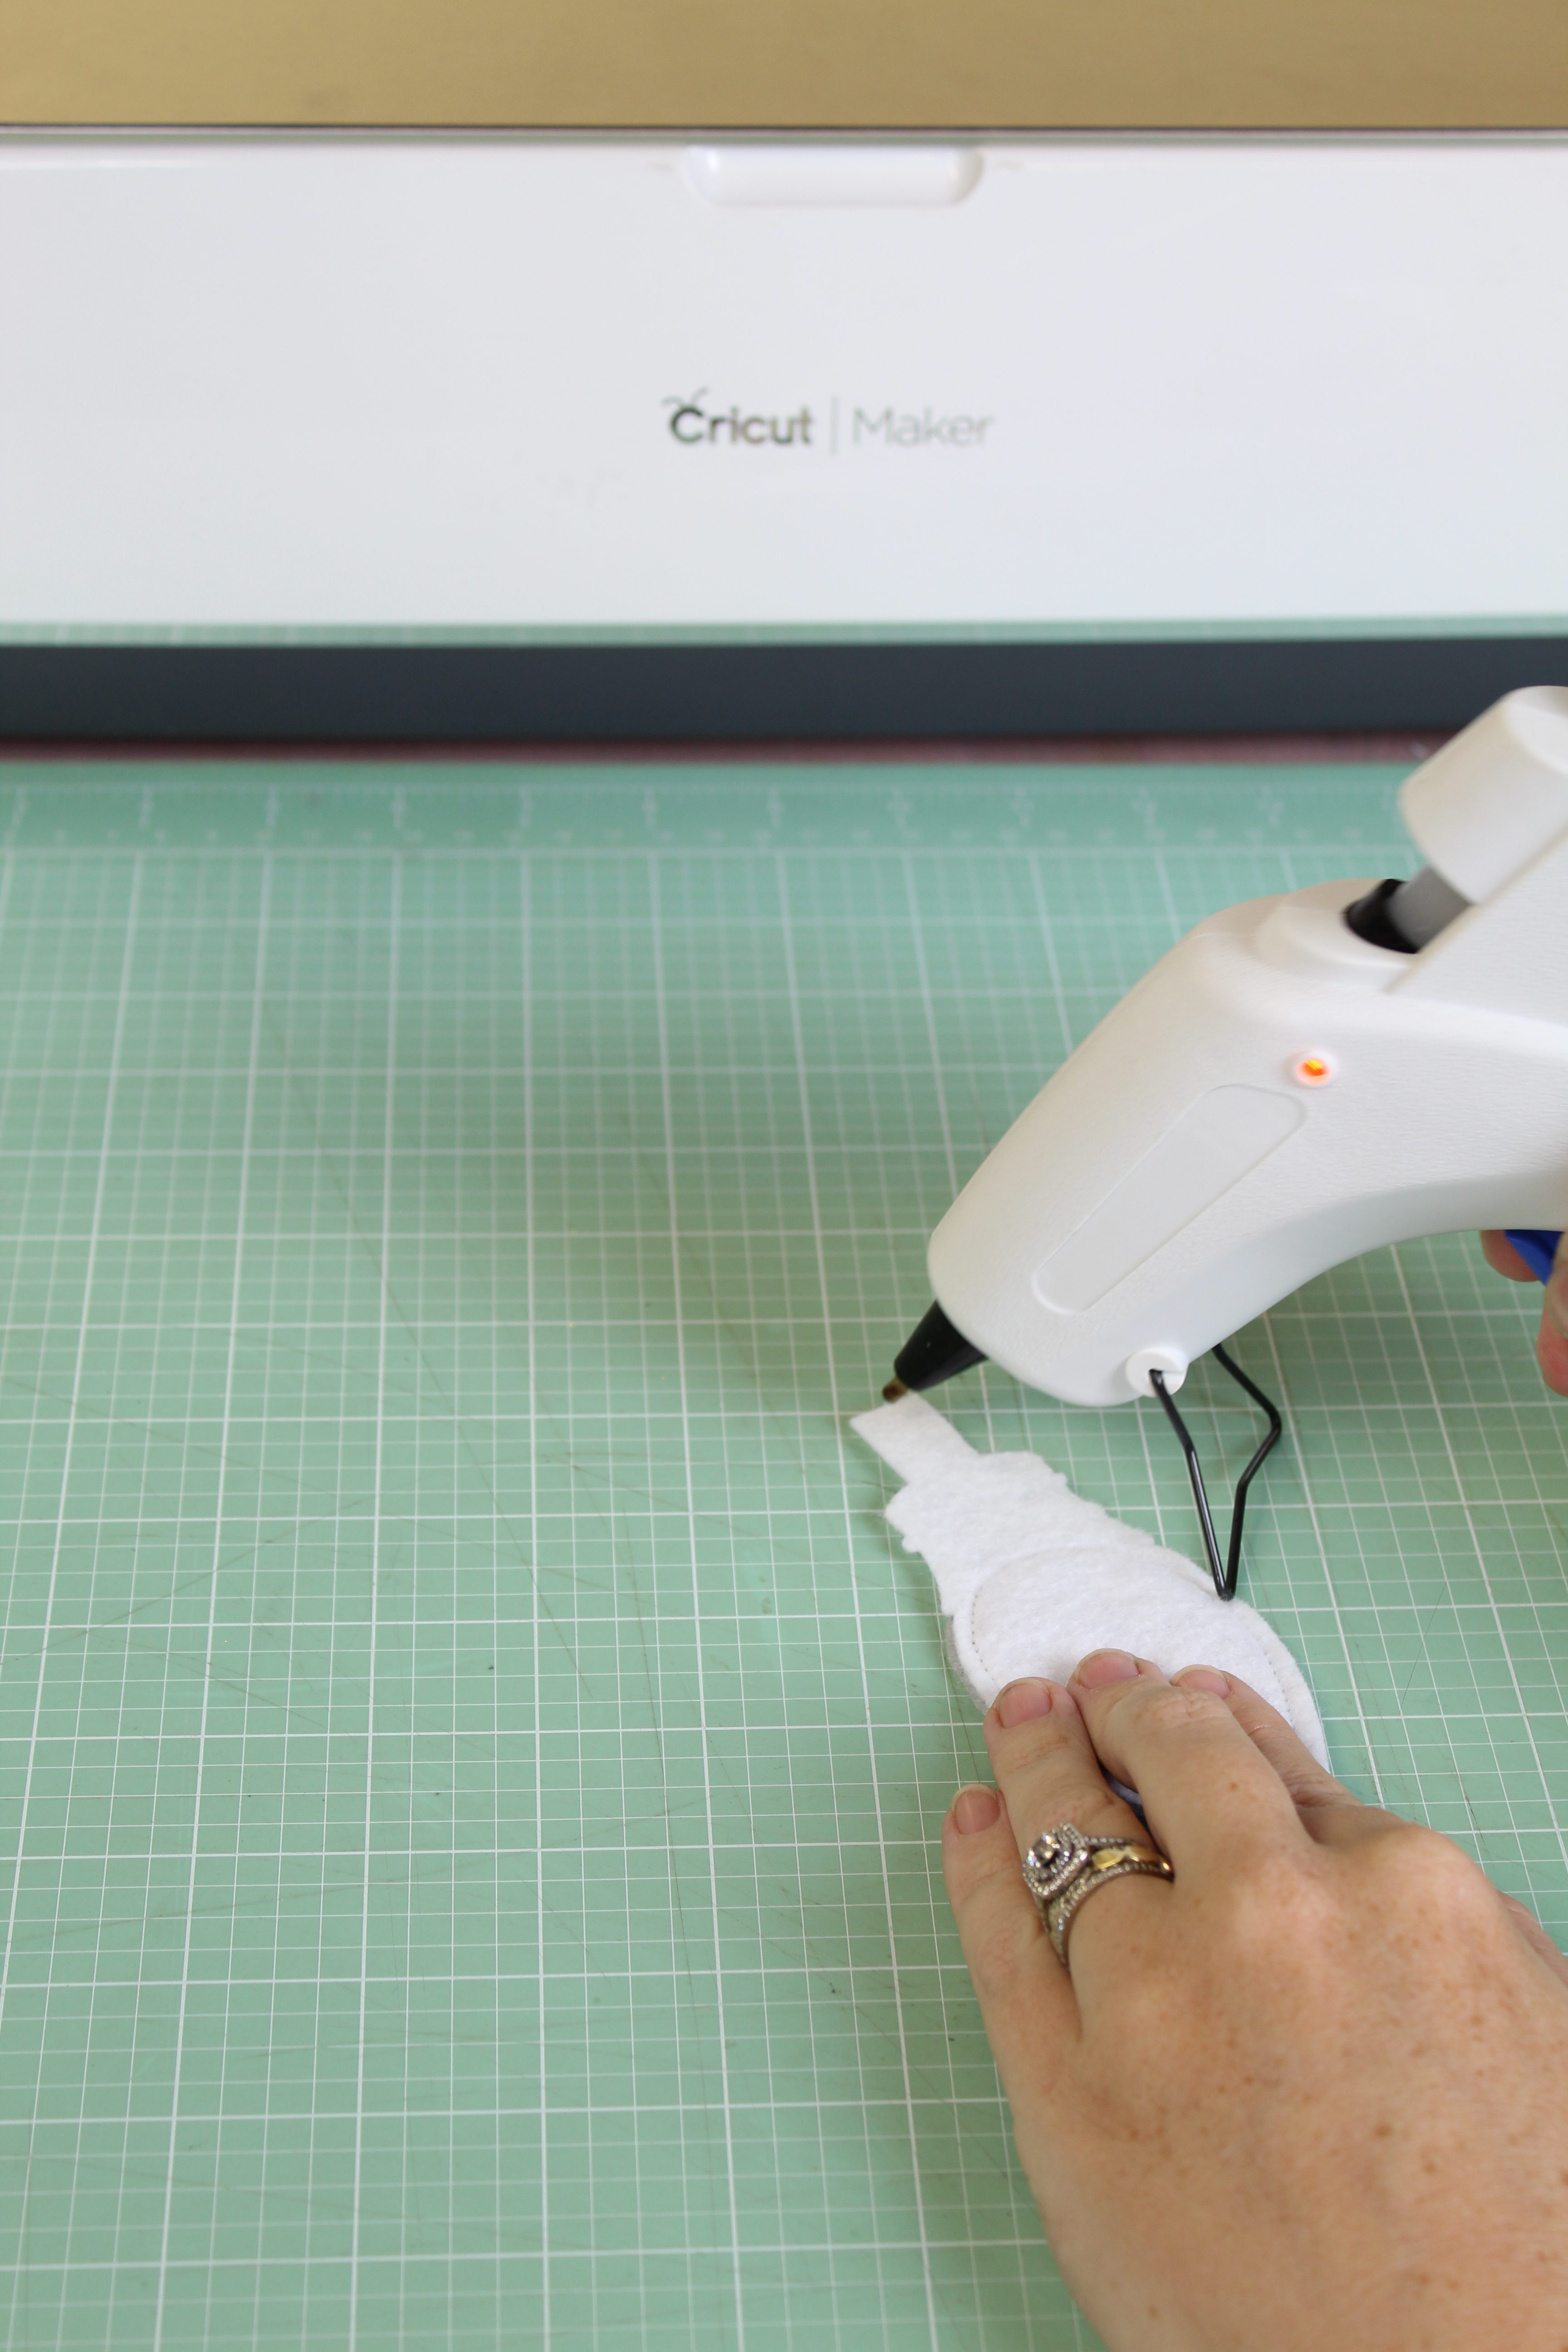
Once your bulb is attached, you will be making the loop for hanging. Put a dab of hot glue at the top and fold it over, holding it down while the glue cools.
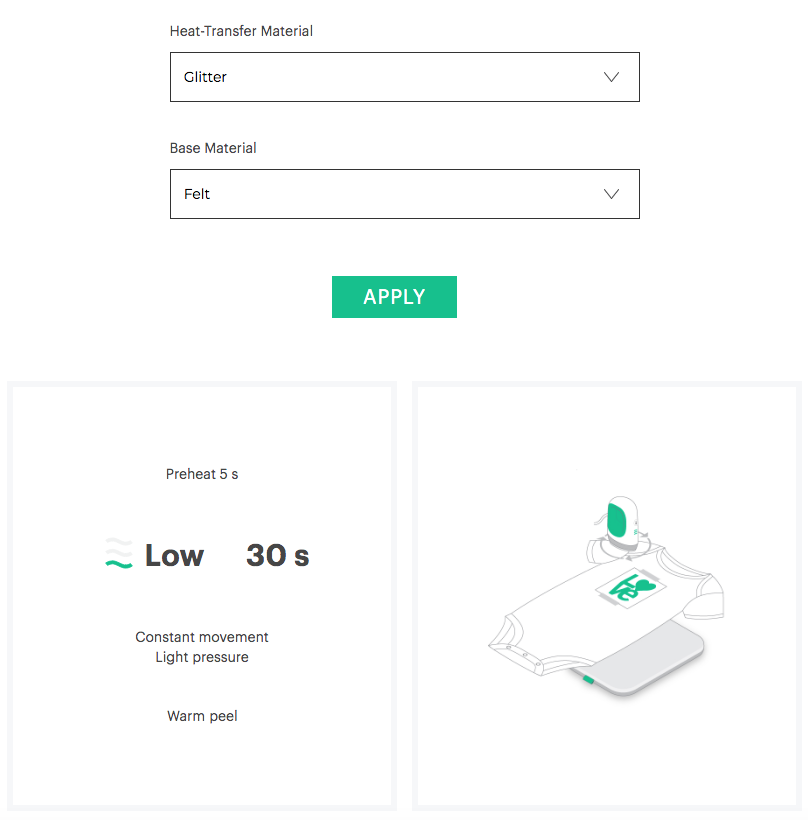
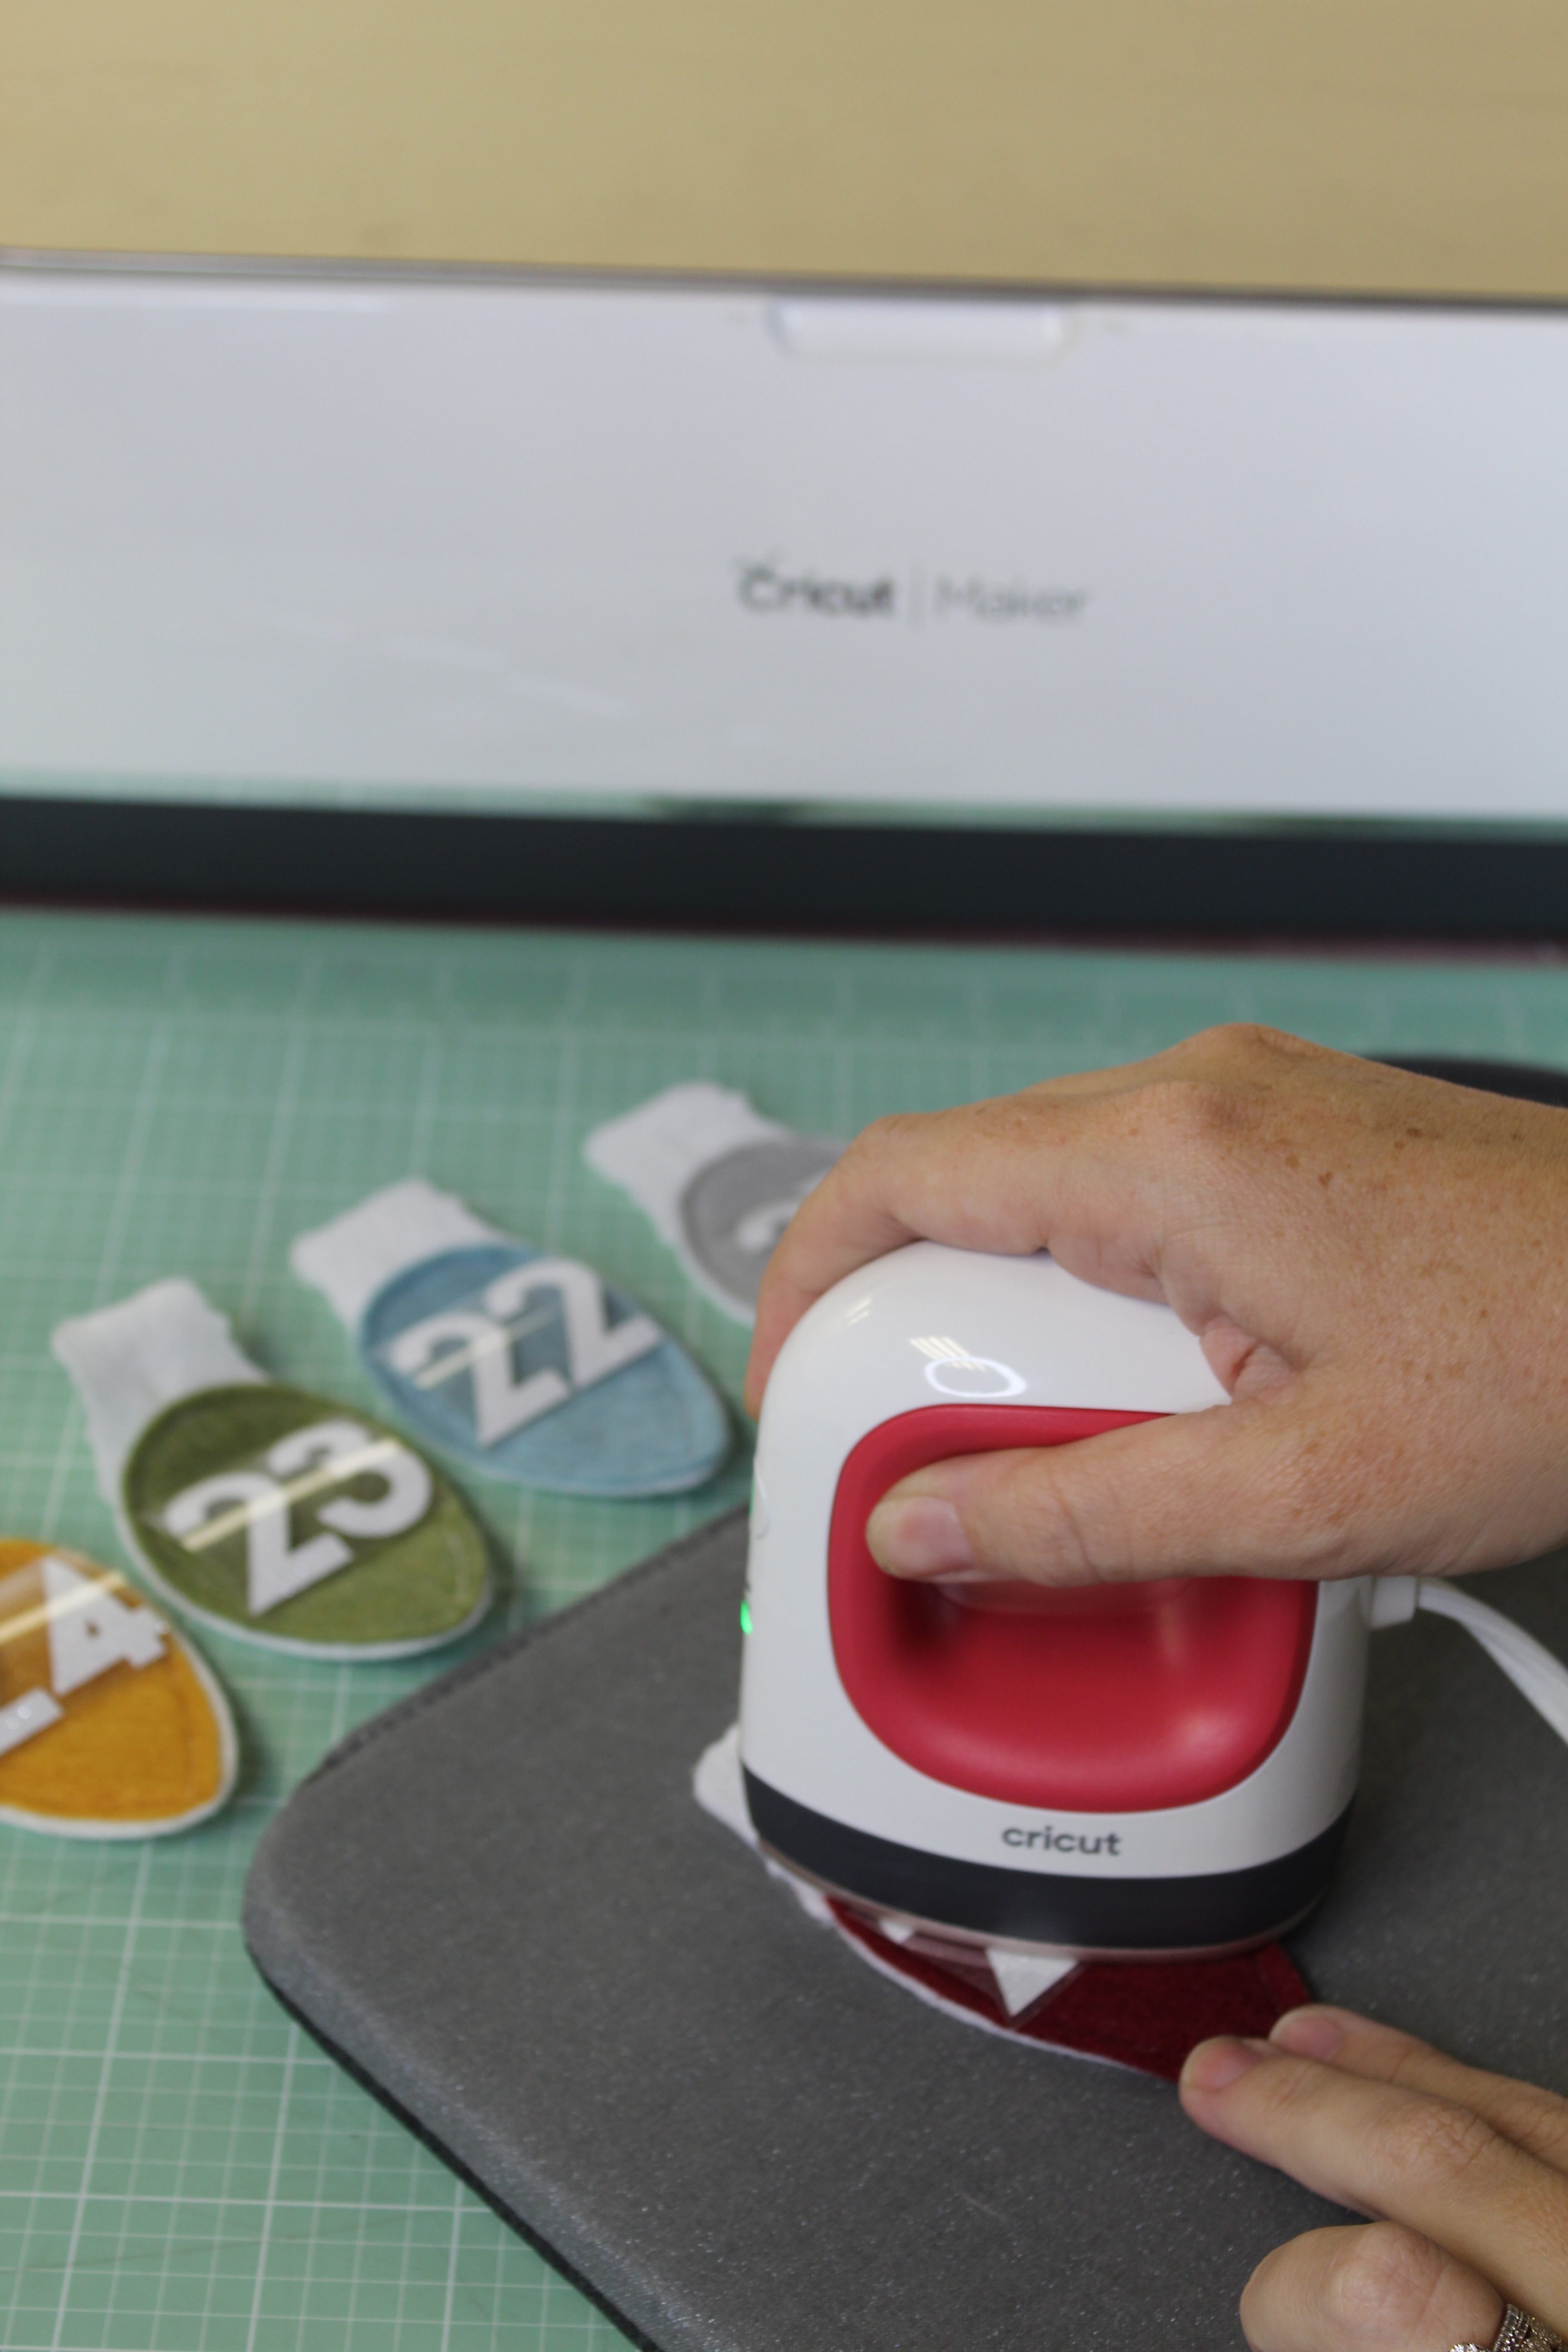
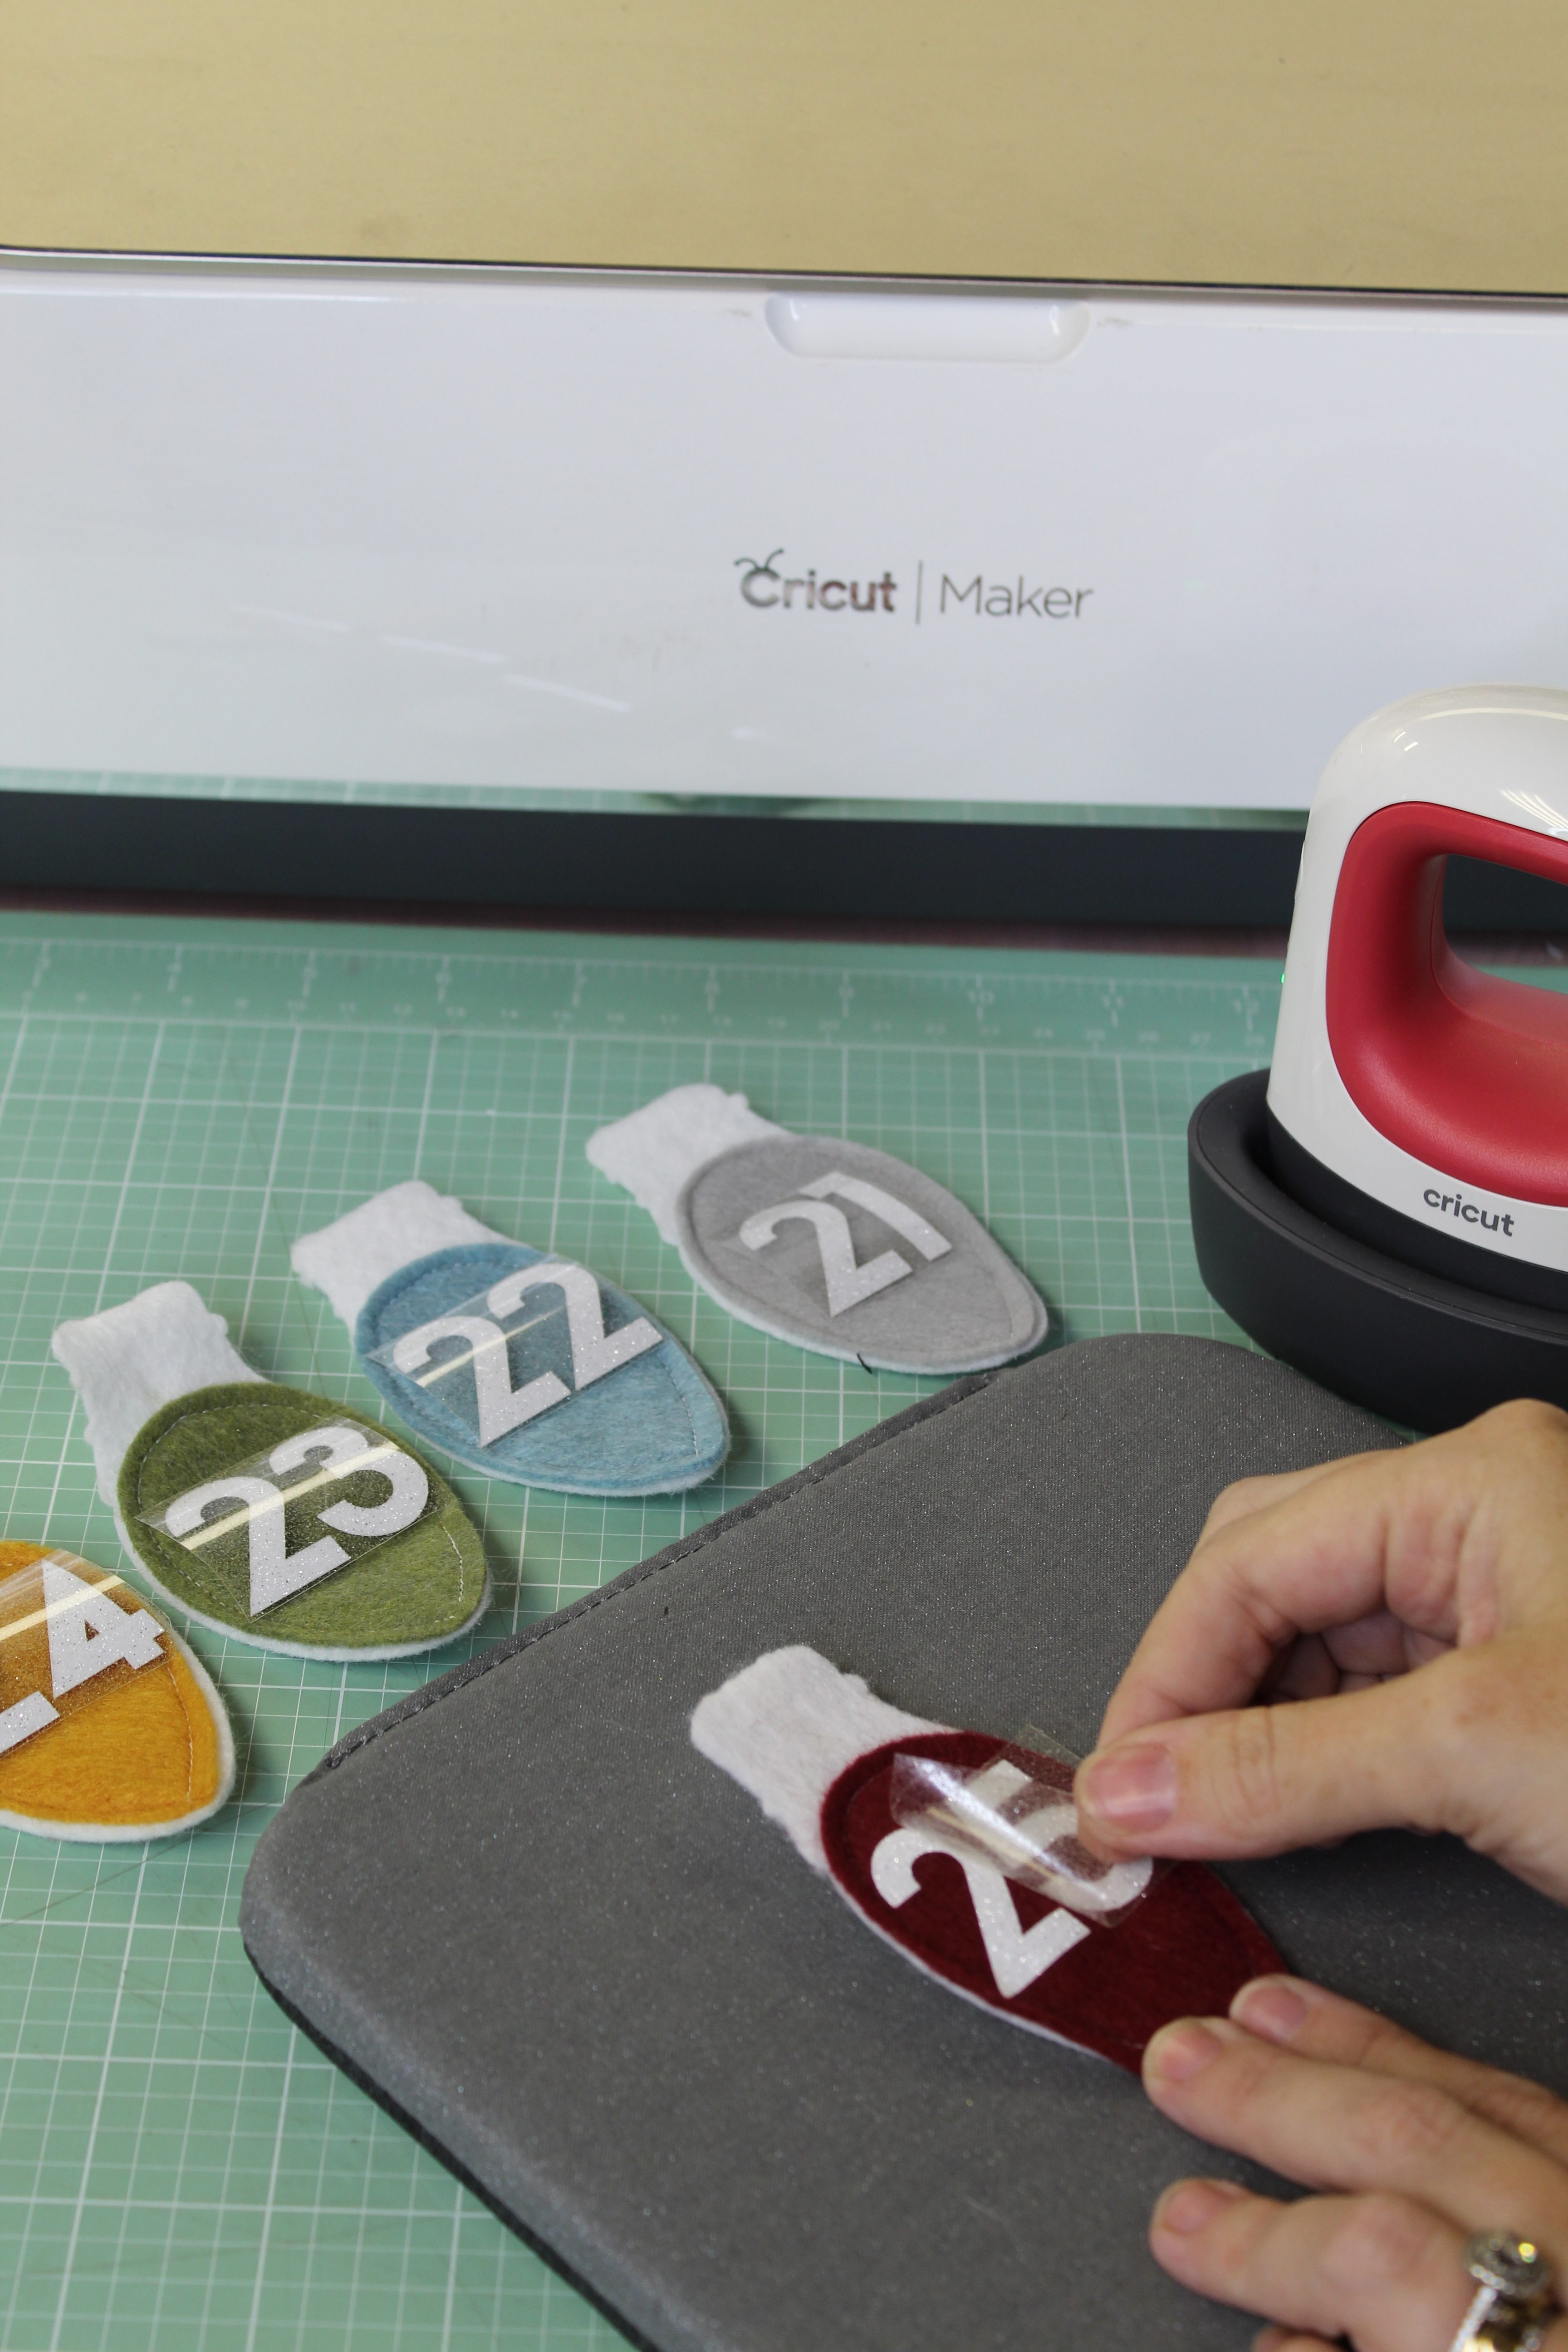
Iron
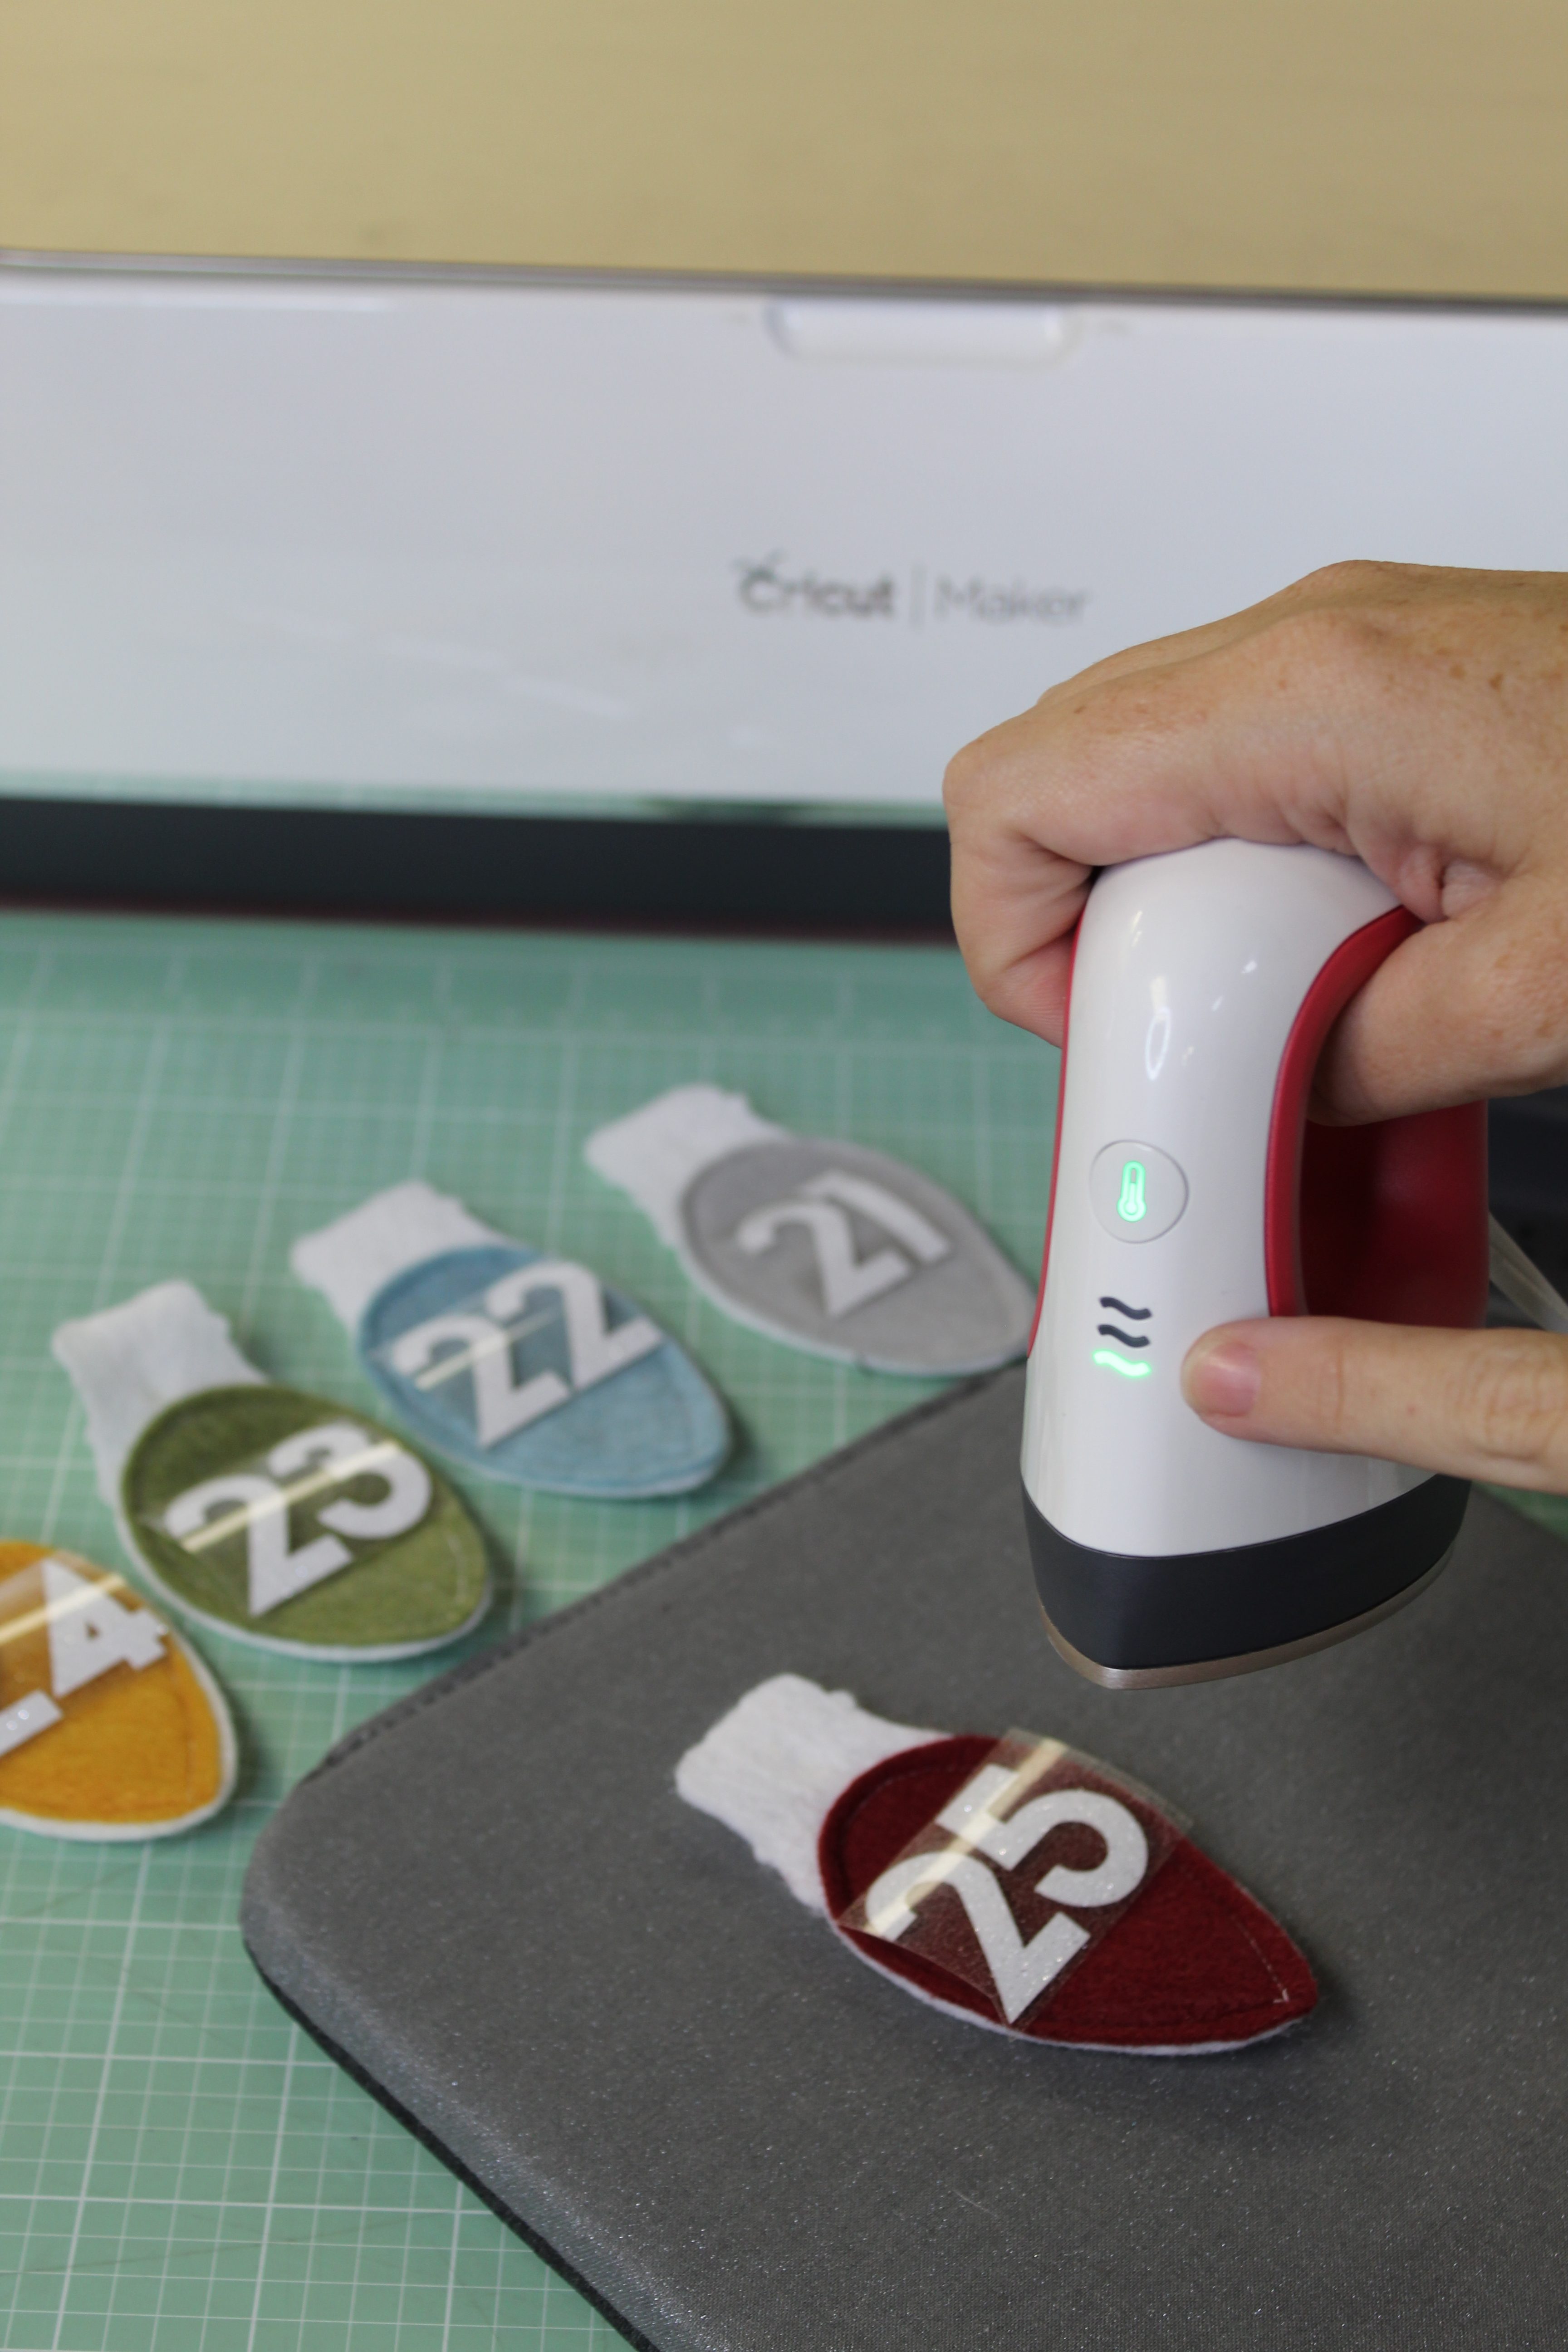
Now for the fun part! Using the cutest new crafting tool, the EasyPress Mini! Using the Cricut EasyPress Heat Guide I put in my heat transfer material and my base material and voila! They take all the guess work out of it for you!
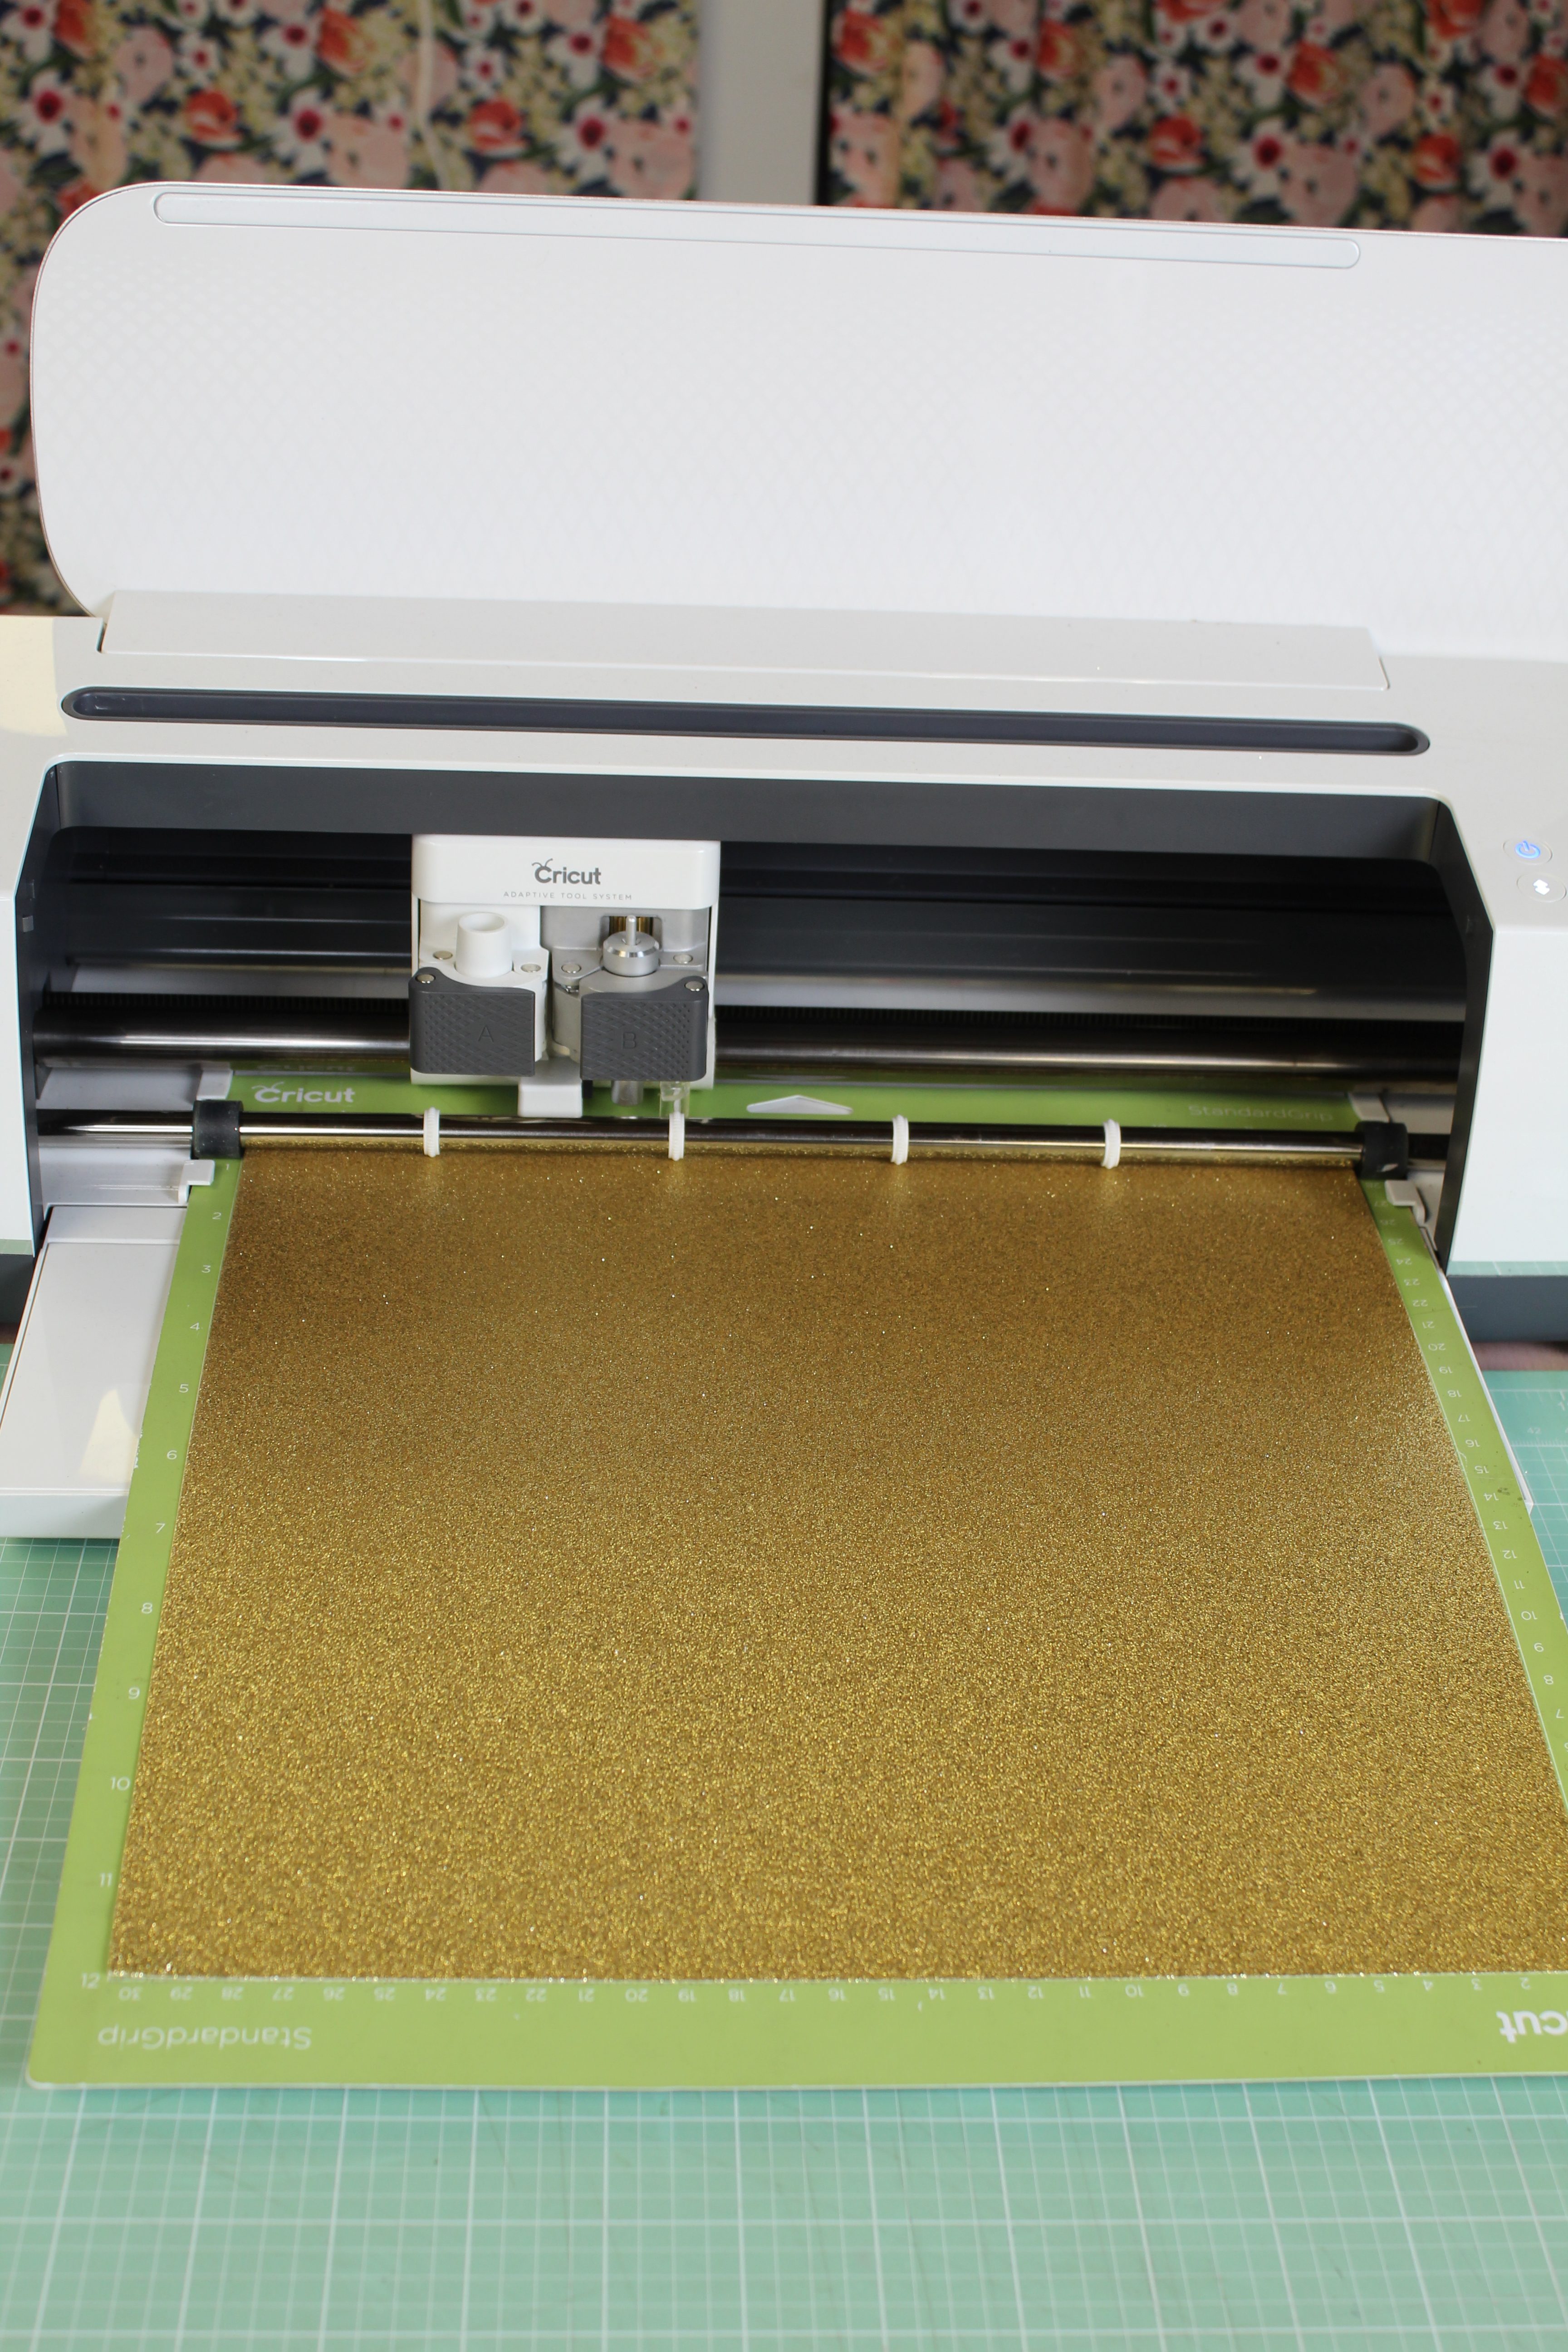
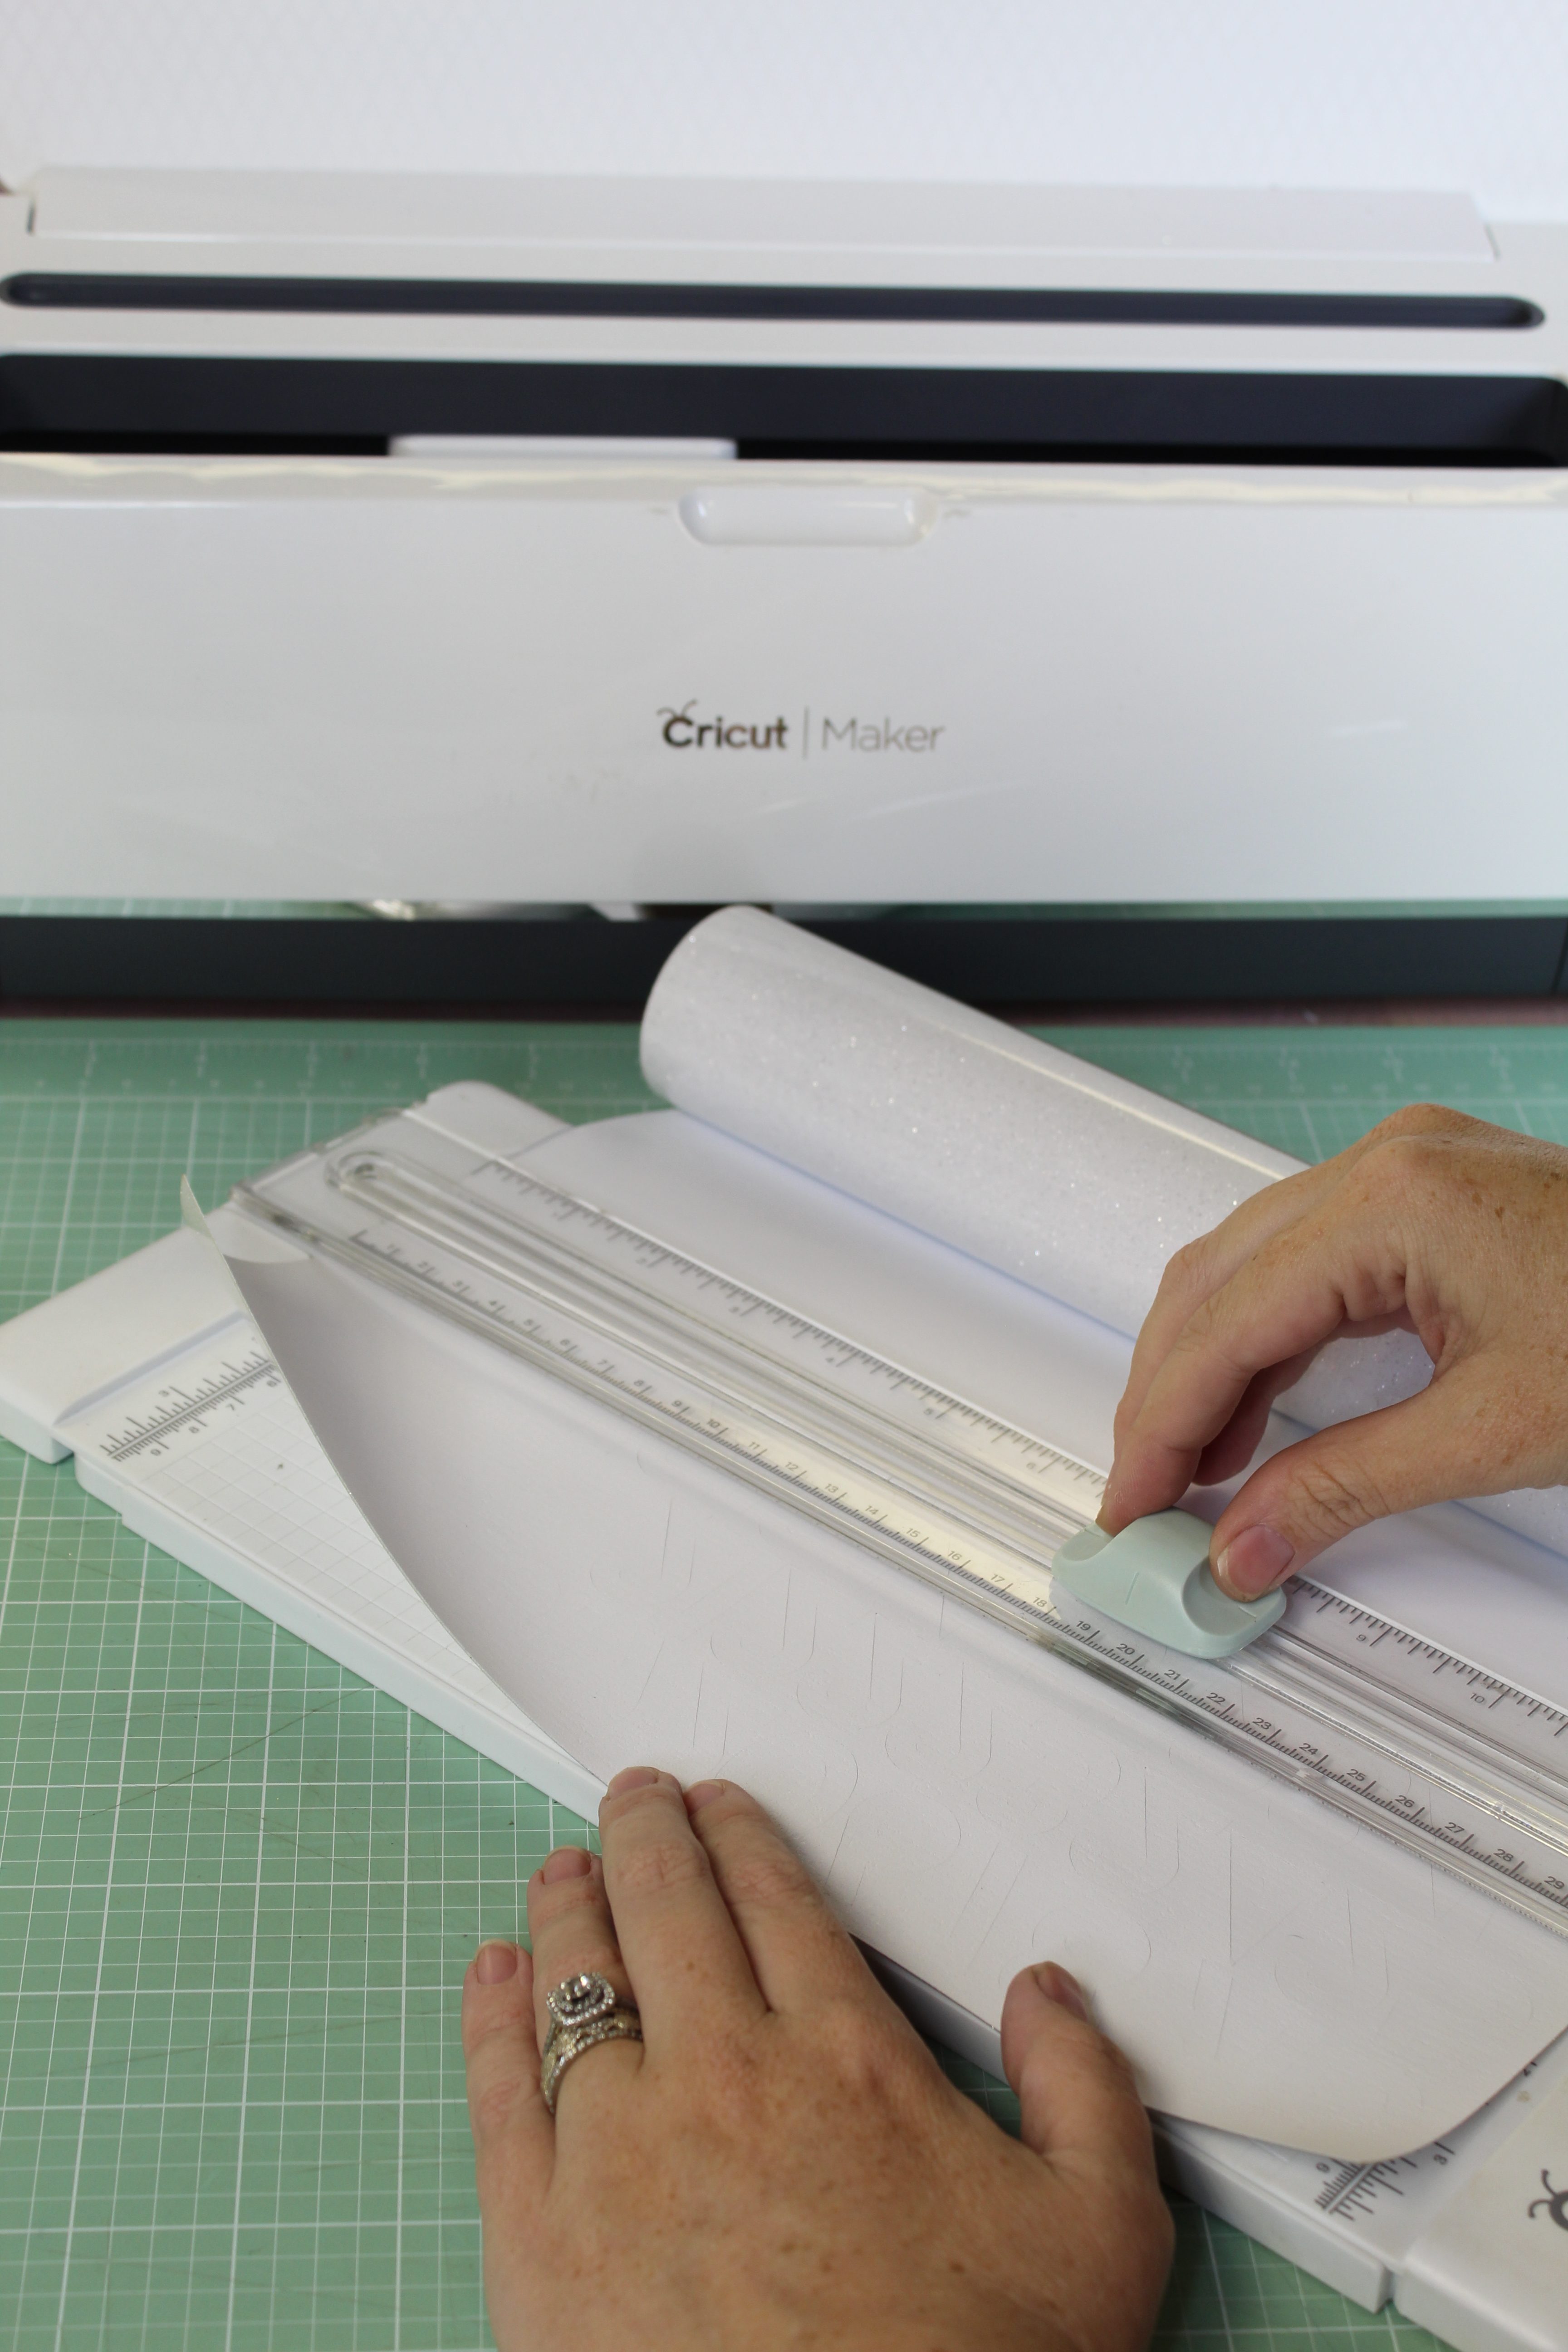
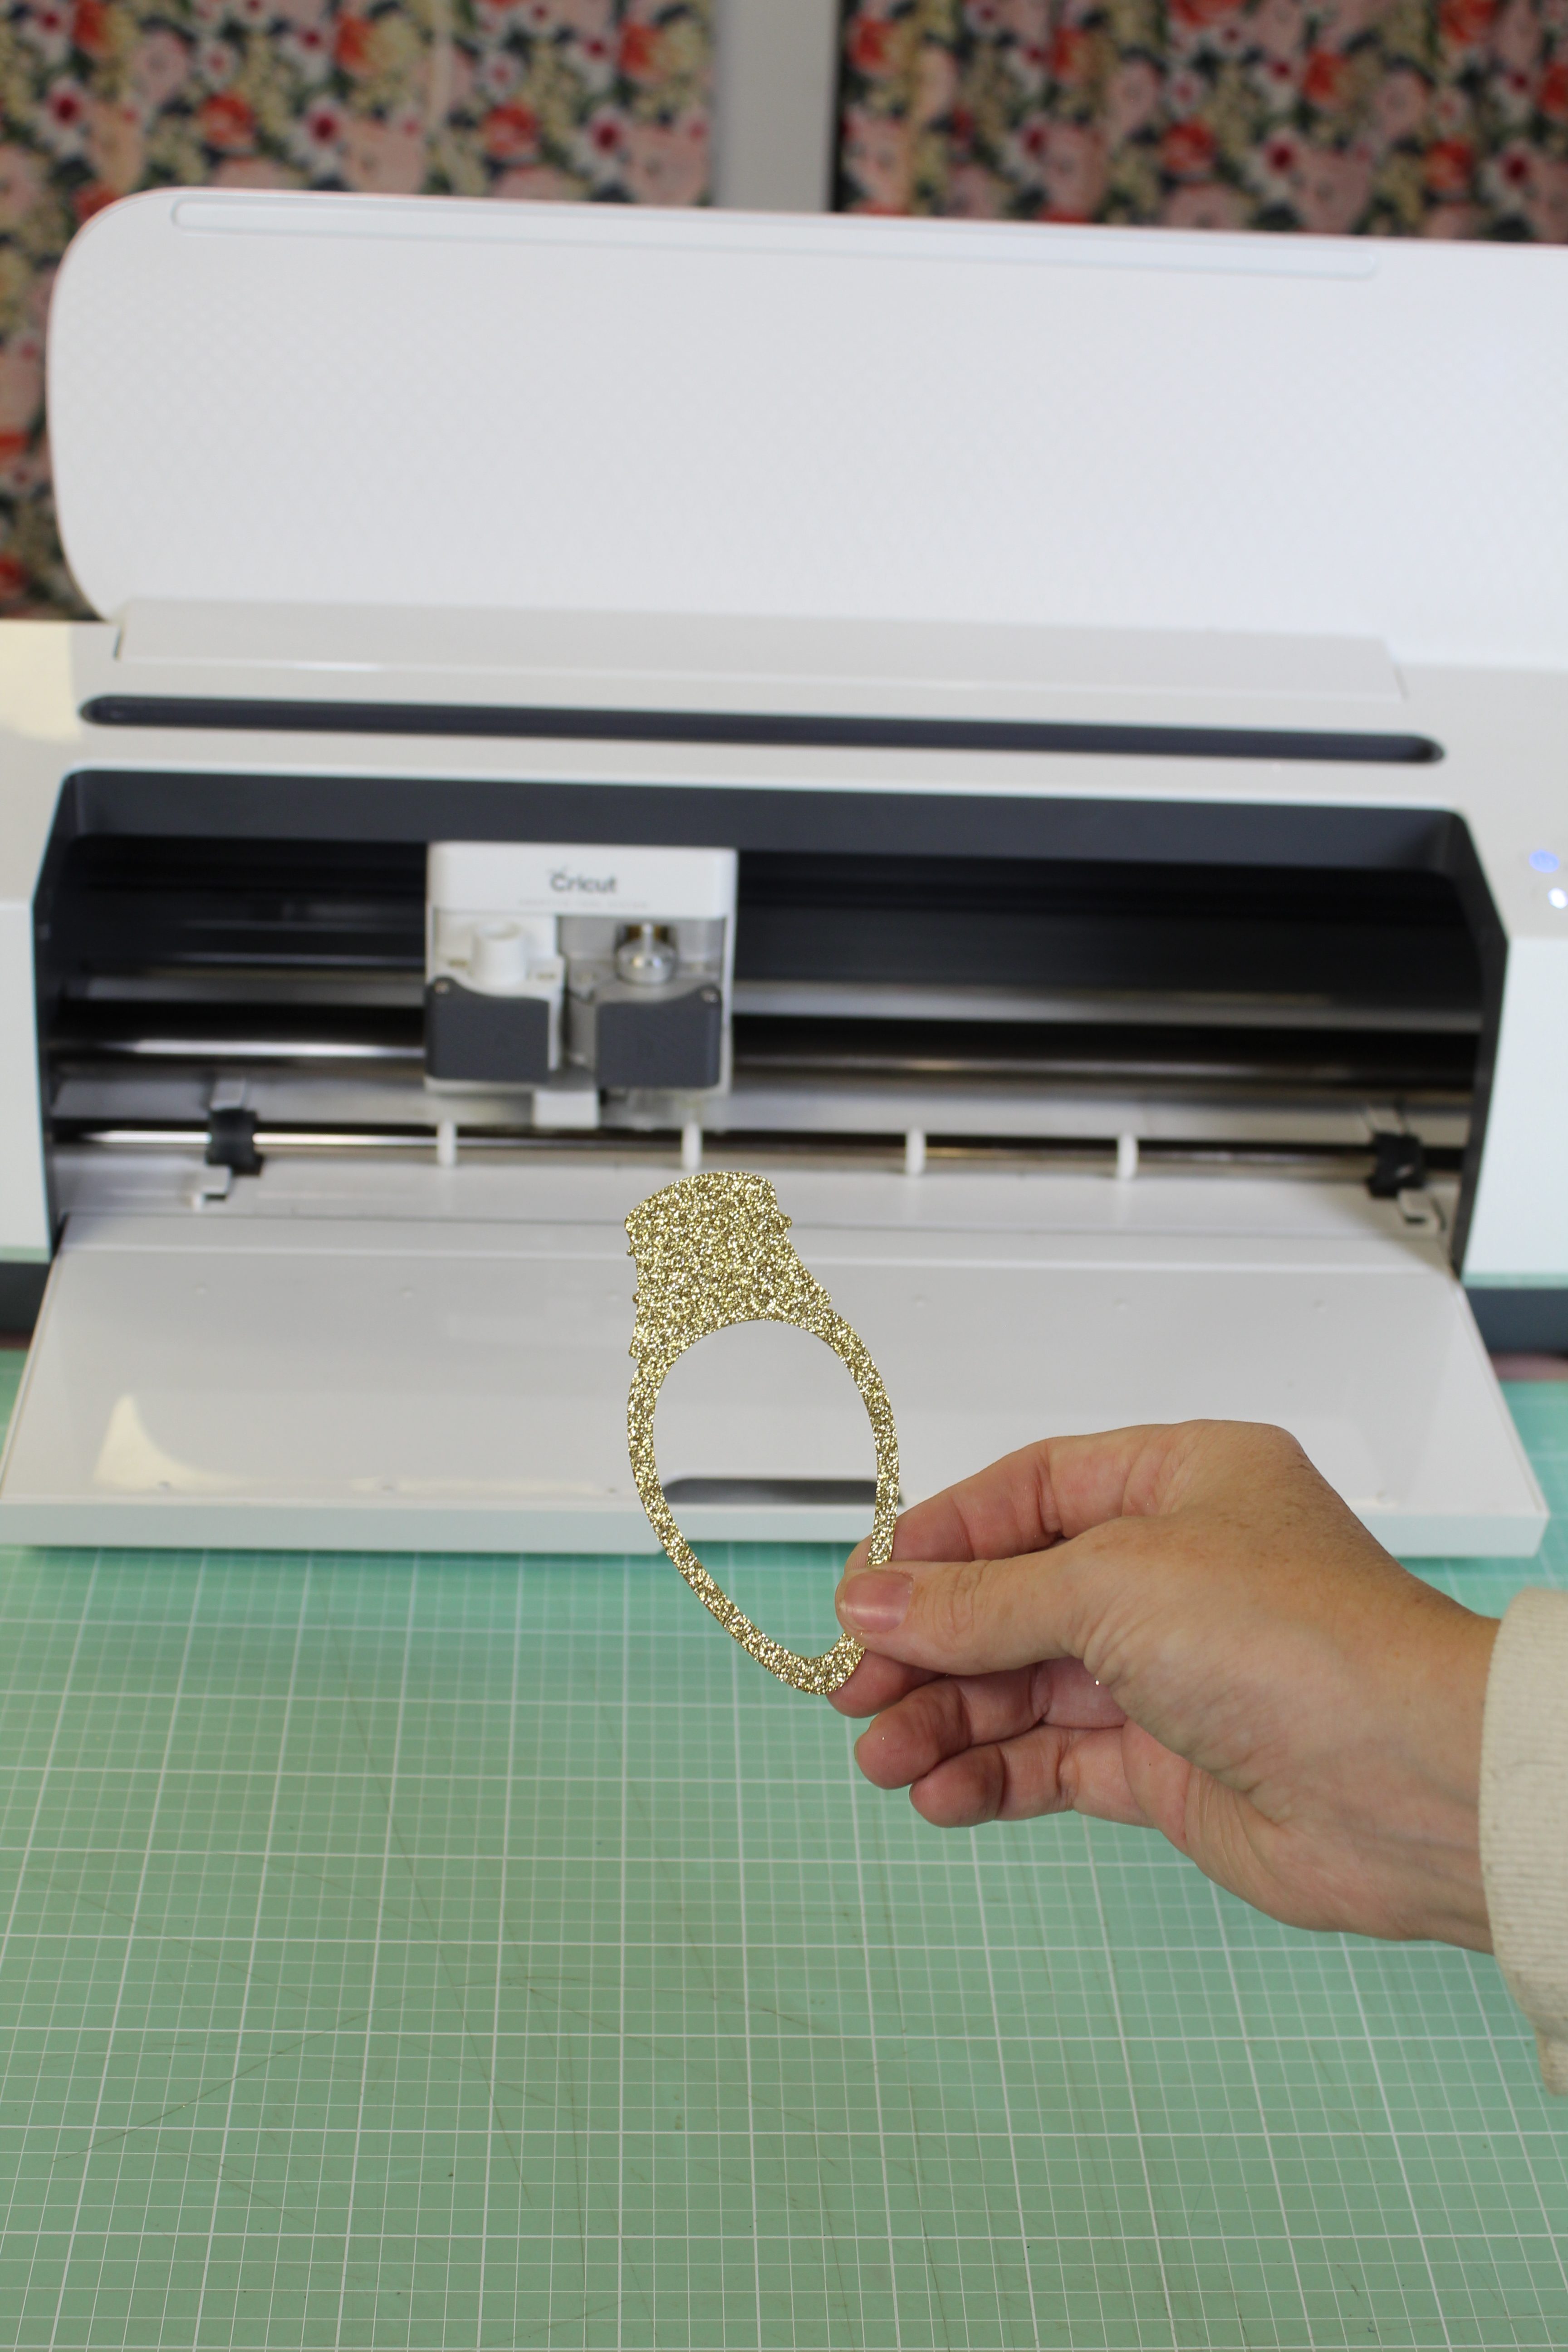
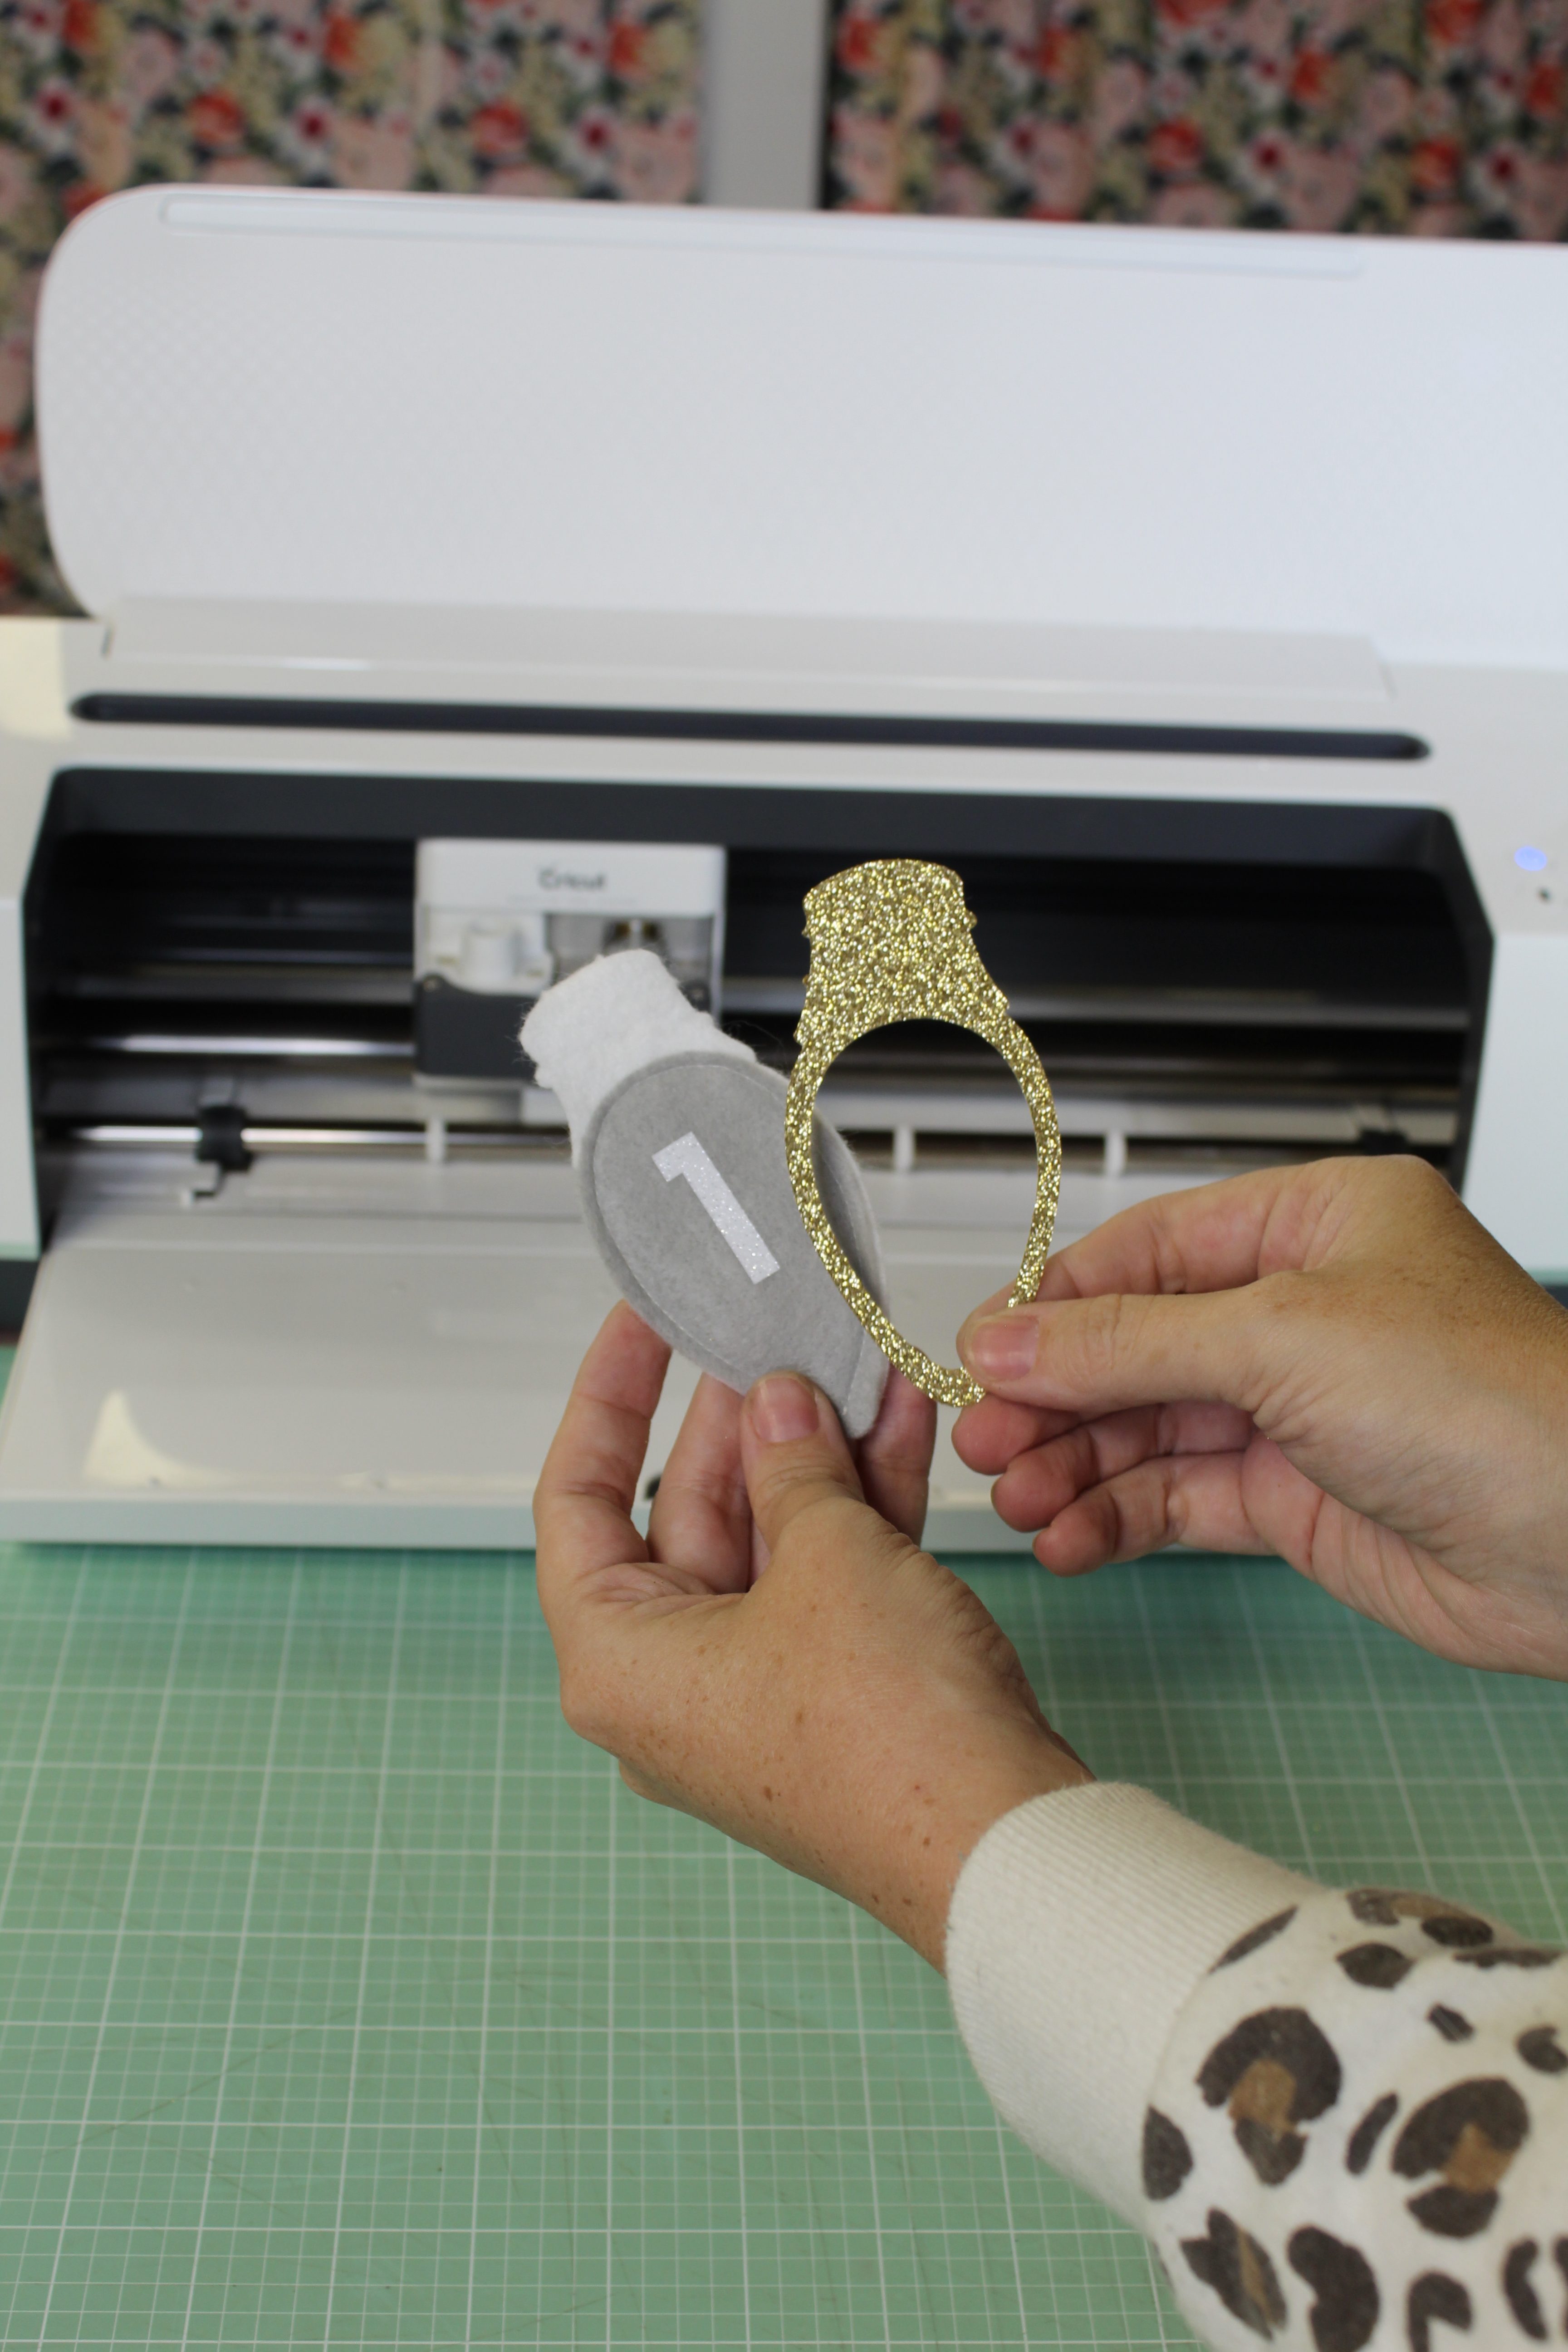
The best part of an advent calendar is the countdown of course, so using gold glitter paper, I created a border that can be moved each day as Christmas approaches! Load your glitter cardstock on a standard grip mat and don’t forget to change your blade and your settings!
Voila! A perfect little way to know how many days until Christmas!
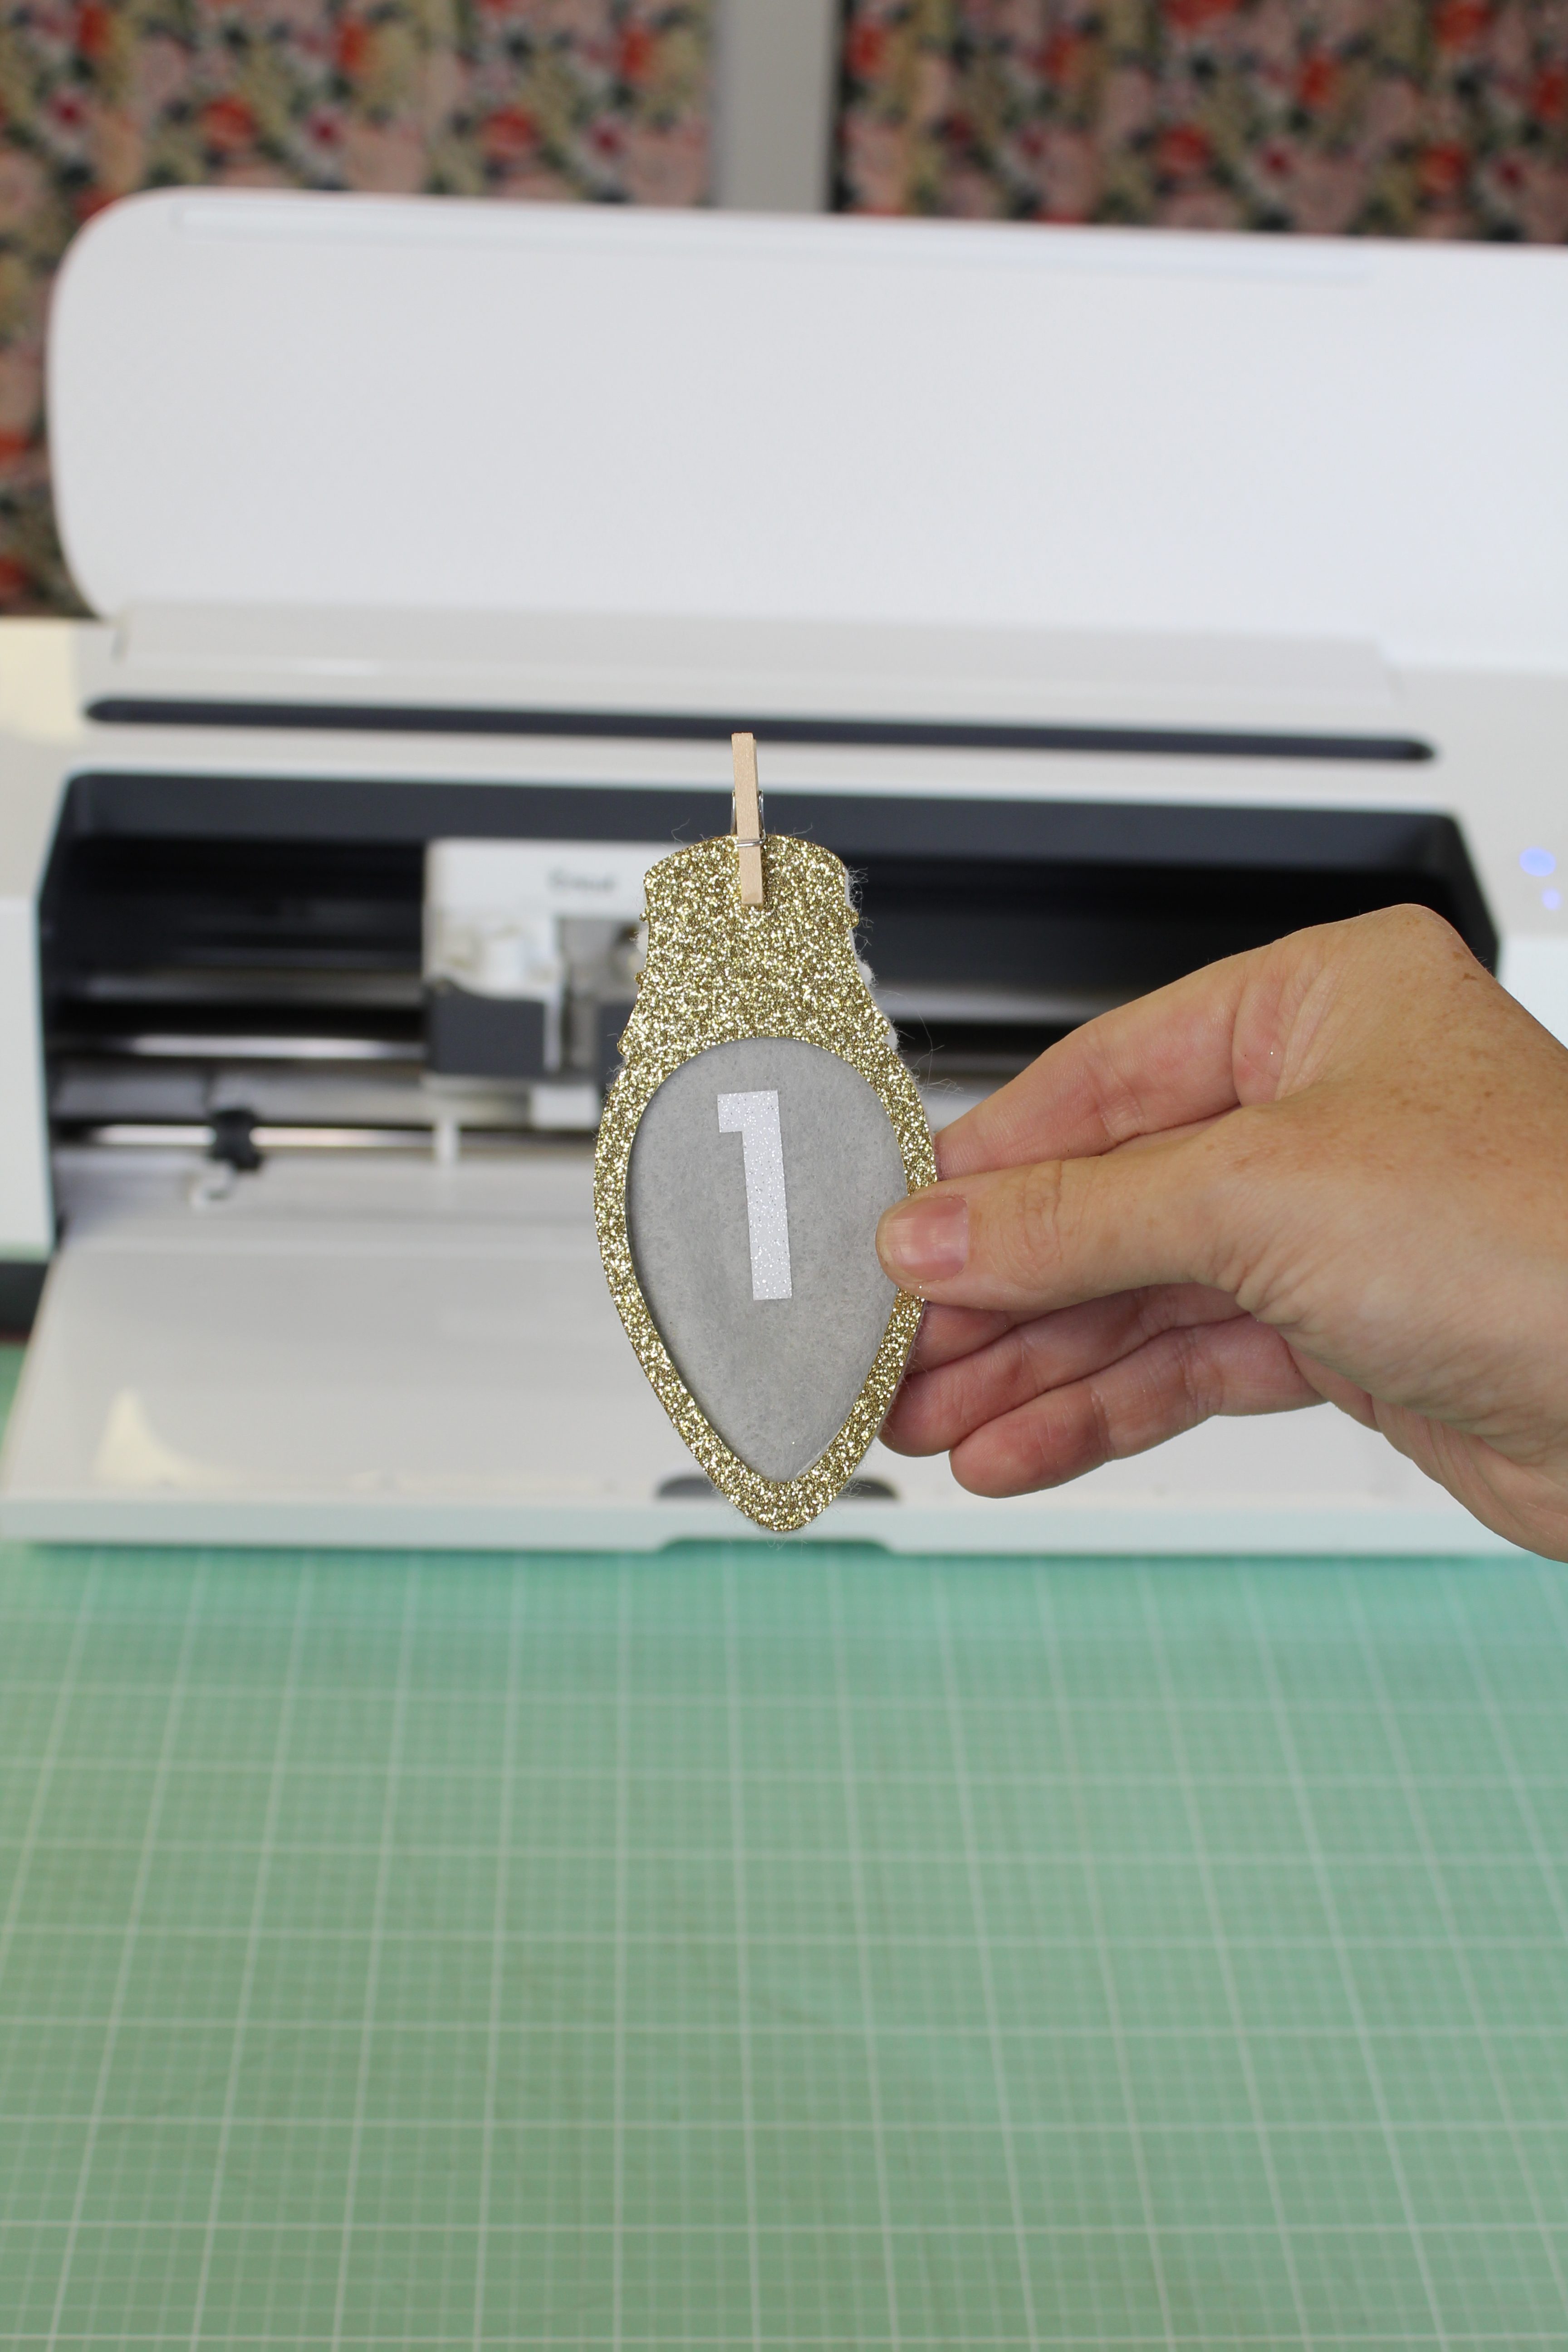
I liked the look of this mini clothespin but you can really use anything you have on hand (a regular clothespin would work just fine too).
String
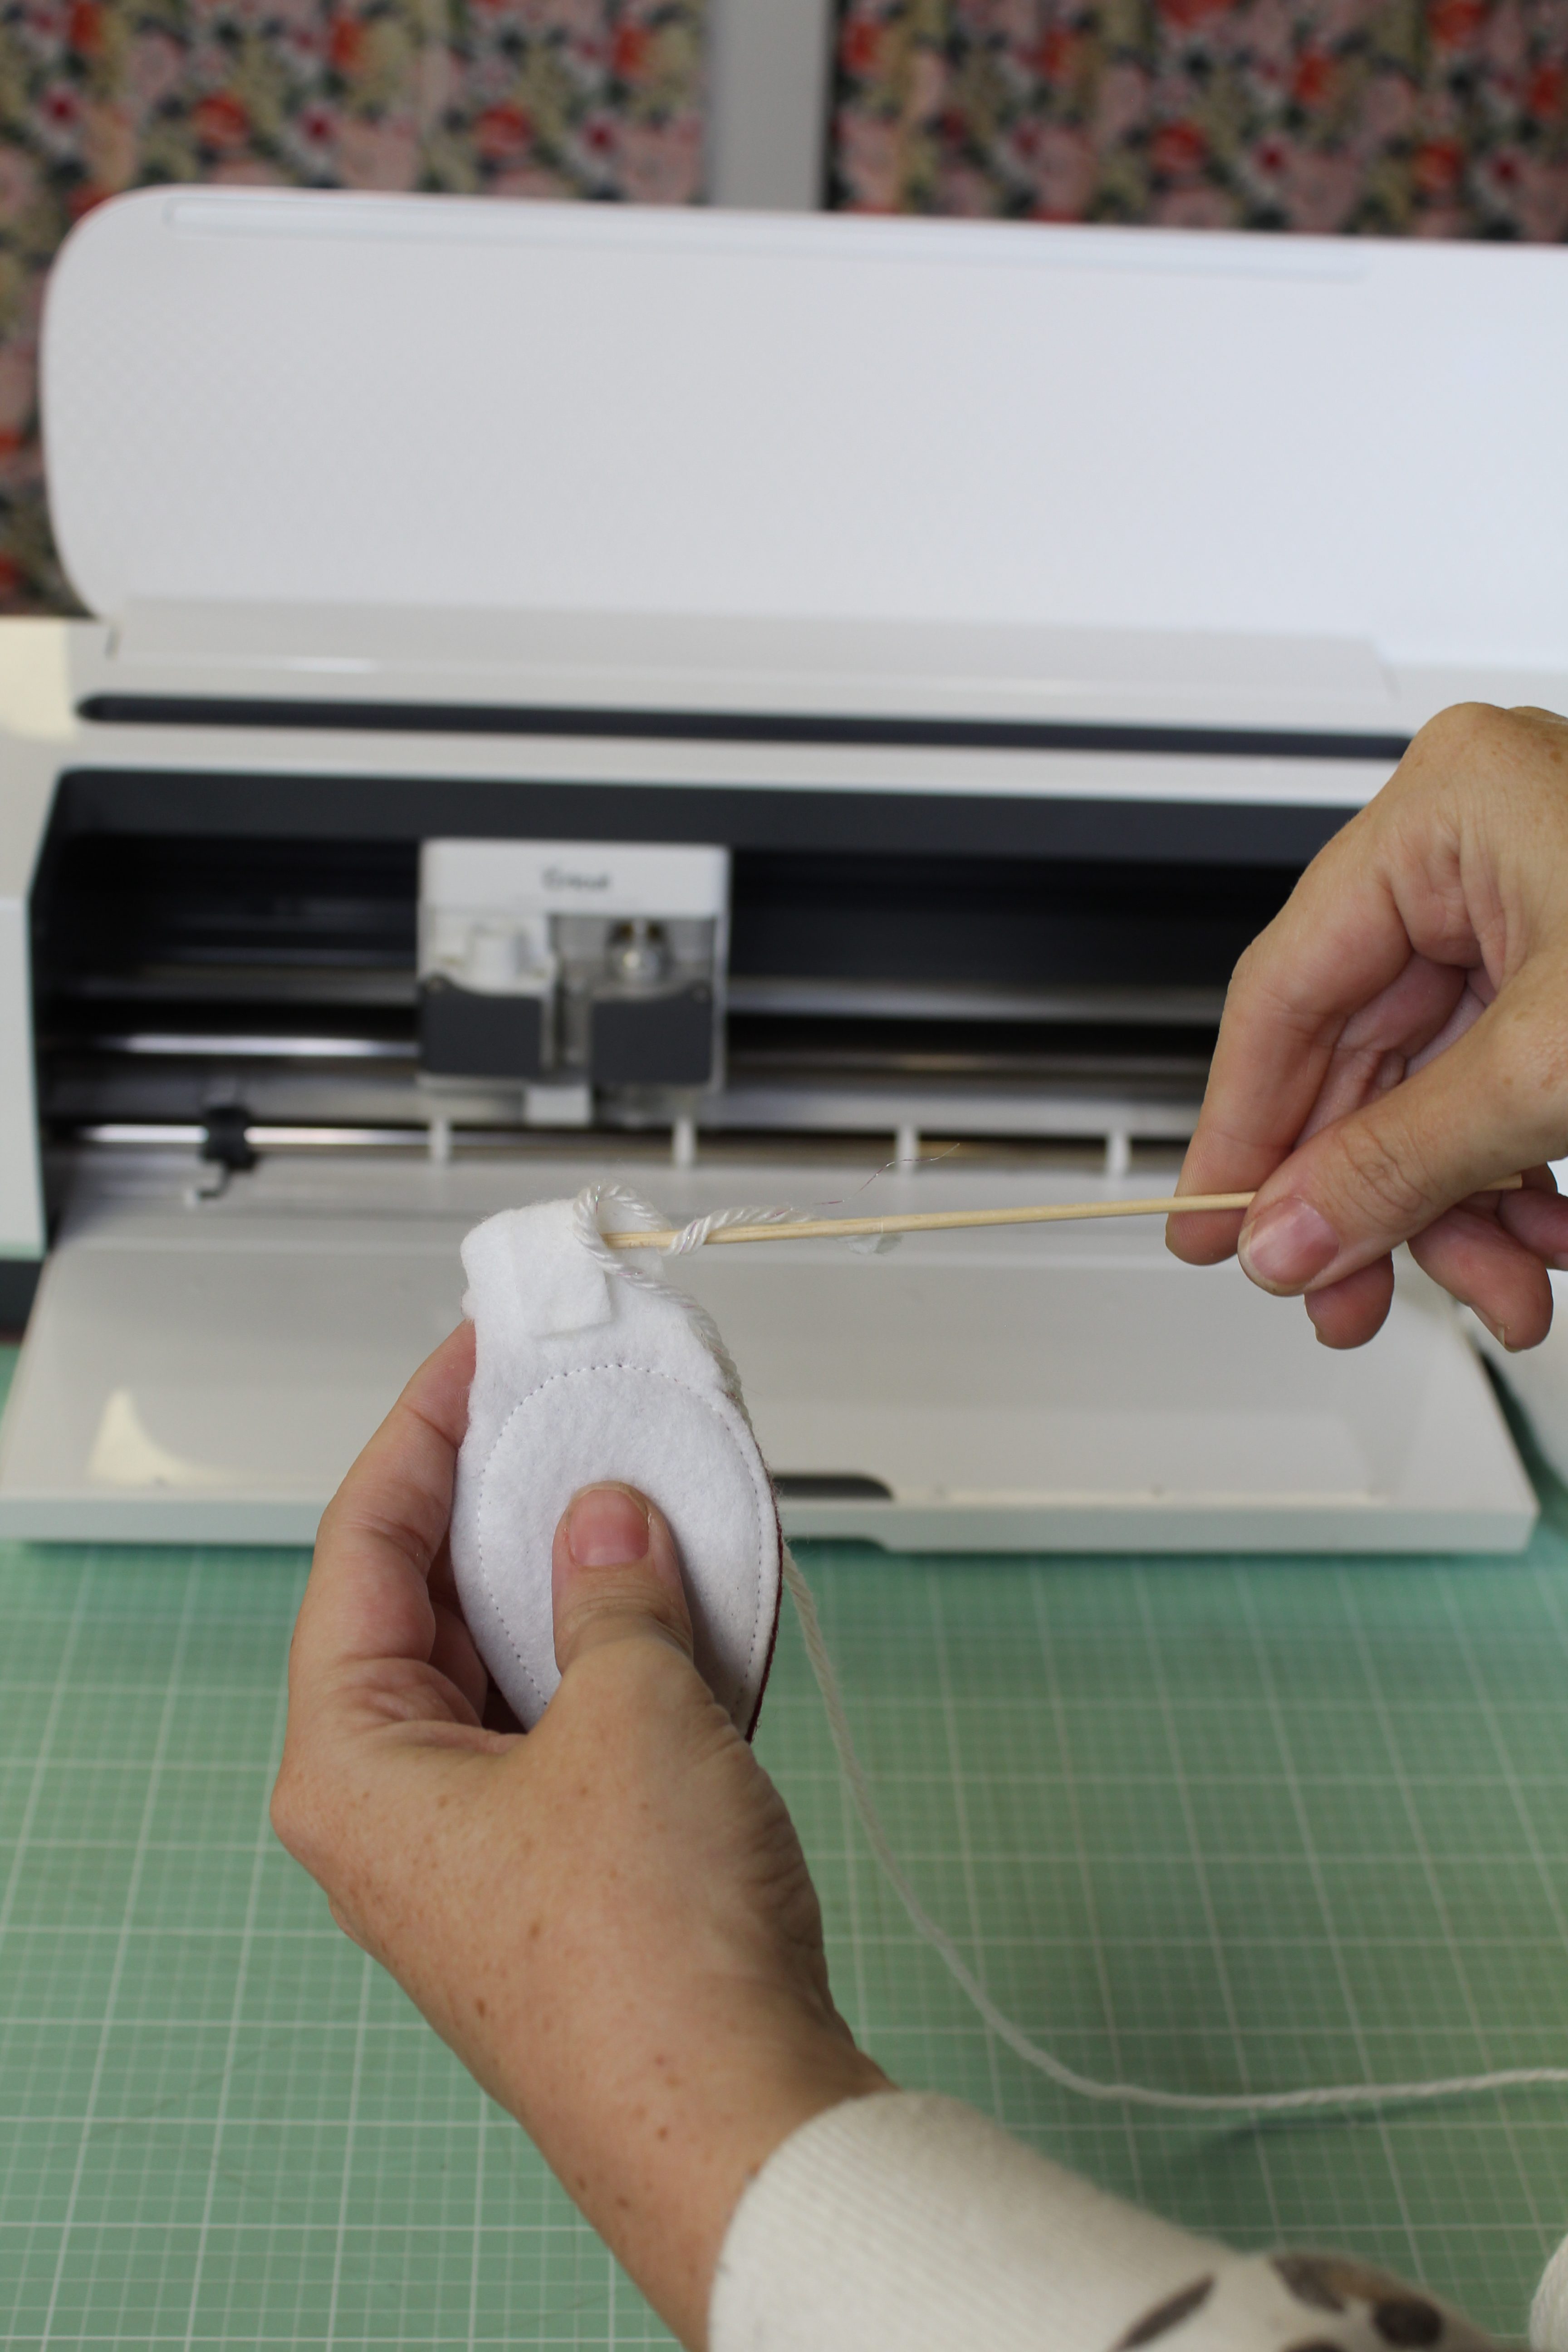
And now to string your banner! Felt can be a little tricky as things like to stick to it, so I used a small stick, wrapped my yarn and fed it through that way.
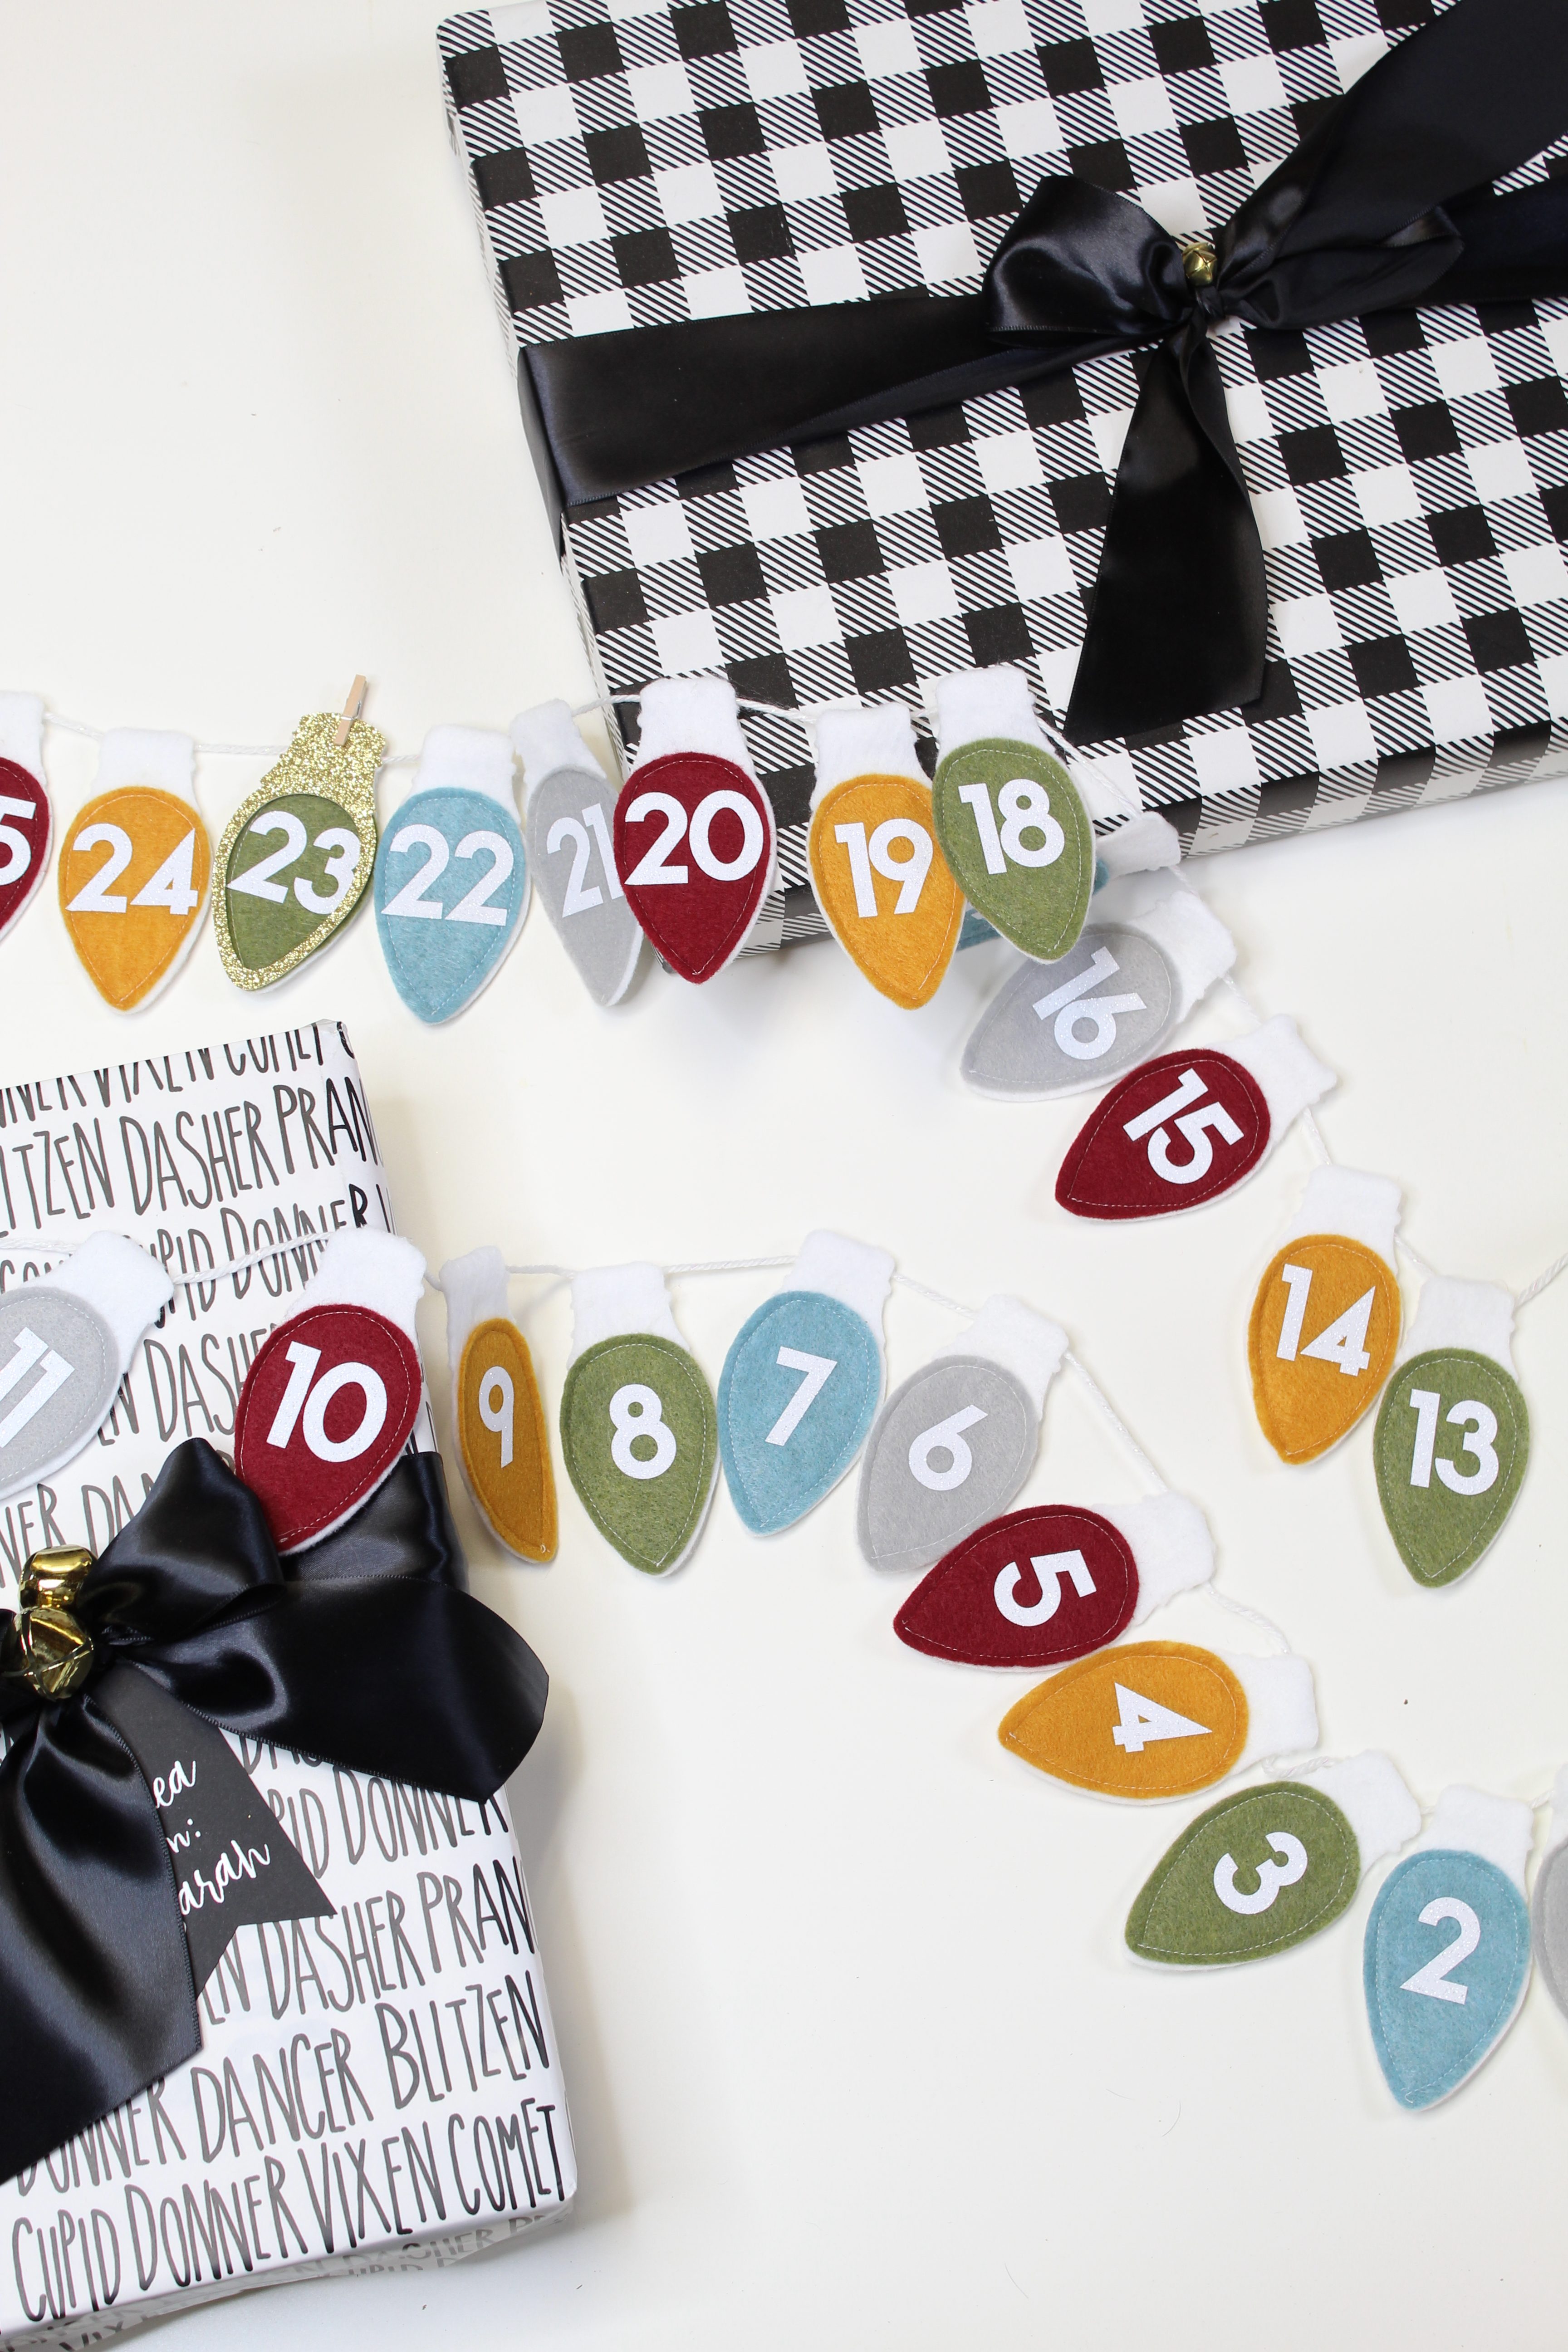
Then you’re done! Now all that’s left is to countdown to Christmas!
As with all our DIY tutorials, if you create one of our projects please send us a picture – We Love Seeing Your Creativity! If you use Instagram or Twitter please use the hashtag #SomethingTurquoiseDIY and it will show up on our [Get Social][6] page. Happy Crafting!
DIY Tutorial Credits
Photography + DIY Tutorial: Shea O’Quinn of Not So Cli-Shea // All Cricut Products: Courtesy of Cricut // Felt in various colors: JoAnn // Yarn: JoAnn //Glitter Cardstock: Michael’s //Mini Clothespins: Michael’s //Glue Gun: JoAnn //Sewing Machine: Amazon //Thread: JoAnn
Shop The Supplies:
Find the supplies you’ll need for this project from our affiliate links below:

Comments