
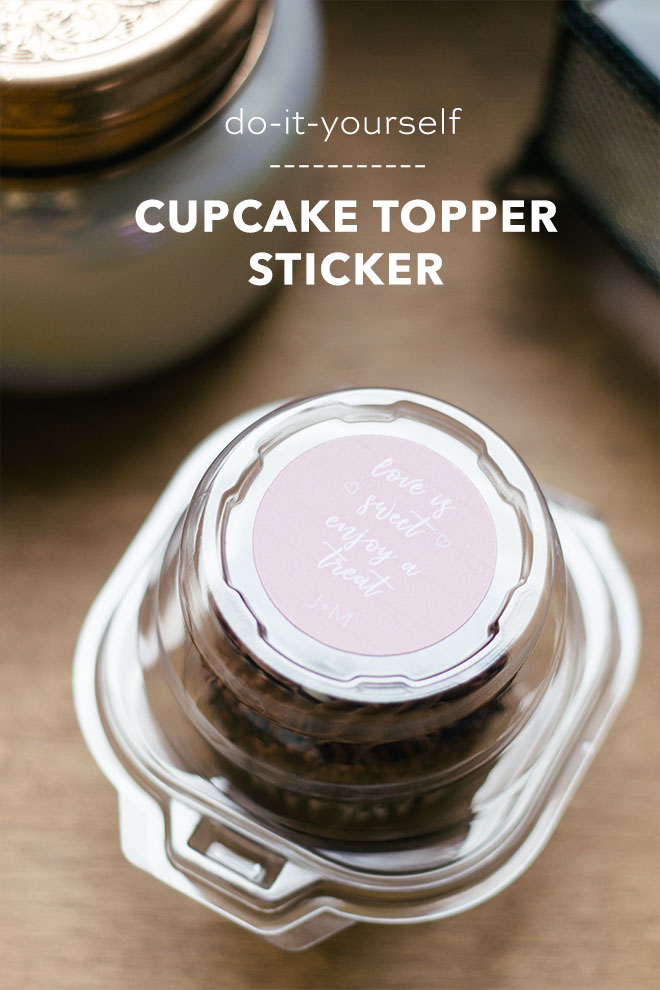
DIY Cupcake Wedding Favors With Editable Stickers
I am Carli Hein from Hein & Dandy, a DIY blog for life! One of my good friend’s is getting married next month and as her resident DIY friend, I’m helping to make all her DIY wedding dreams come true! I was super excited when she told me about this cupcake favor idea she had because I knew you gals would love it too. Today we’re making custom stickers to put on top of adorable little cupcake dome holders we found on Amazon, to create darling treat favors. This is a Cricut “print then cut” project, and if you’ve never done that before – it’s awesome and you have to try it! Let’s get started!


SUPPLIES:
- Canon PIXMA TS9521C Crafting Printer
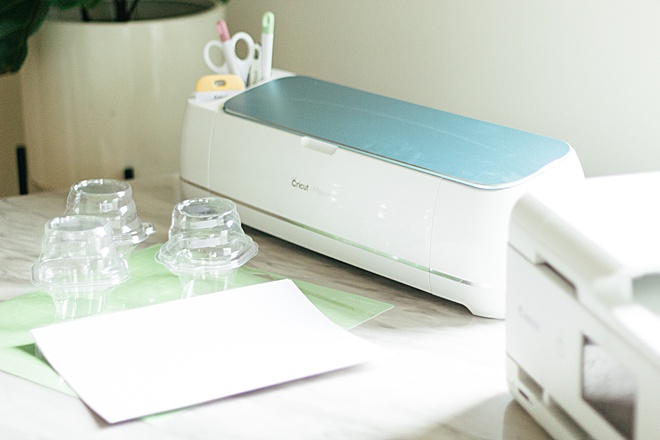
- Cricut Explore or Cricut Maker
- 8.5″ x 11″ Waterproof Sticker Paper
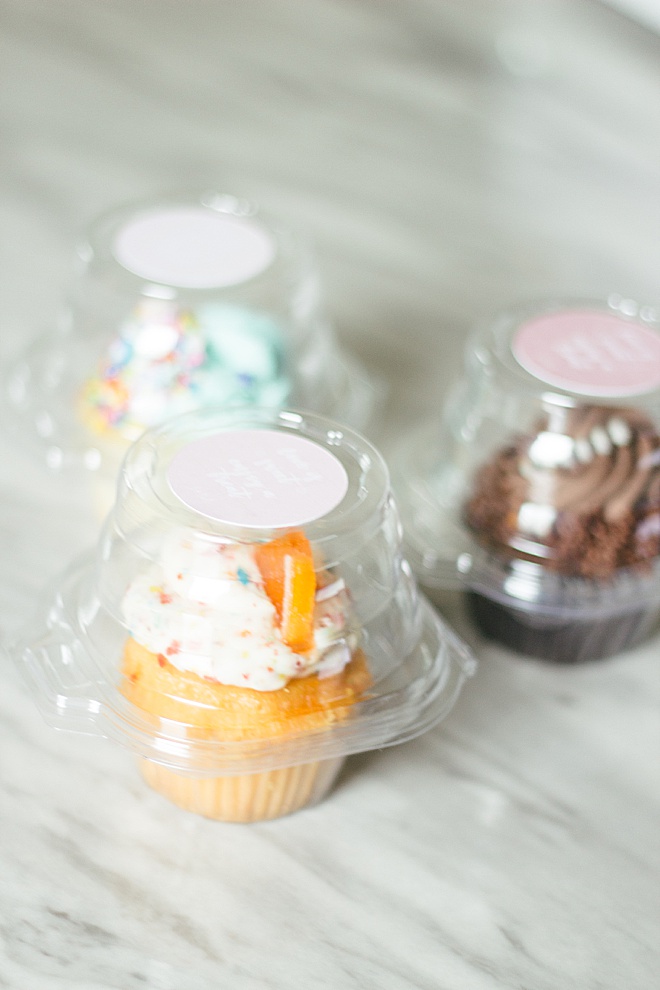
- Clear Plastic Cupcake Domes
- Cute Cupcakes
- Our FREE Cricut “print then cut” file (which you can edit) at the end of the post!
Download + Upload
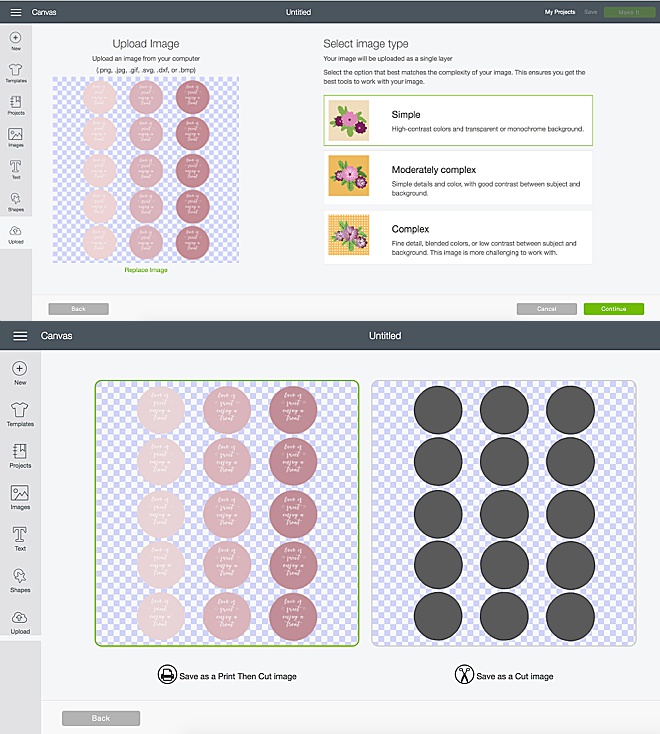
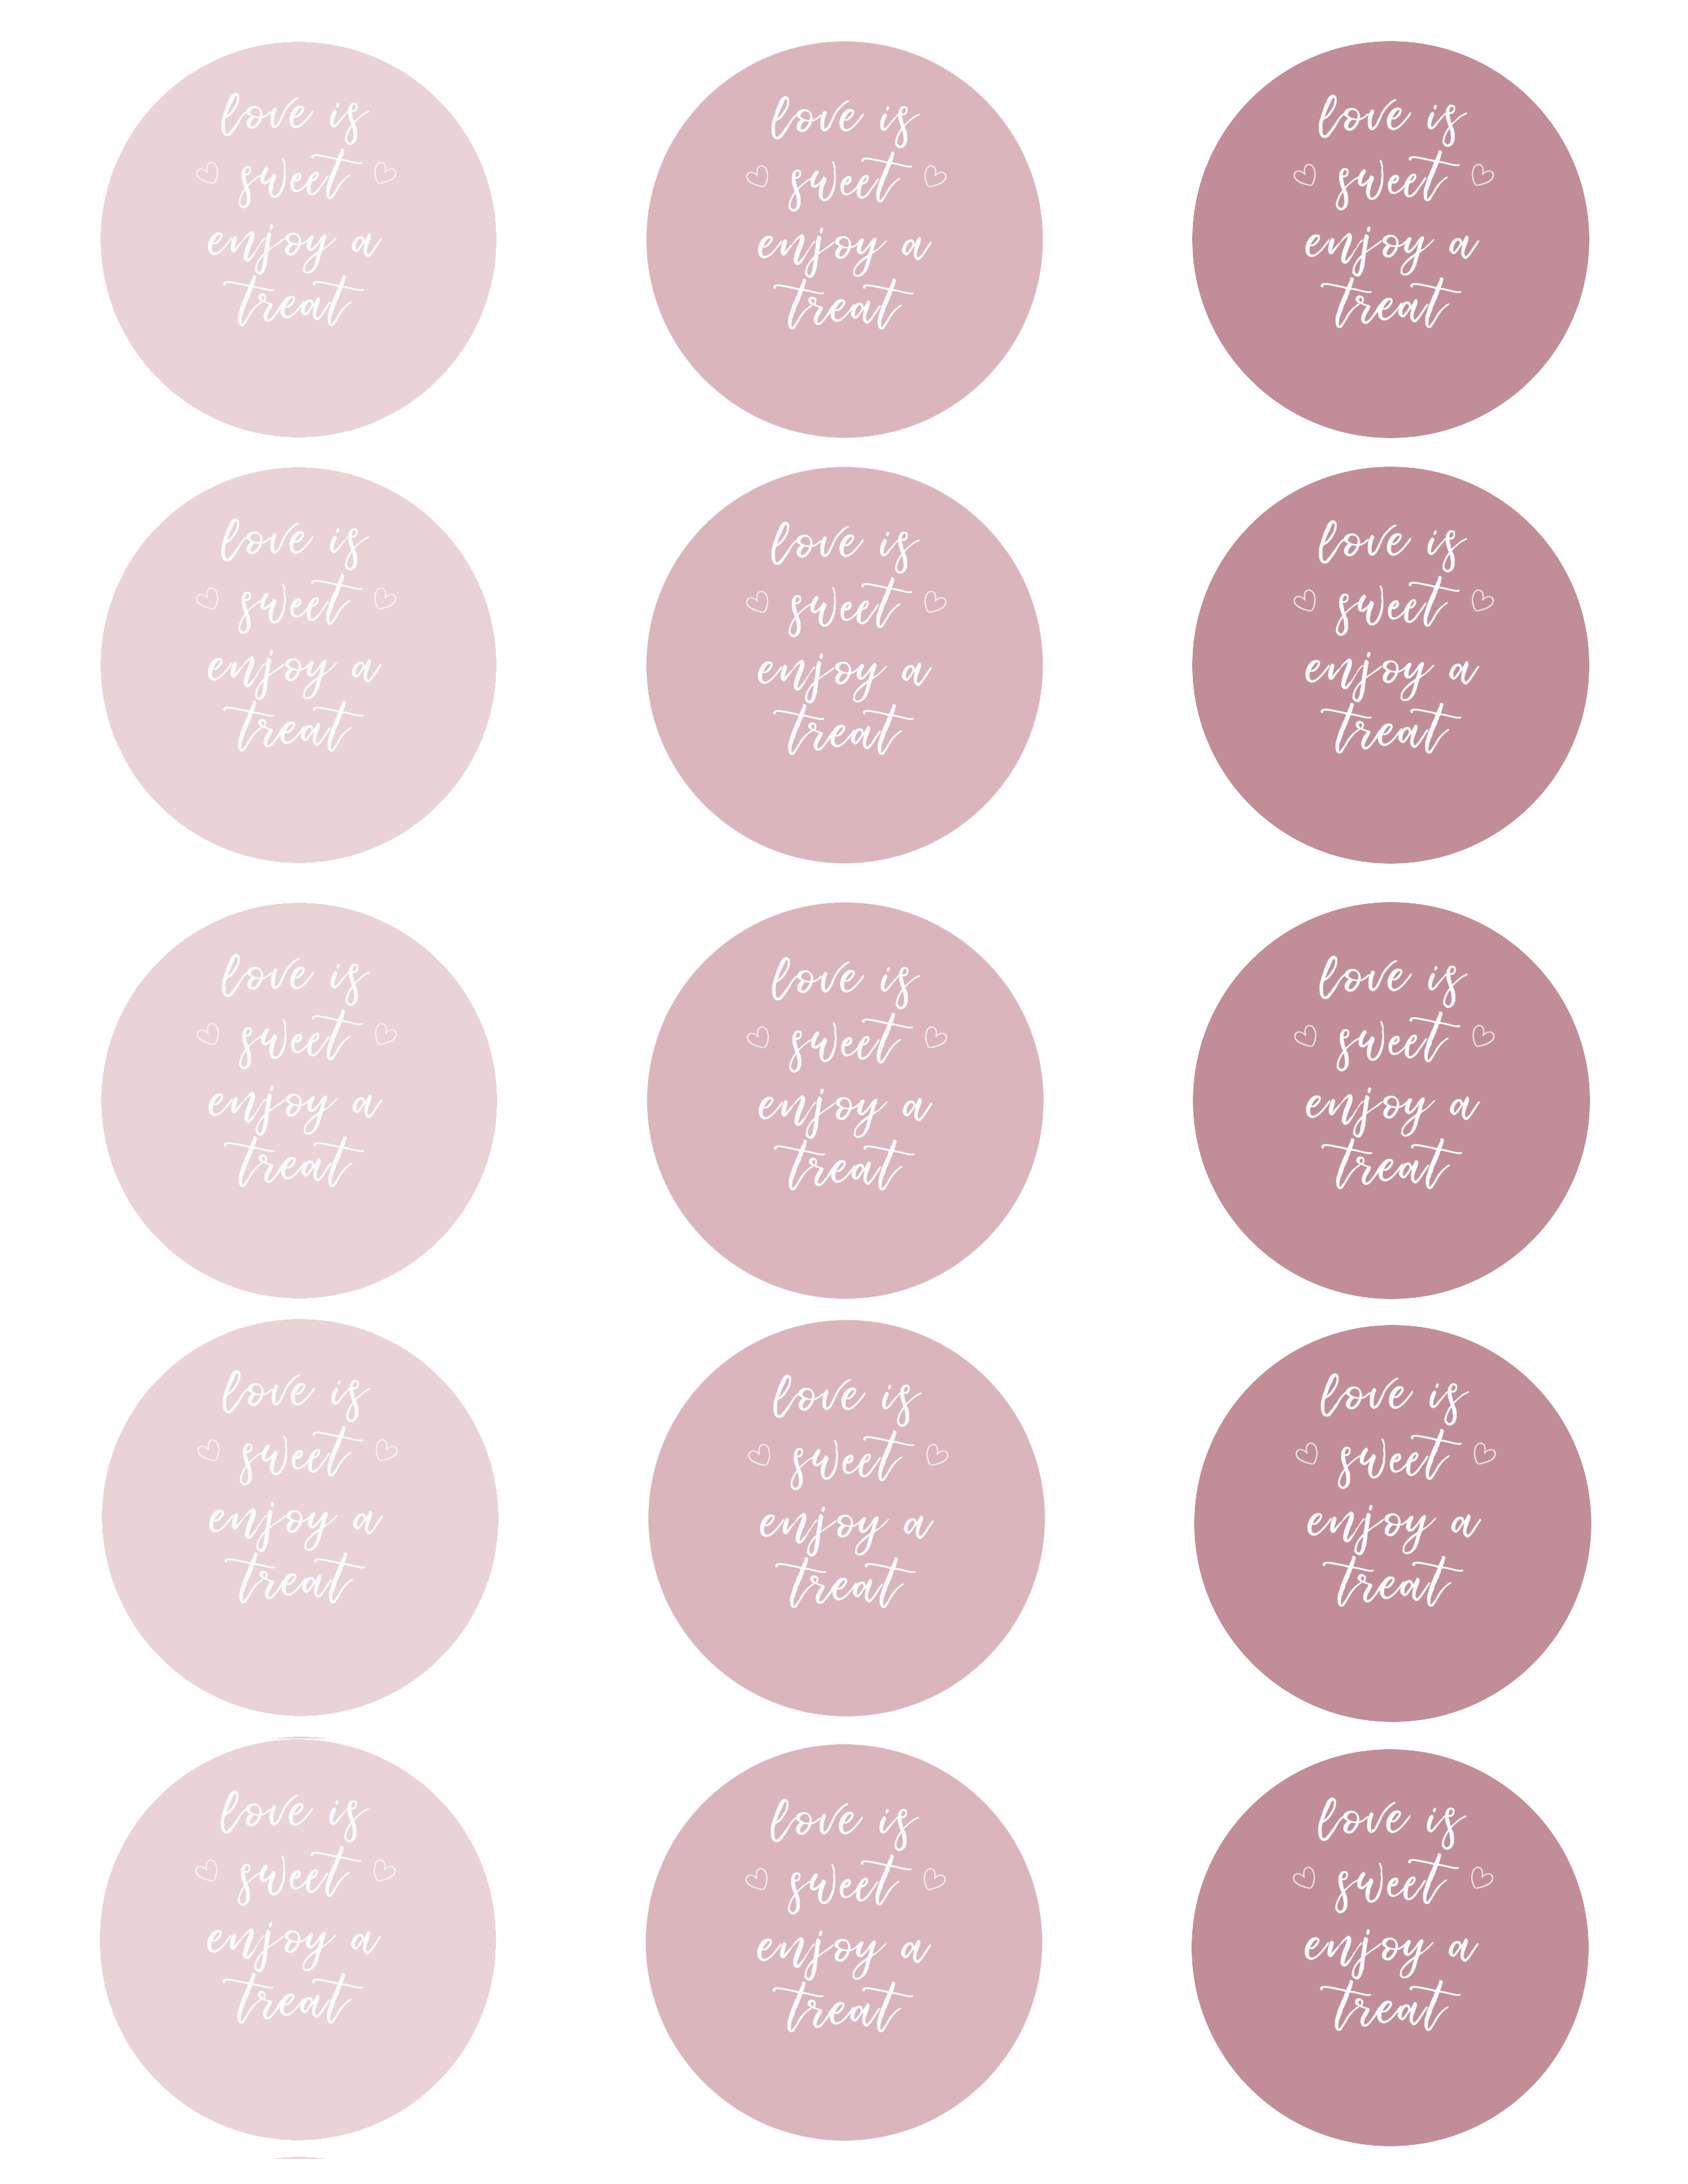
Download the sticker sheets at the end of the post (the files should automatically be saved to your computer with just 1 click) and login to begin the upload process on Design Space. On the left hand side of your canvas click “upload” and locate the files on your computer.
Design Space will give you 3 options of how to save the file, choose “simple image” and then click continue. The next box will prompt you to save as a “print then cut image” or just a “cut image”, choose print then cut.
Customize
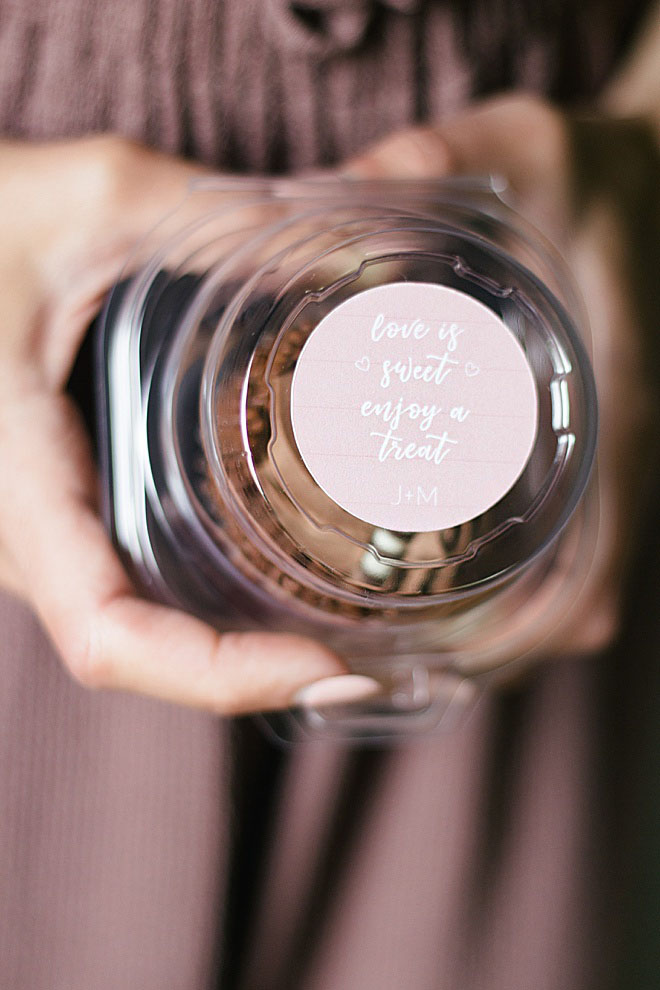
Using the text button, add your initials to each circle. I used size 15 font in Cricut Sans. Make sure you change it from cut to a white fill. Copy and paste your initials on to each of the stickers.
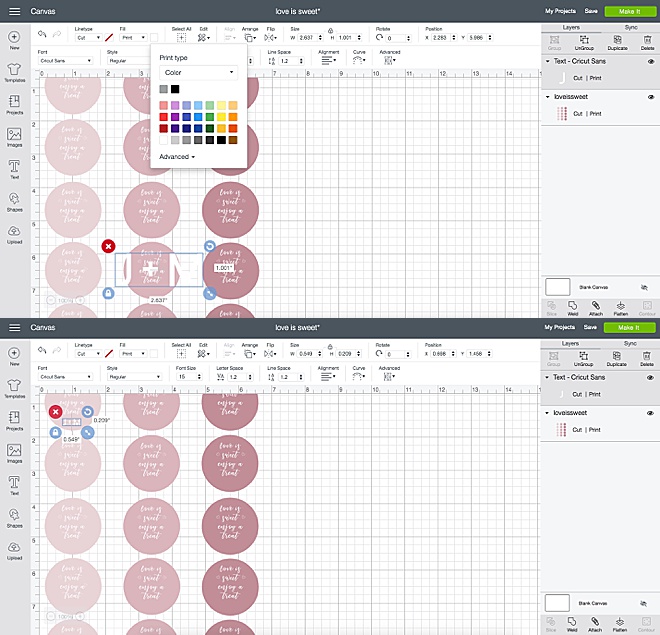
Using the waterproof sticker paper is the game changer here. This will allow you to have the cupcakes in the refrigerator without the ink smearing. You can download the cricut print and cut file at the end of the post!
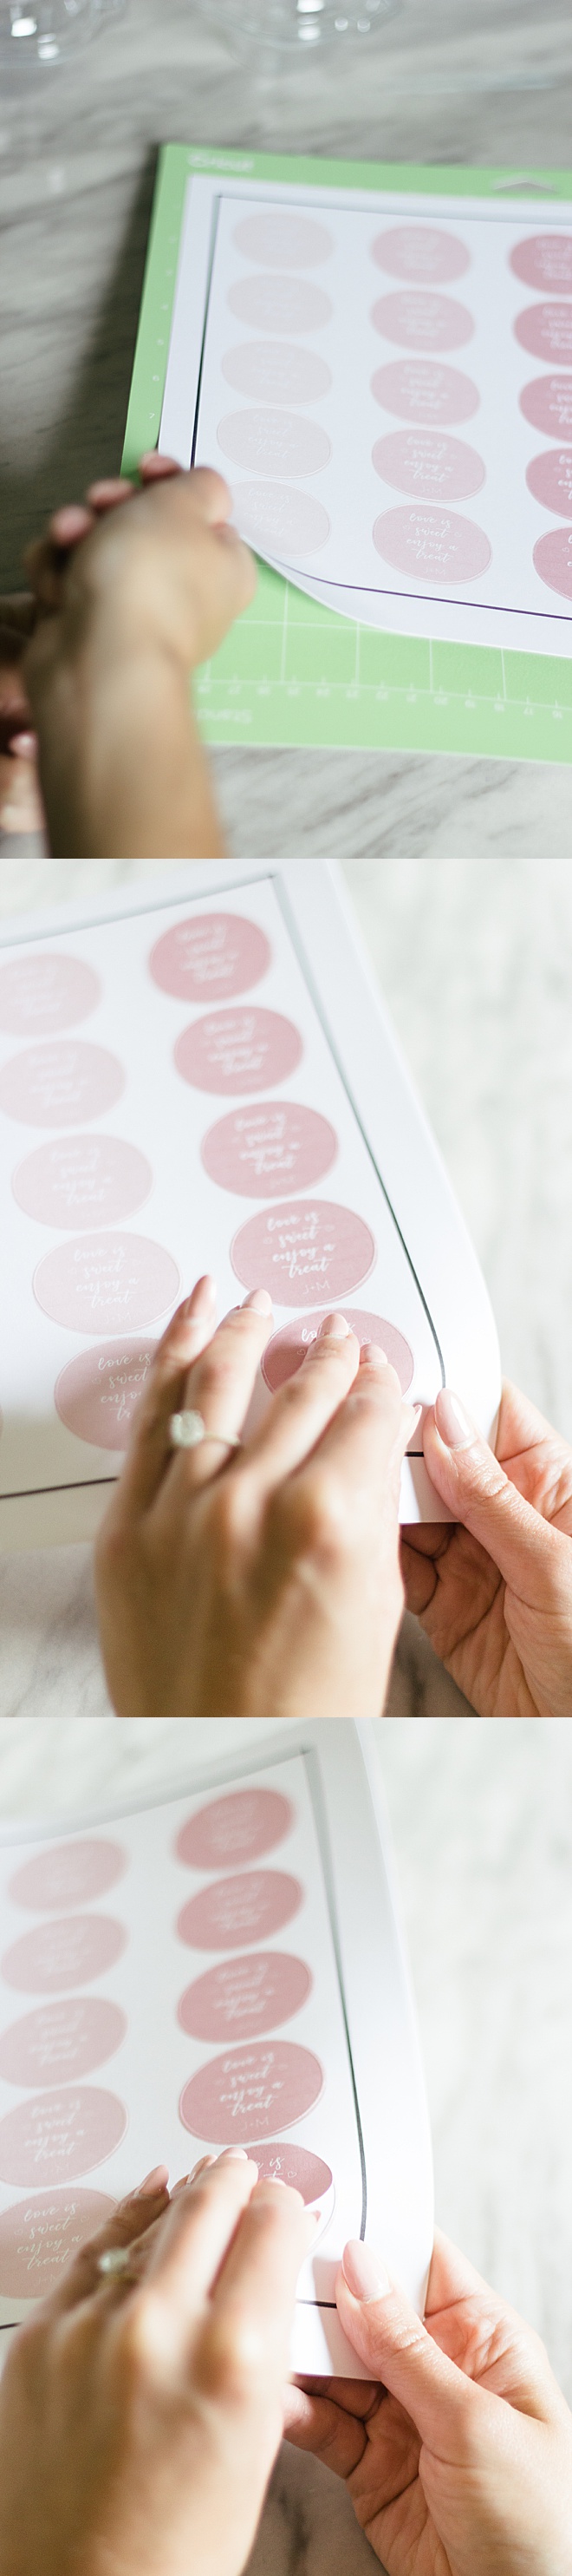
Cut
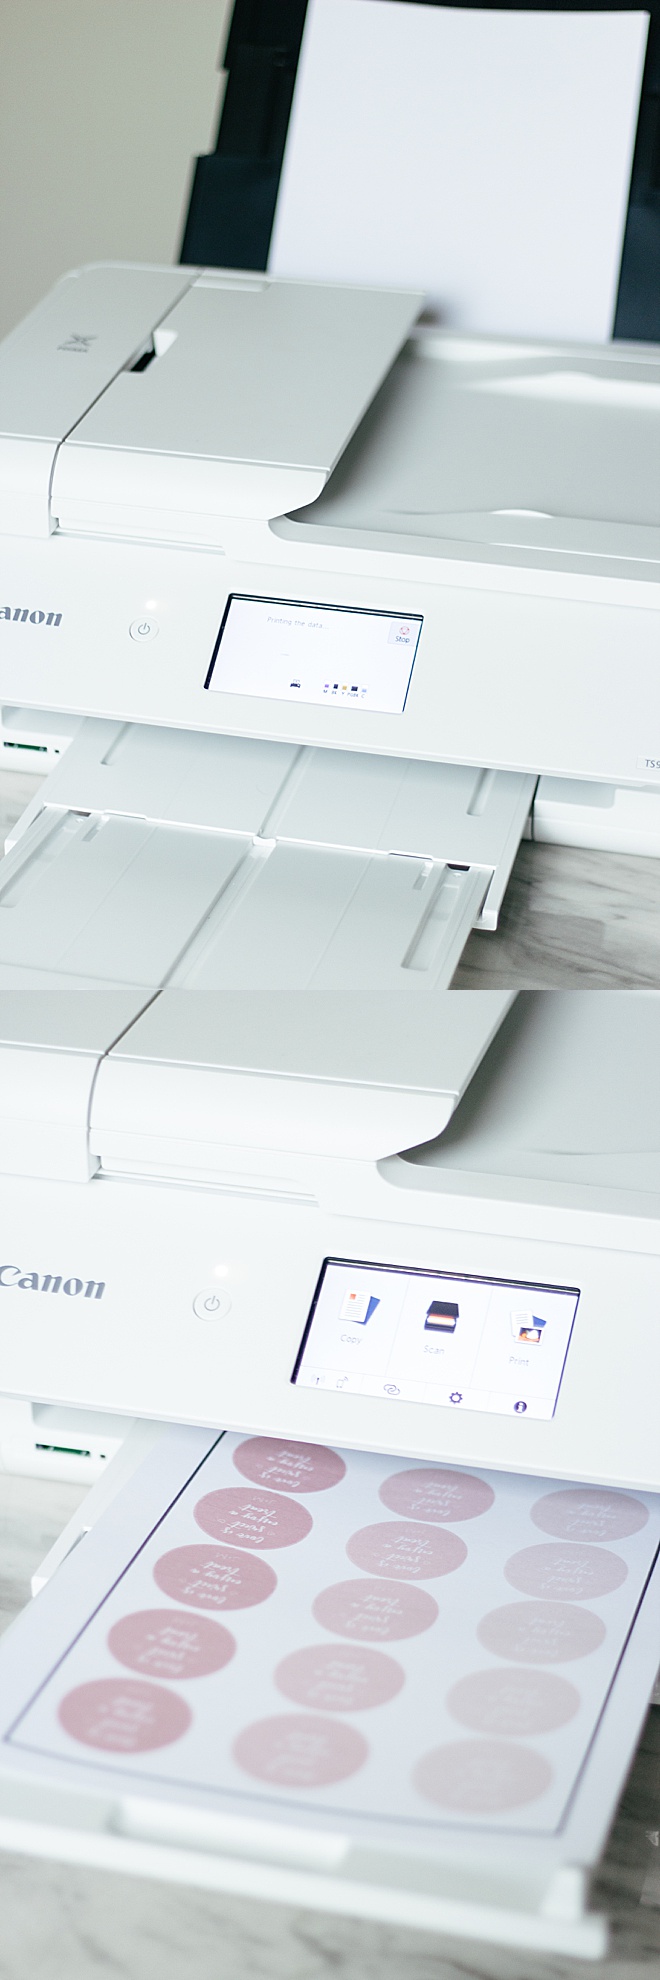
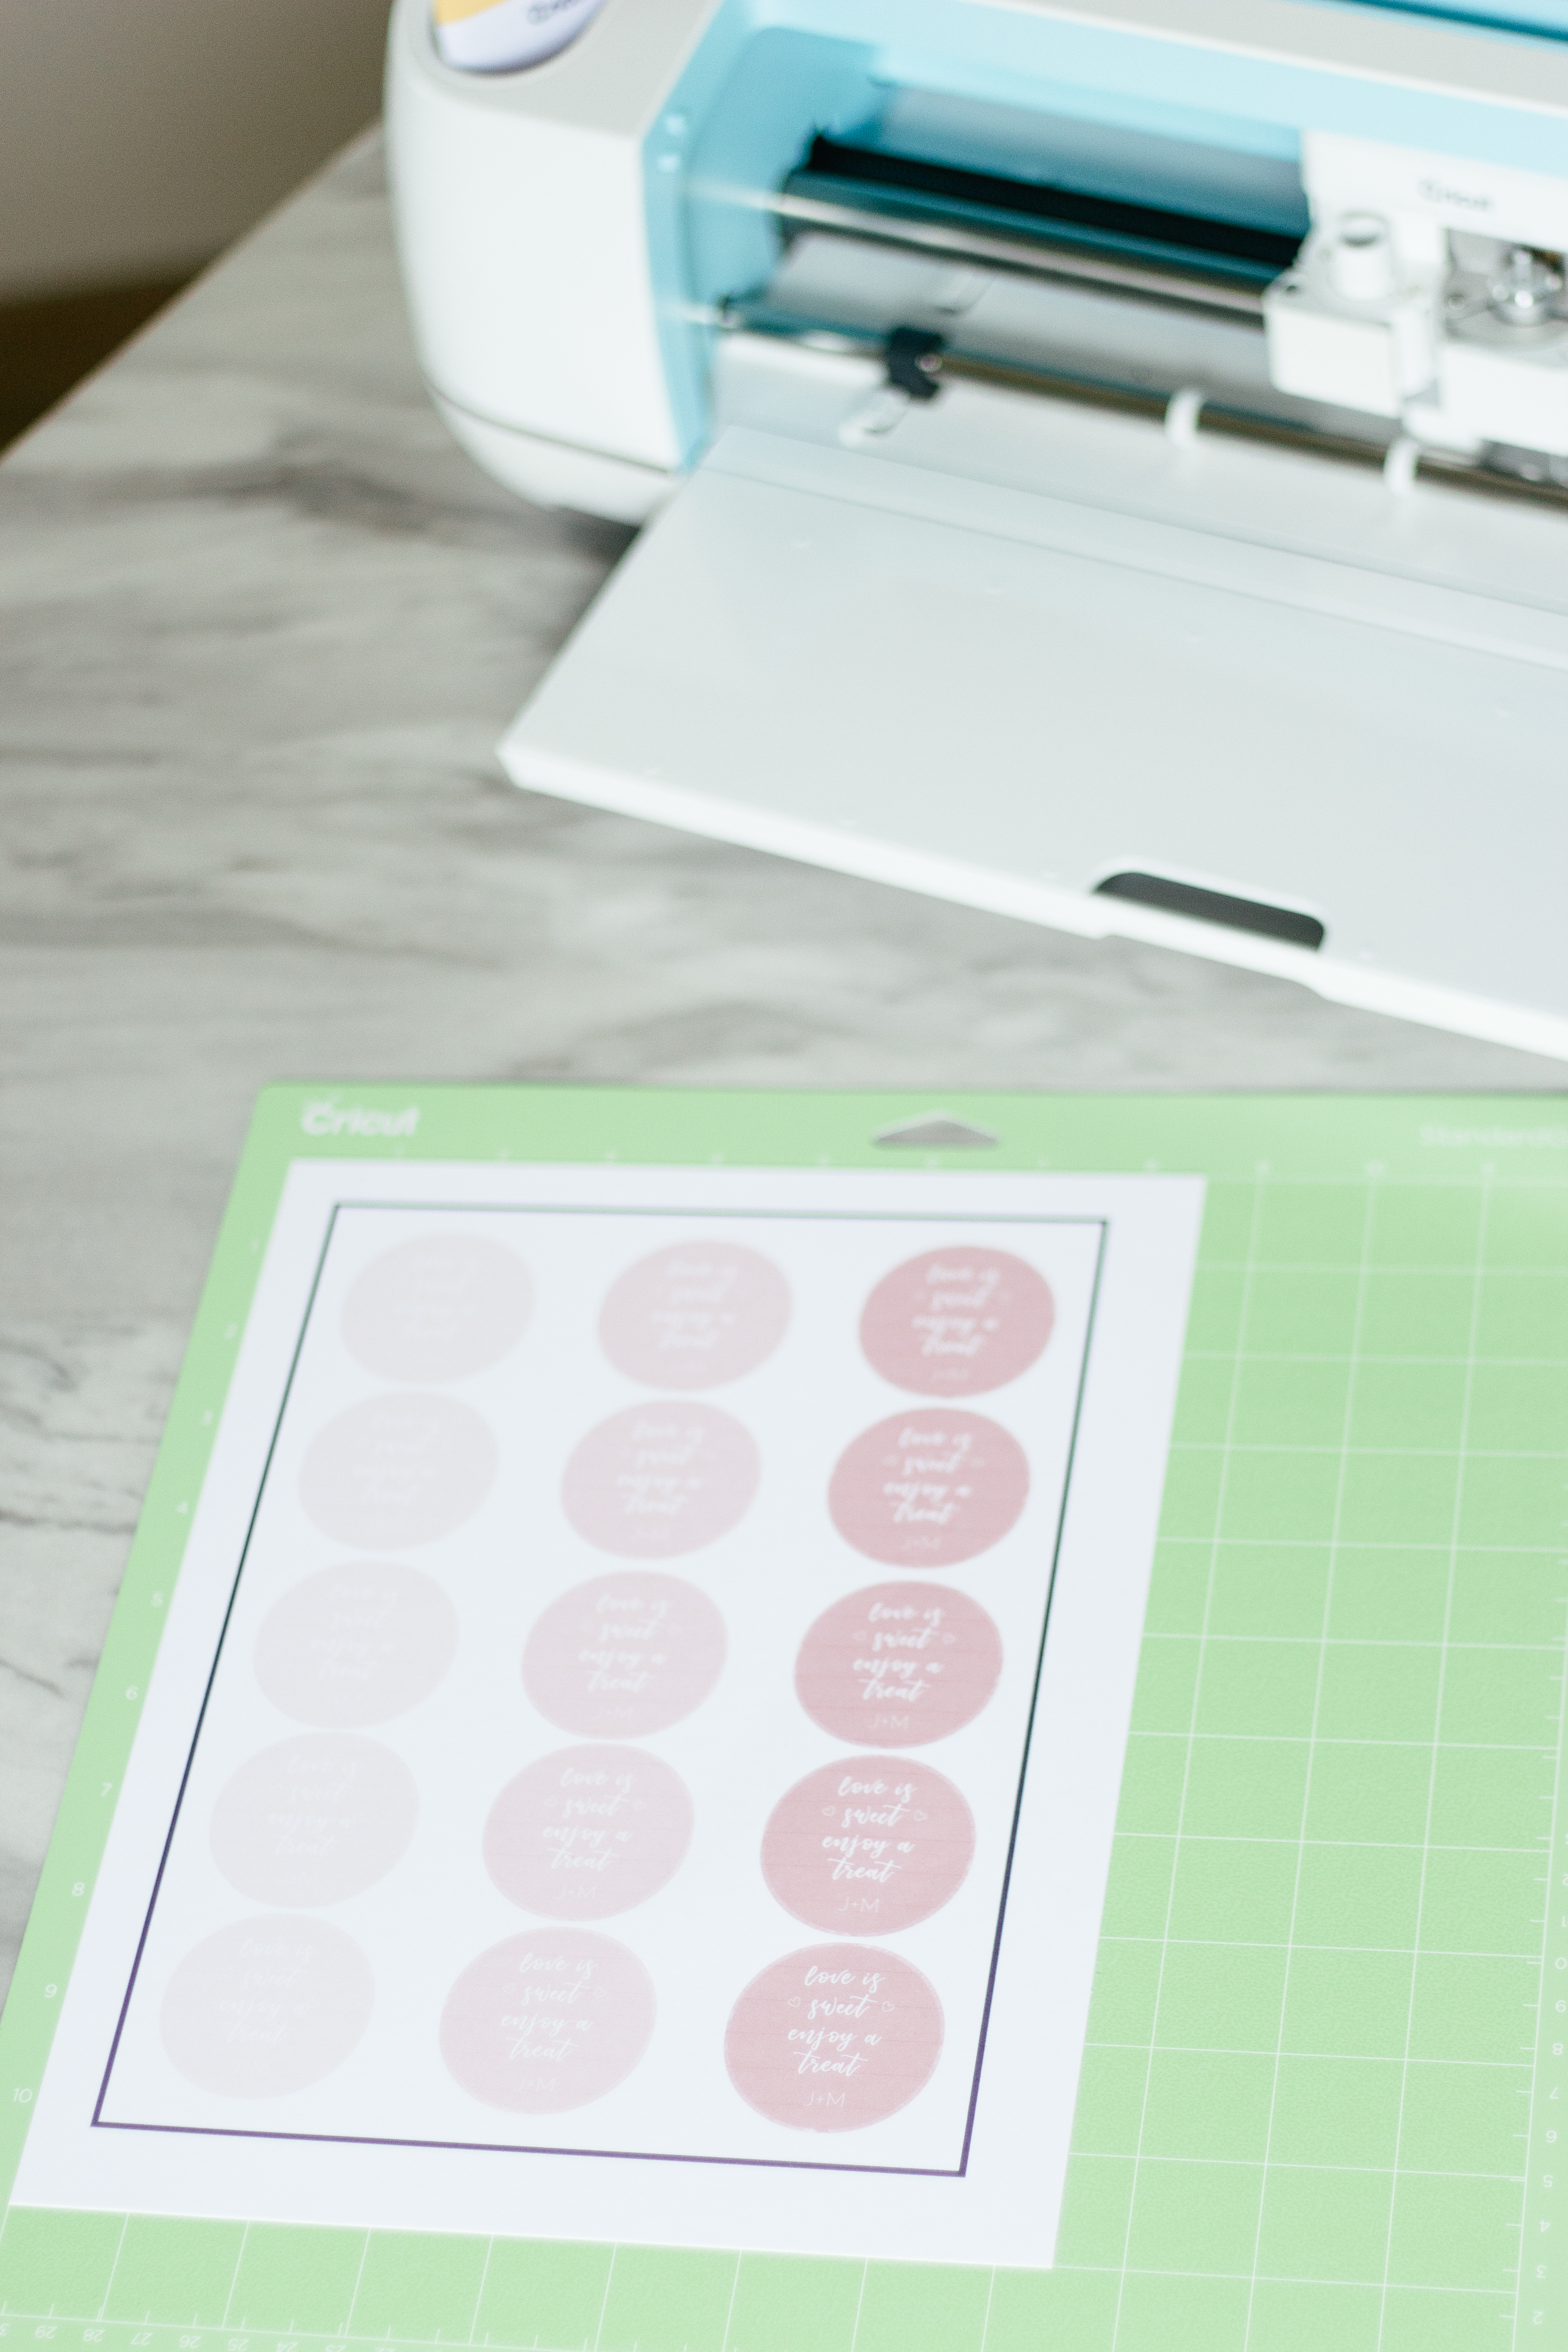
Align your now printed sticker paper on your Cricut mat the exact same way you see on your screen. Load the mat and click cut and you are ready!
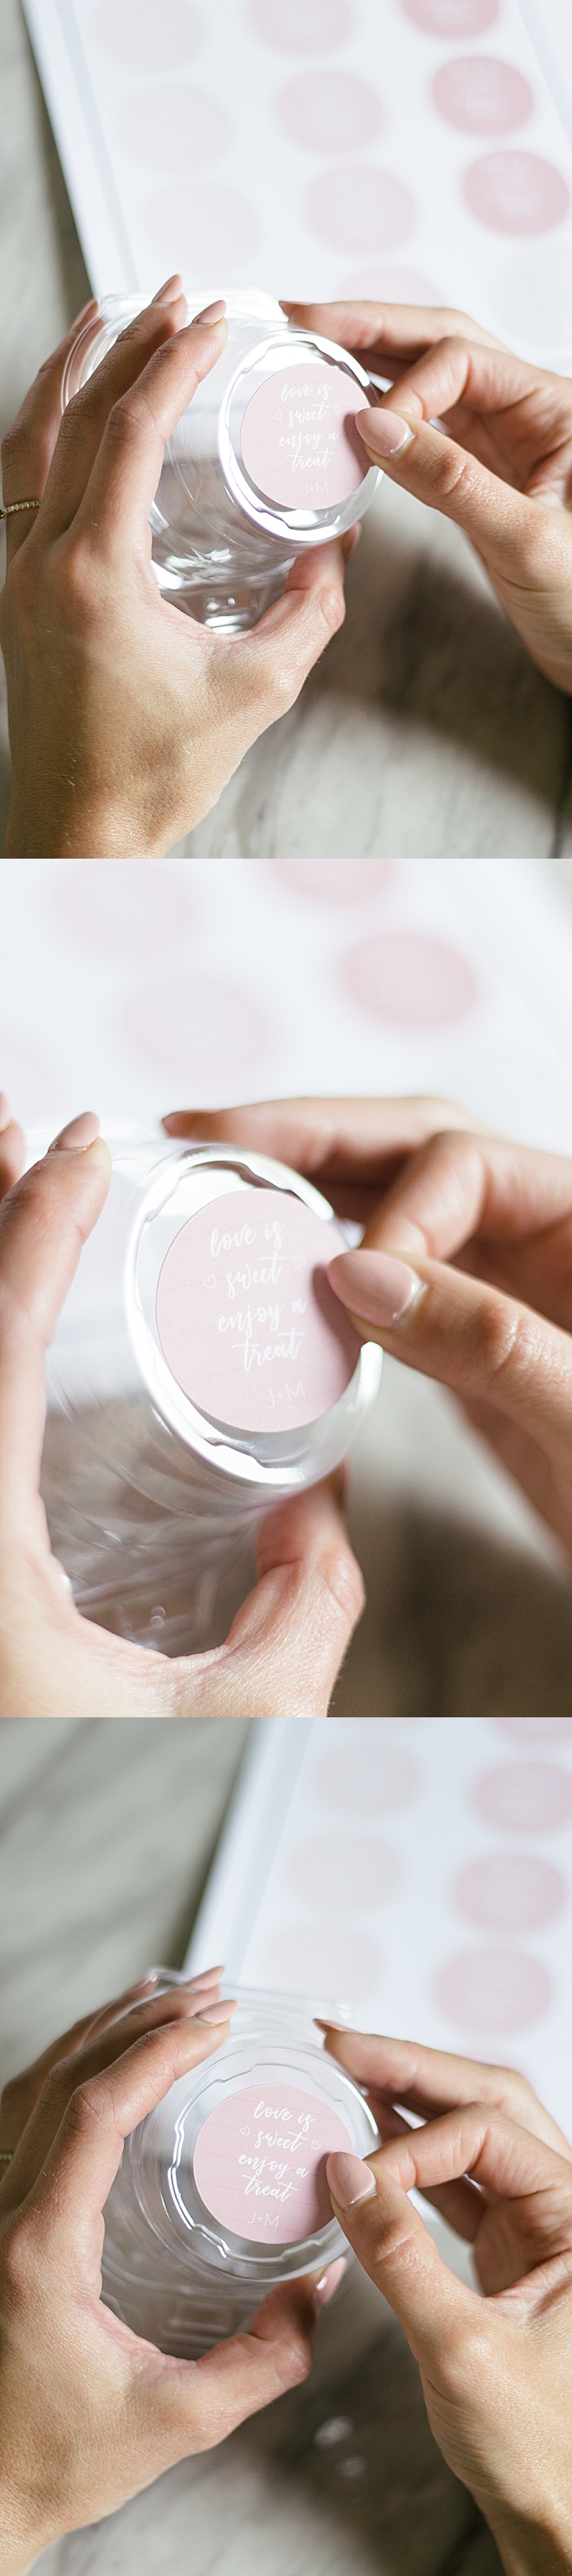
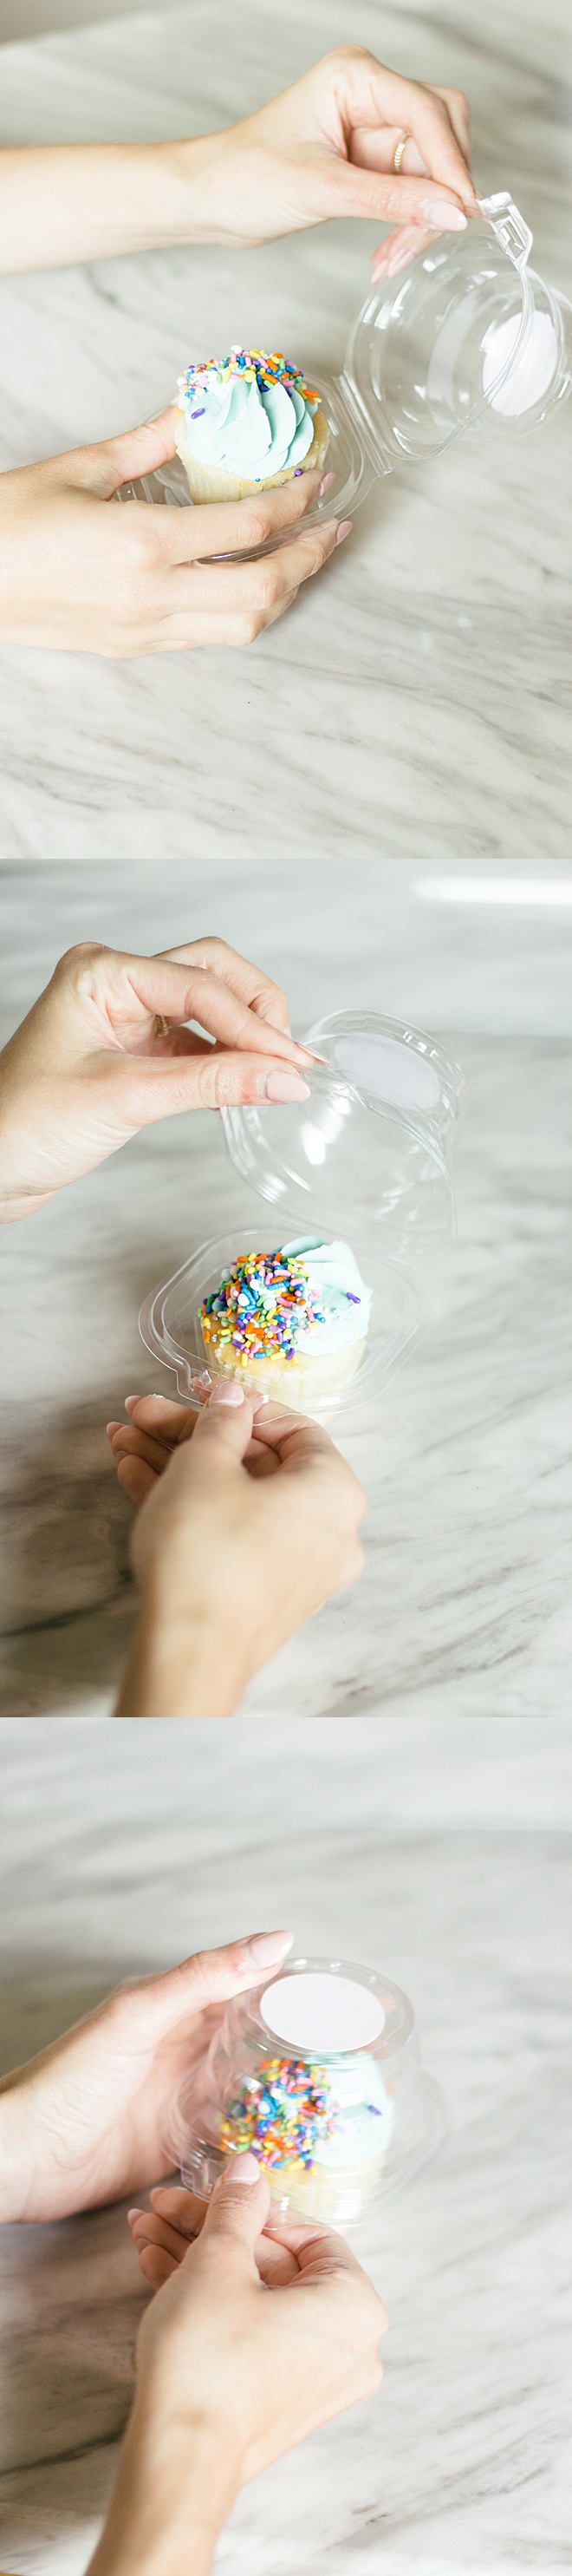
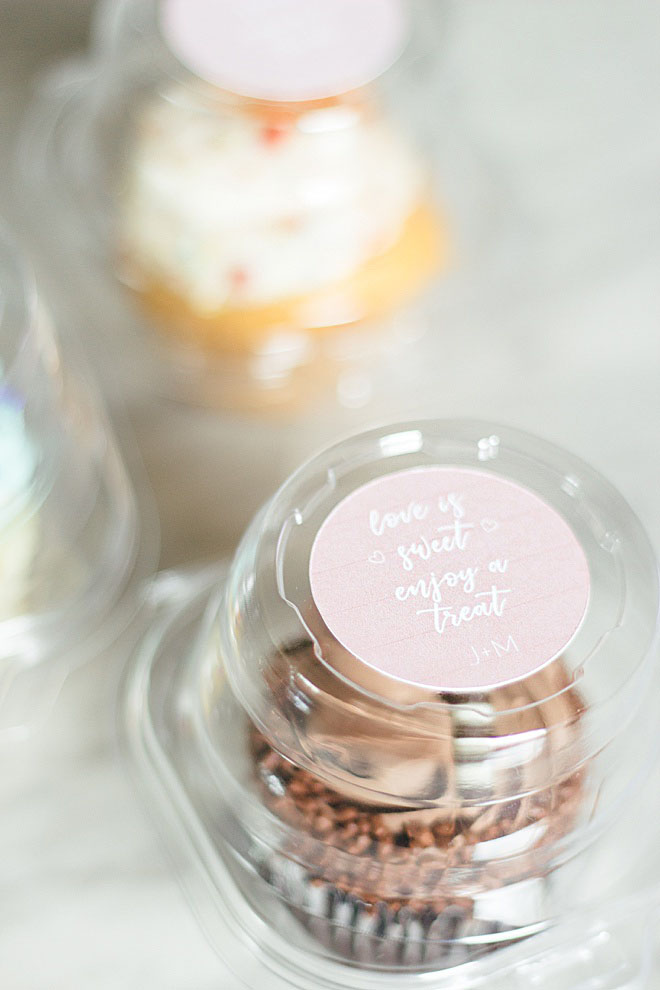
Peel and Stick
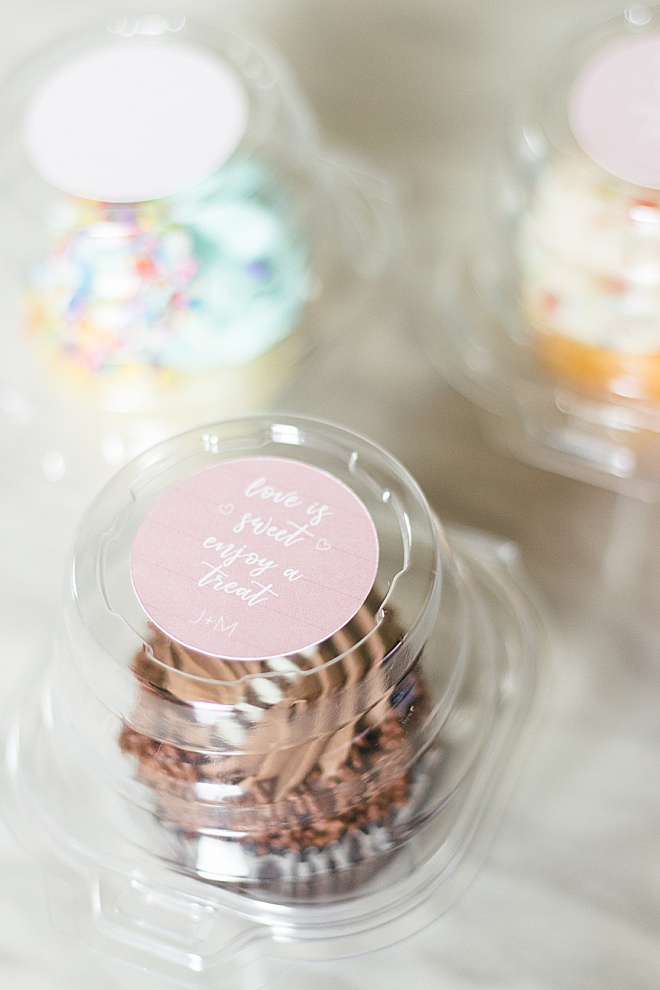
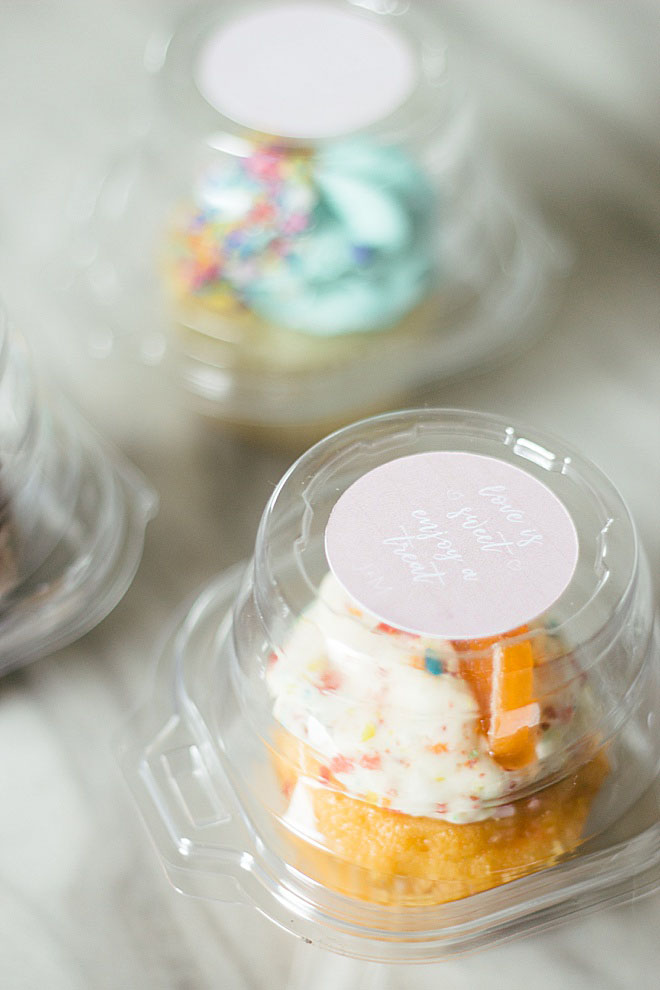
Your stickers are now cut to perfection and ready to be placed on your plastic cupcake containers. Align the sticker in the middle of the circle and press down so the sides stick.
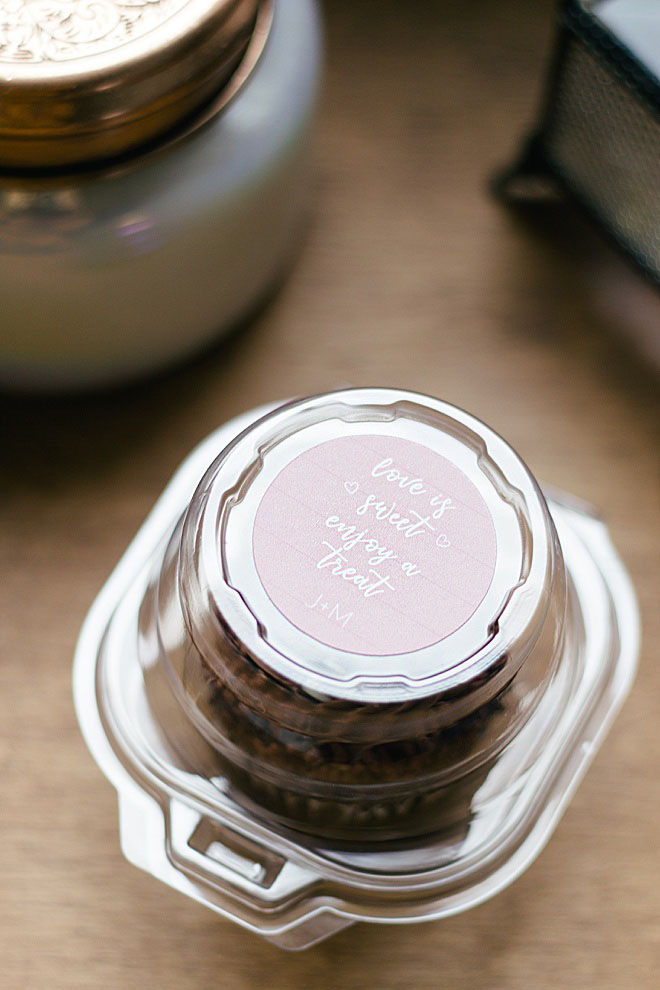
Add your cupcakes
Place your cupcakes in the container and press down to keep them closed tight!

Hein & Dandy is a blog founded on crafts and creative writing, inspired by adventure and wellness. Make sure to check out our website for new projects and inspiration!
As with all our DIY tutorials, if you create one of our projects please send us a picture – We Love Seeing Your Creativity! If you use Instagram or Twitter please use the hashtag #SomethingTurquoiseDIY and it will show up on our Get Social page. Happy Crafting!
DIY Tutorial Credits
Photography + DIY Tutorial: Carli Hein of Hein & Dandy // Cricut Maker: courtesy of Cricut // Canon PIXMA TS9521C Crafting Printer: courtesy of Canon // Clear Plastic Cupcake Domes: Amazon // 8.5″ x 11″ Waterproof Label Sheet: Amazon
Shop The Supplies:
Find the supplies you’ll need for this project from our affiliate links below:

Comments