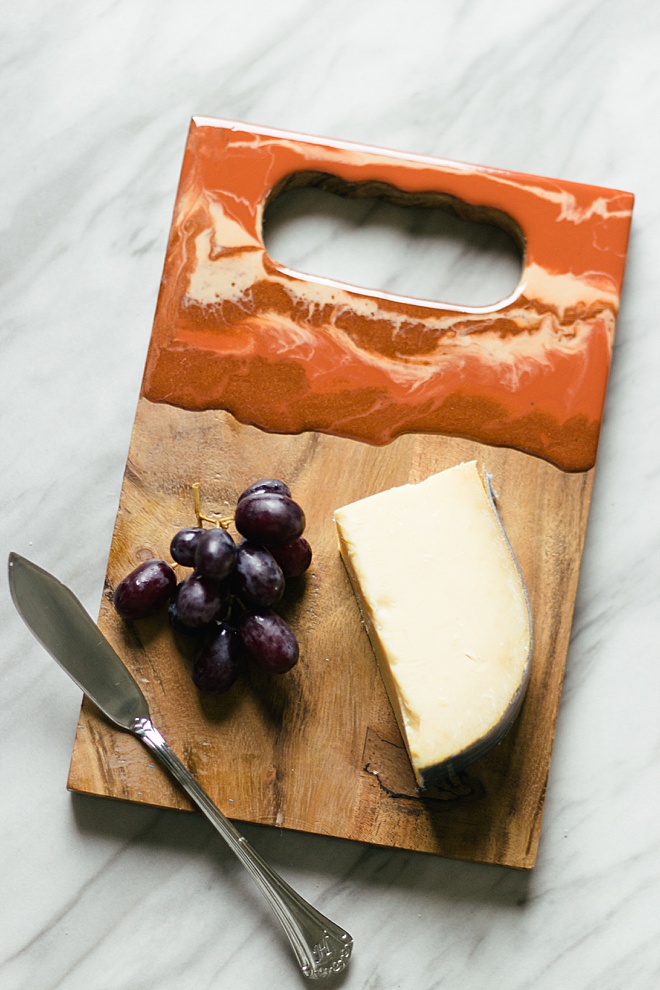

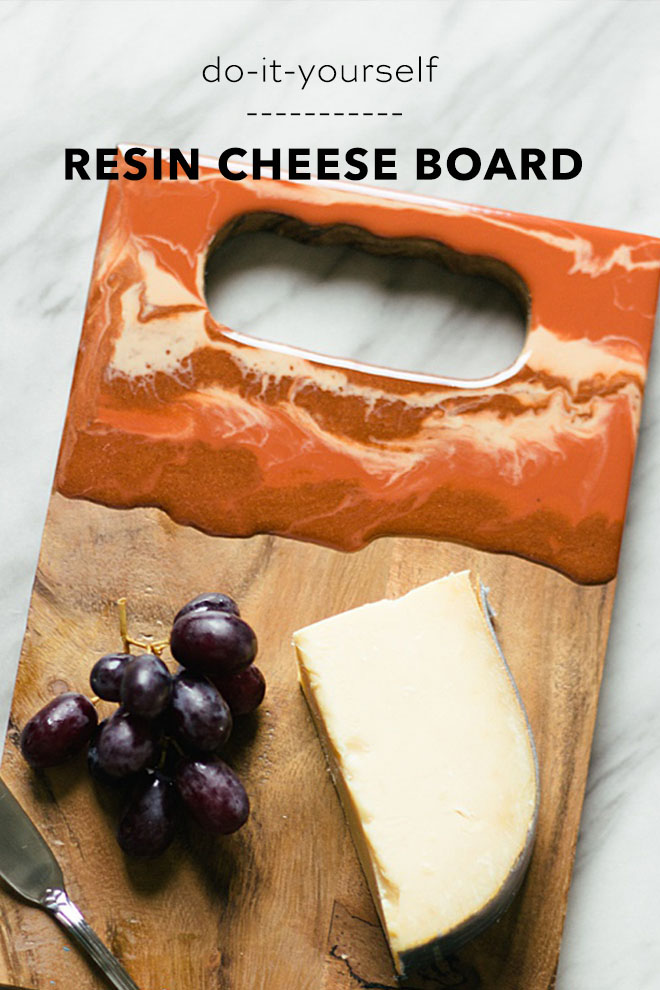
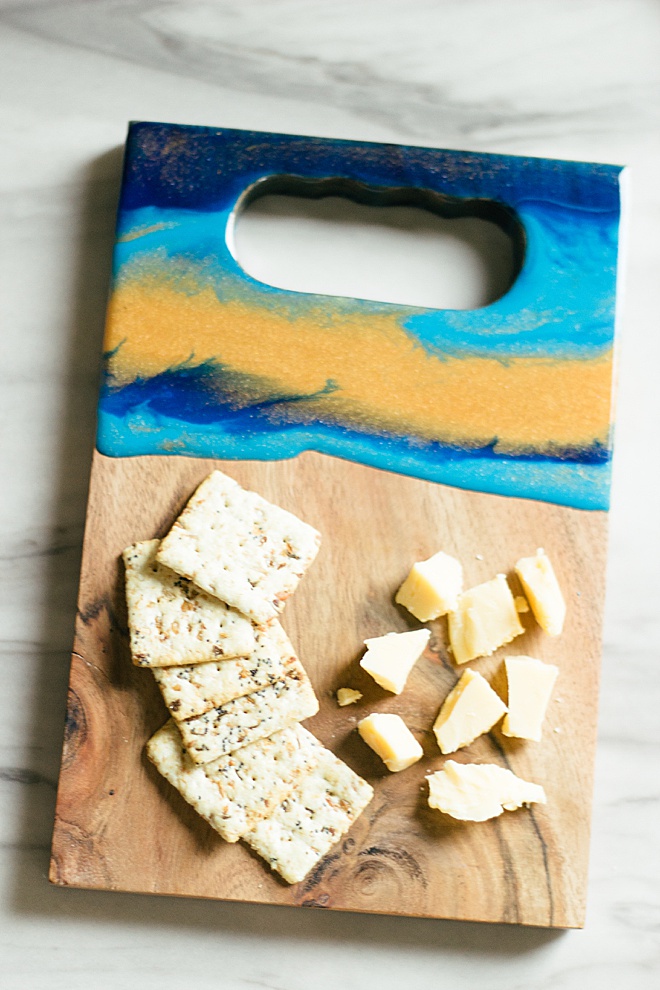
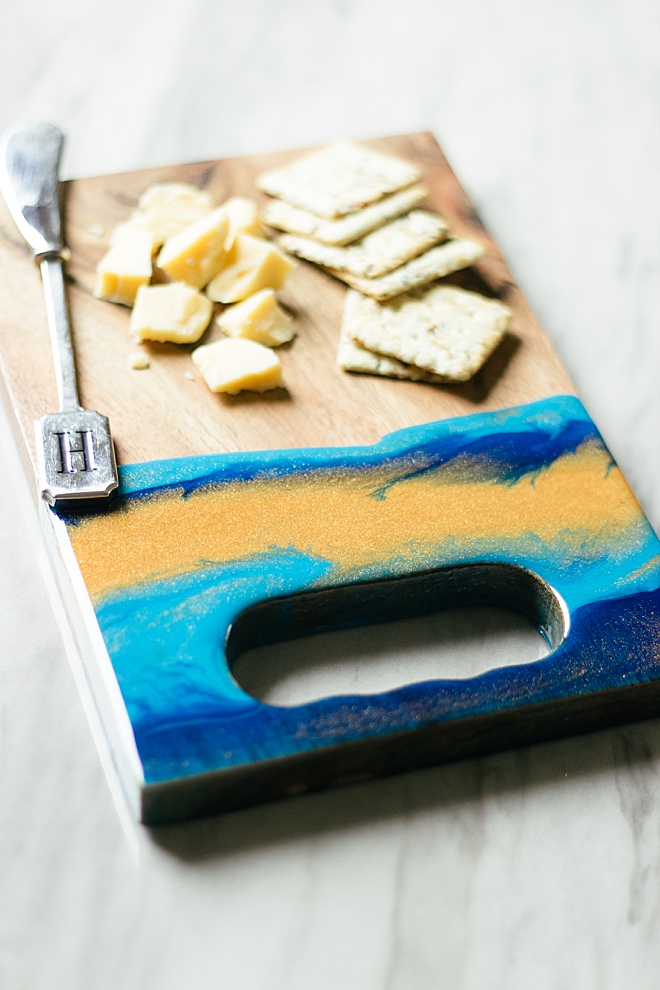
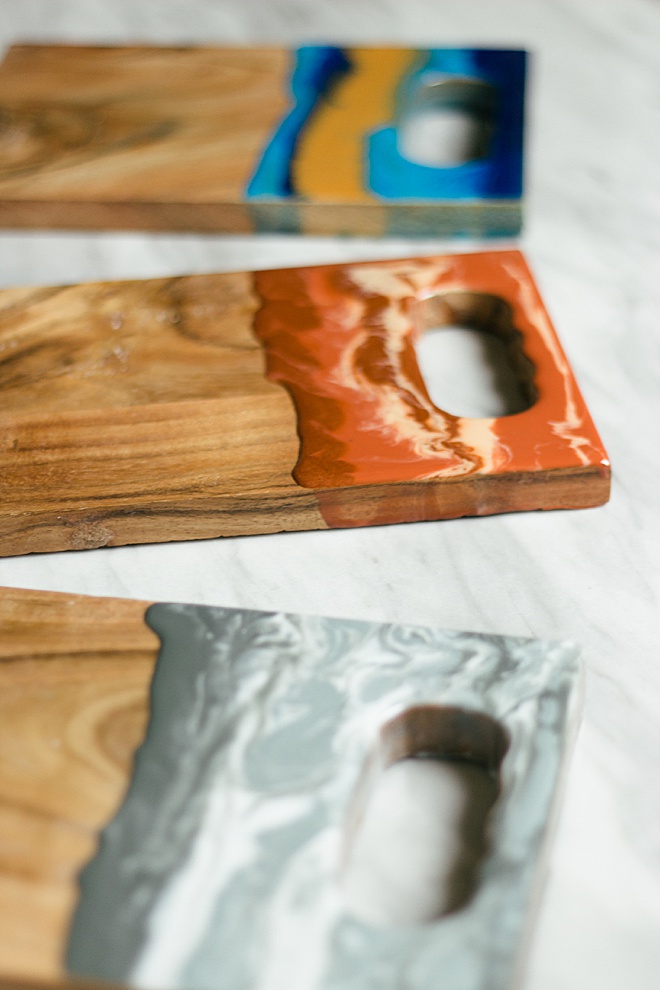
DIY Resin Cheese Board
I am Carli Hein from Hein & Dandy, a DIY everything blog from resin crafts to home decor, anything you can think of! One of the things I registered for my wedding was cheese boards. I could not get enough of them! They make every party come to life when you’re hosting. Today I am showing you how to make the cutest cheese board gift for your next wedding! Fluid resin painting is so fun and there is no way to mess up a design. Let’s get started!
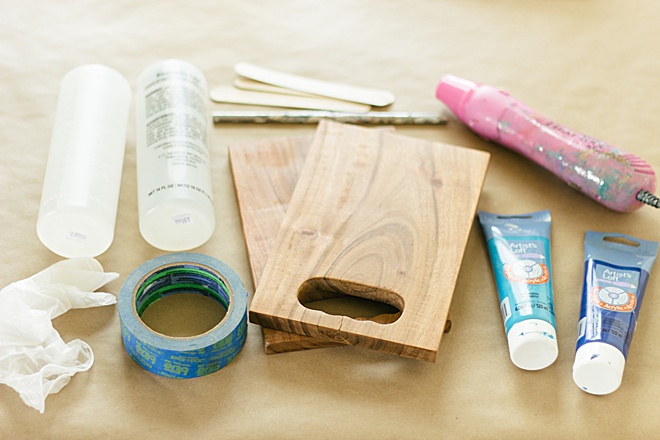
SUPPLIES:
- Resin
- Cups
- Wood Sticks
- Acrylic Paint
- Blue Tape
- Heat Tool
- Thumb Tacks
- Straw
- Gloves
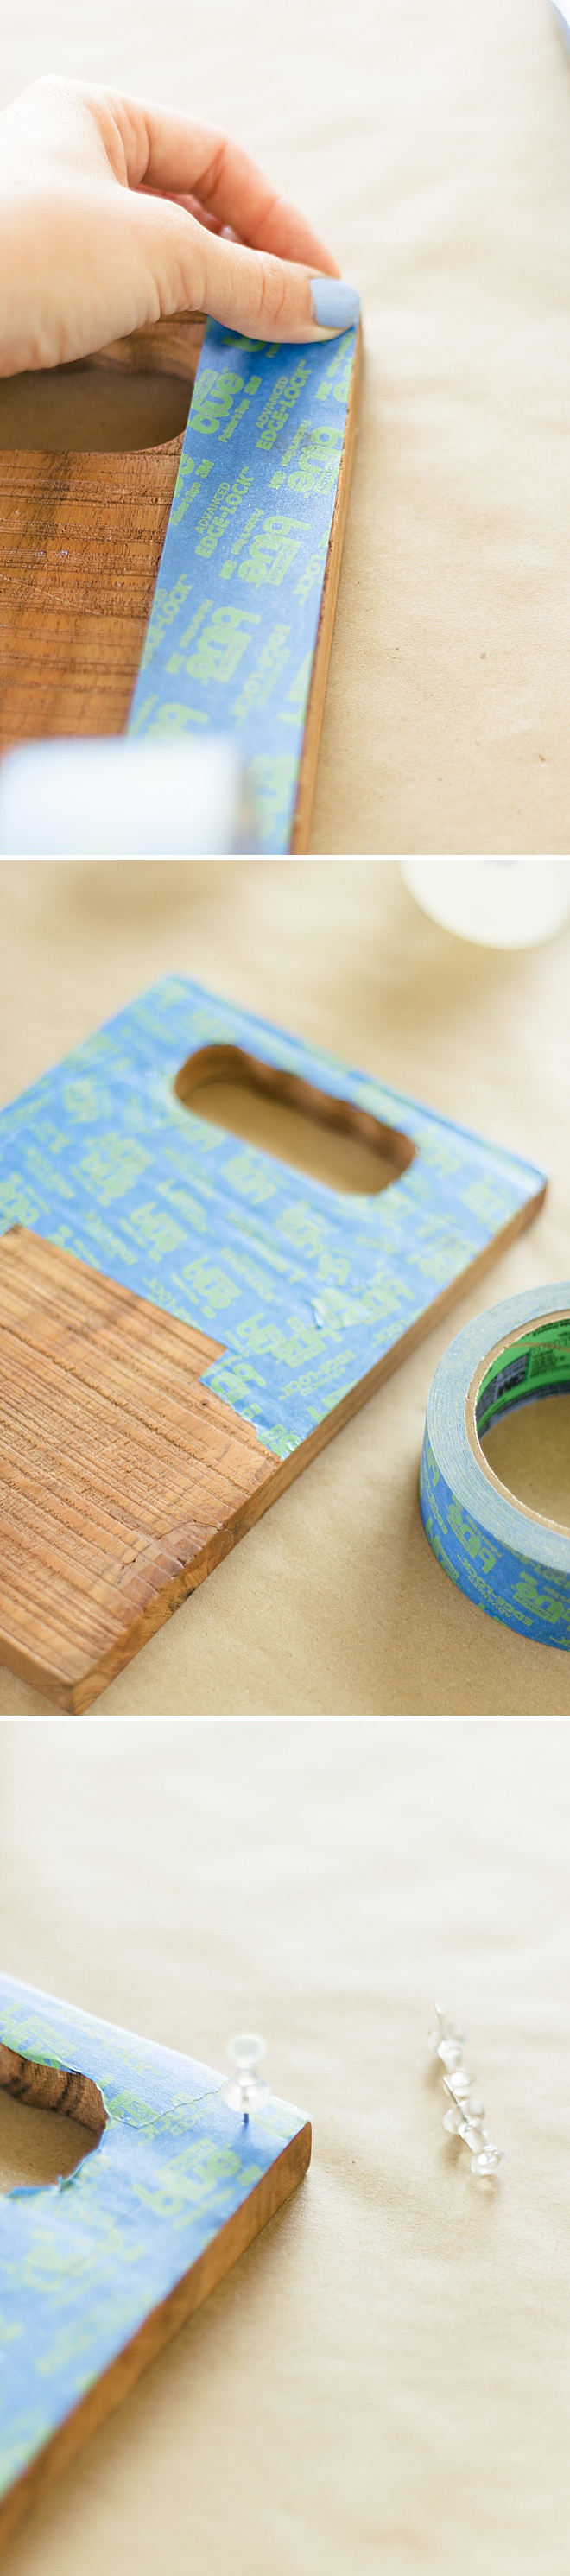
Tape
Use blue tape to tape off the back of the board. This way when the resin drips over the sides, it will easily peel off when it dries. Make sure to press down the tape around the edges really well.
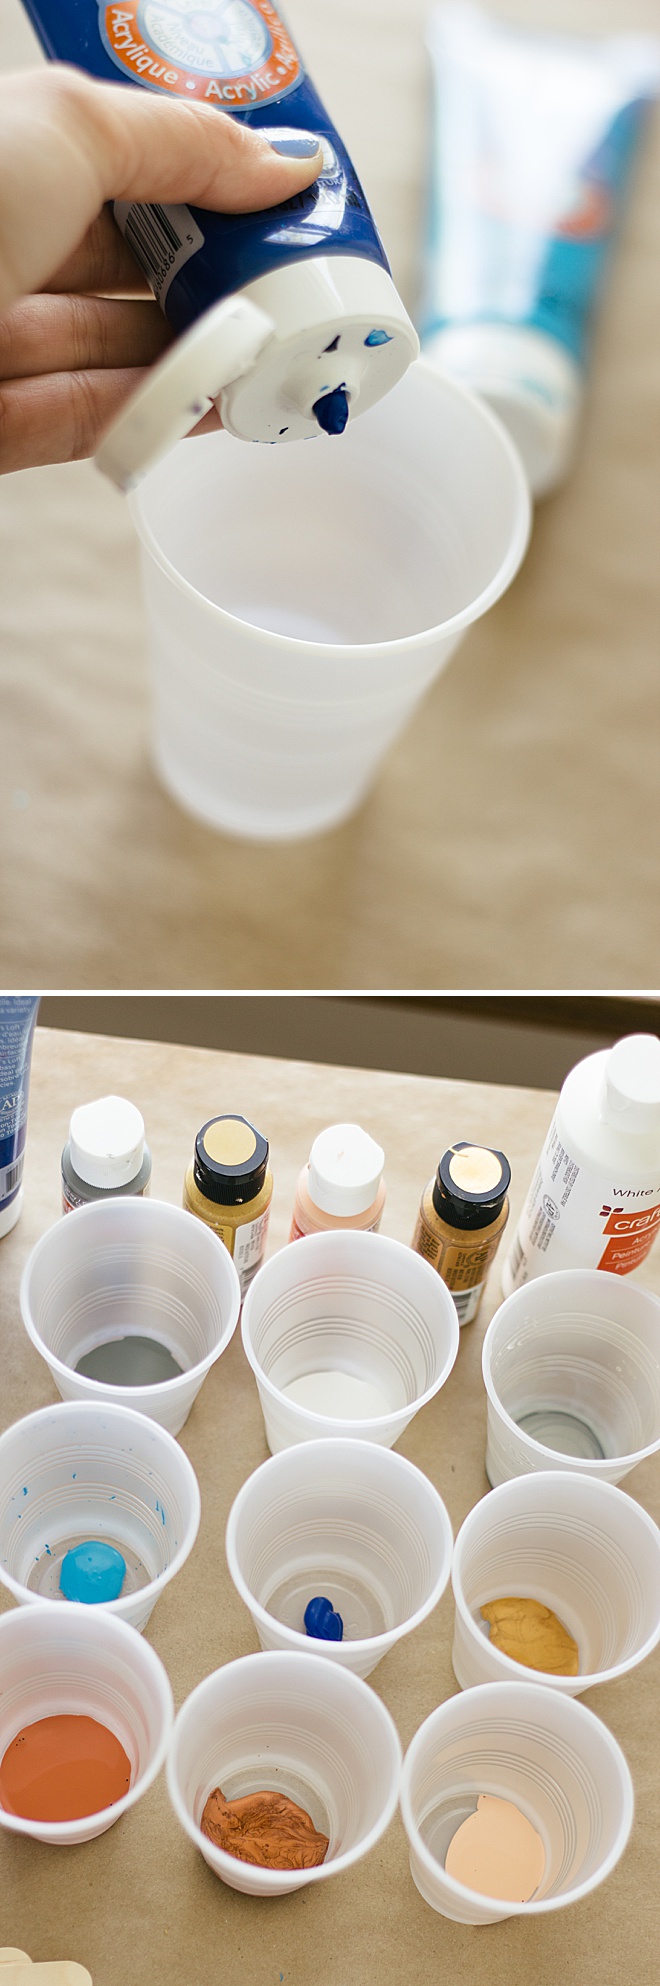
Paint in Cups
Add a drip of paint into each cup. The more paint you put in each cup with make the consistency thicker and darker.
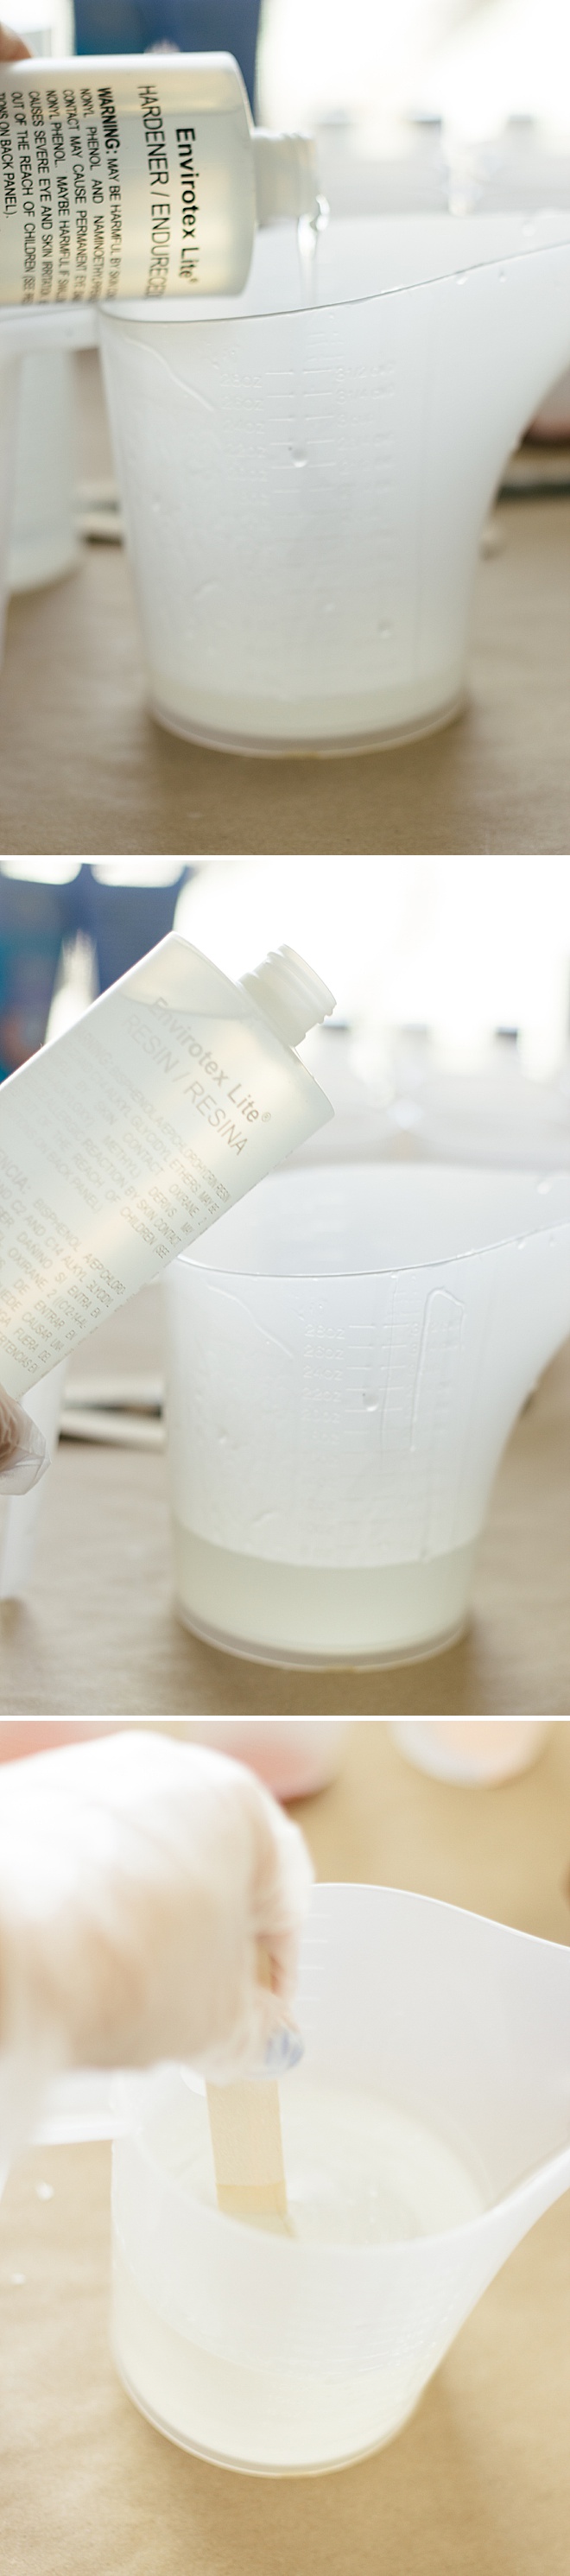
Mix Resin
Add equal amounts of each bottle together in a cup or measuring cup. I used 6 ounces of each to do 3 boards. Mix the resin for at least 4 minutes, making sure to scrape the sides of the cup to get all the resin mixed.
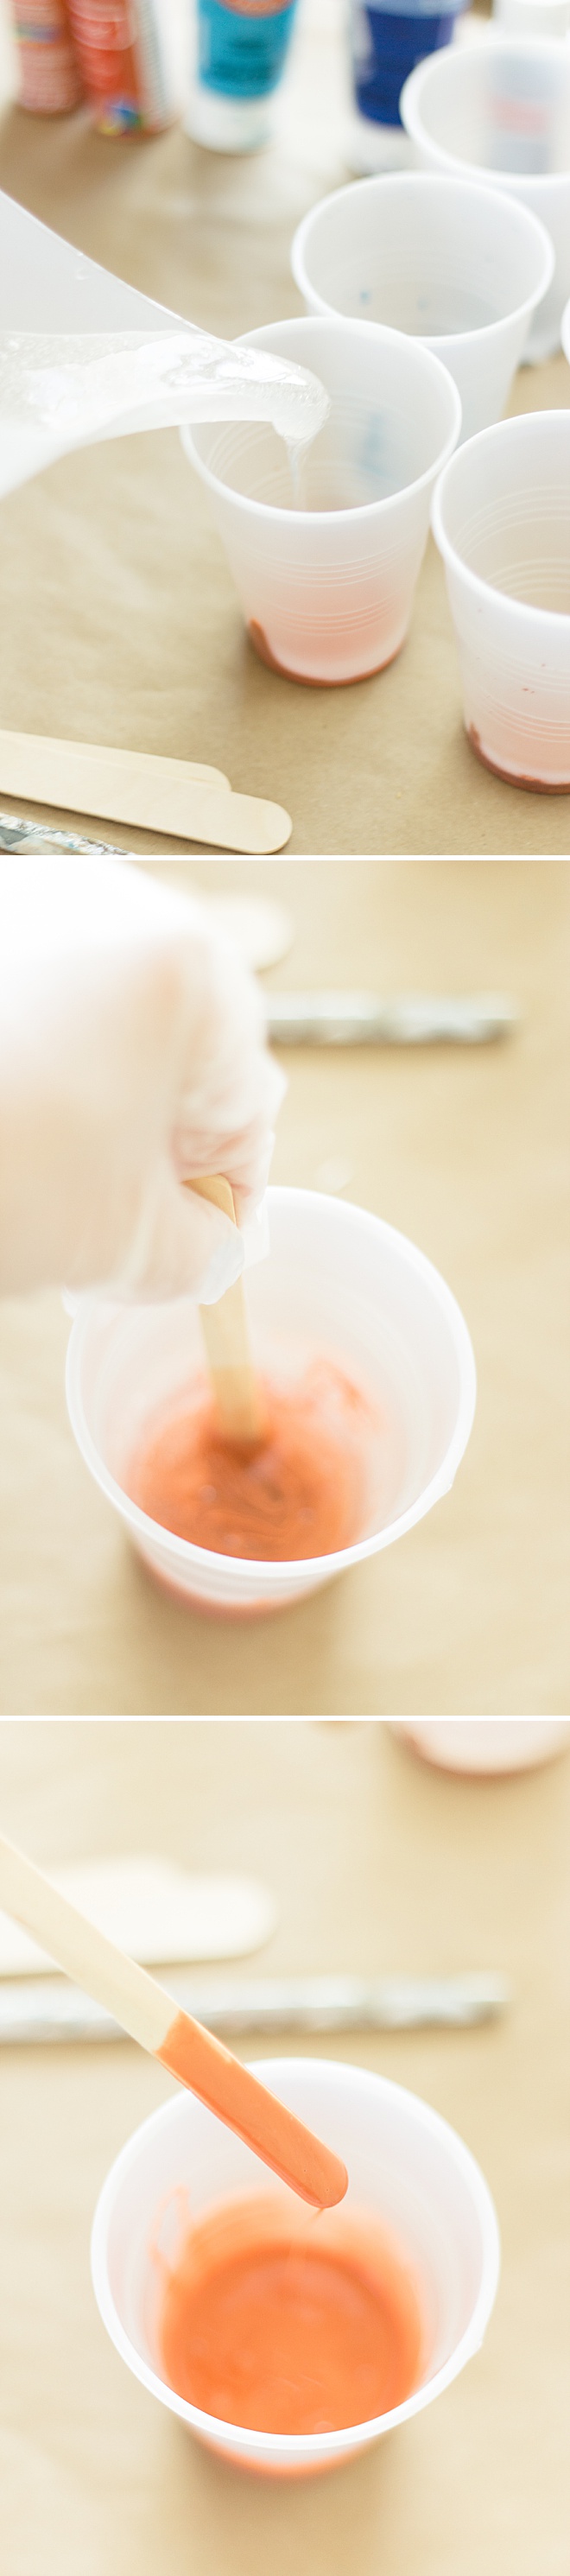
Mix Paint
Add a little bit of resin at a time to each cup with acrylic paint inside. Make sure you have enough resin to fill each cup, then you can add more resin as there is more left. Mix the paint and resin together until there are no streaks in the mixture and it is runny.
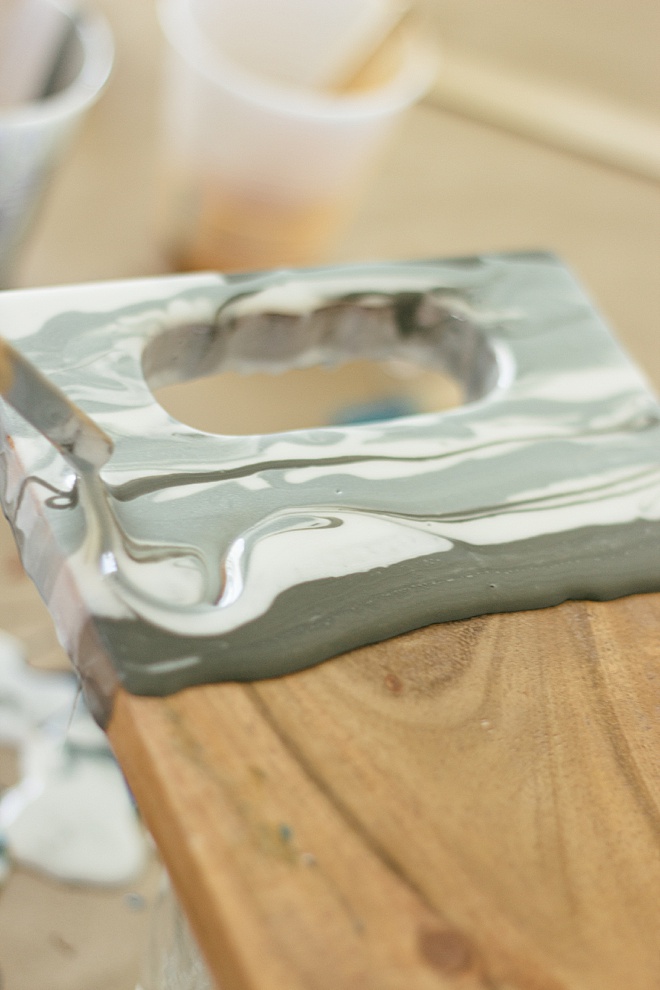
Apply
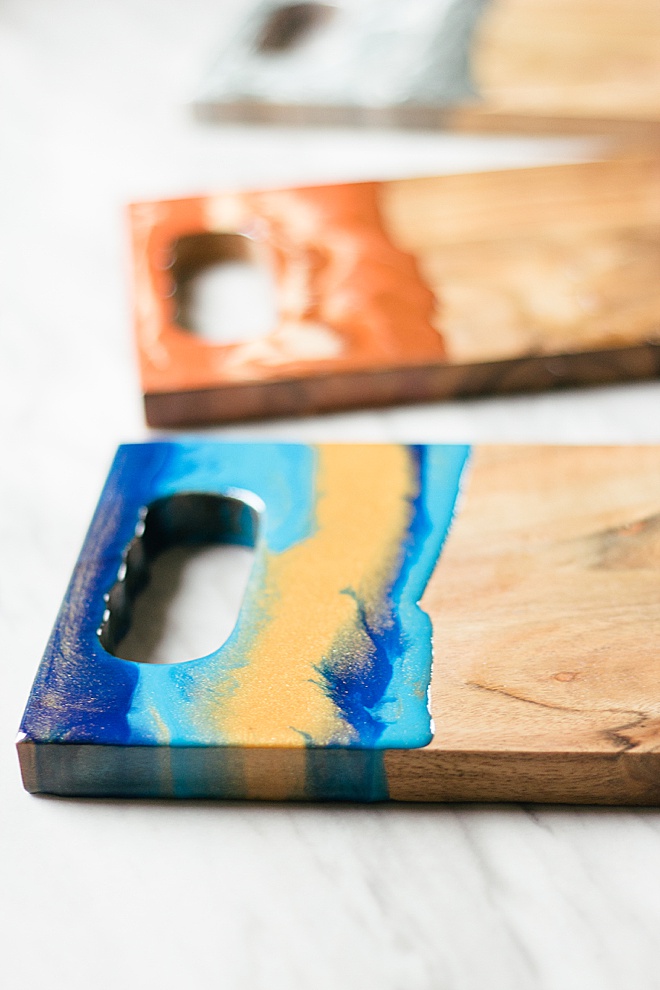
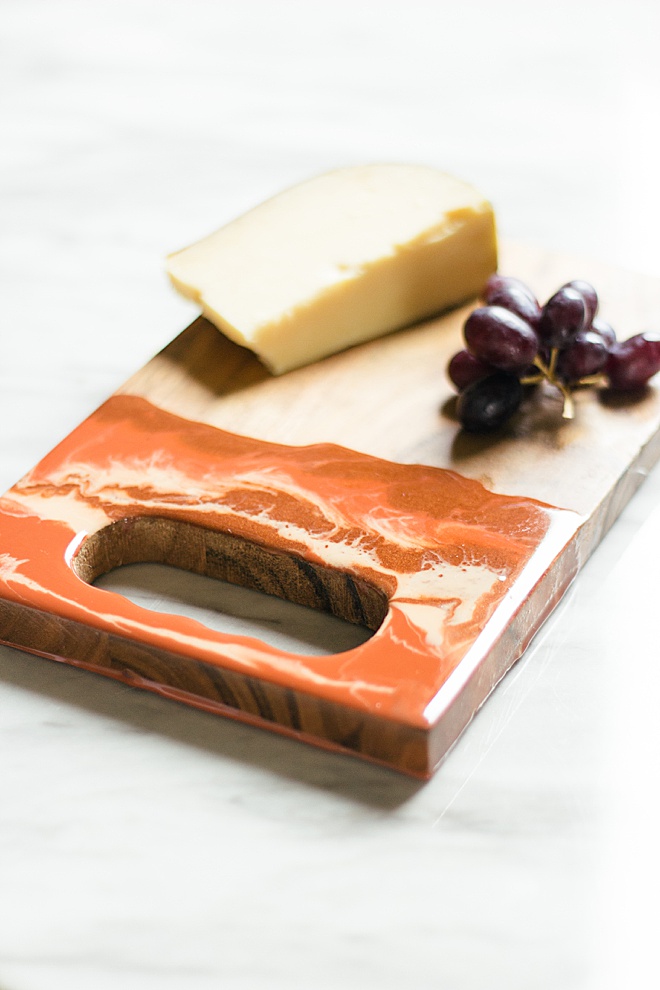
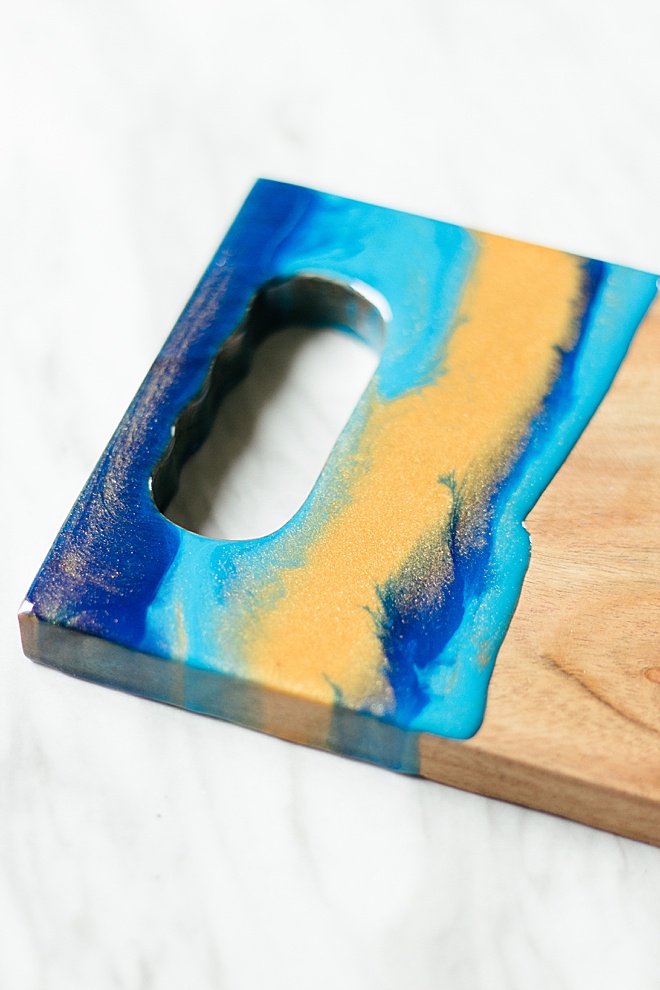
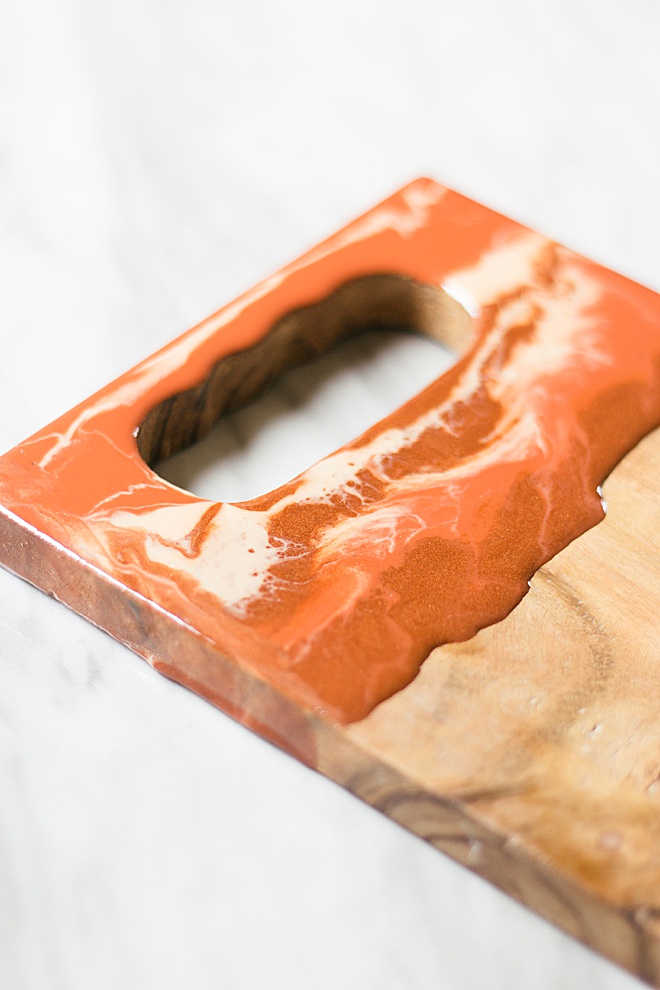
I like to start by adding resin layers in stripes starting at the top. This is the fun part! I like to keep a natural edge so I didn’t tape off an exact line on the front of the board. If you want a clean look, you can add a line of blue tape like we did on the back.

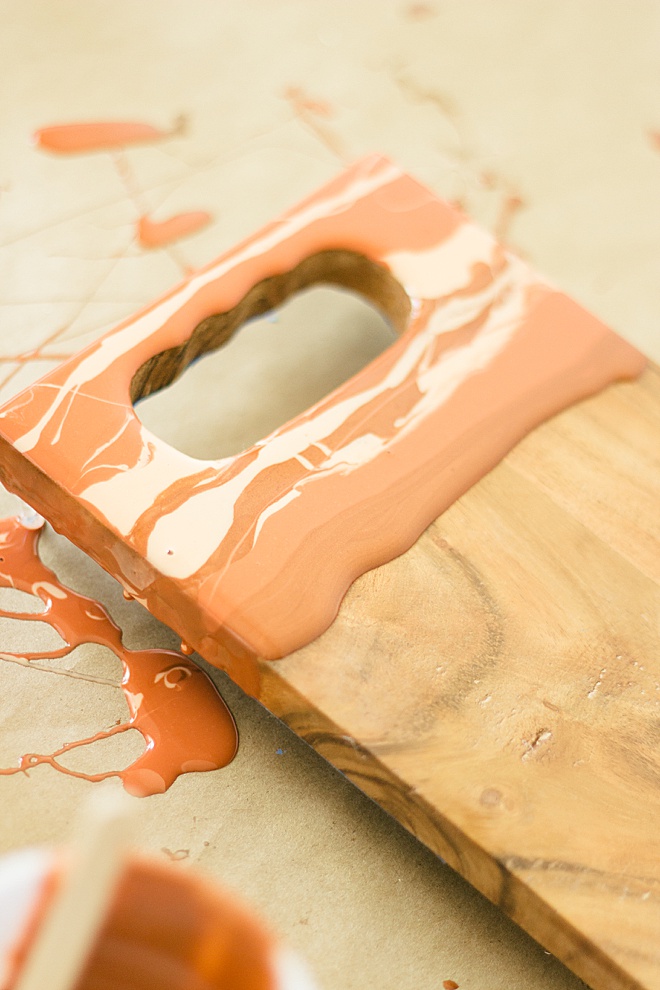
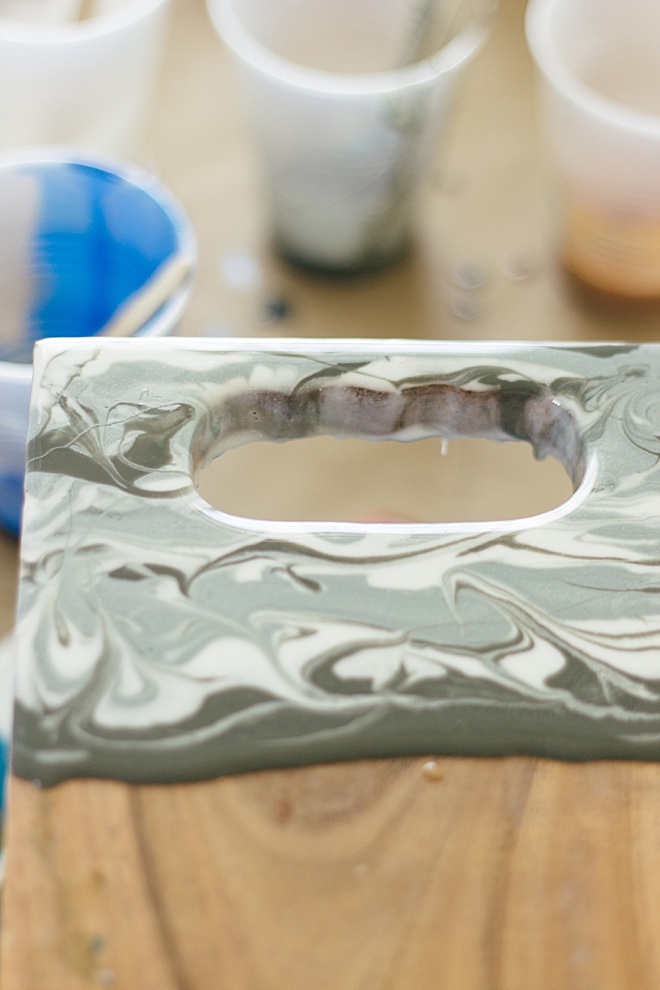
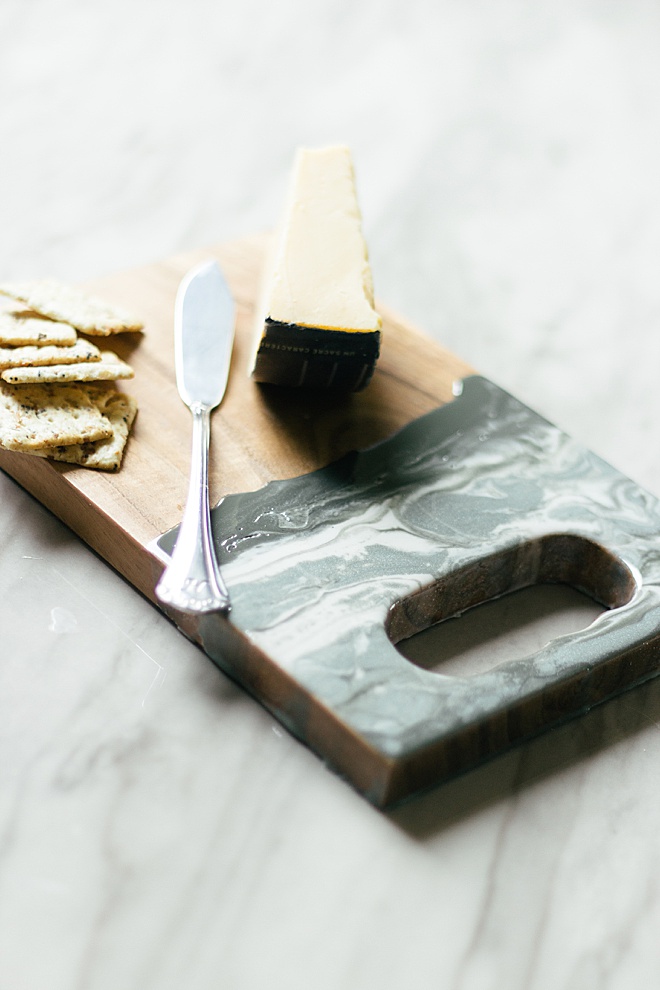
Marble
You can use a straw to blow designs or a popsicle stick to swirl the paint around to create a marble effect.
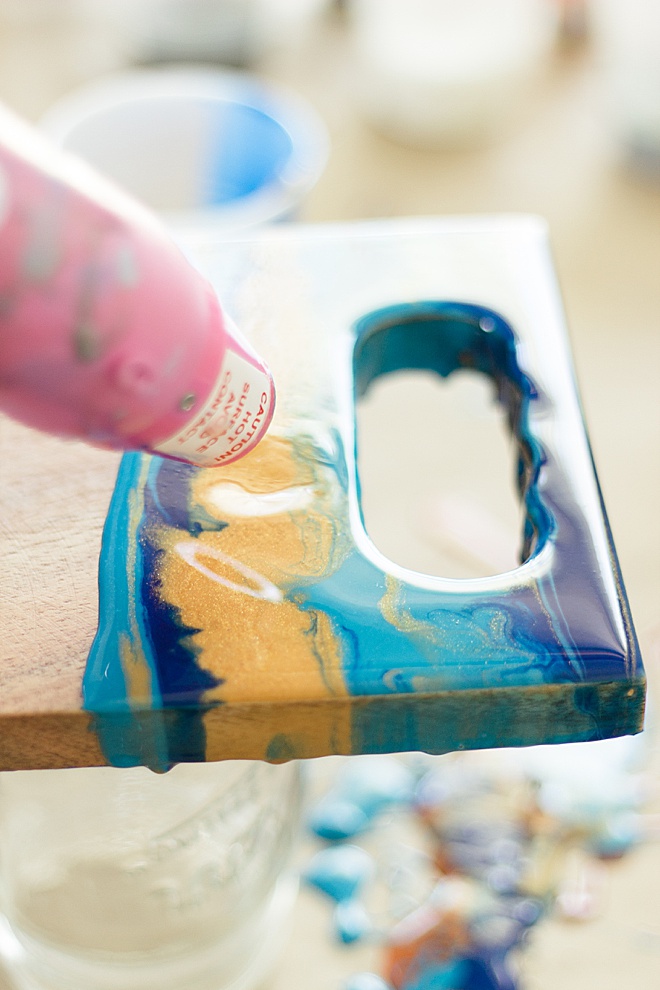
Heat Tool
Graze the heat tool over the resin areas to get all the bubbles out. I let the resin sit for 30 minutes then come back and use the heat tool again.
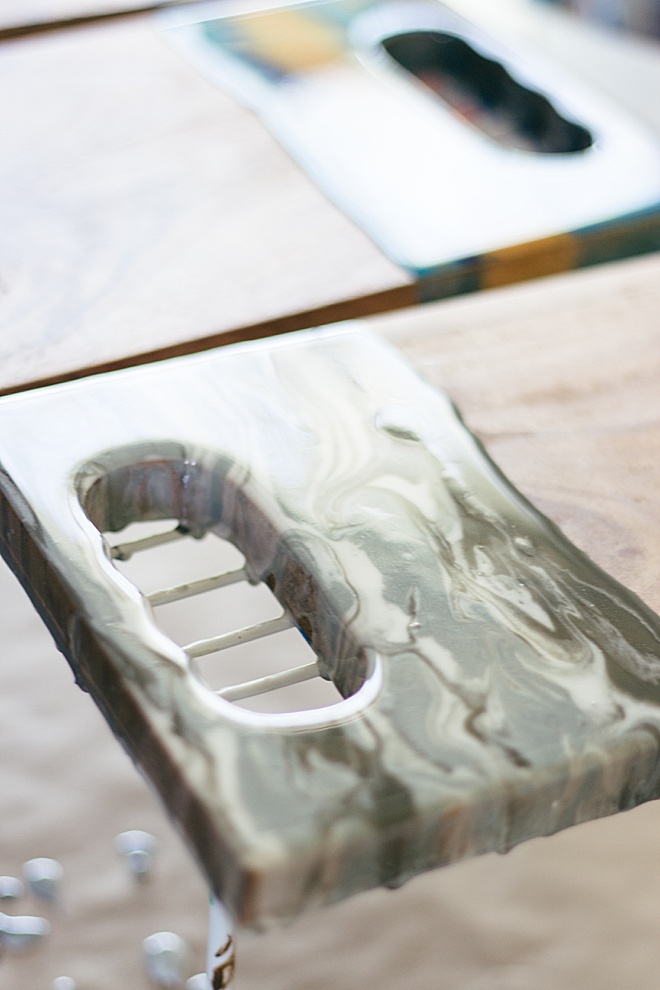
Let Dry
After 24 hours, take the tape away from the bottom of the board. The resin may take up to 72 hours to fully dry.
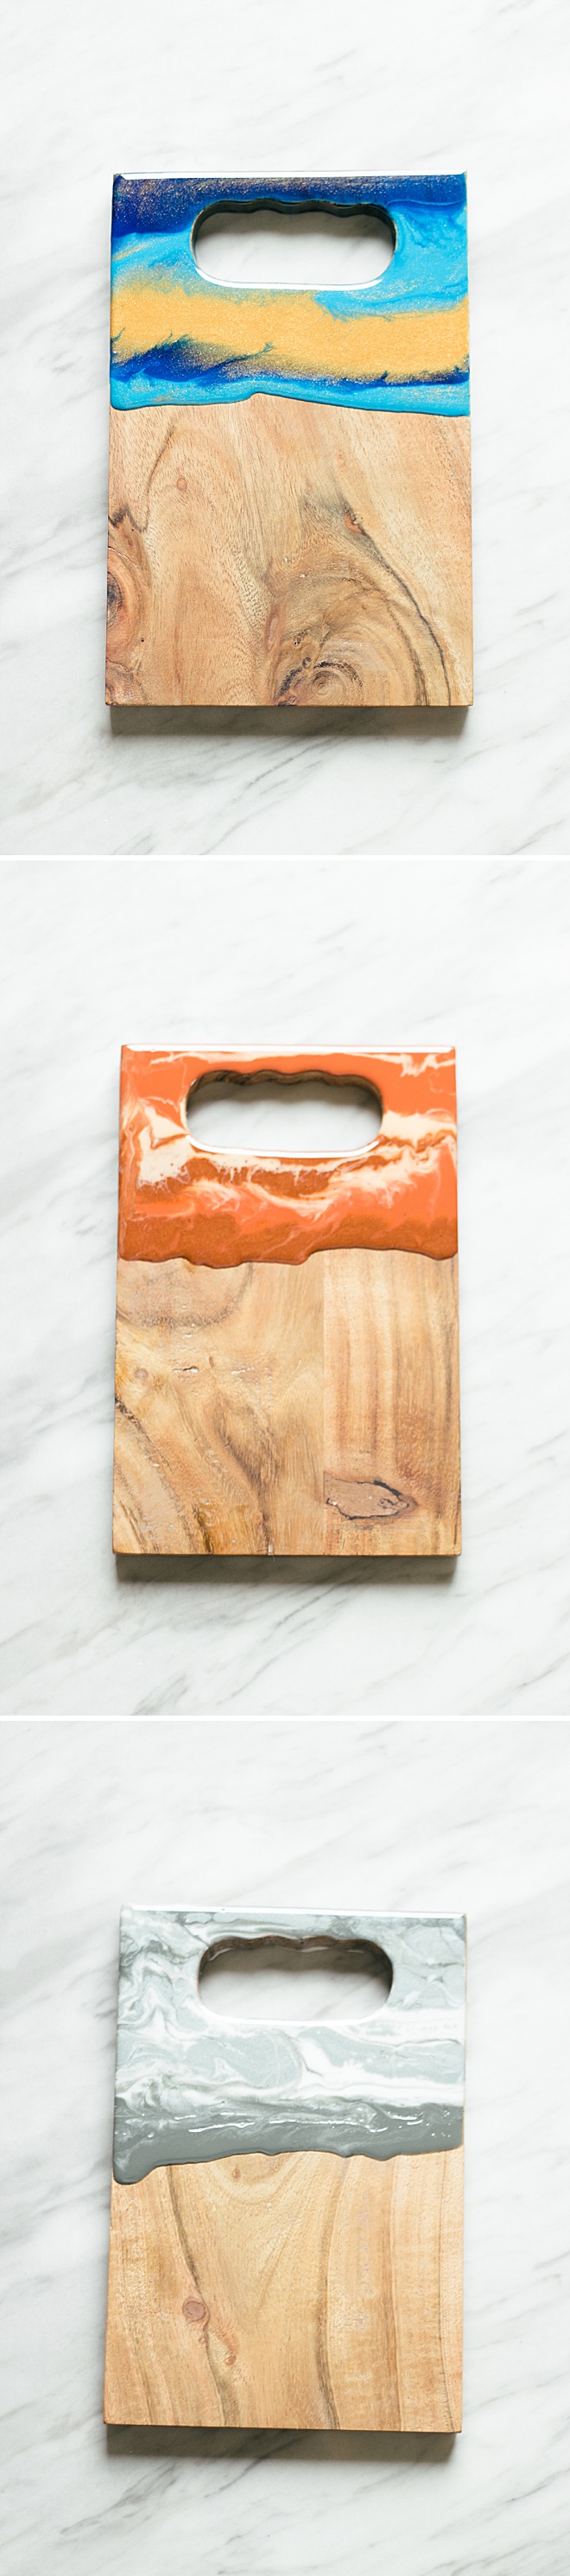
Enjoy
This cheese board is perfect to gift or keep for yourself! These are so fun to make, maybe get all your friends together and have a craft night all together!
Hein & Dandy is a blog founded on crafts and creative writing, inspired by adventure and wellness. Make sure to check out our website for new projects and inspiration!
As with all our DIY tutorials, if you create one of our projects please send us a picture – We Love Seeing Your Creativity! If you use Instagram or Twitter please use the hashtag #SomethingTurquoiseDIY and it will show up on our Get Social page. Happy Crafting!
DIY Tutorial Credits
Photography + DIY Tutorial: Carli Hein of Hein & Dandy // Cups:Amazon // Resin:Amazon // Straw:Amazon // Cutting Boards:Amazon // Paint:Amazon // Wood sticks:Amazon // Blue tape:Amazon // Heat Tool:Amazon // Gloves:Amazon
Shop The Supplies:
Find the supplies you’ll need for this project from our affiliate links below:

Comments