

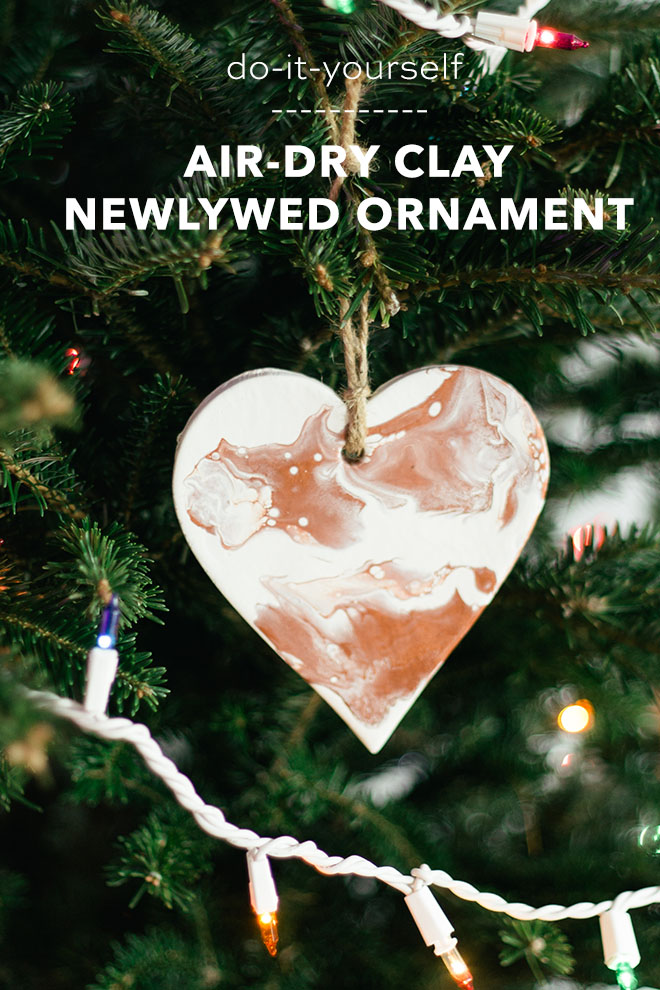
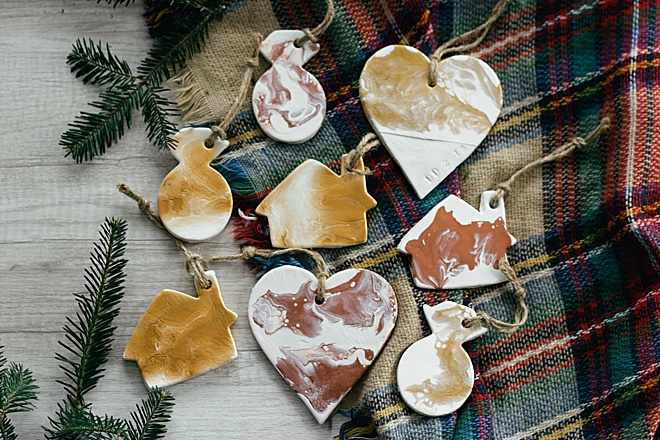
DIY Air-Dry Clay Newlywed Ornament
I am Carli Hein from Hein & Dandy and I am so excited for my first ever DIY with Something Turquoise! I started out as the 2018 Bridal Blogger for Something Turquoise and now have the amazing opportunity to share my crafts with you! I am a craft enthusiast that thrives on a new DIY. I am fueled by fitness and sunshine. Minnesota born and raised but am always looking for a new state or country to explore. People have described me as “cute but weird”, which I am going to take as a compliment!
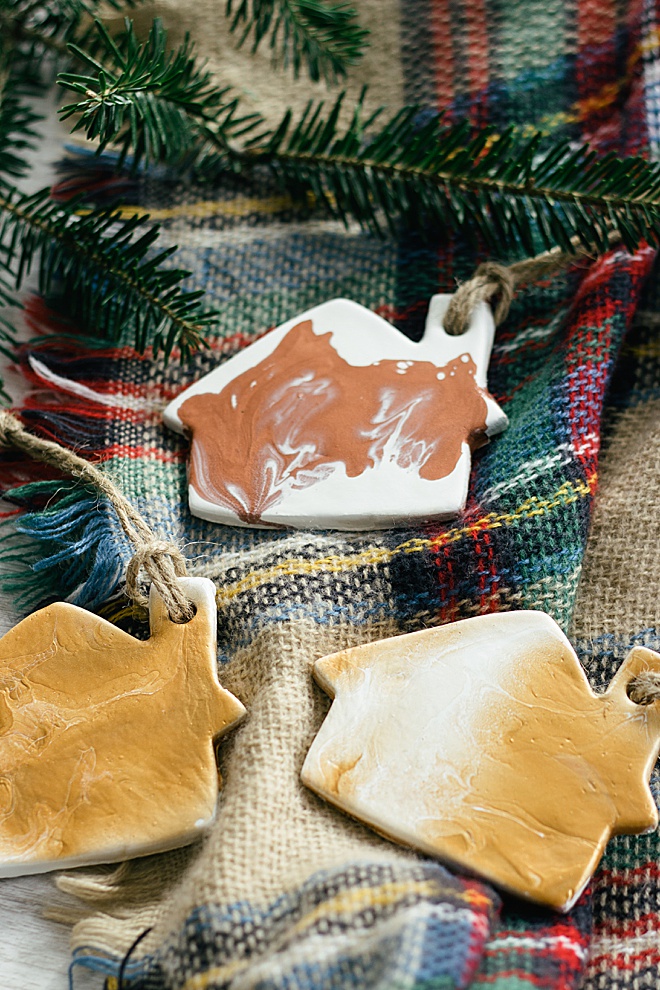
Today I am going to walk you step by step to make your own air-dry clay pour painting ornament! It’s a lot easier than it sounds but it can get messy, but that is the most fun part!
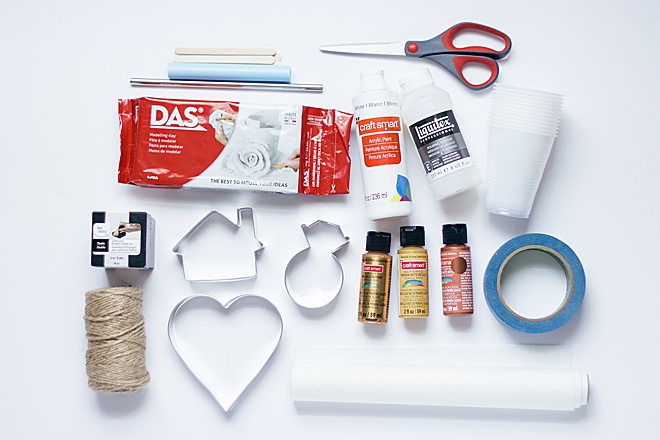
Supplies:
- Cookie cutter (heart, wedding ring, house)
- Air-dry clay
- Rolling pin
- A straw
- Parchment paper
- Alphabet stamp set
- Paint + pouring medium
- Cups
- Twine or ribbon
- Scissors
- Painters tape
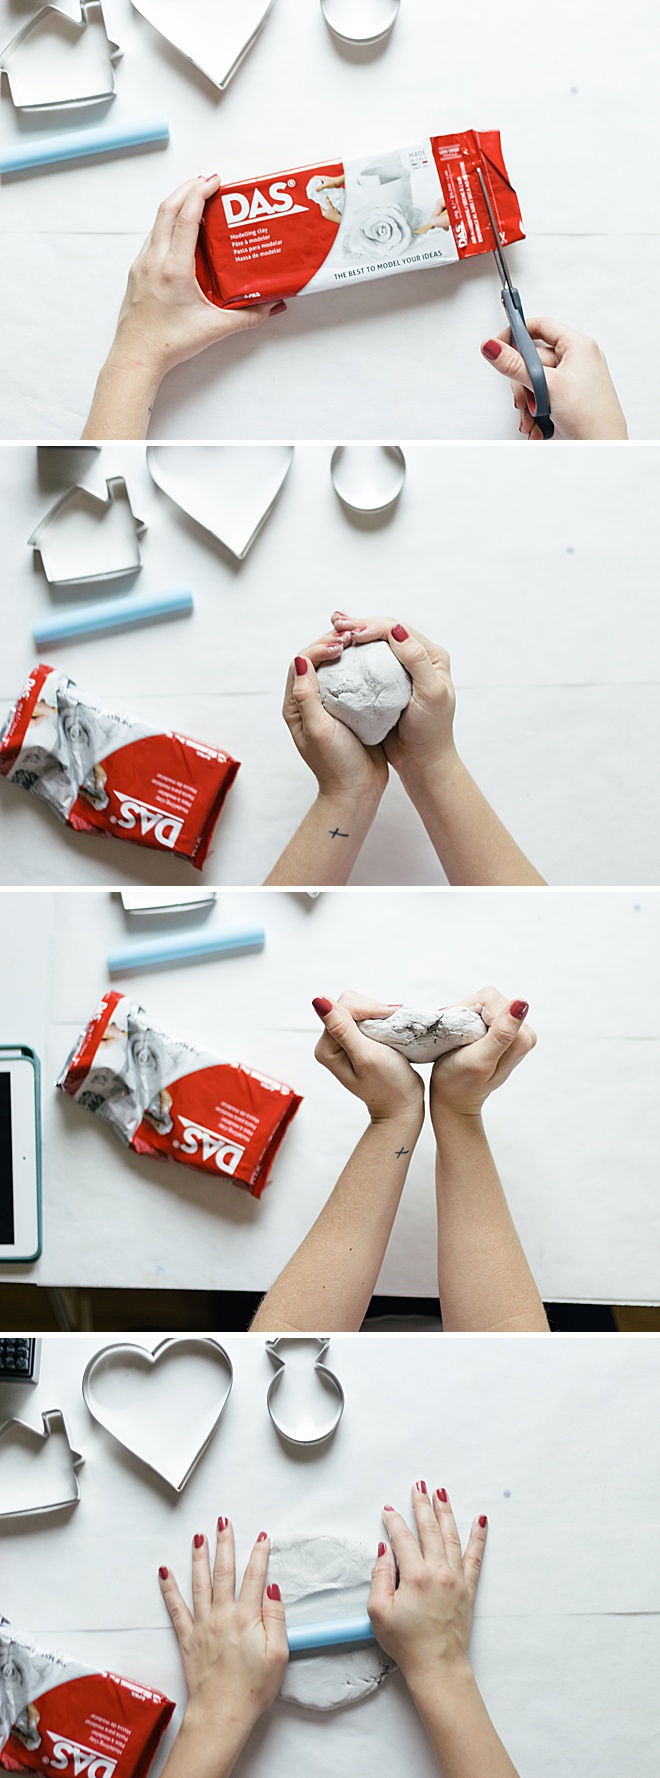
The Clay
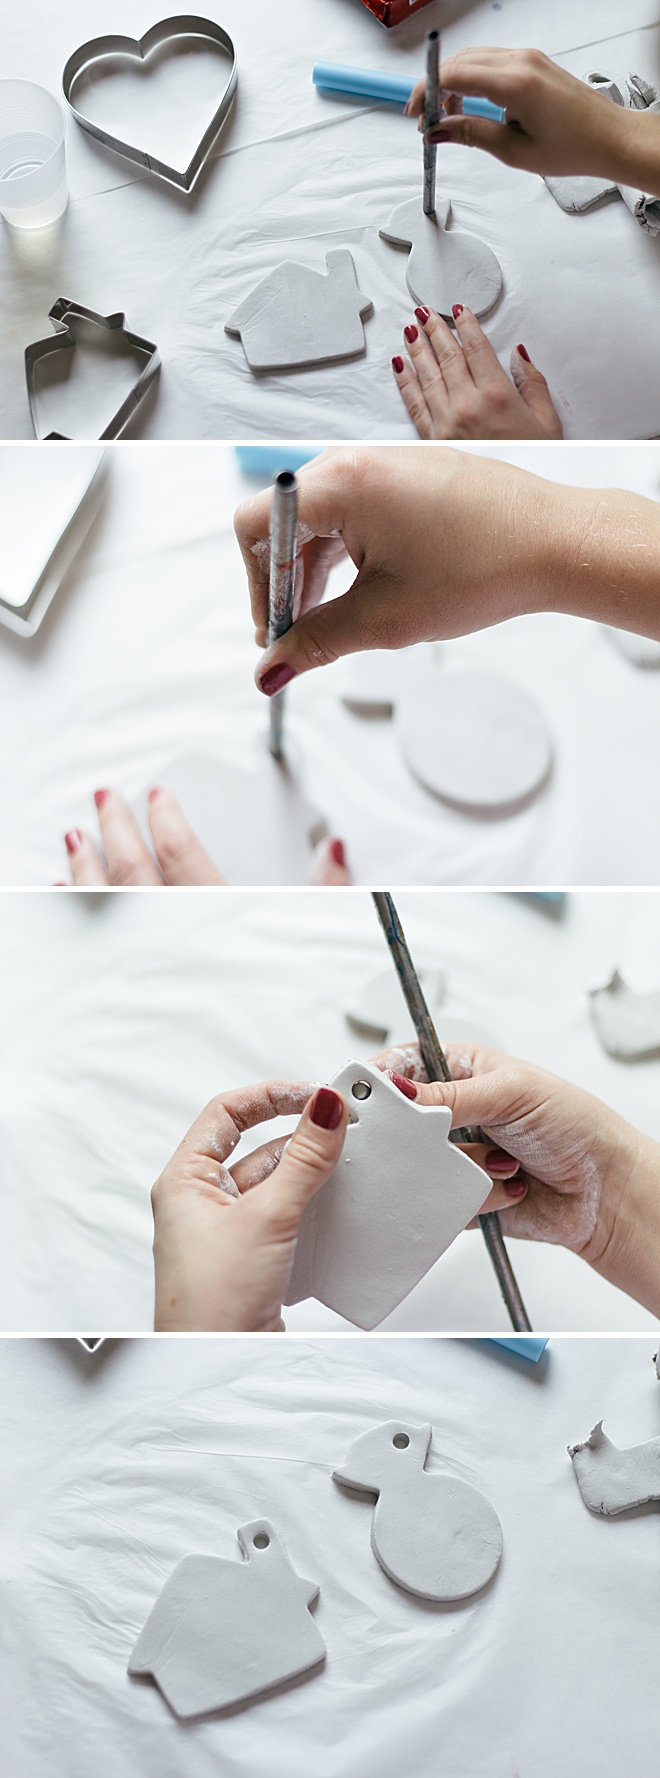
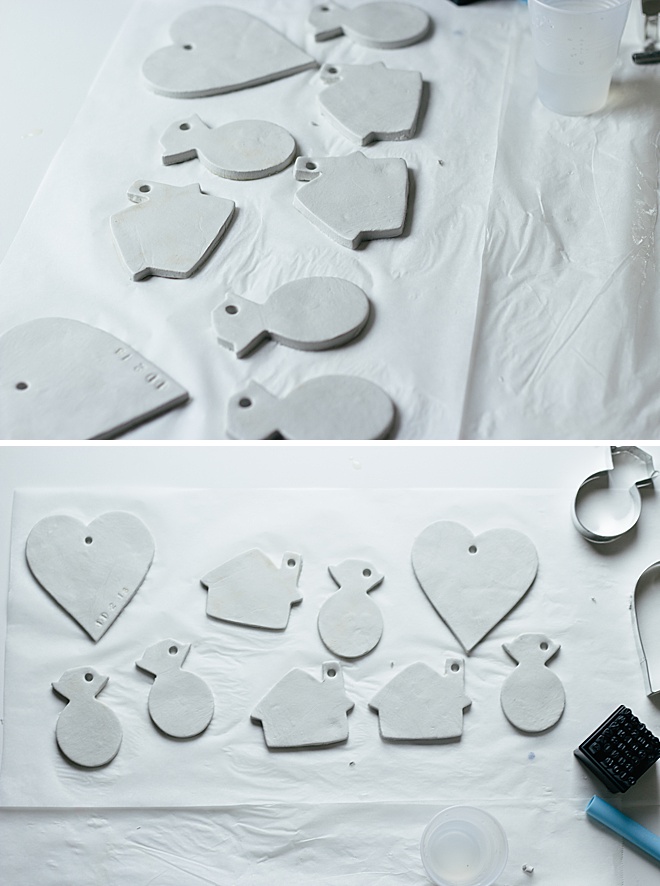
Roll out air-dry clay on parchment paper to a thickness of 1/4 inch.
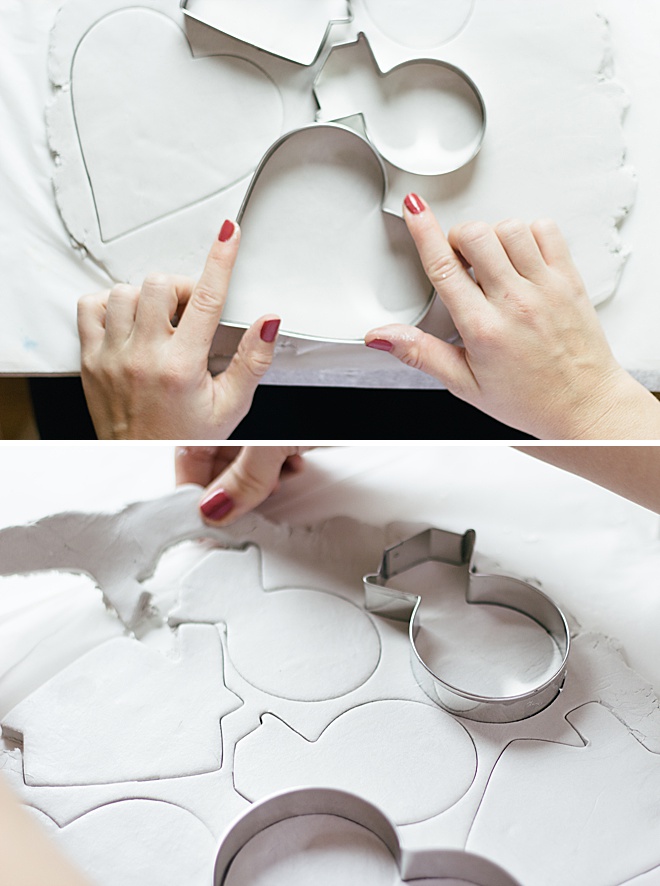
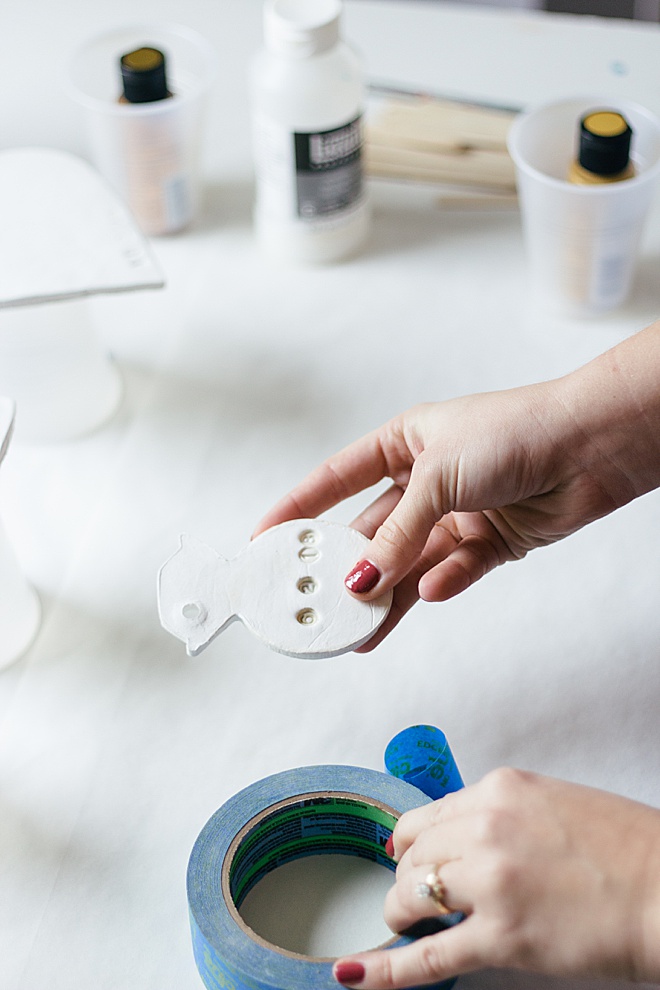
Press cookie cutter firmly into the clay. Carefully lift clay from the table.
Dip your finger in water and rub on edges to smooth out.
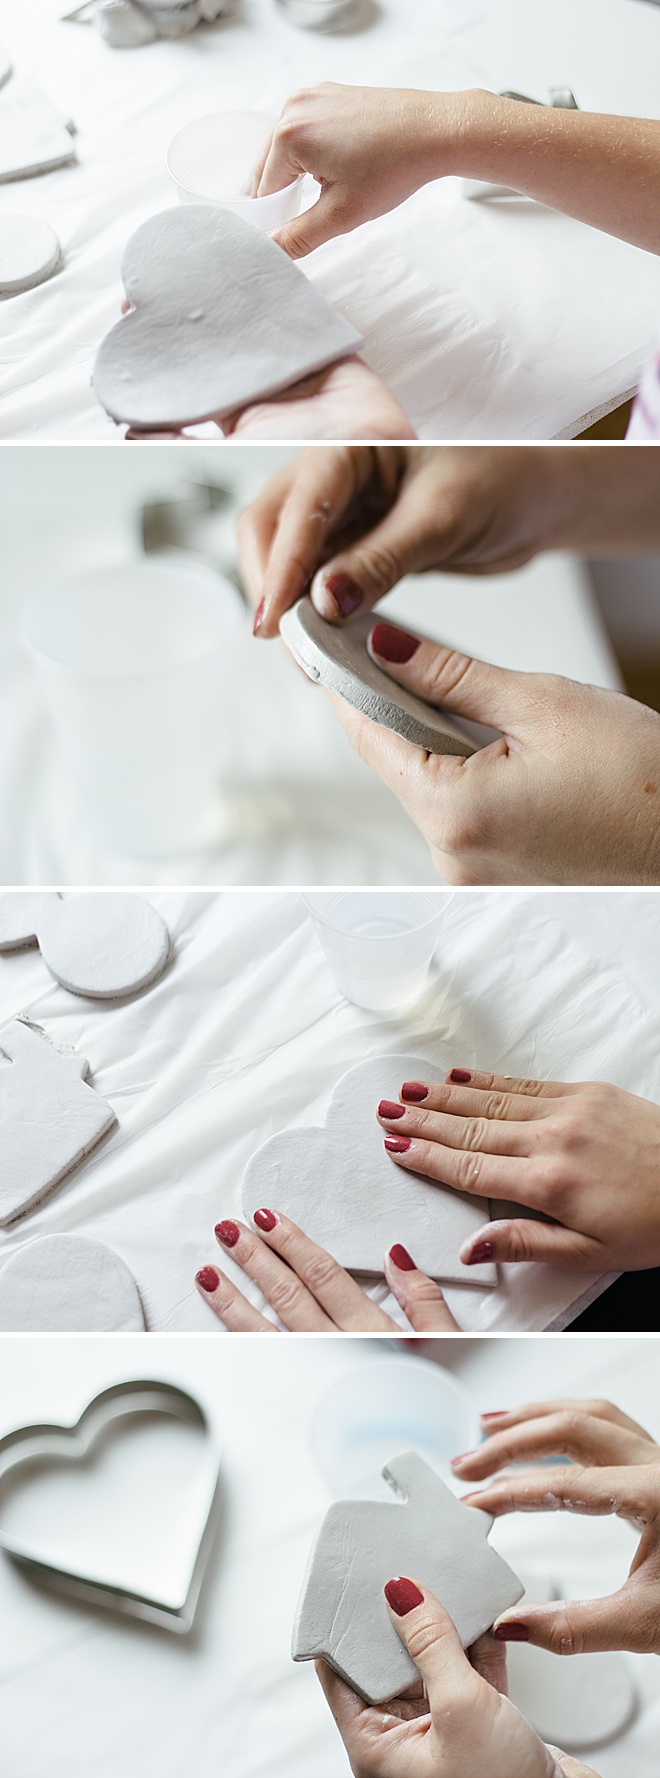
Use a straw to create a hole for the twine or ribbon.
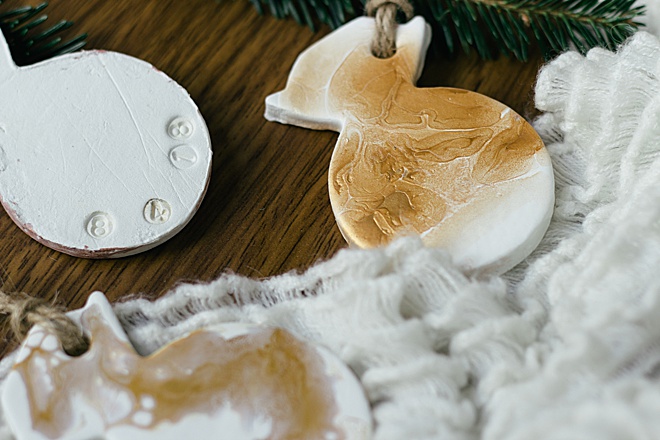
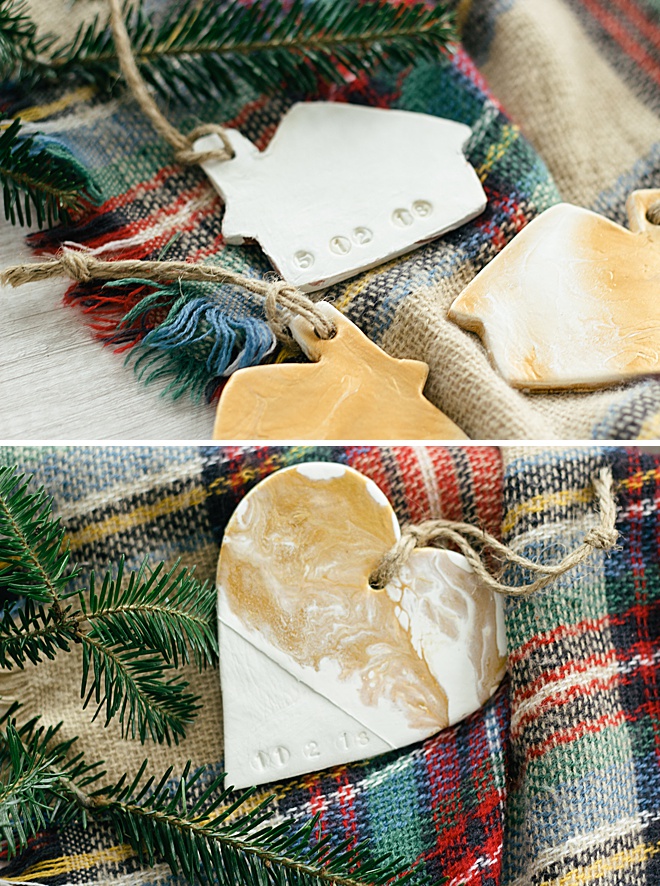
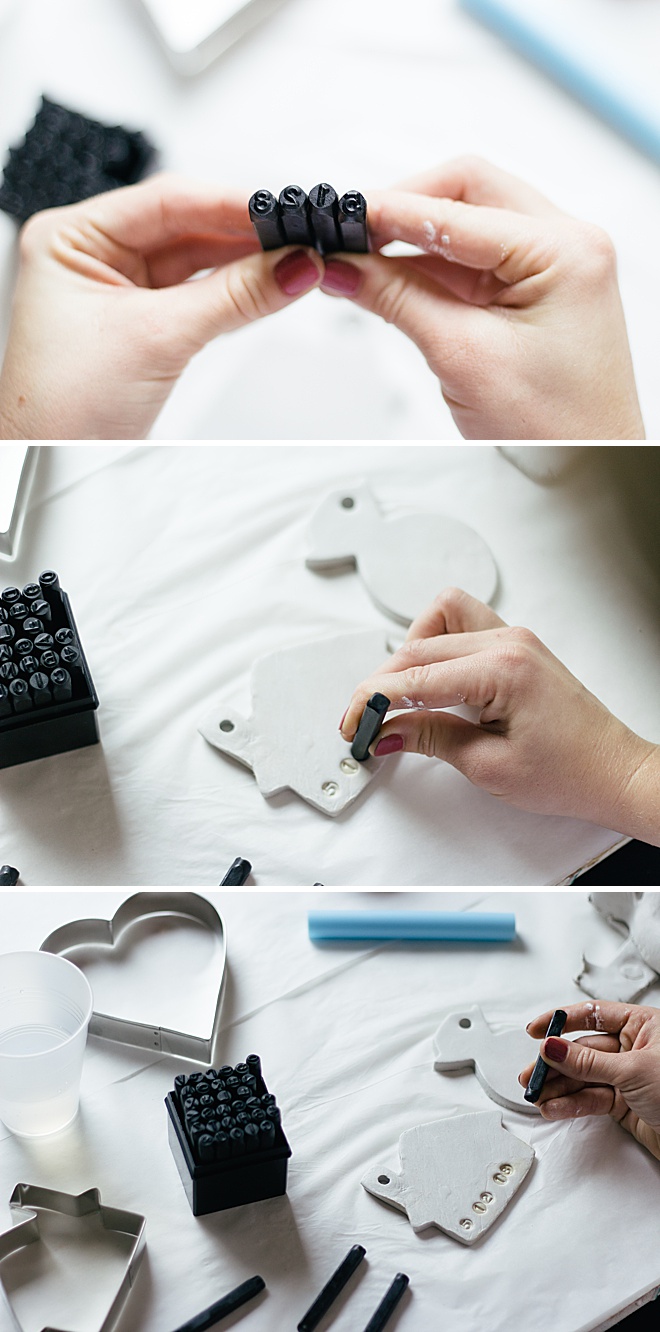
The Stamp
Use alphabet stamps to stamp your wedding date or first Christmas. Press stamps gently beacuse you do not want the stamp to go all the way through the clay. Let dry for at least 24 hours.
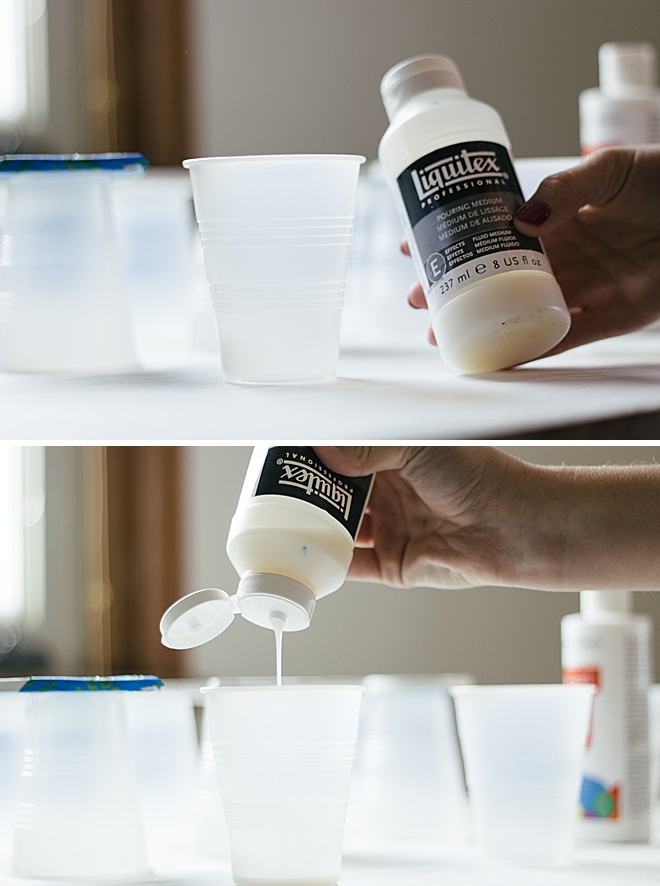
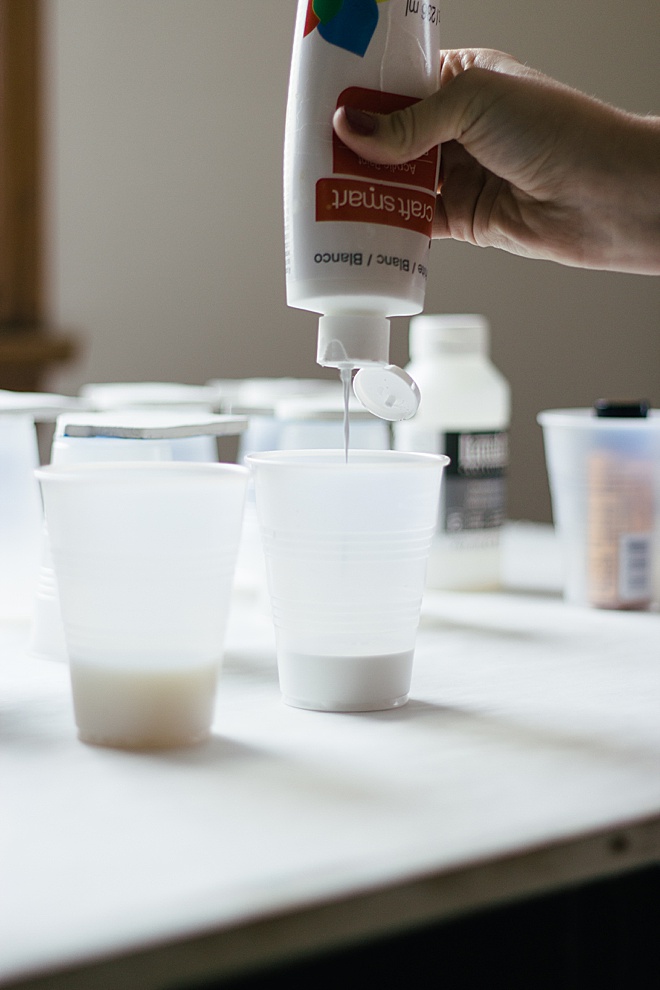
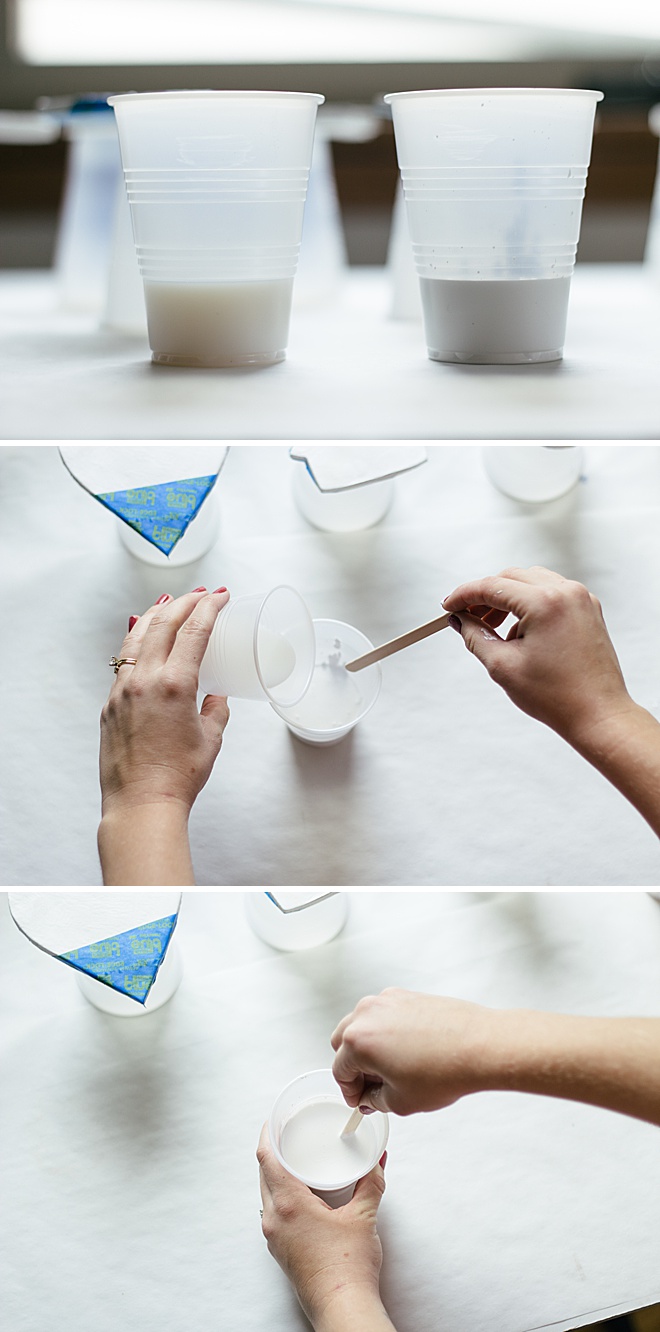
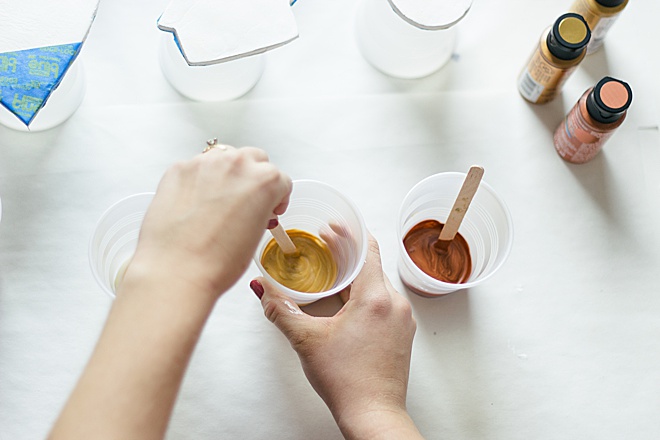
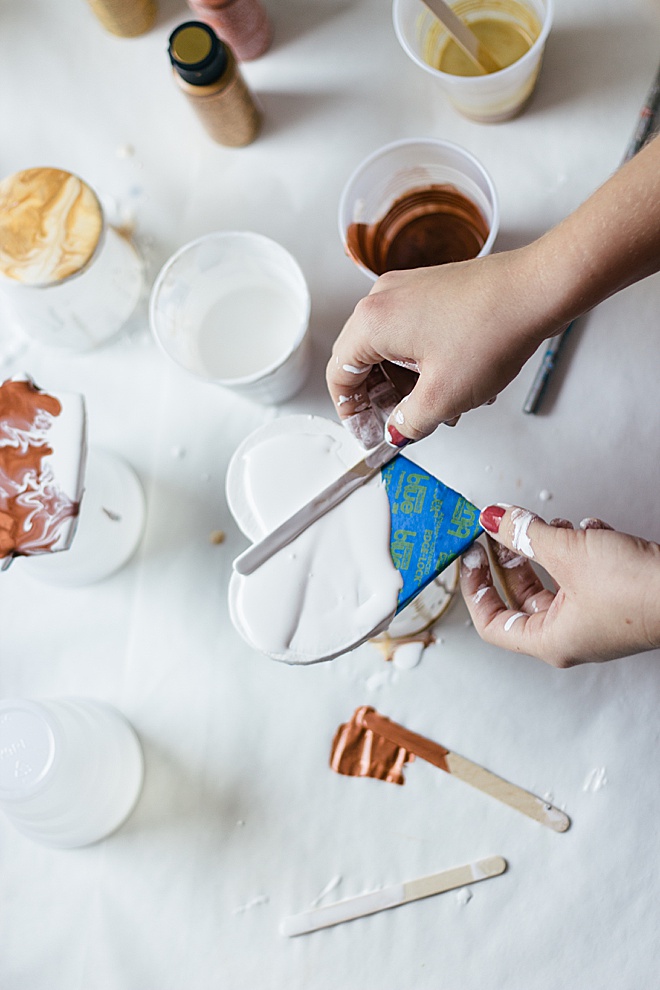
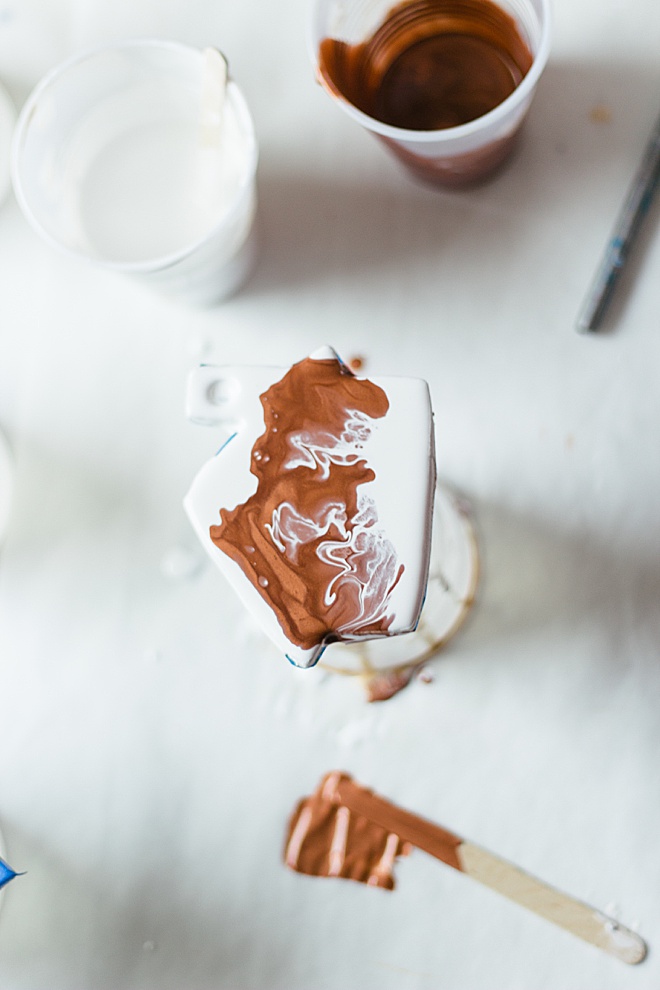
The Paint
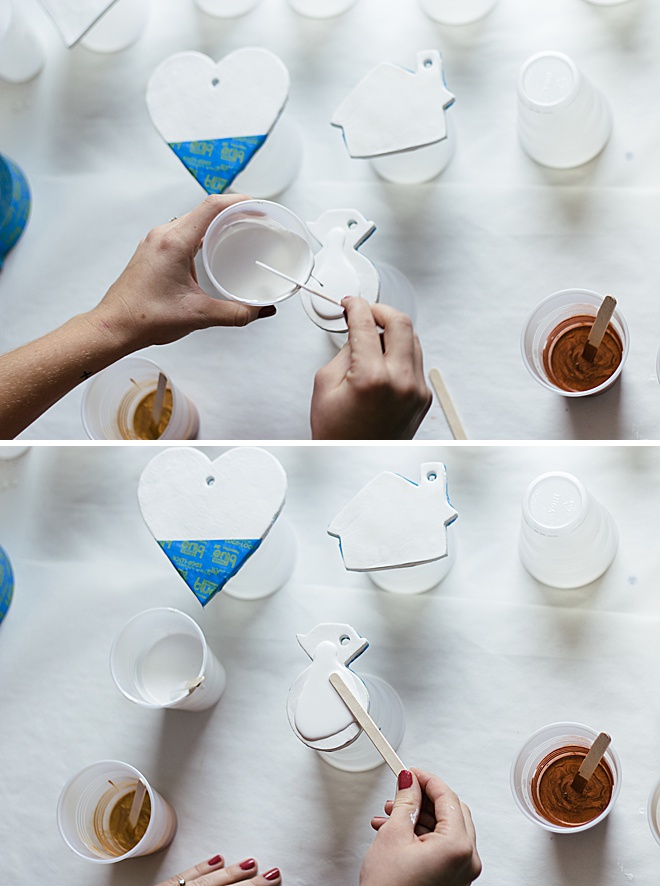
Measure out half pour medium in one cup and half acrylic paint in another cup and mix together.
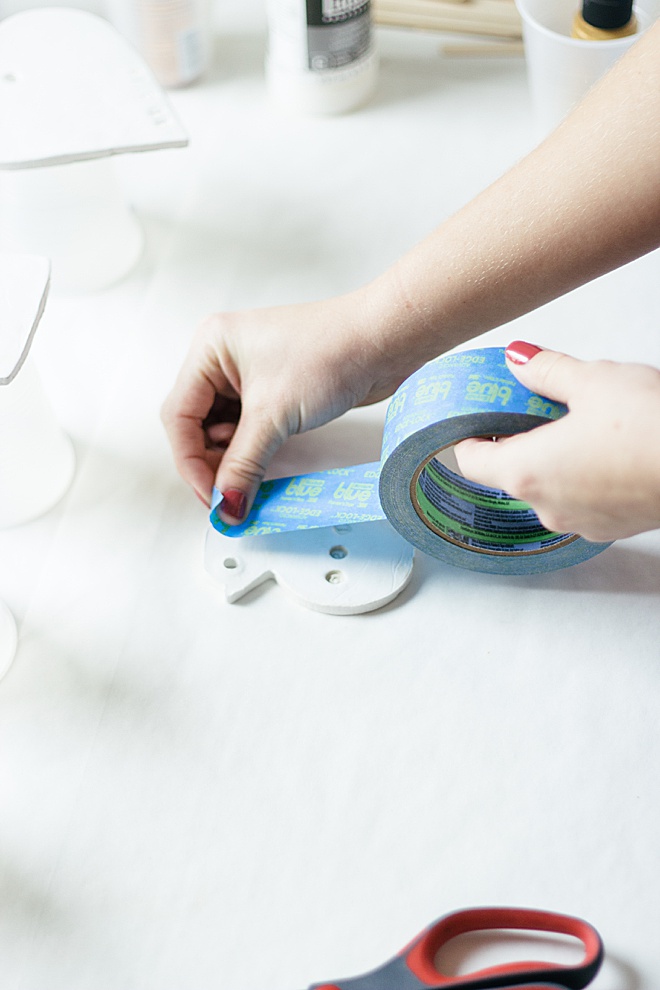
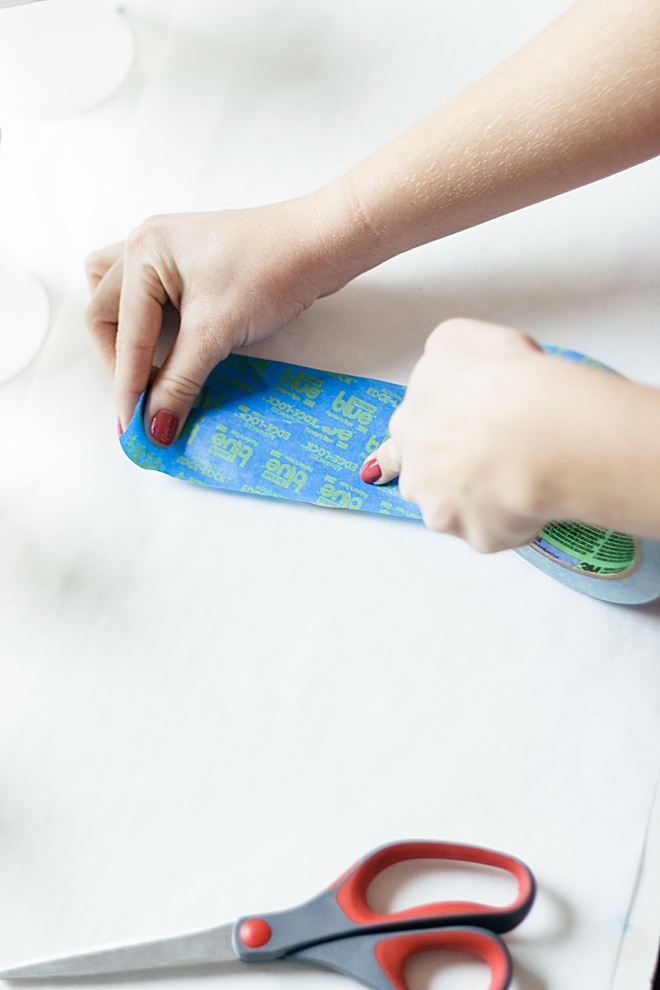
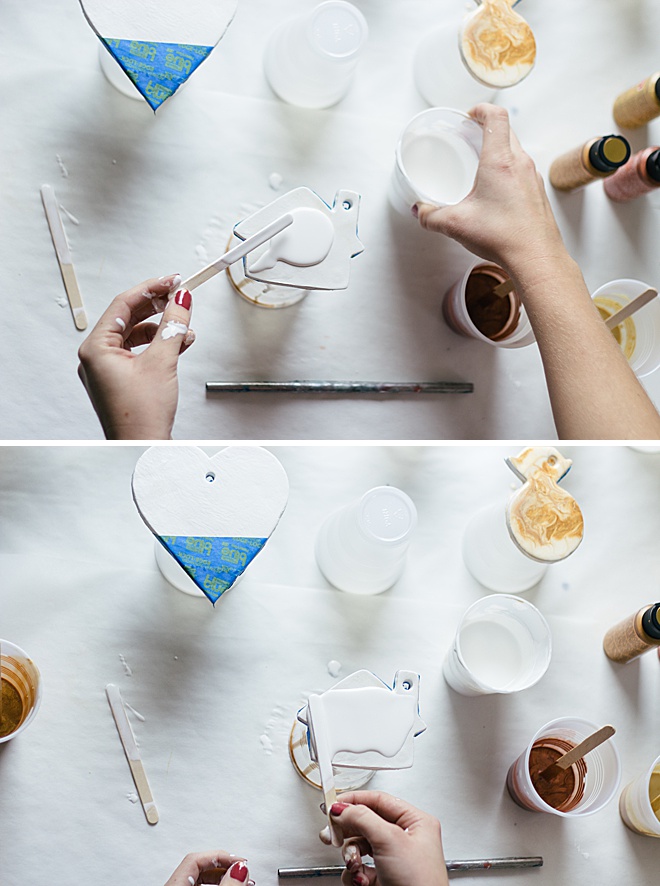
Tape off areas you don’t want paint and cut edges.

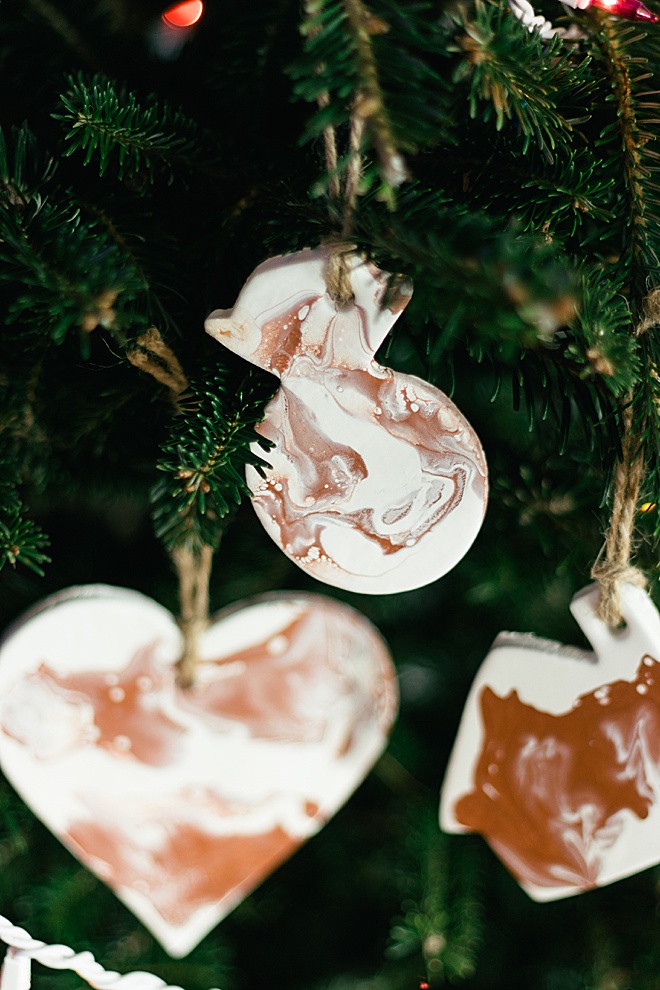
Pour white paint over entire ornament.
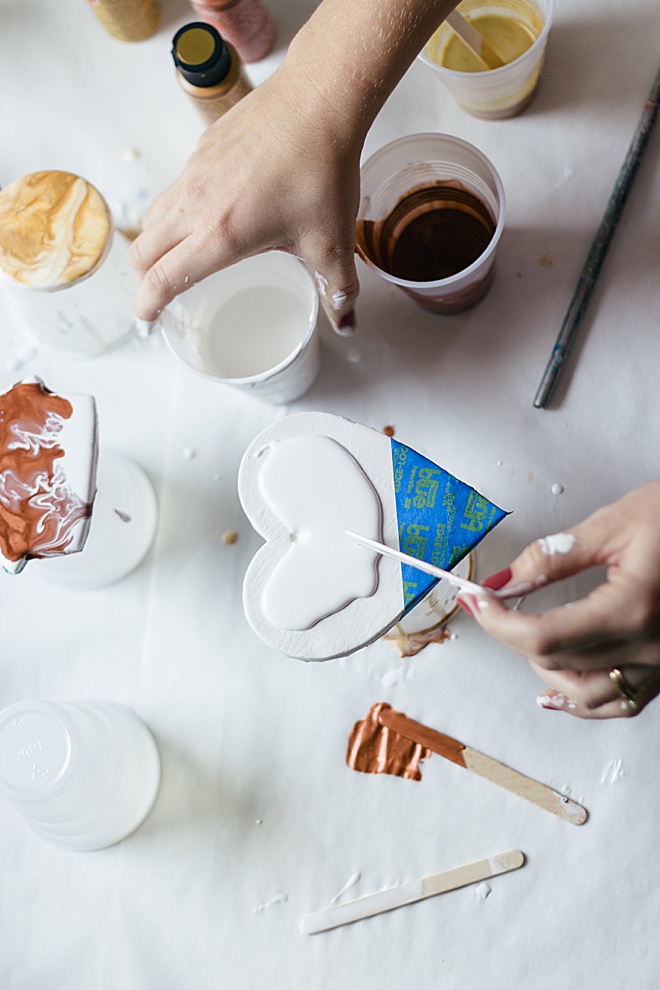
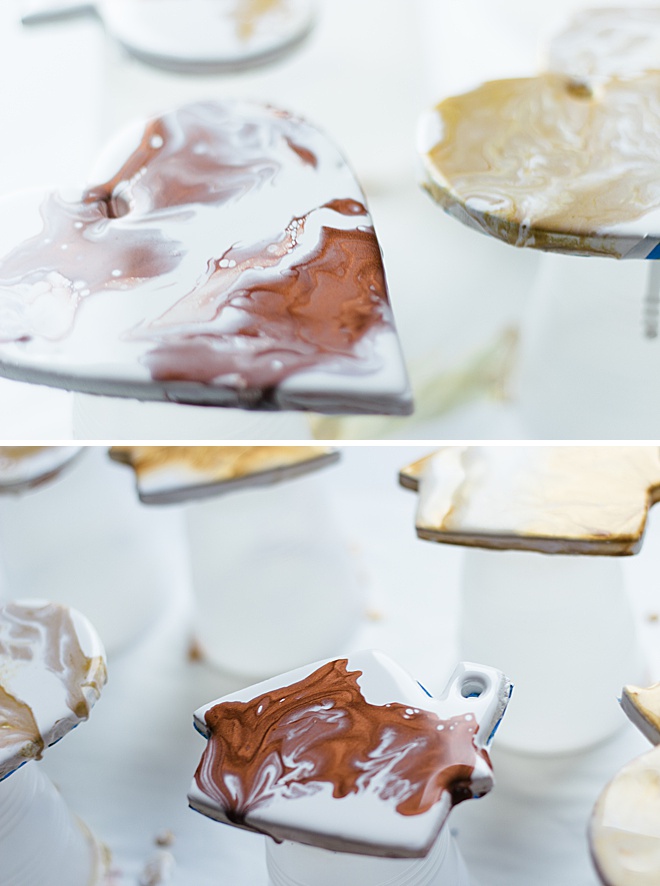
Pour colored paint over ornament as you wish. I like to do it in thinner lines across the ornament.
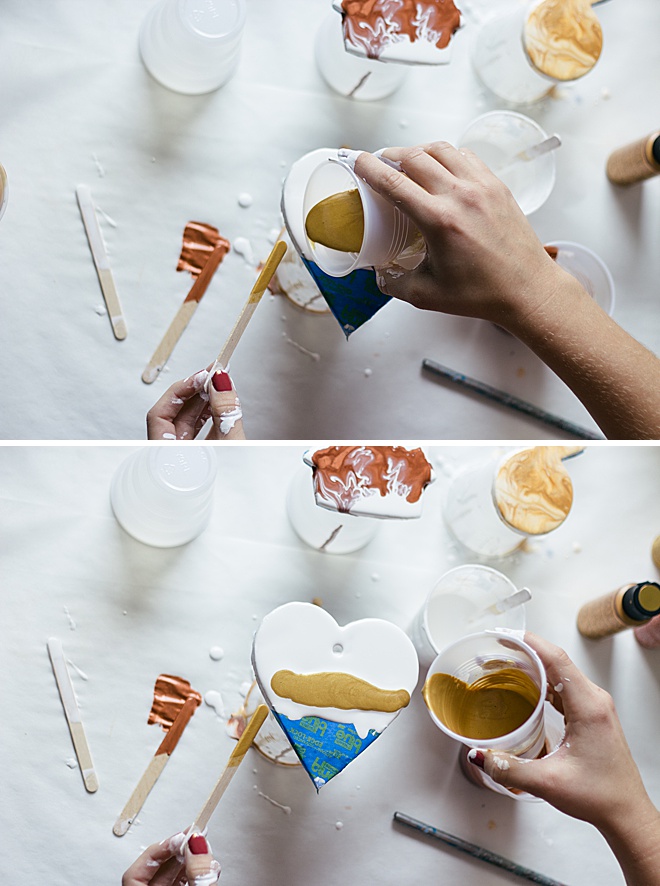
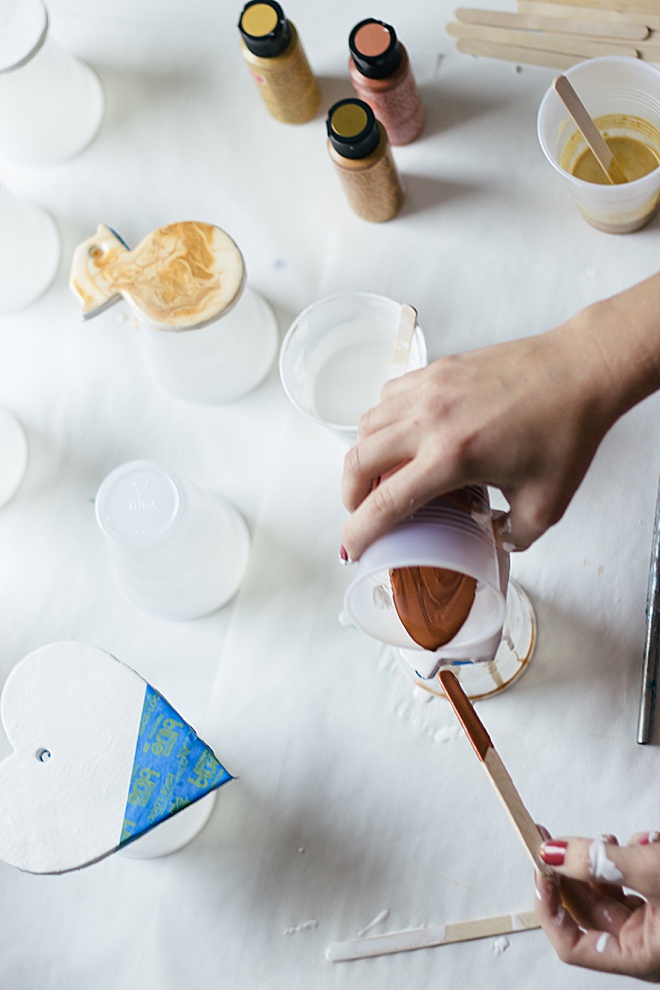
Use the straw to blow patterns into the paint. Watch the cells come through the white paint to reveal colors underneith.
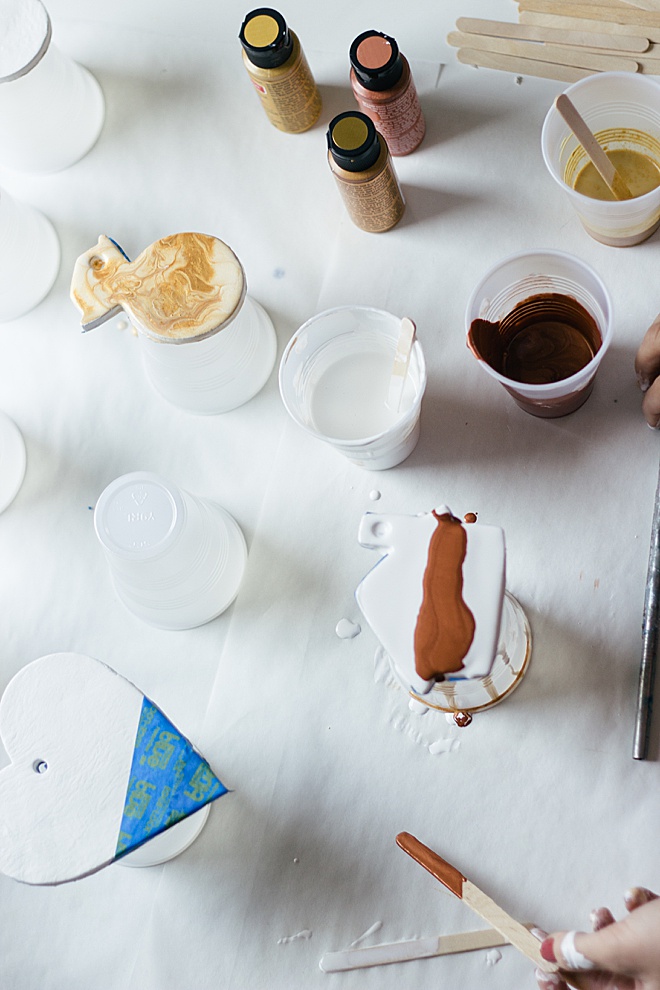

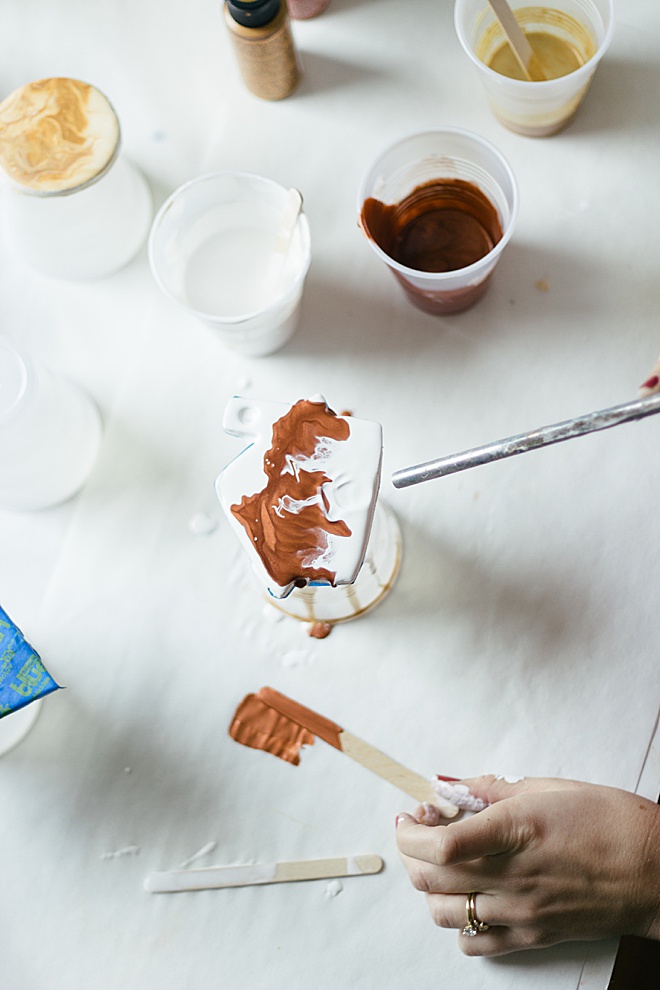
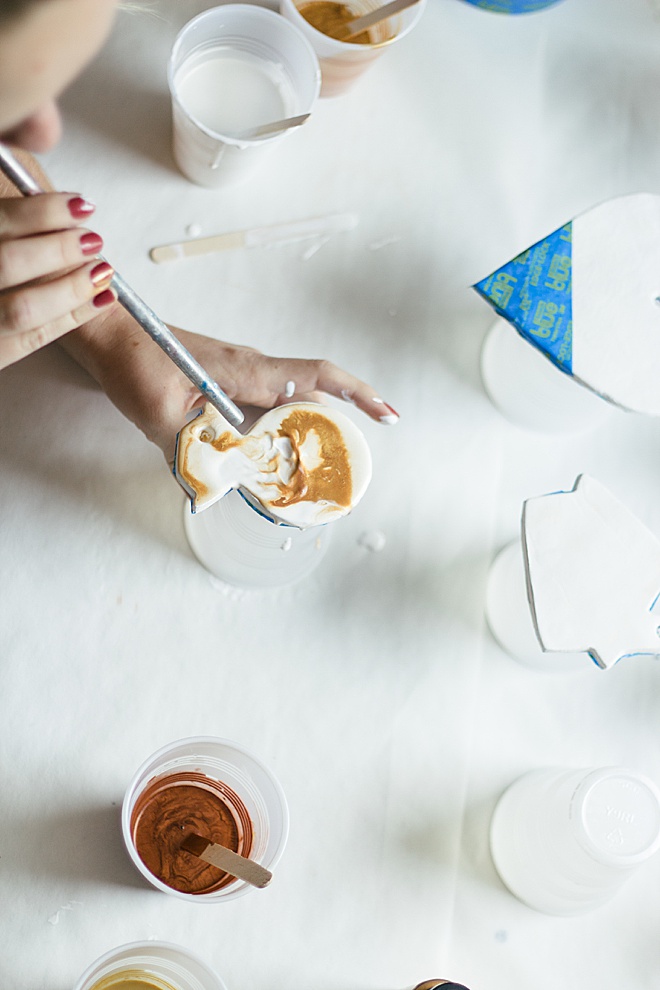

Move ornament around to make sure the paint falls off the edge or add more paint.

Let dry.
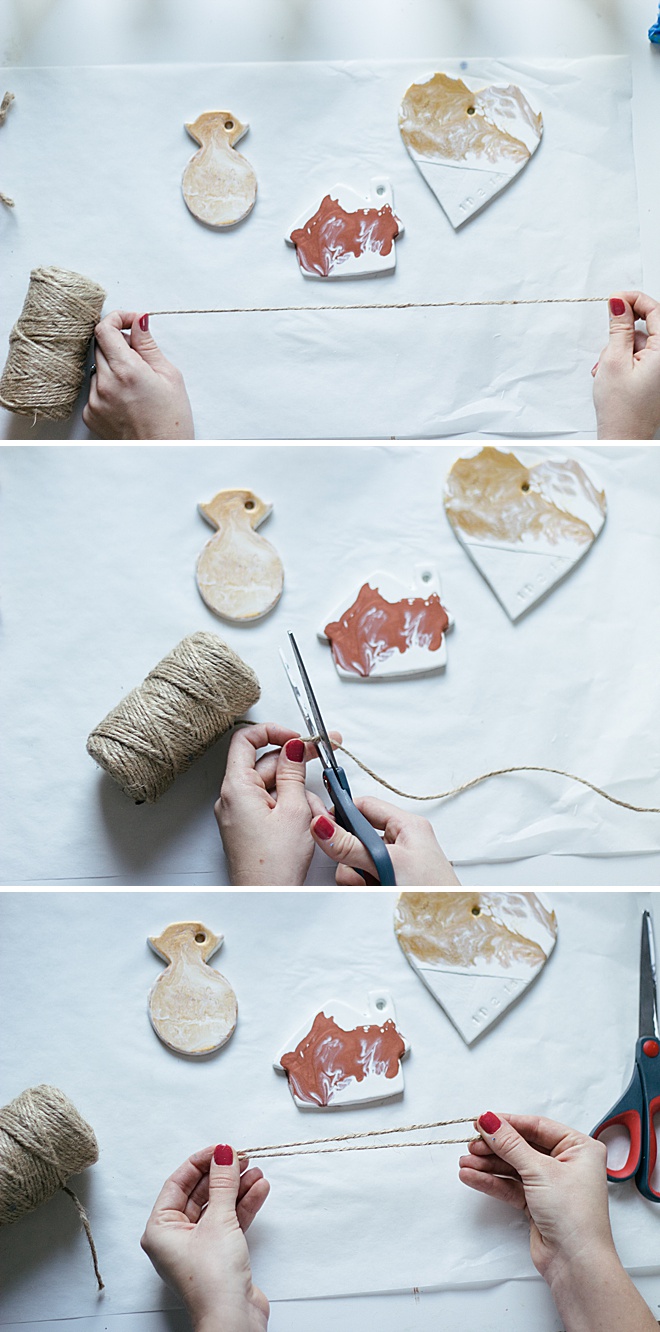
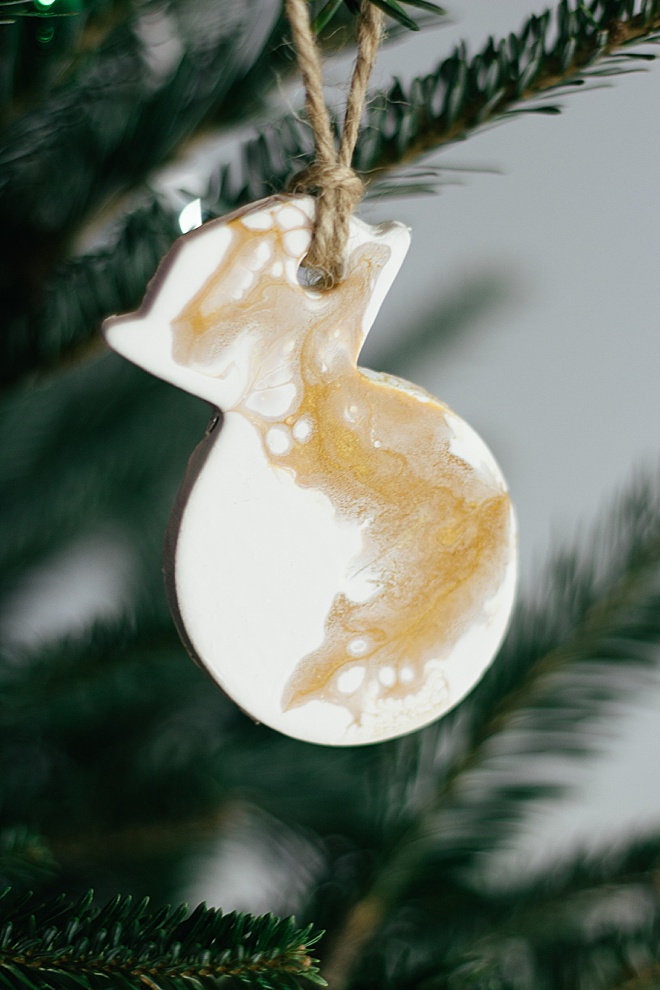
Hanging the Ornament
Cut elbows width distance of twine and fold in half. Put the fringed edges through the hole first then bring through the hoop. Tug tight and tie a knot at the end. Ready to hang on the tree!
Hein & Dandy is a blog founded on crafts and creative writing, inspired by adventure and wellness.
As with all our DIY tutorials, if you create one of our projects please send us a picture – We Love Seeing Your Creativity! If you use Instagram or Twitter please use the hashtag #SomethingTurquoiseDIY and it will show up on our Get Social page. Happy Crafting!
DIY Tutorial Credits
Photography + DIY Tutorial: Carli Hein of Hein & Dandy // Air Dry Clay: Amazon // Cookie Cutters: Amazon // Stamp Kit: Amazon // Paint: Amazon // Plastic Cups: Amazon // Scissors: Amazon // Parchment Paper: Amazon // Pouring Medium: Amazon // Straw: Amazon // Blue Tape: Amazon Twine: Amazon // Popscicle Sticks: Amazon // Clay Roller: Amazon
Shop The Supplies:
Find the supplies you’ll need for this project from our affiliate links below:

Comments