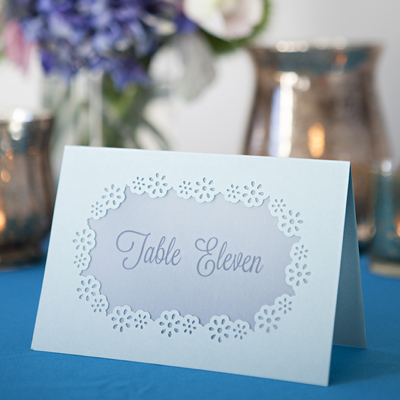

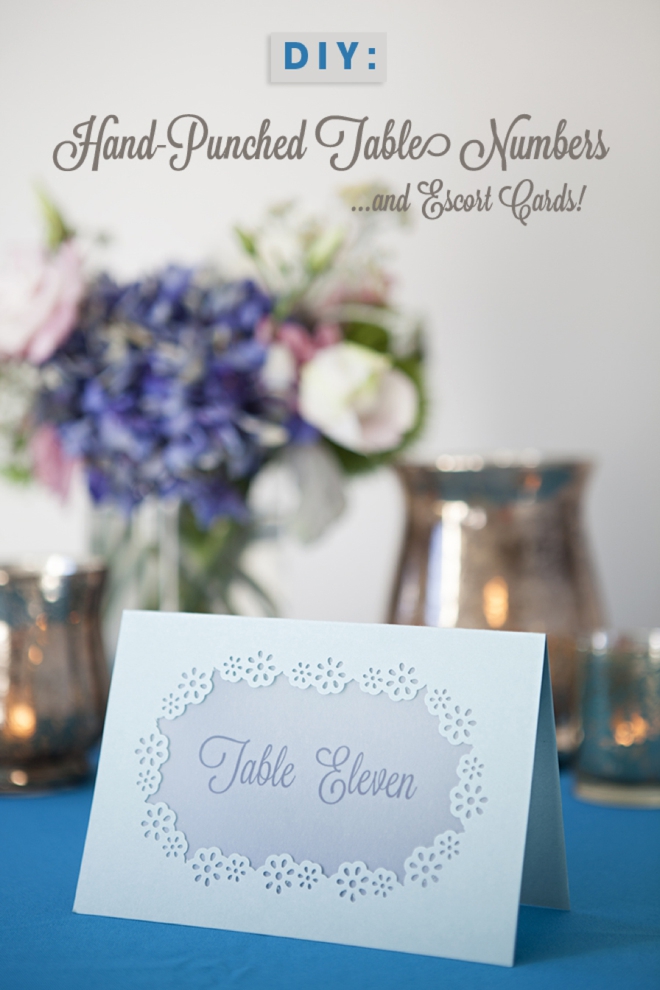
DIY | Hand-punched Table Numbers + Escort Cards
This months 12 Months of Martha project is how to create these delicate and lovely table numbers (..and escort cards) using Martha Stewart Crafts brand new Frame Border Punch! We are in love with the simplicity and charm of this project. Having the right tools makes all the difference when you are crafting for your wedding. Investing in tools like this punch and score board that we are using today – is smart because they are versatile and you will absolutely end up using them well beyond your big day. The punch is currently only available on HSN, but we’ll let you know when you can purchase it elsewhere. Happy Crafting!
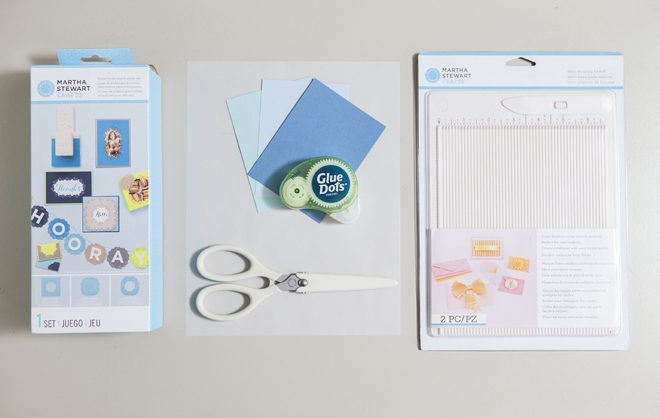
SUPPLIES:
- Martha Stewart Crafts Frame Border Punch Starter Set
- Martha Stewart Crafts Scoring Board
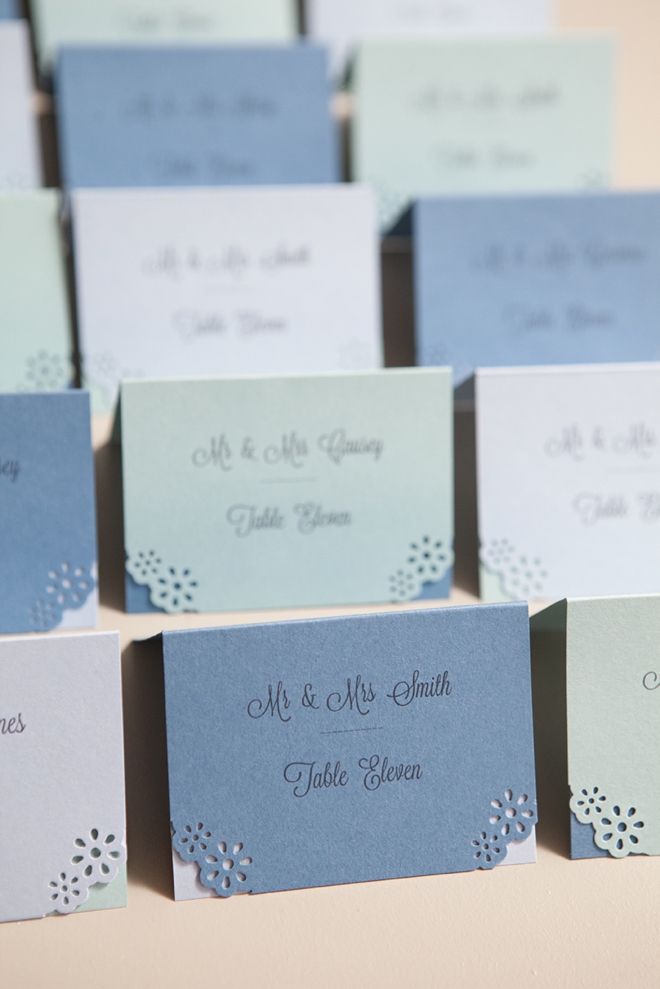
- Your choice of colored cardstock (ours is pool, bluebell and royal blue from Paper Source)
- Ink-jet printable vellum
- Glue Dots Mini Dot N’ Go Dispenser
- Scissors and/or paper trimmer
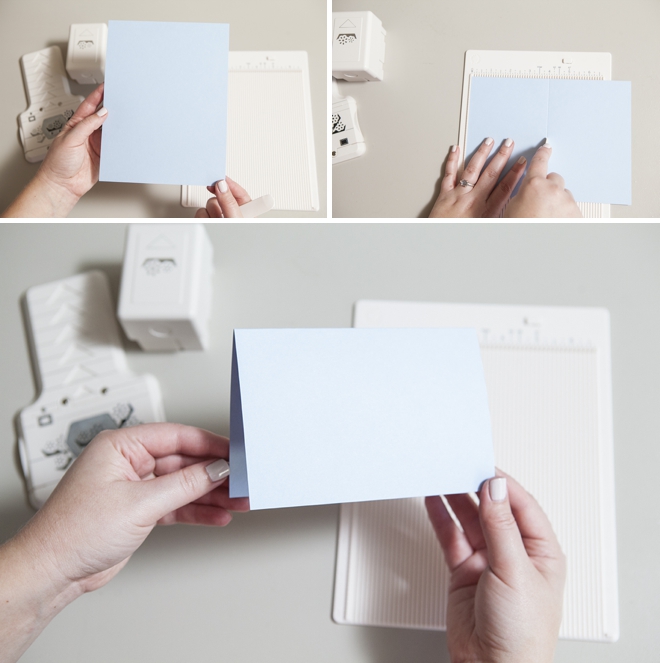
We will start by cutting, scoring and folding your cardstock to create the base for your table number. Cut your choice of colored cardstock to 6″ x 8″. Using the scoring board, score at 4″ and fold to make a table tent style card.
*You can make ANY size table number you wish using these same techniques with the frame punch, as long as you keep the card size in whole inches.
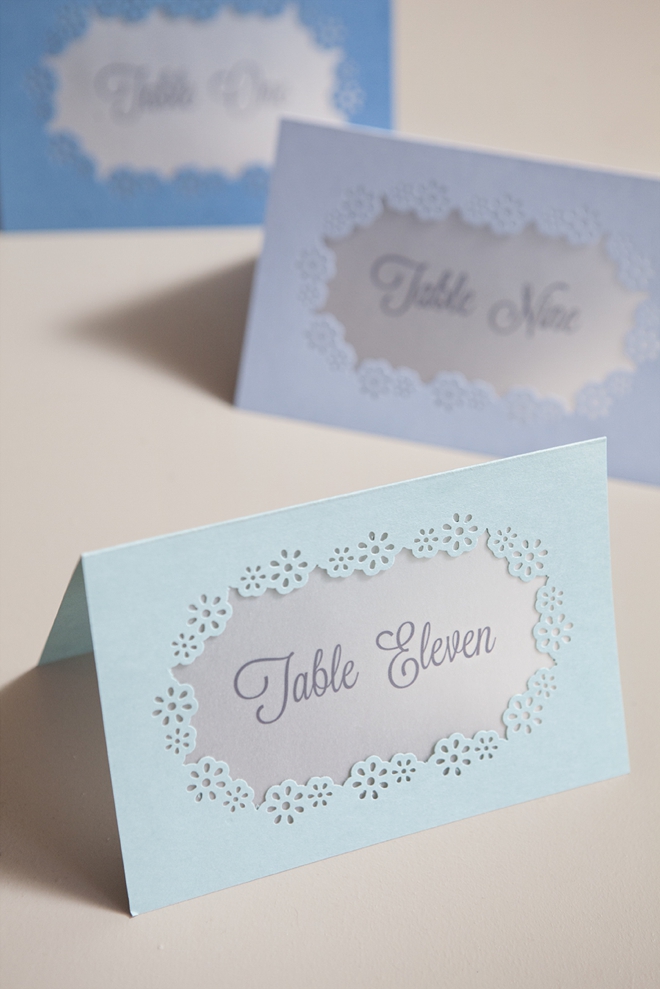
Now to punch the frame for your table number card. This exact card – now sized to 4″ x 6″ – will have a 0.5″ frame, so that’s where your punching begins. Start by lining up each corner at the 0.5″ edge on the punch board and punch! Creating a simple design right in the middle of your paper. *Make sure that your punching plate is set to frame.
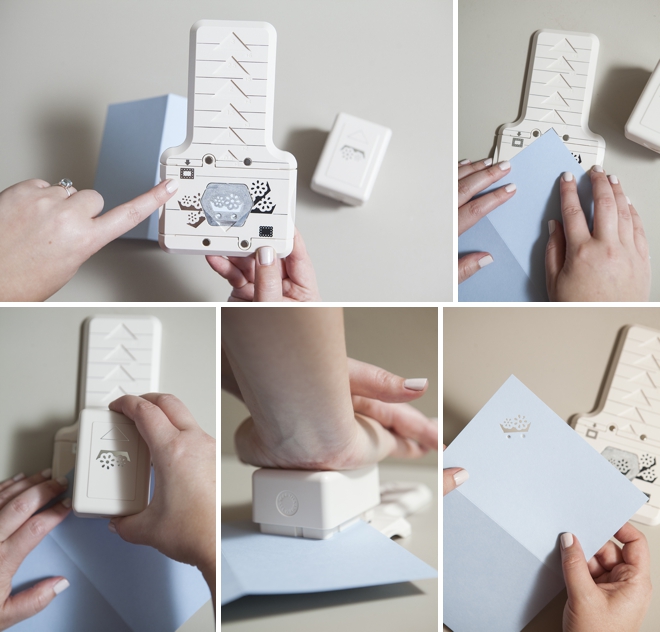
Continue to punch the corners. But keep in mind that we are only punching this frame on half the card, so be careful when lining up the folded corners.
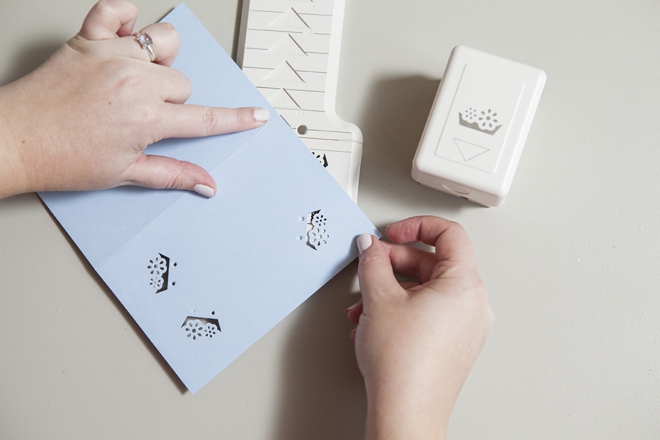
Then continue to punch around the entire card by lining up your punched details with the foil designs on the punch base, more directions come in the box – but it’s super simple. In just 12 short punches you’ll have your frame!
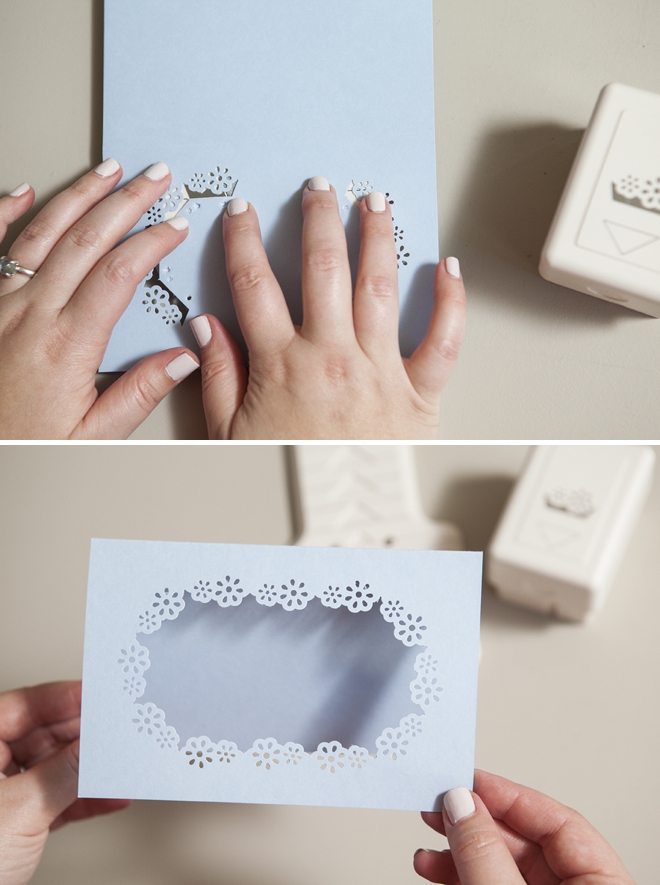
Now for the most important part – adding the table numbers! We printed these simple numbers onto inkjet friendly vellum – they are cut to 5.5″ x 3.5″. The font used here is Lavanderia.
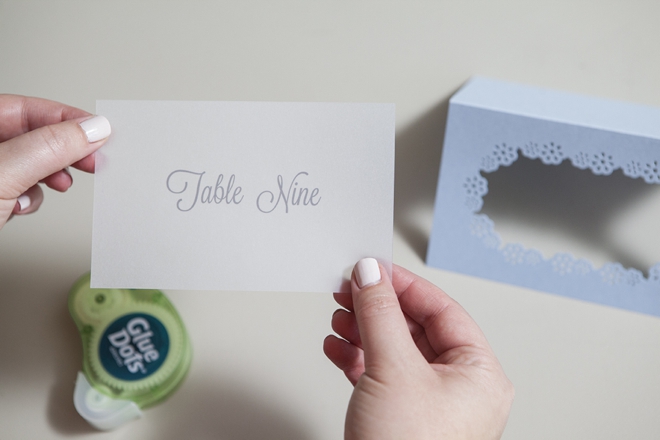
Using your favorite scrapbooking adhesive (mine is Glue Dots) adhere your printed velum table number to the inside of your punched frame table tent card.
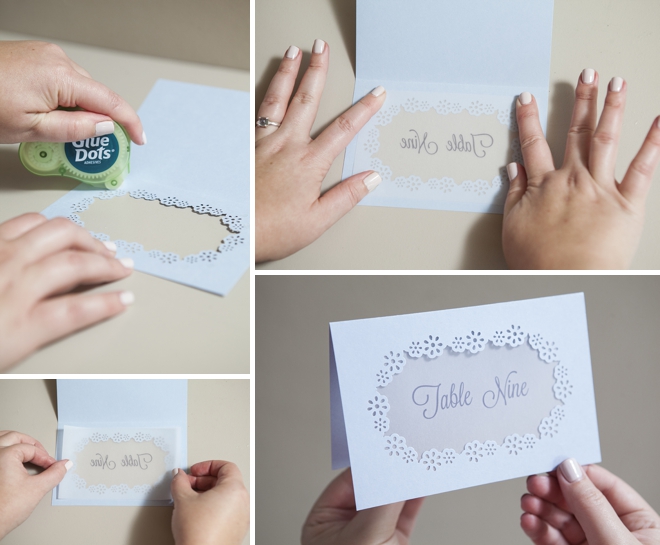
Don’t settle for using the boring table numbers that your wedding venue provides… when you can easily create these lovely hand-punched table numbers!
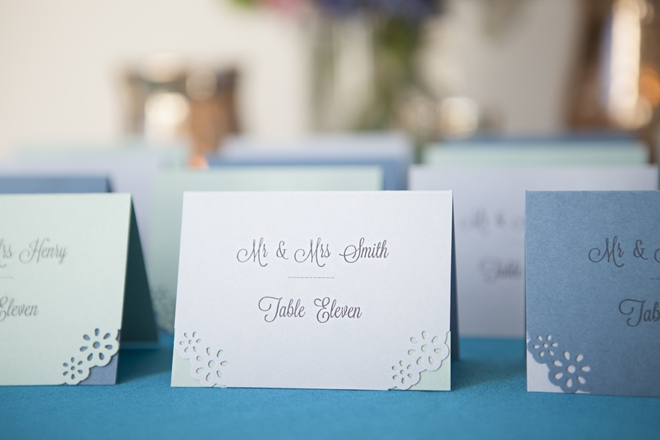
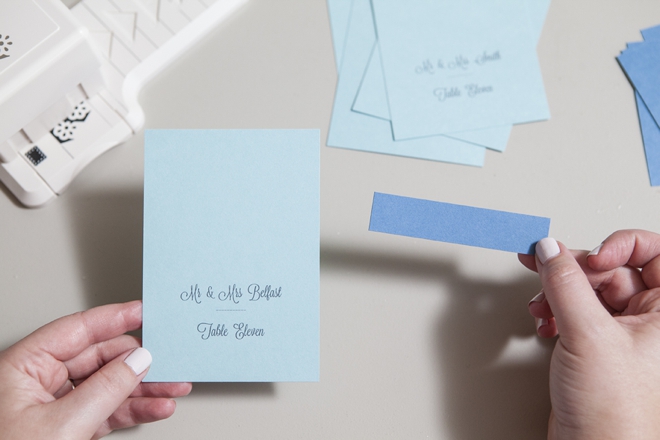
And now how to make the matching escort cards…
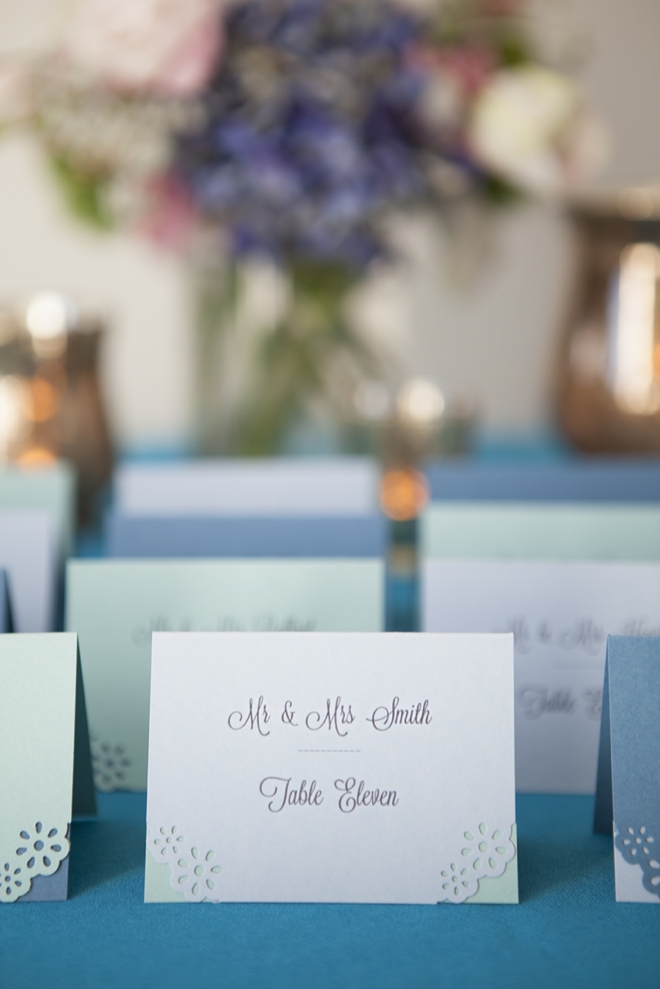
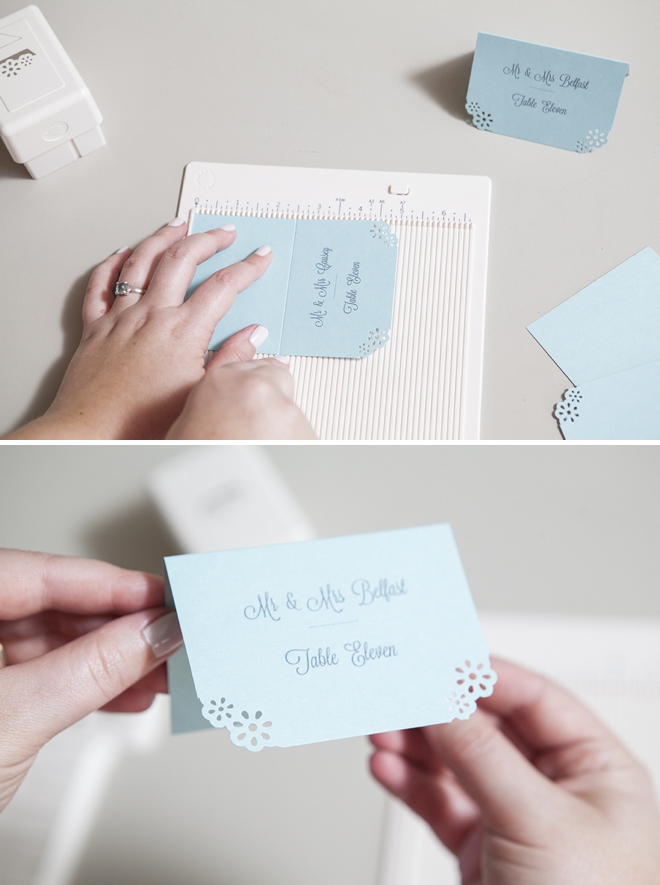
The escort card is cut to 5″ x 3.5″ and we’ve already printed our guests names and table information on the lower half of the card. The little blue rectangle of paper is cut to 3.5″ x .75″ and it will be the accent color inside your escort cards.
This punch not only makes beautiful frames and borders… but it’s the perfect corner punch! Line up the corner of your escort card over the punch plate until you can’t see any of the punch design metal – and punch!
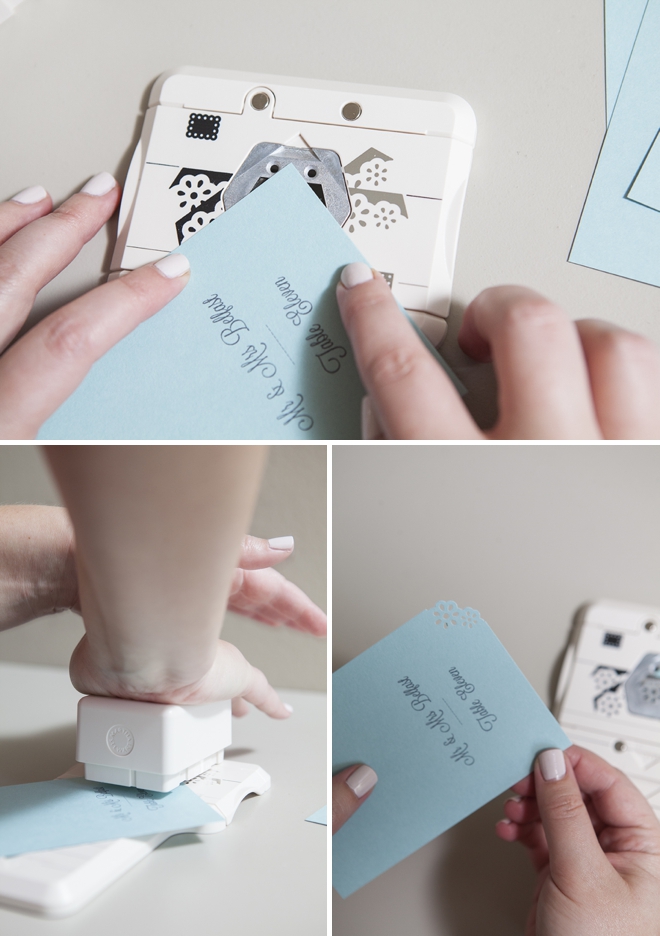
Keep punching all your escort card corners!
This is what both corners should look like…
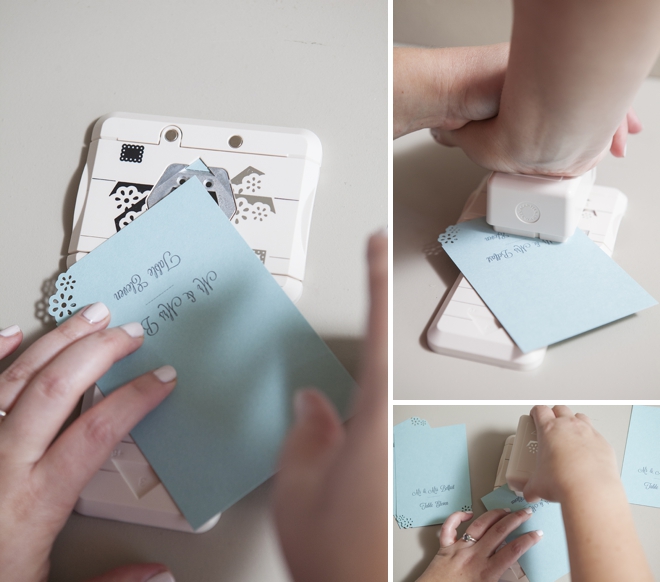
Now using your score board, score and fold each card at 2.5″.
Now adhere that small rectangle piece of paper to the backside of your escort card to add color and embellish the punched details!
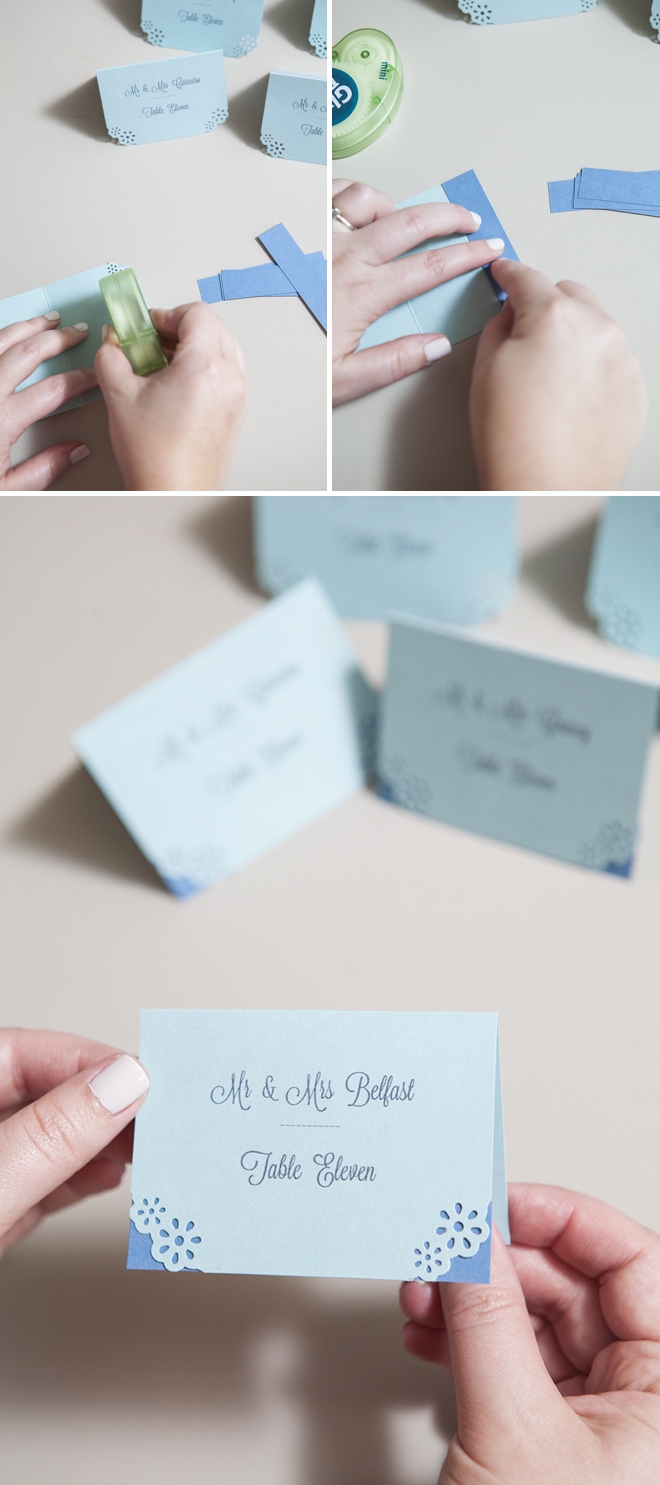
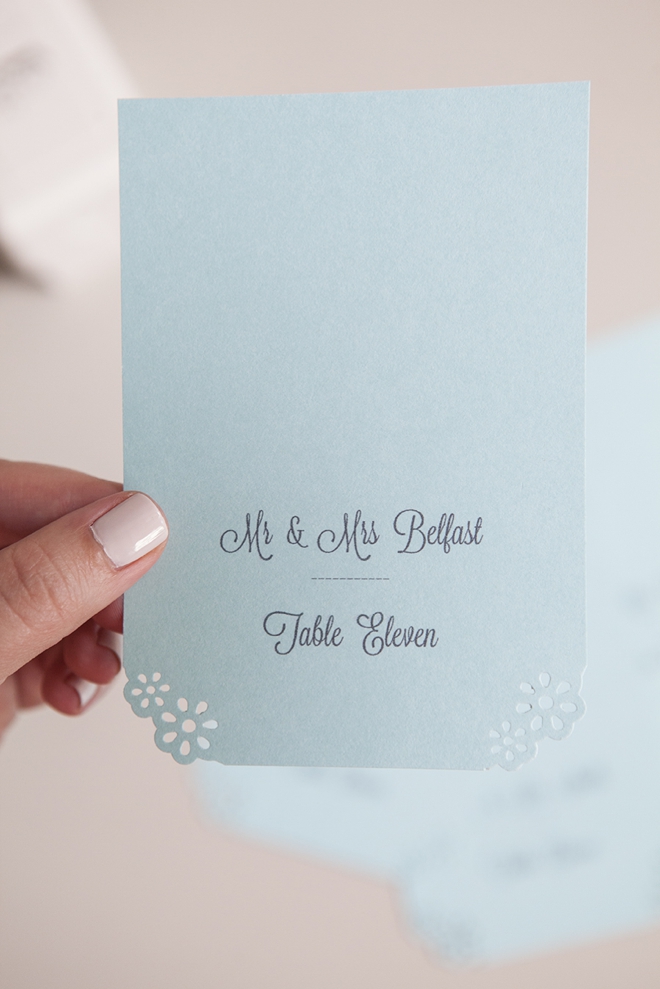
Aren’t they darling… simple, elegant and with the right tools you’ll be done in a flash!
As with all our DIY tutorials, if you create one of our projects please send us a picture or a trackback – We Love Seeing Your Creativity! If you use Instagram or Twitter please use the hashtag #SomethingTurquoiseDIY. Happy Crafting!
DIY Tutorial Credits
Photography: Studio 11 Weddings // DIY tutorial: Jen | Something Turquoise // Martha Stewart Crafts Frame Border Punch Starter Set, Scoring Board and scissors: Editors at Martha Stewart Living // coverweight cardstock in (pool, bluebell and royal blue) and inkjet vellum: Paper-Source // Glue Dots: Amazon
// font used: Lavanderia // nail polish: Essie Urban Jungle

Comments