
DIY | Painted Cake Topper Sayings
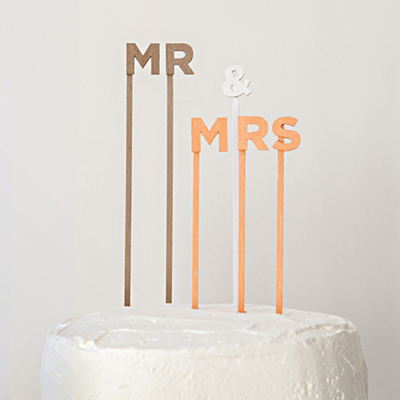
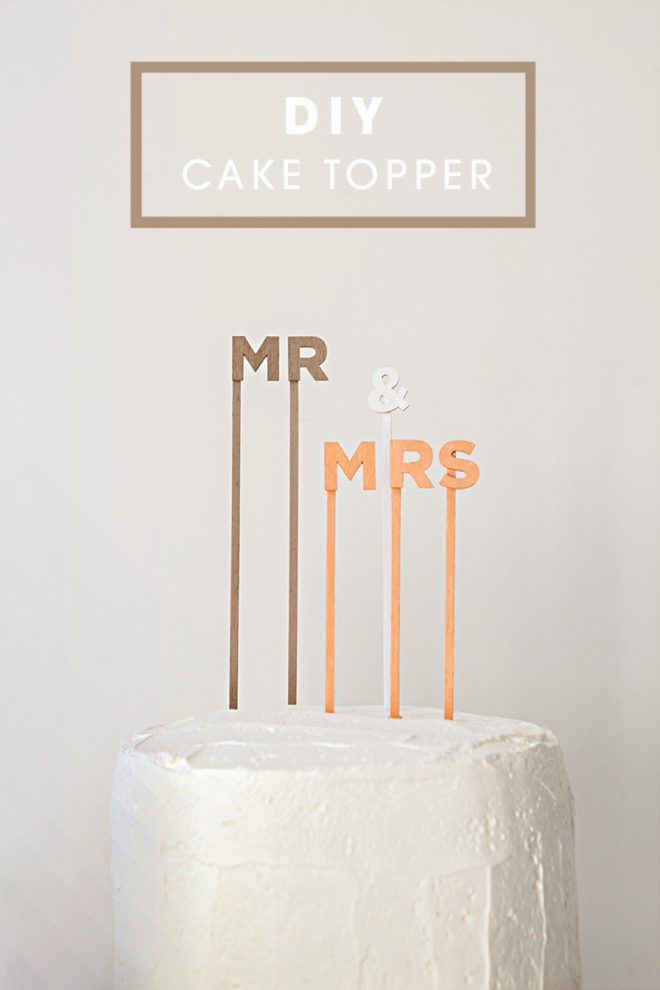
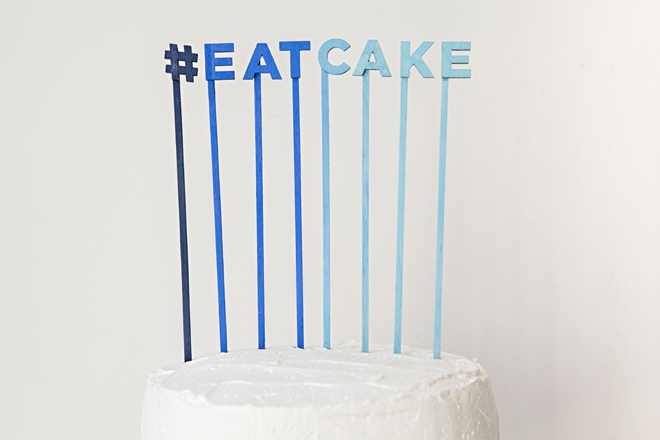
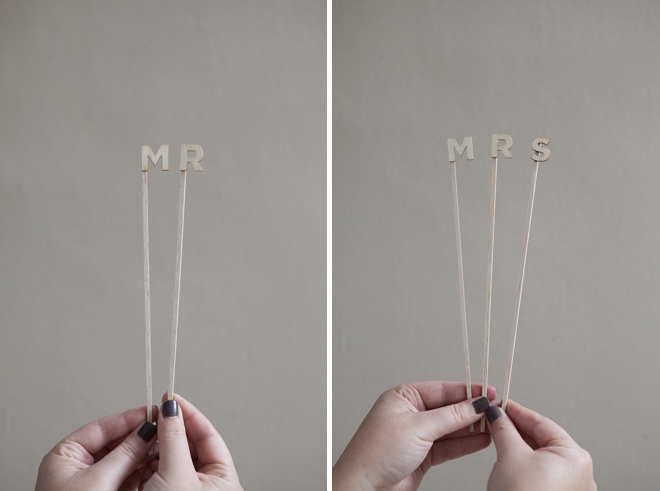
When it comes to DIY-ing items for your wedding, some projects can be overwhelming because of the sheer number you have to create (ie. favors, invitations, centerpieces, etc.) – but a cake topper is simple! You only have to make one! Well, I guess you could make more if you wanted to. Today’s super fun cake topper project is quick, easy (and cheap!) and can be completed in a couple of hours – it would take less time but you have to wait for glue and paint to dry. Pick your saying – any saying – and spell it out with tiny wood letters. From Mr & Mrs to #eatcake… what saying would fit you as a couple or your wedding theme?
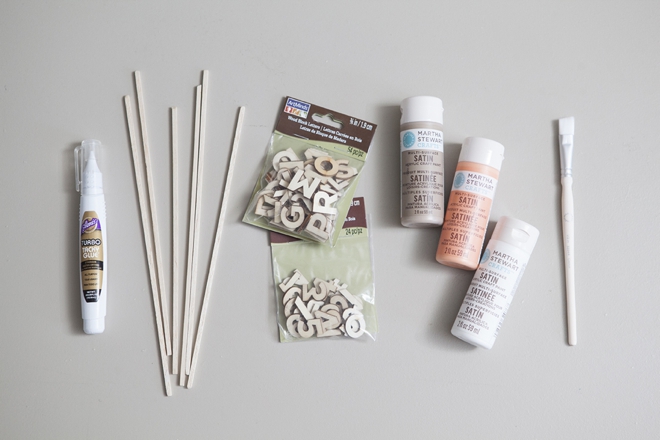
SUPPLIES:
- 3/4″ wood block letters/numbers
- 1/4″ dowels cut to 6″ – 12″
- Martha Stewart Crafts paint in your choice of colors
- Tacky Glue
- paint brush
- wax paper
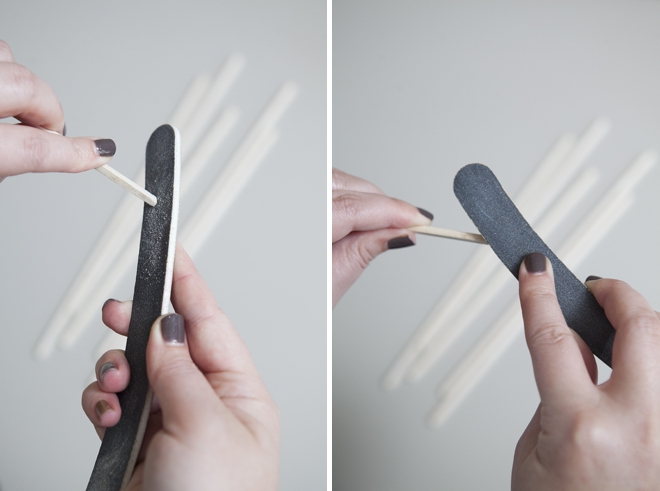
Start by cutting 1/4″ dowels down to about 6″ – 12″… the height of the stick is up to you. Using a nail file or sand paper, smooth the cut edges. I chose square dowels for ease of gluing but you can use round dowels too.
I’m giving you a range of stick length because you need to make it fit your word and design. If you know that one of your words needs to be tall (like the Mr) then your sticks might need to be longer – same thing with short – if you don’t want your word sticking out of the cake that high, make the stick shorter.
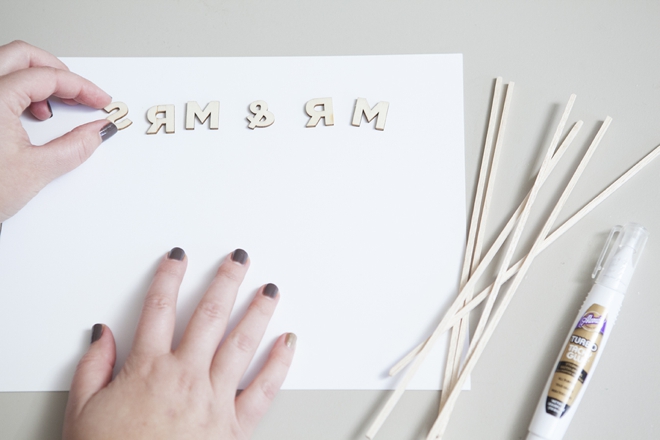
Lay your words out – backwards – because we are going to glue the dowels onto the backside of each letter.
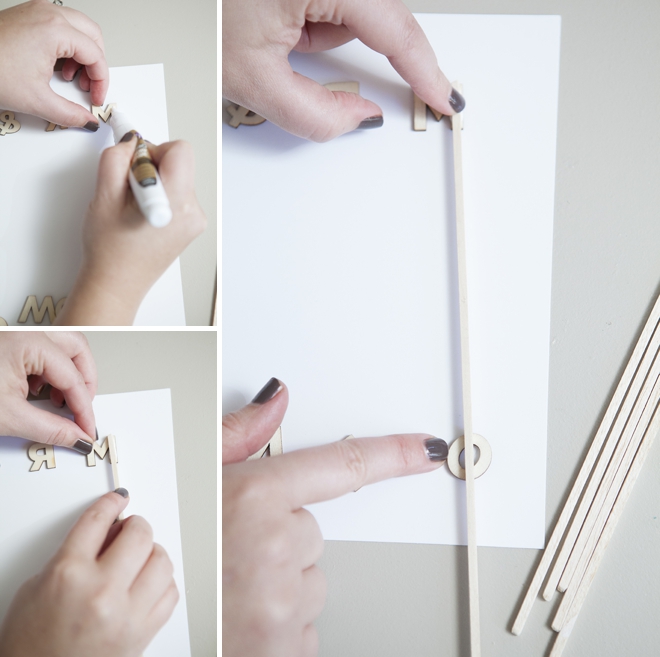
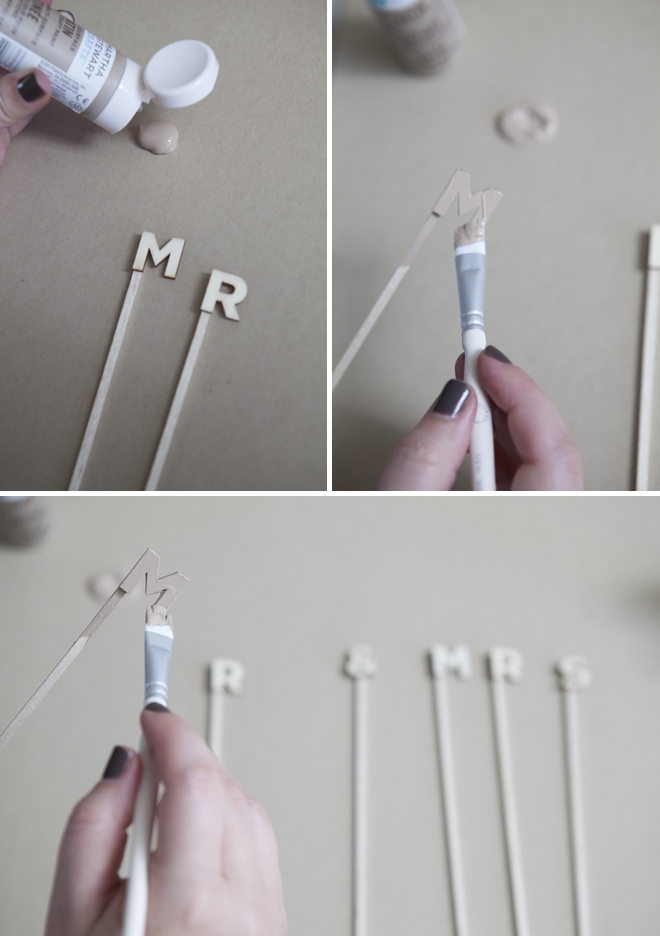
Apply a small amount of glue to the backside of each letter and then add the dowel.
You know how precise I can get, so for all you ocd gals like me here’s a great tip: To make sure the dowel dries perfectly flush with the letter, place another letter under the end of the dowel to prop it up while drying!
Glue all your dowels to your letters and let them dry.
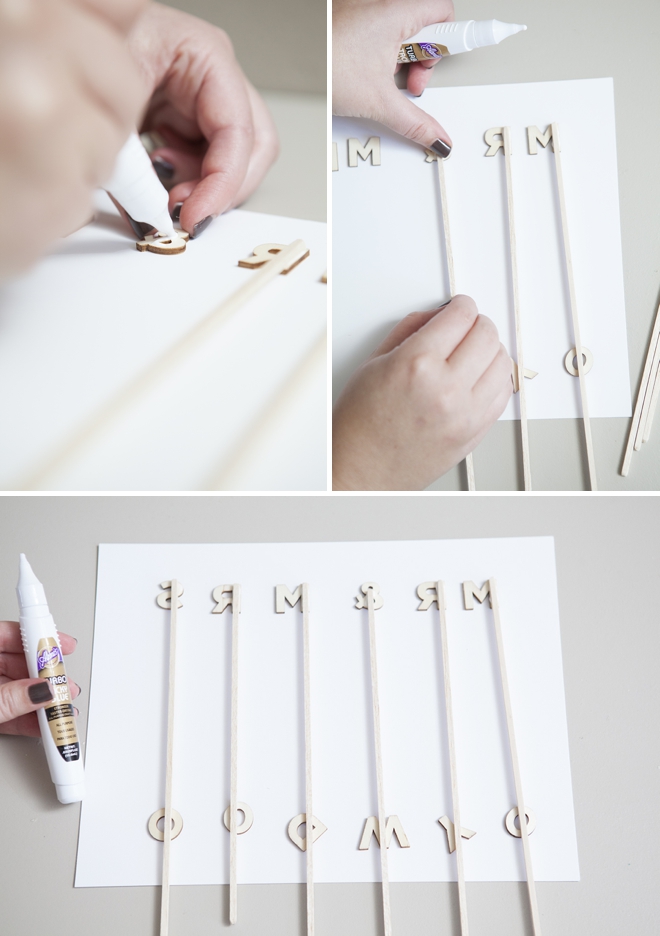
Aren’t they super cute!? If you are having a rustic wedding… you might not want to paint them – the wood by itself might be just perfect for you!
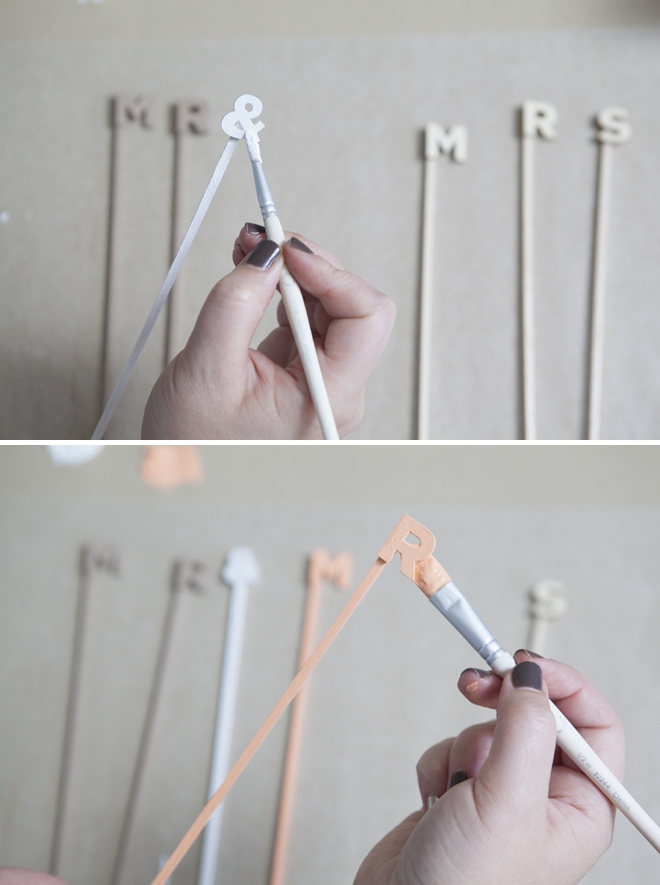
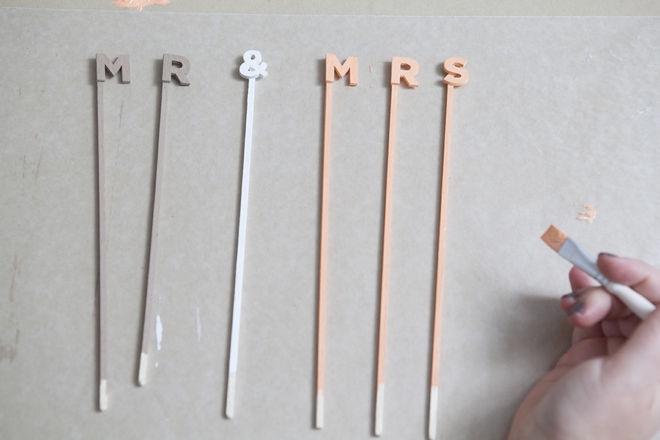
Next up, painting the letters. Using your choice of Martha Stewart Crafts paint… cover the entire letter and stick with paint. Here I only needed 1 coat of paint but depending on your color choice you might need 2.
Let each letter stick dry on a piece of waxed paper.
CRAFTERS TIP: for those letters with small crevices, use a pin to wipe out excess paint.
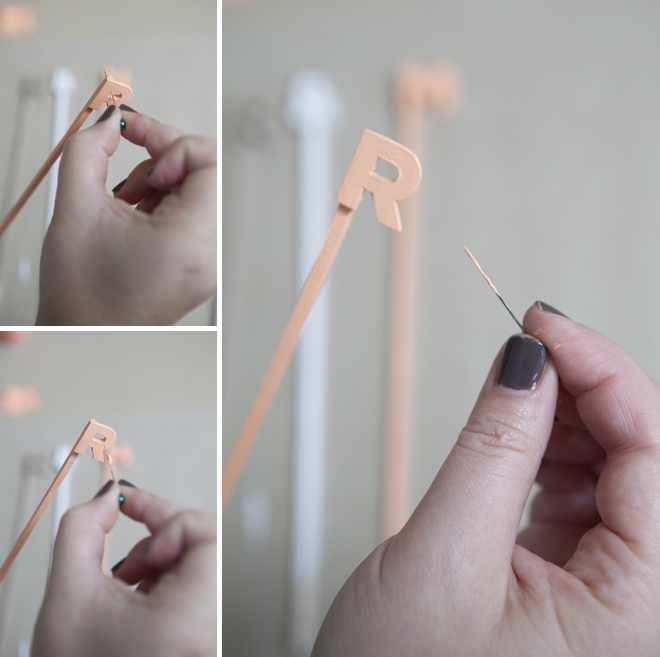
As you see here, I didn’t paint the ends of the sticks where I was holding them. There’s actually no need – since they will be hidden inside your wedding cake.
I know what you are thinking… paint + cake? Is it safe? These MSC paints are non-toxic, but they recommended painted surfaces to be kept away from food – personally I don’t think it’s a big deal for what we’ve got going on here, but that’s your call.
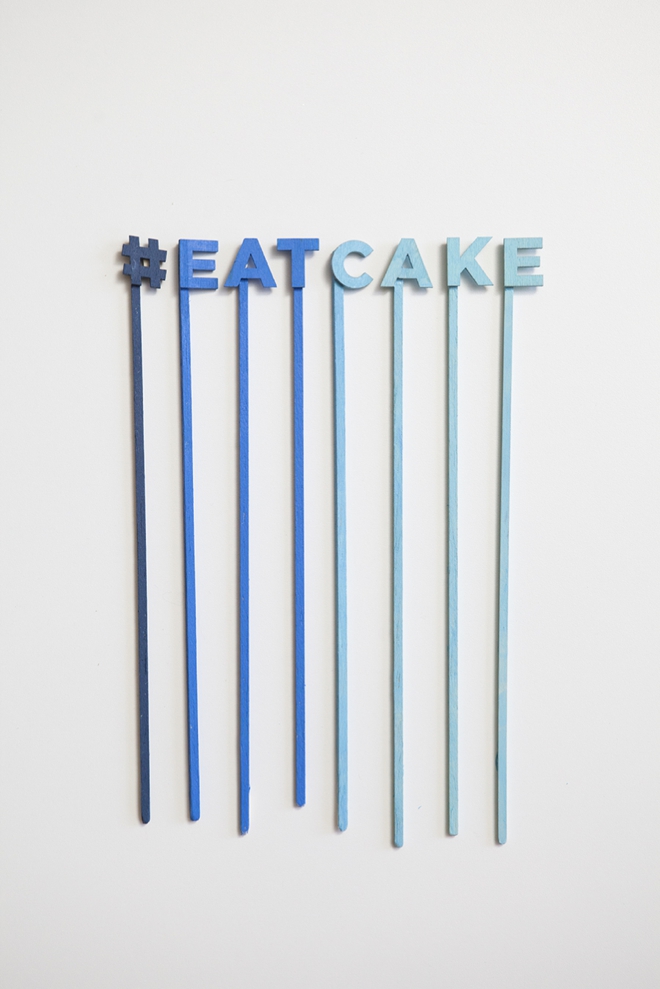
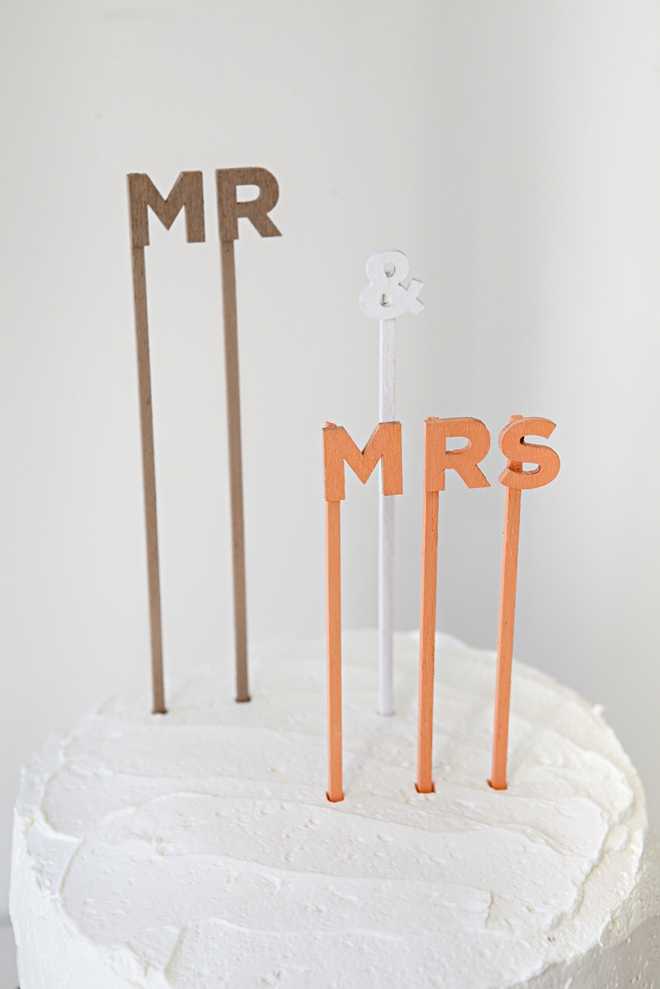
I think these are just darling!!! The tall painted sticks make such a bold color statement!

As with all our DIY tutorials, if you create one of our projects please send us a picture or a trackback – We Love Seeing Your Creativity! If you use Instagram or Twitter please use the hashtag #SomethingTurquoiseDIY. Happy Crafting!
DIY Tutorial Credits
Photography: Studio Eleven Weddings // DIY Tutorial: Jen | Something Turquoise // MSC paints (Mr & Mrs: Root Beer Float, Wedding Cake, and Wild Salmon) (#eatcake: Wild Blueberry, Indigo, and Pool) + paint brush: Editors at Martha Stewart Living // 3/4" wood block letters/numbers, 1/4" square dowel and Aleene's Turbo Tacky Glue pen: Michaels // yummy cake: My Mom // nail polish: OPI - You Don't know Jacques! and Glitzerland

Comments