
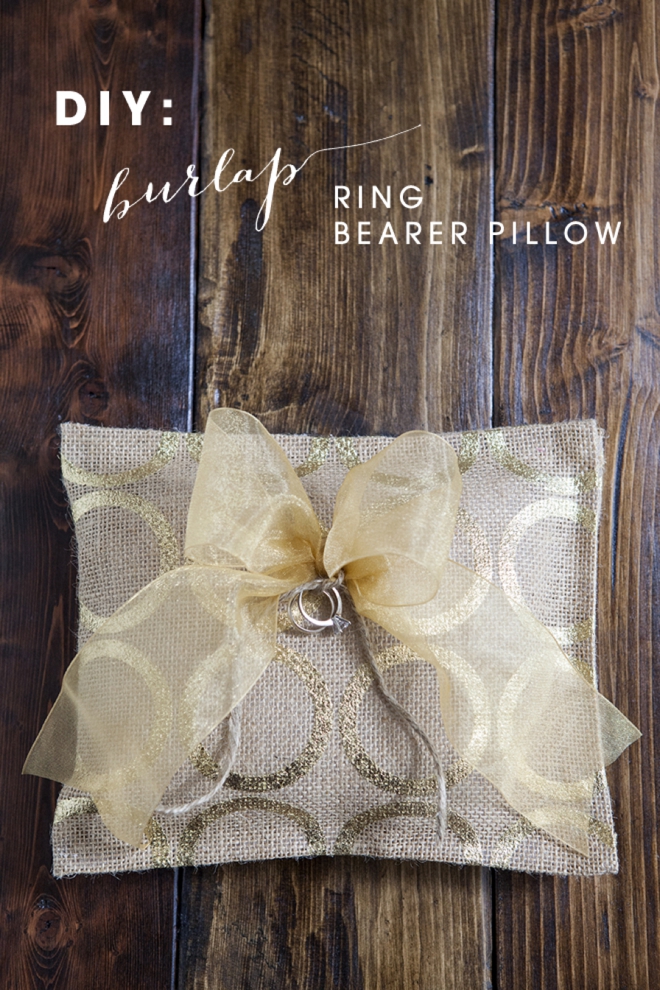
DIY | Burlap (no sew) Ring Bearer Pillows
Ok, it’s no secret that we are all fans of burlap… but burlap is evolving! You can now purchase it in so many different patterns and styles – which is awesome. Strolling my local JoAnn’s Fabrics, I was inspired by these gorgeous burlap prints to bring you a super simple way to make your own ring bearer pillows using only hot glue. Yep, that’s right – hot glue. It’s not my favorite adhesive by any means but when it comes to burlap, hot glue is like a miracle drug… so plug yours in, set it on low and let’s get started. FYI – you’ll be done in like a half an hour!
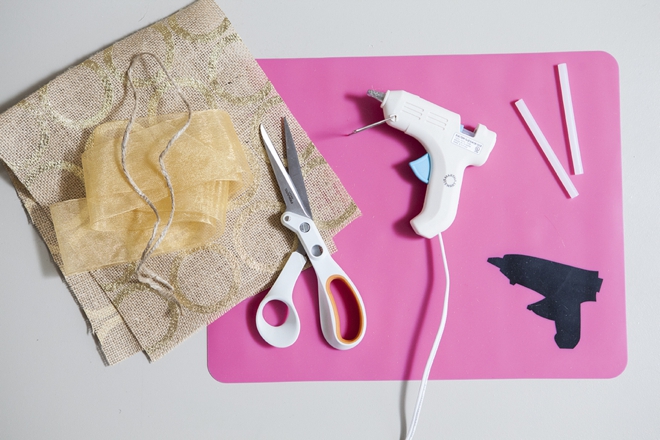
SUPPLIES:
- fun burlap
- ribbon
- hot glue gun (that does low heat)
- scissors
- pillow batting (not pictured)
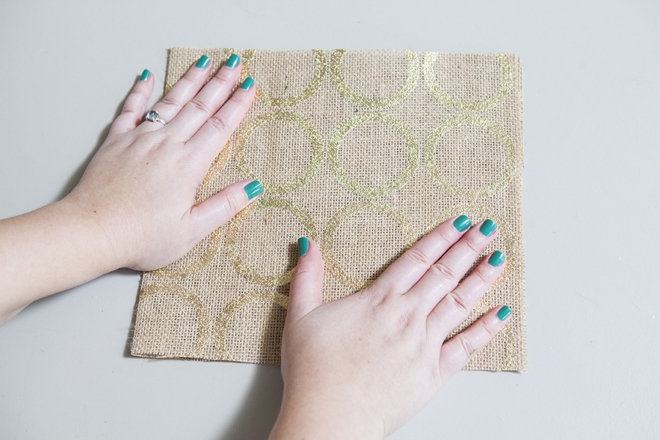
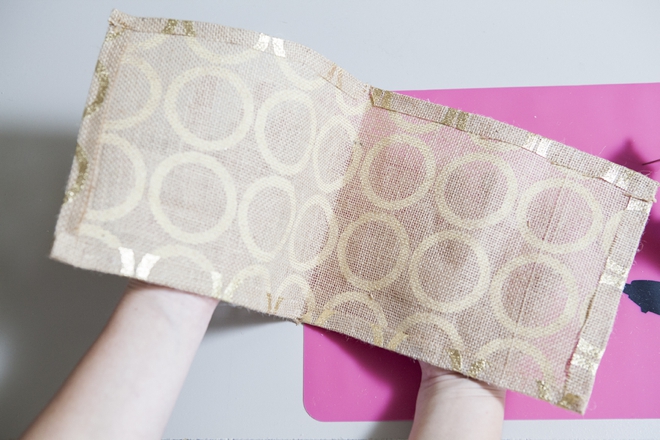
You will need a piece of burlap cut to 9″ x 20″ for this exact project… but you can actually use any size that you want!

Burlap folds and creases easily. Fold it in half and crease.
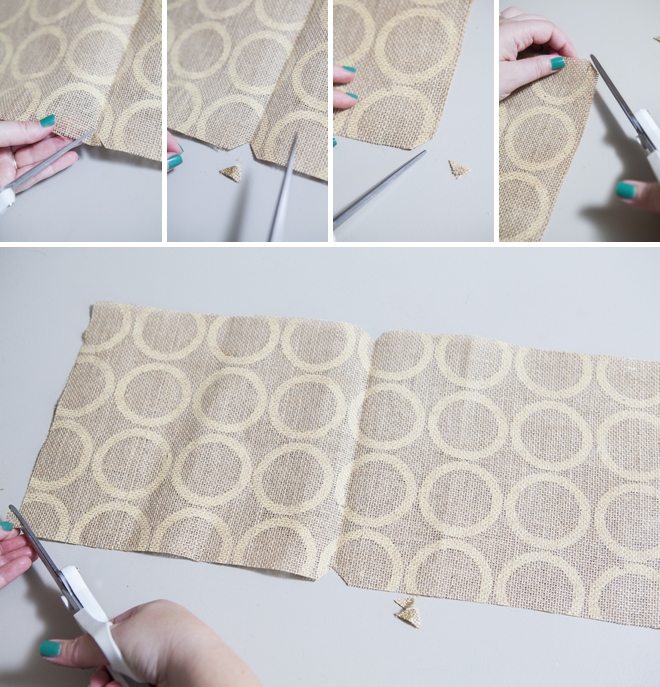
Next up, snip each edge at a diagonal and cut a tiny triangle out of each fold – this makes it easier to fold each side down to glue.
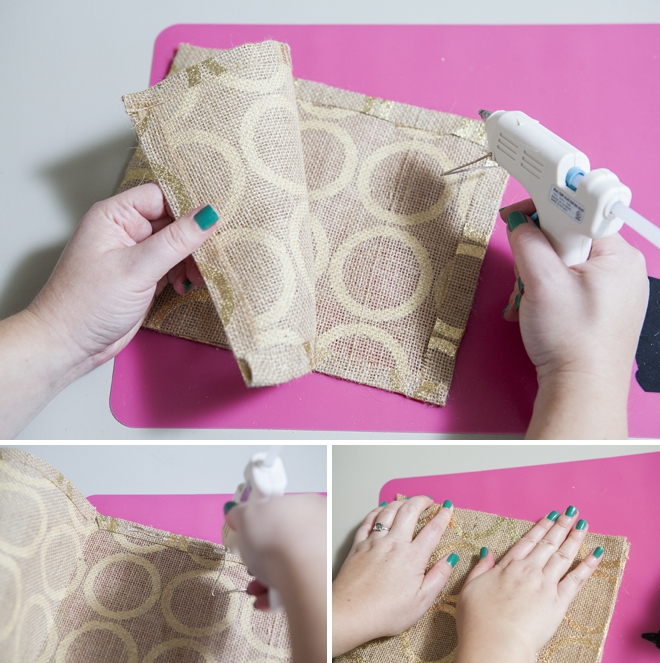
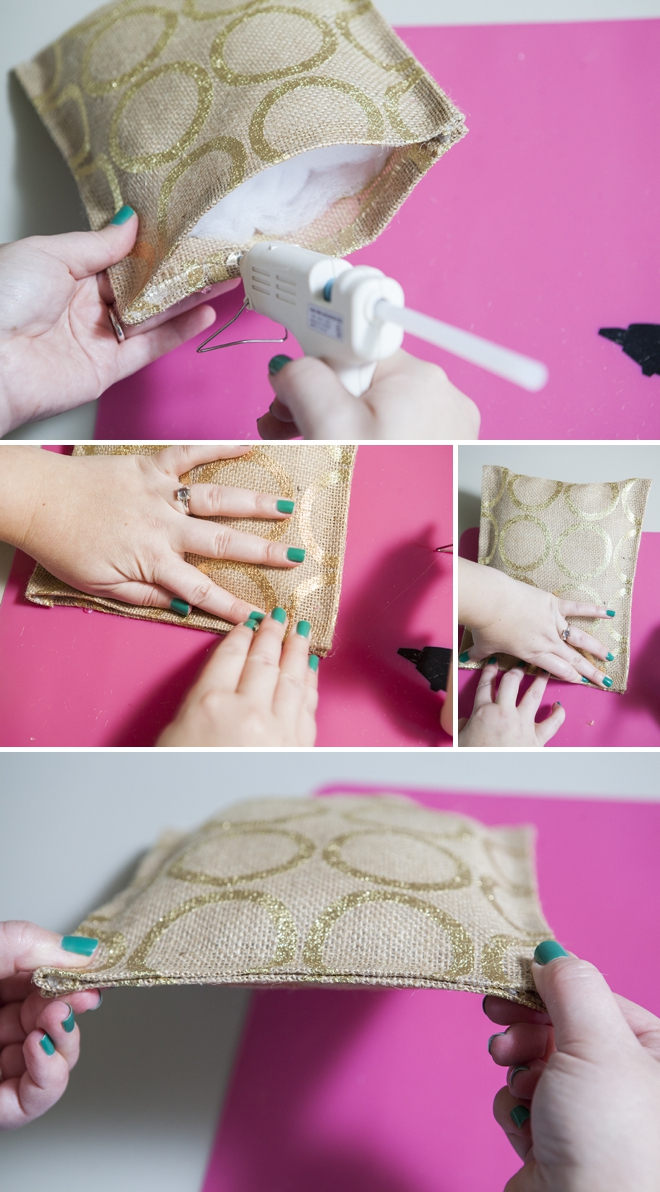
First gluing step; fold, crease and glue each short 9″ edge. Add a fair amount of hot glue and press until it’s cool. Using the hot glue gun on low means you will not burn your fingers!
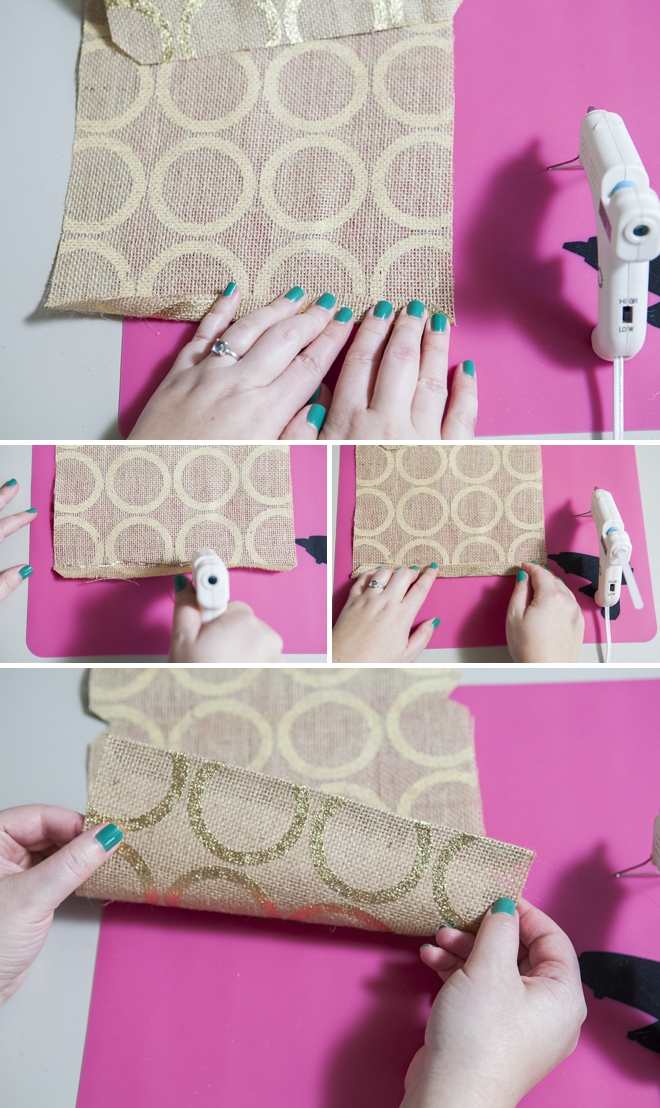
Next up, the long sides. Fold, crease and glue!
Now you should have all cut edges of your burlap “hemmed’ by hot glue.
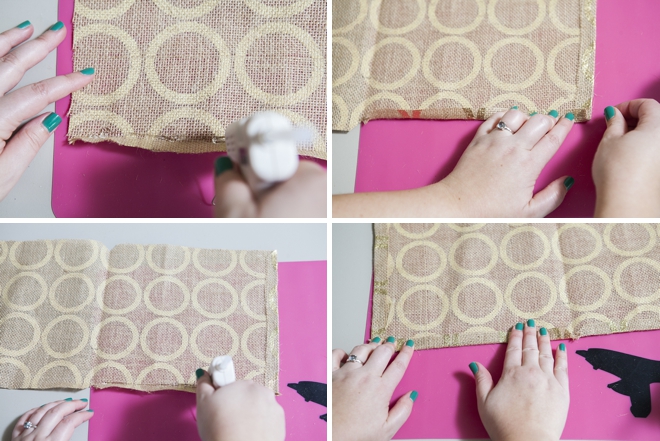
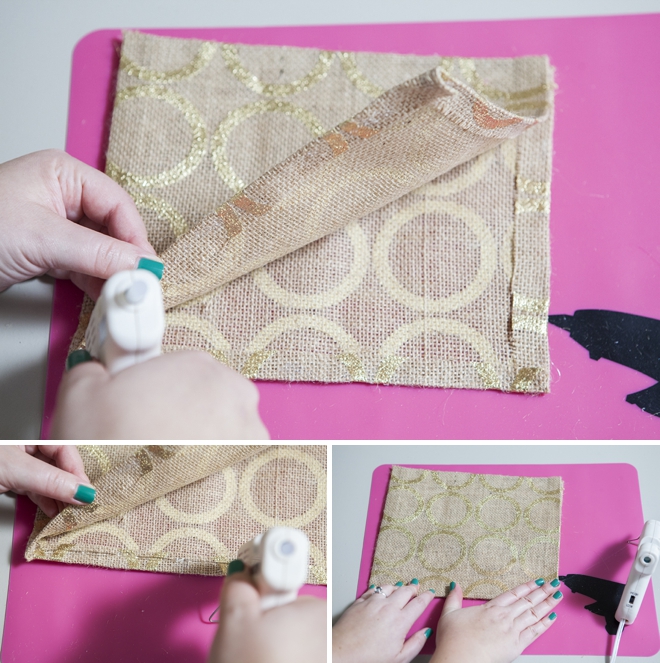
Now glue each side touching the fold.
Press and hold until cool.
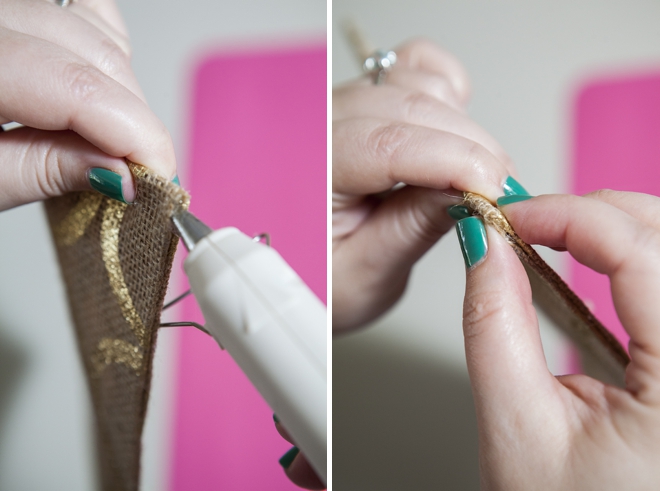
Crafters Tip
Burlap frays – plain and simple. If there are parts, pieces, or edges that are fraying – do your best to trim, hot glue and press together.
Now you should have the perfect pillow pocket. Fill and fluff with pillow batting or the like.

Now glue the final edge of the pillow closed.
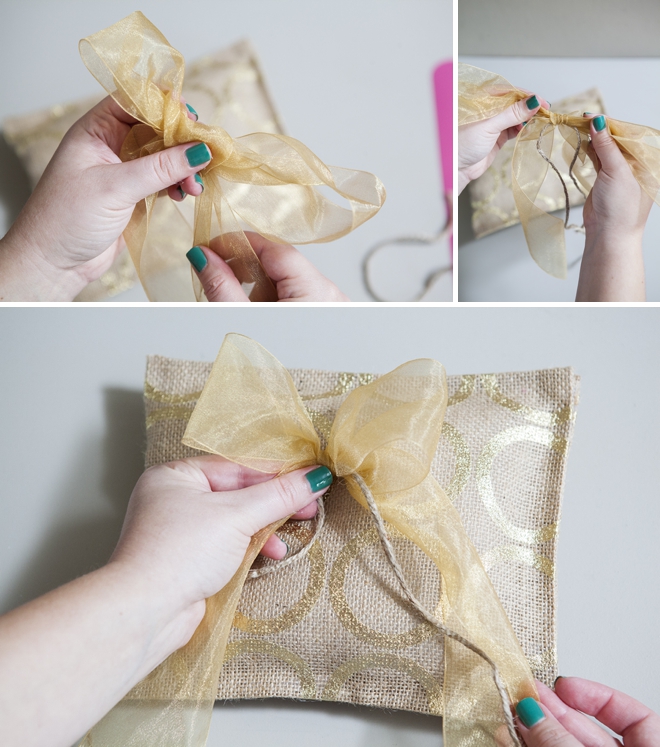
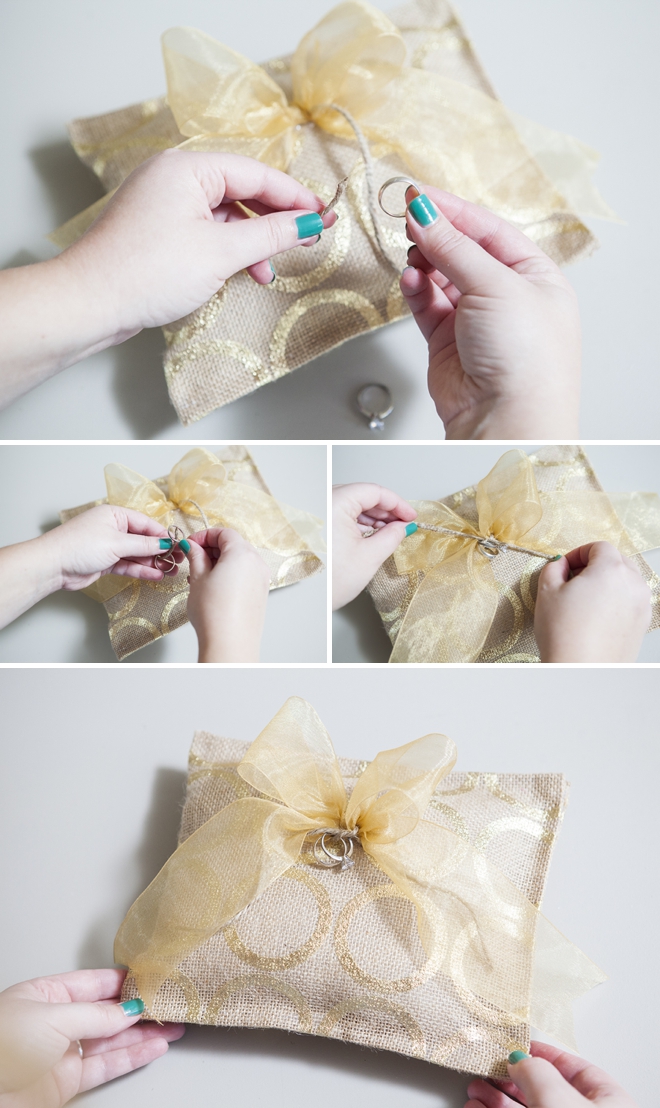
Next up… adding a bow! Tie a bow and add a second piece of twine or ribbon within the bow – this will be how you tie the rings to the pillow.
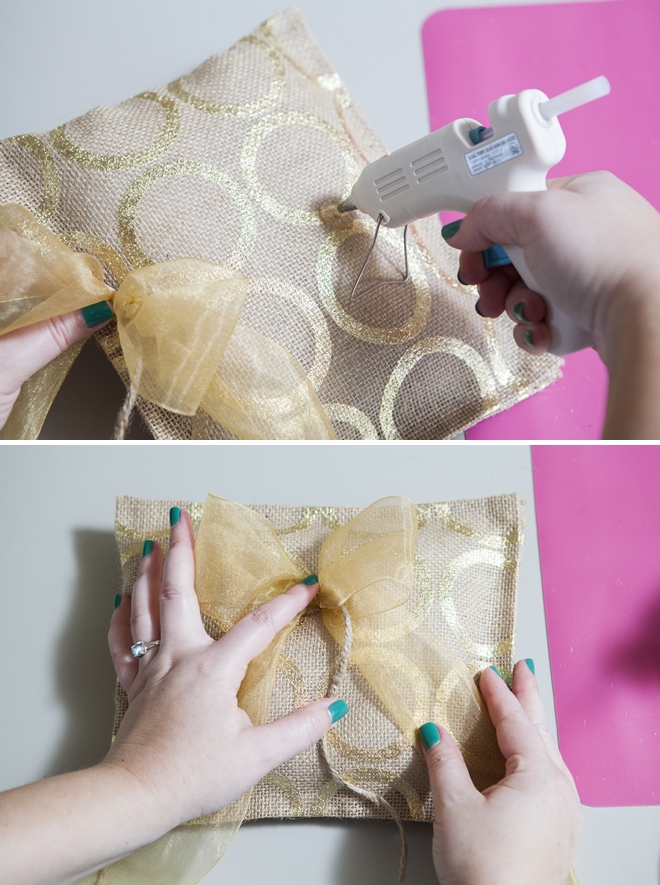
Hot glue the bow to your burlap pillow.
Trim excess ribbon edges…
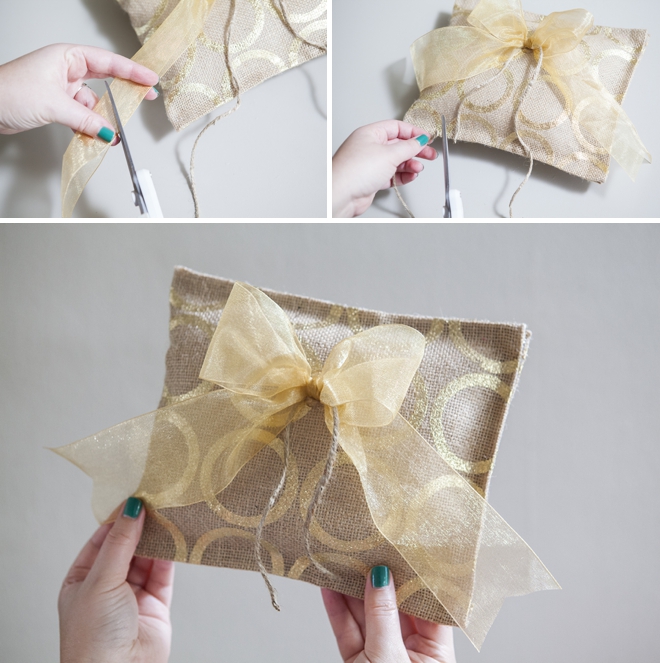
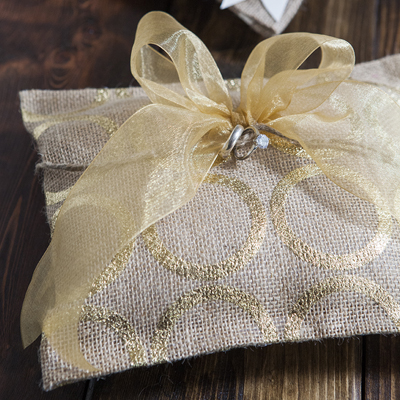
Add the rings to the piece of twine. The secondary piece of twine or ribbon keeps the large bow intact and looking beautiful – while adding a place to tie the rings.
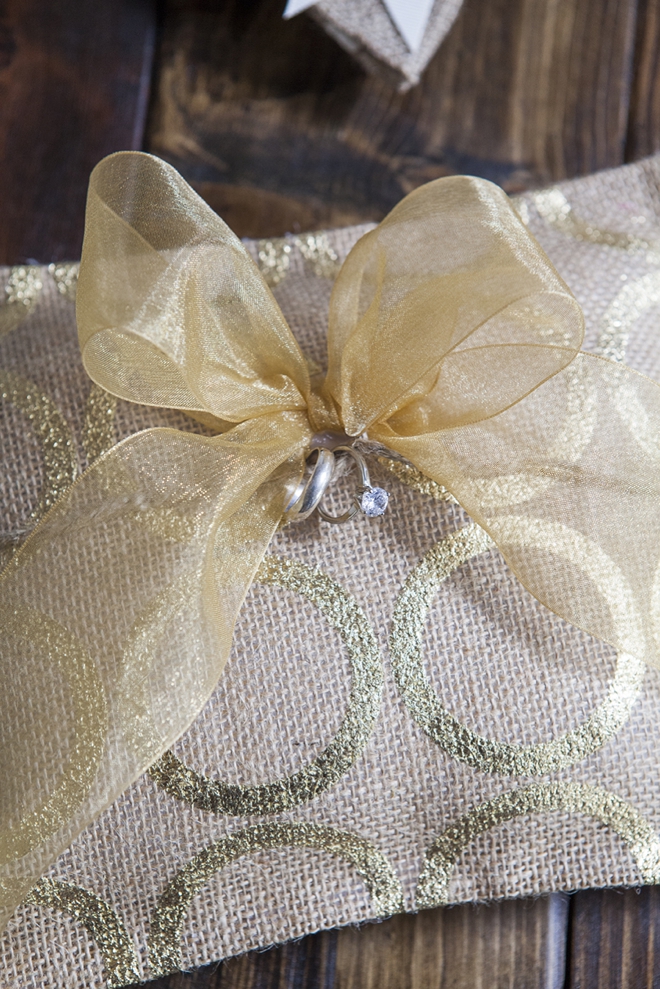
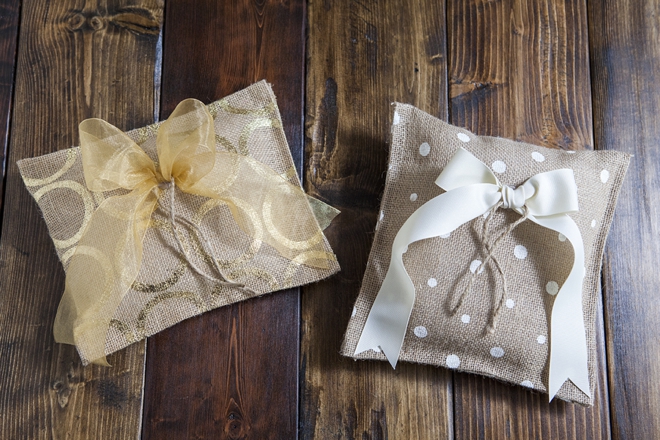
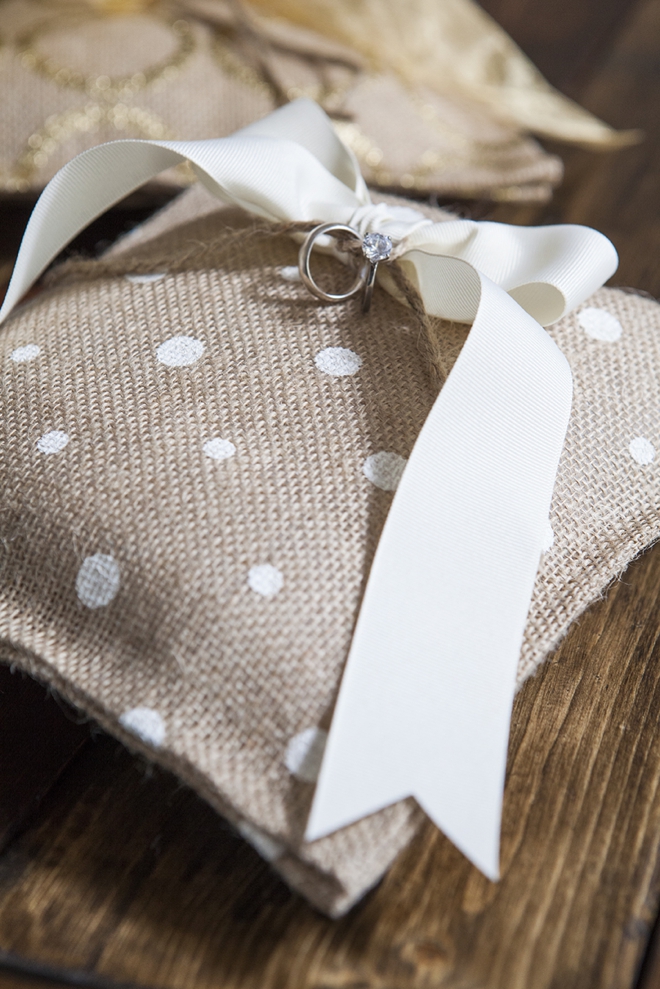
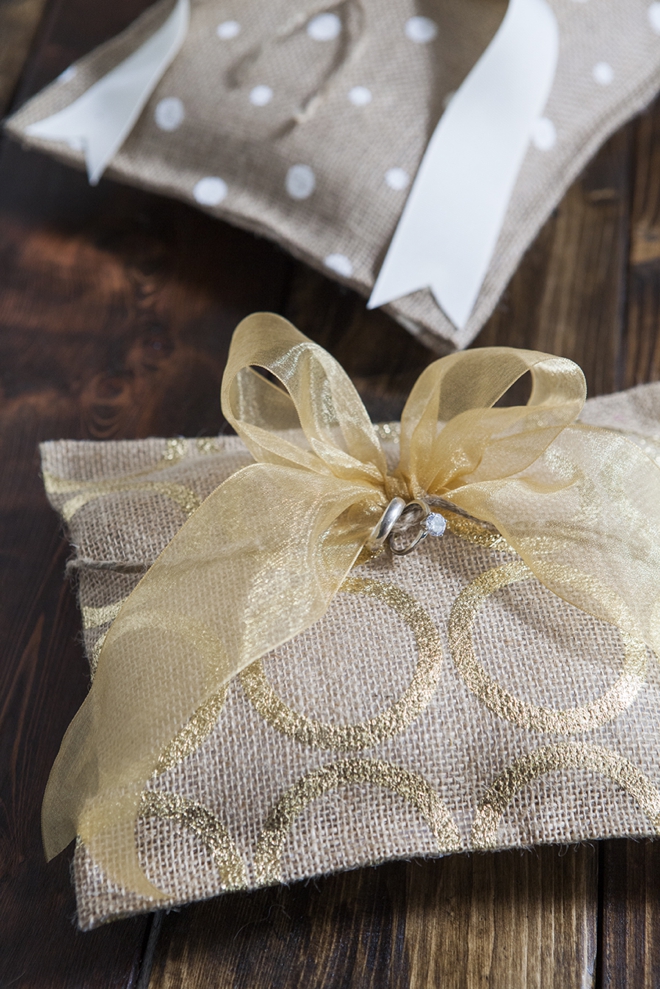
Aren’t they full of rustic charm!?! You’d never know they were hot glued!
As with all our DIY tutorials, if you create one of our projects please send us a picture or a trackback – We Love Seeing Your Creativity! If you use Instagram or Twitter please use the hashtag #SomethingTurquoiseDIY. Happy Crafting!
DIY Tutorial Credits
Photography: Studio 11 Weddings // DIY tutorial: Jen | Something Turquoise // both patterns of burlap – gold circles and white polka dots (not online yet), Martha Stewart Crafts hot glue gun, and ribbon: JoAnn Fabric & Craft Stores // hot glue gun mat: Plaid // nail polish: Essie – Ruffles & Feathers

Comments