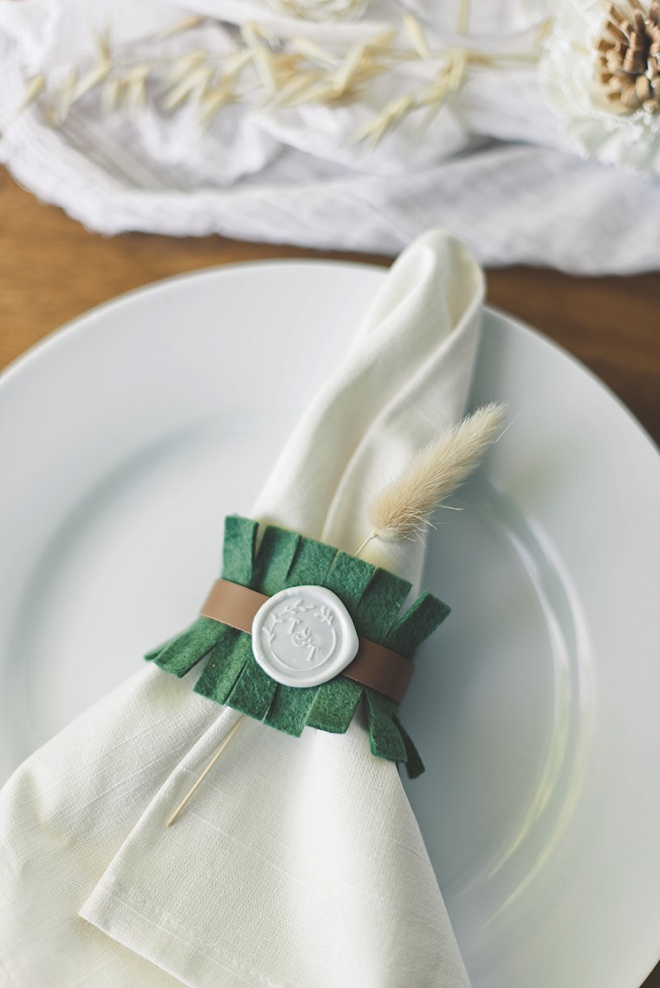

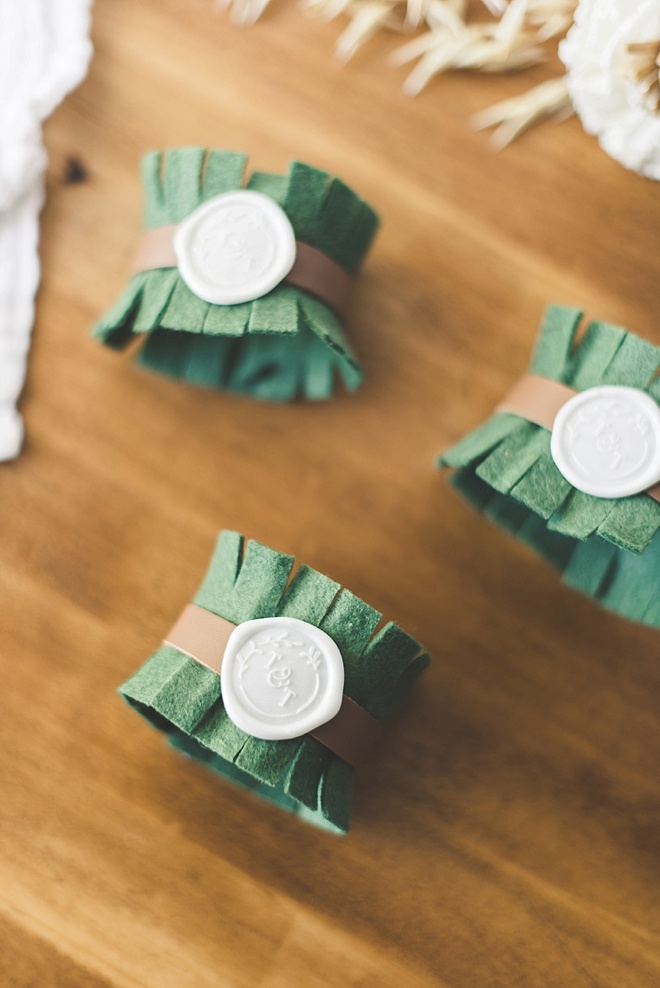
DIY Monogrammed Felt Napkin Rings
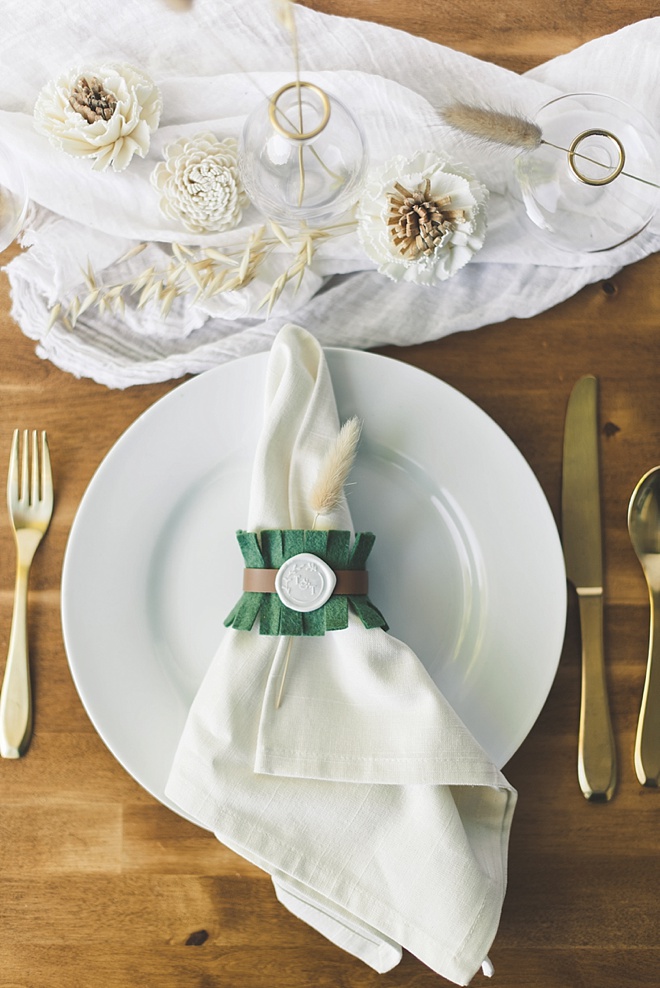
With Thanksgiving around the corner and winter weddings all the time, it’s time to get cozy with my favorite cold weather craft fabric – felt! Not only super easy to work with, but felt comes in so many different colors which makes it perfect for personalizing your event’s theme or color palette. This time, I’m creating the sweetest detail to your table settings: chic felt and leather napkin rings with monogrammed wax seals!
Not getting married? You can also get self-adhesive wax seals with ‘Thank You’, a floral detail, or any other emblem best suited for your dinner table.
(And if you love felt like I do, don’t forget to check out last year’s DIY projects also made with our favorite Benzie felt! Learn how to make a wedding jacket patch or a wedding planner bookmark.)
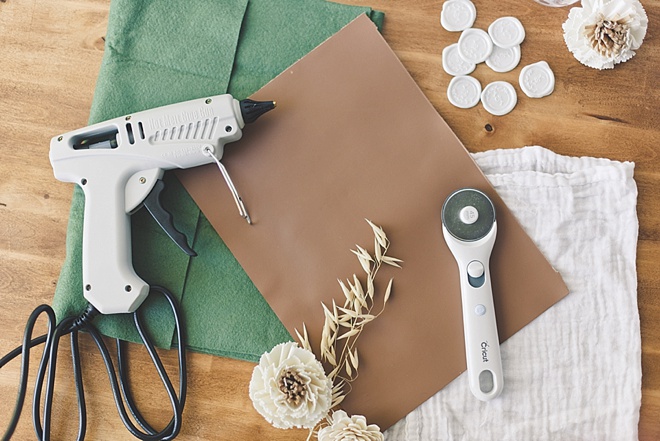
SUPPLIES:
- Felt sheets
- Fabric scissors
- Leather or faux leather scraps
- Rotary cutter
- Self-healing cutting mat
- Metal safety cutting ruler
- Hot glue gun
- Self-adhesive wax seals
- Cloth napkins
Maker’s Note
The fun part about this project is you can use any scrap of fabric, leather, or even more felt for your center detail on your fringed felt! So go through your craft box or upcycle an old dress to make these lovely napkin rings.
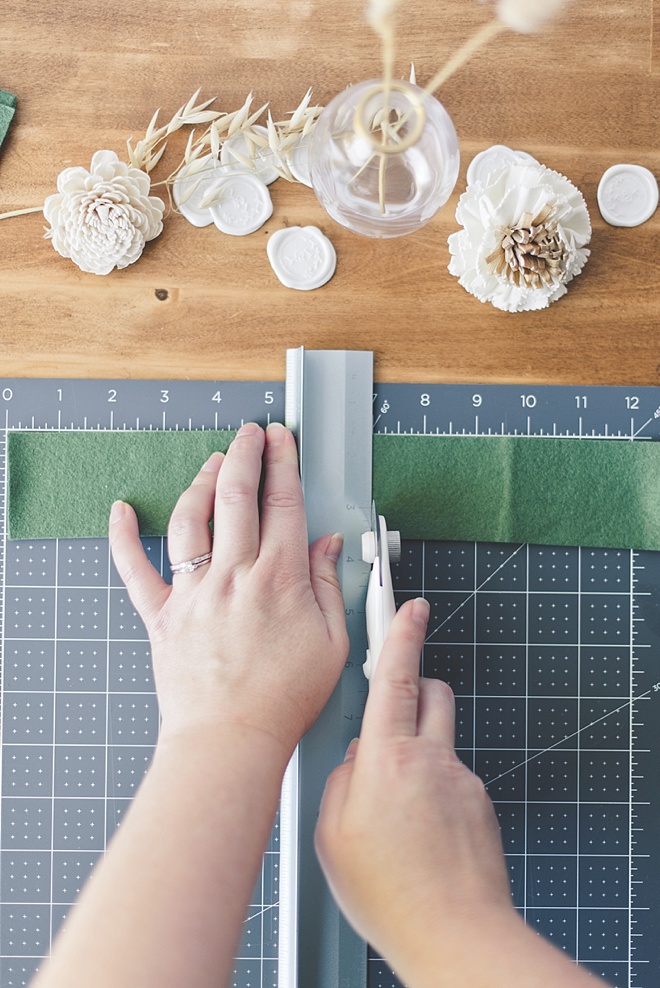
CUT YOUR FELT
With your rotary cutter, self-healing cutting mat, and cutting ruler, cut your felt sheets into 7” long strips. They should each be about 2” wide just like many wood or ceramic napkin rings you see! Make as many as you’d like for your table settings.
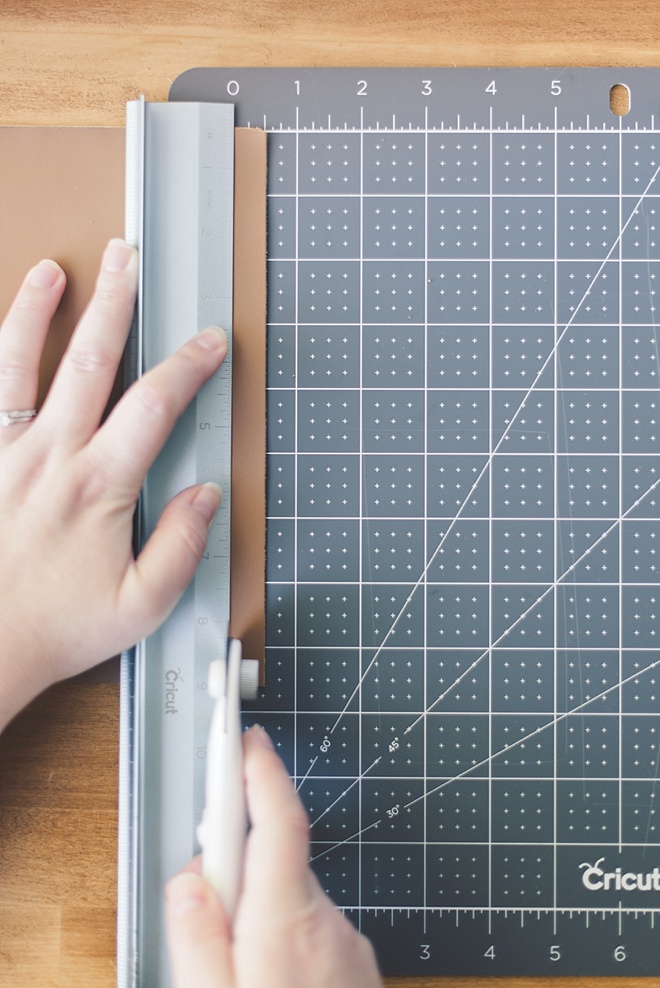
CUT YOUR LEATHER
Also using your rotary cutter, cutting mat, and cutting ruler, cut out a thin piece of leather for each napkin ring. Mine are 1/2” wide and 7” long just like the felt strips.
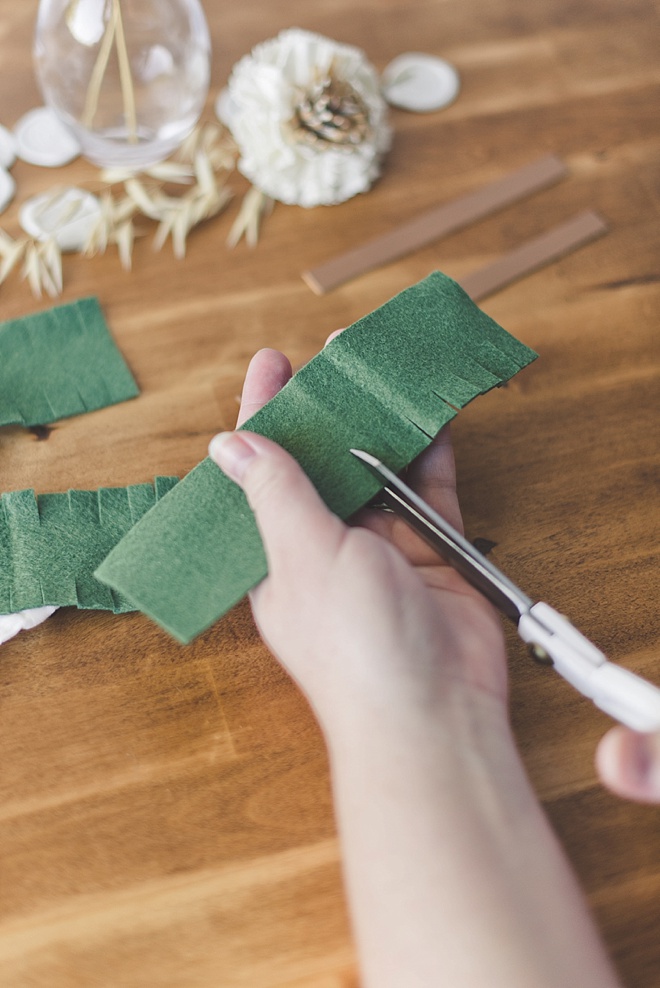
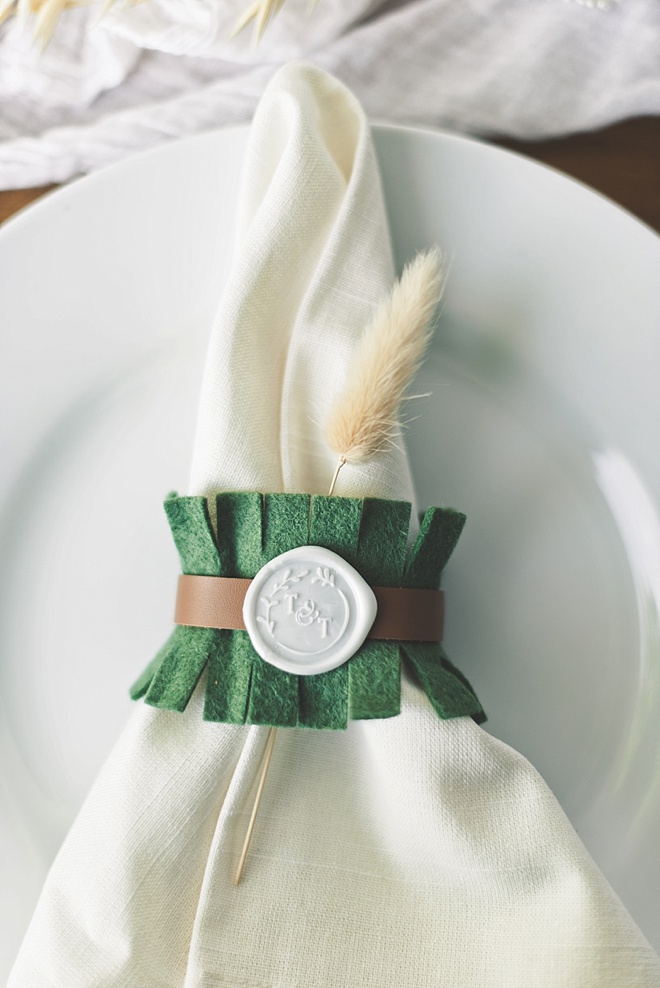
MAKE OUR FRINGE
Cut thin “fringe” strips along both long edges of your felt strips to create your fringed napkin rings. Each “fringe” should be uniform and not too thin, but not too thick either. You’ll want to have at least 1/2” in the middle of your napkin ring that is uncut, so don’t cut too far in!

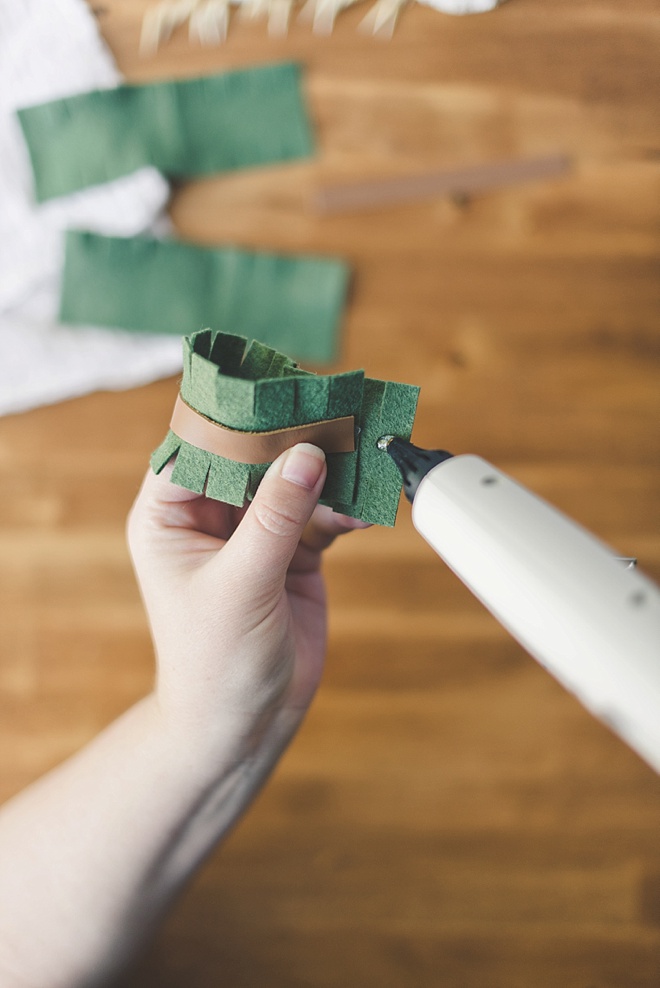
GLUE IT DOWN
Warm up your hot glue gun, and once ready to go, apply a thin strip of hot glue to the center of your leather strip and then attach to the center of your felt strip (where it is uncut). Once you’re done, leave your hot glue gun on as you’ll still need it for the next step!
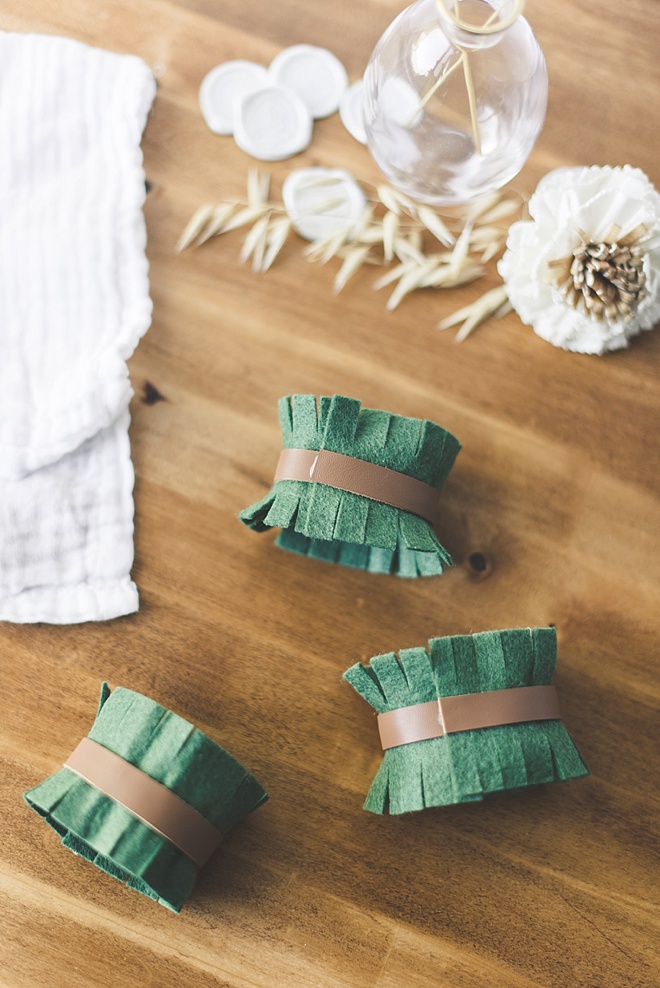
ROLL IT UP
Once hardened and dry, roll your felt and leather into a napkin ring and apply a small hot glue dot to the ends of your napkin ring to close together to make a loop. There should be about a 1/2″ of overlapped material.
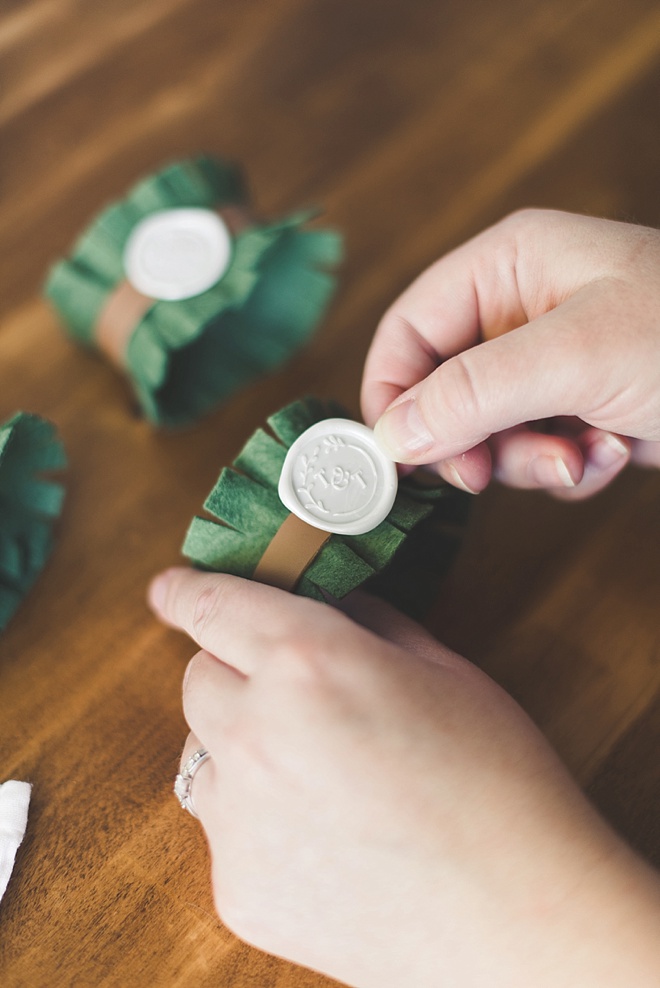
APPLY YOUR WAX SEAL
Take off the backing of your self-adhesive wax seals and place in the middle on top of each of your napkin rings. This is also a great way to use leftover wax seals from your wedding stationery!
If you want to make your own wax seals from scratch which is super easy to do, check out my other DIY tutorial on how to make these chic wedding wax seals using your hot glue gun.
ABOUT THE MAKER
Considered an enthusiastic creator in the wedding industry since 2009, Chelsea LaVere Barton is a retired wedding photographer, editor-in-chief of Coastal Virginia’s online wedding publication, Tidewater and Tulle. Before her photographer days, Chelsea was a classroom art teacher and adheres to the mantra of “making life more beautiful” in all she does. When she’s not DIYing, she loves to go on local British adventures with her husband, write about said UK adventures on It’s a Hard Biscuit Life, and quietly relax at home with their cats Pickles Barrington and Juniper McIntyre. You can find her scrapbook of life on Instagram.
If you create one of our projects, please share a picture with us on Instagram or Twitter using the hashtag #somethingturquoisediy, we regularly reshare our favorites! Your profile will need to be public for us to see it otherwise, you can always DM us!
TUTORIAL CREDITS
Photography + DIY Tutorial: Chelsea LaVere Barton // Felt: Benzie Design via Etsy // Cutting Supplies: Cricut // Wax Seals: Artisaire via Etsy // Sola Wood Flowers: Friendly Flowers via Etsy
SHOP THE SUPPLIES
Find the supplies you’ll need for this project from our affiliate links below:


Comments