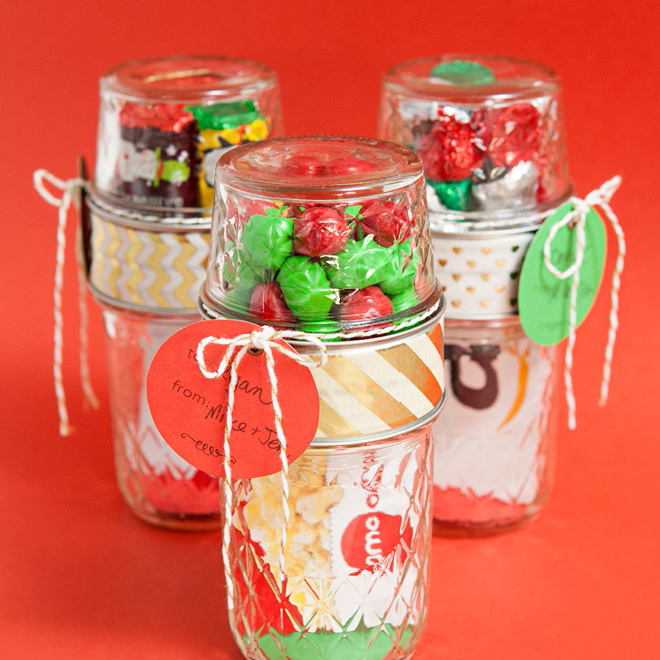

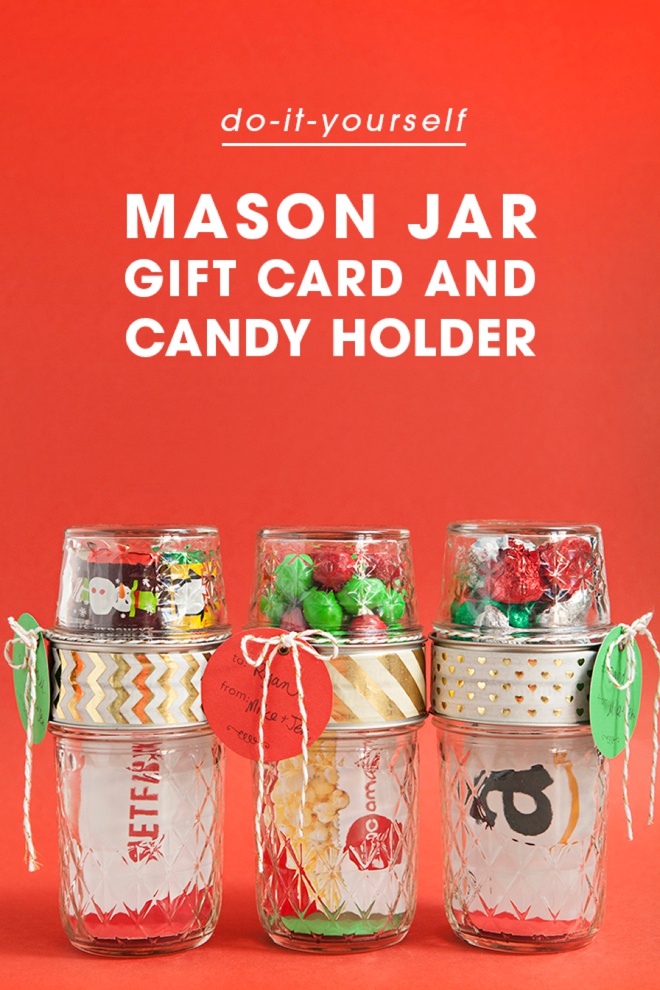
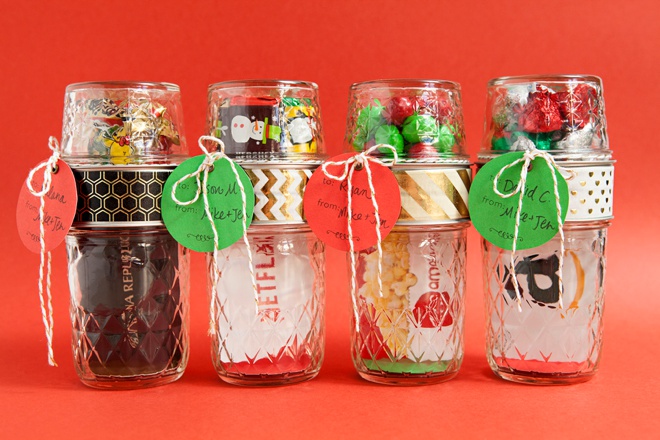
DIY Double Mason Jar Gift Card + Candy Holder
-Sponsored Post-
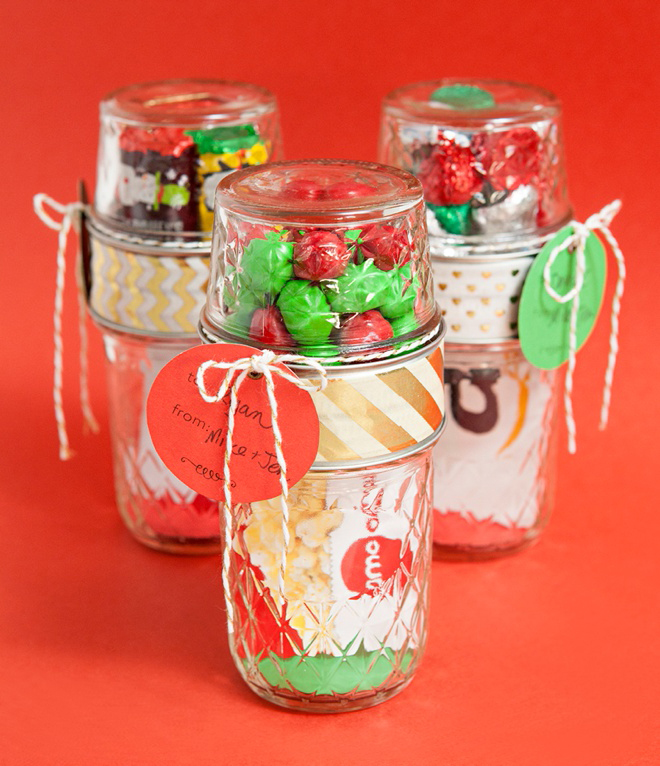
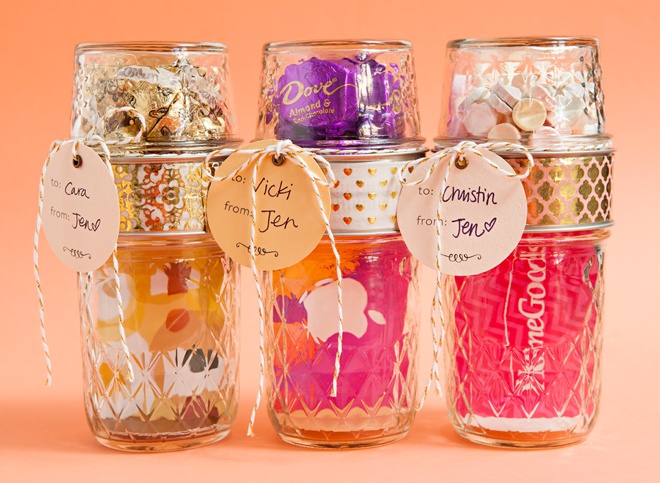
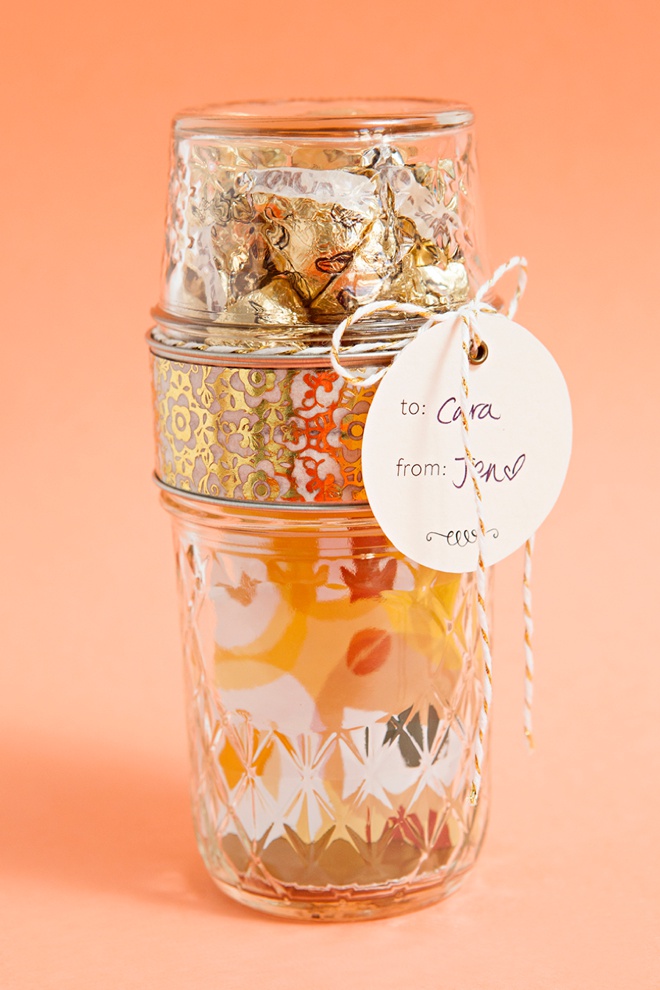
It’s officially the first week of December and in celebration of the holiday season I decided to bring you a very special, week long series of fun and unique DIY Gift Wrap ideas that are perfect for Christmas and great for the rest of the year, including wrapping wedding gifts of course! Today I’m starting things off with a bang as this is one of my most favorite ideas I’ve shared all year – I give you the Mason Jar Gift Card + Candy Holder! I’ve used two different size quilted crystal jelly jars to create the most fabulous way to give a gift card and sweet little treat. The addition of my favorite decorative foil tapes from Little B, makes these jars look absolutely adorable! So the question is, what gift cards + treats are you going to pair together and who is going to be the lucky recipient? Don’t forget to share your versions of this project with us using the hashtag #somethingturquoisediy on Instagram and Twitter! Happy Crafting!
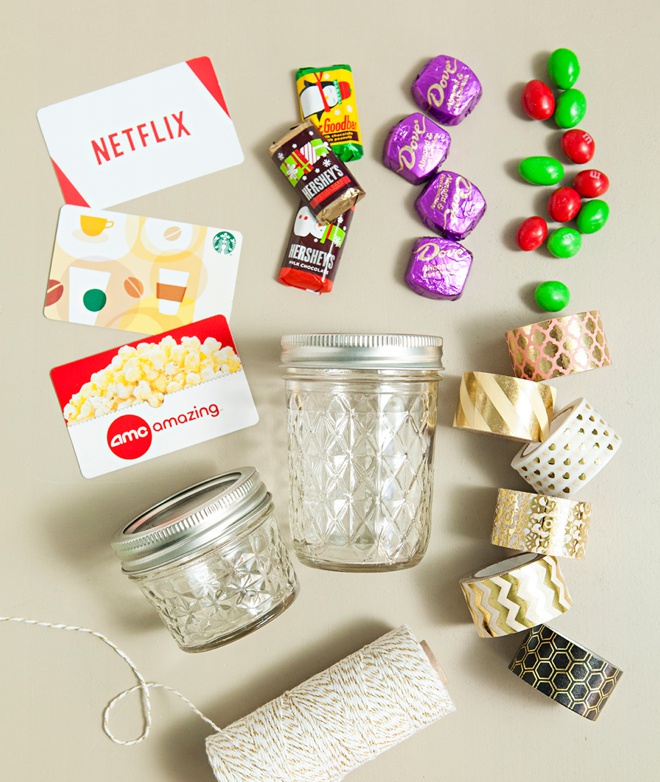
SUPPLIES:
- 4oz Ball Quilted Crystal Jelly Jars (regular mouth)
- 8oz Ball Quilted Crystal Jelly Jars (regular mouth) fits a gift card perfectly!
- Little B – 1″ (25mm) Decorative Foil Tape
- Gift Cards + Candy
- E6000 Glue
- Twine
- Scissors
- Cardstock
- Eyelets and Setter (optional)
- Free printable tags at the end of the post!
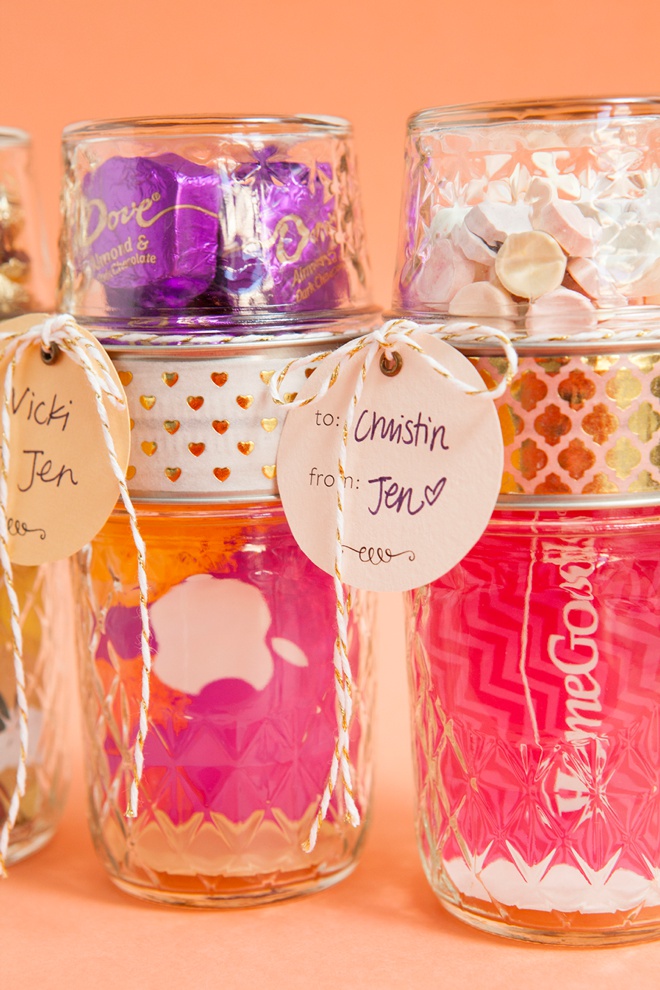
The exact Little B – 1″ (25mm) decorative foil tapes I’ve used are: Gold Hearts, Gold Chevron, Gold Black Honeycomb, Gold Moroccan Window, Gold Diagonal Stripe and Golden Floral.
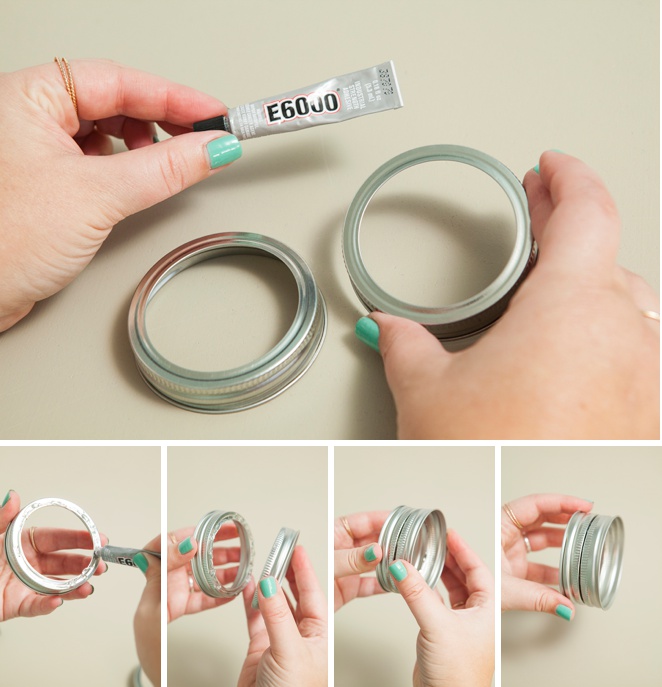
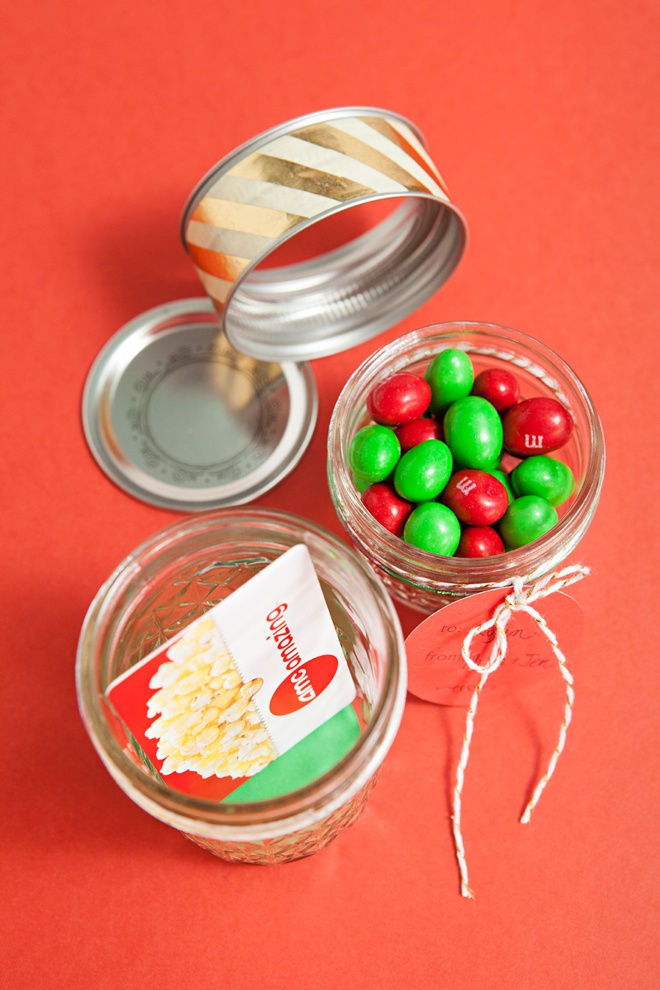
Glue Two Rings Together
Using E6000 glue (which is incredibly strong and durable), glue two Ball jar rings together and let dry. I could tell you to glue one 4oz and one 8oz ring together, but they are literally the exact same size. So no matter which ones you glue together, it’s all good.
NOTE: drying time on this glue is 24 hours; so glue the lids together the night before you want to assemble your gift jars!
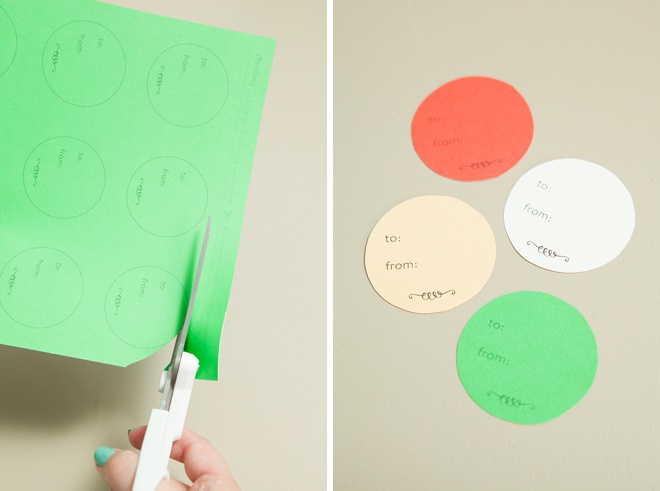
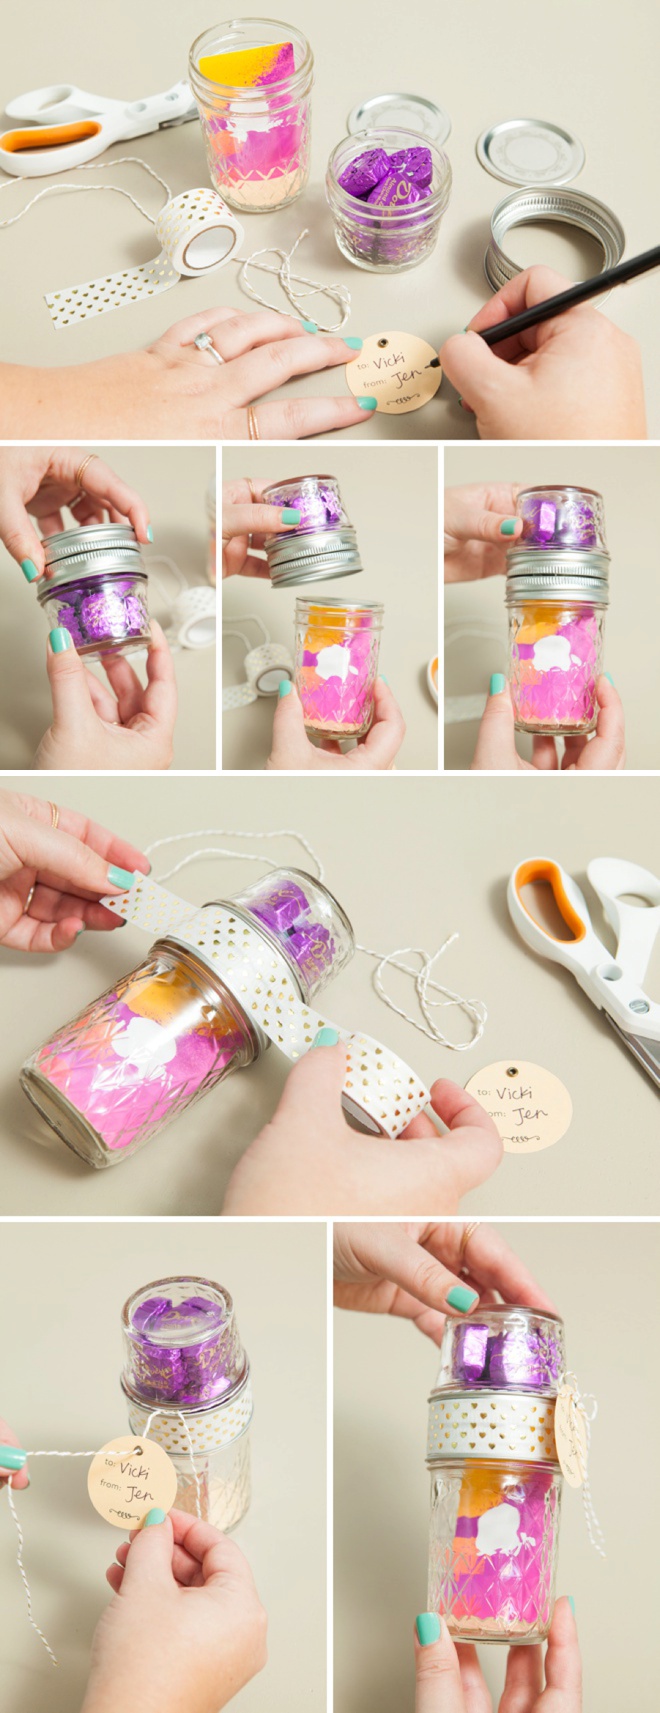
Print + Cut Your Gift Tags
I’ve shared a free gift tag download at the end of the post. Download and print onto 8.5″ x 11″ cardstock and trim around the circle.
I’ve also shared a blank circle download which is sized perfectly to cut out and place at the bottom of your gift card jar for added color! This step is optional as you can put gift shred or anything else you’d like into the gift card jar. Both tags are 2″ round.
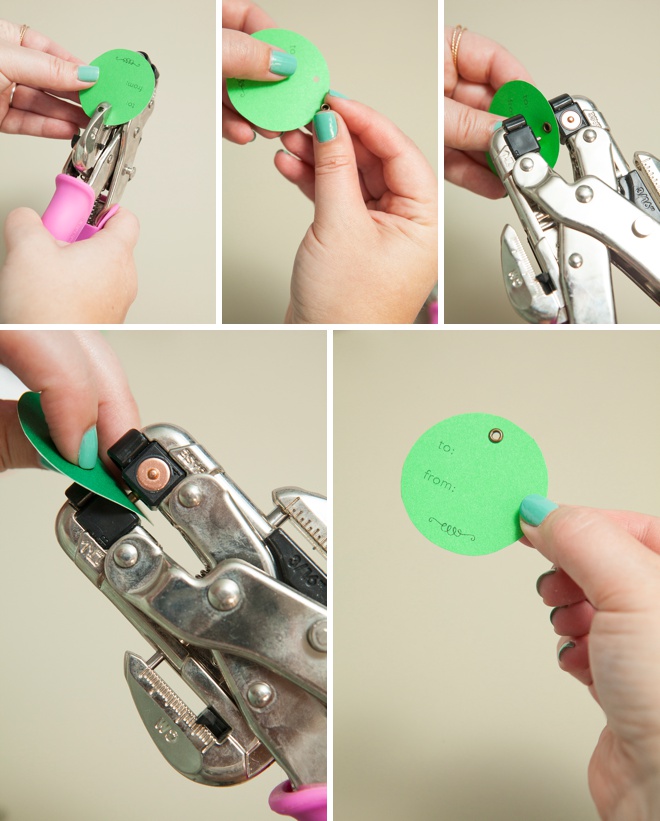
Hole Punch + Eyelet
To finish the look of your tag, punch a hole at the top and add a scrapbooking eyelet. Here I’m using my all time favorite tool, the Crop-a-Dile.
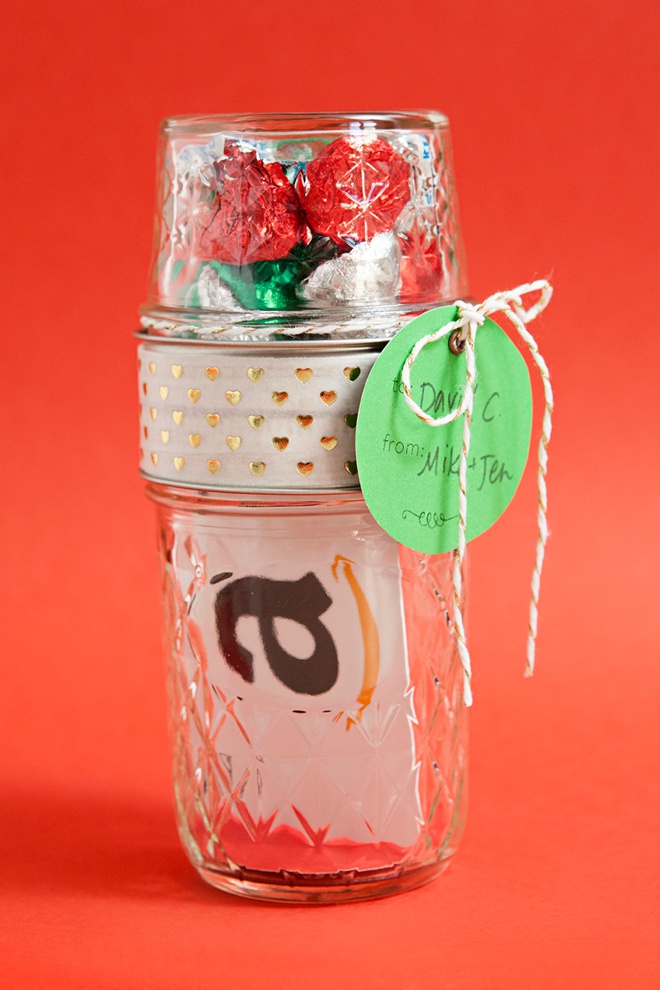
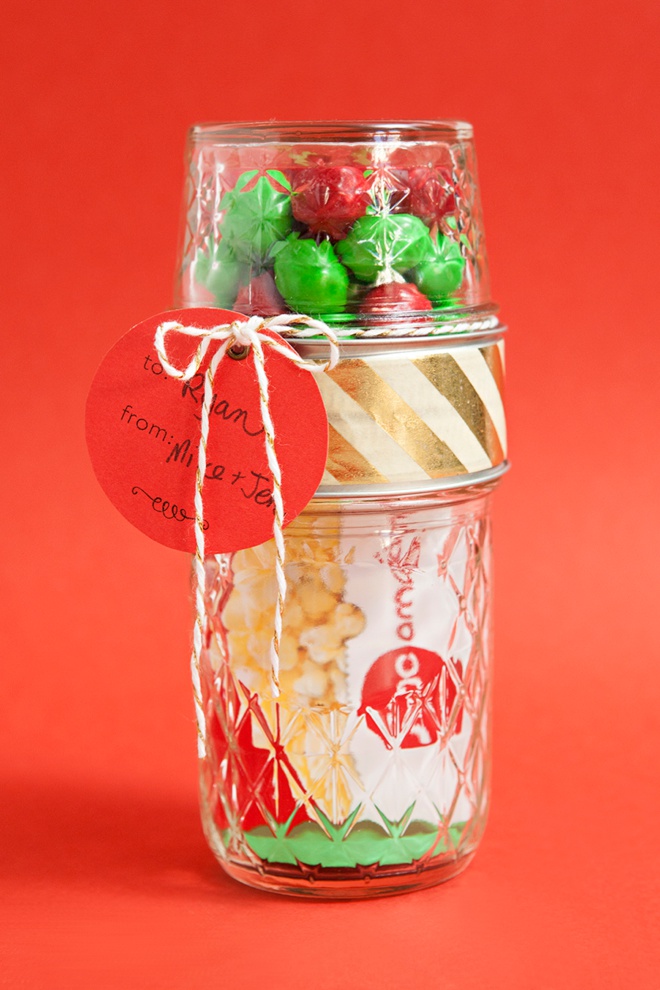
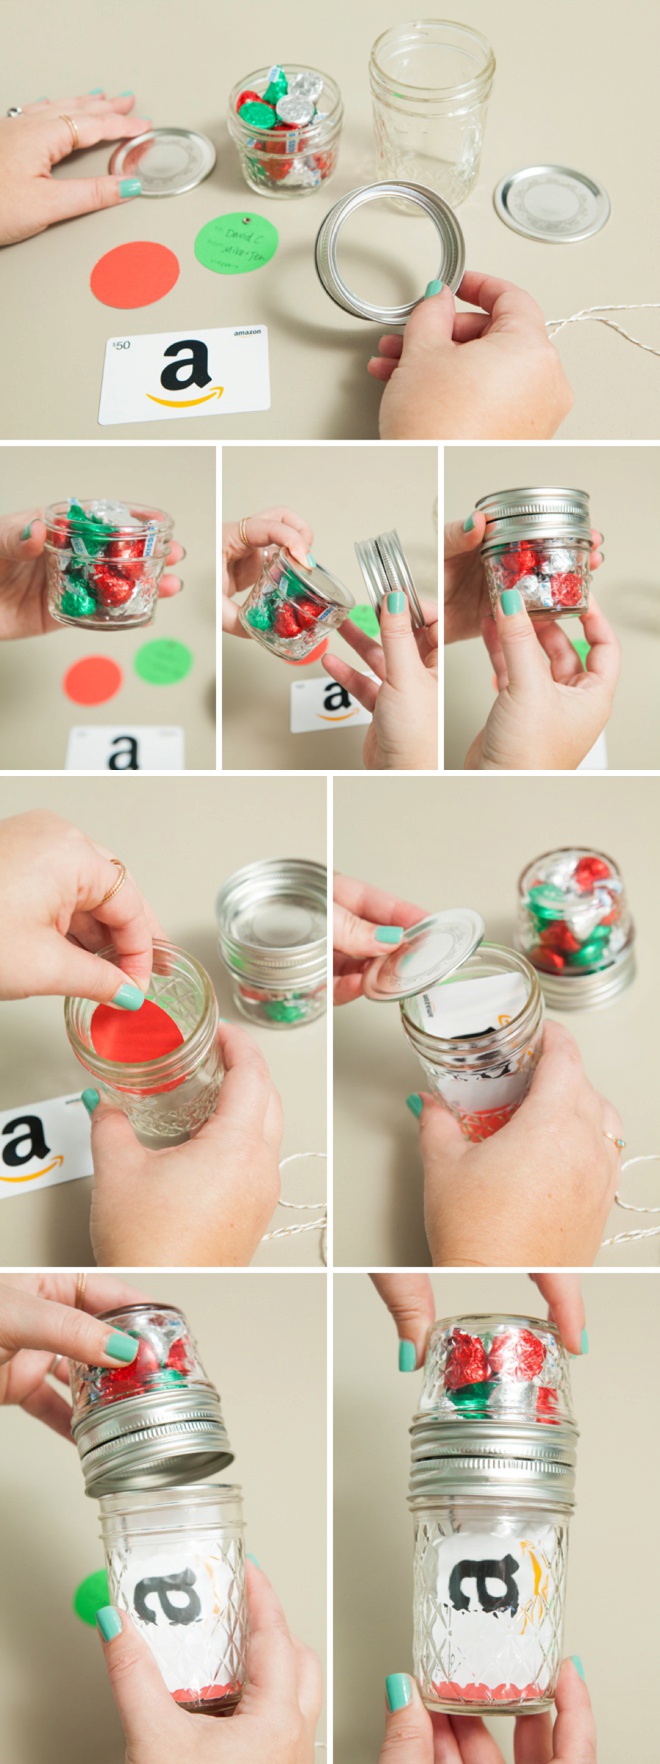
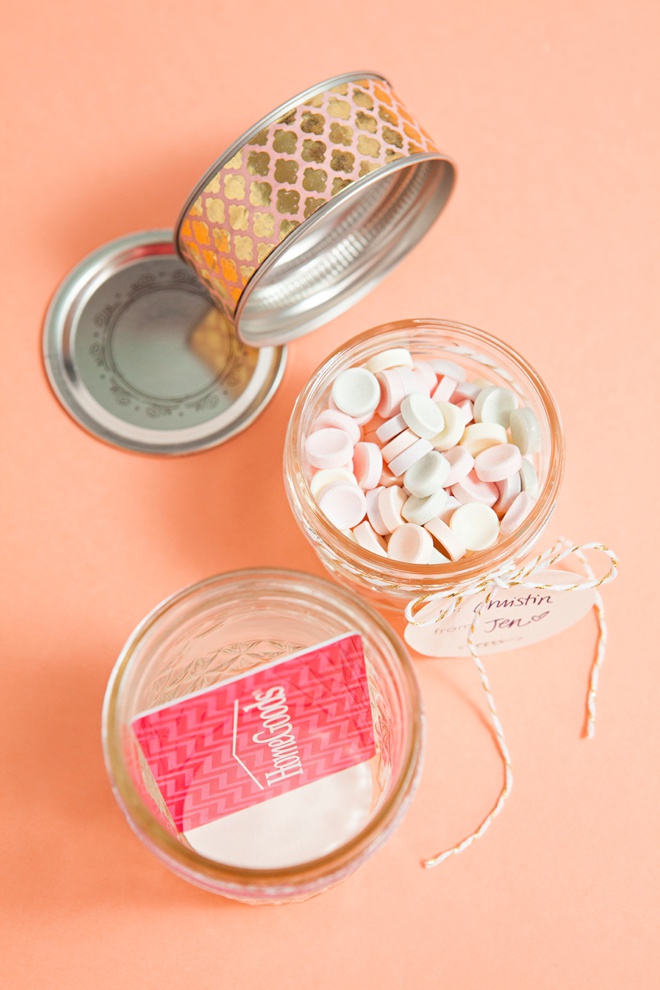
Assemble Your Gift Jars
- Fill your 4oz jar with candy
- Place the jar lid on top to hold the candy inside
- Screw one side of the glued ring set onto the candy jar
- Add a colored 2″ circle or gift shred into the 8oz jar
- Add your gift card
- Place the jar lid on top
- Screw the candy jar and opposite side of the glued ring set onto the gift card jar!
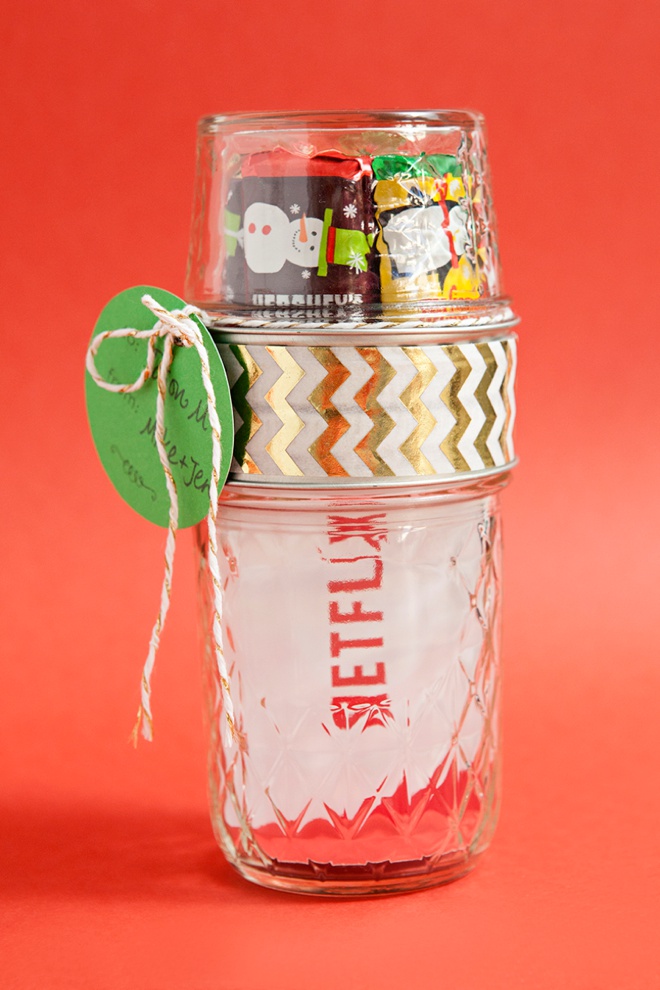
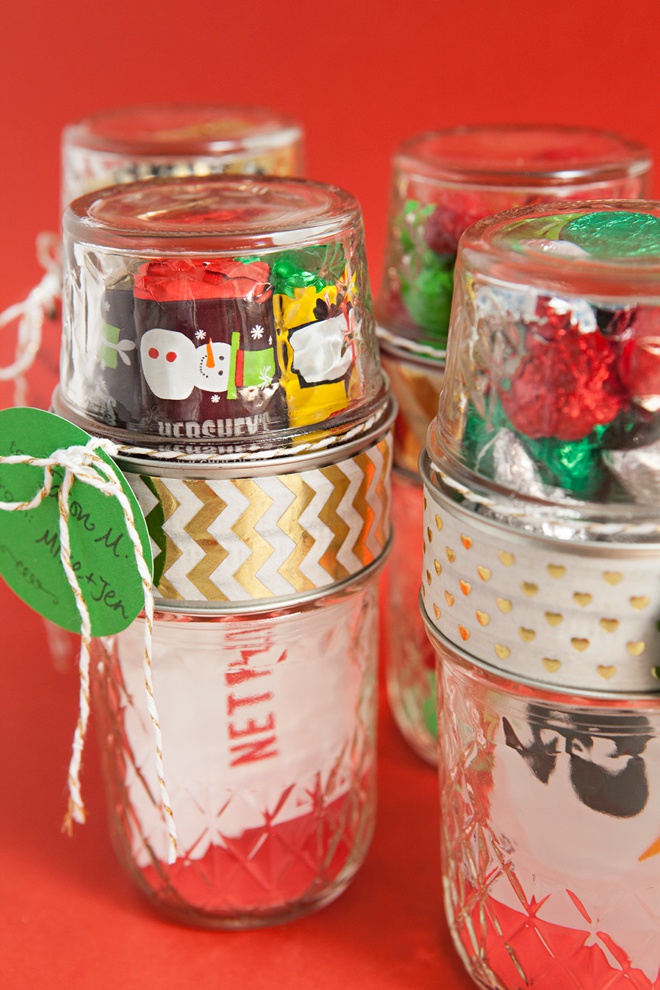
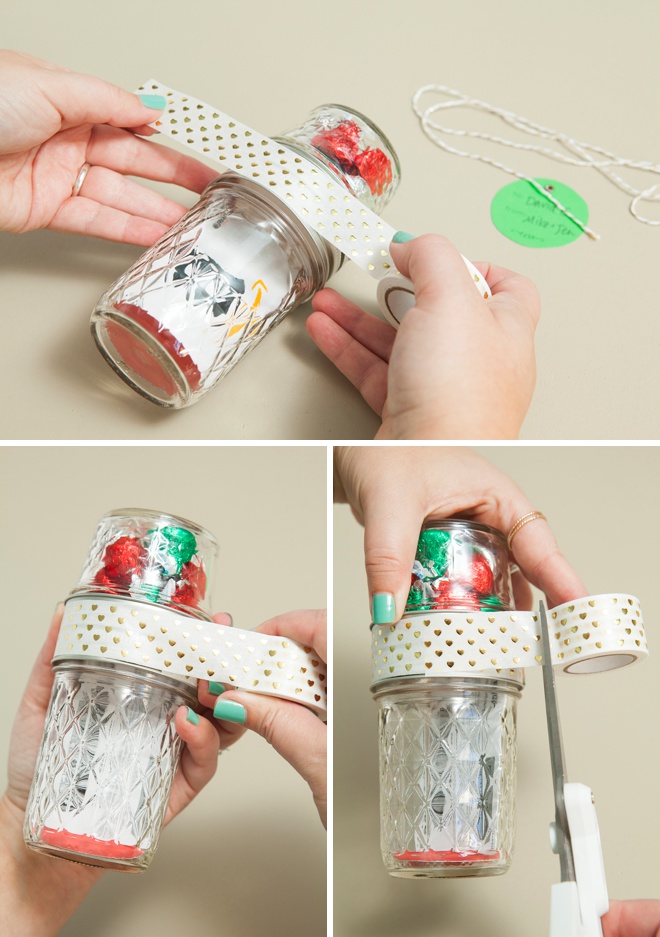
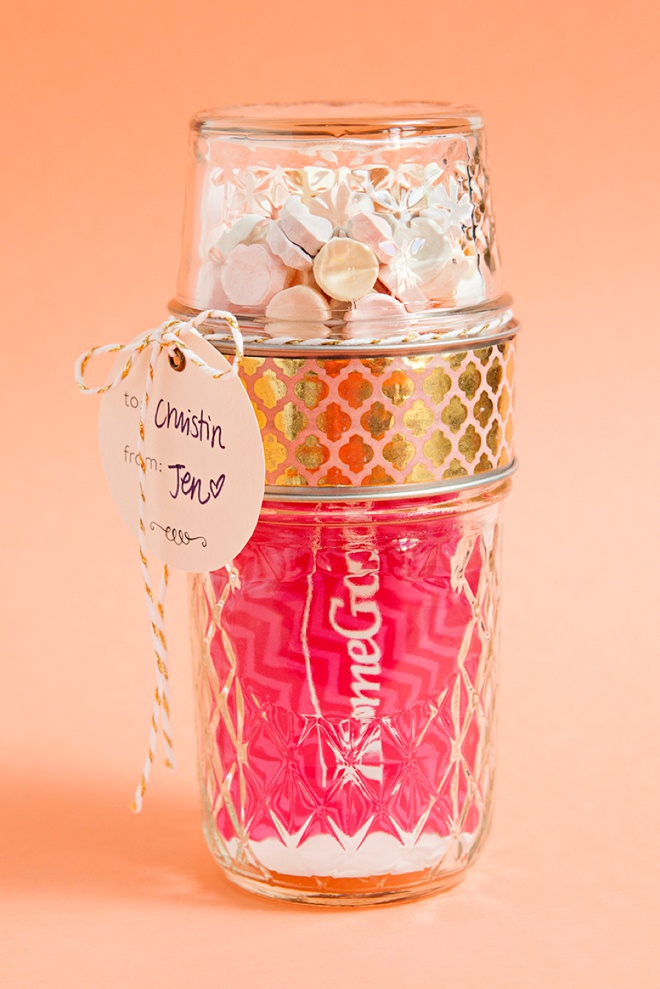
Embellish Your Gift Jars With Decorative Foil Tape
Using this adorable, 1″ wide decorative foil tape (aka. washi tape) from Little B cover the seam of the glued jar rings. This size works PERFECTLY for this project!
NOTE: not all washi tapes are created equal and some will loose their stickiness after a while as they are a “low tack” style tape. If the tape you use falls off, simply use a glue stick to glue it to itself.
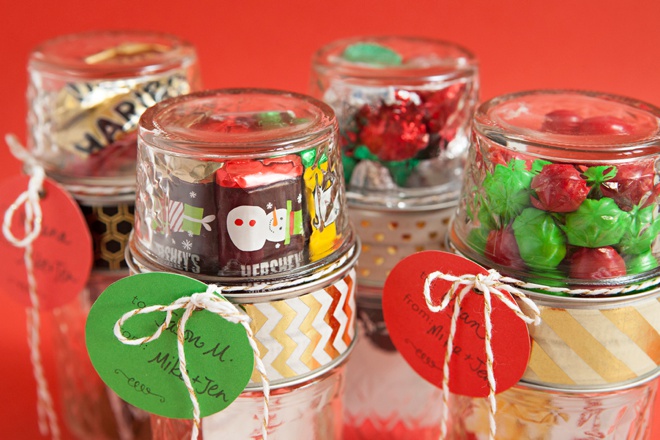
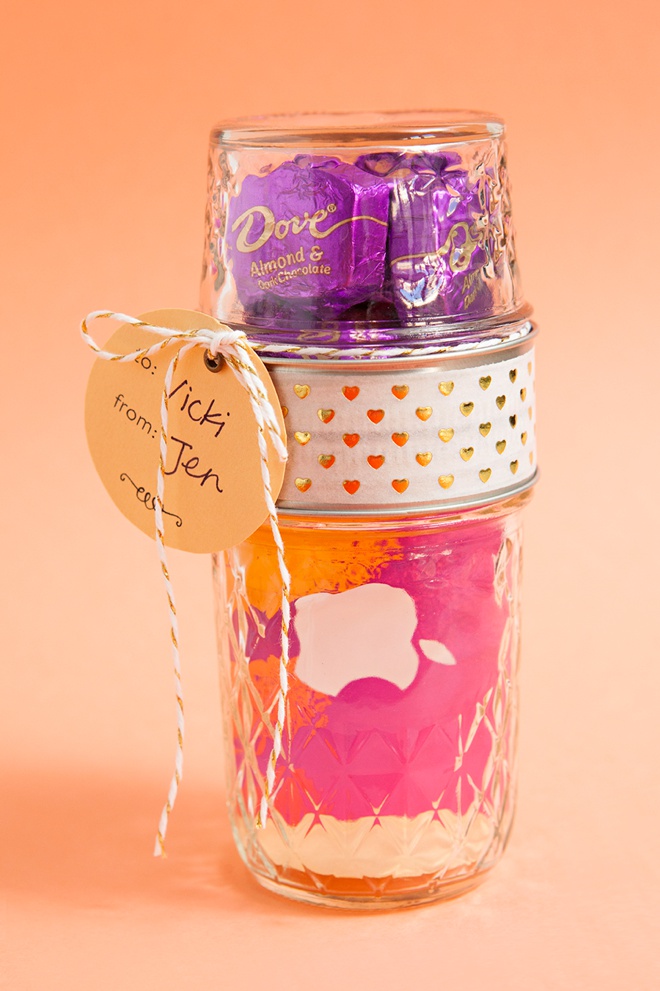
Add Your Gift Tag
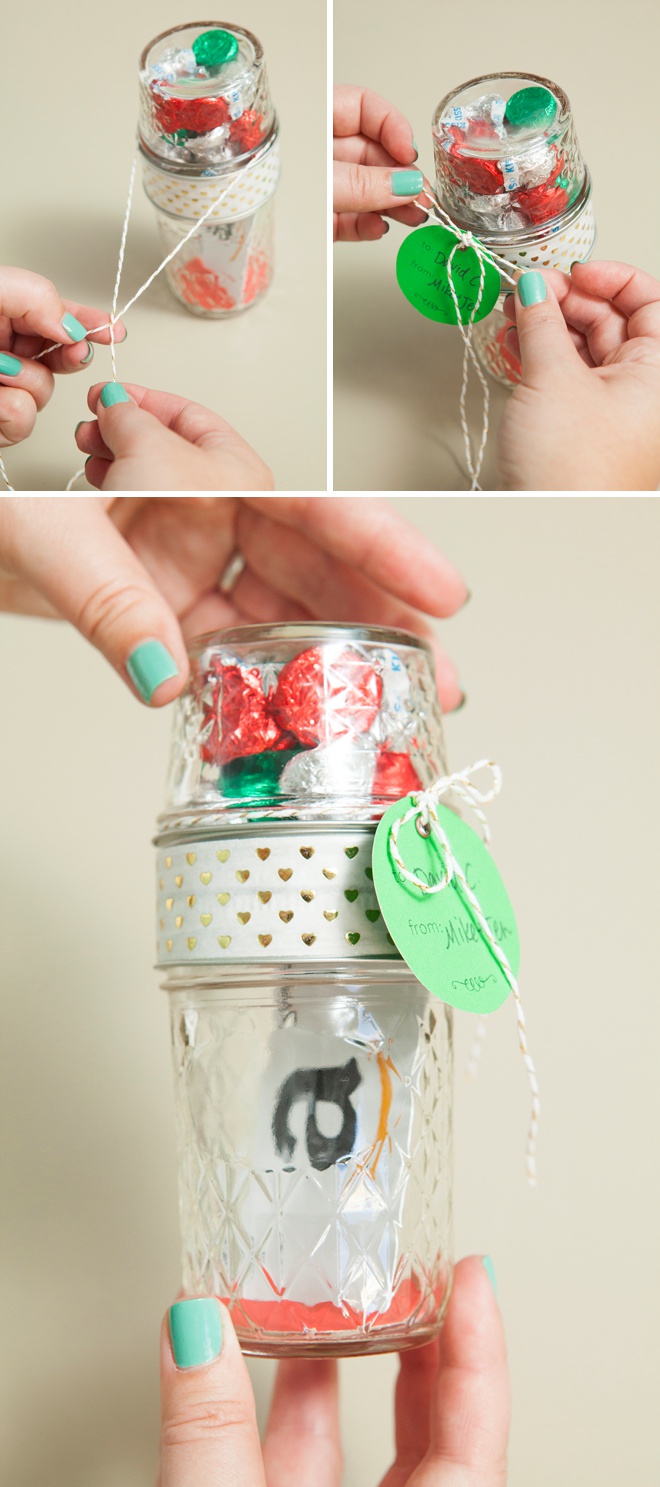
Adorable!
I am seriously dying over this project! This is such a fun and unique way to give a gift card and little treat to anyone you love – for any reason!
More Than Just The Holidays
This adorable gift card wrapping is not just for the holidays, it’s a terrific idea to make for your bridesmaids and vendors! …and yes, birthdays too :-)
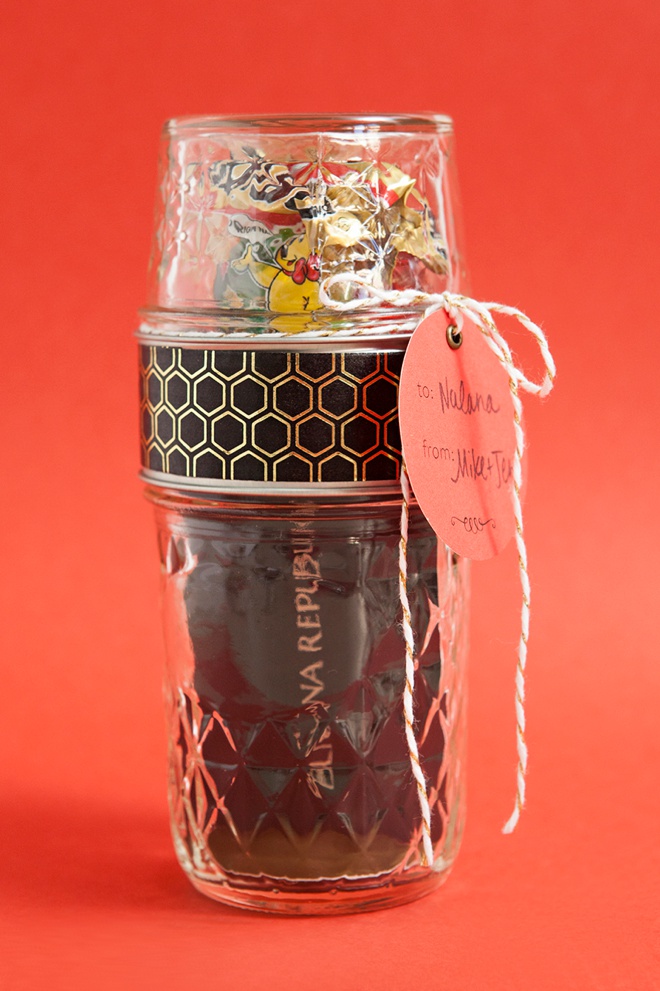
Assemble Your Gift Jars
Same steps as above!
- Fill your 4oz jar with candy
- Screw one side of the glued ring set onto the jar
- Add your gift card
- Screw the candy jar and opposite side of the glued ring set onto the gift card jar
- Embellish with Little B – 1″ decorative foil tape and a gift tag!
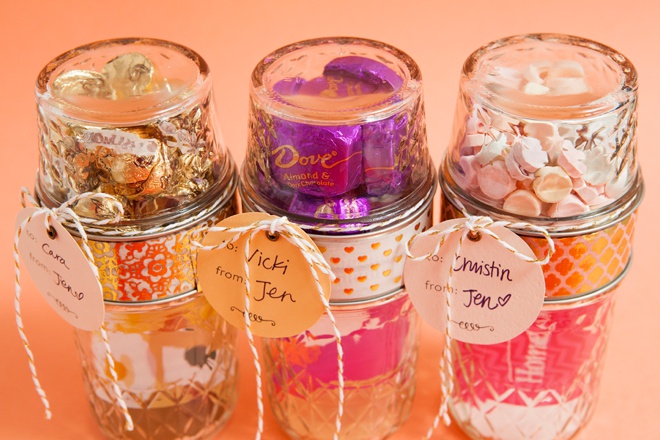
Smarties are one of my favorite candies but they wouldn’t fit lengthwise in the 4oz jar, so I unwrapped 10 rolls to fill it up!
If you are giving little candies like these in your jar, suggest to the gift receiver that they’ll want to unscrew the jar with the candy part on the bottom – so they don’t spill their treats.
I am loving the sheen of these decorative foil tapes!
Awesome Idea For Any Gift Card Giving Occasion:
- Weddings
- Bridal Showers
- Vendor Gifts
- Holidays
- Birthdays
- Anniversaries
- Hostess Gifts
- Graduations
DIY Tutorial Sponsored By:
Little B LLC is an award-winning manufacturer of delicately crafted paper products for the creative crafts industry. Product favorites include decorative foil and paper tapes, designer cutting dies, punches, adhesive embellishments, and much more. Little B is dedicated to inspiring the creativity in all of us, visit their website to discover project ideas and videos that will help bring your creative passion to life!
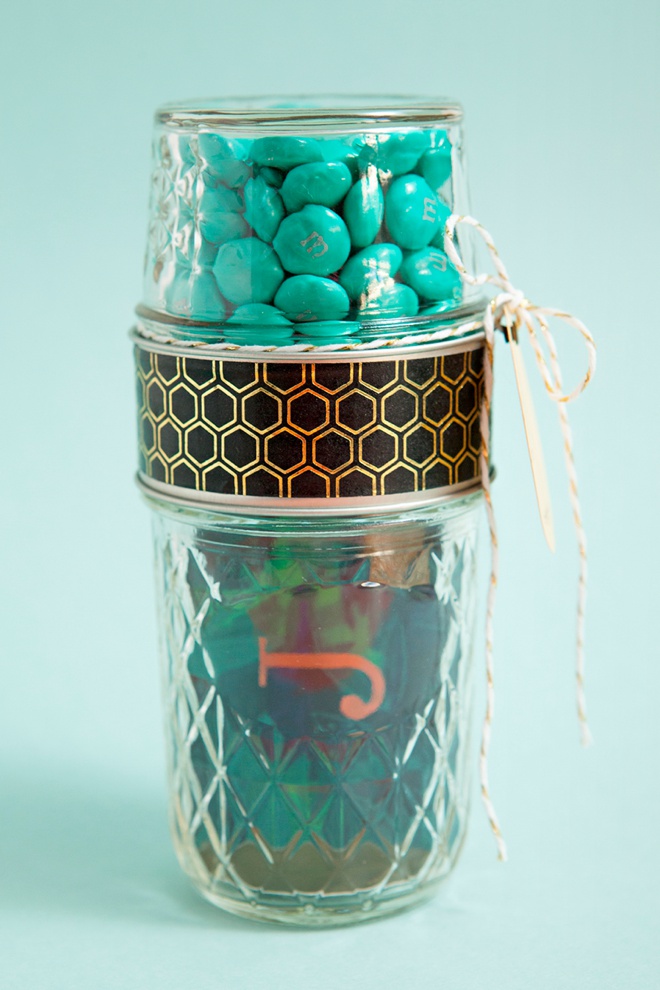
You know I couldn’t resist making a fun turquoise themed design!


As with all our DIY tutorials, if you create one of our projects please send us a picture – We Love Seeing Your Creativity! If you use Instagram or Twitter please use the hashtag #SomethingTurquoiseDIY and it will show up on our Get Social page. Happy Crafting!
DIY Tutorial Credits
Photography + DIY Tutorial: Jen Carreiro of Something Turquoise // Darling 1″ decorative foil tapes: courtesy of Little B, to see all their decorative tapes visit this page // 4oz and 8oz Ball Quilted Crystal Jelly Jars: courtesy of Ball // E6000: Amazon // Gold Twine: Amazon // Crop-a-Dile Eyelet Setter and Hole Punch: Amazon // Nail Polish: OPI – Withstands the Test of Thyme
Shop The Supplies:
Find the supplies you’ll need for this project from our affiliate links below:

Comments