
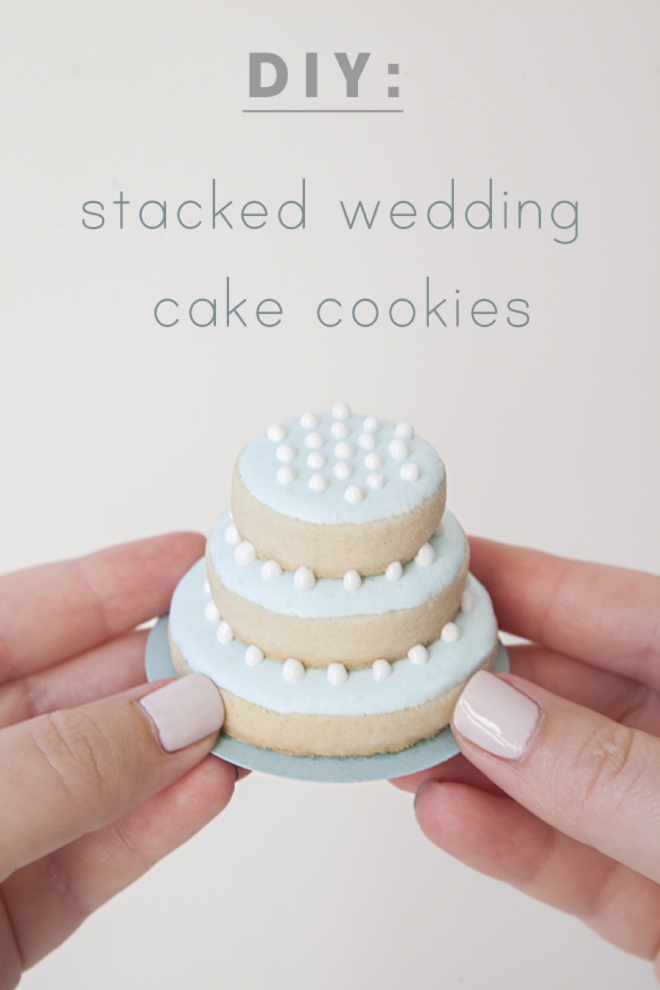
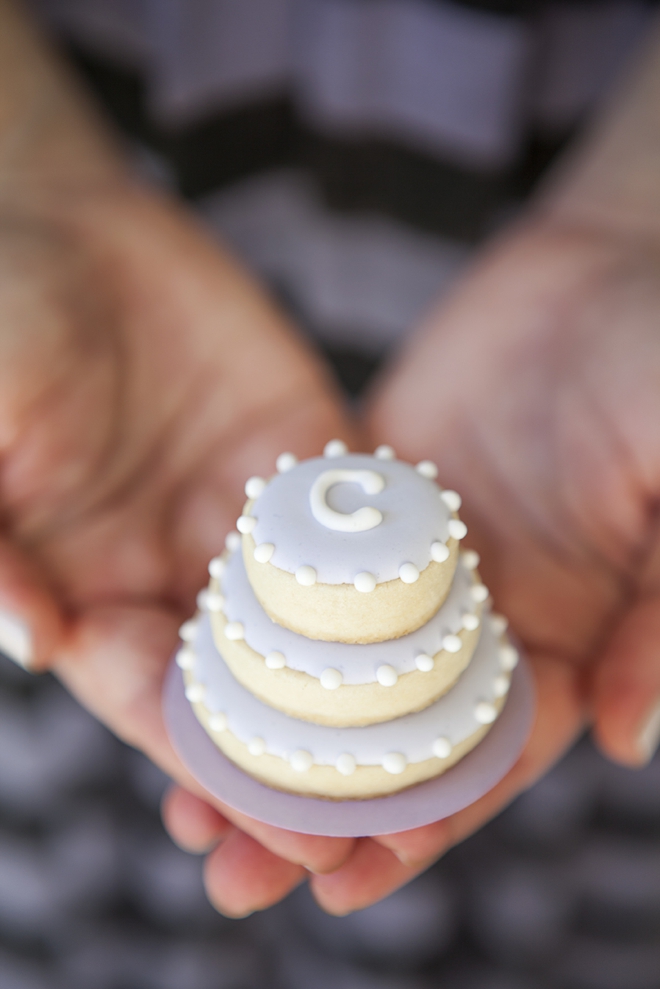
DIY | Stacked Wedding Cake Cookies + Giveaway
I’ve been obsessed with the ‘stacked wedding cake cookie’ ever since I saw one in an issue of Martha Stewart Weddings ages ago. So obsessed in fact that I had a professional baker create them for this styled shoot that I produced last year. And I haven’t stopped thinking about them since. I consider myself a novice baker, and I’m super excited to finally share today’s project with you! I’ve partnered with Sur La Table (my absolute fav!) to bring you this tutorial on how to make a simplified version of the stacked wedding cake cookie. Using the right recipes and the right tools will make this project as easy as pie. But keep in mind that baking is like science – you need to be exact and patient. You can’t rush baking, so don’t try. Embrace the process and know that in the end you’ll come out with a delicious result. Ps. we are giving away the tools you need – so enter below to win!
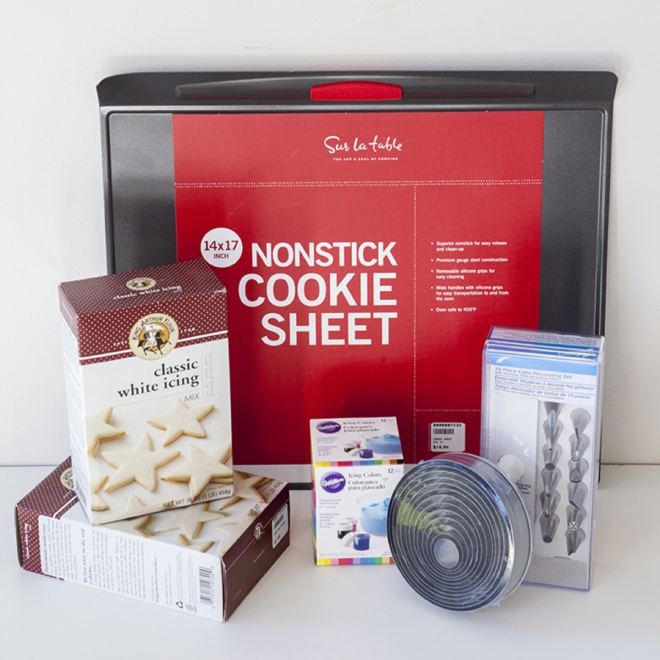
SUPPLIES:
You will need the basic baking essentials like you see in this picture below. A non-stick cookie sheet, icing bag with decorating tips, icing coloring (food coloring), and circle cookie cutters – which I discuss below. You will also need a sugar cookie recipe (I recommend one below) and either King Arthur’s Classic White Icing mix, or your favorite royal icing recipe. You will also need things like; parchment paper, an oven, toothpicks, rolling pin, a mixer and bowls.
THE SUGAR COOKIE RECIPE:
My mom and I tried quite a few recipes before we found one that we both loved. Liz from Love Grows Wild has a wonderful recipe for sugar cookie cut-outs, and it’s the one I used here. I highly recommend it – but of course you can use your choice.
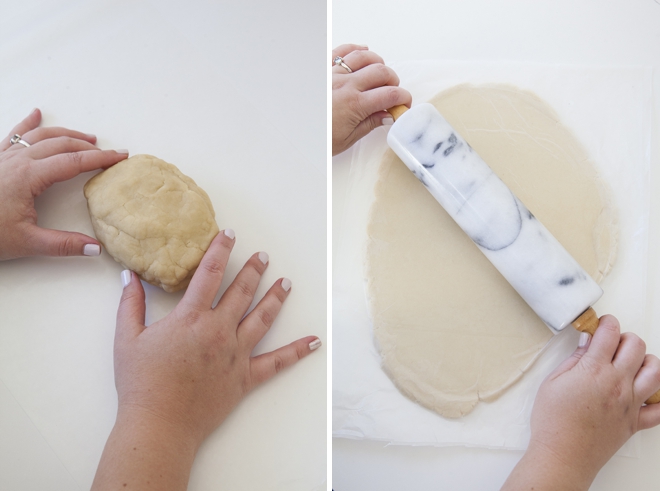
The biggest thing to keep in mind when choosing a recipe for this project is one that will not spread or change shape once baked. You need the perfect circles every time. And if you follow the recipe above to a “T” like I did – you’ll be golden. Liz gives an amazing tip about rolling out your dough before you chill it – which we did and it really works!
I rolled my dough to about 1/2″ thick. But again, you can do what you choose. You could even roll them 1/4″ thick and stack 6 cookies instead of 3!
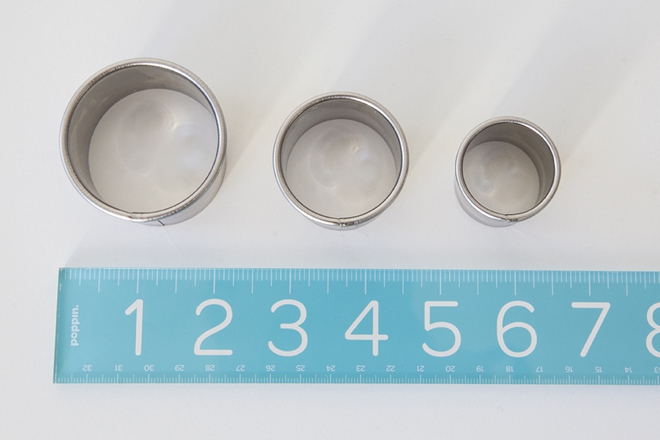
The Cookie Cutters
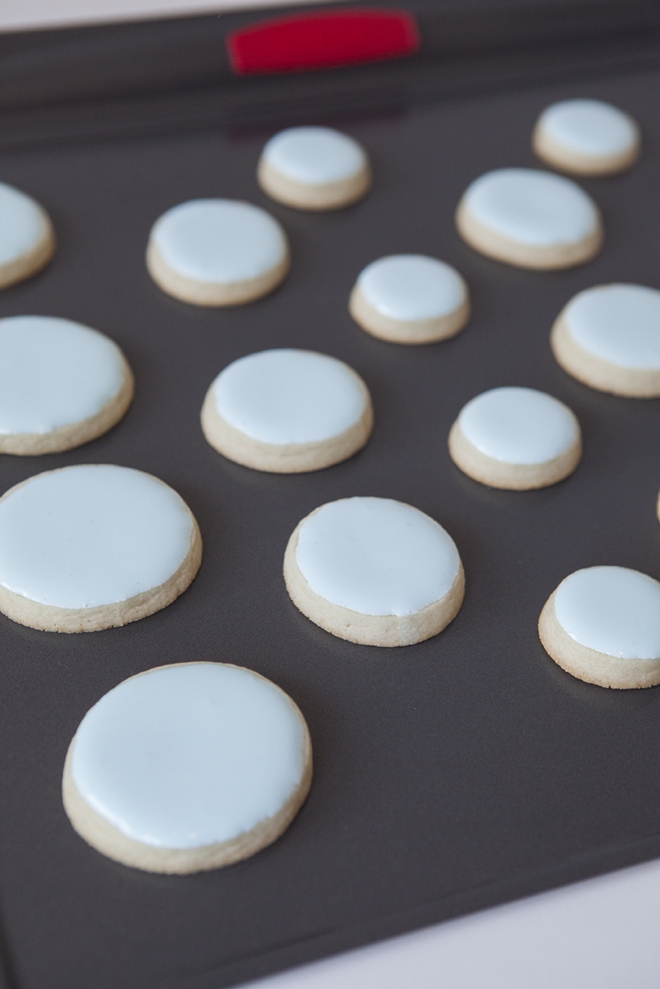
The sizes we are using here are approximately 2″, 1.5″ and 1.25″ – but you can use any 3 sizes you want.
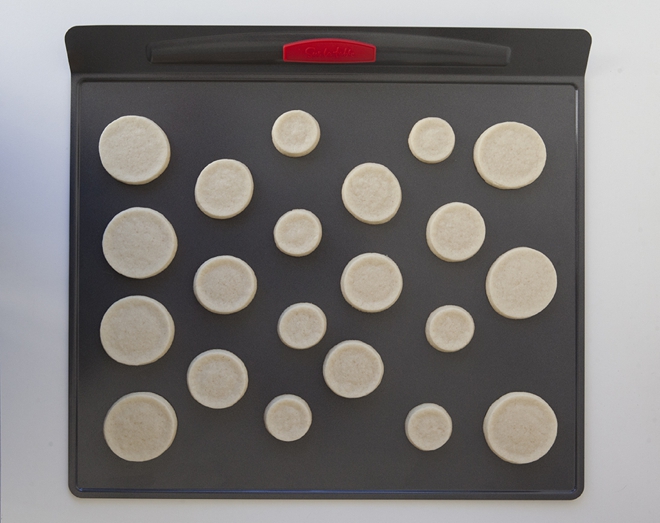
Once your dough has chilled, remove from the fridge and start cutting your cookies. Place them onto the cookie sheet…
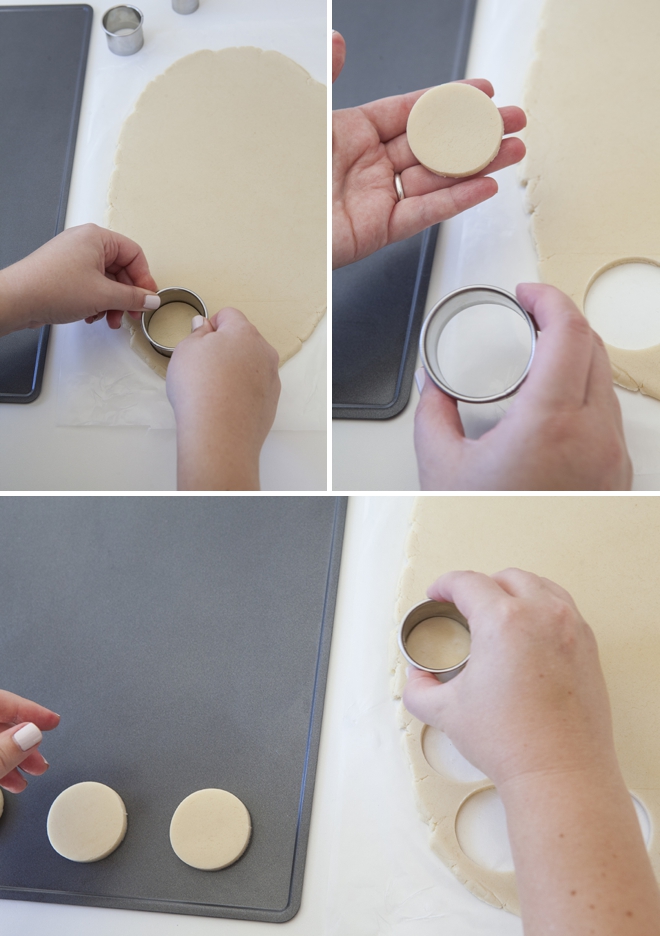
…and bake according to the recipe. Keep an eye on the first batch until you know how your oven will react. You will need 3 cut-outs per cookie. I had no problem baking all the sizes on the same sheet.
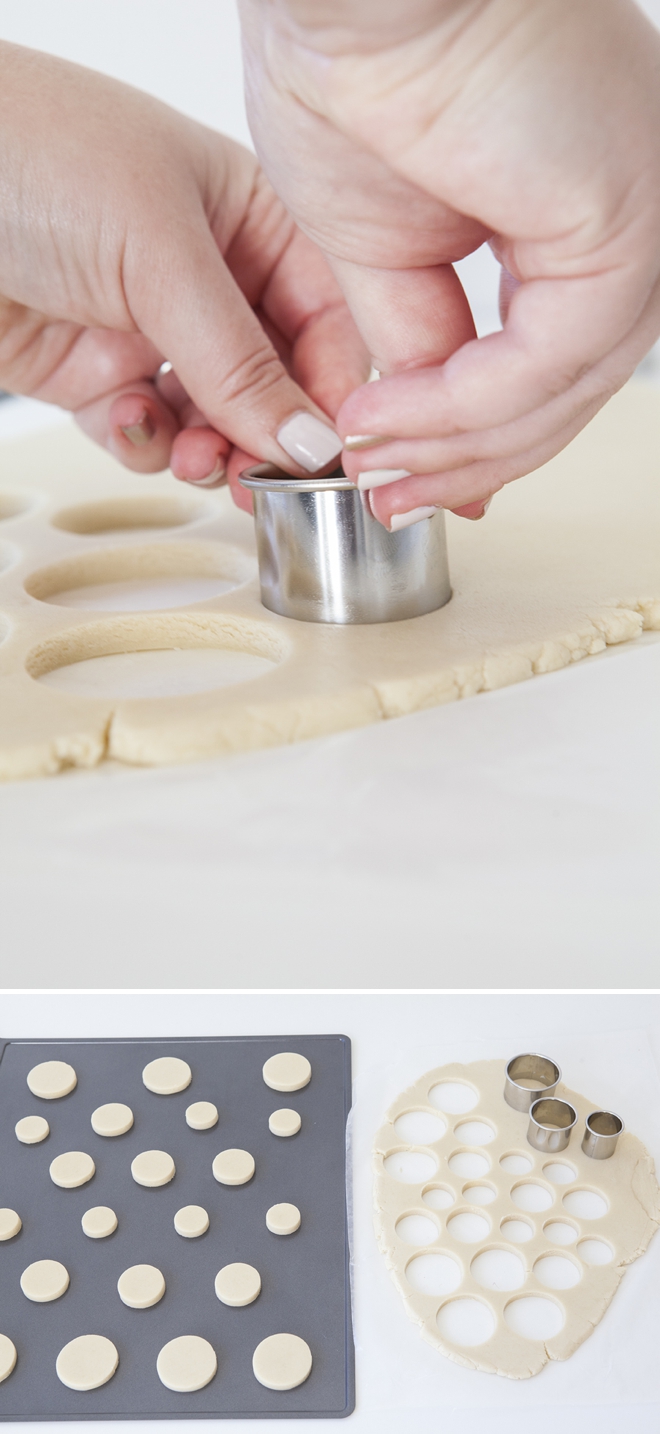
I’ve baked 5 batches now and all have come out perfect. If you look into the oven 3/4 of the way through baking you might get nervous and see the edges spreading, but as they finish – they pop back up and look just as they did when you put them in the oven.
Royal Icing and Food Coloring
I like to keep things simple, so here I’m using King Arthur Flour – Classic White Icing Mix – it’s perfect because I can make Royal Icing without using raw egg whites. If you use this box, it makes about 3 cups of icing – which I divided into two bowls. One to keep white and one to color. I saved one bowl for later by placing damp paper towels over the bowl, then covering with wax paper and finishing with a rubber band. I was able to save the frosting over night with no problem. However this isn’t ideal for regular, raw egg white royal icing. If you haven’t ever worked with royal icing before, it dries quickly – so keep it covered and moist!
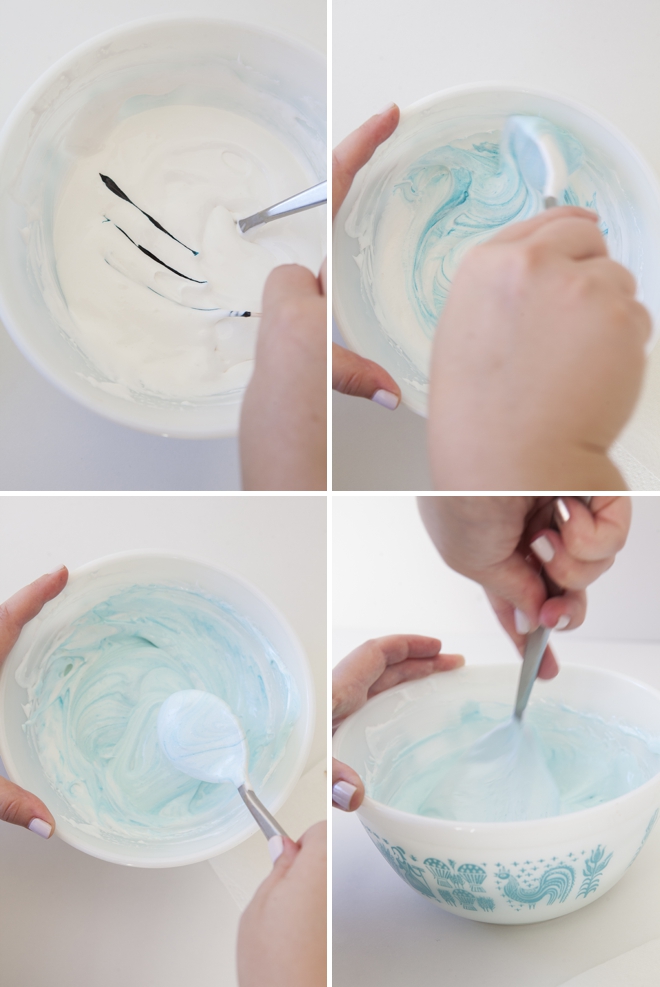
When using real baking food coloring like these, dip a tooth pick in the coloring and wipe it into your icing.
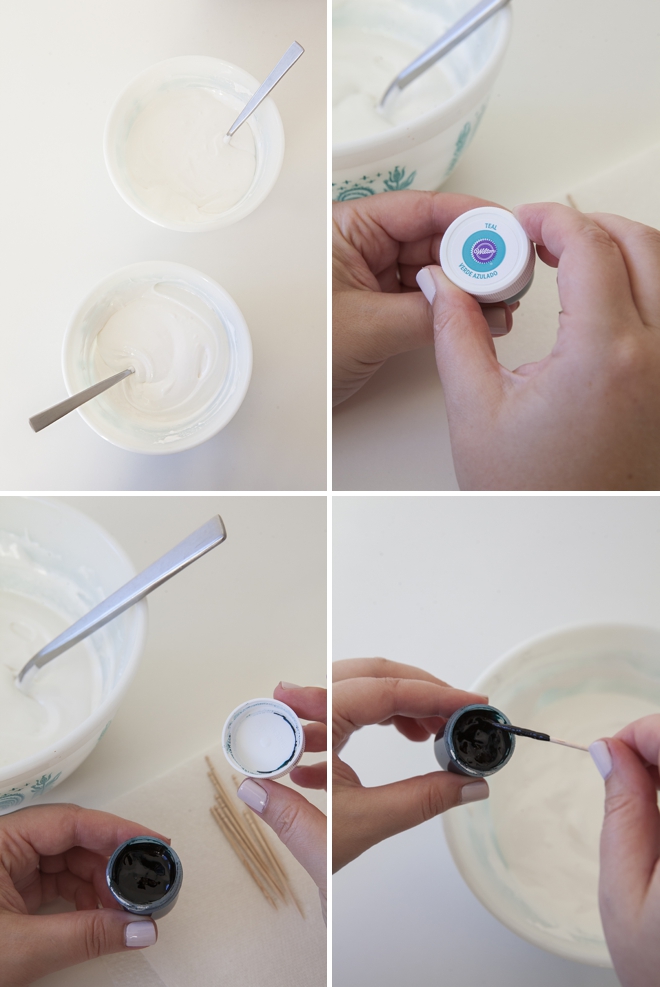
Then mix. Keep adding a little color at a time until you are happy with the shade.
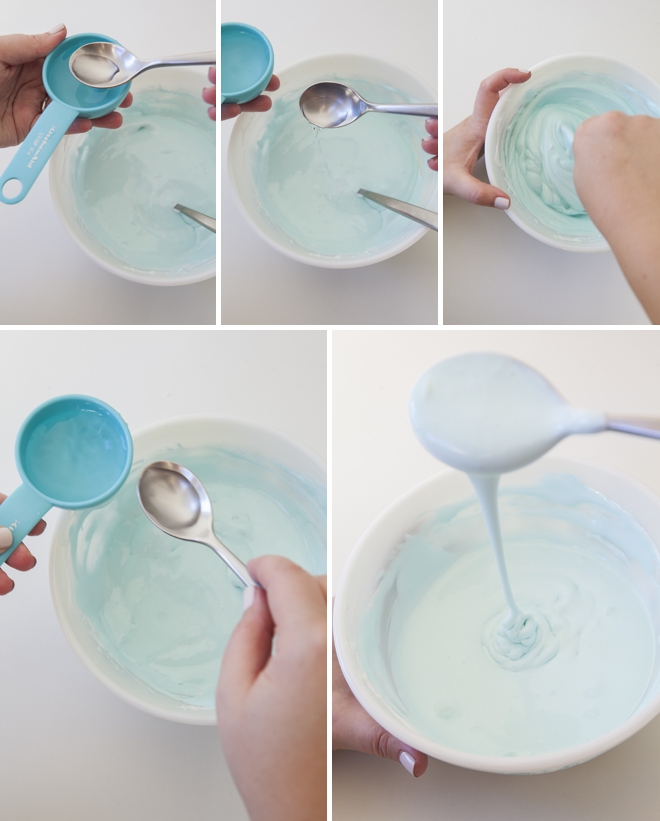
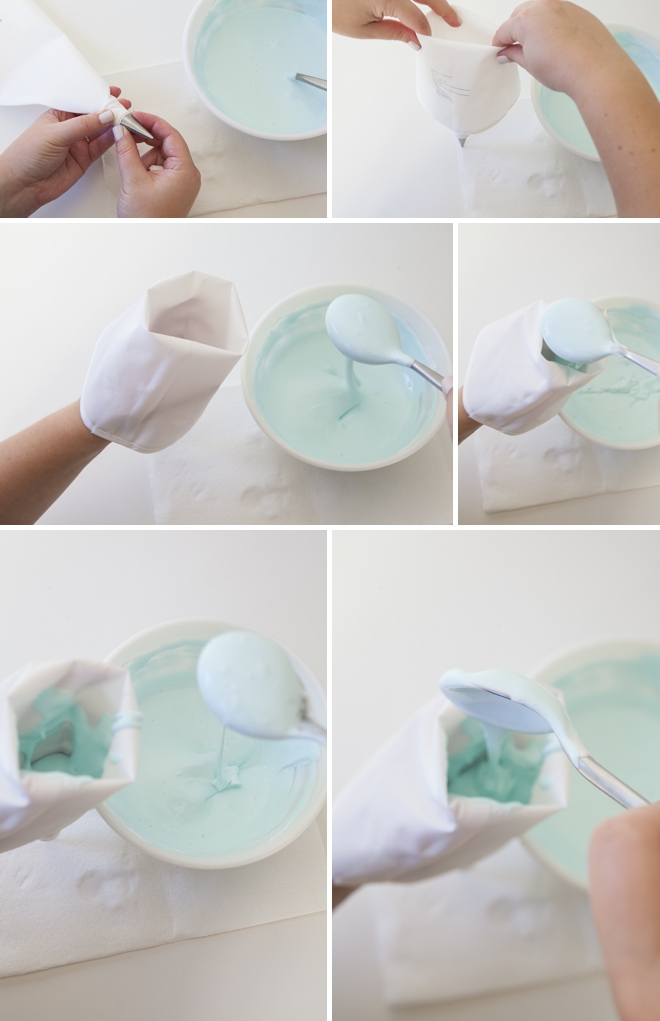
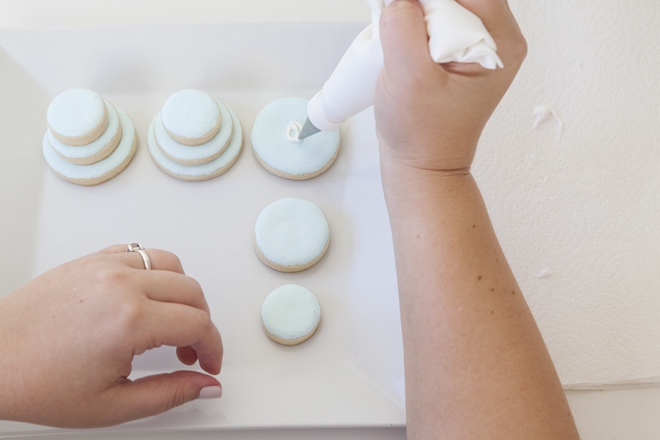
Flood Filling
The technique we are using here to “flood fill” the icing is super easy once you have the right icing consistency. By adding tiny amounts of water to your royal icing recipe it will slowly start to thin out. What you want is for your frosting to quickly disappear into itself when you bring the spoon up and let it fall back into the mix. It needs to easily fold back into itself because this is what you will be doing to the top of each cookie.
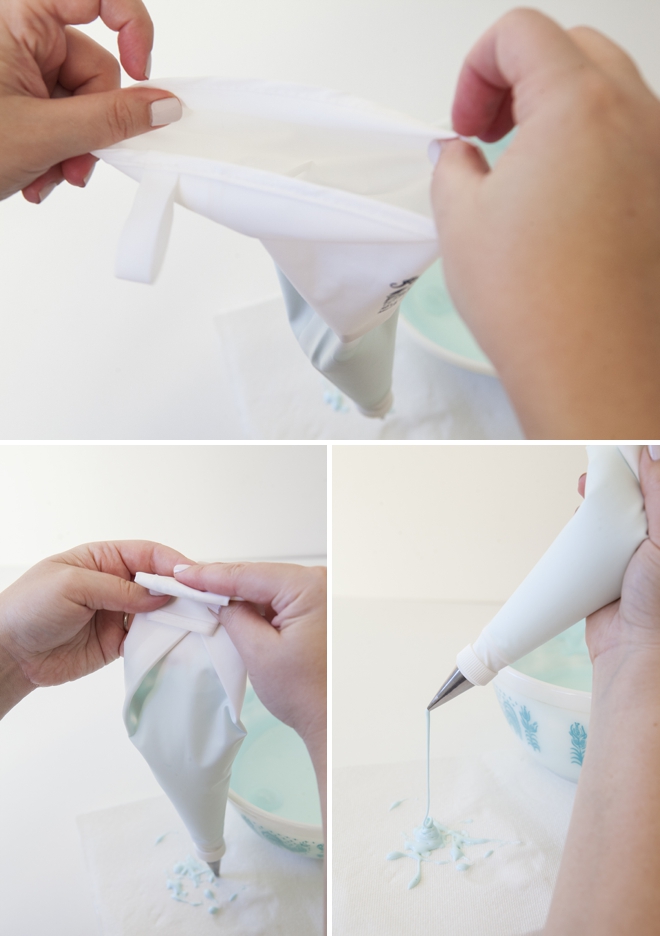
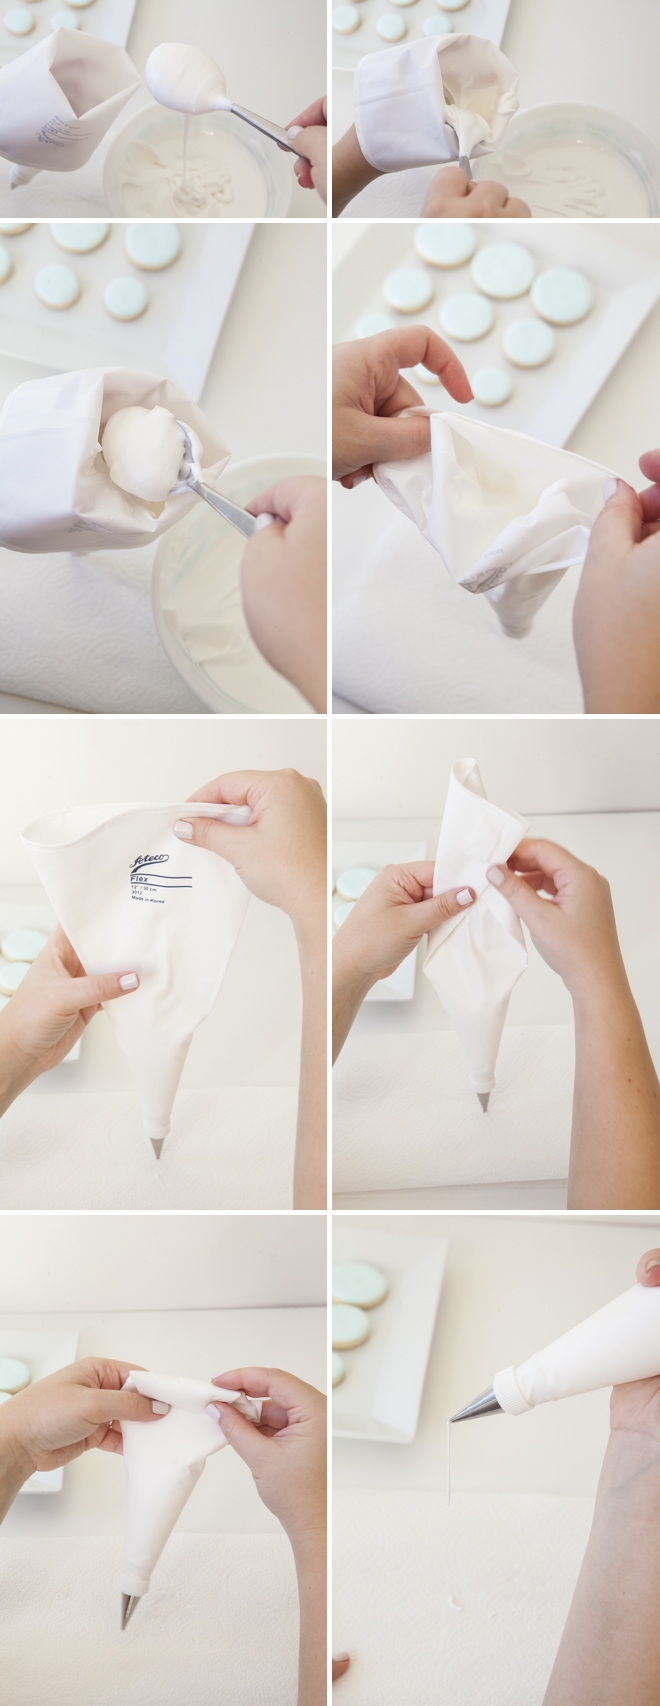
Filling Your Pastry Bag
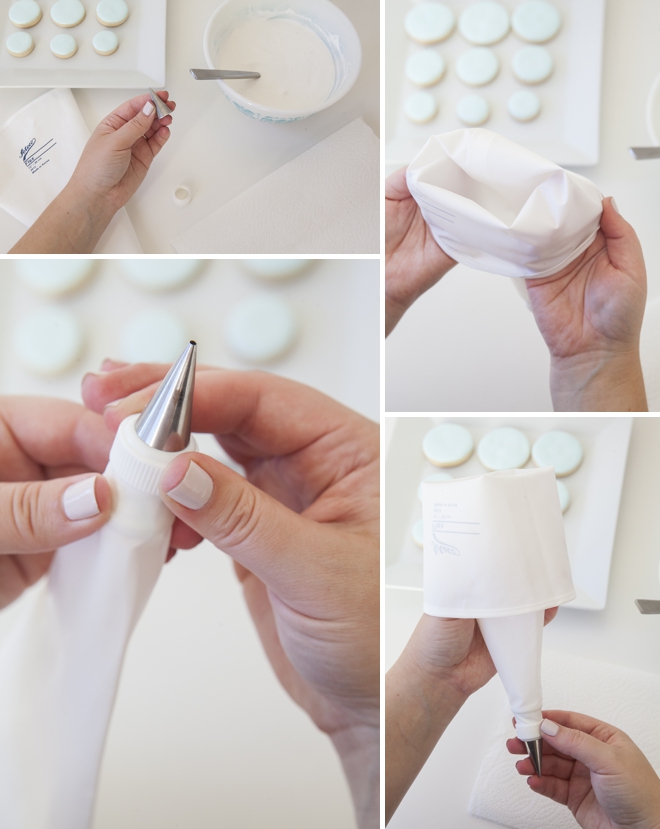
There are MANY different pastry bags on the market, from the kind you can wash and reuse to the ones you throw out when you are done. The choice is up to you. I really like this one because it has a little plastic screw cap that securely holds your decorating tip in place. If working with multiple shades of icing at the same time – you’ll need multiple bags.
Using your choice of pastry bag, add your decorating tip (here we are using a #4 round) and fold the bag halfway down. Then carefully spoon the frosting into the bag. Hold it over a paper towel or other protected surface as this can get messy. **Also, professional food coloring can color everything from a wooden spoon to your clothing – so be careful.
Then unfold the bag, only to fold it down into thirds so you can hold it in your hand – and pipe the frosting onto each cookie.
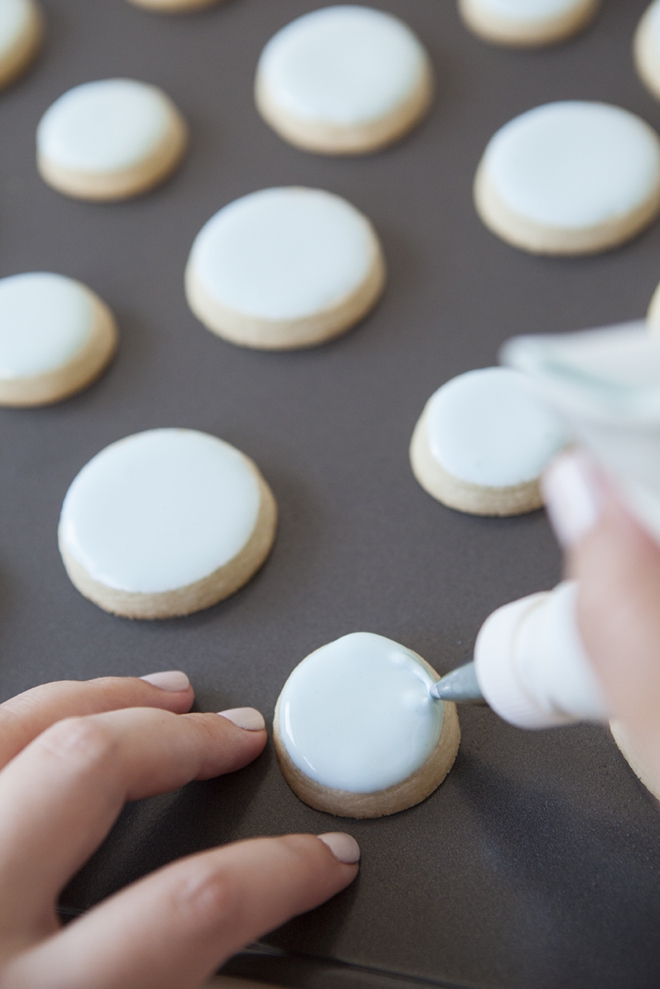
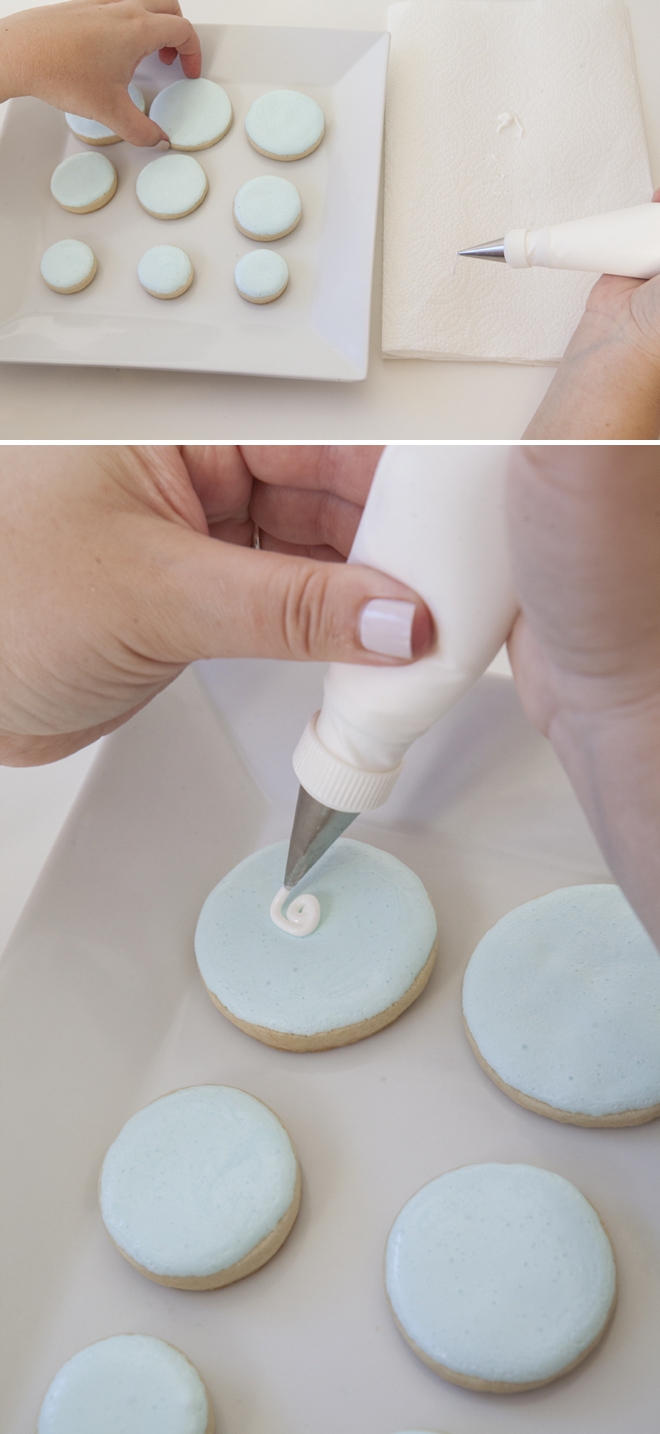
The “flood fill” technique is SO fun once you figure it out. Simply outline your cookie or design, then go back and fill in the open areas of the cookie. The thin consistency of your royal icing melts back into itself and ends up looking perfectly smooth.
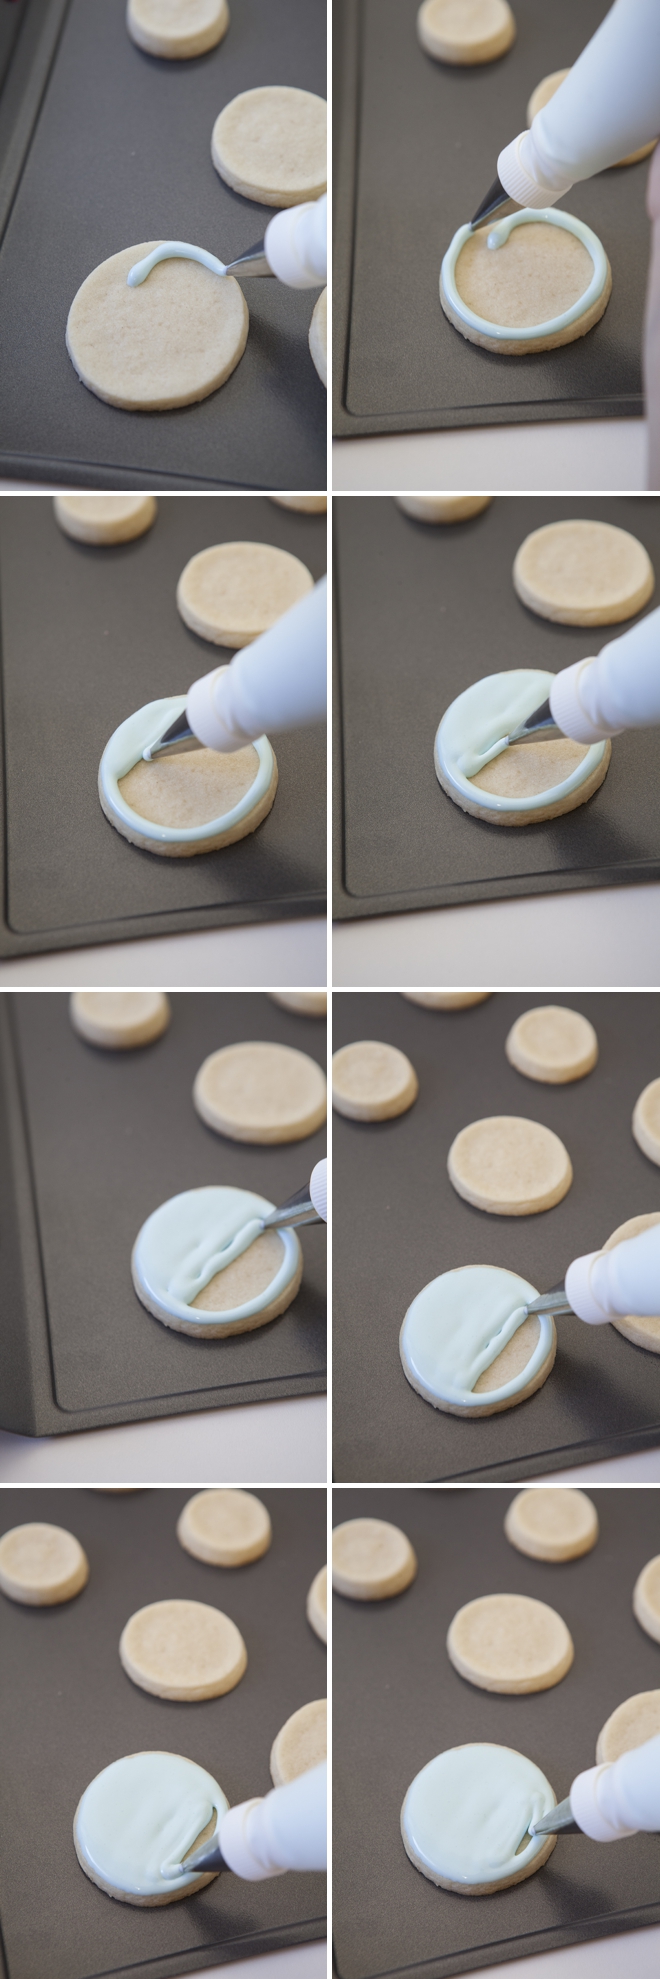
Keep outlining and filling.
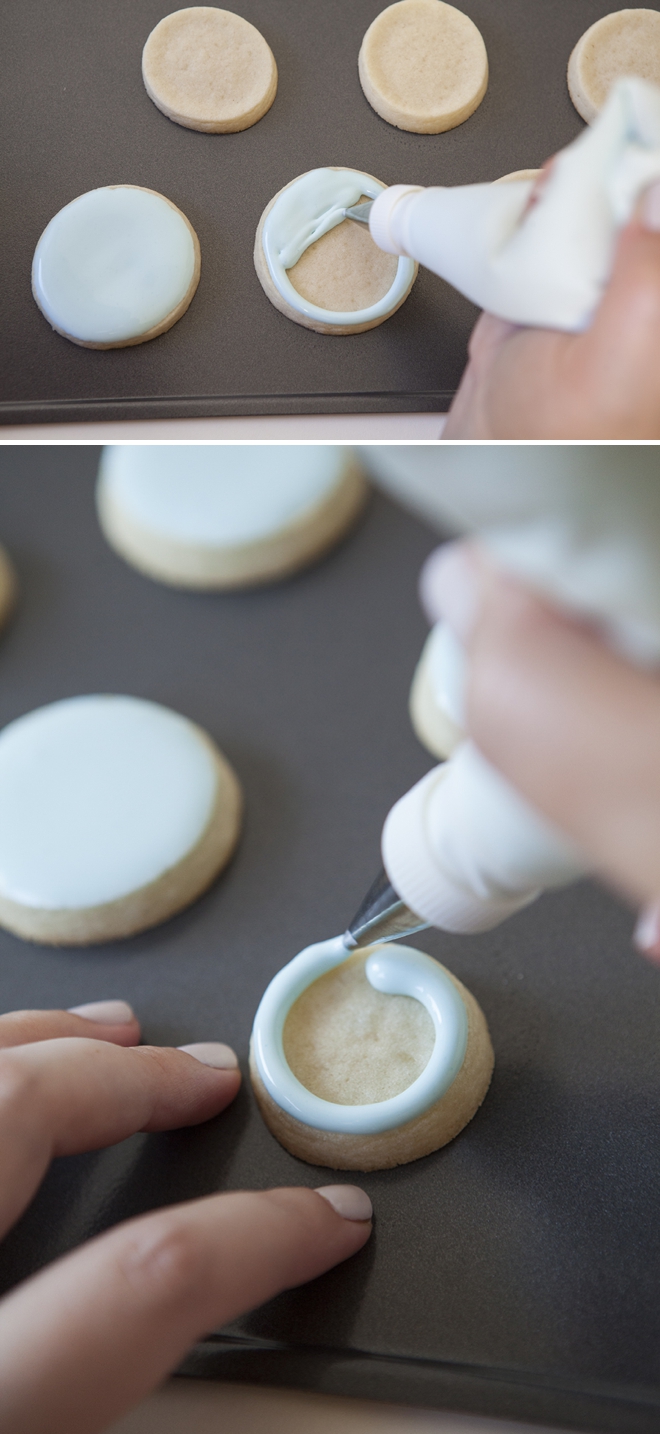
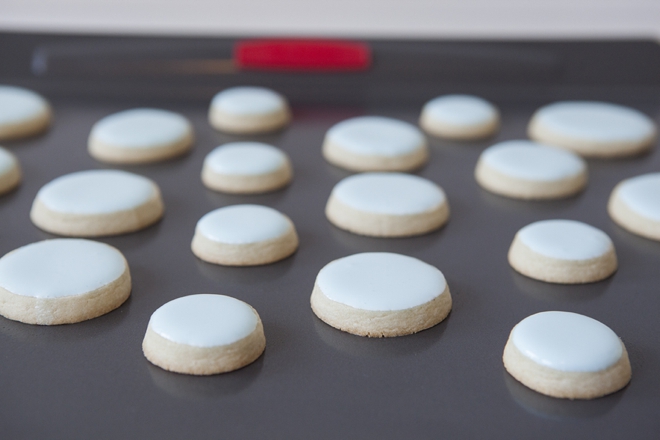
The only draw back to the “flood fill” technique is that the icing has to dry for 24-48 hours before you move onto the next step.
Make sure your icing is set completely before moving onto the next step. Don’t cover, otherwise they’ll stick. Leaving them out is just fine.
You can keep these cookies for up to 2 weeks and they taste just as good as the day you baked them… but they won’t last that long :)
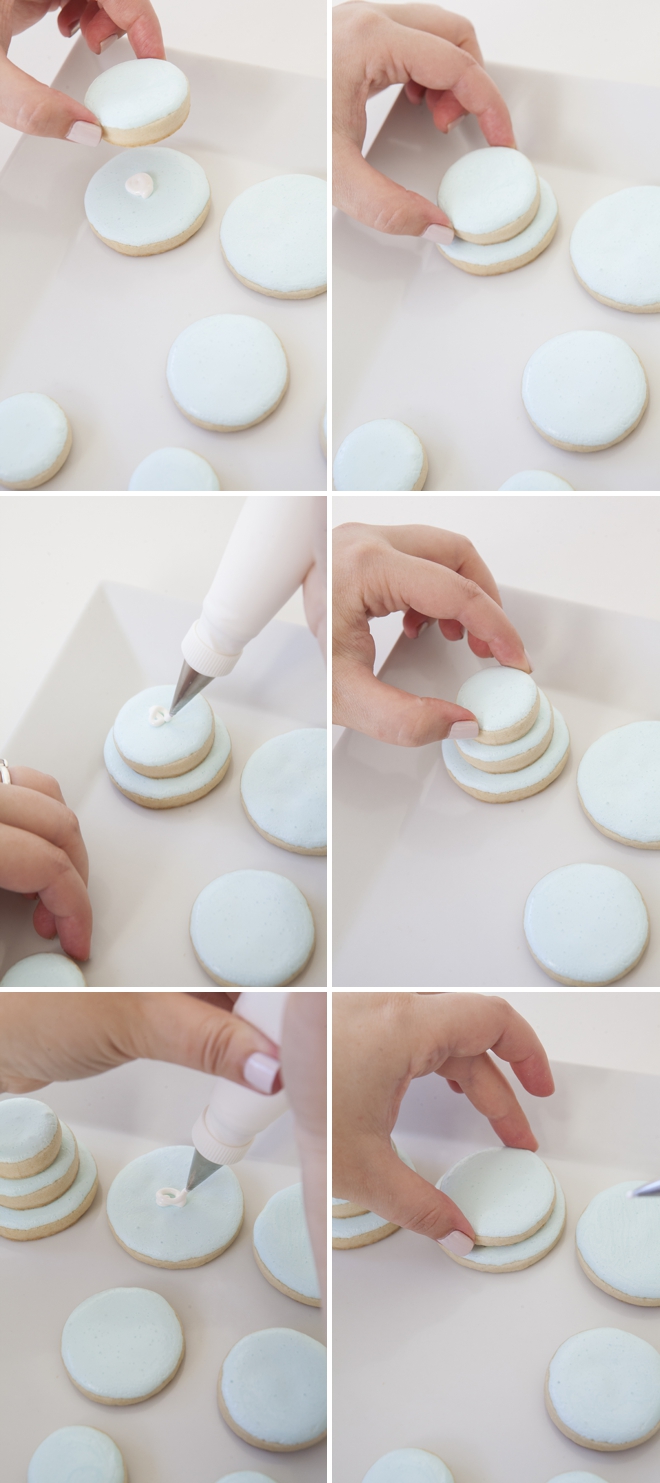
Assemble your wedding cakes
This is the fun part. Now with the royal icing that you didn’t thin out, fill up your pastry bag just like you did before.
Add icing, unfold the top, smooth all the frosting down to the tip (we are using #2 round), fold into thirds and roll down so that you can easily hold the bag and pipe it out.
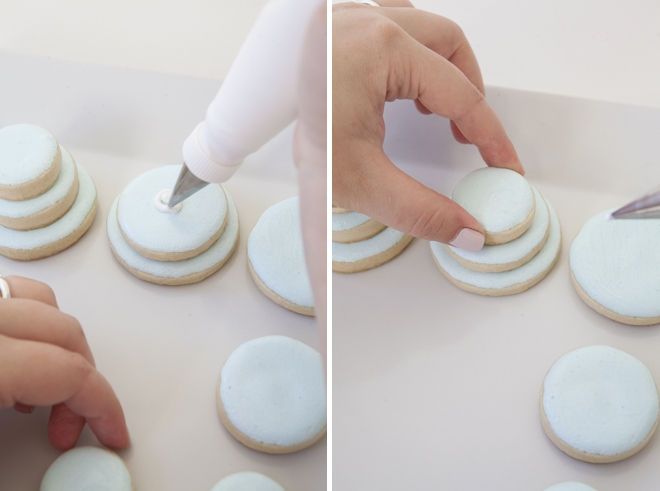
This frosting is going to act like glue. Add a little to your largest cookie…
Then place the middle sized cookie on top… and repeat. Icing and cookie!
This batch of royal icing dries much quicker than the thin batch – like in a half hour fast. Keep a moist paper towel over the tip when you aren’t using it. If there is a gap in between icing, you can keep it in a ziplock bag with a moist paper towel.
Embellish Your Cookies
There are many different designs that you can make on your stacked wedding cookies with this royal icing but here we are just making a bunch of dots. Why? Because they are easy, cute and can easily cover up icing mistakes!
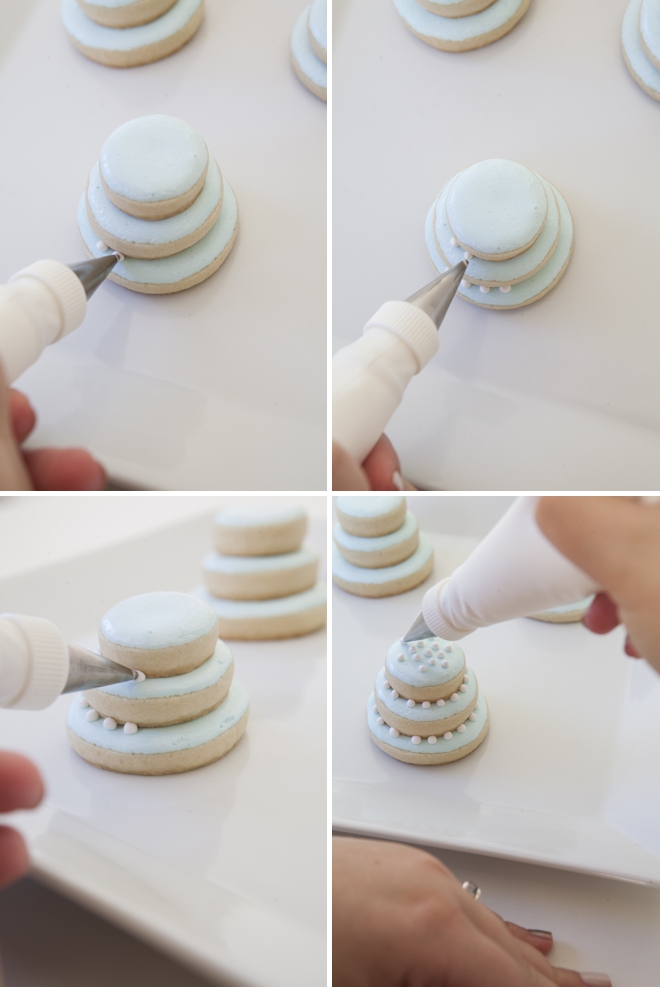
Squeeze a tiny little bit of frosting onto each cookie and quickly pull away. At first the dots may look pointy – but within seconds they pool up and make perfect dots!
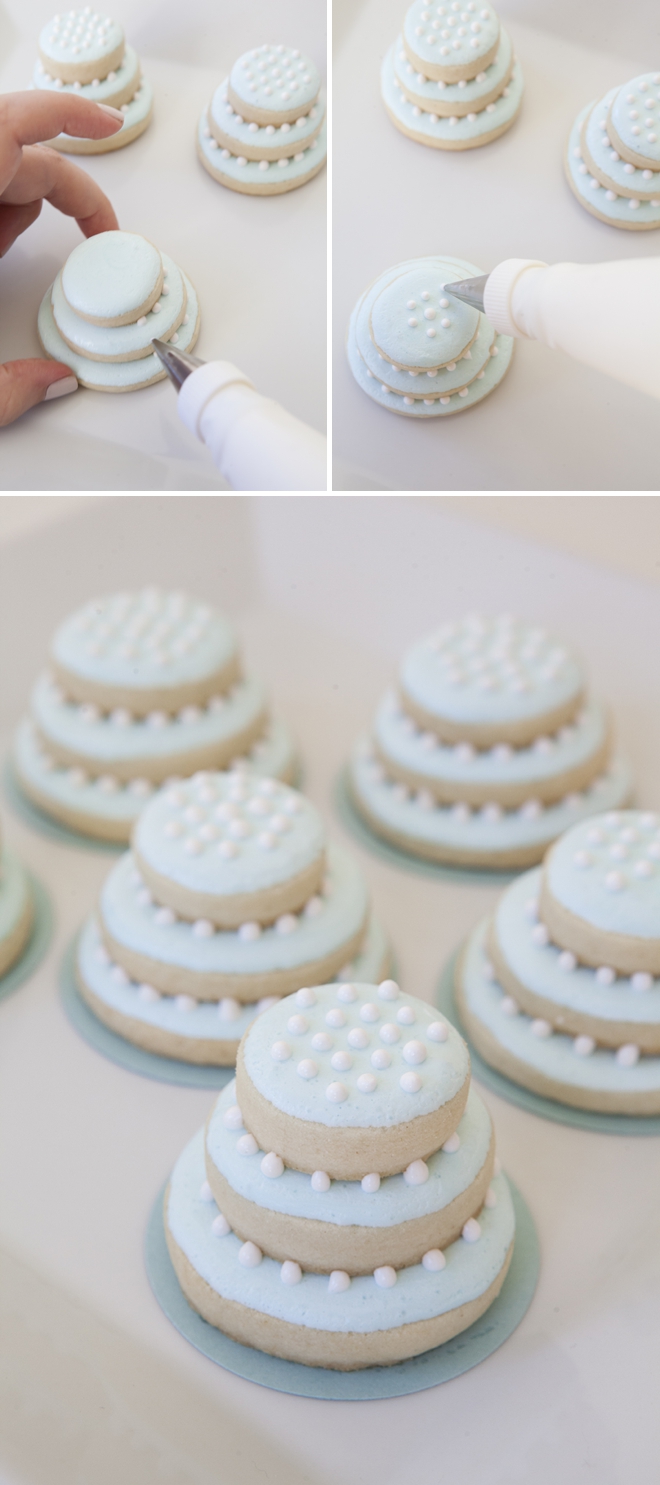
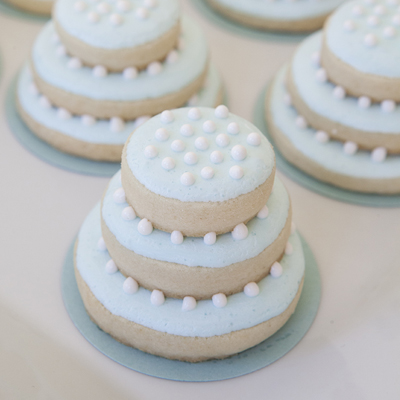
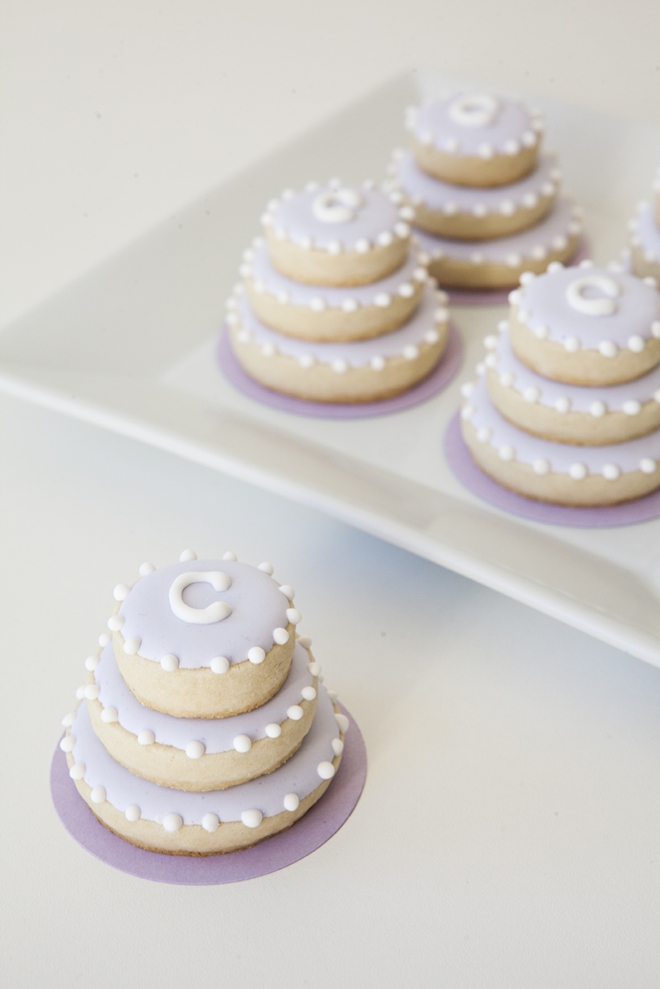
For the aqua cookies I added the icing dots to the seams of the cookies – but for the violet cookies I added the dots to the edges and included my initial on the top of the cookie!
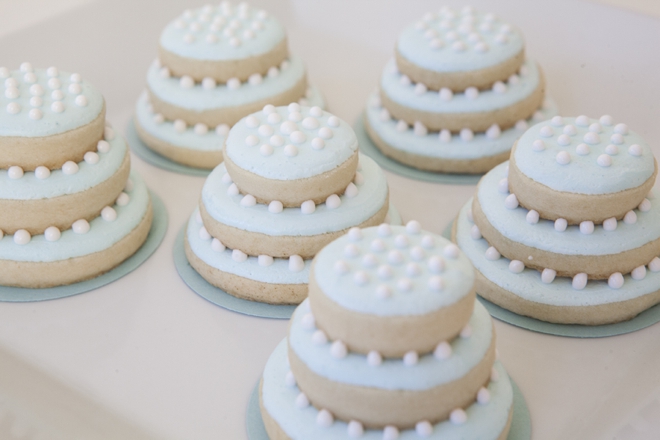
I punched paper circles to display and serve each cookie on, which you can do too. However, wait until the last minute to place the cookies on the paper circles because of the cookie grease.
I know you are obsessing right now… but my best advice is to really read the tutorial, follow the cookie recipe exactly, make a trial recipe and don’t be in a rush – good things come to those who wait!
As with all our DIY tutorials, if you create one of our projects please send us a picture or a trackback – We Love Seeing Your Creativity! If you use Instagram or Twitter please use the hashtag #SomethingTurquoiseDIY. Happy Crafting!
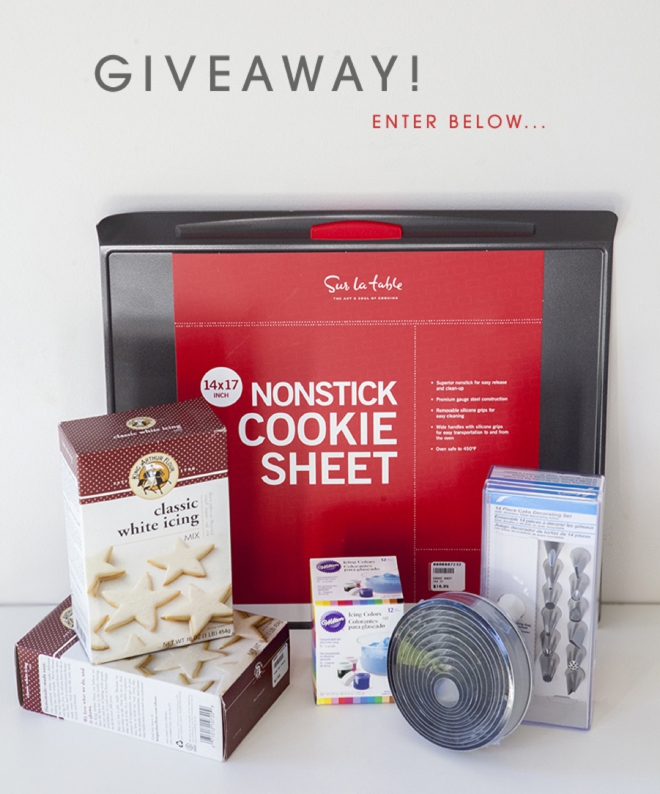
Enter to win all the fabulous items you’ll need to make these darling cookies! Sur la Table is generously giving away this entire set to one lucky ST bride! Contest ends August 20th, 2014. Open to US residents only. Winner chosen at random. If winner fails to respond in 48 hours another winner will be chosen. Good luck, and may the odds be ever in your favor!
DIY Tutorial Credits
Photography: Studio 11 Weddings // DIY tutorial: Jen | Something Turquoise // 14″ x 17″ Sur la Table nonstick cookie sheet, Ateco 14 Piece Cake Decorating Set, King Arthur Flour Classic White Icing, 12 Wilton Icing Colors, Ateco 12 Piece circle cookie cutters and giveaway: courtesy of Sur la Table // sugar cookie recipe: Love Grows Wild // nail polish: Essie Urban Jungle![]() , OPI Designer… De Better
, OPI Designer… De Better![]()

Comments