
DIY Instagram Photo Save the Date Invitation #3
Happy DIY Friday! The term obsessed doesn’t even come close to how I feel about today’s project. Since ya’ll have been such huge fans of my first and second “Instagram Save-the-Date” invitations, I had to release a third! This design leaves you lots of room for personalization, and I know that all you lovely DIY brides are going to get inspired by the ideas I share here and come up with your own – which I can’t wait to see! Don’t forget to share them with me on Twitter or Instagram using the hashtag #somethingturquoisediy. Don’t feel intimidated by taking on the task of making these Save the Dates, no matter your crafting skill level you’ll be able to do it. If you need help, invite your bridesmaids over for some wine and cheese and knock them out in an evening, they are that simple!
First Things First
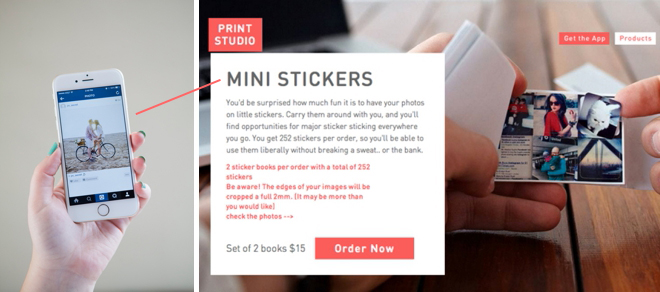
You’ll need to order your sticker books. Social Print Studio (formerly known as Printstagram) is easy to use, you can upload an Instagram photo (or any photo you have) and turn them into the most adorable little book of stickers. Just make sure that you check off that you’d like all 252 stickers to be the same photo!
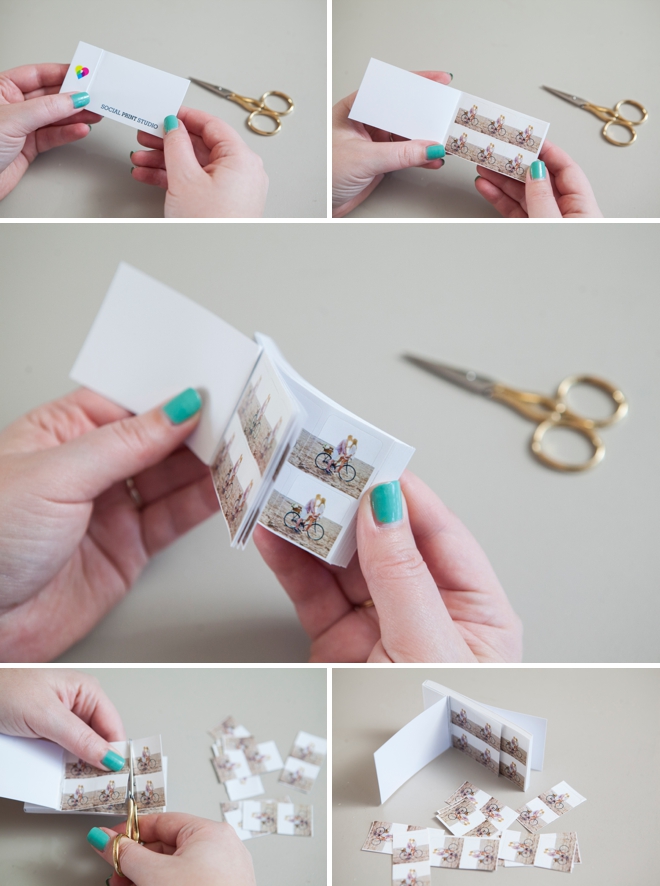
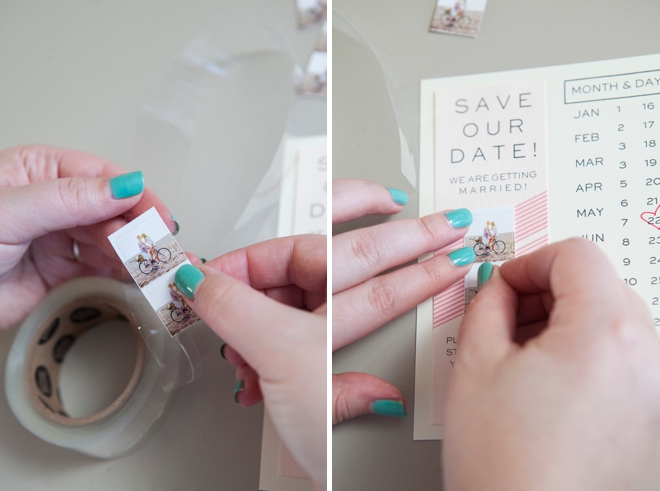
Once you receive your photo sticker books in the mail, cut as many as you need down to strips of 2. You’ll need one strip for each save the date.
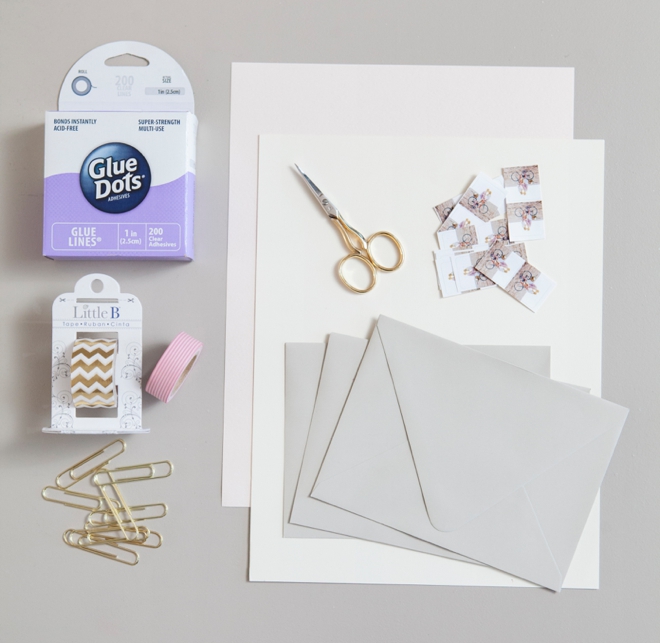
SUPPLIES:
- 8.5″ x 11″ cardstock or thick cover weight paper in 2 different colors
- A6 size envelopes (4 3/4″ x 6 1/2″)
- Print Studio Stickers
- Washi tape or jumbo paper clips
- Paper Trimmer
- FREE downloads below
- Glue Dots scrapbooking adhesive
- Colored pen
- Scissors
To shop these exact supplies use our image links at the bottom of the post!
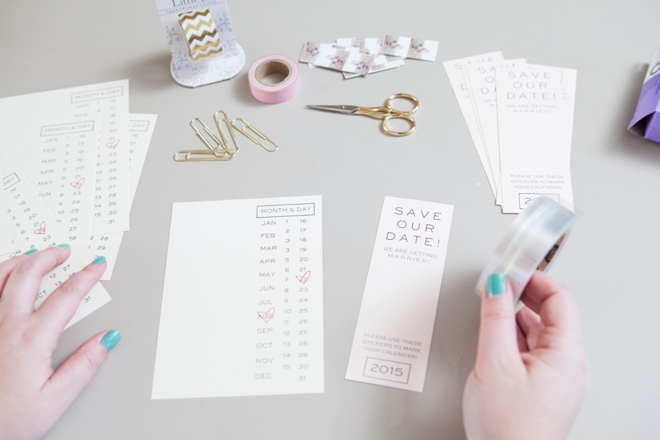
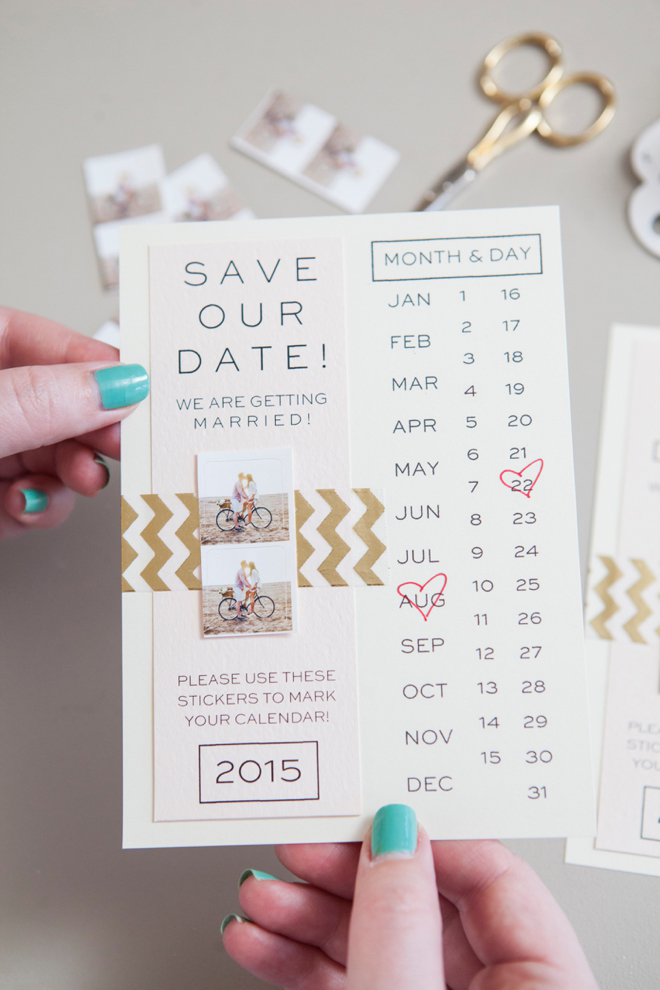
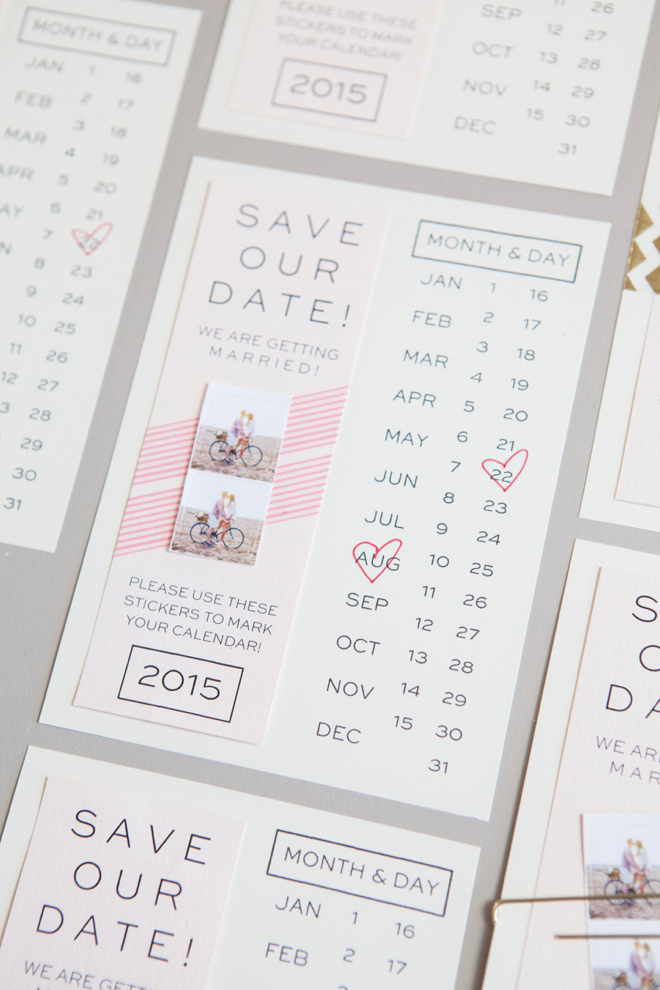
You can grab your FREE printables at the bottom of the post. Print each design onto your choice of 8.5″ x 11″ cardstock paper. What I’m using here is Superfine Soft White and Luxe Blush (both cover weight) from Paper-Source.
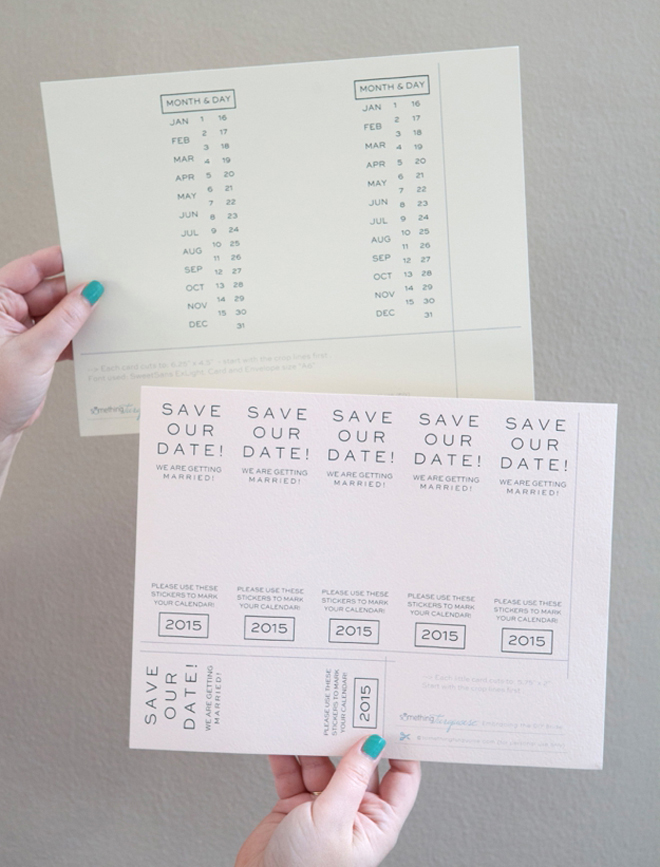
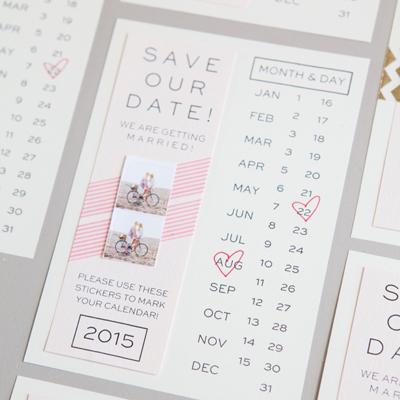
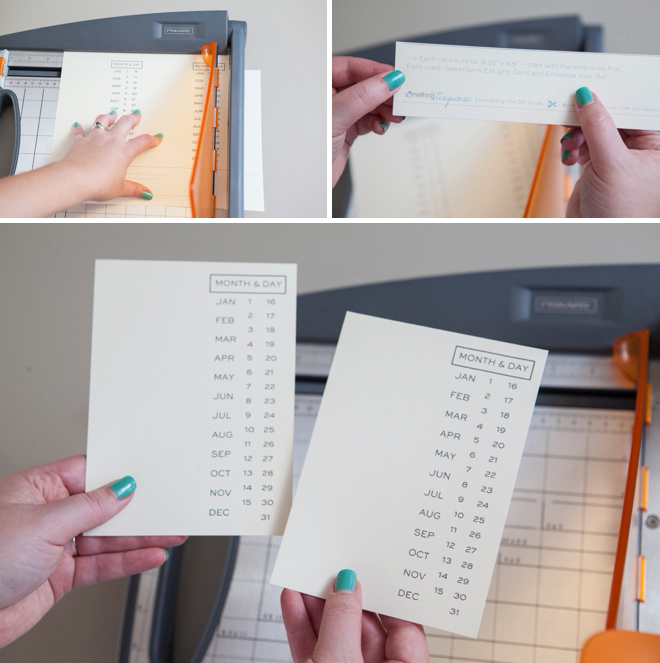
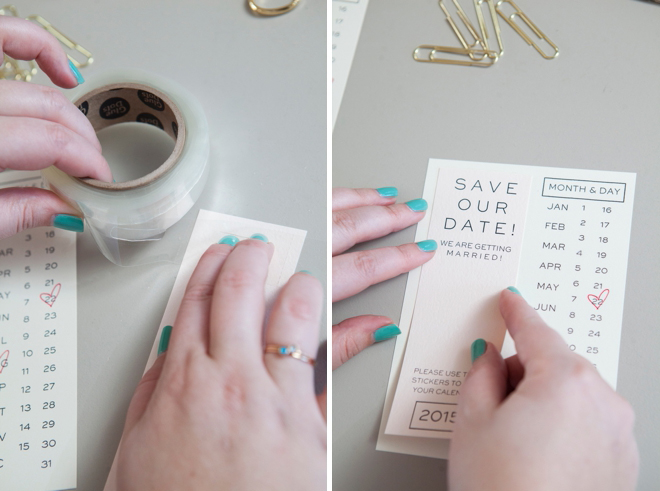
Cut your invitation cards as per the instructions on the download.
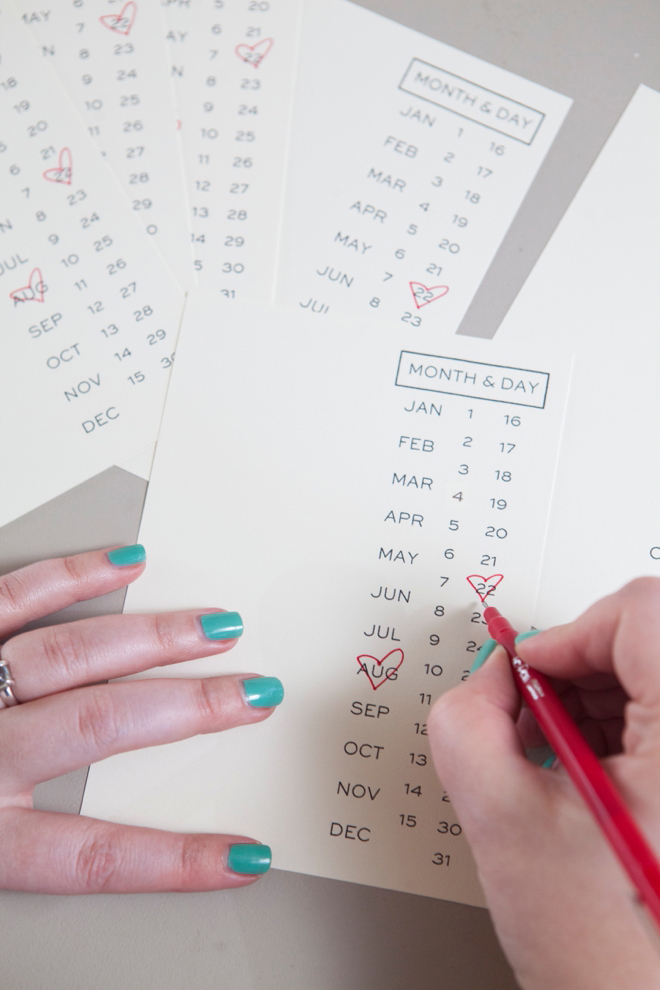
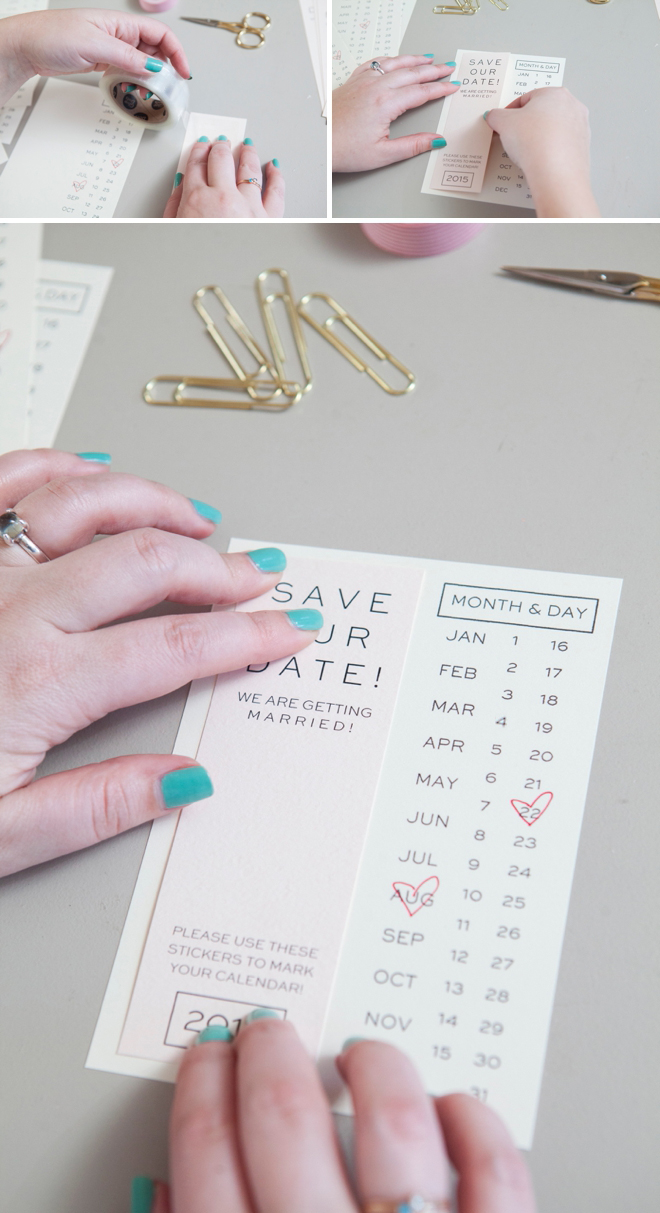
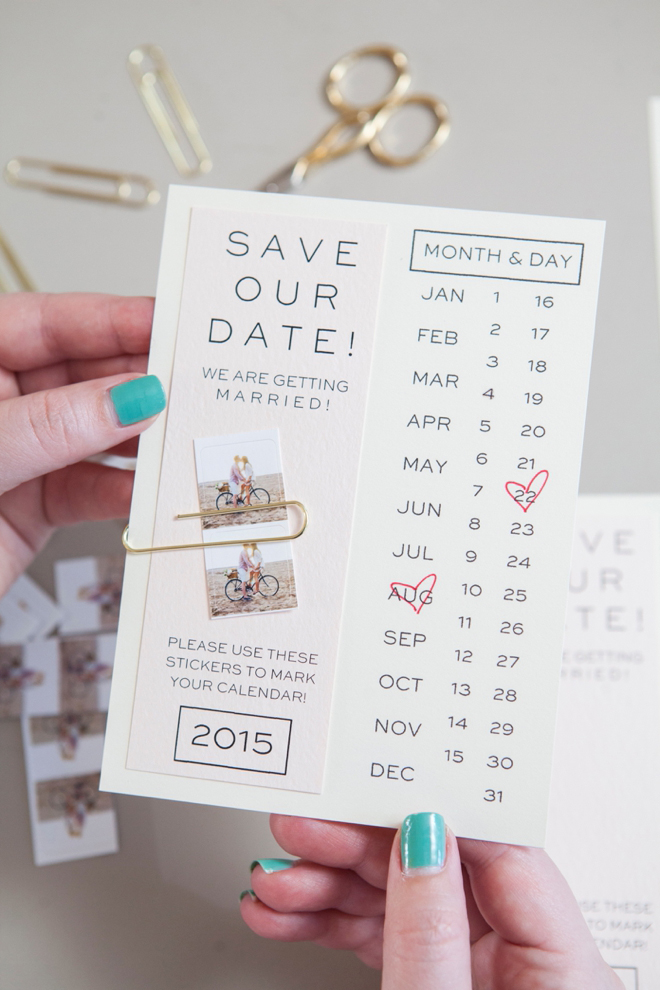
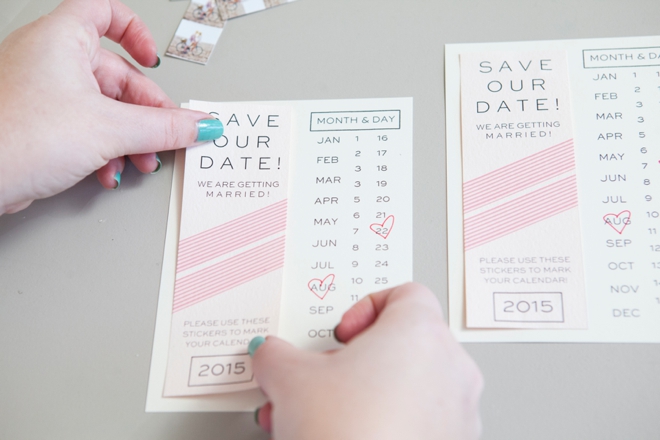
With a colored pen of your choice circle or {heart} the month and day.
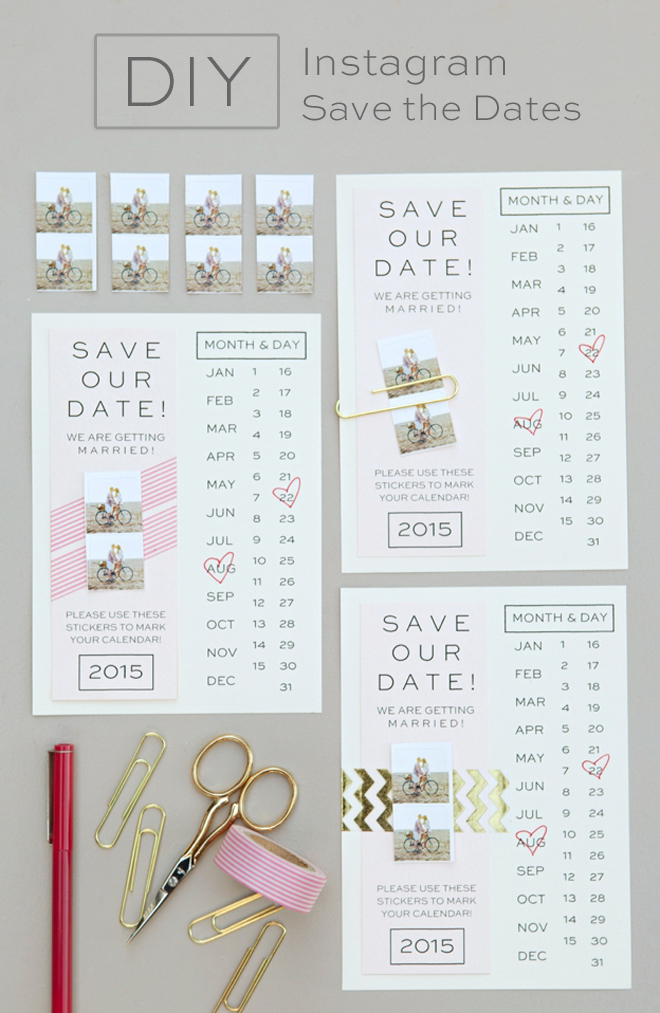
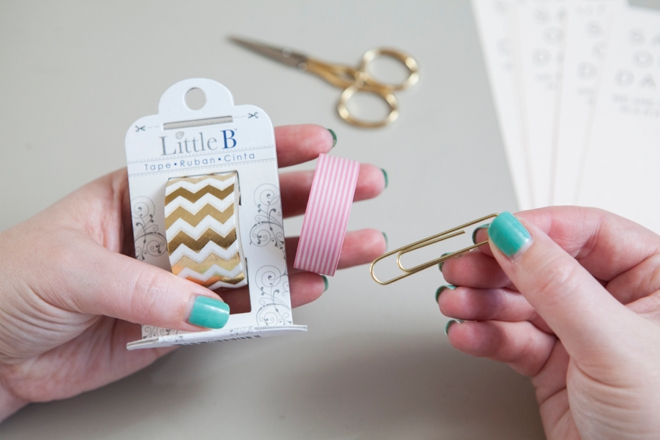
I have 3 embellishment ideas for you, two involving washi tape and one using the most darling, gold jumbo paper clips you’ve ever seen.
These steps are all very similar, but I’ll go through each one so you can see the differences. These are just for inspiration — please get creative and dream up an embellishment that perfectly fits your wedding theme!
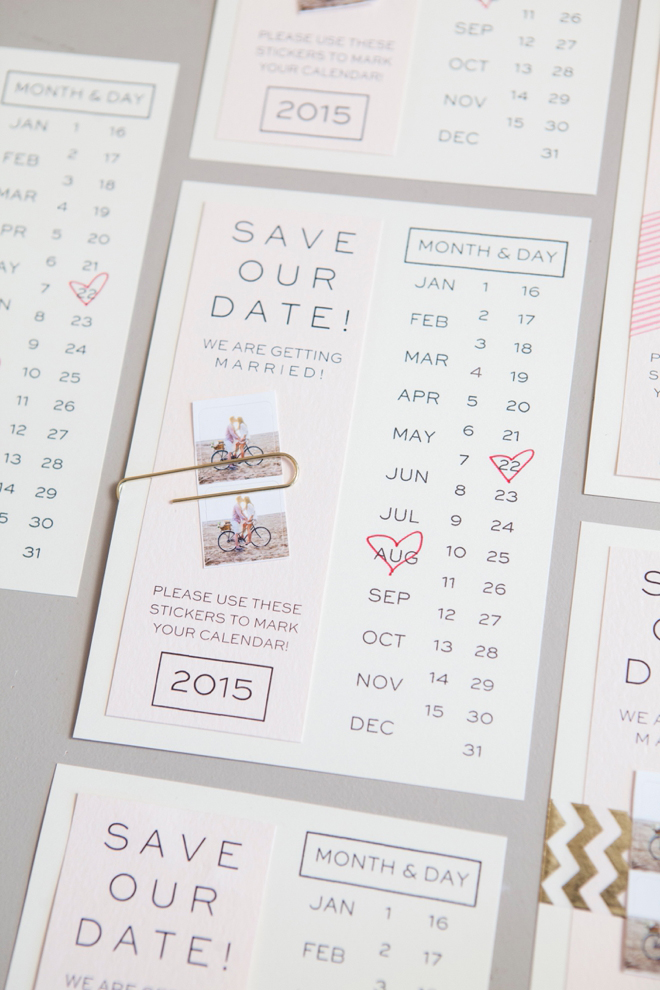
The Paper Clip
Using your favorite scrapbooking adhesive (mine is Glue Dots), adhere the small cut card to the top of the invite card.
Then add your little stickers to both cards using the large paper clip! Done!
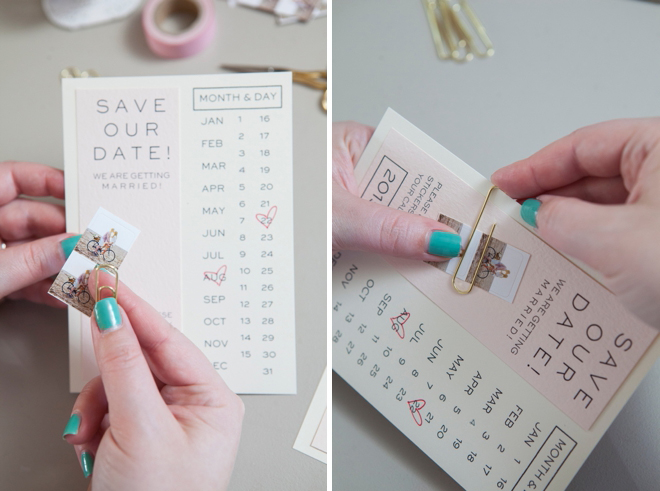
This paper clip is thin and light weight enough that it shouldn’t add any additional cost to your postage, but your design might differ so please make sure to check.
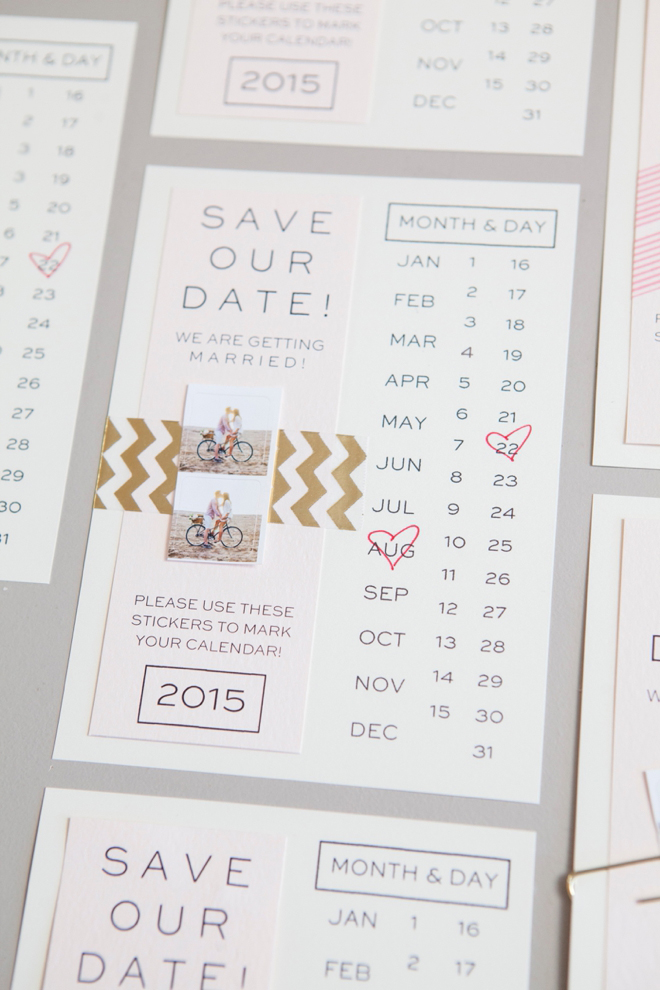
Chevron Washi Tape
Same step for this one, adhere the little cut card to the invite card. Quick and simple.
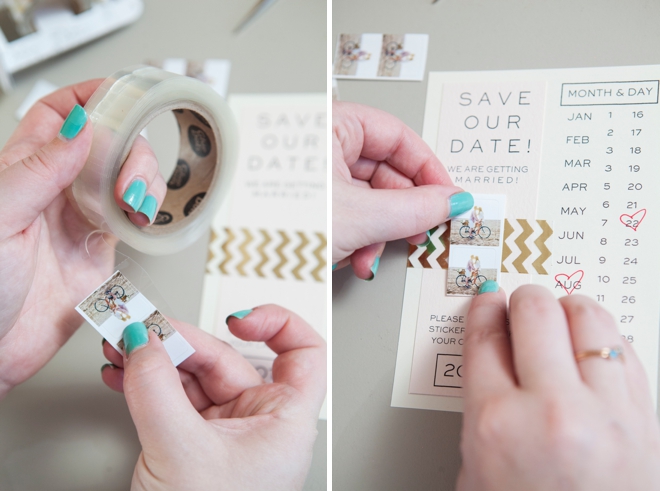
Place a piece of wide washi tape all the way across your small cut card and wrap it around the back to embellish. This cute washi tape from Little B has a serrated edge which makes it easy to cut.
Then using your adhesive, add the sticker strip right on top of the washi tape. Done!
Adorable right?!
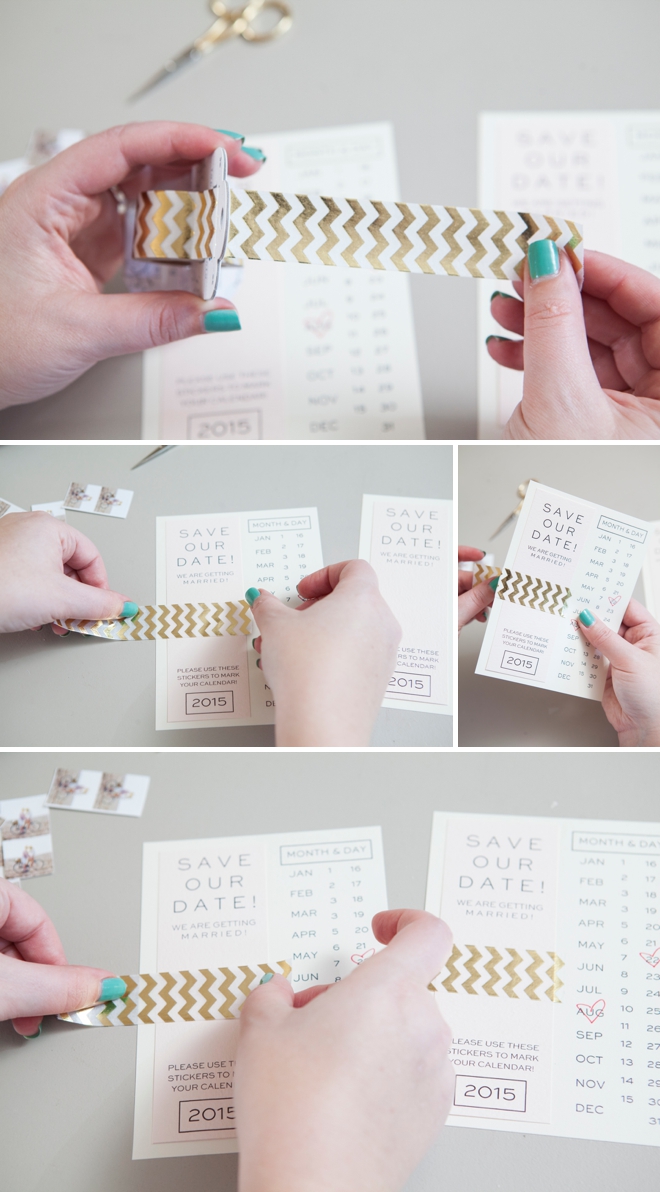
Striped Washi Tape
For this design we will wrap the washi tape around the cut card before we adhere it to the invite card. This washi tape is about 1/2″ wide so I was able to do two strips at an angle.
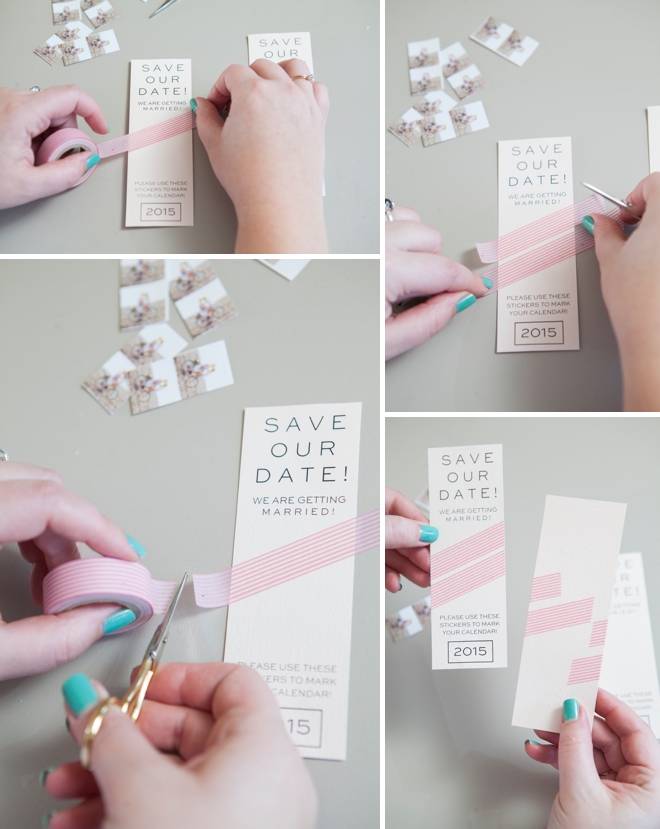
After you’ve wrapped the cut cards in washi tape, adhere them to the invite card.
Then adhere the sticker strip right on top, just like the other designs.
I’m really crushing on this one, I think it’s my fav.
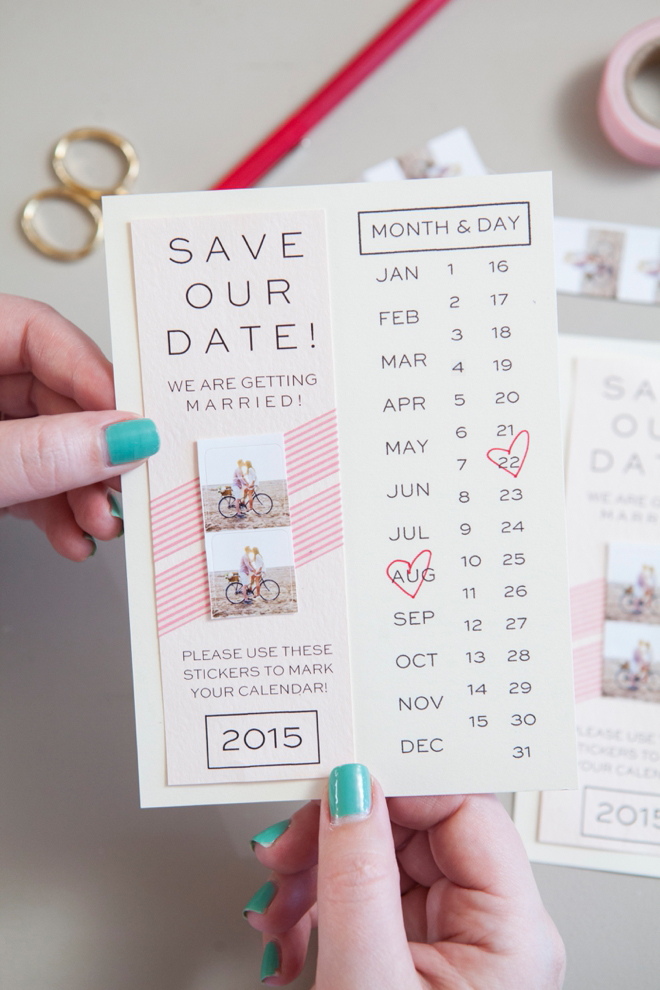
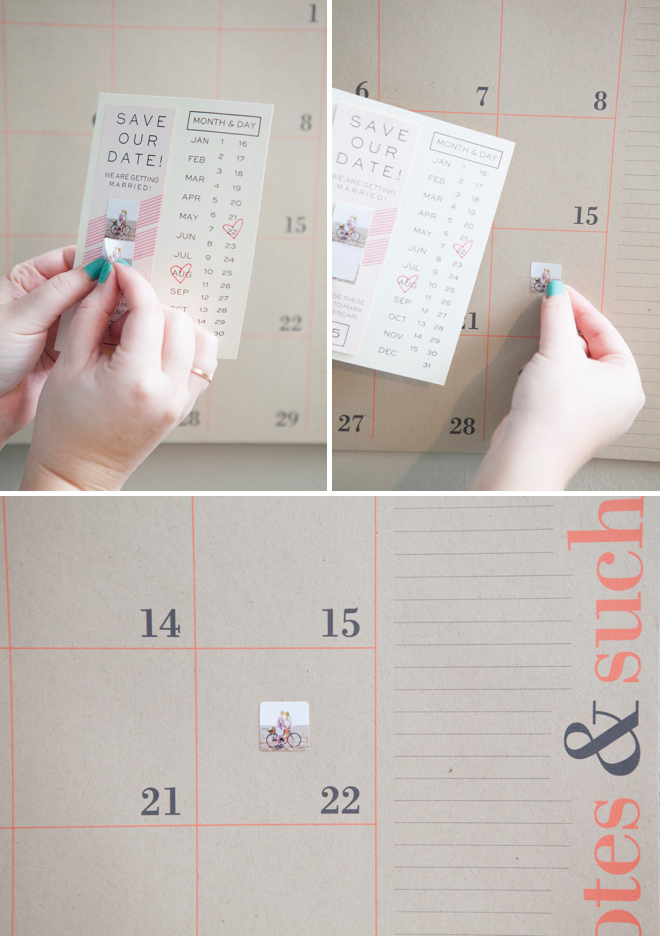
These darling stickers are the perfect size for your guests to mark their calendars with!
So which one is your favorite???
Grab The Downloads


Click To See Our Other Designs:
As with all our DIY tutorials, if you create one of our projects please send us a picture – We Love Seeing Your Creativity! If you use Instagram or Twitter please use the hashtag #SomethingTurquoiseDIY and it will show up on our Get Social page. Happy Crafting!
DIY Tutorial Credits
Photography + DIY Tutorial + Free Downloads: Jen Causey of Something Turquoise // engagement image: courtesy of Kayla Coleman Photography // bride pictured: Rachel of Shore Society // sticker books: courtesy of Social Print Studio // 8.5″ x 11″ coverweight paper in Superfine Soft White and Luxe Blush, A6 envelopes in Cement: Paper-Source // pink stripe washi tape: Etsy // gold chevron washi tape: Little B // jumbo gold paper clips: Staples // 1″ glue dot lines: courtesy of Glue Dots // Fiskars paper trimmer: Amazon // Red Le Pen: Amazon // font used: Sweet Sans ExLight // nail polish: OPI – Withstands the Test of Thyme
Shop The Supplies
Find the supplies you need for this project from our affiliate links below:

Comments