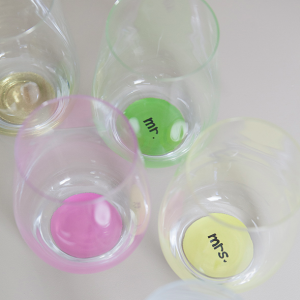

Hoooray!!!! It’s the best day of the week… DIY Friday! I have a fabulous project to share with you today! It’s a spin-off of our extremely popular ‘Glam Champagne Glass‘ tutorial… the painted …
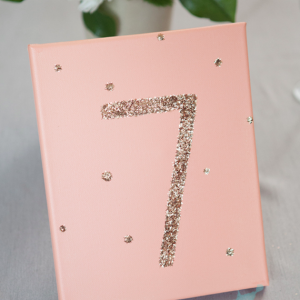
Of all the wedding DIY projects you can create… I think table numbers can be the most fun. Unlike seating cards and favors… table numbers can be a quick and inexpensive project because …
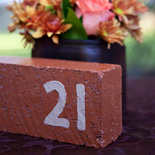
Happy DIY Friday! This project was originally created as a guest post for the terrific Sparkle & Hay. If you are planning a rustic, down to earth, outdoor, style wedding… these hand painted brick …

I love the new trend we have been seeing this season of ‘Here Comes The Bride’ signs being carried down the isle by ring bearers and flower girls. I think it is adorable… and …
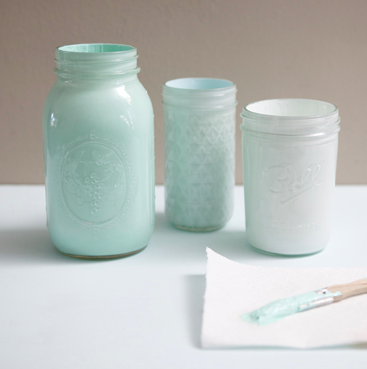
Being that I am obsessed with Martha Stewart… as soon as her new line of craft paints came out – I had to play with them!!! Today I have two versions of this …