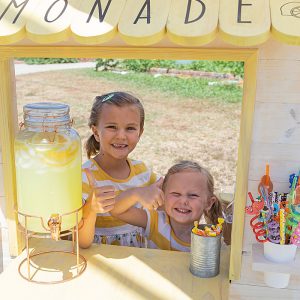

Our girls had been asking to do a lemonade stand for a while and so I knew I had to make it happen for them this summer. My goal was to build a …
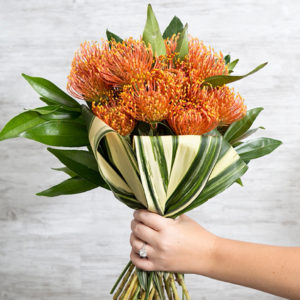
In today’s #flowerpower feature, we’re celebrating the pretty pin cushion. A member of the Protea family, these wild looking beauties get their name because they resemble pin cushions! They are a long-lasting flower …
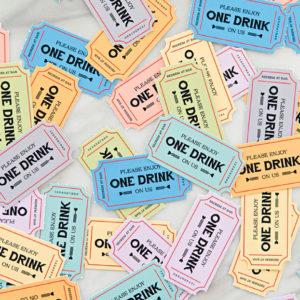
There are two reasons why you would want to use these darling drink tickets at your wedding reception; 1. you have a limited budget but want to provide some alcohol for your guests …

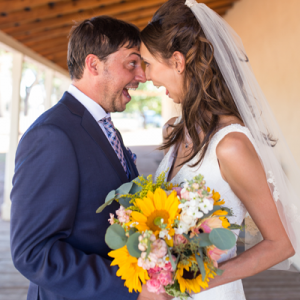
In today’s #flowerpower feature, we’re celebrating the sensational sunflower. A large friendly flower that is usually bright yellow in color with a dark center, surrounded by petals that look like rays of sunshine. …
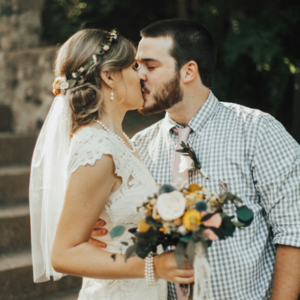

What is your favorite wedding day memory? Two moments stand out from our wedding. Our first look was so perfect! We were both jittery and excited and maybe a little overwhelmed, but it …
“Valery and Adam’s love story is one of those you feel like movies should be based on. They met in high school, but it wasn’t until years after they graduated and had moved …

Treat yo’self and yo’guests with these darling + yummy snack favors! Weddings can be long days, dancing can make you hungry and drinking can make you want something salty… so say yes to …