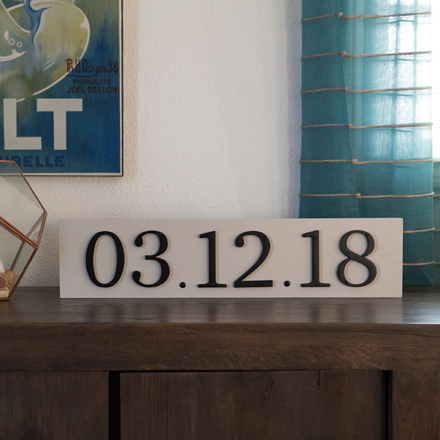

DIY – Address Number, Wedding Date Sign
I was actually inspired to make this darling wedding date sign because I just made a special address plaque for my new home! I cut the wood, painted it, and figured out how to mount the letters the way I wanted them and now it looks SO cute hanging on the front of my house. While working on it I thought, OMG – this would be perfect as a wedding date sign and well, here you go. Choose the style of address numbers you like and mount them to a piece of wood, both of which can be painted to perfectly match your home decor. In one evening or afternoon, you’ll have created a very special keepsake to treasure for years to come… whether you just said I DO or even if it’s been a while!

Not All Numbers Are Created Equal
In this post, I’ve used two different styles of address numbers; the type where the screw is showing and they type that it’s hidden. Both are explained below. There are also self-adhesive numbers and probably a few other mounting styles depending on where you purchase them and what brand they are.

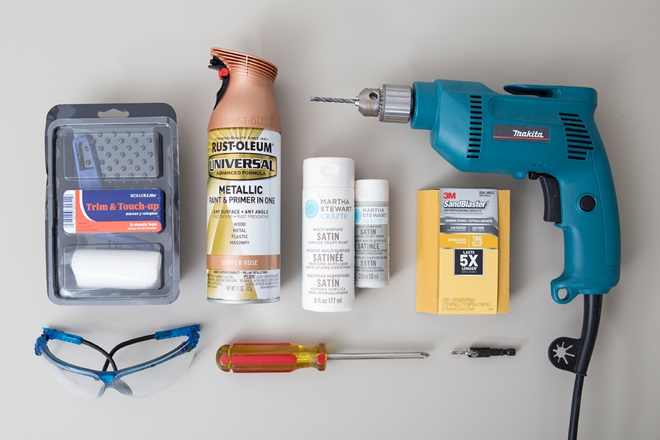
SUPPLIES:
- Wood
- Address Numbers
- Drill and Drill Bits
- Screw Driver or Driver Drill
- Safety Glasses
- Sand Paper
- Paint (optional)
- Paint Roller (optional)
- Furniture Tacks (optional)
- Countersink Drill Bit (for mounting numbers from the backside)
- Possibly different screws (more on that below)
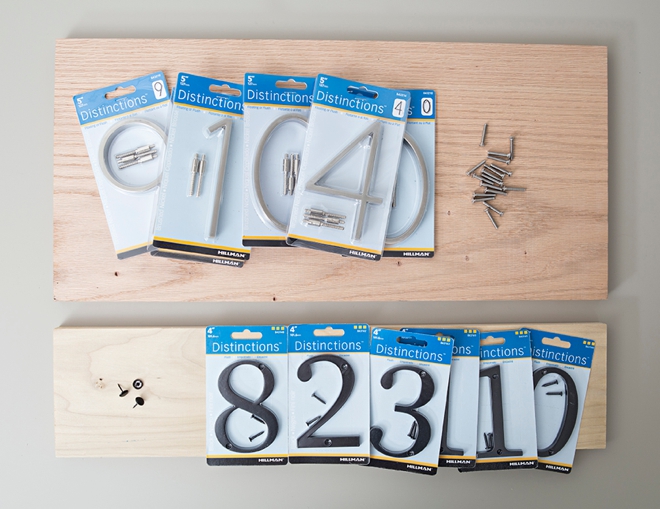
Project Wood
Many hardware stores are now selling “project wood”, different sizes of lovely unfinished wood pieces that are pre-cut to smaller sizes for home decor type projects. I purchased two pieces at my local OSH: 3/4″ x 5-1/2″ x 24″ poplar and 3/4″ x 11-1/4″ x 24″ red oak – perfect for this project!
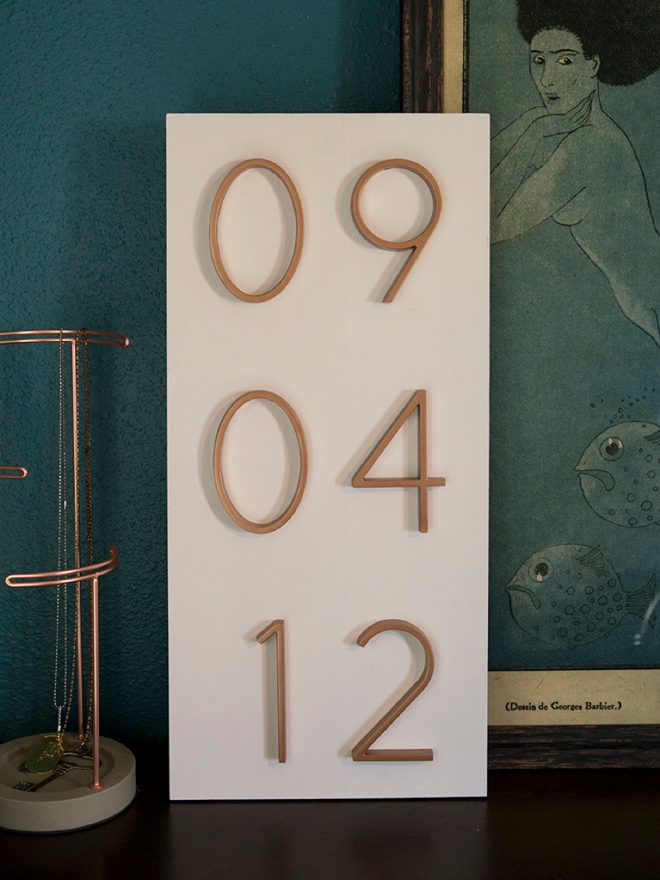
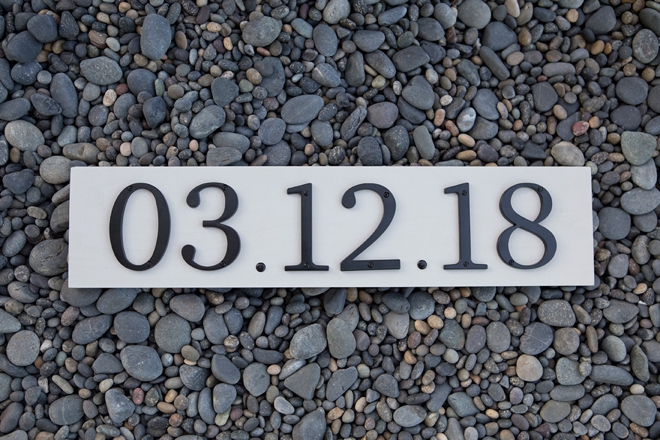
I also used two different types of address numbers. The silver ones are the mount from the backside type, meaning you can’t see any screws from the front. The black ones are the simple, screw through the number into the wood kind – but you see the screws. The way you attach the numbers to the wood makes a huge difference in what you’ll need for the project and how you’ll accomplish it.
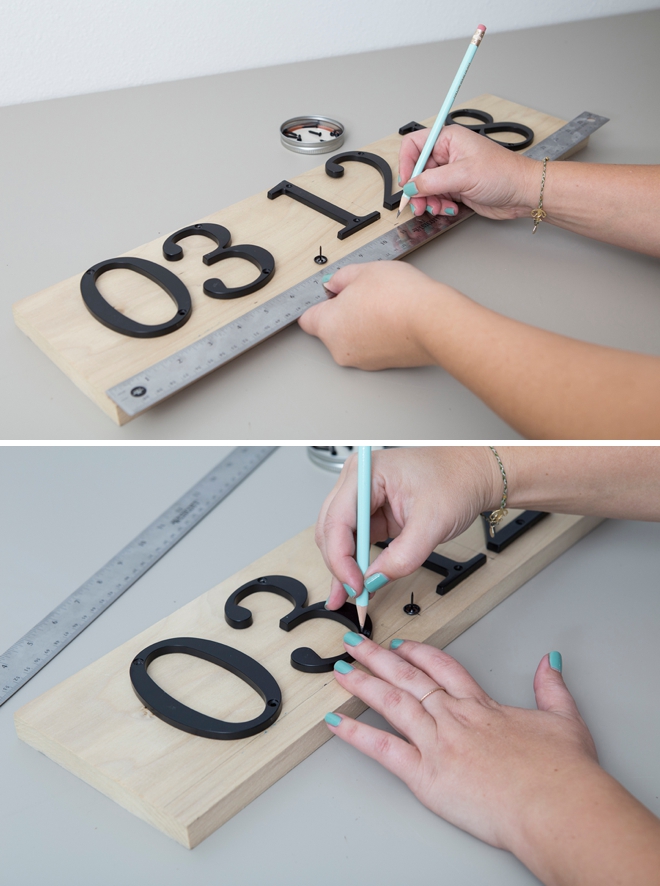
The Simple Screw-Through Numbers
Layout, measure and situate your wedding date on your piece of wood and mark the holes through the numbers, where each screw will go.
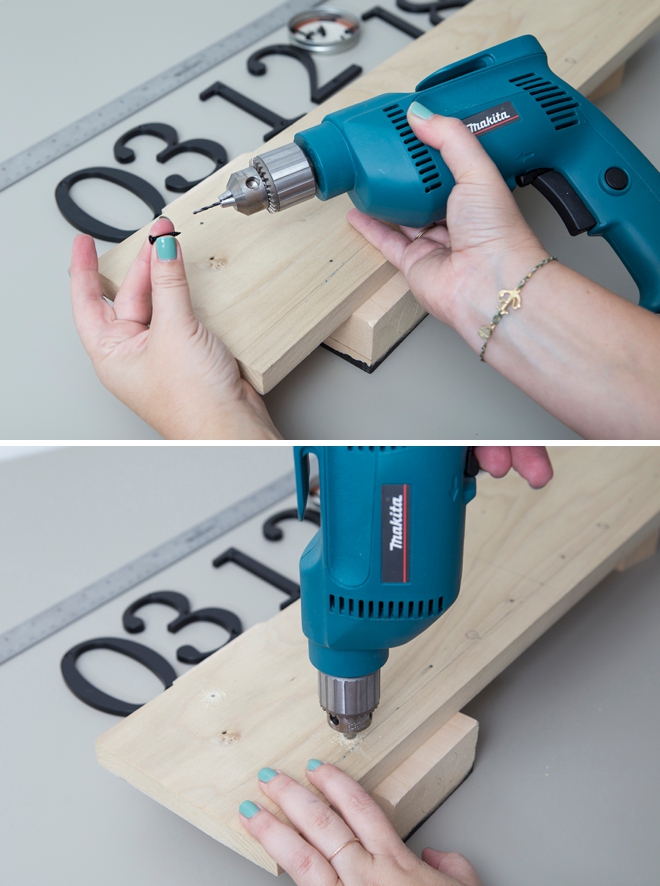
Drill A Pilot Hole
To make screwing the numbers to the wood super easy, drill a pilot hole, much smaller than the screw you’re using. This provides a path of sorts for the screw to follow.
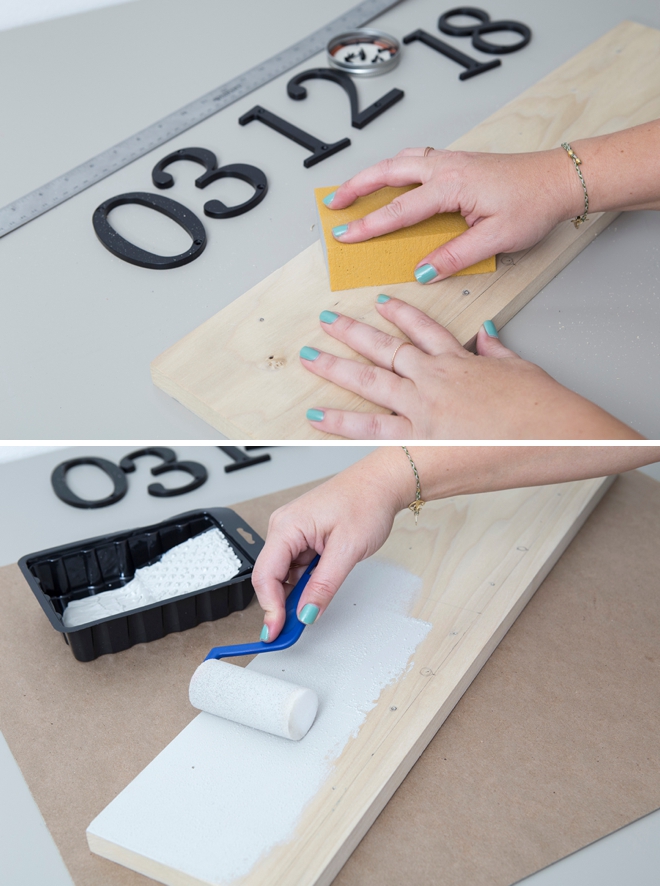
Painting Optional
Sand your wood and prepare it for painting, if you’re going to paint it. Spray or roll, your choice! You can also paint the numbers!
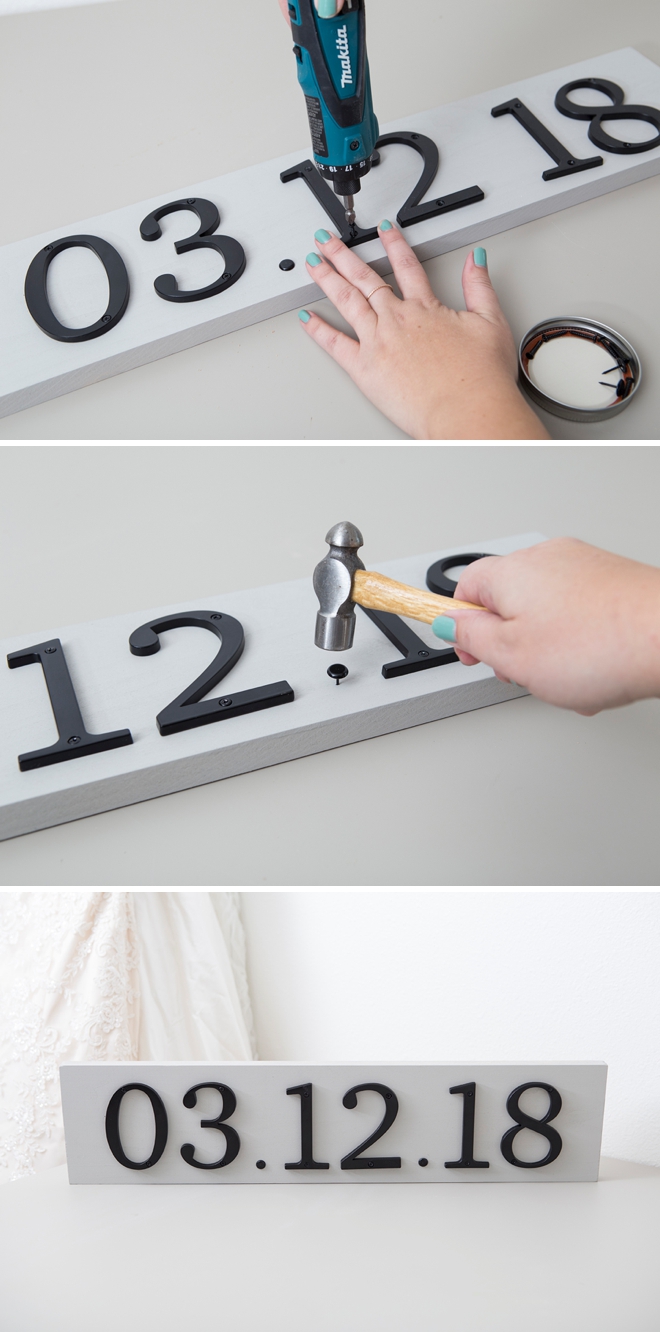
Add The Numbers
Almost done, just screw the numbers into place. Then add a furniture tack in between as the periods. Simple, sweet and easy!
Now For The Flush Mount
First, the way this company decided to attach these numbers to wood is not my favorite and the screw hole templates can be off – so triple check everything! These are the numbers I used for my address and I had to plug several holes due to the pattern being wrong.
Second, we are not going to use the screw/dowels that come with the package, or at least I’m not. They are too long for the wood and I didn’t want to glue them to the board. So I bought separate screws that fit the holes and my width of board which ended up being 4mm x 25mm Phillips Flat Head Machine Screws.
Third, measure and layout your wedding date on the board. Swap the metal numbers for the patterns that come in the package, I cut mine down to help the ease of my layout.
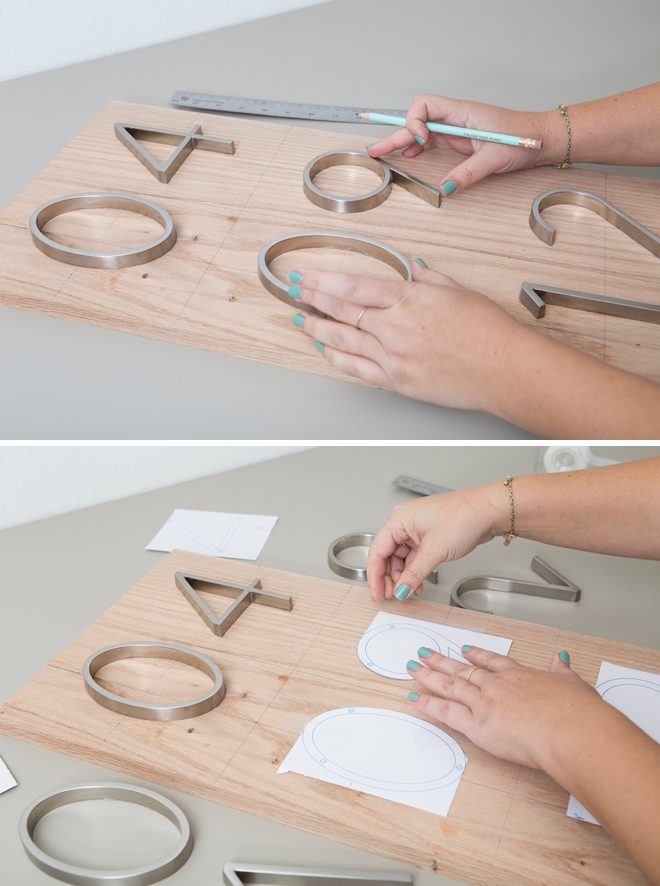
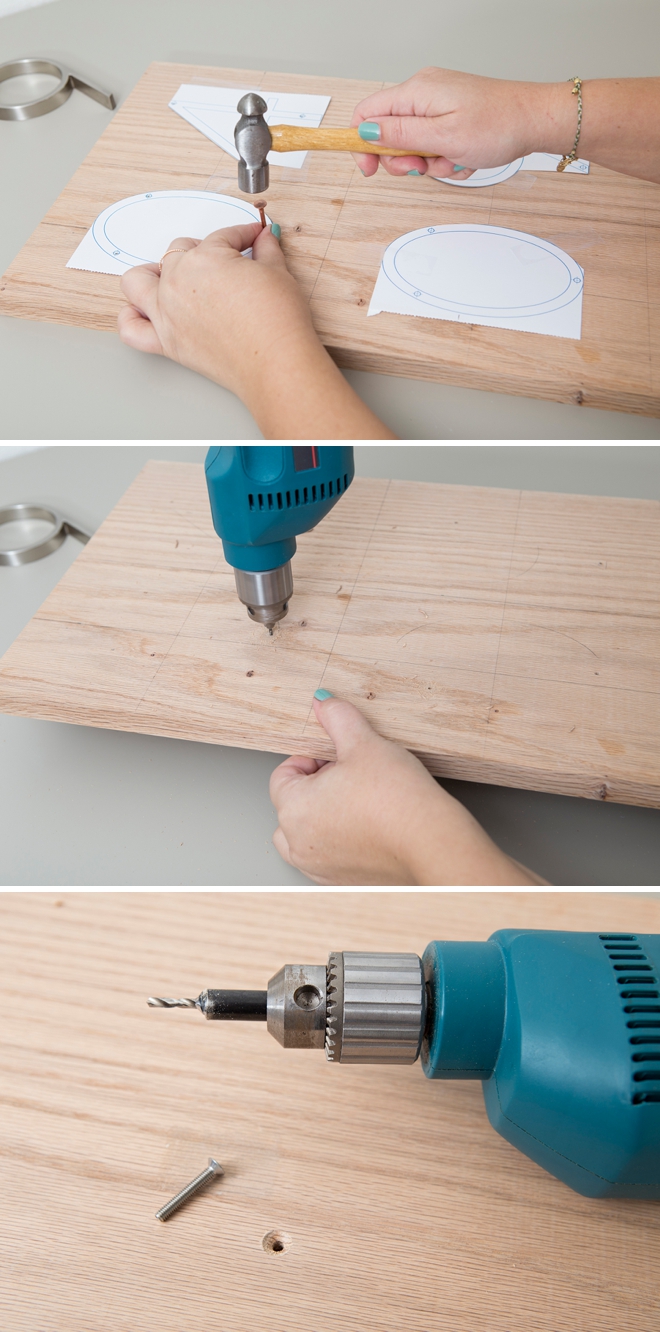
Countersink The Holes
Using a hammer and nail, at each X on the pattern, hit the nail to leave a mark that you can see once the pattern is pulled away. Then drill a simple pilot hole at each mark. I only did 2 screws per number, 3 is overkill for a decor sign.
Next flip the board over so you’re working on the backside and with the correct countersink size bit for your screws – drill proper holes through the back of the board. If you aren’t familiar, the countersink drill bit has a regular drill bit on the tip and a much larger drill bit about halfway up which makes a sunken hole in the wood – for the head of your screw to perfectly fit inside!
Countersinking your screws means they will sit lower than flush on the backside of your sign. So they won’t poke out and hit your wall – or even show for that matter! It’s worth the work.
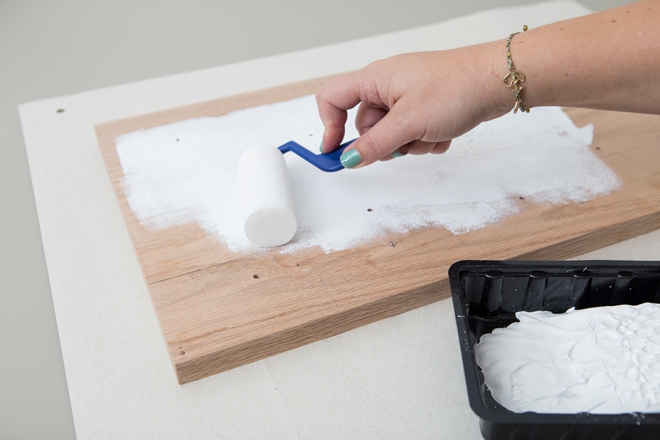
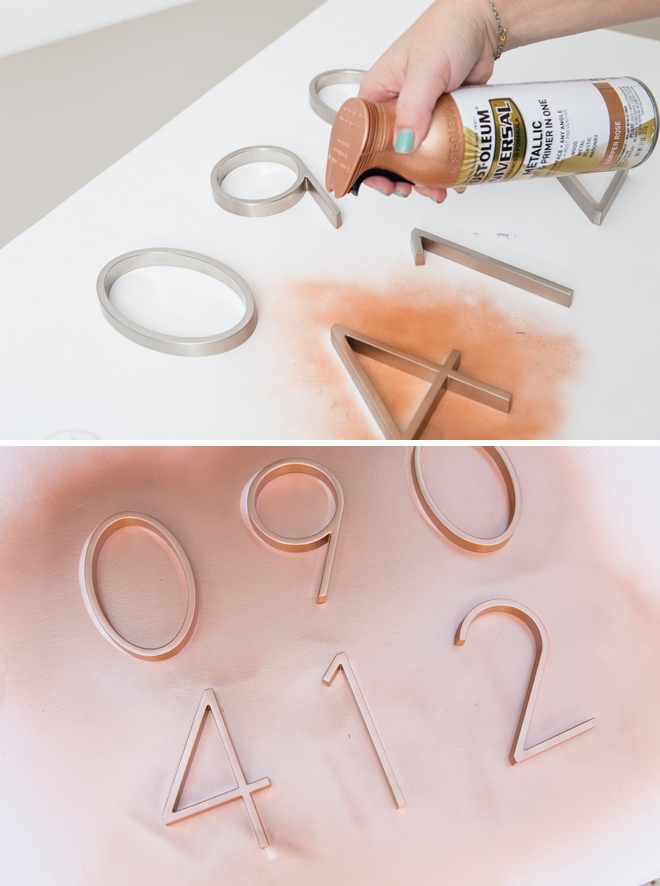
Paint Your Heart Out
Paint your board and your numbers to fit your unique home decor!
Screw On The Numbers
After the paint is fully dry, carefully working from the front and back, add the screws through the backside of the board. Then line up the number and screw them to the board. Hopefully your X marks were correct and everything lines up. If not, don’t worry, one screw will suffice for some numbers.
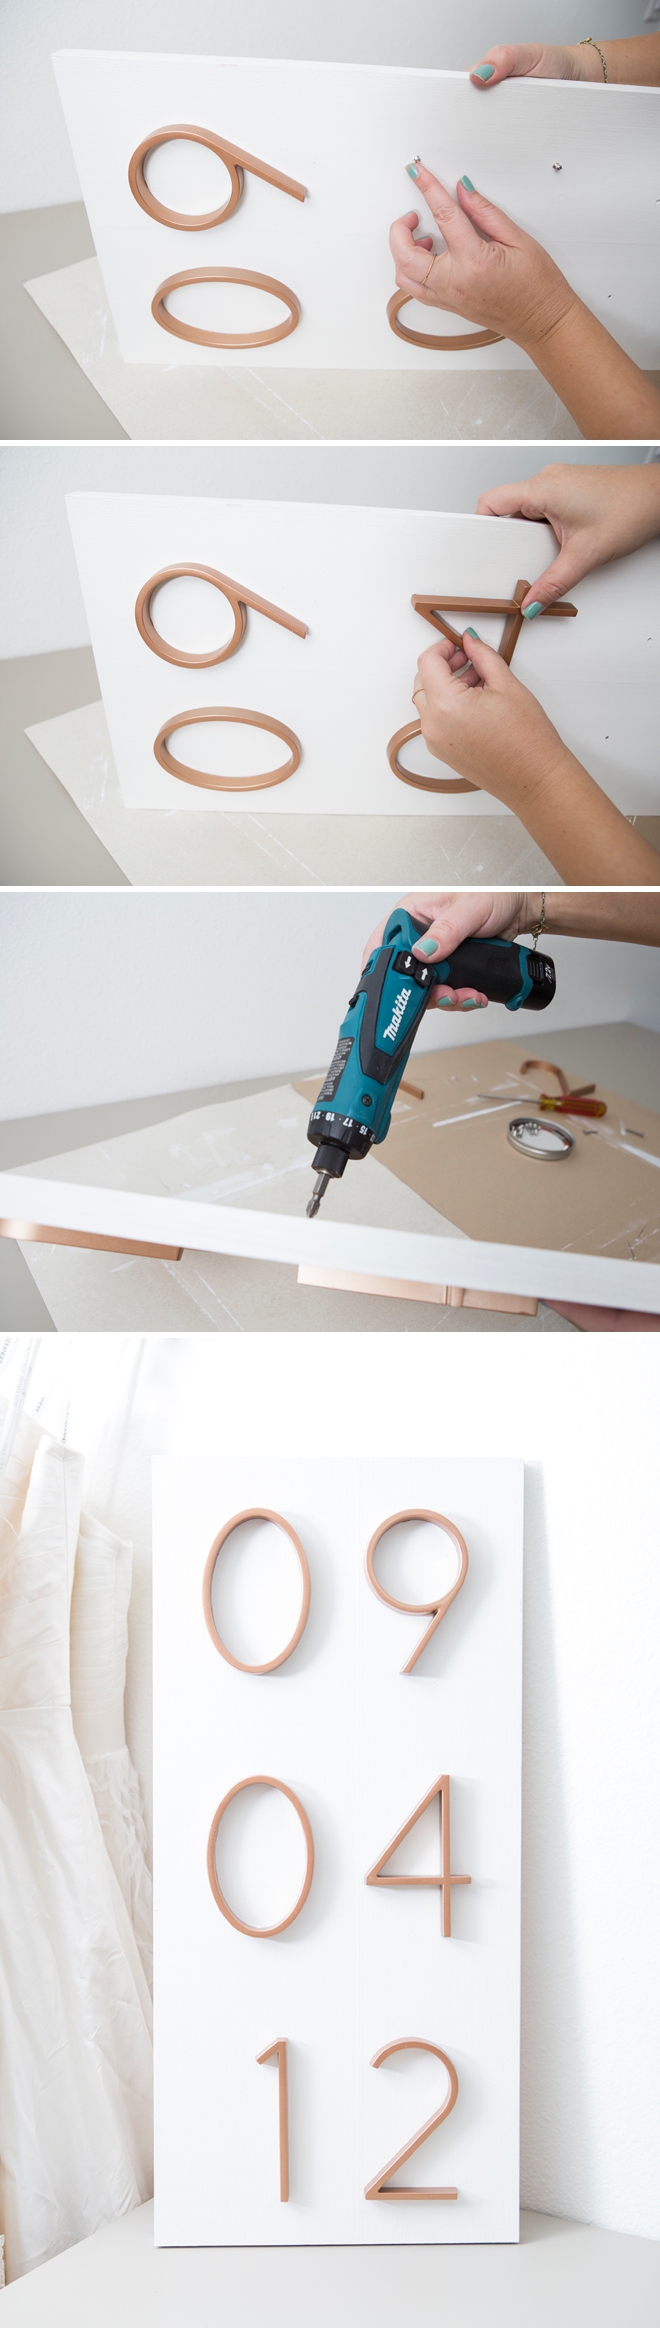
The Perfect Finish
To properly finish the backside of this board, fill all the countersunk screw holes with spackle, let dry, sand and paint. Then there will be NO visible screw heads whatsoever at all!

Awesome Gift Idea
If you have a future couple-to-be in your life or a recent pair of newlyweds, this could be an awesome holiday gift for them! Or if you and your sweetheart are celebrating your anniversary soon, this would be a wonderfully sentimental gift idea! I created the copper and white sign for my neighbor… because most of the time I just have to throw my projects away!
As with all our DIY tutorials, if you create one of our projects please send us a picture – We Love Seeing Your Creativity! If you use Instagram or Twitter please use the hashtag #SomethingTurquoiseDIY and it will show up on our Get Social page. Happy Crafting!
DIY Tutorial Credits
Photography + DIY Tutorial: Jen Carreiro of Something Turquoise // Address Numbers: Amazon // Wood: Ochard Supply Hardware // Paint: Martha Stewart Crafts // Paint Rollers: Amazon // Countersink Drill Bits: Amazon // Nail Polish: OPI – Withstands the Test of Thyme
Shop The Supplies:
Find the supplies you’ll need for this project from our affiliate links below:

Comments