
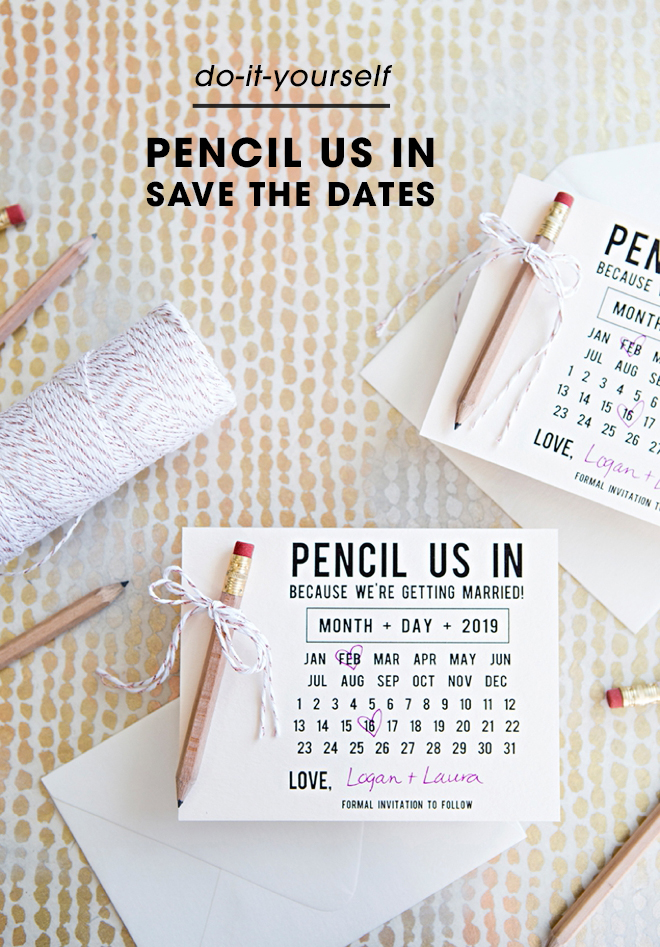
DIY “Pencil Us In” Save The Date Invitations
-Sponsored Post-
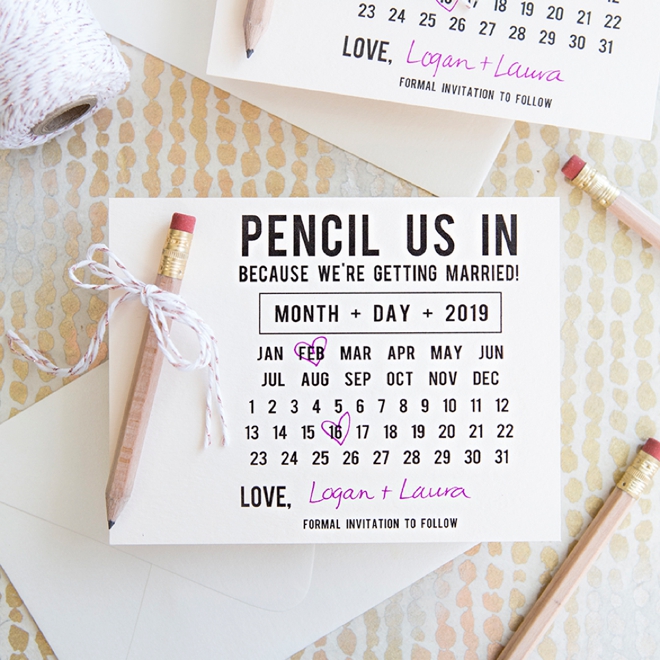
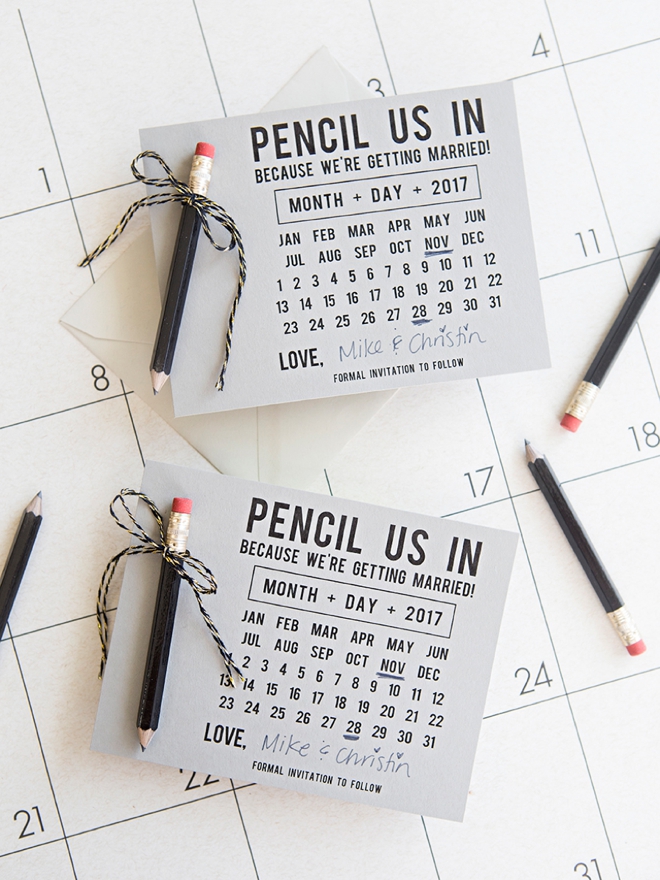
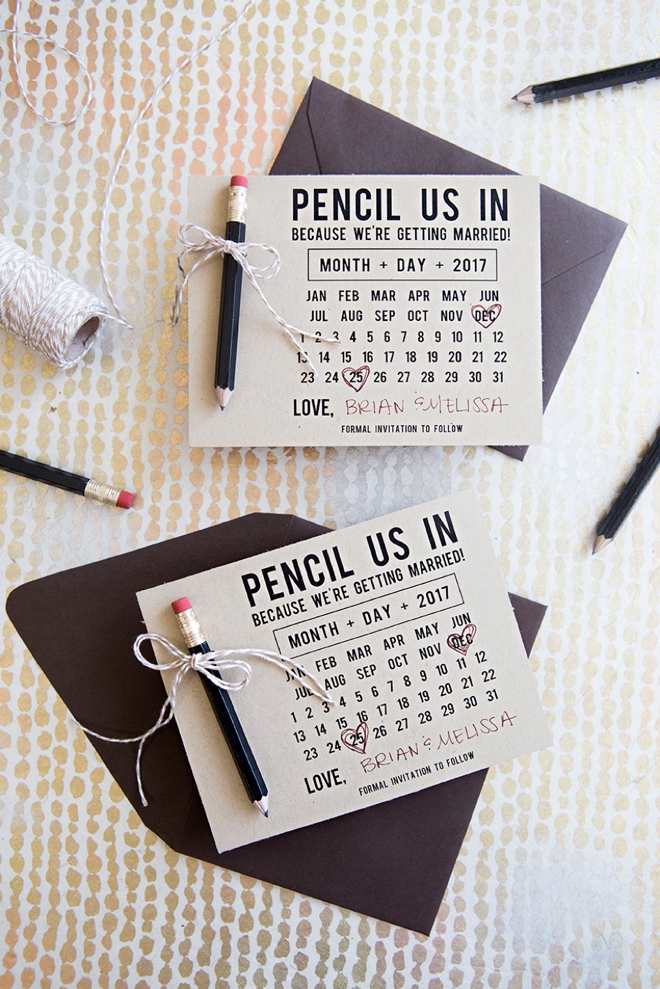
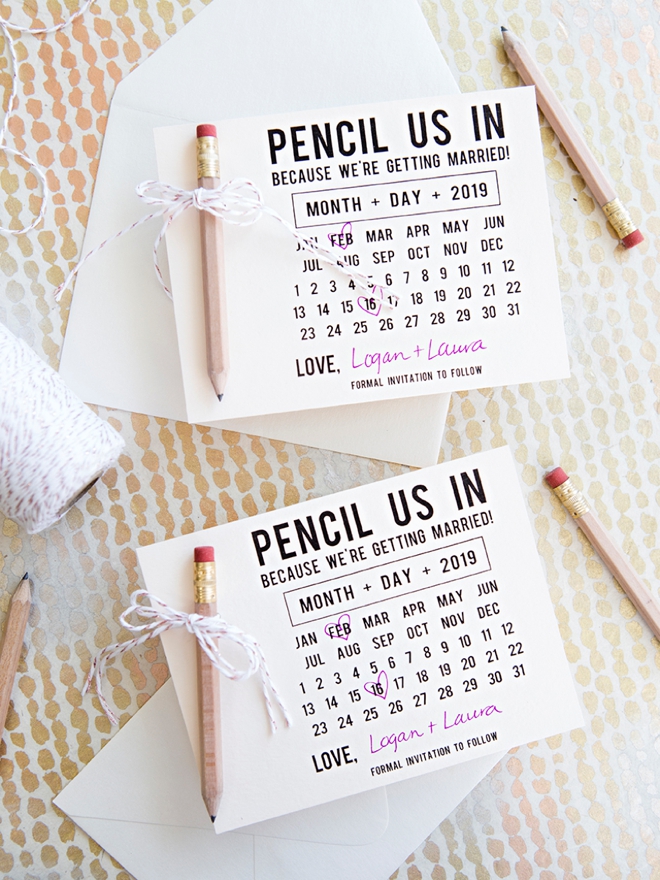
Yay!!! Pencil Us In! …it sure has taken me long enough to create one of these mini-pencil Save the Dates, but it was worth the wait. One of our most popular posts are the free printable “fill-in” Save the Dates and so I’m super excited to share this new design with you. All you need is cardstock, mini-pencils, and your Canon printer! Download your year, circle your date and send. Your guests will love them and will most likely actually mark your date on their calendar… and you will have the fun experience of creating them yourself. In fact, I recommend getting your bridesmaids together, pouring some bubbly, enjoying some sweets, and making a super fun night out of the assembly of these darling invites! Cheers to wedding crafting and DIY Friday!
Postage Details
I took this exact Save the Date with pencil and all to the post office and they informed me that it will cost $2.67 each to mail these within the United States. My post office tip is that you don’t just “drop” these in the mail, you need to take them to the counter as they will be classified as “non-machinable” and technically a parcel because of the thickness of the pencil. Which means they can’t go through a machine and will have to be hand sorted like a package, which is why they cost so much to send.
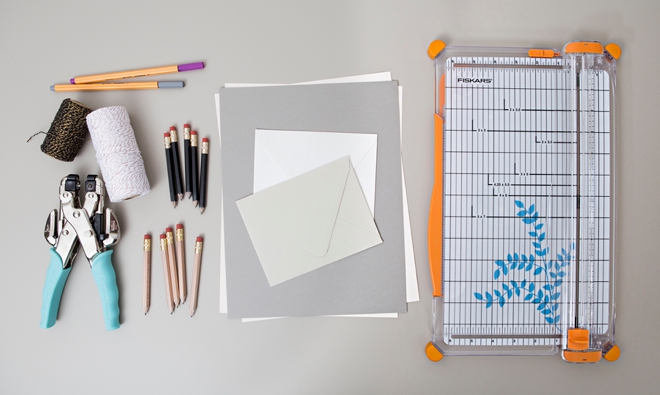
SUPPLIES:
- Canon PIXMA TS9020
- Mini Pencils (mine are from Amazon!)
- 8.5″ x 11″ Cardstock
- A2 Envelopes
- Crop-a-Dile Hole Punch
- Paper Trimmer
- Twine
Download + Print
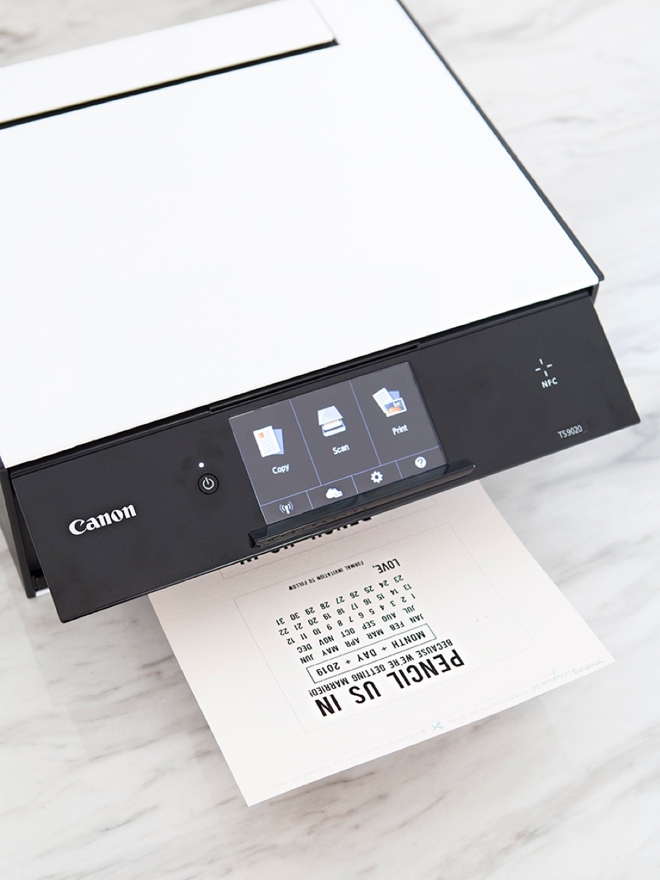
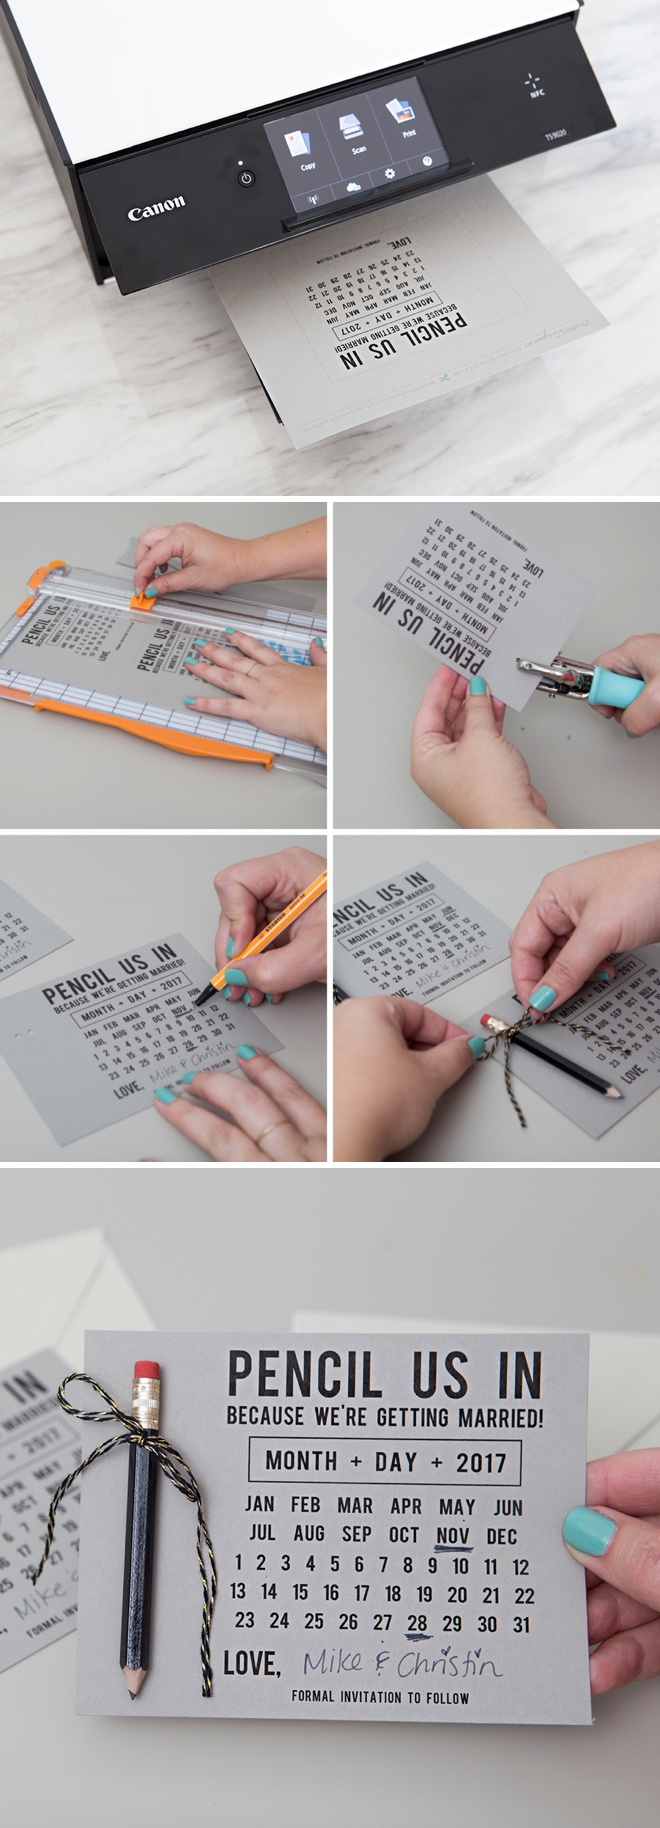
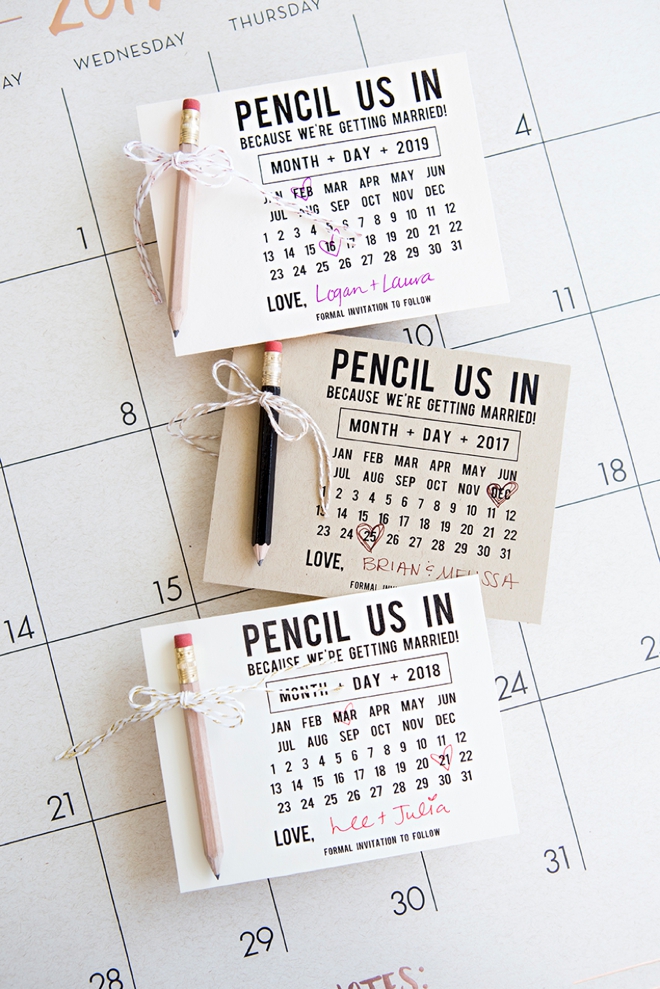
At the end of the post we’re sharing these free printable Save the Dates, for 2017, 2018, 2019, and even 2020 – because we know some of you really like to plan ahead! Download the one you need, save to your computer and print using your favorite Canon printer! Today I’m using my TS9020 which is compact, quick and has a back loading option which is great for not bending your cardstock!
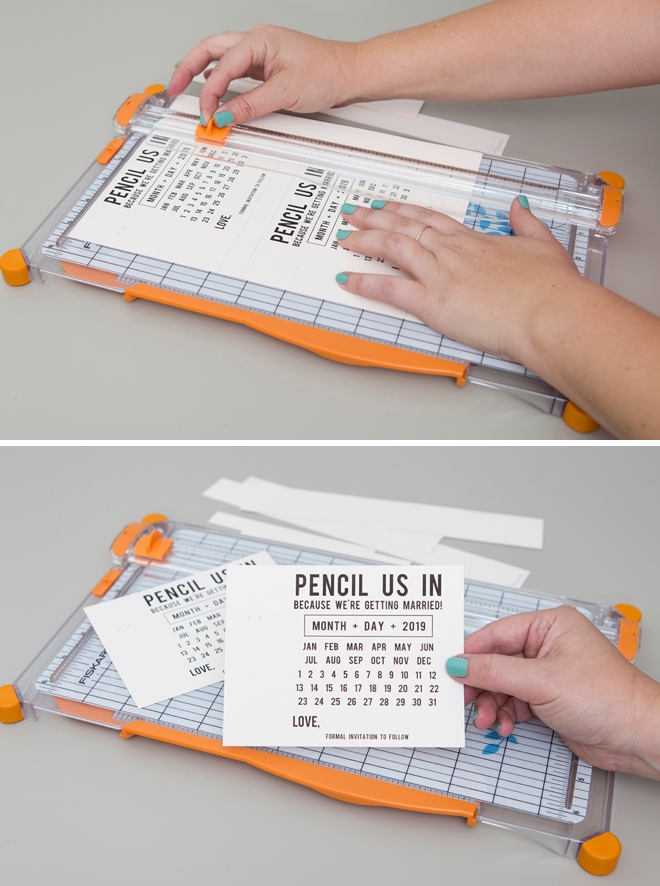
Trim
Using a paper trimmer (or scissors), carefully trim out each invite, there are two per 8.5″ x 11″ page. They cut to 4 1/4″ x 5 1/2″, which is the correct card size for A2 envelopes.
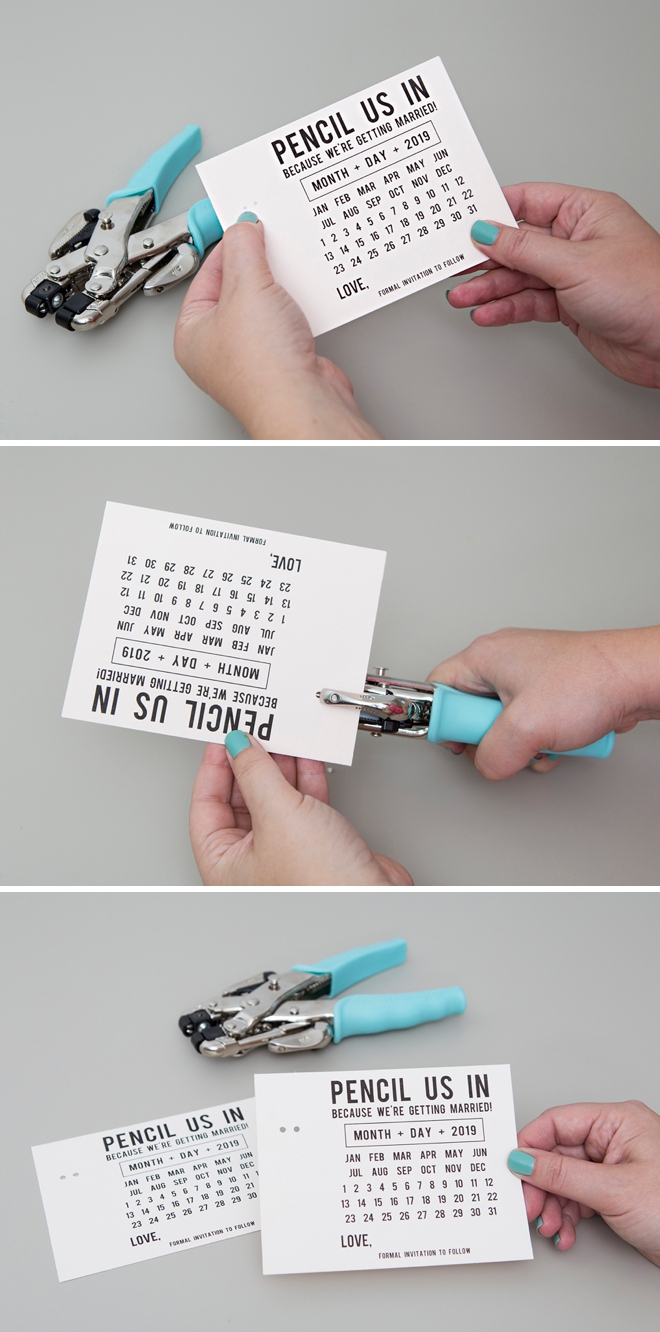
Hole Punch
The Crop-a-Dile is my favorite hole punch ever and it’s perfect for these invites. I’ve marked where you need to punch, so it’s super easy… this is where you’ll tie on the pencils.
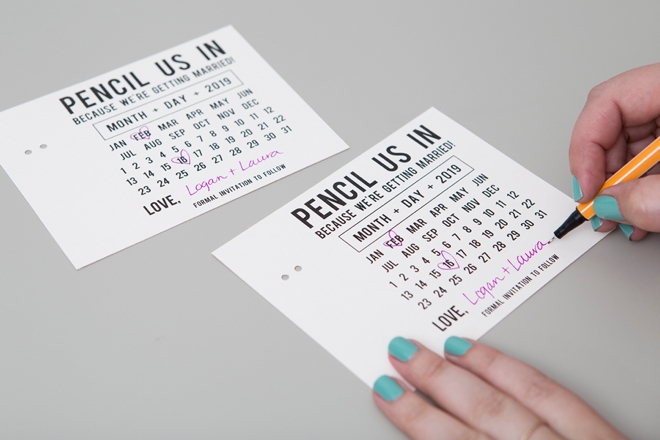
Name + Date
Using a pen that matches your theme, fill in your wedding date and names!
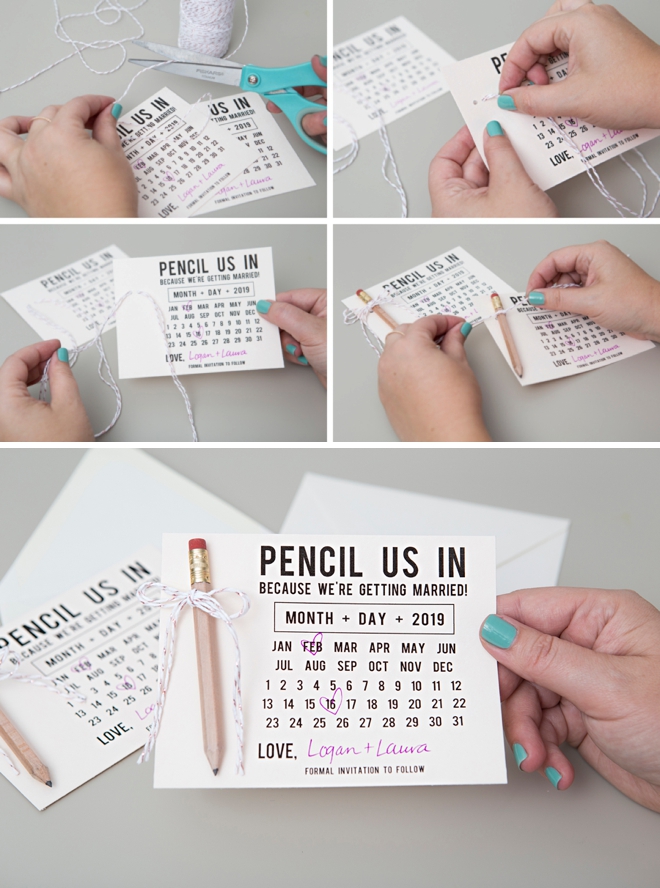
Add Pencils
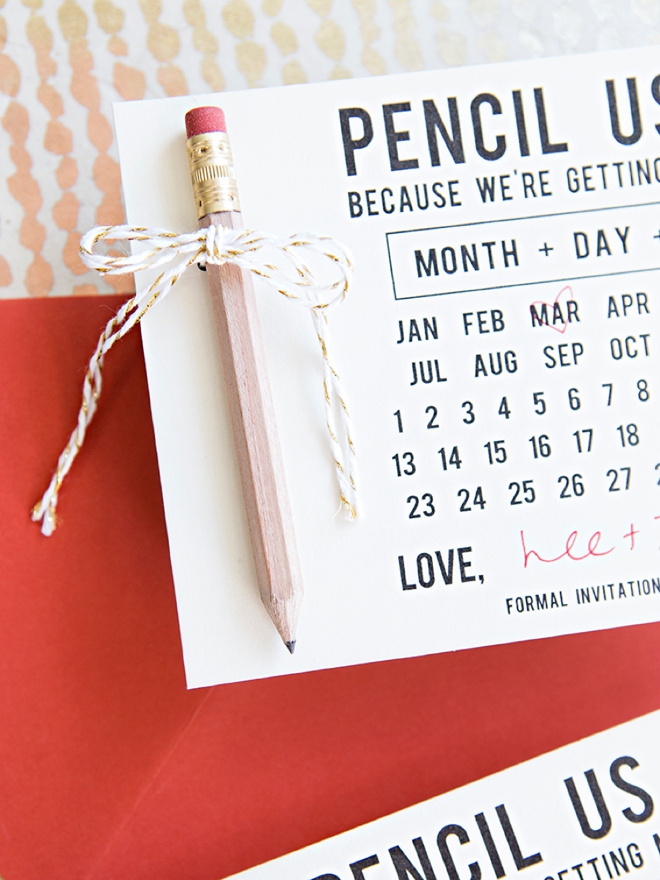
Place two pieces of twine through the holes and tie a little bow to attach the darling mini-pencils! These are technically “golf” pencils… and you can order them in many different colors, or there are people on Etsy that will personalize them for you!
Easy As Pie
Download, print, trim, hole punch, bow, fill out and send! Could it be any easier!? Not only are they easy but they’re adorable and will give your guests a smile!
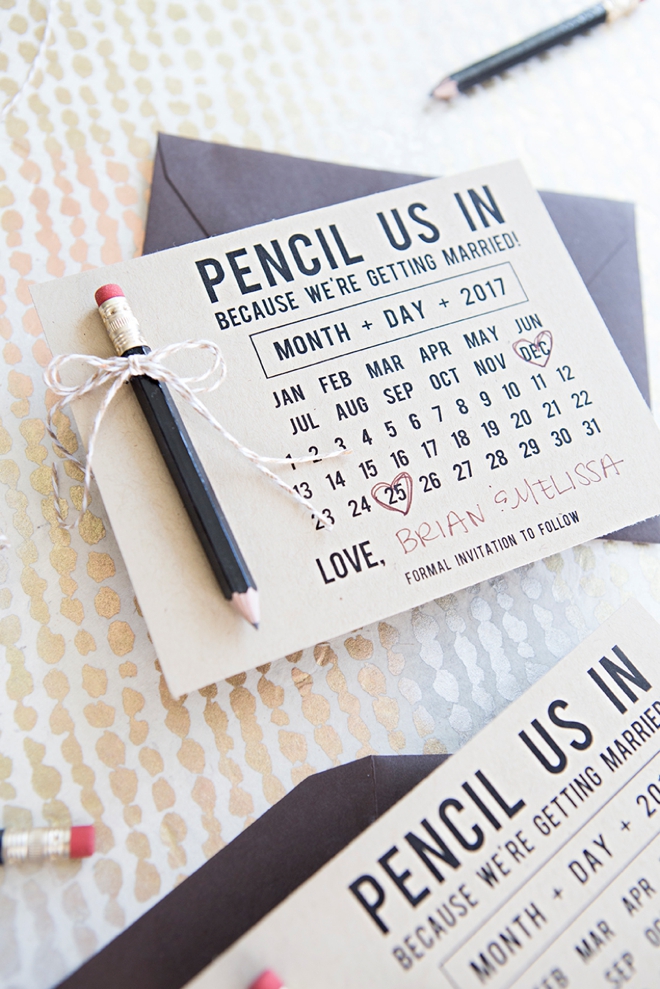
Personalize With Your Colors
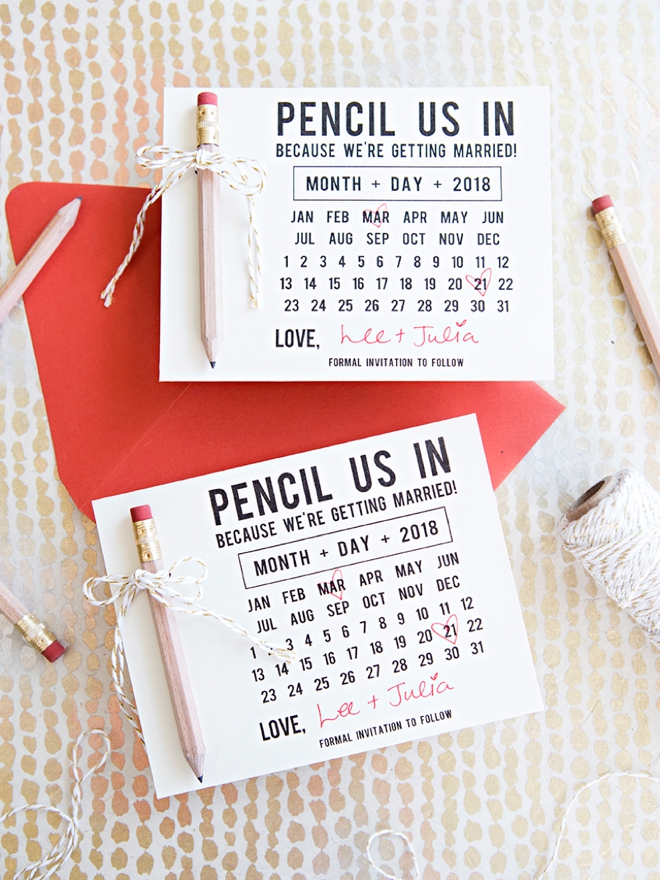
The best thing about these Save the Dates and our other free printable designs, is that they are SO easy to customize to your wedding color scheme. By choosing the paper, envelope, pencil, and twine to match – you’ll be able to match these to the look of any theme!
DIY TUTORIAL SPONSORED BY:
Canon U.S.A., Inc. prides itself on allowing consumers to create and preserve beautiful imagery, from capture to print. With wireless technology and seamless printing capabilities, you can print your photos and printables with precision and ease.
Grab The Downloads:


As with all our DIY tutorials, if you create one of our projects please send us a picture – We Love Seeing Your Creativity! If you use Instagram or Twitter please use the hashtag #SomethingTurquoiseDIY and it will show up on our Get Social page. Happy Crafting!
DIY Tutorial Credits
Photography + DIY Tutorial + Printable: Jen Causey of Something Turquoise // Canon PIXMA TS9020: courtesy of Canon // Mini-Pencils: Amazon // 8.5″ x 11″ Cardstock and A2 Envelopes: Paper Source // Crop-a-Dile Hole Punch: Amazon // Twine: Amazon // Paper Trimmer: Fiskars // Nail Polish: OPI – Withstands the Test of Thyme
Shop The Supplies:
Find the supplies you’ll need for this project from our affiliate links below:

Comments