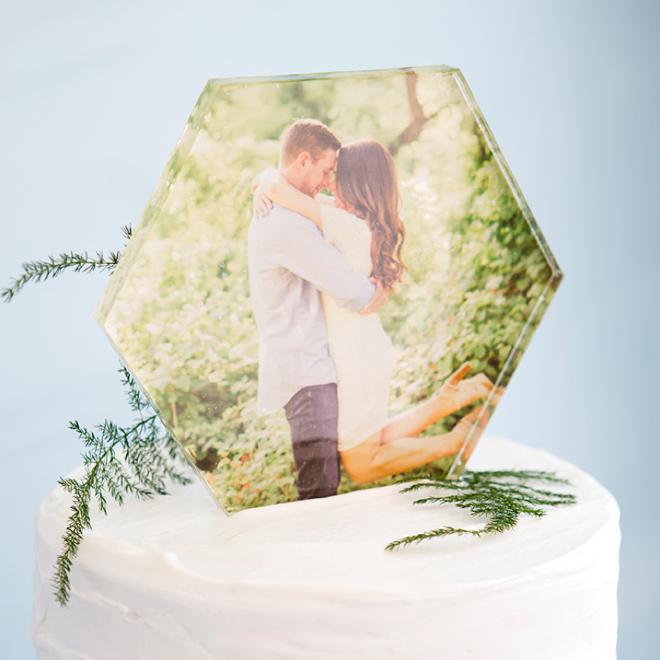

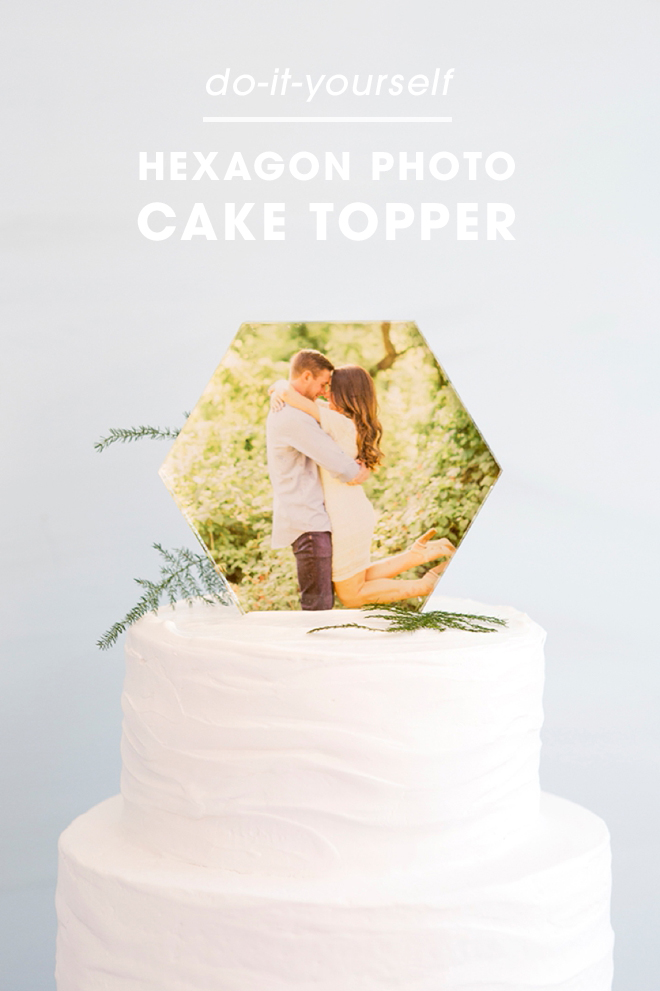
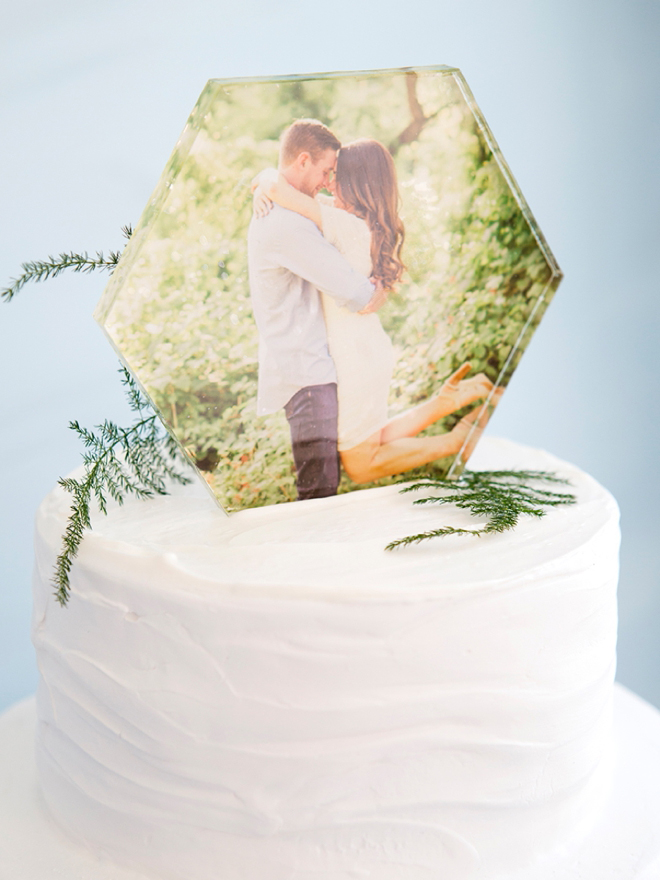
DIY – Photo Hexagon Cake Topper
-Sponsored Post-
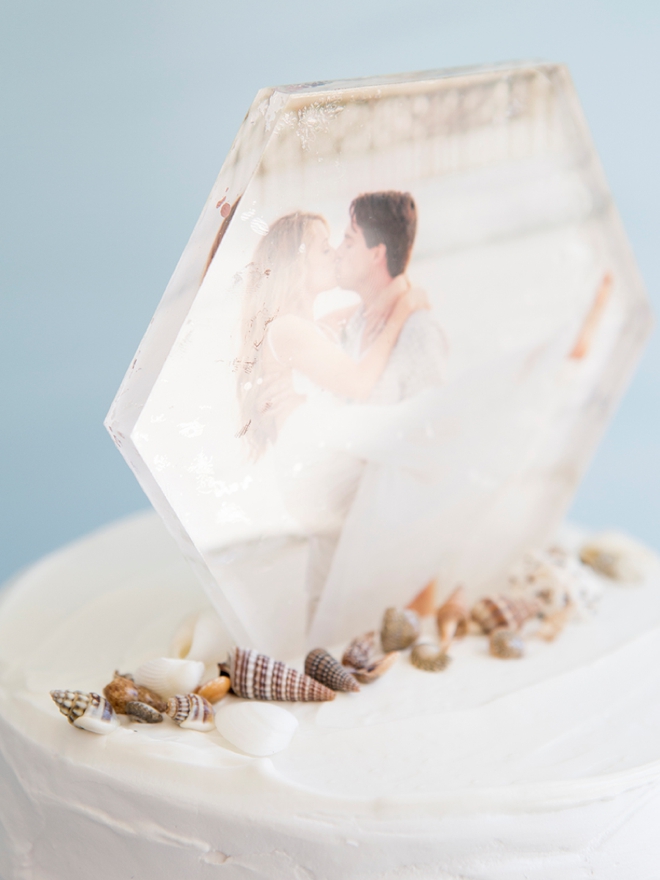
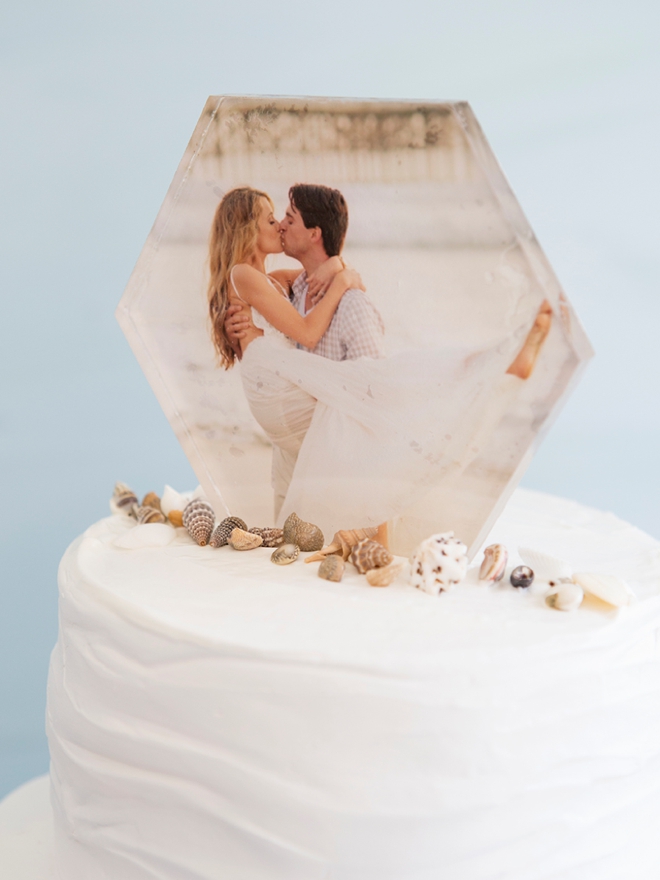
I LOVE fun and unique cake toppers. In fact, creating your own cake topper is one of the top 5 easiest DIY projects you can make for your wedding. Why? Let me tell you! It’s a big impact project that you only have to make one of; meaning all your guests will see it and it will be heavily photographed. They also make wonderful keepsakes, especially today’s idea. So bust out your favorite Canon printer, today I’m using my compact + quick PIXMA TS9020, and create this adorable hexagon photo cake topper! Although the project itself is quick and easy, you need to account for “dry time”, so plan to start the project on a Friday night and by Saturday afternoon it will be dry and ready to place on top of your delicious wedding cake!
Your Favorite Photo
I think the perfect photo to use for this project is your most favorite photo of the two of you! Whether it’s a candid, a selfie or a professional engagement shot… as long as you love it – it will be superb!
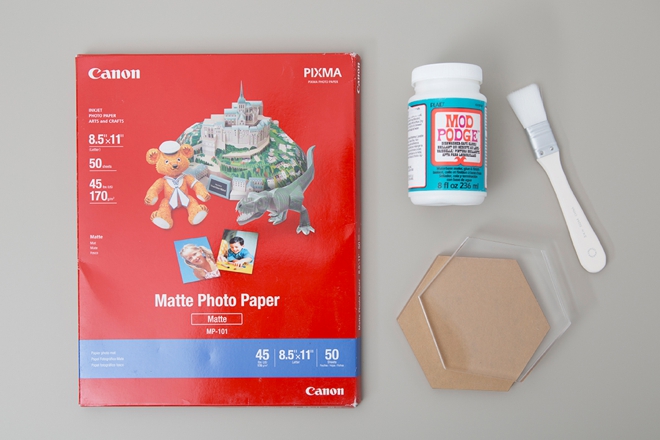
SUPPLIES:
- Canon PIXMA TS9020
- Canon 8.5″ x 11″ Matte Photo Paper
- 5″ x 3/8″ Clear Acrylic Plexiglass Hexagon
- Dishwasher Safe Mod Podge
- Paint Brush
- Scissors
- Cute photo of you and your fiancé!
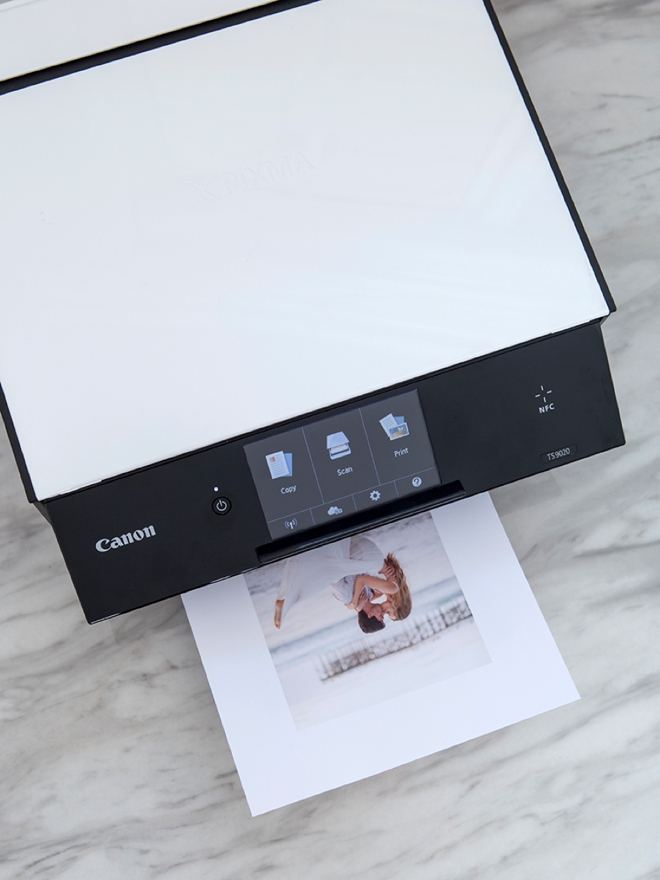
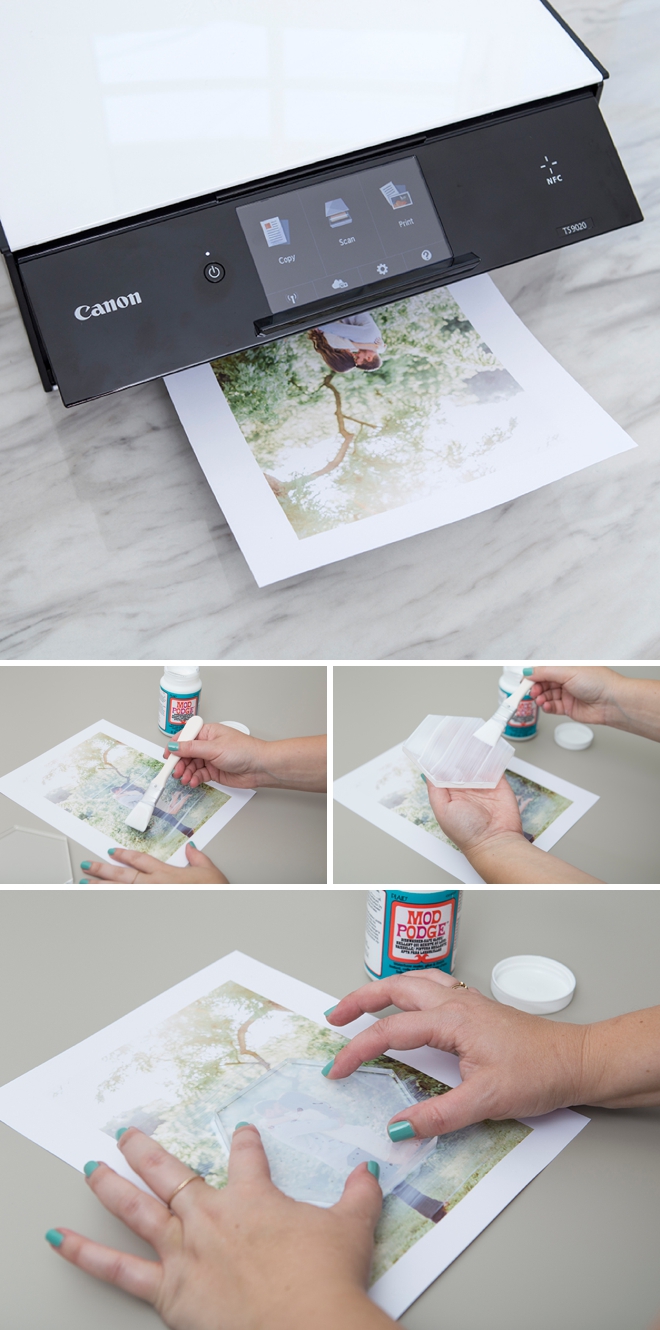
Size + Print
Use your design software of choice to resize your favorite photo, so that it’s a little larger than 5″ at the widest point. Then print onto matte photo paper using your Canon TS9020… looks gorgeous right!?!
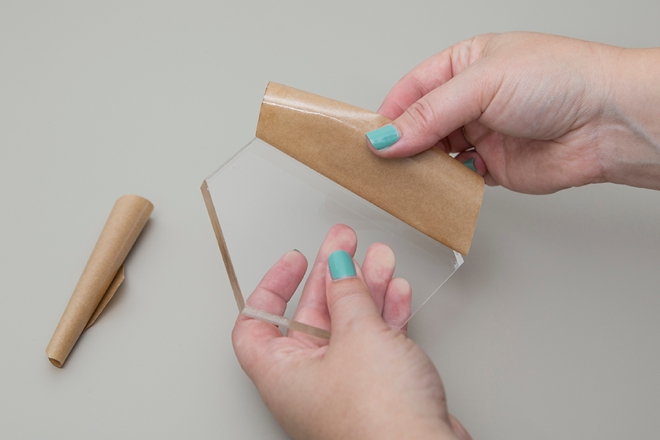
Remove Coating
Most pieces of acrylic plexiglass come with a protective coating on them which you need to remove, no biggie.
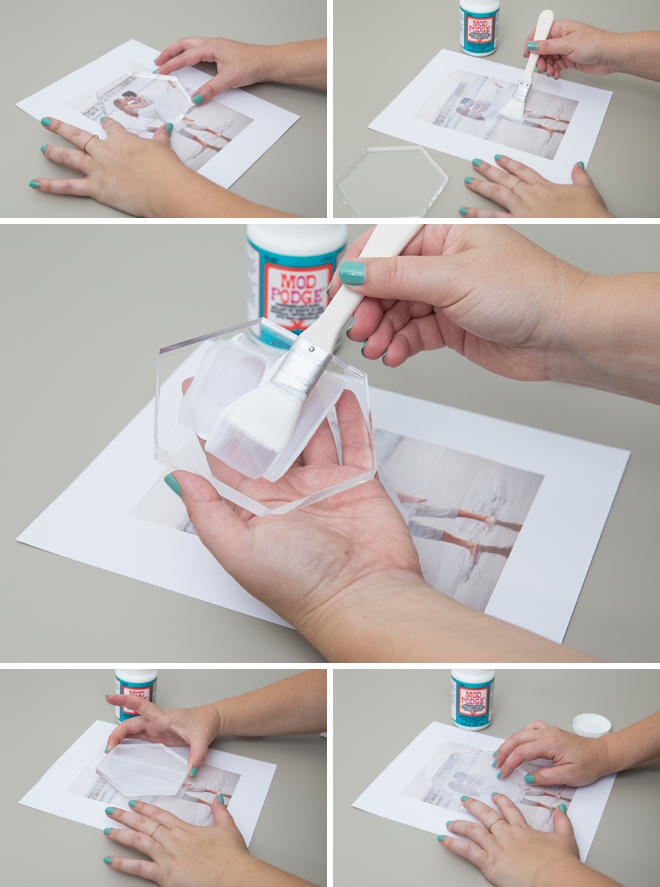
Dishwasher Safe Mod Podge
It’s the one with the turquoise label! You’ll want to use this version of Mod Podge because you will be able to stick it right in frosting and clean it off afterwards!
Center the hexagon on your photo to see where you’d like to place it. Liberally apply Mod Podge to both the photo and one side of the hexagon. Then press the two together! Some little bubbles are ok, try to smooth and press larger bubbles away.
CRAFTERS TIP // Don’t mess, press, or smoosh the photo and acrylic around too much – if you do you could scratch the photo. If you scratch the photo, no big deal, remove it from the hexagon, reprint and start over!
Let It Dry Overnight
For this step, since there is a lot of glue, you’ll want to let it fully dry overnight before you move onto the next step. The entire print and glue part is going to take you like 5 minutes, so you can do this any evening you have a few minutes to spare.
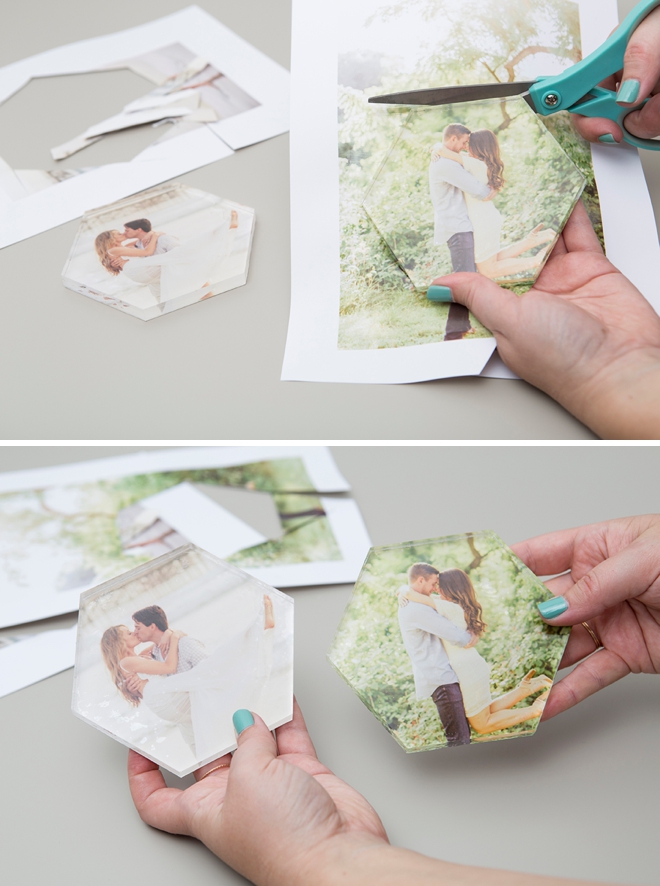
Trim Away Excess
After the Mod Podge has fully dried, simply cut the extra parts of the photo away, following the line of the hexagon closely. Easy right!?
Final Seal
To fully seal your photo to the plexiglass you’ll need to apply two coats of Mod Podge to the backside, with an hour of dry time in between each coat. Make sure to focus on the edge where the photo meets the plexiglass!
28 DAYS: For this project to be truly dishwasher safe, it needs to cure (or dry) for 28 days. Meaning it would be best if you could make this project 1 month before your wedding. That way when you remove it from the frosting of your cake, you can wash it off and keep it forever!
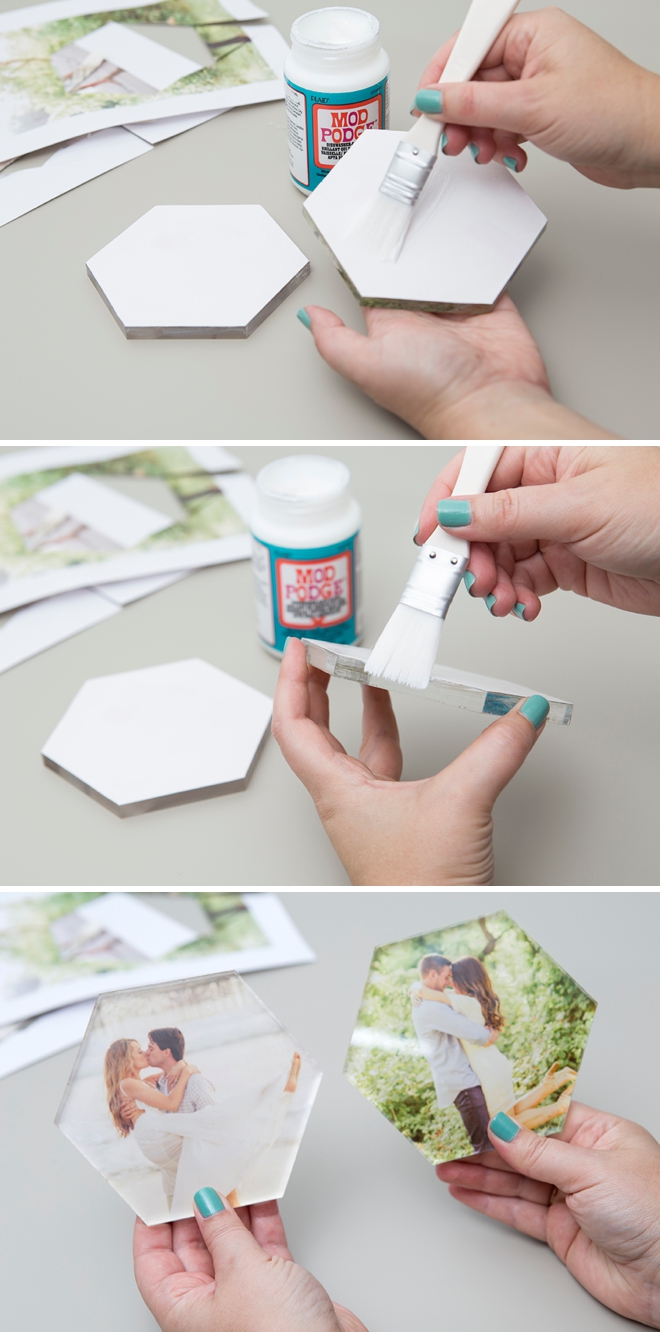
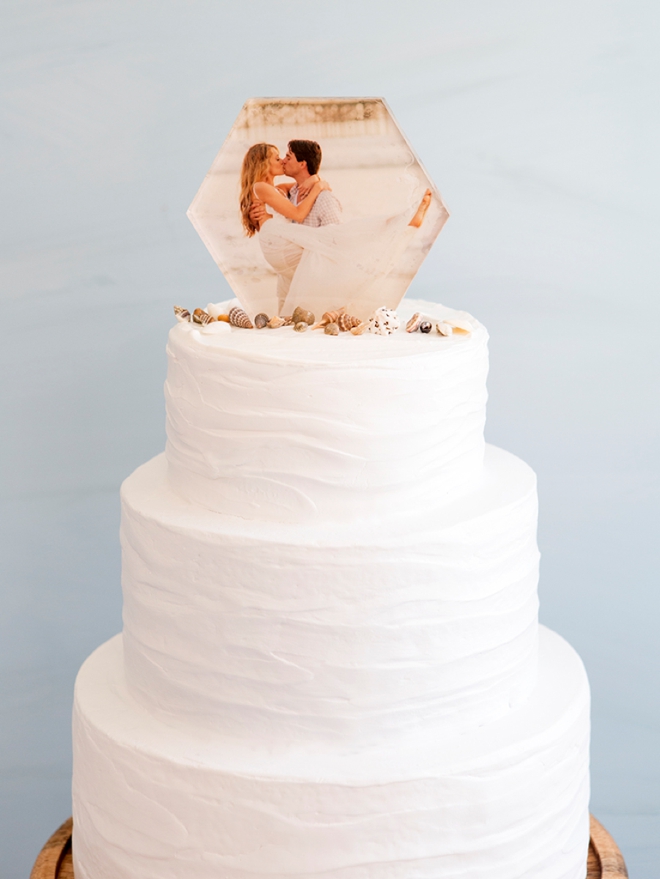
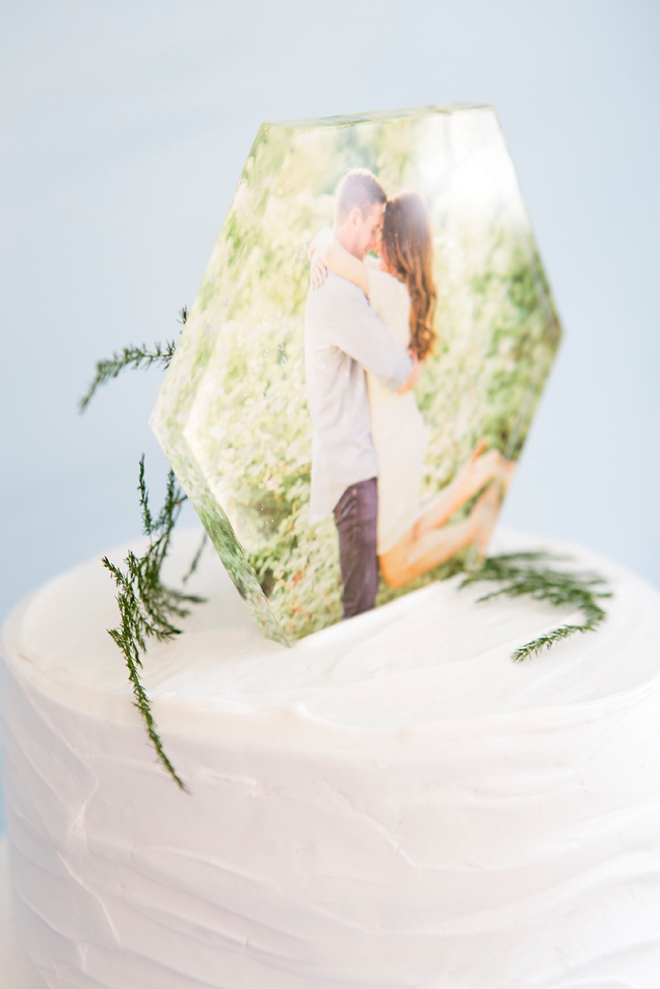
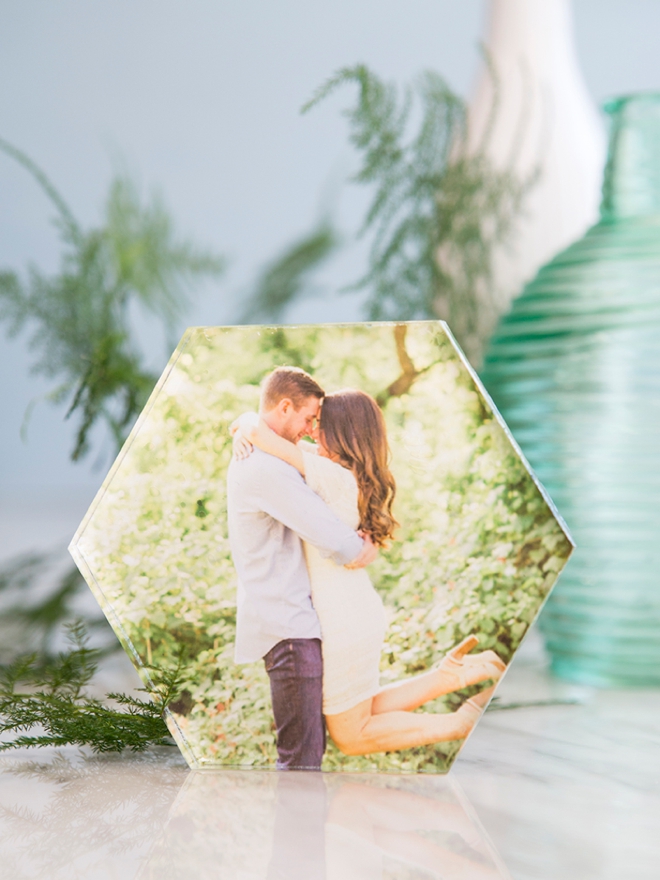
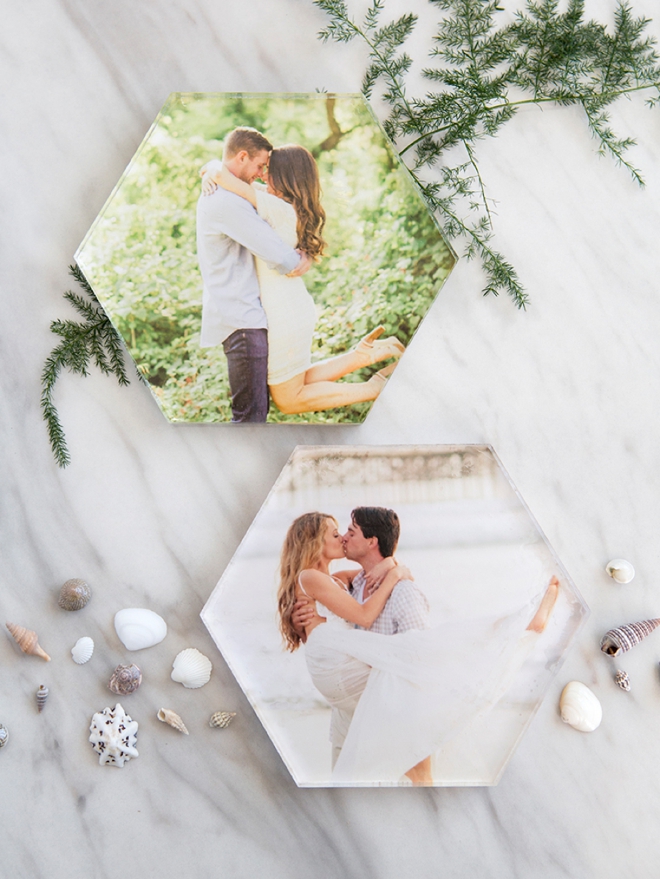
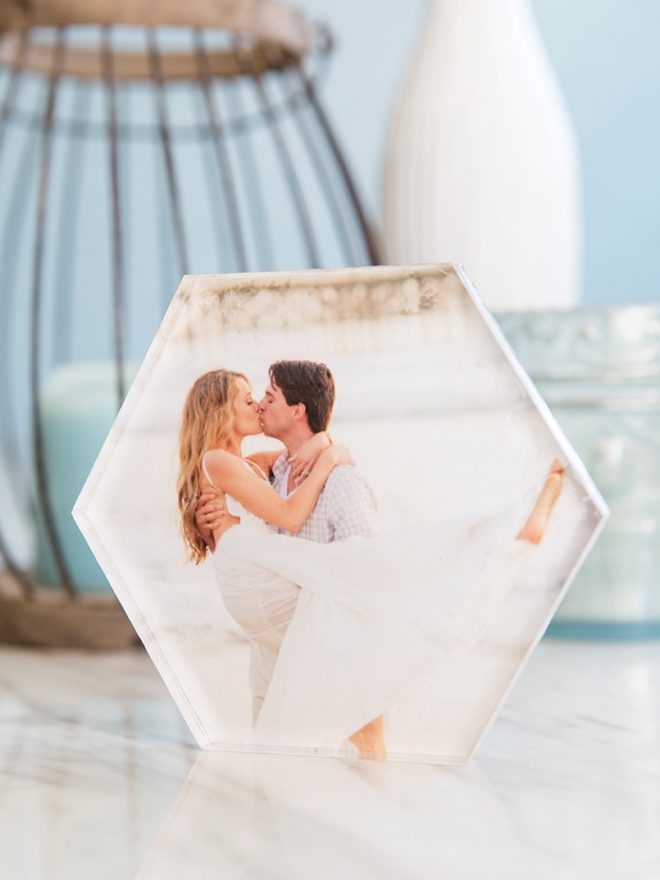
Photo Keepsake
So let’s say that you already have the perfect cake topper but you love this idea, you can still make one of these darling photo tiles as a keepsake! It would make the perfect addition to any desk or lovely decor for your bedroom. Use your wedding photos or maybe even one from your honeymoon!
DIY TUTORIAL SPONSORED BY:
Canon U.S.A., Inc. prides itself on allowing consumers to create and preserve beautiful imagery, from capture to print. With wireless technology and seamless printing capabilities, you can print your photos and printables with precision and ease.
Special Thanks
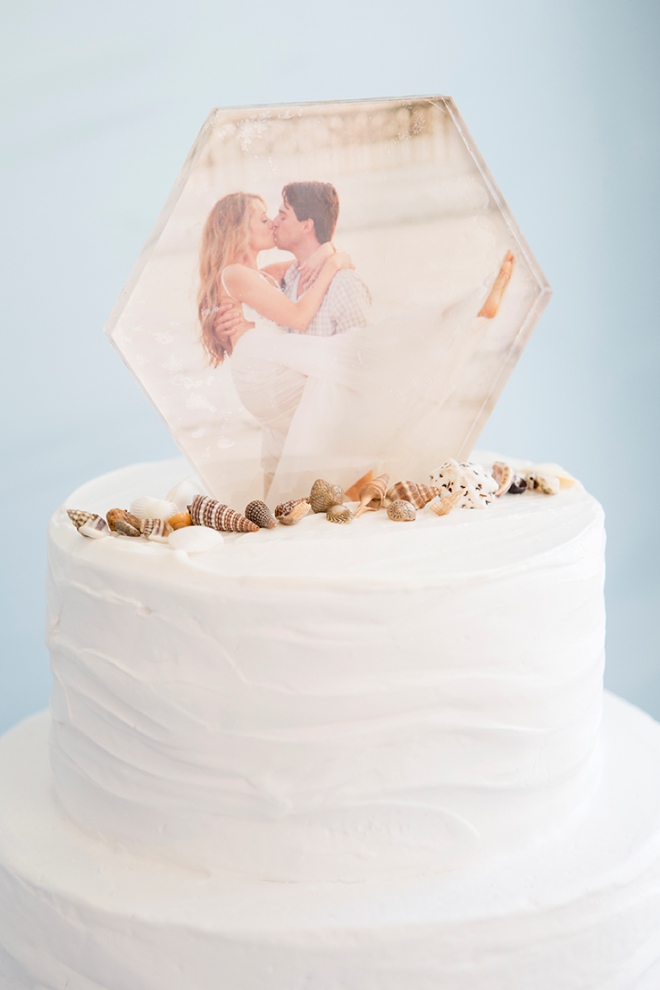
A very special thanks to Laura of Walking Eagle Photography (see Jeff + Jessi’s entire engagement feature on ST here) and Ashley of Ashley Errington Photography (see Elliot + Elisha’s entire engagement feature on ST here) for letting me use these two gorgeous images for the project!
As with all our DIY tutorials, if you create one of our projects please send us a picture – We Love Seeing Your Creativity! If you use Instagram or Twitter please use the hashtag #SomethingTurquoiseDIY and it will show up on our Get Social page. Happy Crafting!
DIY Tutorial Credits
Photography + DIY Tutorial: Jen Carreiro of Something Turquoise // Canon PIXMA TS9020 + 8.5″ x 11″ Matte Photo Paper: courtesy of Canon // 5″ x 3/8″ Acrylic Plexiglass Hexagon: Amazon // Dishwasher Safe Mod Podge: Amazon // Paint Brush: Martha Stewart Crafts // Nail Polish: OPI – Withstands the Test of Thyme
Shop The Supplies:
Find the supplies you’ll need for this project from our affiliate links below:

Comments