
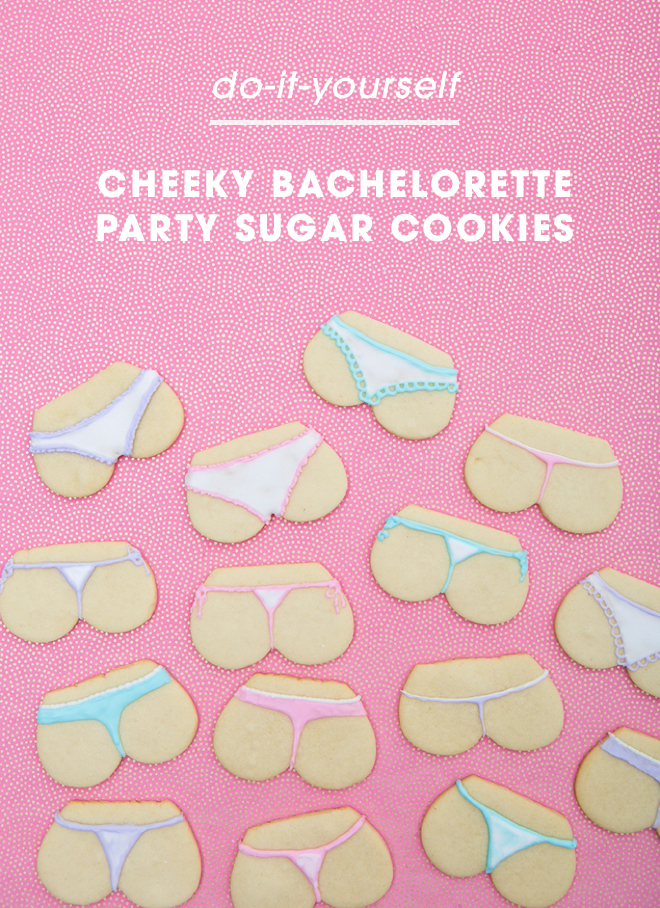
DIY – Cheeky Bachelorette Party Sugar Cookies
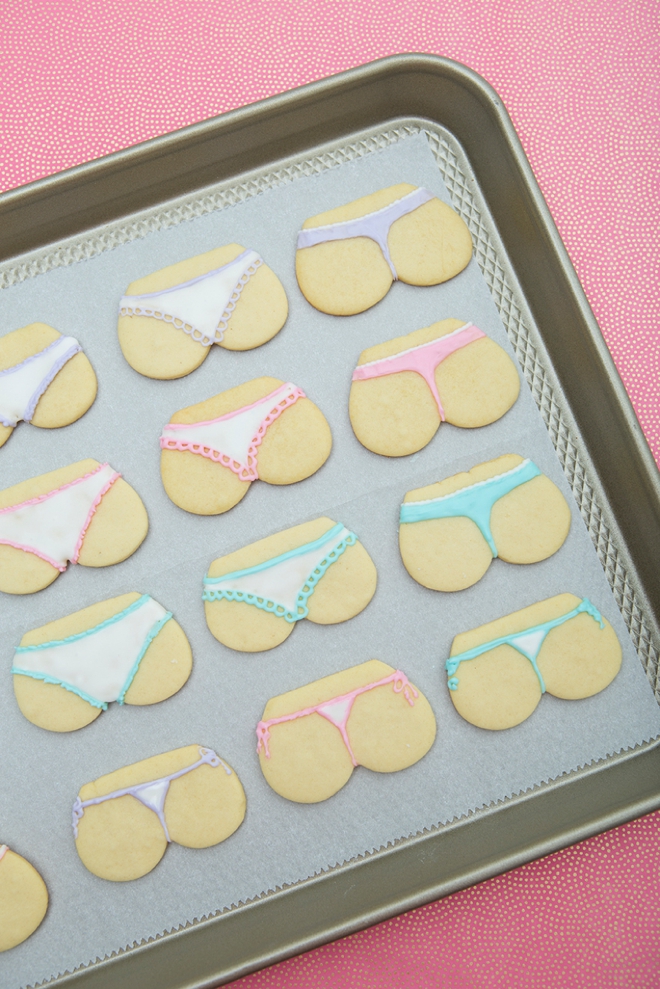
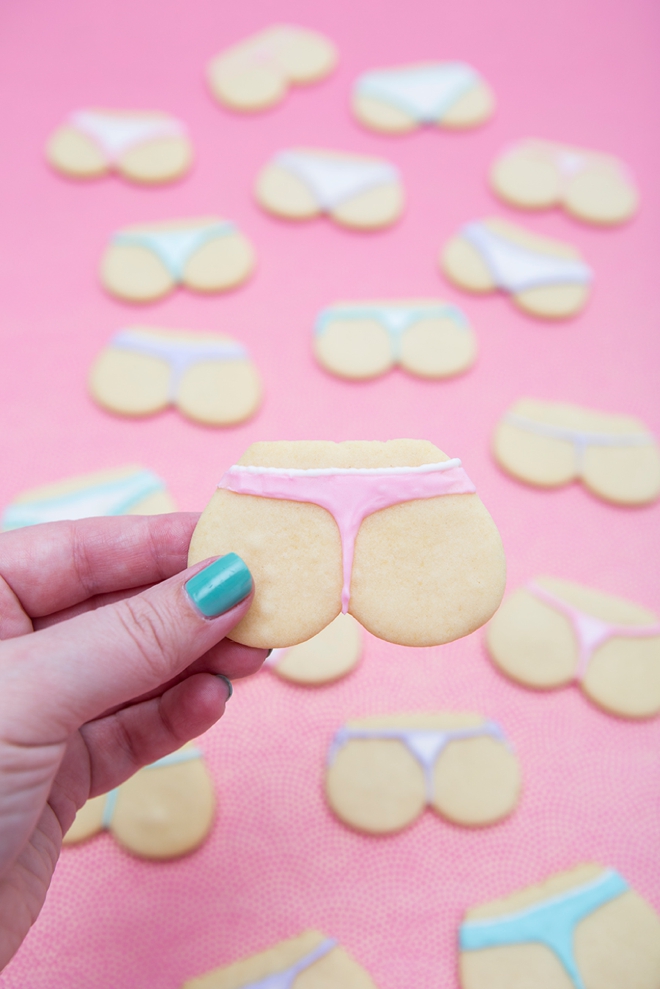
Seat, rump, rear, backside, cheeks, booty, fanny, tush, tail, heinie, caboose, bum… pick your poison! These fabulously cheeky sugar cookies are a MUST MAKE for your next bachelorette party! Don’t let their chic look fool you, if you can make cookies – you can make these. I found a terrific sugar cookie mix that truly holds it’s shape and a delicious royal frosting mix that will make you look like a pro baker. This isn’t a super quick project, so give yourself a few hours to complete. Put on your favorite tv show or podcast, pour some wine and frost yourself some cute buns!
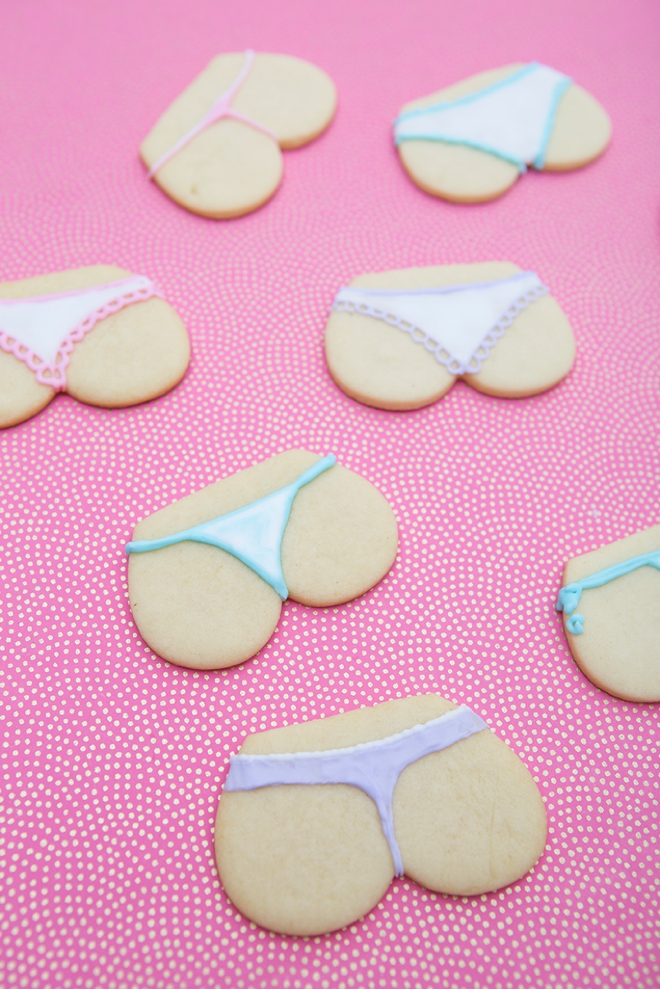
Suns Out – Buns Out
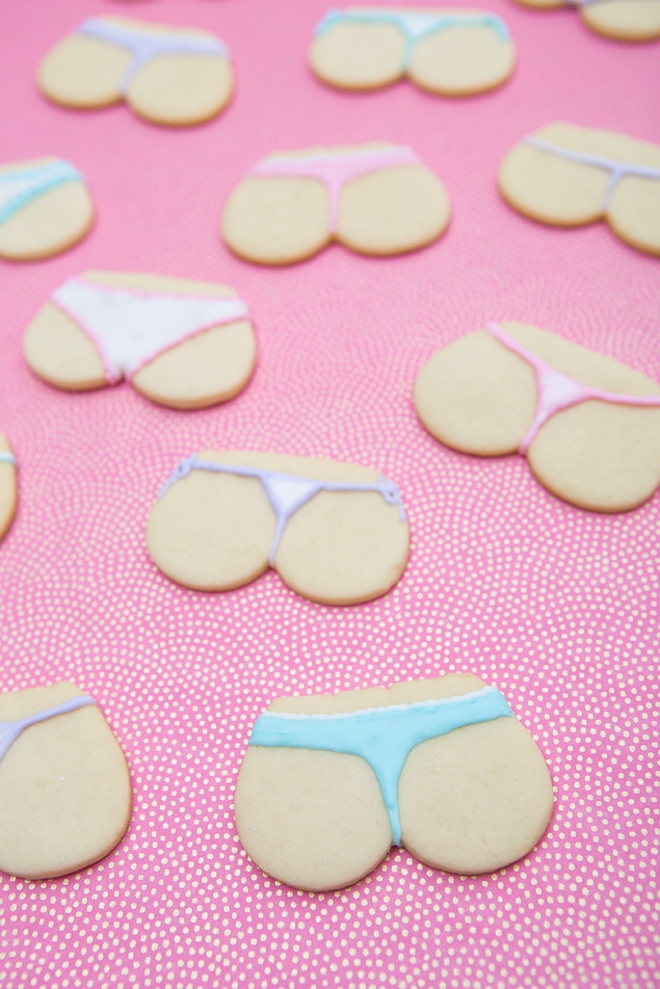
Are these freaking hilarious or what!?! Keep in mind that if you’re a frosting lover – you’ll need to make the panties bigger. The smaller the thong, the less frosting, hahahaha! To add more frosting you can always frost the “skin color” of the cookies.
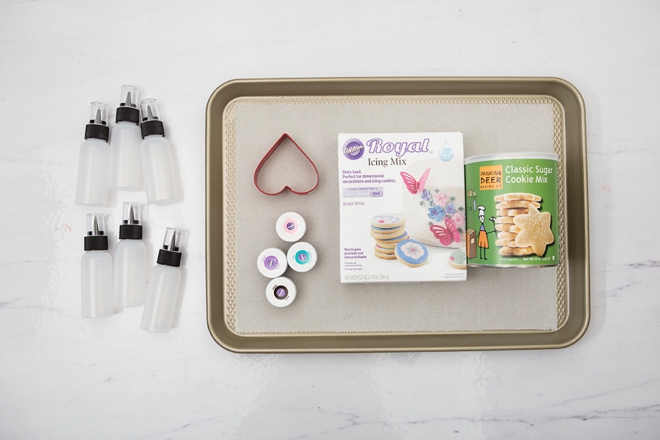
SUPPLIES:
- Classic Sugar Cookie Mix
- 3″ Heart Cookie Cutter
- Royal Icing Mix
- Food Coloring
- Squeeze Writer Bottle
- Parchment Paper
- Baking Sheet
Make + Bake
I LOVE this sugar cookie mix!!!! Not only is it yummy but the cookies PERFECTLY hold their shape! Follow the mixing directions on the package and then roll out the dough to 1/4″ thickness. Carefully cut out the buns using a heart cookie cutter. You can either cut the points off, or start cutting against a line cut in the dough, your choice. Bake per directions on the box, on parchment paper.

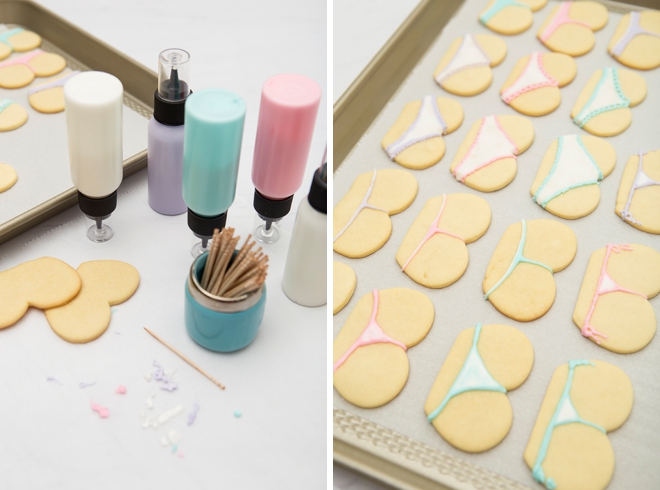
Mix + Color
Royal icing can seem tricky but it’s pretty basic. Using thick icing (less water added) will result in firm hard shapes, using thinner icing (more water added) will allow for it to “flood fill” and cover flat areas drying smoothly. You need both to create these cookies.
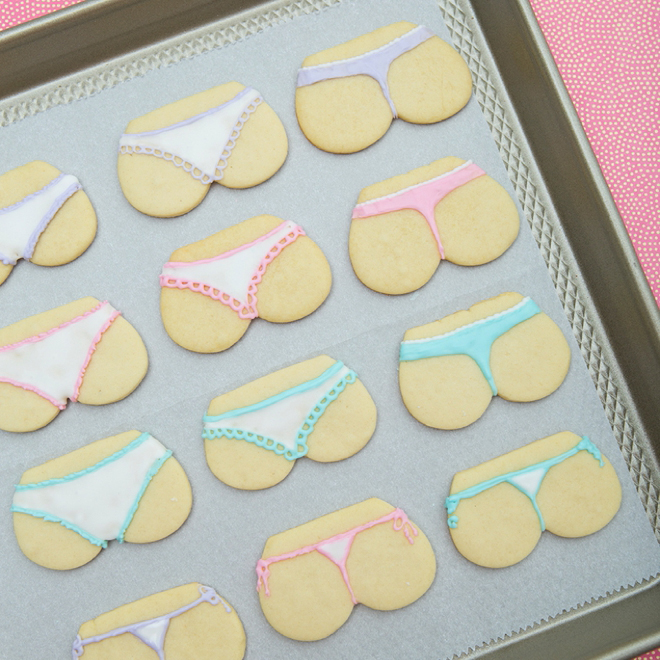
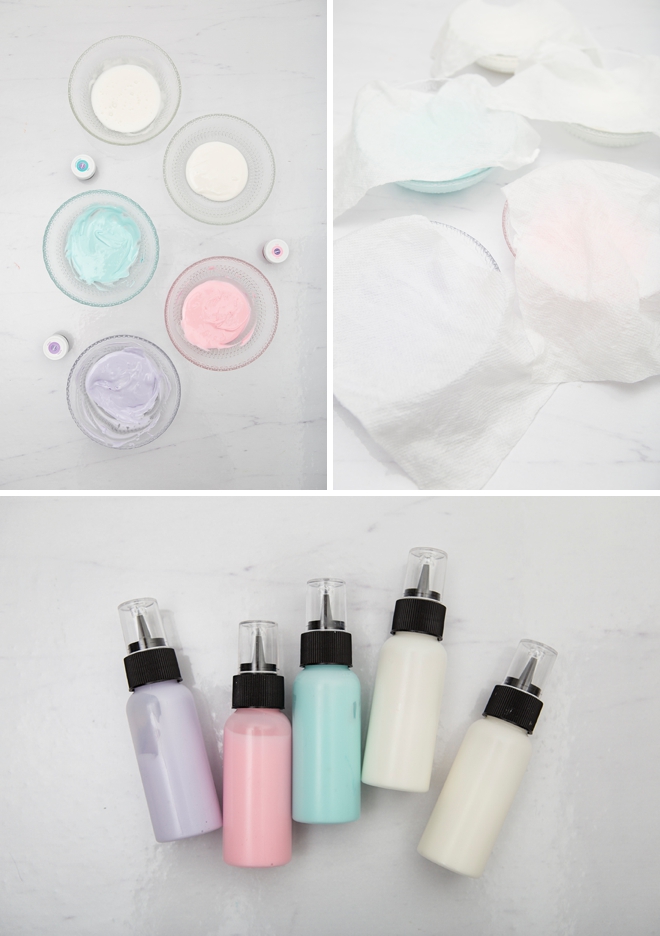
I made the entire box of icing and divided it between 5 bowls; pink, aqua, lavender, two whites. The white is the only color I chose to use to flood fill the undies.
Royal icing will dry up while working with it, so make sure to cover your bowls with damp paper towels.
Add each color of frosting to a squeeze writer bottle. Keep the caps on while working!
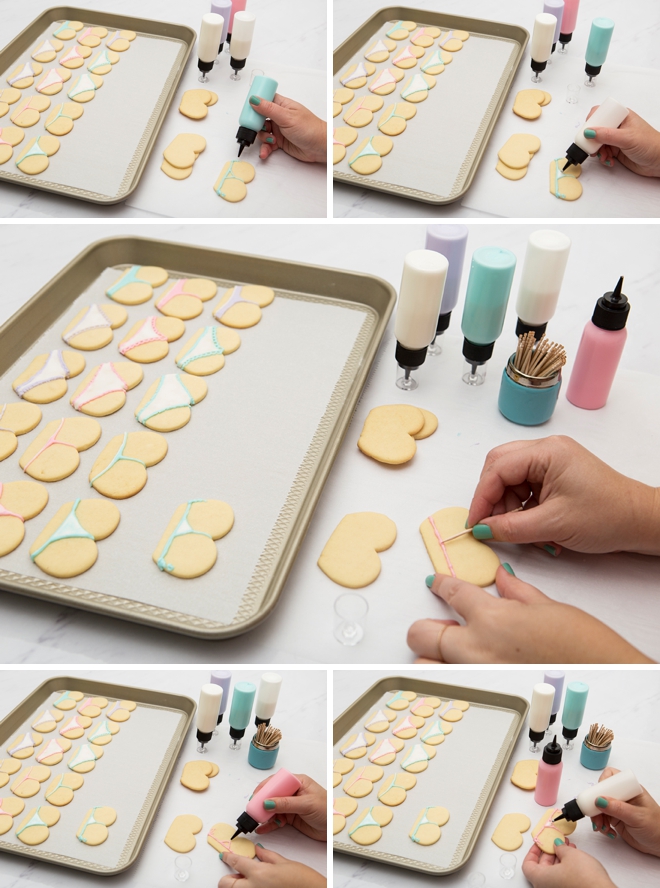
Frost Your Buns
Carefully and slowly use the squeeze writer bottles to create different types of underwear on the buns. If you mess up you can use a toothpick to smooth things out.
To “flood fill” simply outline an area with icing, let it dry for a few minutes and then go back and fill the area with the thinner frosting. Use a toothpick to help it smooth out and fully cover the desired area.
Drying Time + Freshness
It could take up to 12 hours for the icing to fully set. In the meantime cover your tray with plastic wrap, making sure the plastic doesn’t touch the wet frosting. After that feel free to wrap them up however you desire. Packaged cookies can remain fresh for up to two weeks.
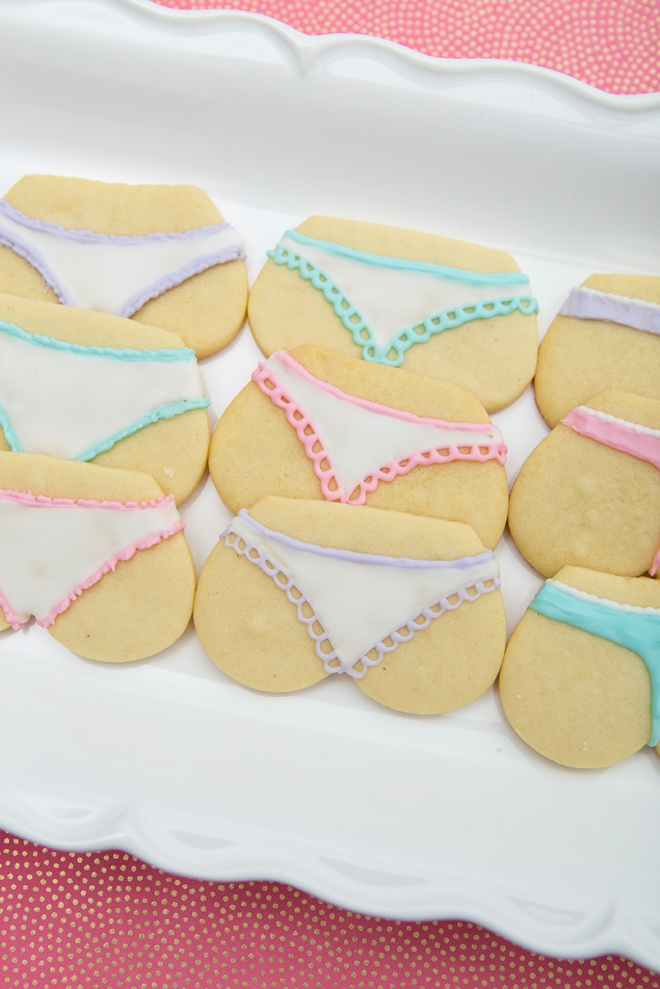
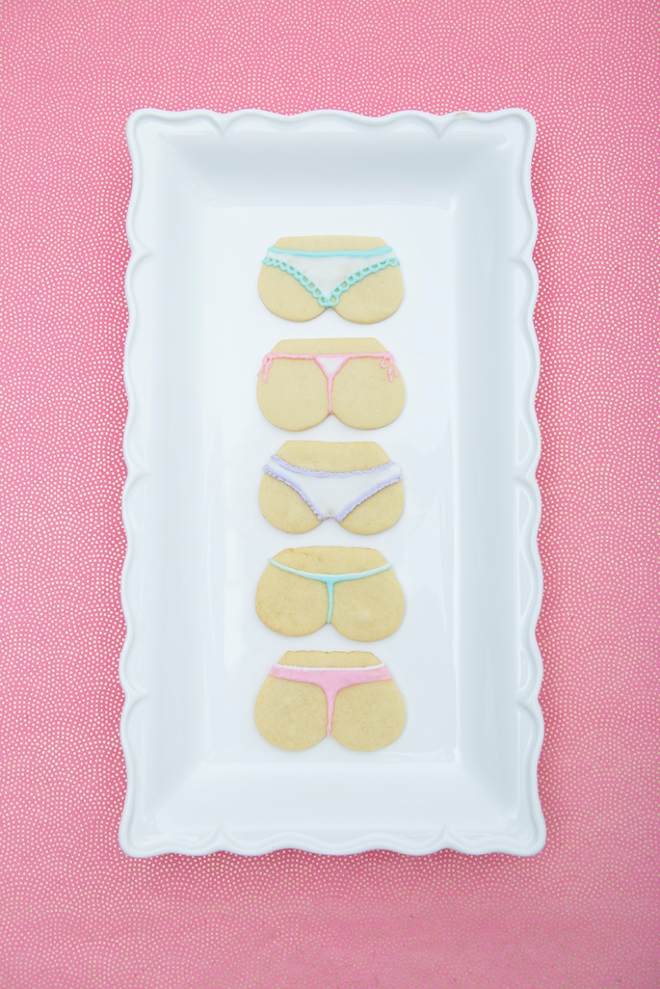
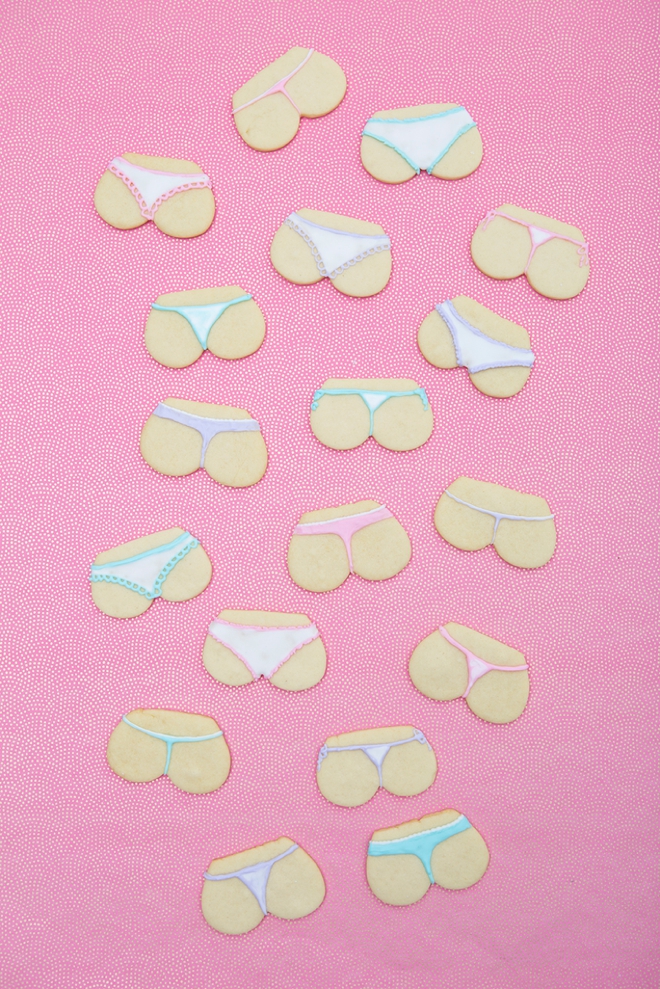
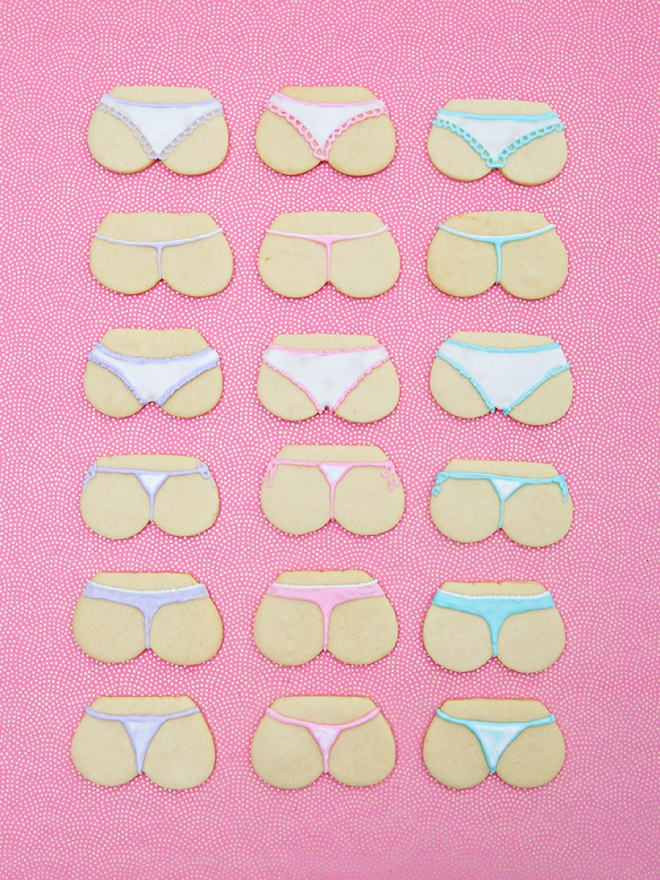
Buns Have Never Looked So Good!
These are freaking cracking me up!!! Fun to make, yummy to eat, and the perfect handmade detail for a lingerie shower or bachelorette party!
As with all our DIY tutorials, if you create one of our projects please send us a picture – We Love Seeing Your Creativity! If you use Instagram or Twitter please use the hashtag #SomethingTurquoiseDIY and it will show up on our Get Social page. Happy Crafting!
DIY Tutorial Credits
Photography + DIY Tutorial: Jen Carreiro of Something Turquoise // Classic Sugar Cookie Mix: Amazon // 3″ Heart Cookie Cutter: Amazon // Royal Icing Mix: Amazon // Food Coloring: Amazon // Squeeze Writer Bottles: Amazon // Cookie Baking Parchement Sheets: Amazon // Cookie Sheet: Target // Nail Polish: OPI – Withstands the Test of Thyme
Shop The Supplies:
Find the supplies you’ll need for this project from our affiliate links below:

Comments