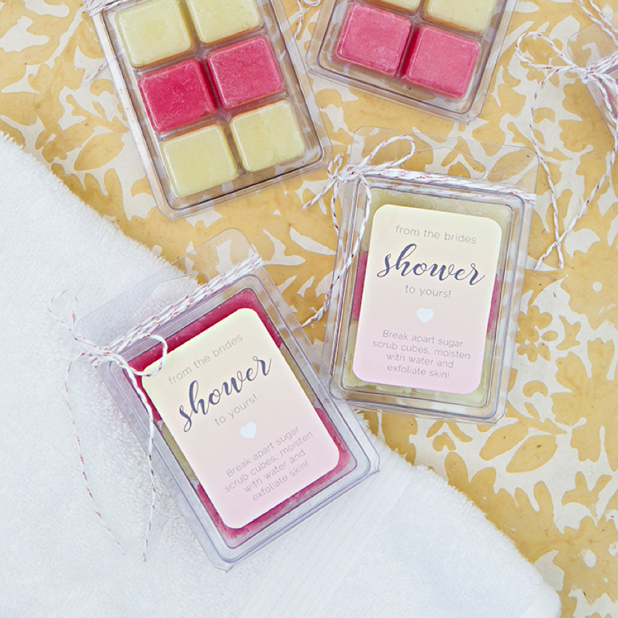

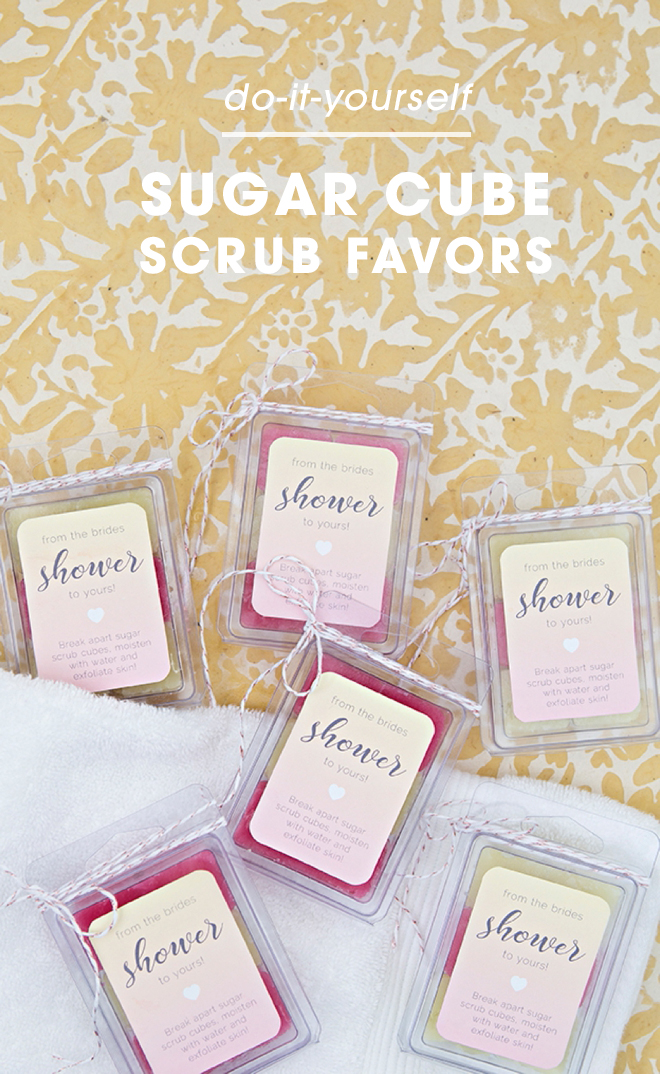
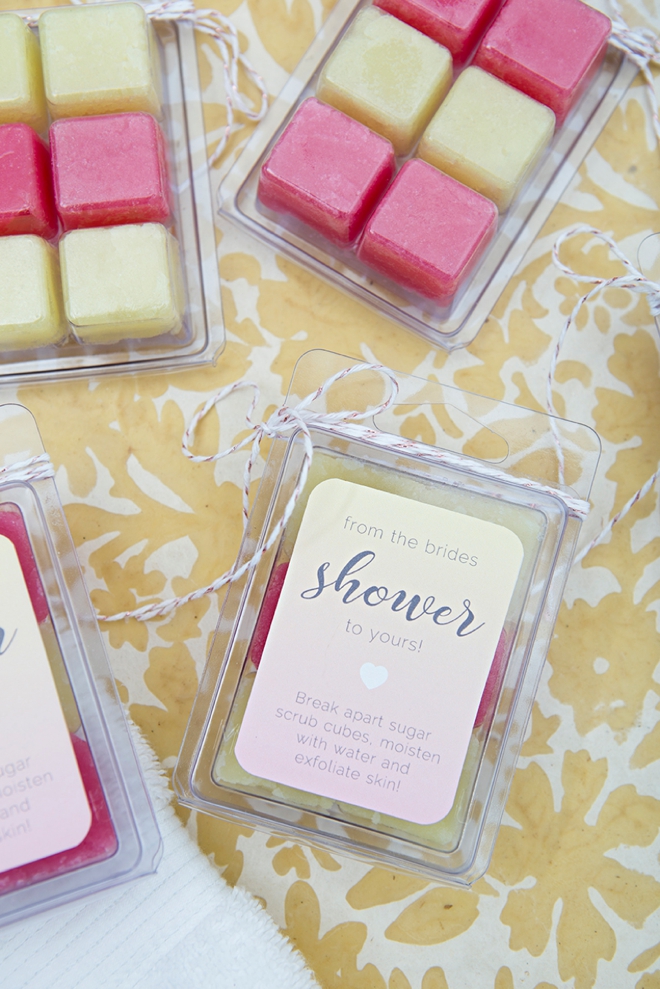
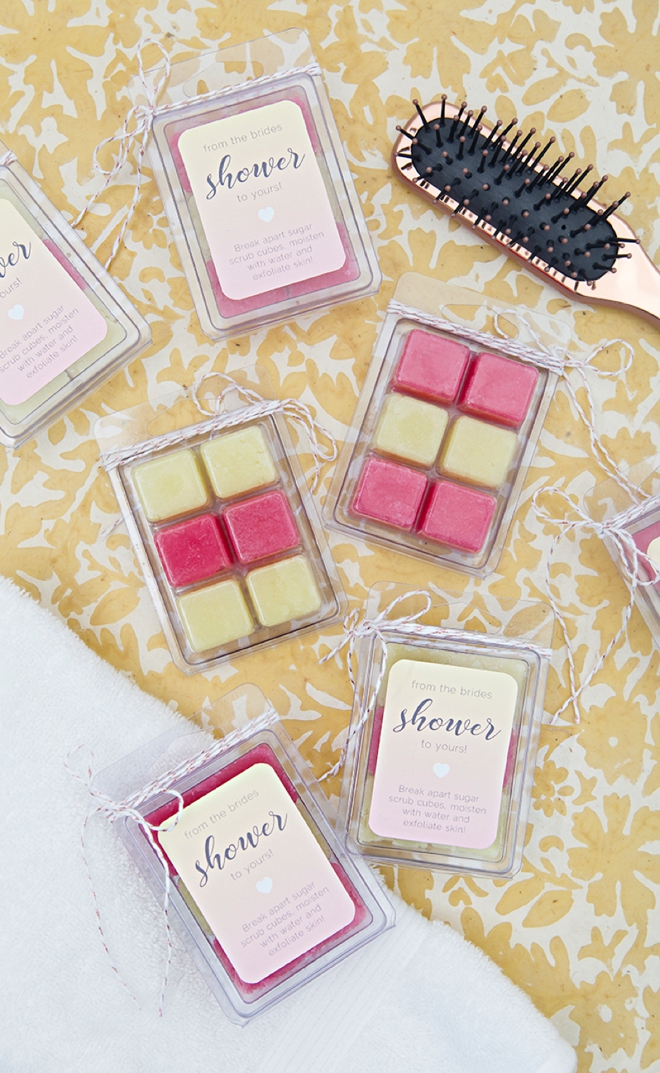
DIY | Sugar Cube Scrub Bridal Shower Favors
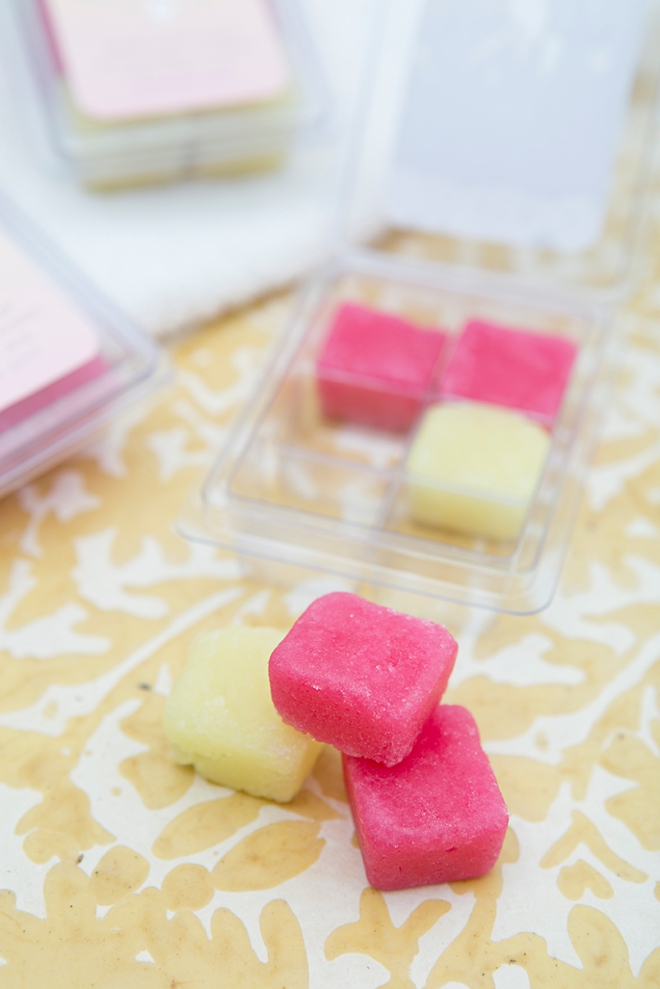
I love a fun and fresh beauty DIY project and when I saw this sugar scrub cube idea from Bramble Berry I fell head over heels. I use a facial and body scrub almost every day and so the solid, cube form of this project was super interesting to me. Instead of putting your hand in a big jar and scooping out some scrub, just grab a cube or two, it’s that simple! In the shower, you’ll moisten the cube and gently break it apart in your hand and then use it like a regular scrub. But wait there’s more, lol. This scrub has soap in it too, which makes it cleansing as well smoothing. I think these cuties would make fabulous bridal shower favors, especially if your event is spa or beauty themed. From the brides shower to yours!
A Unique Scrub
These small sugar cube scrubs are unique for many reasons. One: they are solid, where most scrubs are not. Two: they have soap in them, which makes them a wonderful cleanser too. Three: the sweet almond oil is nourishing to the skin. Four: they are handmade with LOVE. The best ingredient!
SUPPLIES:
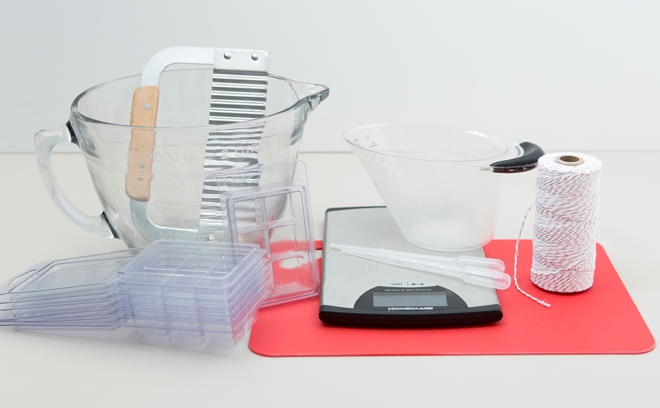
- Large Glass Mixing Bowl
- Soap Cutter (or regular knife)
- Digital Scale
- Measuring Cup
- Small Cubes Mold & Package
- Droppers
- Twine
- 8.5″ x 11″ White Sticker Paper
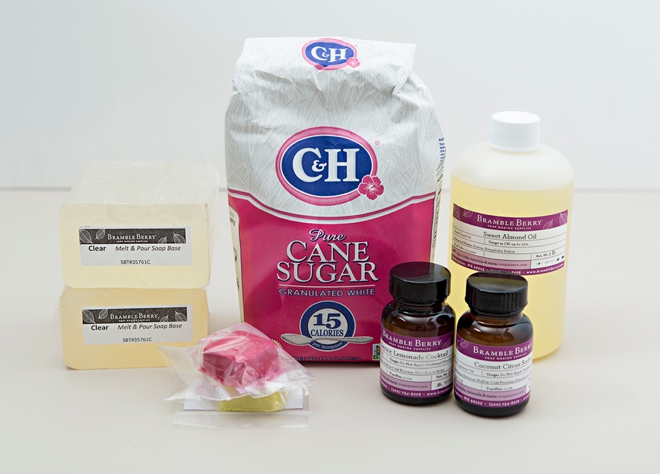
SUPPLIES:
- White Granulated Sugar
- Clear Melt & Pour Soap
- Sweet Almond Oil
- Fragrance Oil
- Color Blocks
RECIPE:
- 6 oz. White Granulated Sugar
- 2 oz. Clear Melt & Pour Soap
- 2 oz. Sweet Almond Oil
- 2 mL Fragrance Oil
- 1/8 Chunk Of Color Block
This recipe will fill up two of the mold packages.
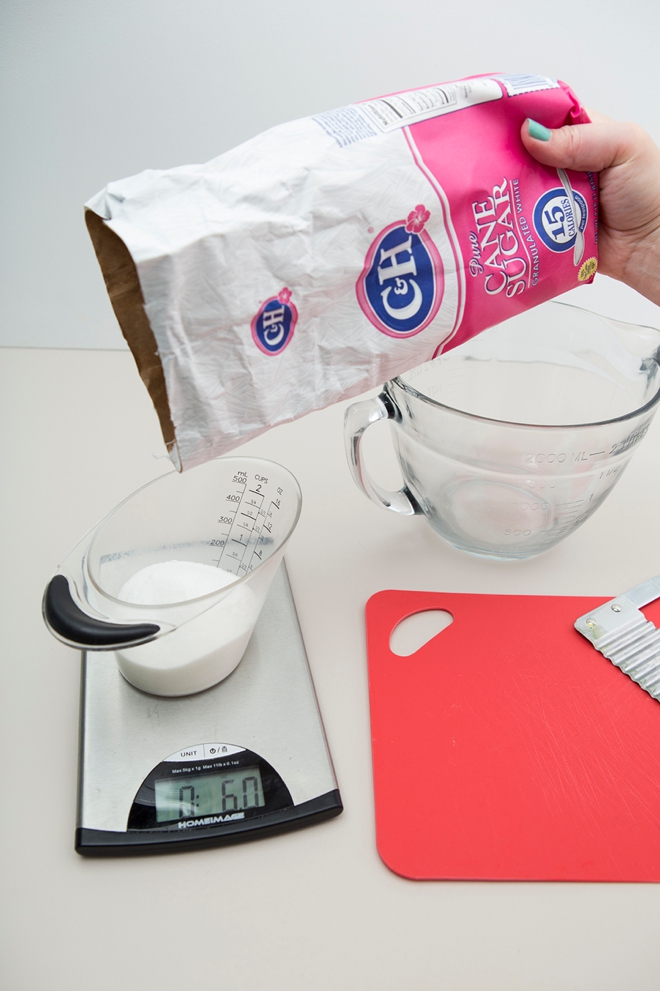
Measure 6 oz Of Sugar
Measure 6 oz of white granulated sugar and pour it into your glass mixing bowl. Sugar is a terrific scrub for your skin!
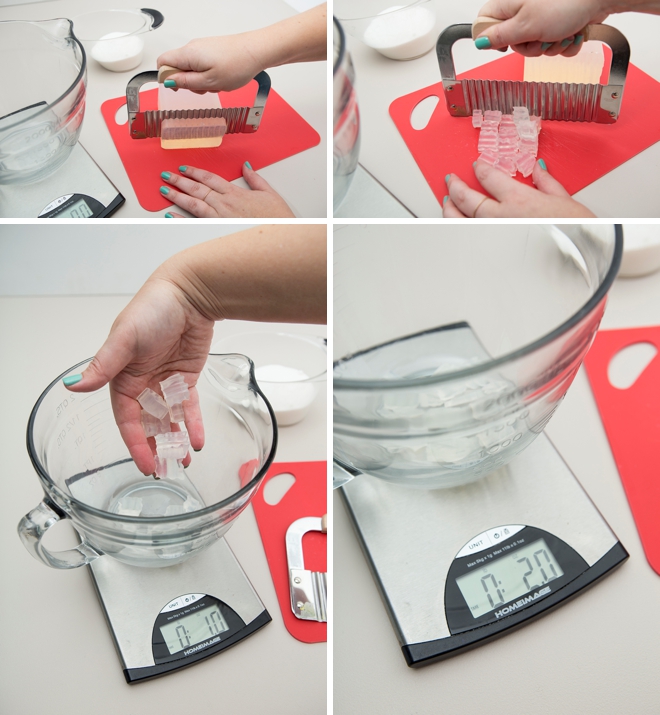
Cut + Measure 2 oz of Melt & Pour Soap
Cut and measure out 2 oz. of clear melt and pour soap and add it to the mixing bowl. The addition of soap in this recipe makes this scrub fabulously bubbly and cleansing!
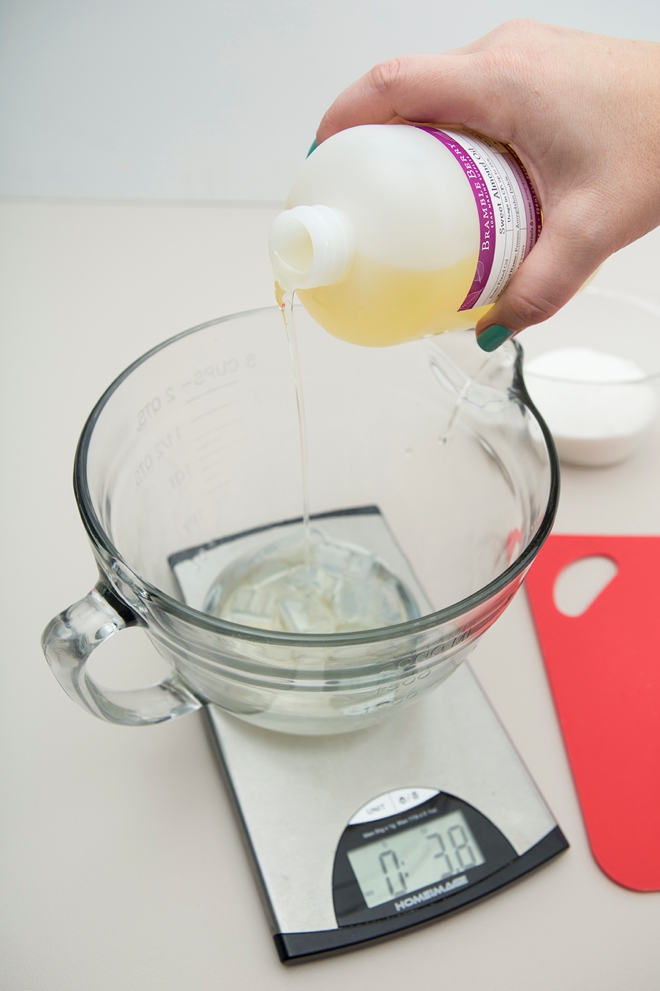
Measure 2 oz Of Sweet Almond Oil
Measure and add 2 oz of Sweet Almond Oil (or any skin nourishing oil) to your mixing bowl.
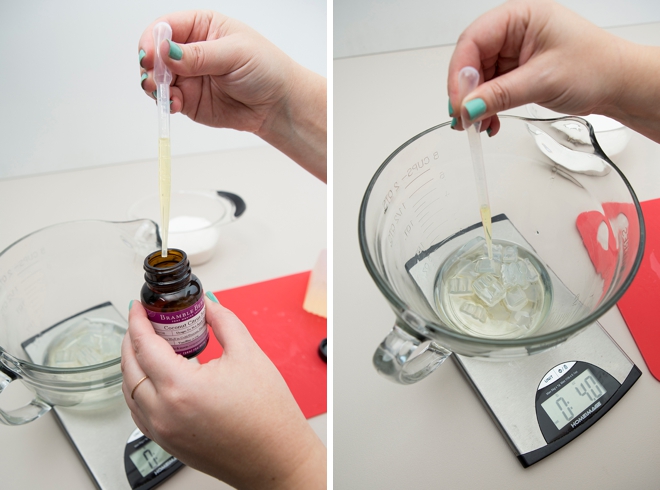
Measure 2 mL Of Fragrance Oil
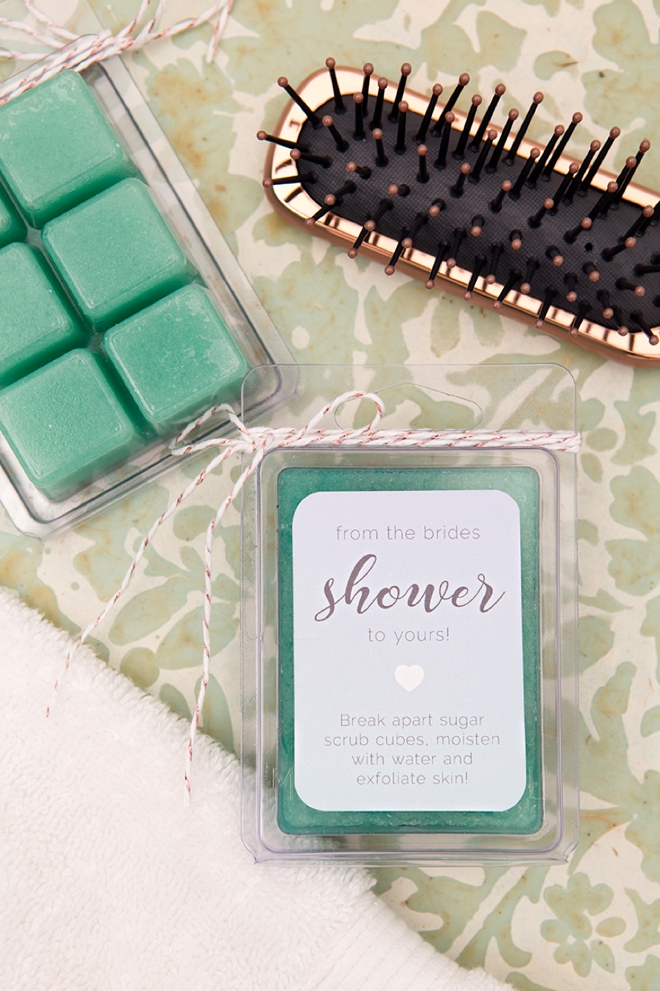
Use the fragrance oil of your choice! I used Electric Lemonade Cocktail and Coconut Citrus Sorbet from BrambleBerry.com. I’m obsessed with the Coconut Citrus, it’s going to be my new summer smell!
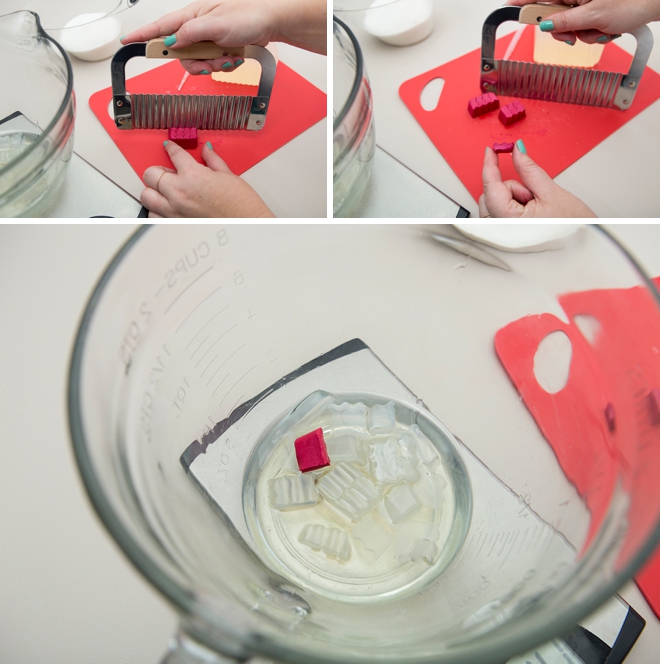
Cut + Add 1/8 Chunk Of Color Block
The color blocks from BrambleBerry.com are pre-mixed colors for melt and pour soap making. Pick your favorite color and cut and add only 1/8 of the entire block to your mixture. The more you add the darker the color and vice versa.
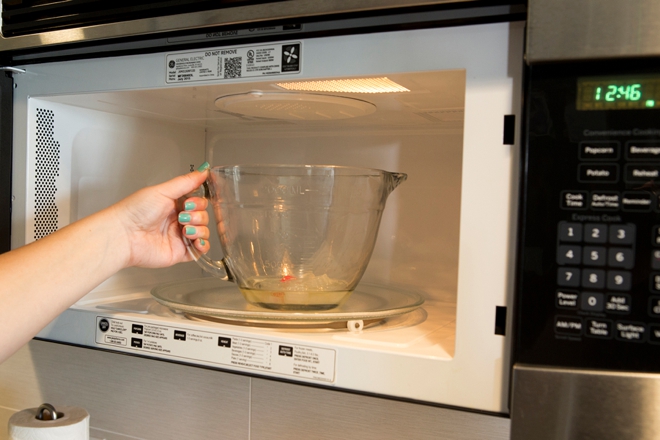
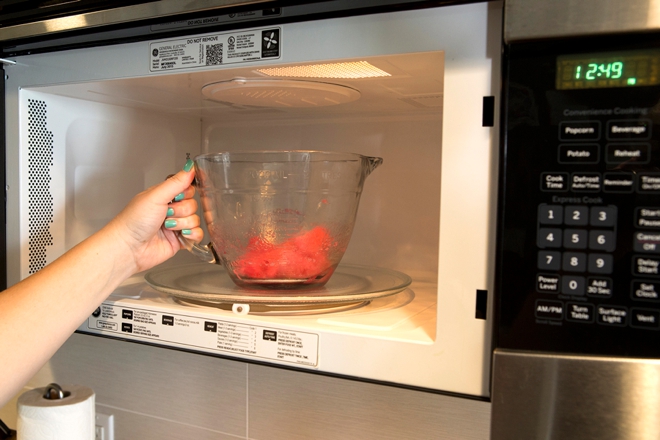
Microwave for 30 Seconds
Everyones microwave will be different but 30 seconds should do the trick.
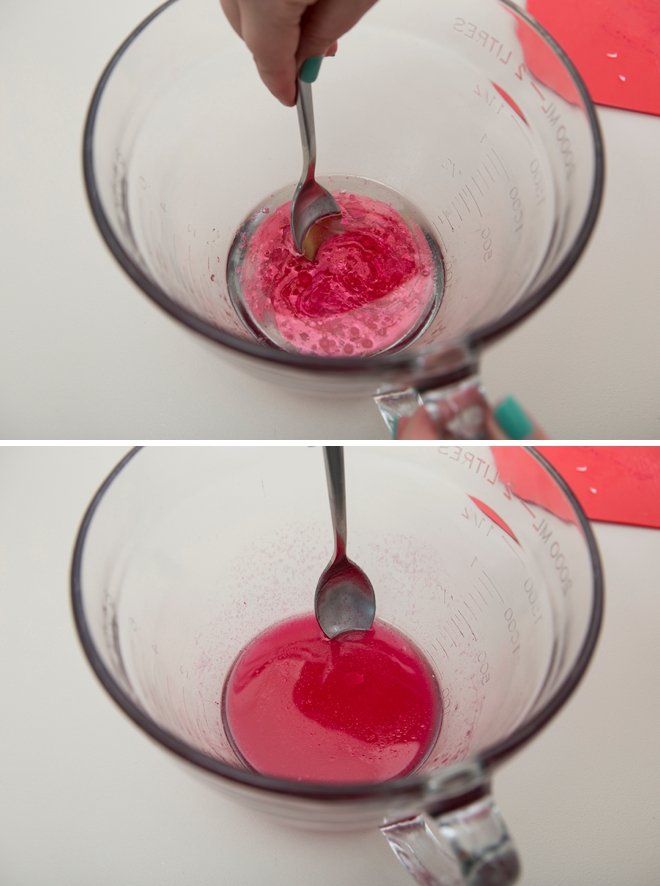
Stir To Fully Incorporate The Ingredients
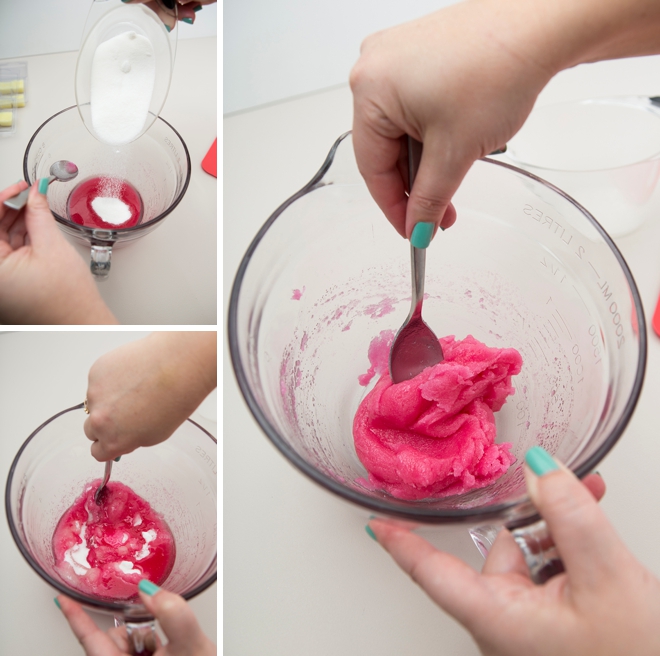
Add The Sugar
When you add the sugar, the soap sets quickly and will get stiff on you so work fast.
Re-Heat For 10
Pop the mixture back in the microwave for about 10 seconds to re-melt it to the point where it’s easy to pour into the molds. You can do this a few times if need be, just keep in mind that if you do it too much you could melt the sugar.
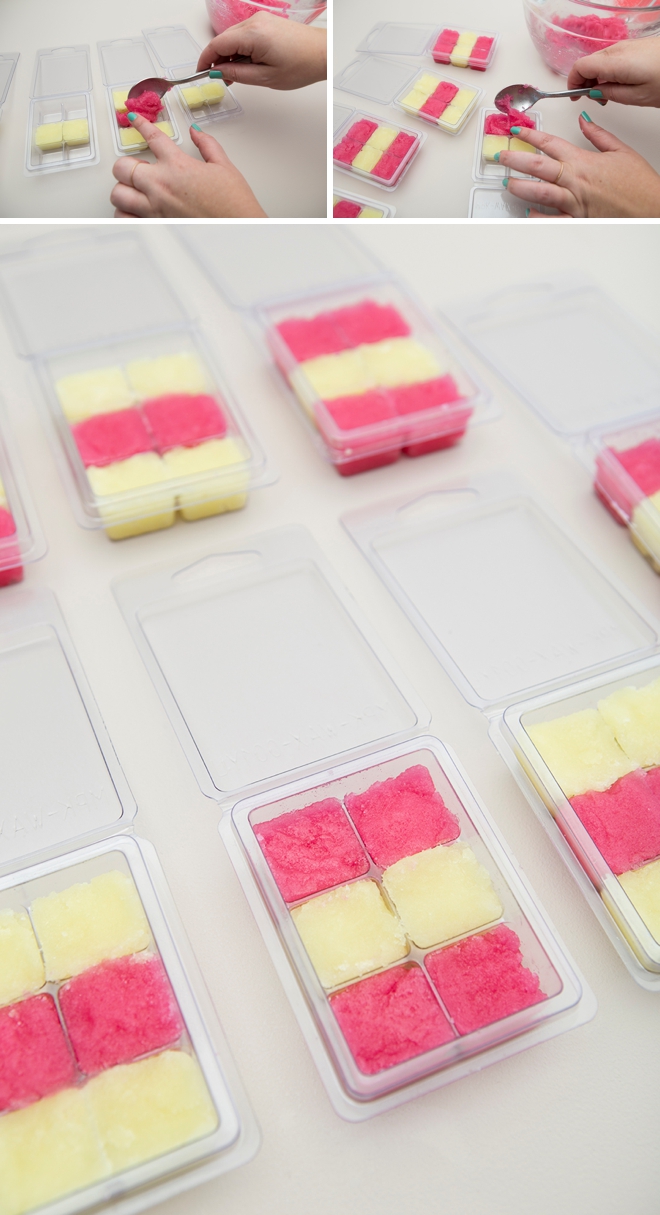
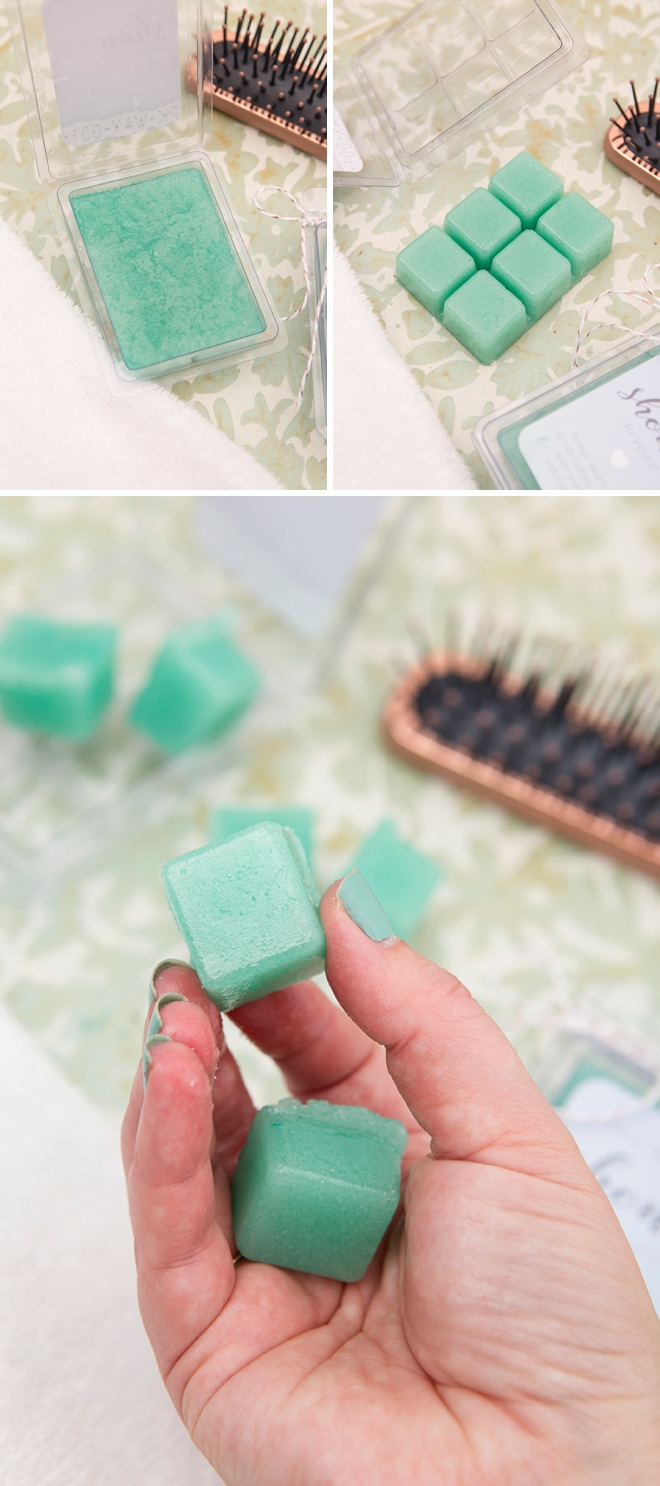
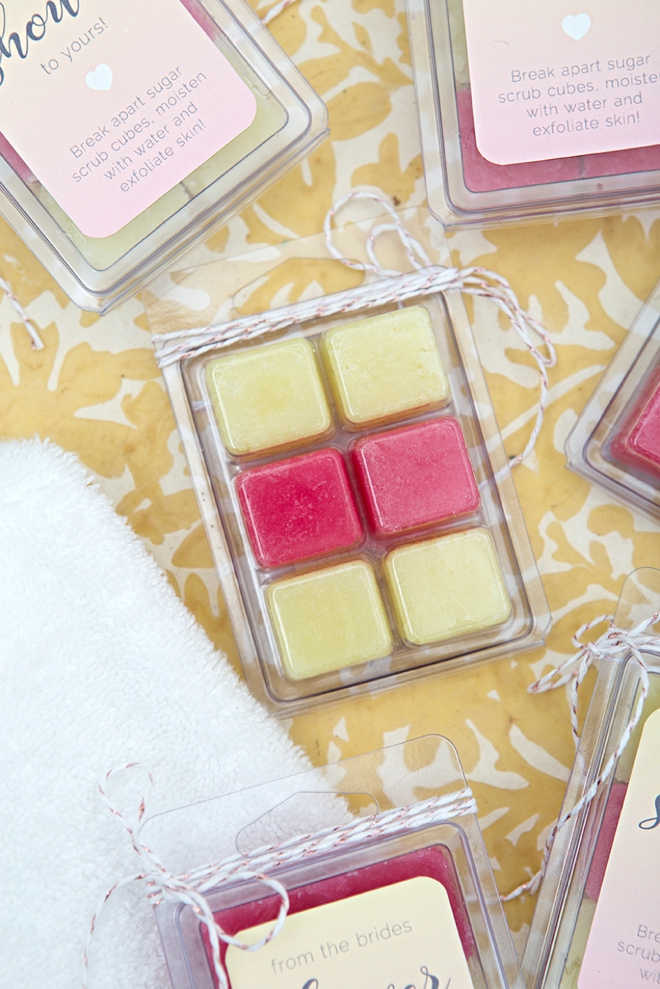
Add To The Molds
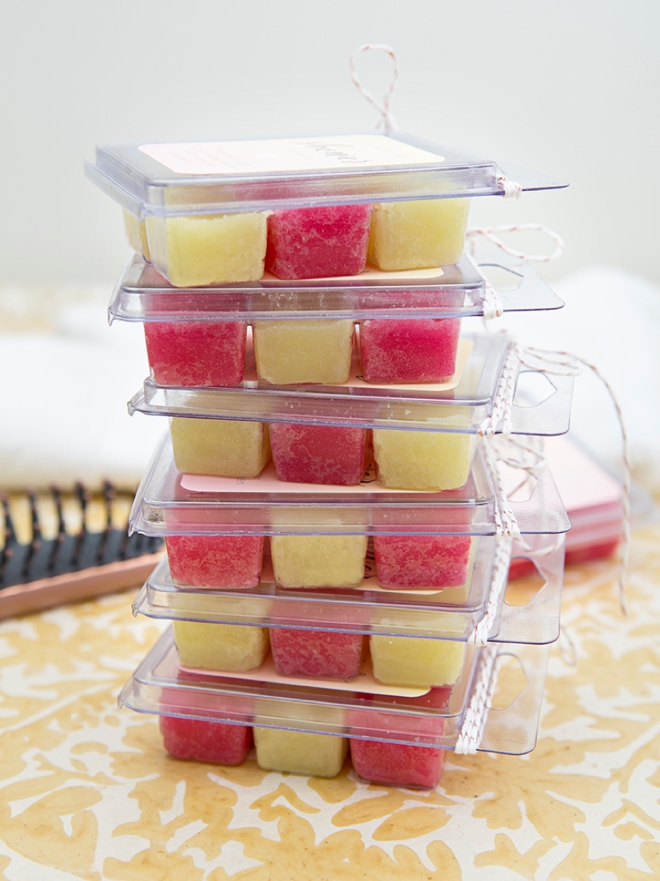
The best thing about using these small cube molds is that it doubles as packaging! Here I added each square, by color, by hand. You can easily fill the entire tray in one pour with only one color like I did with the aqua scrub – it’s your choice.
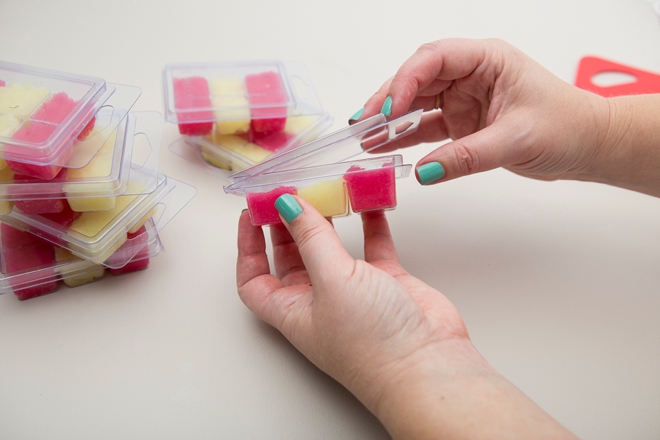
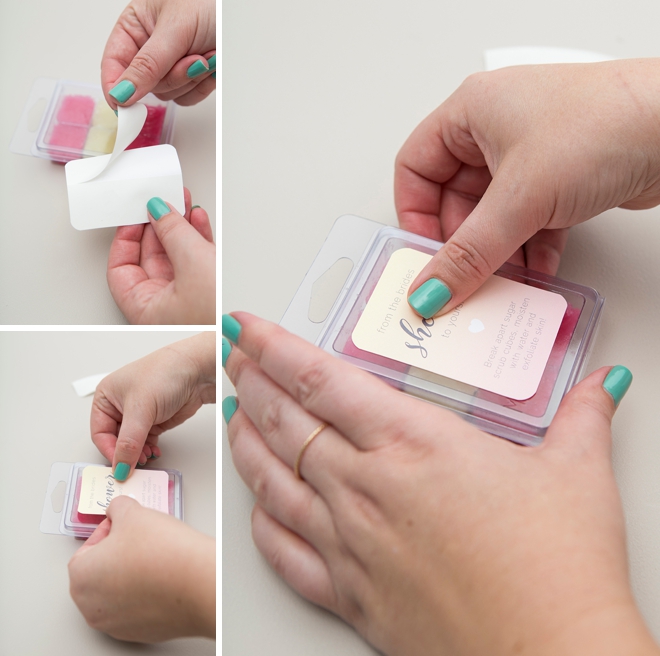
Close The Containers
Create The Labels
At the end of the post you can download my free labels for this project in three different colors. Print onto 8.5″ x 11″ white sticker paper and then trim each one out.
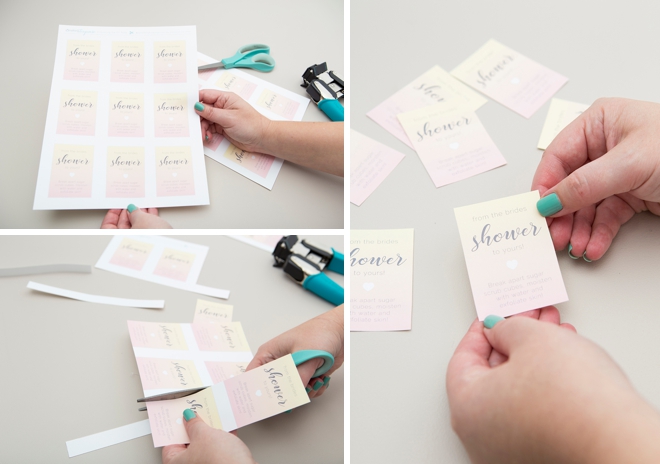
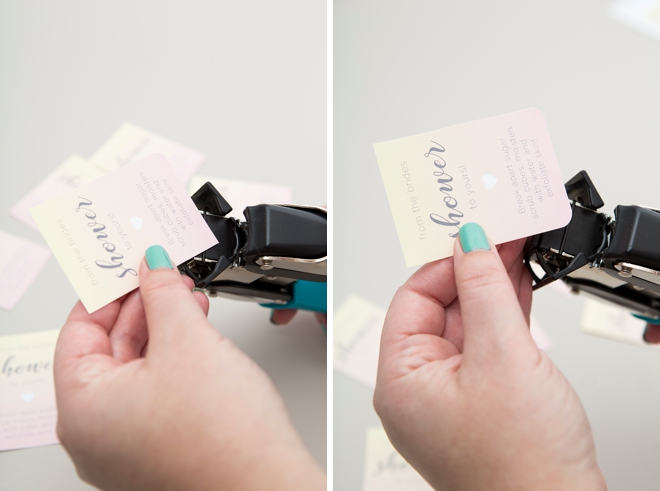
Round The Corners
Rounding the corners is optional but I love the look!
Add The Labels To The Molds
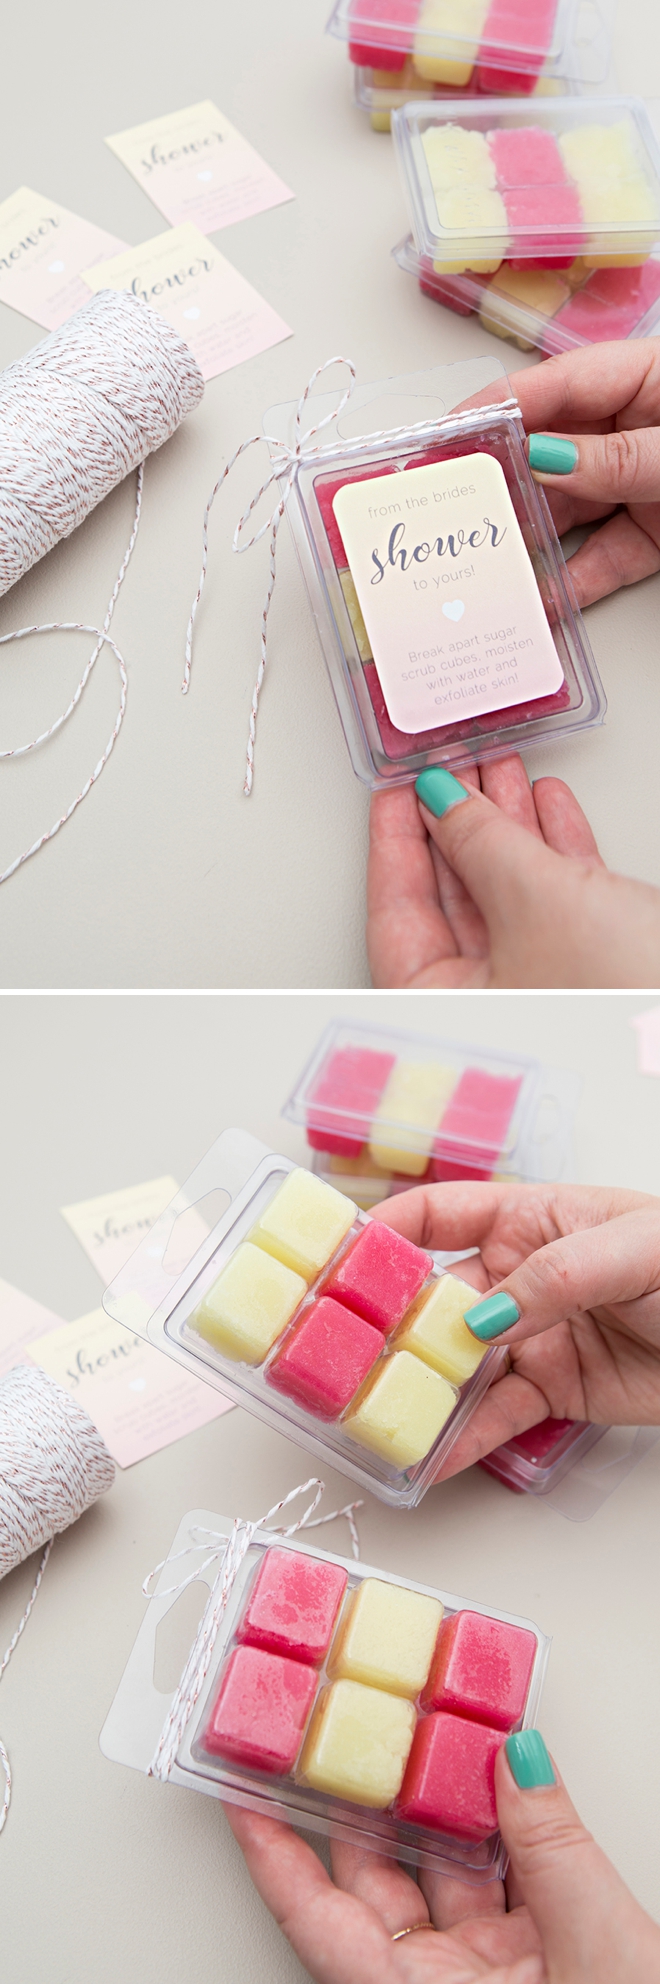
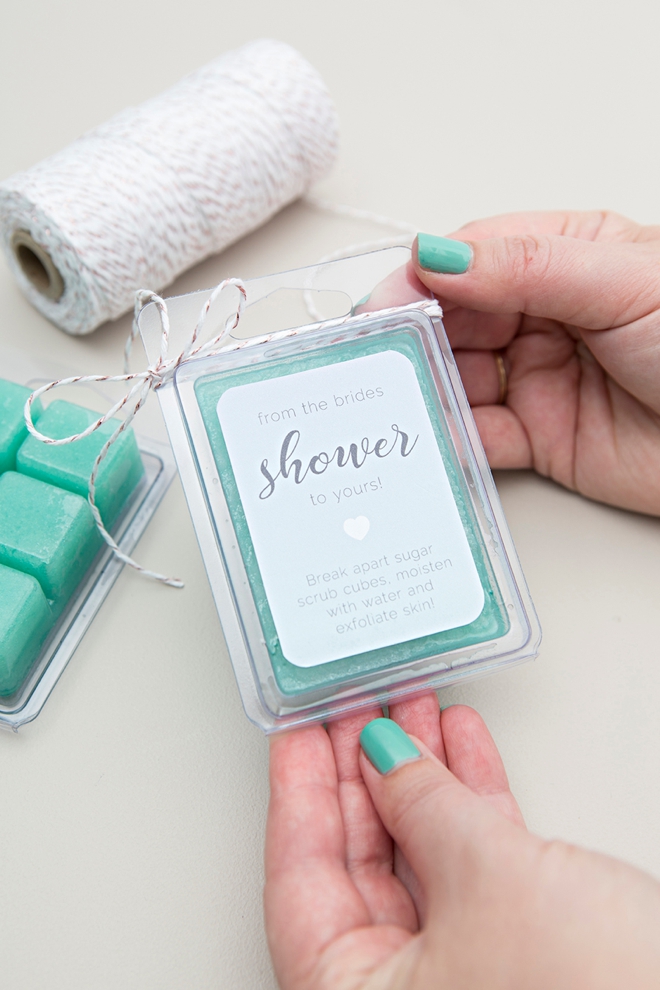
Add A Bow Of Twine
Single Pour
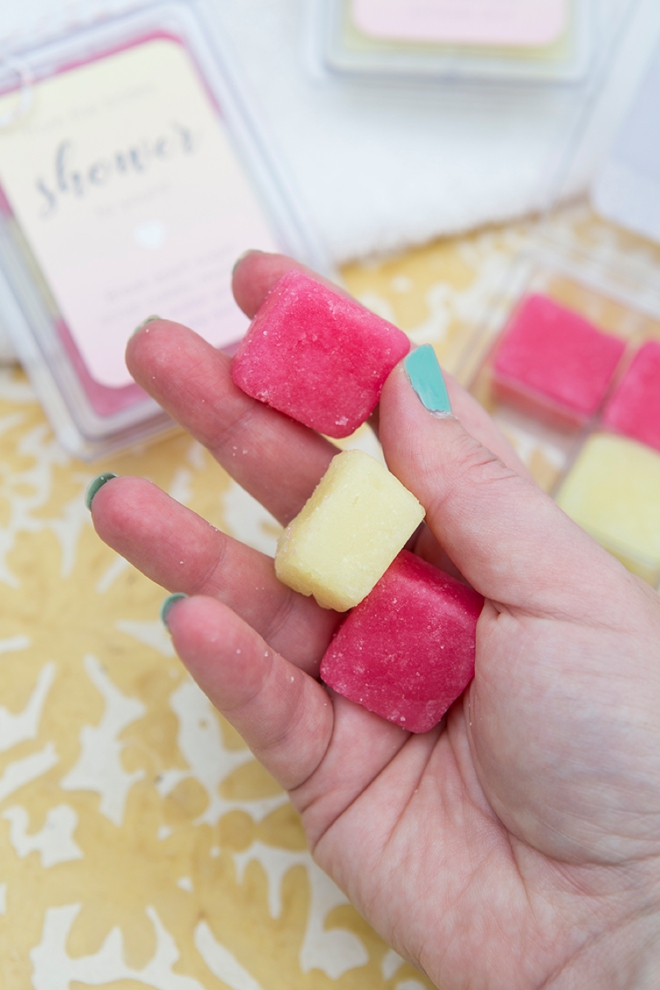
If you choose to do a single pour, your scrub cubes will pop out all as one and then you’ll break each one apart. Two scrub cubes will be enough for your entire body, meaning there are three applications in one box!

As with all our DIY tutorials, if you create one of our projects please send us a picture – We Love Seeing Your Creativity! If you use Instagram or Twitter please use the hashtag #SomethingTurquoiseDIY and it will show up on our Get Social page. Happy Crafting!
DIY Tutorial Credits
Photography + DIY Tutorial: Jen Carreiro of Something Turquoise // All Beauty DIY Products courtesy of: BrambleBerry.com // Rose Gold Twine: Amazon // Sticker Paper: Amazon // Nail Polish: OPI – Withstands the Test of Thyme

Shop The Supplies:
Find the supplies you’ll need for this project from our affiliate links below:

Comments