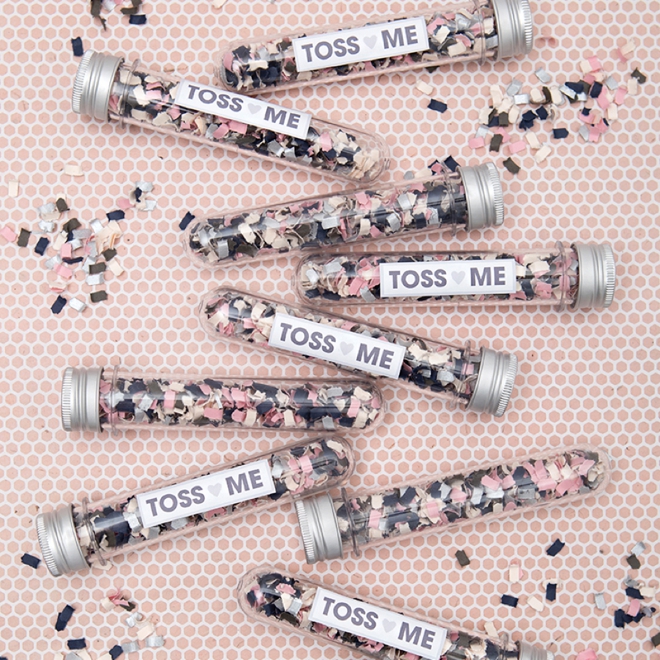

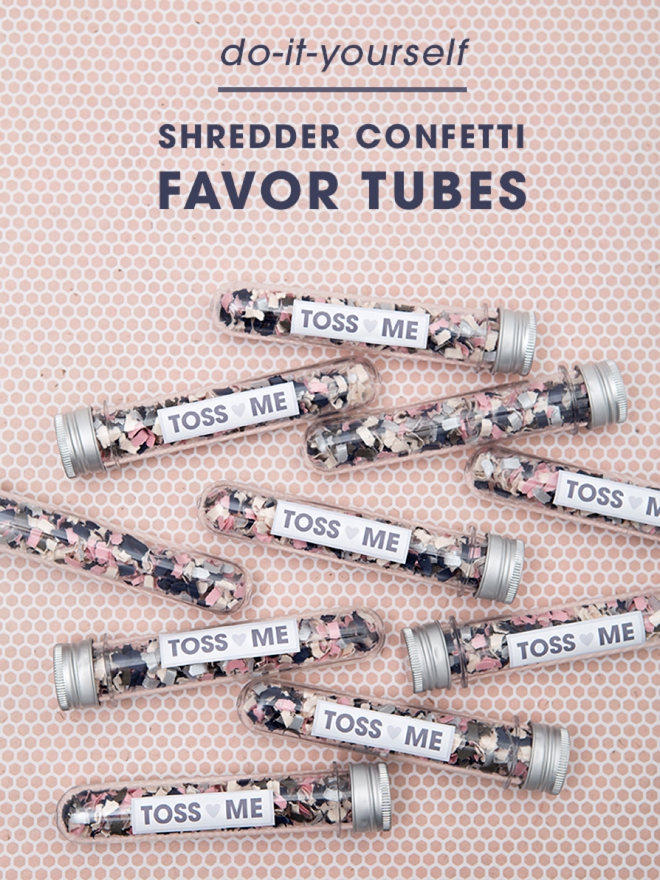
Simple DIY | Shredder Confetti “Toss Me” Favor Tubes
Everyone loves confetti right!?! I mean, I know my mom loves confetti, probably more than the average person. She adds confetti to every single card she puts in the mail, so much so that her friends now open her cards over the trash to avoid the mess. But who wants to avoid the mess? Not me – that’s all part of the fun! So today I’m sharing how you can quickly and easily make your own confetti using a “micro-cut” home shredder and regular paper, it’s awesome. Then we’re using plastic test tubes to give out this cute confetti at your ceremony so that your guests can gently toss it your way during your processional. Sometimes you just need to toss some confetti in the air… and what better time then during a wedding!
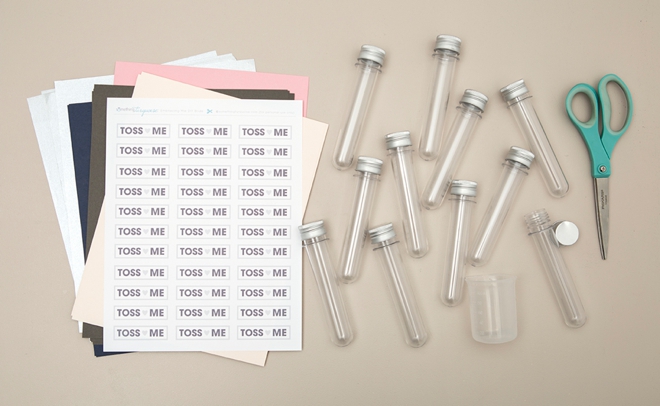
SUPPLIES:
- “Micro-Cut” Shredder
- 8.5″ x 11″ Regular Paper, in any color
- Plastic Test Tubes with Screw Top
- 8.5″ x 11″ Sticker Paper
- Scissors
- Home Printer
- Our FREE “Toss Me” tag printable at the end of the post!
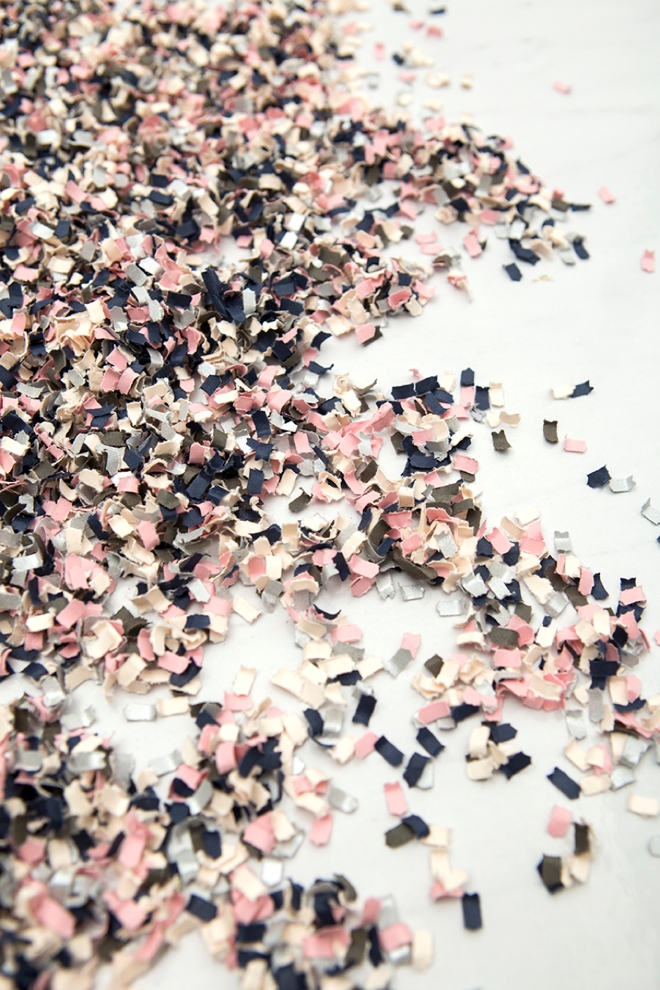
Shred Your Paper
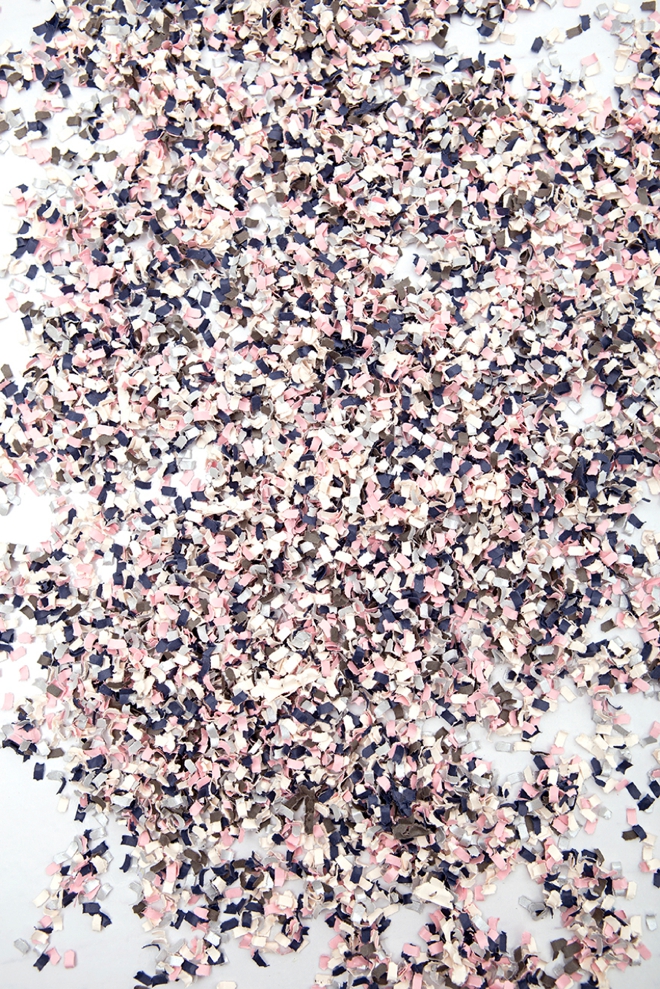
Finding the right shredder to actually do this, and make it look cute, has taken me a while… but I’ve finally found one! This AmazonBasics 6-Sheet High-Security Micro-Cut Paper and Credit Card Shredder does an AMAZING job turning regular old paper into fabulous confetti pieces! The key is to get a “micro-cut” machine, not a “cross-cut” or the pieces won’t be small and cute. This shredder actually has a continuous run time of 3 minutes, meaning you can literally shred paper for 3 minutes straight. Which seems like a short amount of time, but it isn’t. If you shred for too long, it has an auto sensor that shuts it down so the motor doesn’t over heat.
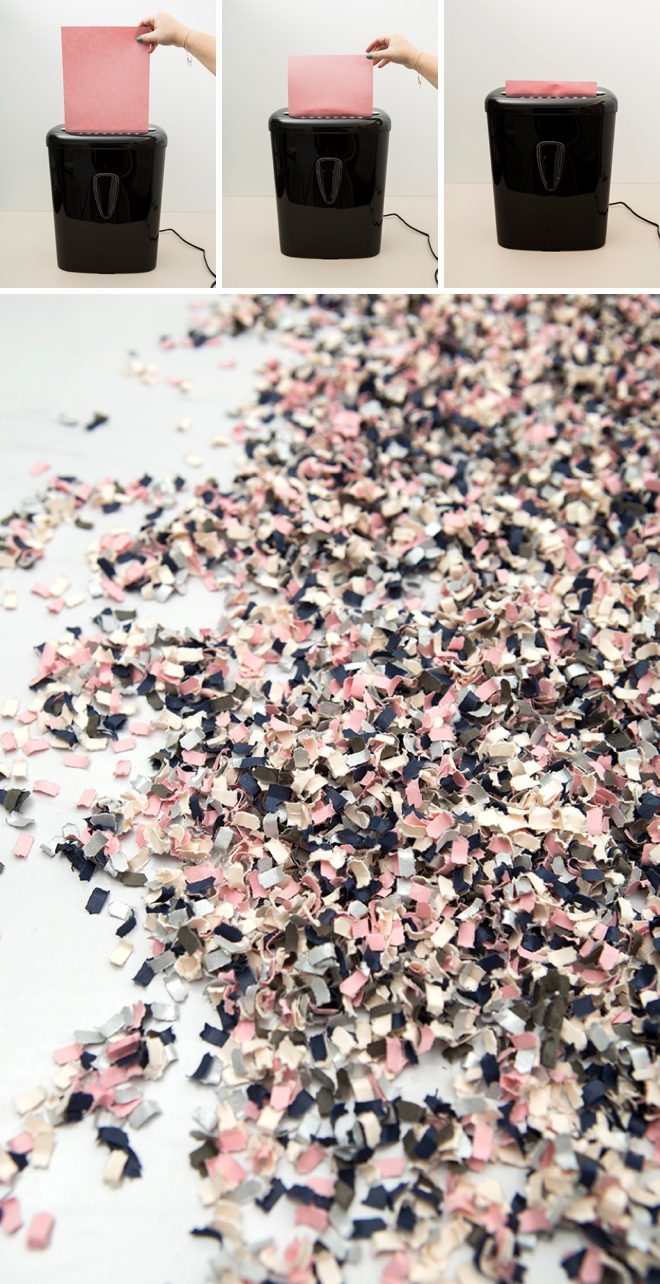
Paper Note: regular weight (thickness) paper will work the best for this confetti. You can use thicker paper like cardstock, but the edges will look more torn up.
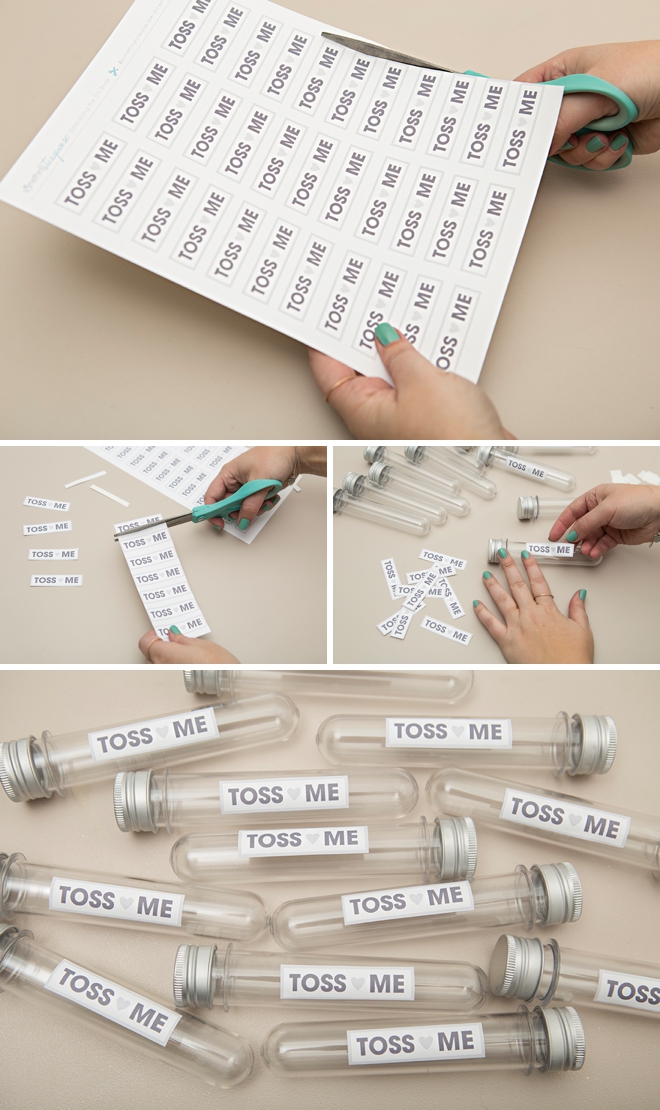
Print + Cut + Label
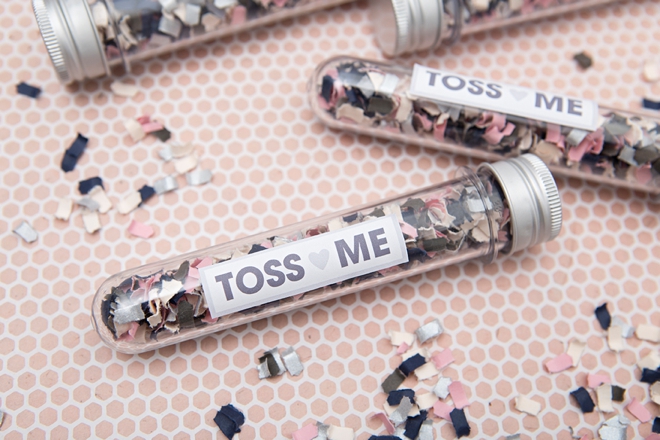
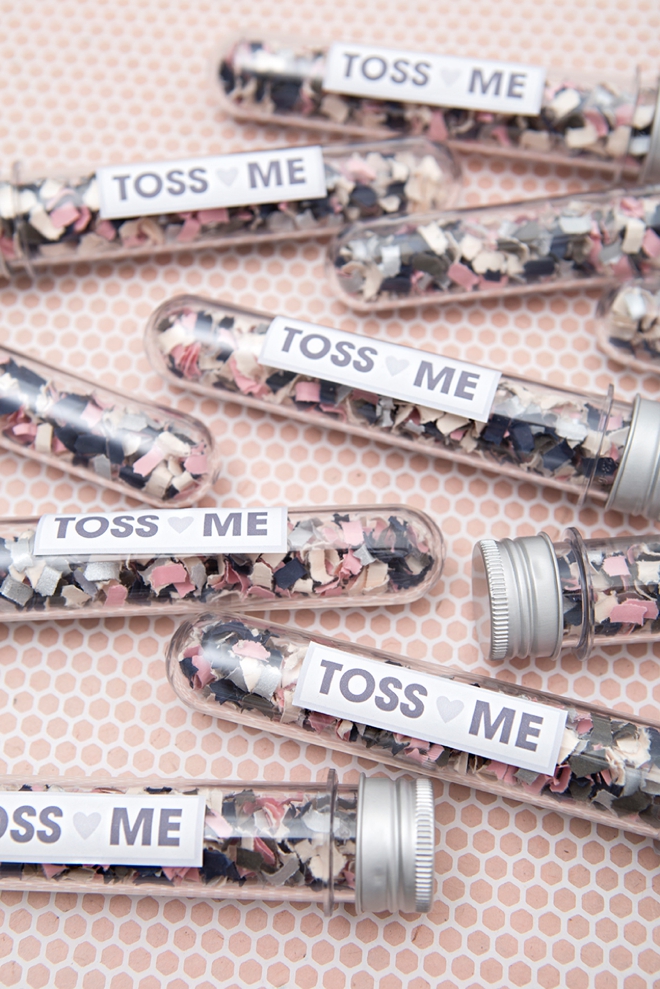
Download our free “TOSS ME” label printable at the end of the post, or create your own! Then print onto 8.5″ x 11″ sticker paper and cut each one out; they measure 5/8″ x 2.75″. Peel the backing off and stick onto each test tube.
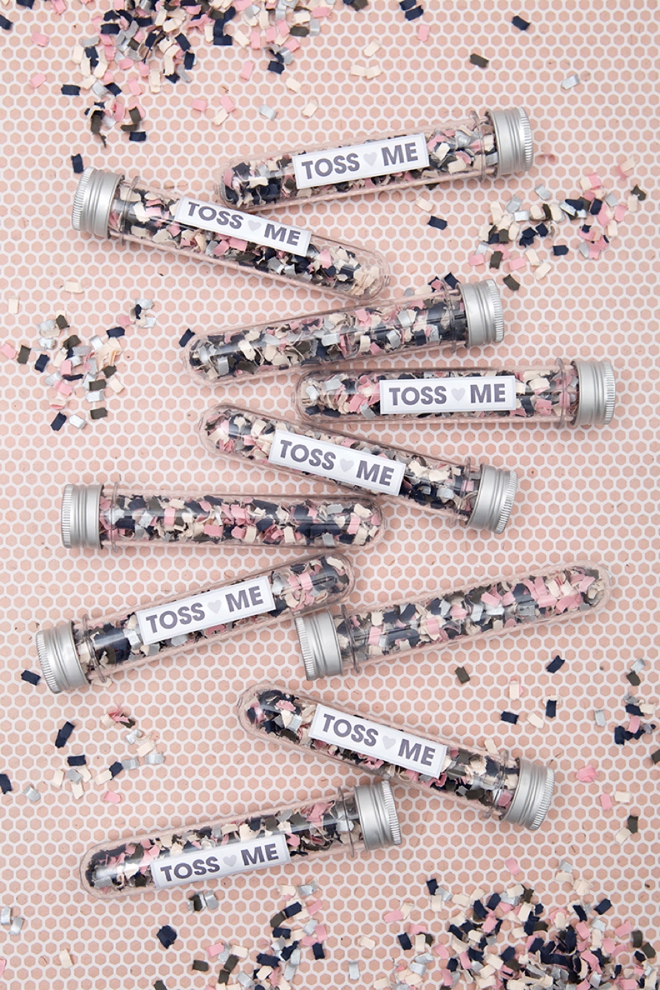
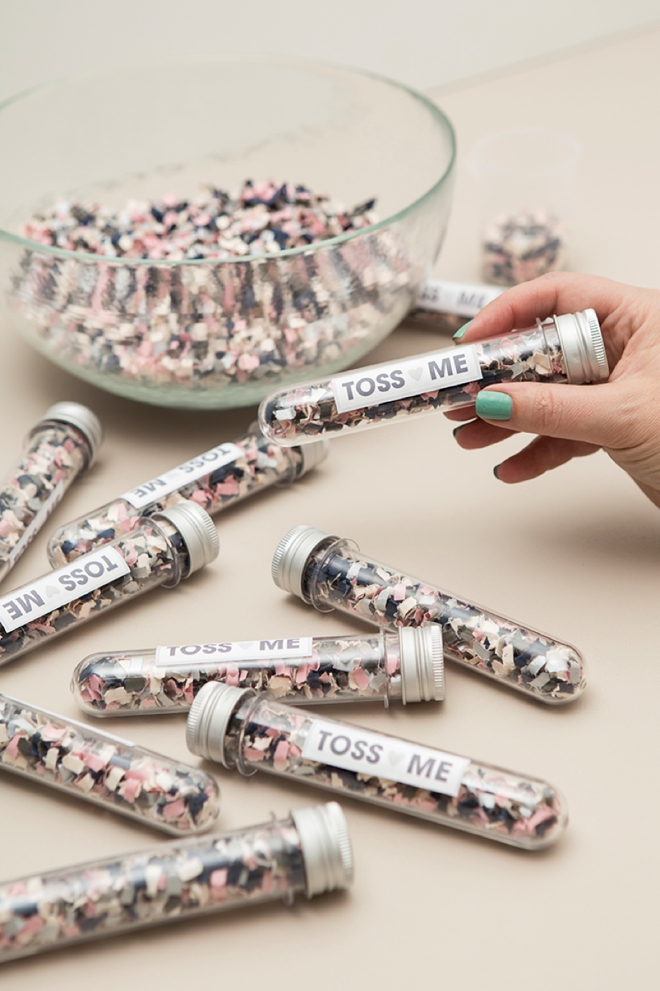
Fill Your Test Tubes
Each of these exact test tubes will hold 1/4″ cup of confetti. 10 sheets of regular paper will yield 6 cups of confetti, meaning you can get 24 favor tubes from 10 sheets; or 12 favor tubes from 5 sheets!
Keep Some Confetti Around
Even if you aren’t making these for a wedding, you can still make this confetti to keep around for those special times when you just need to throw some in the air!
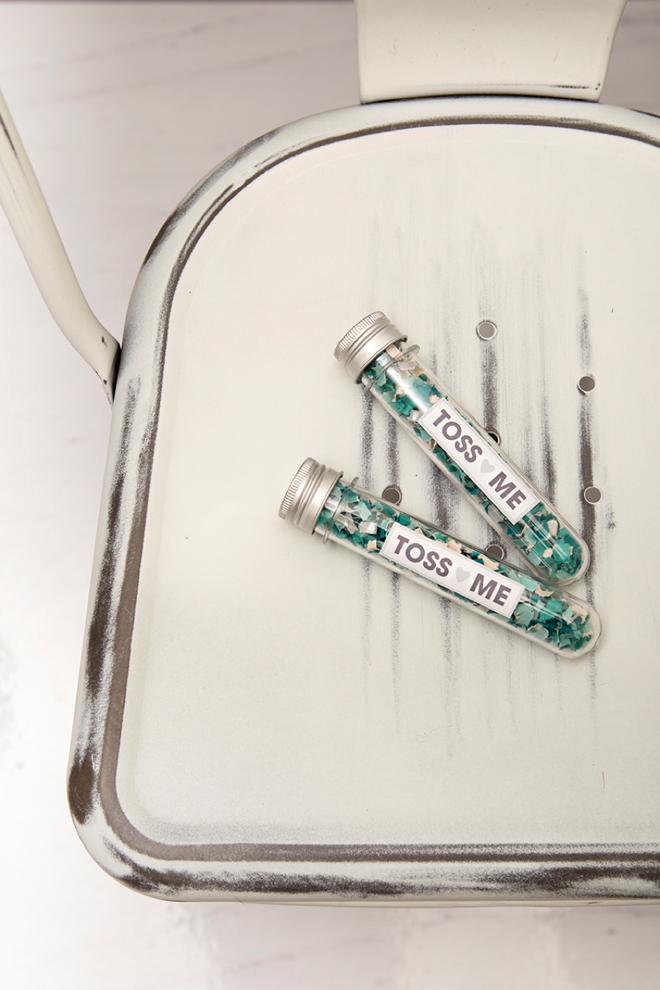
Place On Each Ceremony Chair
Place one favor tube on each chair at your ceremony and expect the most fabulous shower of confetti as you make your way back down the aisle as Mr + Mrs! …and yes, I made a few turquoise tubes just for me!

As with all our DIY tutorials, if you create one of our projects please send us a picture – We Love Seeing Your Creativity! If you use Instagram or Twitter please use the hashtag #SomethingTurquoiseDIY and it will show up on our Get Social page. Happy Crafting!
DIY Tutorial Credits
Photography + DIY Tutorial: Jen Carreiro of Something Turquoise // Micro-Cut Shredder: AmazonBasics // 8.5″ x 11″ Paper in Slate, Blossom, Night, Luxe Blush, and Shimmer Silver: Paper Source // Clear Plastic Test Tubes with Screw Top: Amazon // 8.5″ x 11″ Sticker Paper: Staples // Nail Polish: OPI – Withstands the Test of Thyme
Shop The Supplies:
Find the supplies you’ll need for this project from our affiliate links below:

Comments