
DIY | Bucket List Guest Book
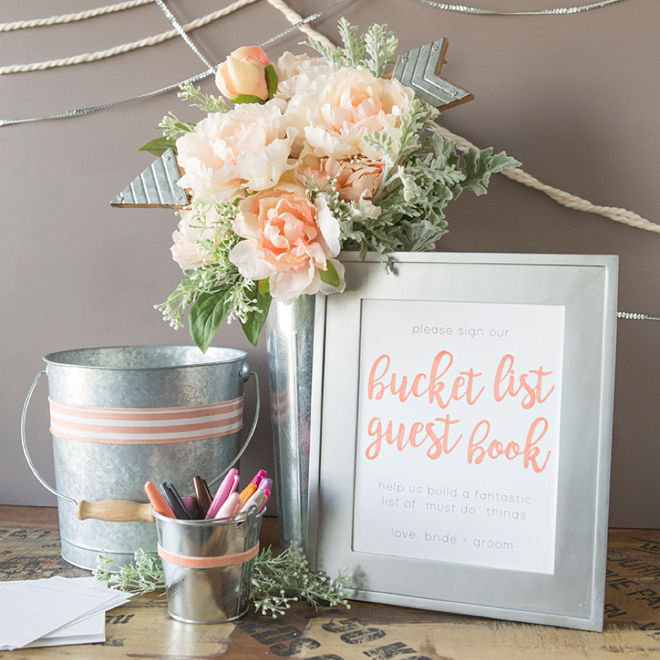
Yay!!! It’s our first DIY project of 2017 and I think you’re going to love this unique guest book idea. Seeing as it’s the beginning of a new year and we’re all pondering our lives and how we can live them to the fullest… why not ask your guests for their advice on the matter! How do you do that? With this DIY Bucket List Guest Book of course! Display this darling setup at your reception to collect bucket list must ideas from all your favorite people. Save the responses in a scrapbook or create a master list that you can mark off as you complete each adventure; romantic and crafty, just our style!
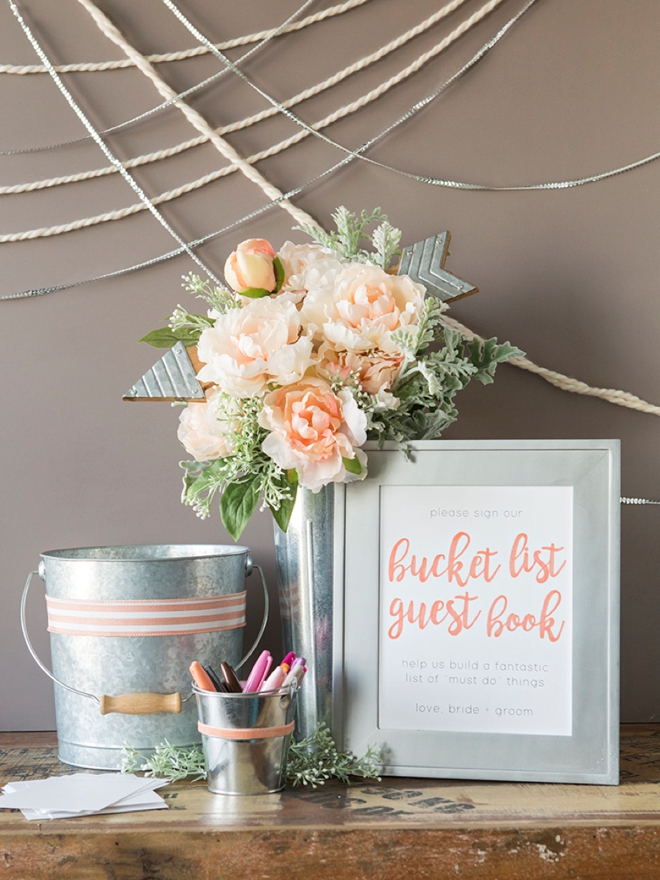
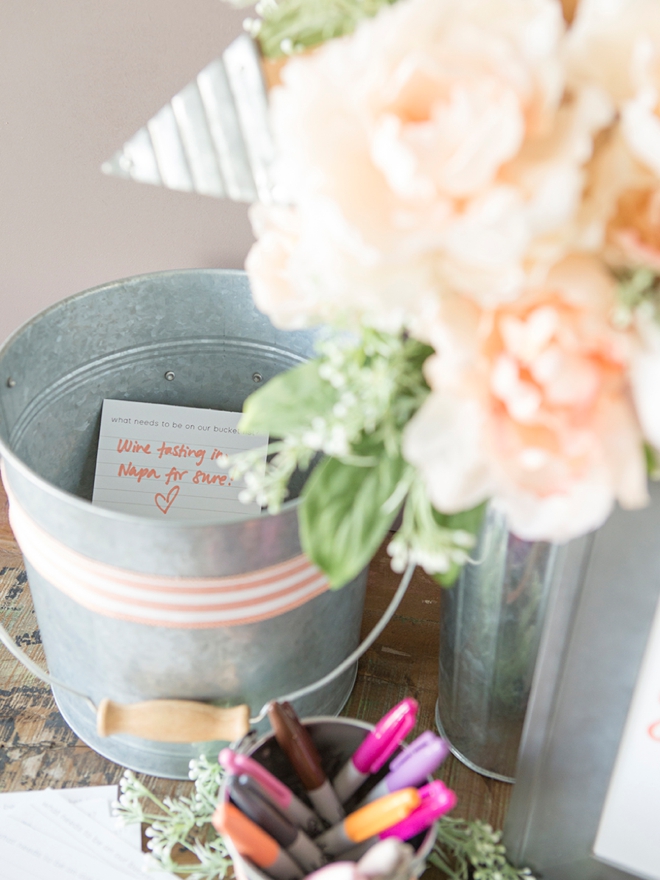
Bucket For The Bucket List
Of course your bucket list ideas need to be collected in a cute bucket! I found this one on Amazon, and it’s actually for beer. It has a bottle opener attached to it on the backside, which will come in handy for tail-gating, bbq’s and other fun outings after your event!
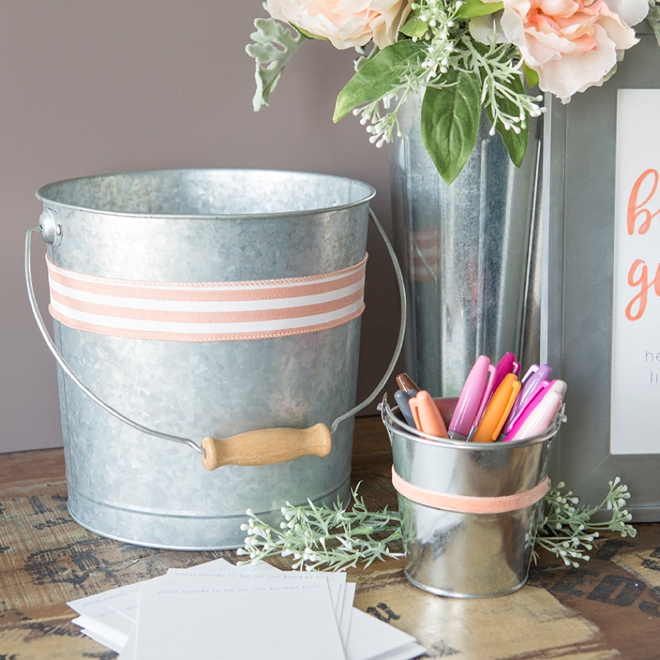
I spray painted an old frame with Looking Glass Paint to make it match the silver theme!

SUPPLIES:
- Cute Bucket
- 8 x 10 Frame
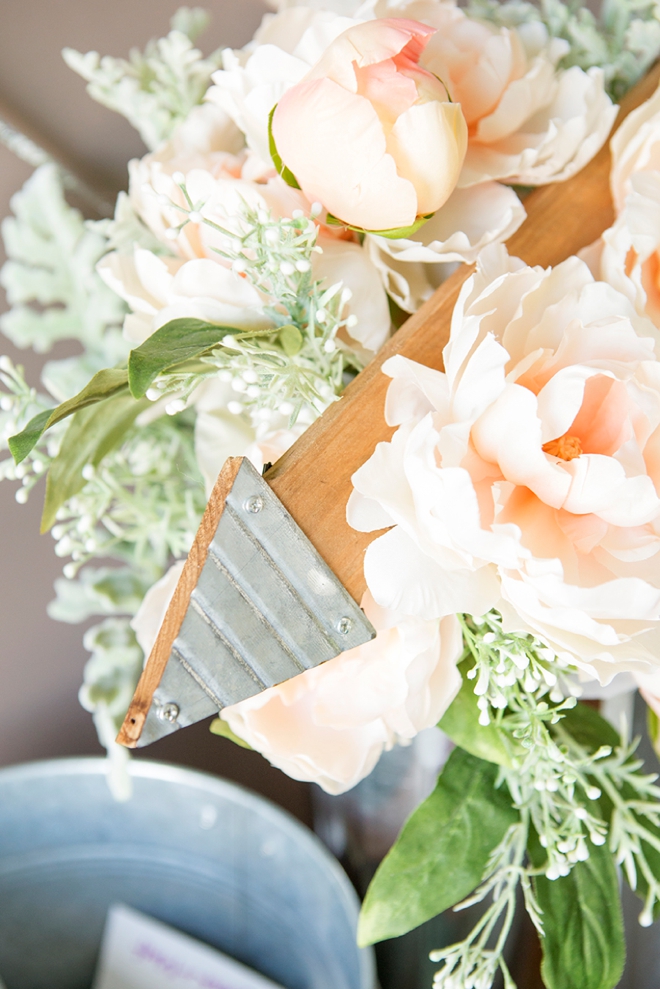
- Flower Arrangement
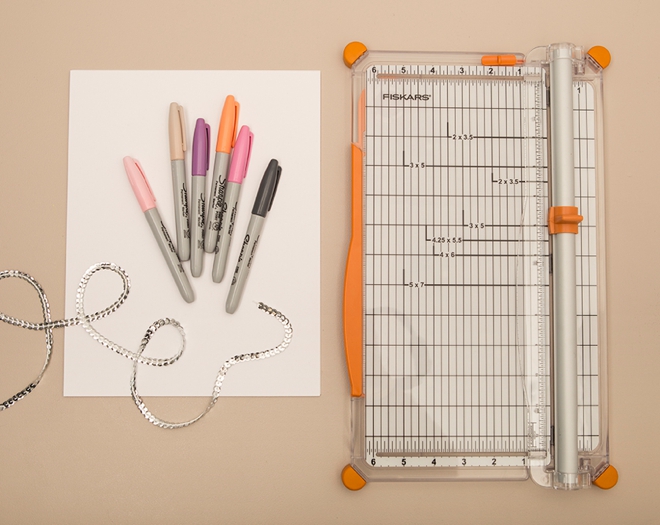
- 8.5″ x 11″ Cardstock
- Paper Trimmer
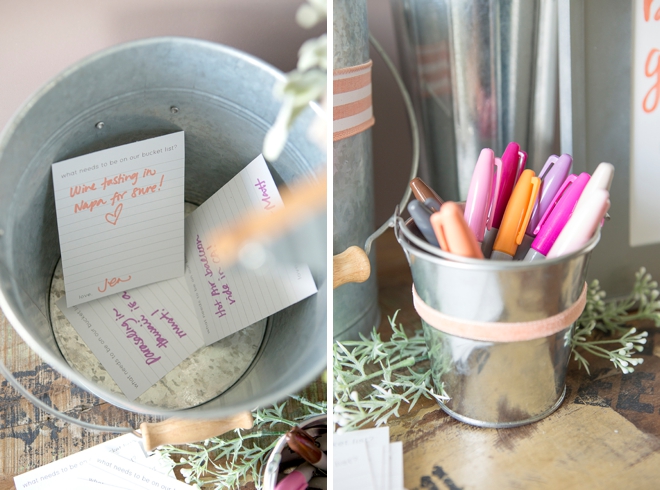
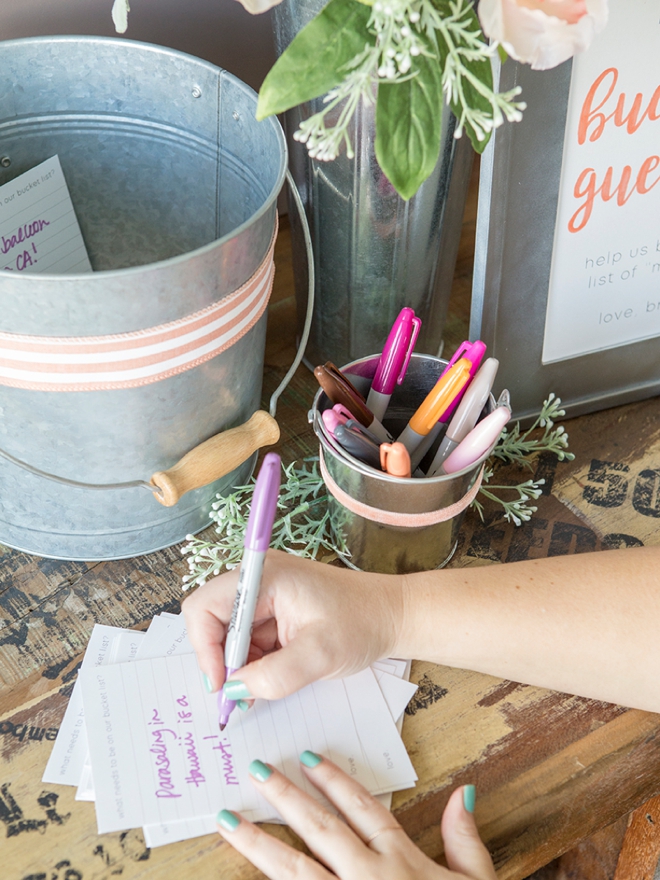
- Sharpies
- Cute Ribbon
- Our free printable designs at the end of the post!
Print + Trace The Sign
The hardest thing for me is trying to create free printable designs that can easily encompass all the possible wedding color palettes out there… so I’m super excited about what I came up with for this sign!
Grab the free printable at the end of the post and print onto white or really light 8.5″ x 11″ cardstock. Then using your choice of colored Sharpie or Paint Pen, simply trace the “bucket list guest book” lettering! Then trim down to 8″ x 10″ to fit your frame.
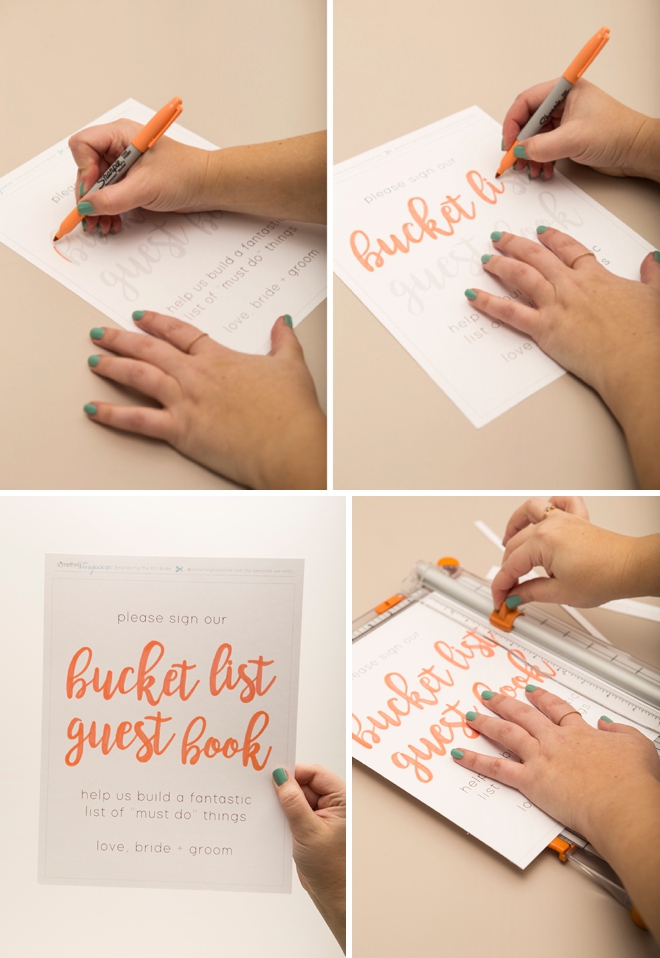
Pick Your Perfect Marker Shade
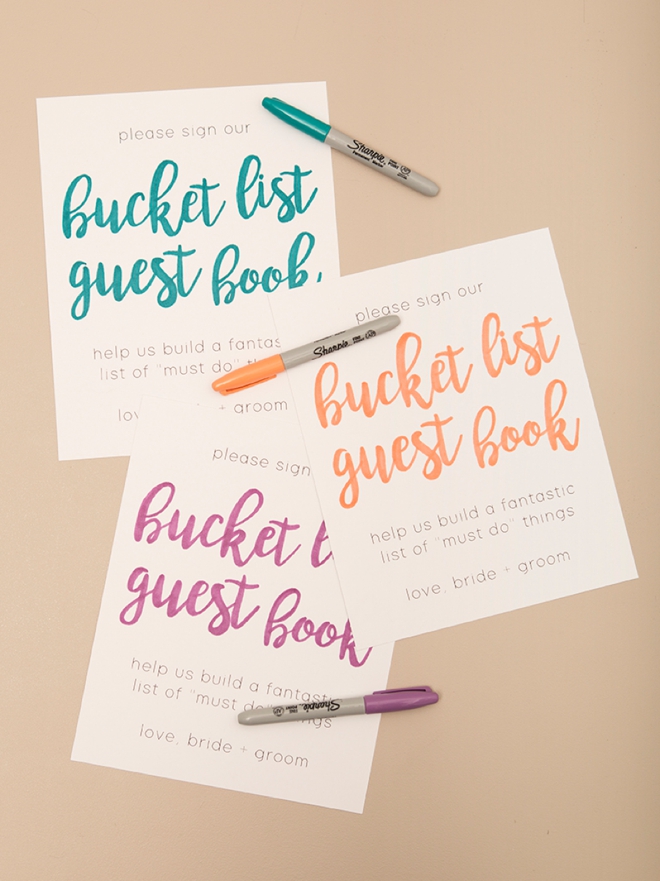
The “bucket list guest book” design is printed in a very, very light shade of gray so almost all marker colors will be able to cover it with no problem. I used a peach Sharpie for this project, but just for fun I did it in teal and purple to show you a few more examples of how this printable can fit any wedding color palette! Don’t forget about metallic paint pens too!
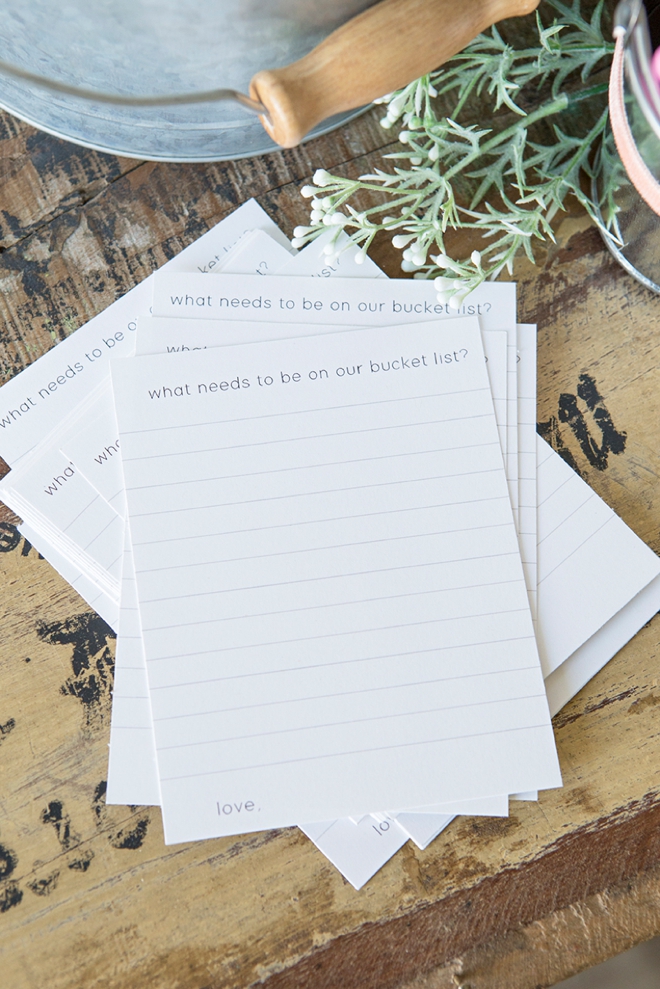
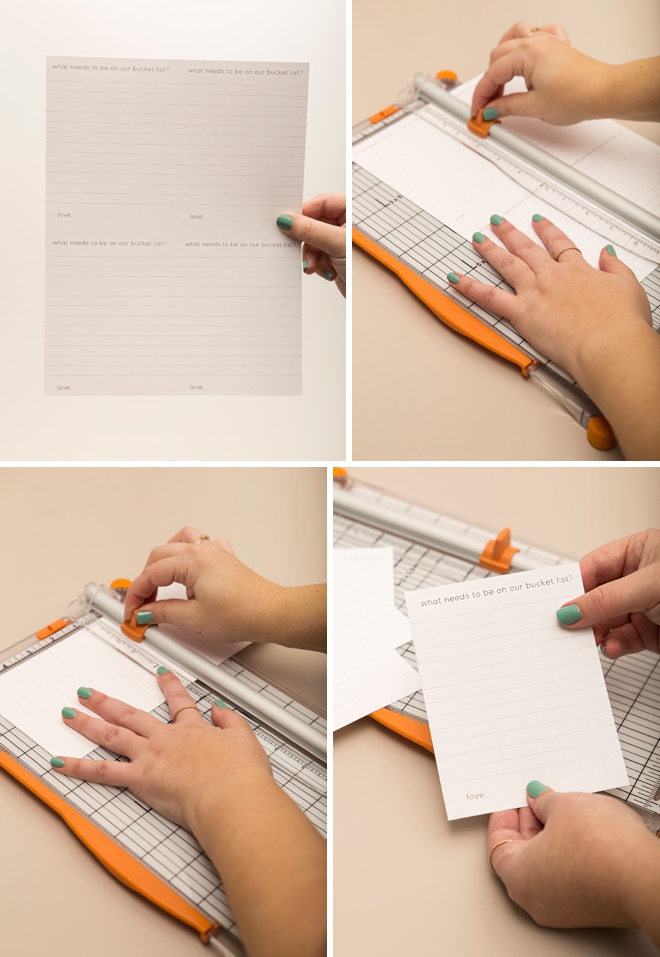
Print + Trim The Cards
Print the card design onto 8.5″ x 11″ light colored cardstock and trim in half, both ways. Which is at 4.25″ and 5.5″, to make 4 identical cards. You’ll really only need to print one card per couple, but maybe print off 10 or 20 extras just in case people want to fill out more or they mess up.
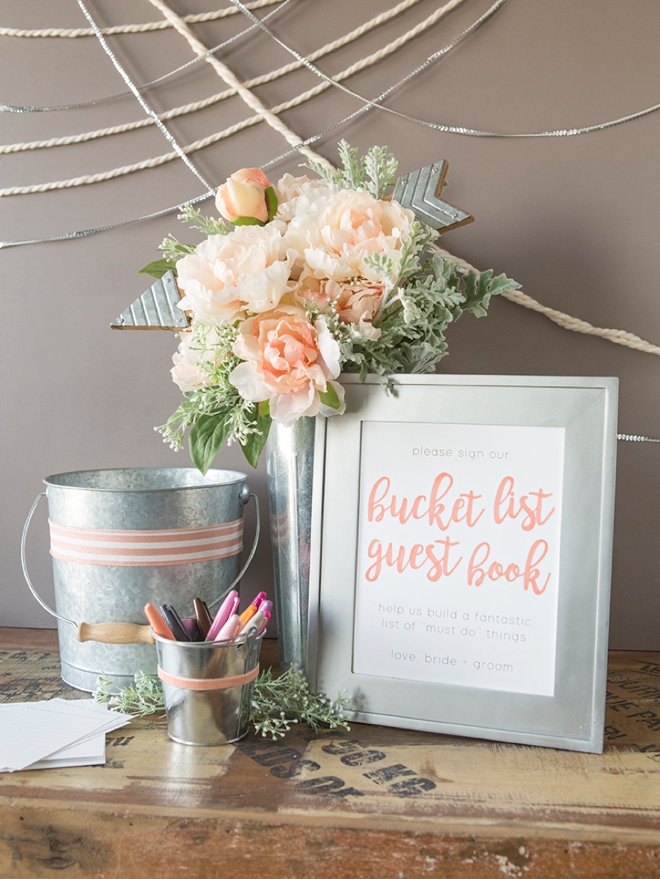

Display At Your Reception
Create a cute and fun display for this “bucket list” guest book at your reception and look forward to reading all the unique and fun ideas that your guests come up with! Put these cards in a scrapbook as a keepsake and maybe make a list of the ones you like to check off as you do them!


As with all our DIY tutorials, if you create one of our projects please send us a picture – We Love Seeing Your Creativity! If you use Instagram or Twitter please use the hashtag #SomethingTurquoiseDIY and it will show up on our Get Social page. Happy Crafting!
DIY Tutorial Credits
Photography + DIY Tutorial: Jen Carreiro of Something Turquoise // Bucket: Amazon // All other decor; faux flowers, metal vase, arrow, small bucket, ribbon: Michaels // Sharpies: Amazon // Nail Polish: OPI – Withstands the Test of Thyme
Shop The Supplies:
Find the supplies you’ll need for this project from our affiliate links below:

Comments