
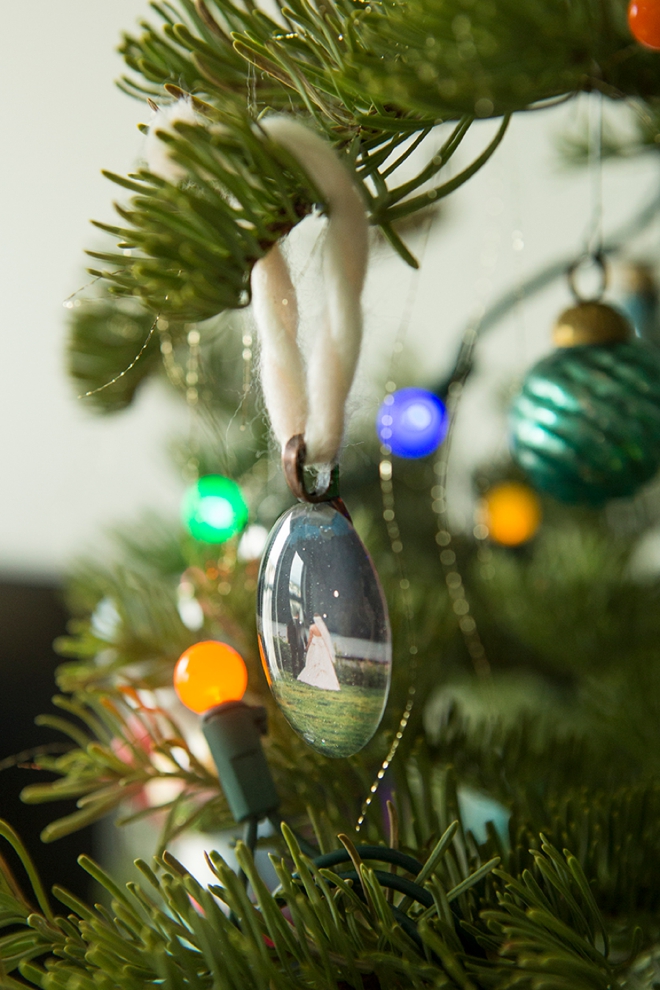
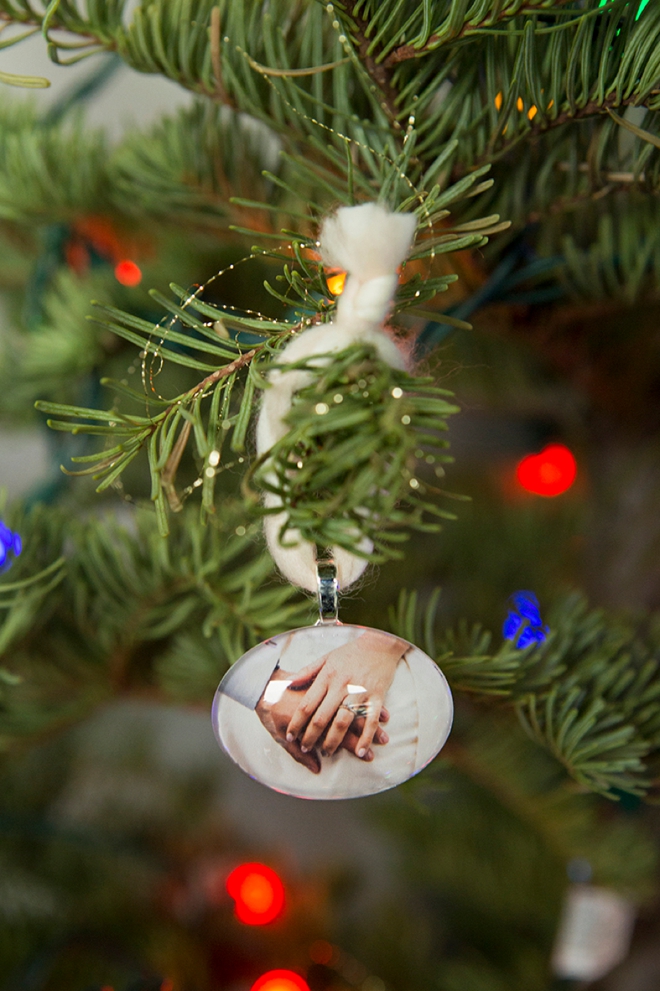
DIY | Wedding Photo Christmas Ornament Collection
-Sponsored Post-
Today is bittersweet. This is my last DIY tutorial for 2016 and including this post, it brings the total to 84 projects shared in this year alone! Which is kinda crazy to think about… that’s a lot of paper, glue, and glitter along with many other supplies and it has truly been an honor. Thank you for allowing me to inspire you on your wedding crafting journey! Today is also the last in my year long Canon series, as most of you know my printer is my number one crafting tool and it’s been a dream to partner with my favorite printer brand to bring you some truly epic printable projects. To find them all, you can follow this link. But just because it’s the end of the year doesn’t mean it’s the end of my partnership, I’m excited to share that there will be many more fabulous printable projects coming your way in 2017. All that being said, let’s get to crafting! Here I’m sharing a super easy technique for turning any photos into the most darling, Mini Ornaments ever. Of course, your wedding photos would be the perfect choice for this project, but any photos will do!
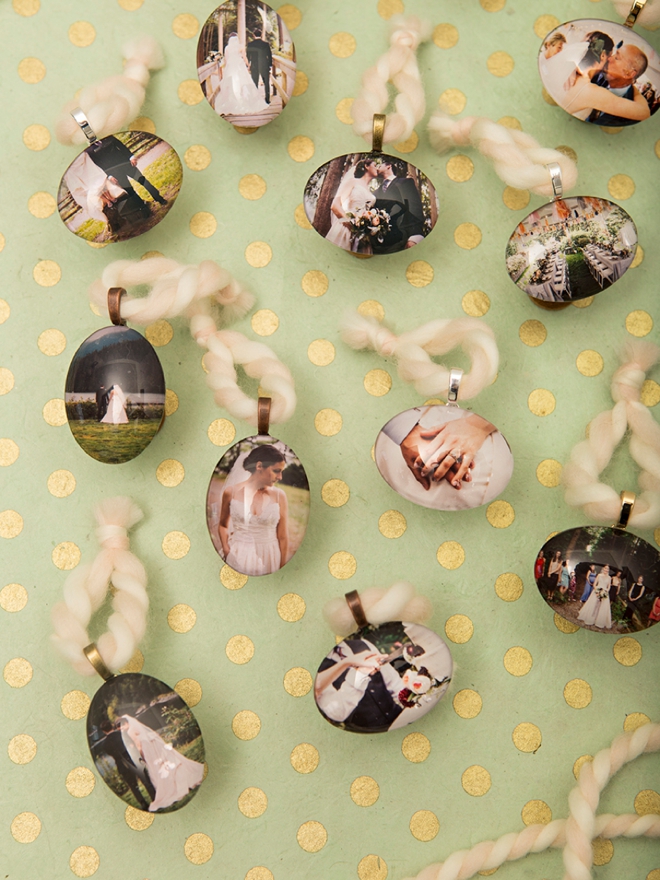
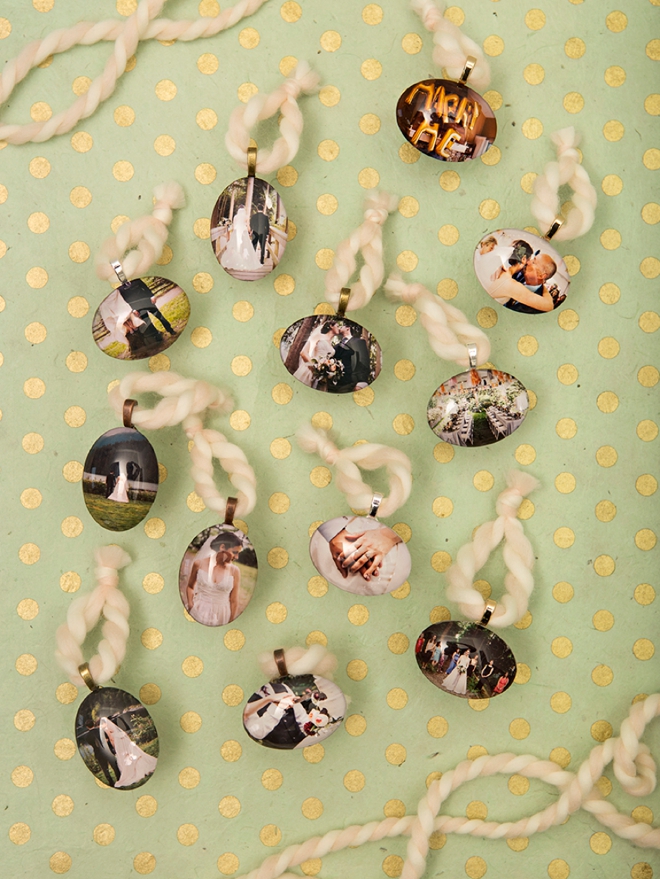
Create A Whole Mini Collection
Within just a few hours you can create your own special mini-collection of wedding photo ornaments! Why choose just one photo when you can highlight all your favorites…
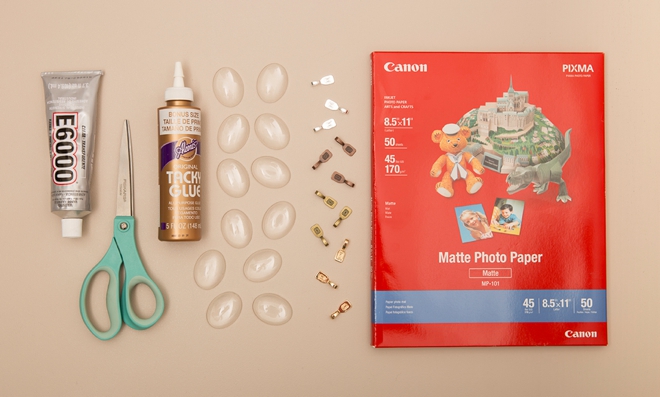
SUPPLIES:
- Canon PIXMA iP8720 Crafting Printer
- Canon 8.5″ x 11″ Matte Photo Paper
- 40x30mm Clear Glass Tiles
- Jewelry Bails
- Tacky Glue
- Paint Brush
- E6000
- Scissors
- Yarn
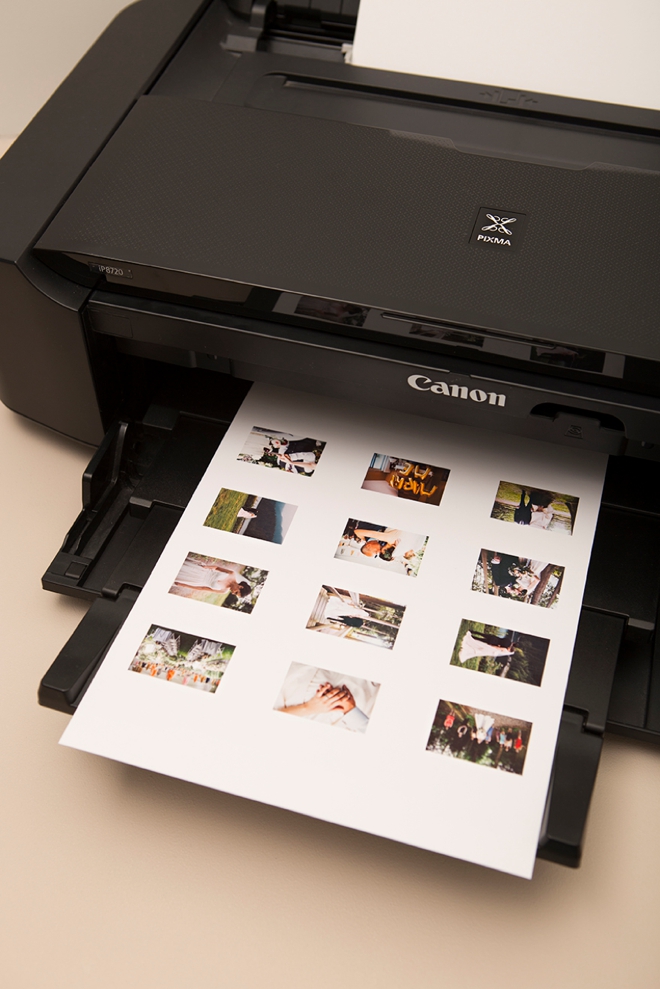
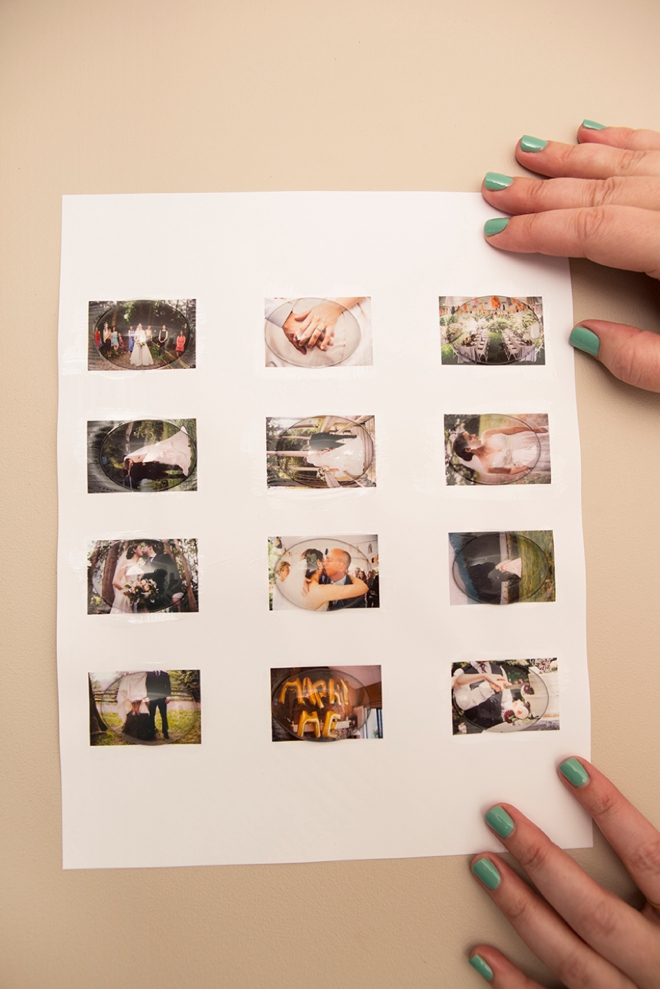
Resize and Print Your Photos
These glass tiles are just over 1.5″ x 1″, so I used my favorite design software to layout my photos at that size. I printed them using my fabulous Canon PIXMA iP8720 Crafting Printer and Canon’s awesome matte photo paper. As you can see, the detail in these tiny prints is just fantastic!
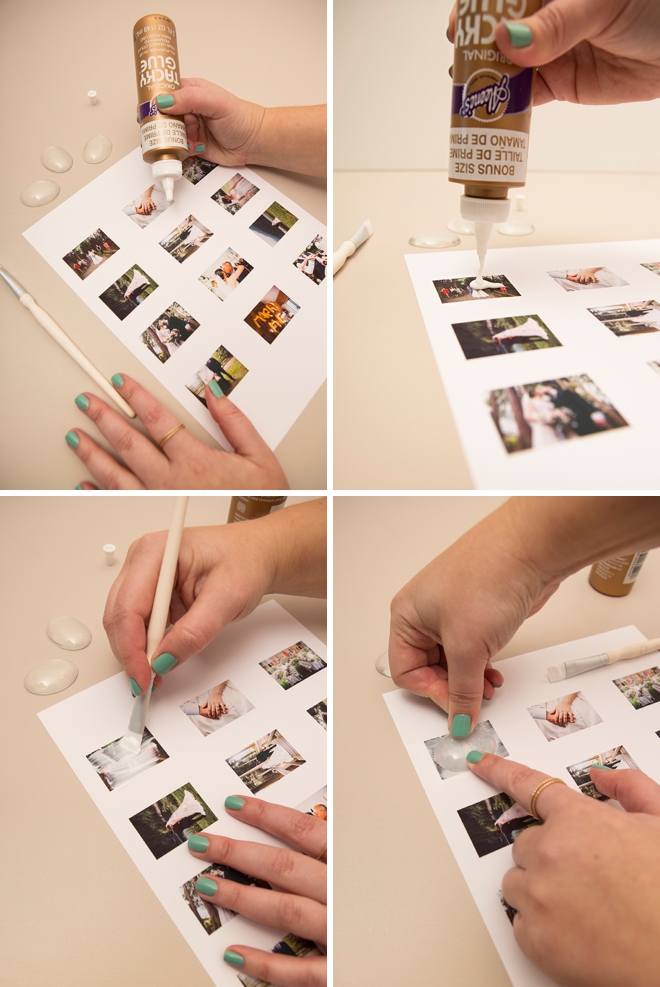
Glue The Glass
Now the fun part! Add a dollop of Tacky Glue on top of each photo and smooth the glue out evenly across the photo by using a paint brush. You want a nice thick layer of glue across the entire photo. Then press the flat side of the glass tile firmly into the glue. You can move the tile around a bit in the glue to press out ALL the air bubbles. Really press the glass tile into the glue and center over the picture. Let fully dry, possibly overnight.
Let Fully Dry
The Tacky Glue will dry clear and you’ll be left with a page full of pretty glass photo tiles!
If there are dark spots in your dry tiles, that’s an air gap where the glue wasn’t touching the glass. You can always peel/scrape the photos and glue off the tile and try again. If there are hazy/foggy spots, the glue isn’t fully dry yet. Try hitting it with a hot blow dryer if you feel like it’s taking too long.
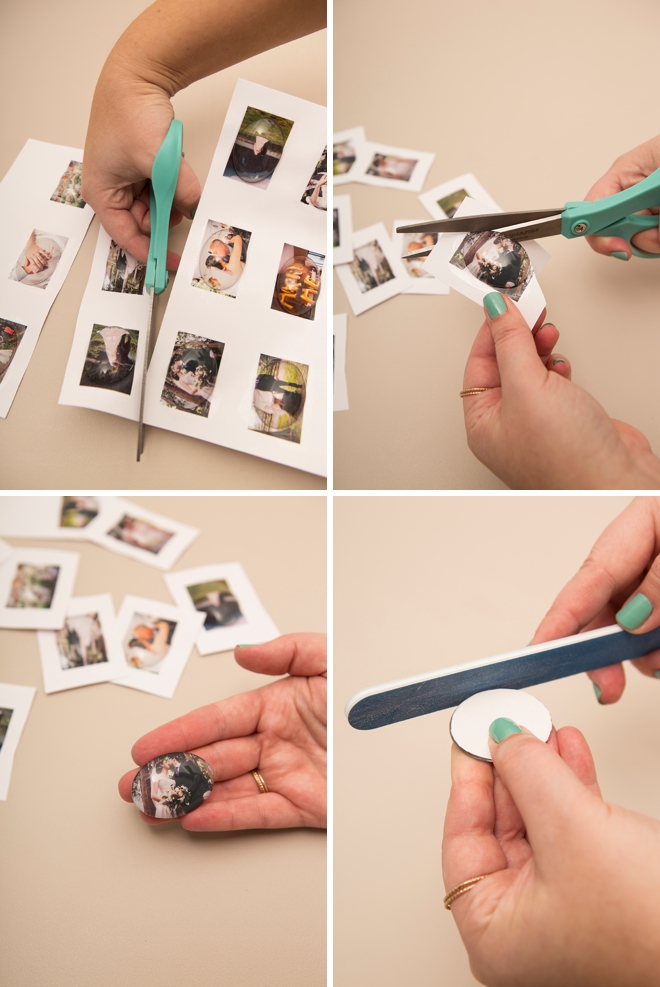
Trim Around Glass
Cut the tiles into individual pieces and then carefully trim as close as you can to the rim of the glass tile. Sand the edges of the photo paper using a nail file to smooth.
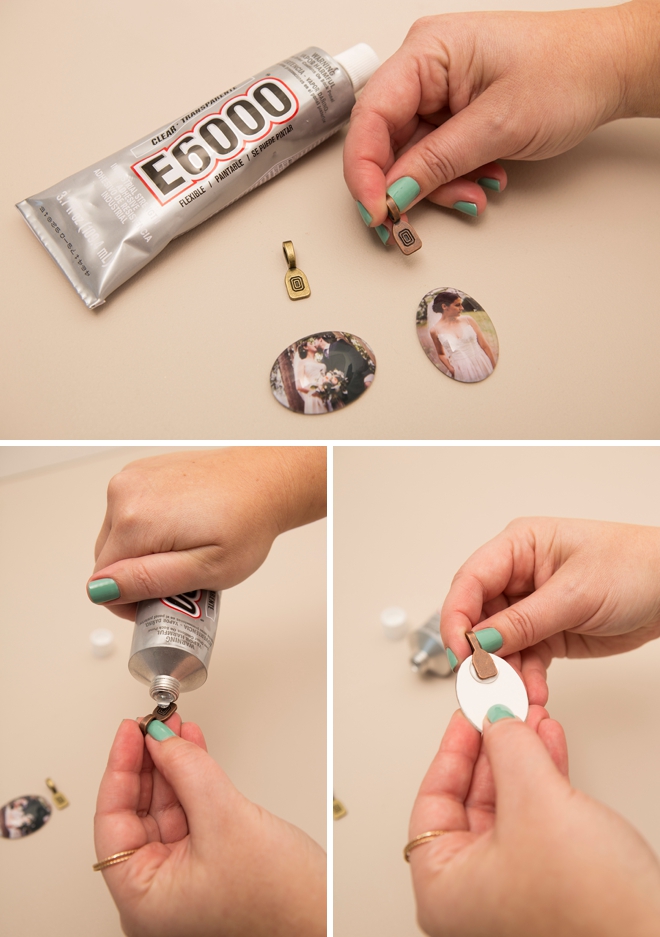
Add The Bail
To turn these little beauties into ornaments, glue jewelry bails onto the backside of each tile using a super strong glue like E6000. Let fully dry before hanging.
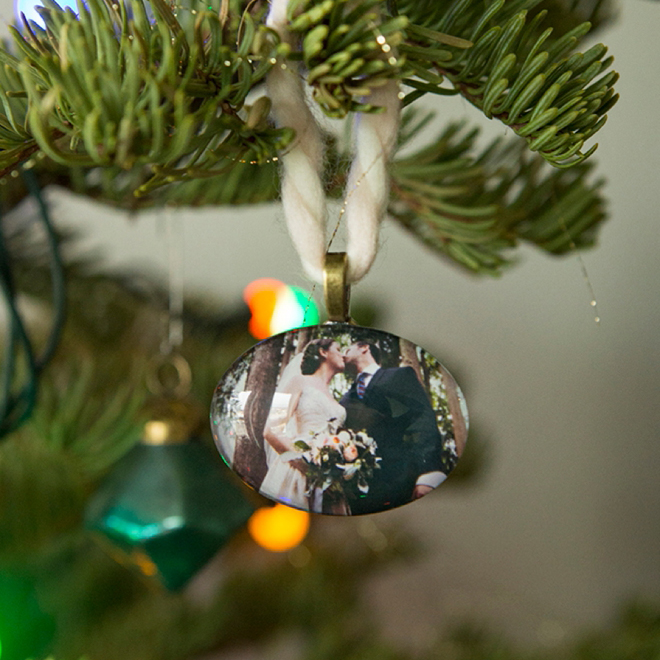
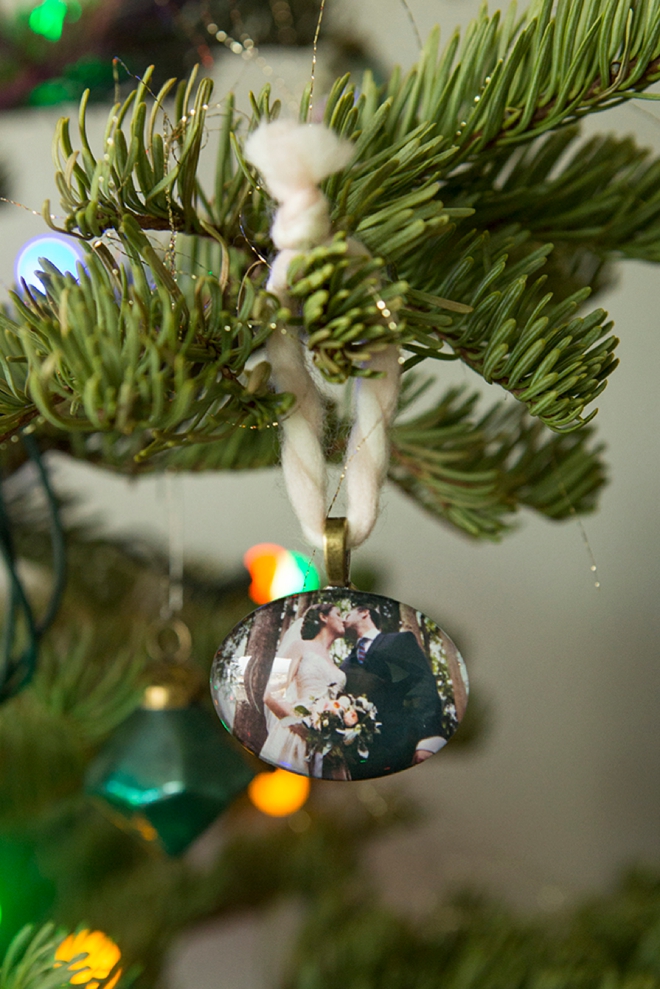
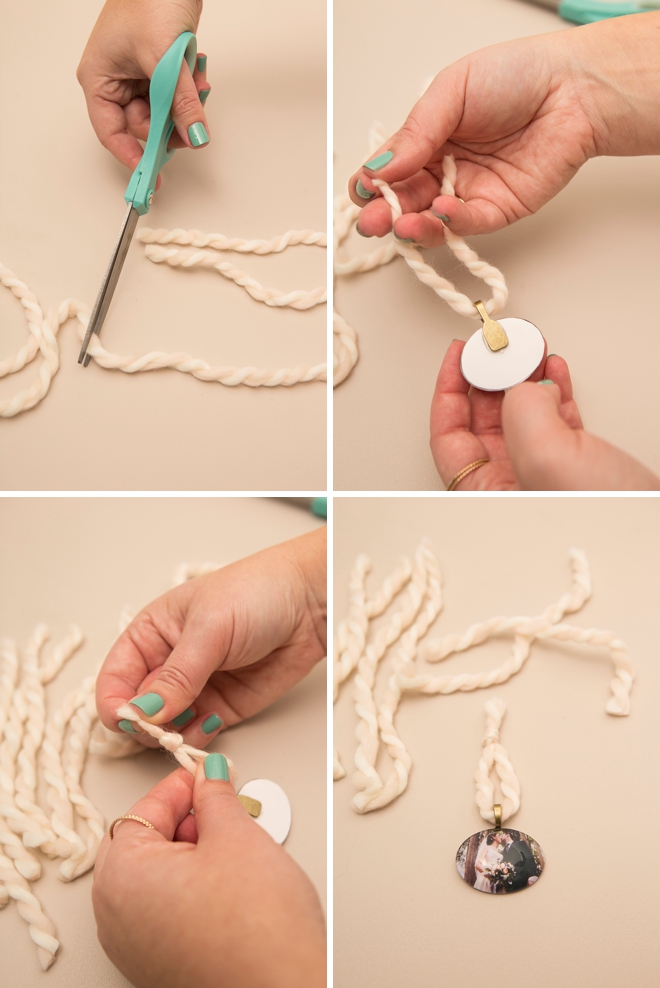
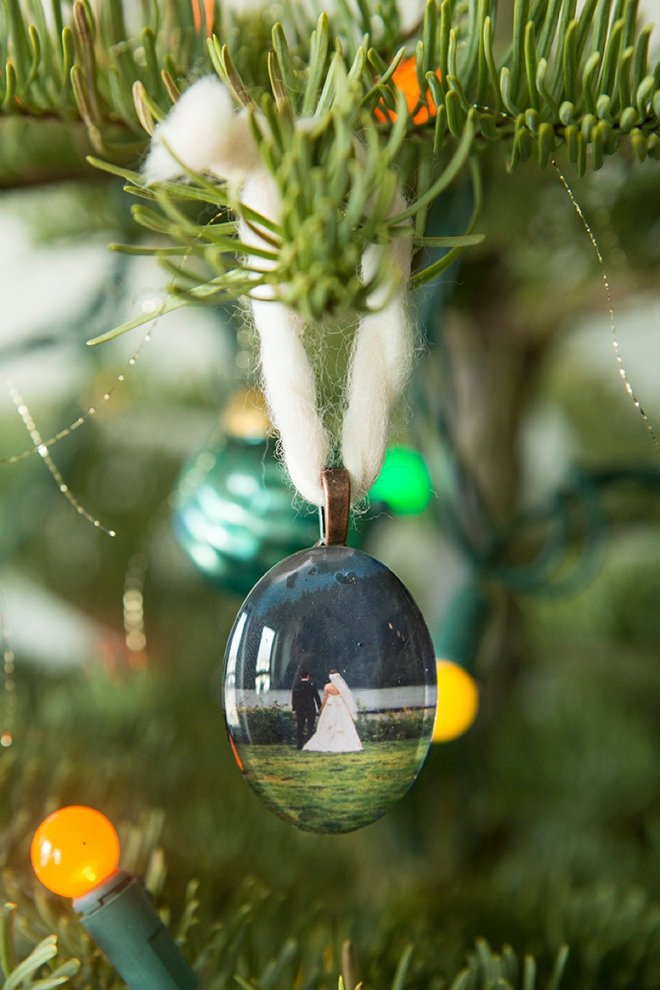
Add Yarn
Cut ribbon, twine, yarn or the like to hang your ornaments with!
These Would Make Great Gifts
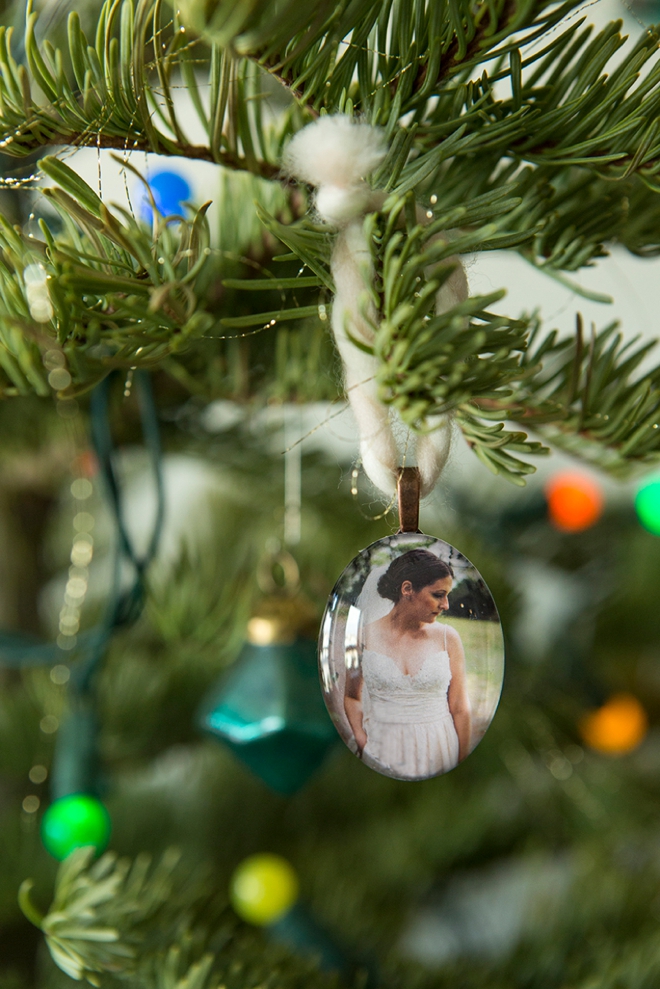
I’m positive that your parents and grand parents would absolutely LOVE to get one (or maybe a couple) of these sweet little photo ornaments to hang on their tree!
And of course any photos will do, not just wedding photos! Baby portraits, family portraits, vacations, etc!
DIY TUTORIAL SPONSORED BY:
Canon U.S.A., Inc. prides itself on allowing consumers to create and preserve beautiful imagery, from capture to print. With wireless technology and seamless printing capabilities, you can print your photos and printables with precision and ease.
As with all our DIY tutorials, if you create one of our projects please send us a picture – We Love Seeing Your Creativity! If you use Instagram or Twitter please use the hashtag #SomethingTurquoiseDIY and it will show up on our Get Social page. Happy Crafting!
DIY Tutorial Credits
Photography + DIY Tutorial: Jen Carreiro of Something Turquoise // Canon PIXMA iP8720 Crafting Printer + Matte Photo Paper: courtesy of Canon // 40x30mm Clear Glass Tiles: Amazon // Jewelry Bails: Amazon // Tacky Glue: Amazon // E6000 Glue: Amazon // Paint Brushes: Martha Stewart // Blush + White Yarn: Paper Source // Nail Polish: OPI – Withstands the Test of Thyme // Huge thanks to Norma Ibarra for these wedding photos of Kendra + Aaron!
Shop The Supplies:
Find the supplies you’ll need for this project from our affiliate links below:

Comments