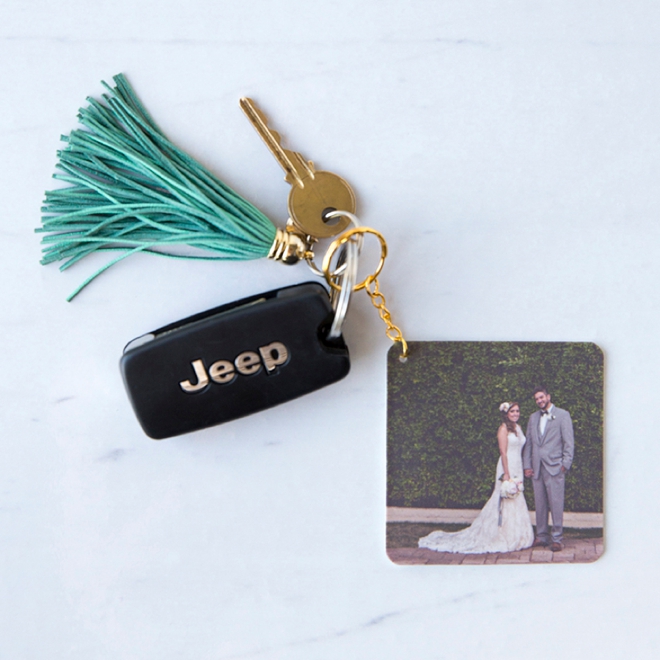

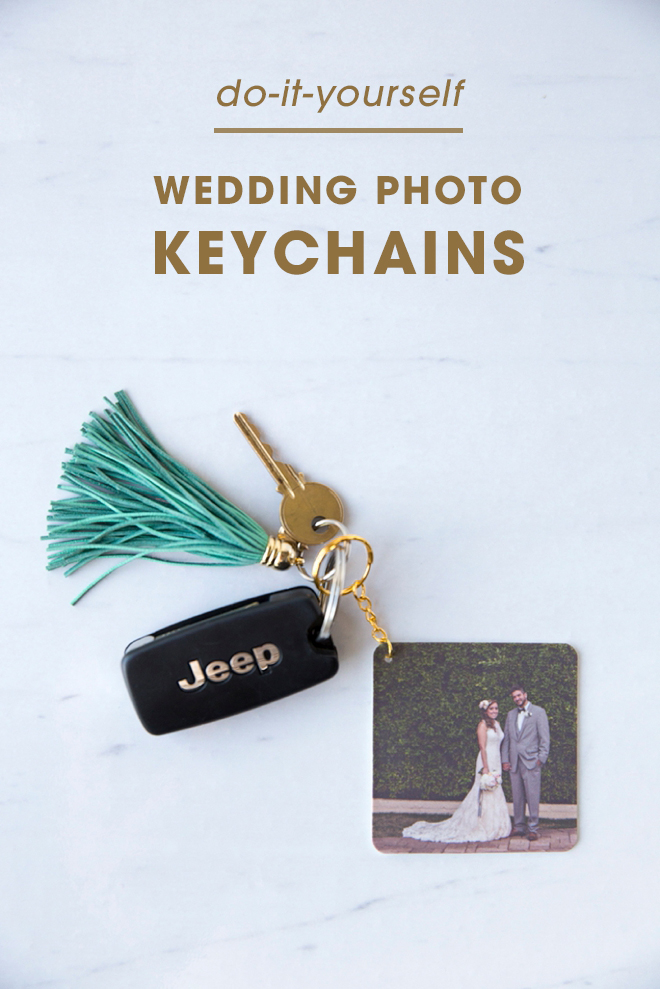
DIY | Shrinky-Dink Wedding Photo Keychains
-Sponsored Post-
Getting crafty with photos is the best! Especially when you have a Canon PIXMA iP8720 Crafting Printer because it makes your photos look professionally printed. People might even think that you bought these DIY Shrinky-Dink Wedding Photo Keychains because they look so awesome! After your wedding is over and you feel like you have nothing to do, use your favorite wedding photo to make a darling keychain!
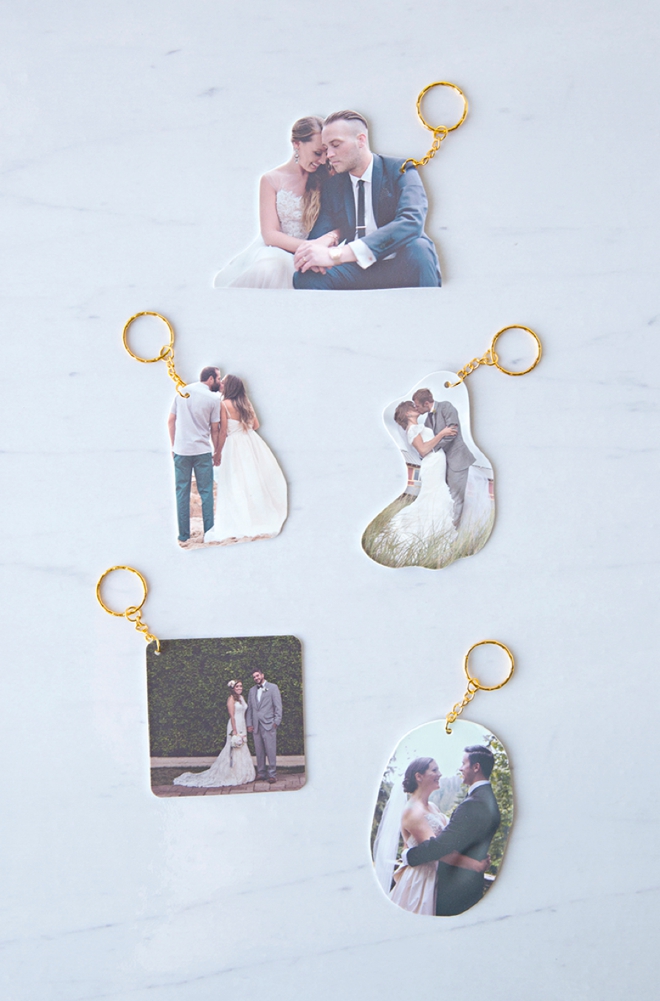
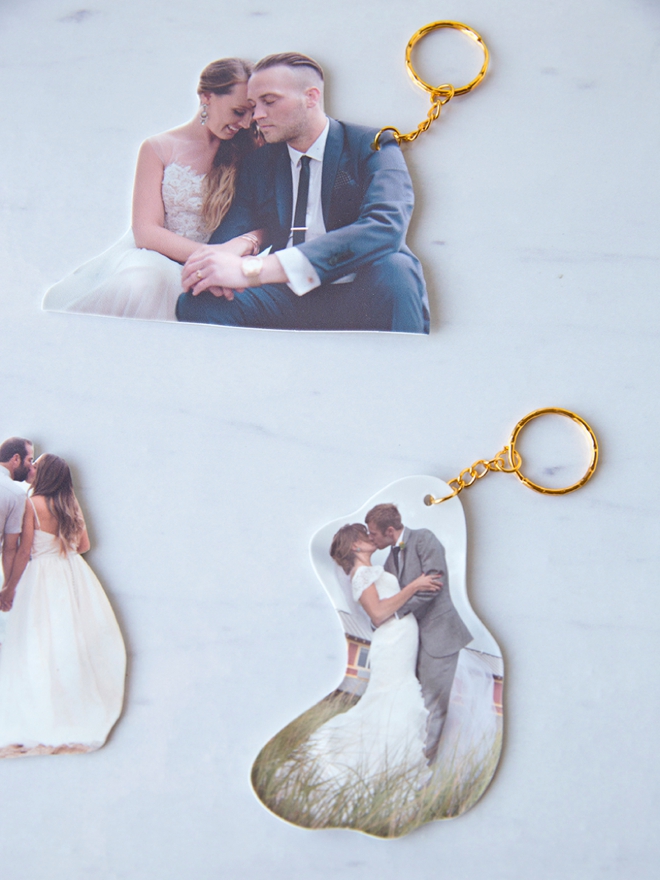
Any Photo Will Do
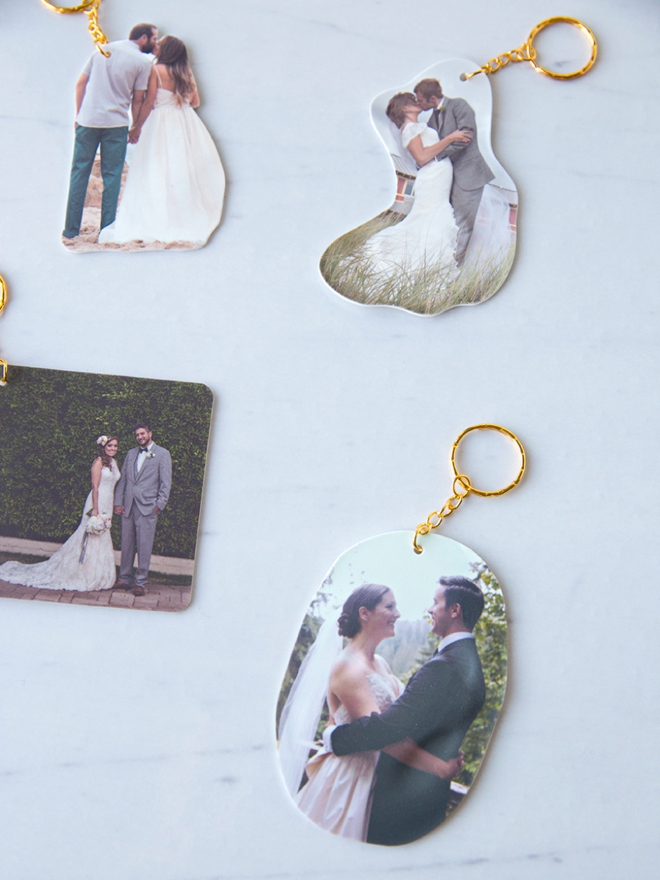
Pretty vacation photo? Photo of your wonderful grandma? Or maybe your sweet fur-baby? Choose your current favorite photo and turn it into a keychain for yourself or a friend!
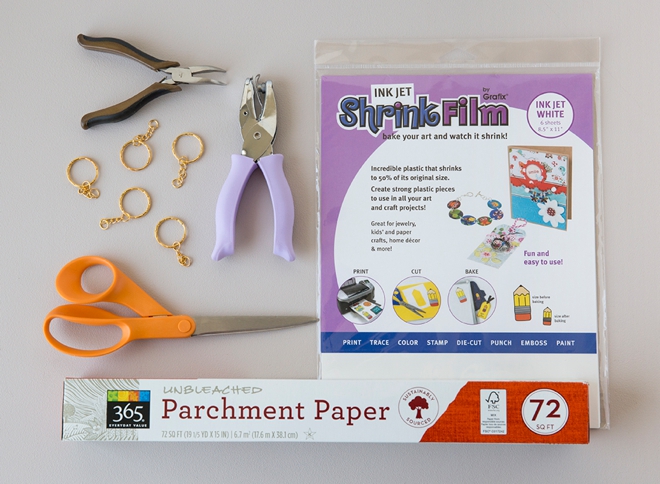
SUPPLIES:
- Canon PIXMA iP8720 Crafting Printer
- Inkjet Shrink Film
- Parchment Paper
- Keychain Rings
- Scissors
- Hole Punch
- Mini-Pliers
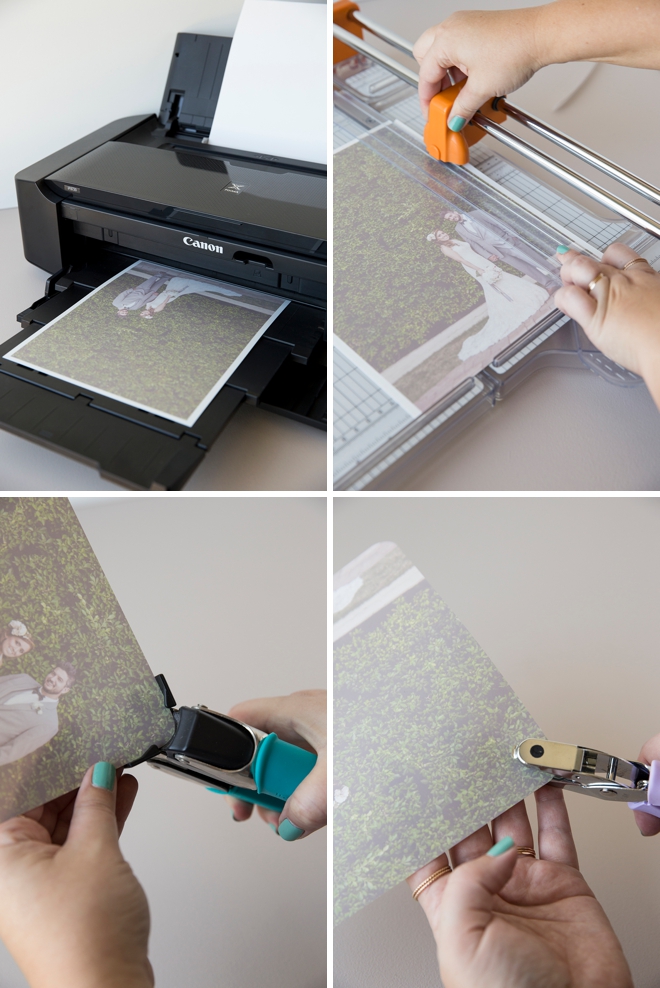
Print At 50%
You’re going to have to be a little tech-savvy for this step of the project as you NEED to print your wedding photo at 50% opacity. What that means is that you need to make your photo 50% lighter than the original. The reason being that when these cuties shrink, the color is saturated. You can change the opacity after importing the photo into Word, Photoshop or many other photo editing softwares. Size the photo to fill the 8.5″ x 11″ shrink film sheet.
Print your photo on “Photo-Best-Quality” using your favorite Canon printer, you gals know mine is the PIXMA iP8720, onto 8.5″ x 11″ inkjet Shrink-Film. The brand I’ve linked to at the end of the post is the best!
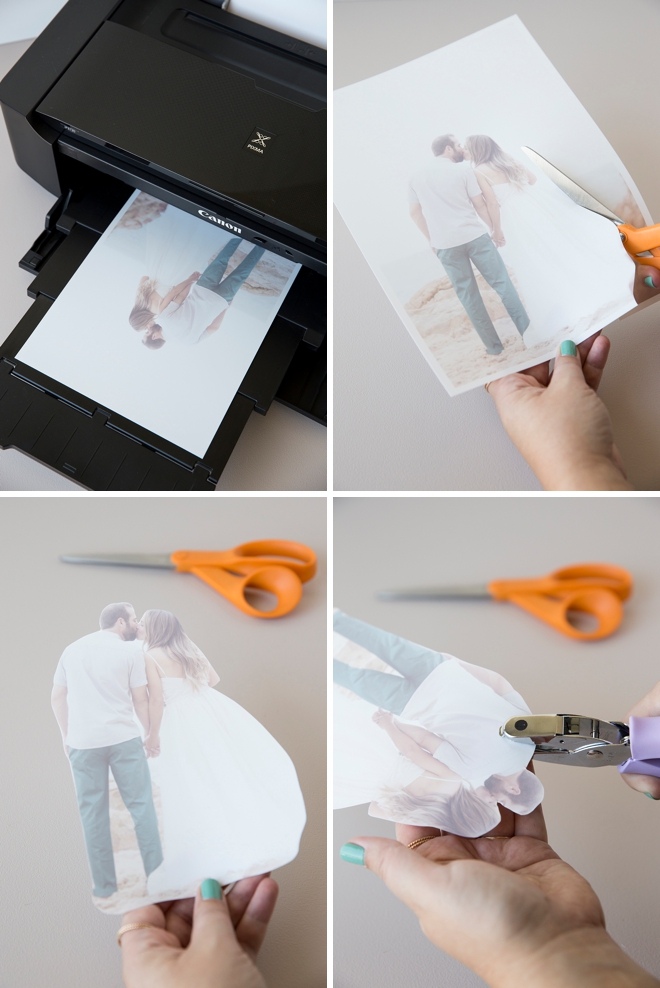
Cut + Hole Punch
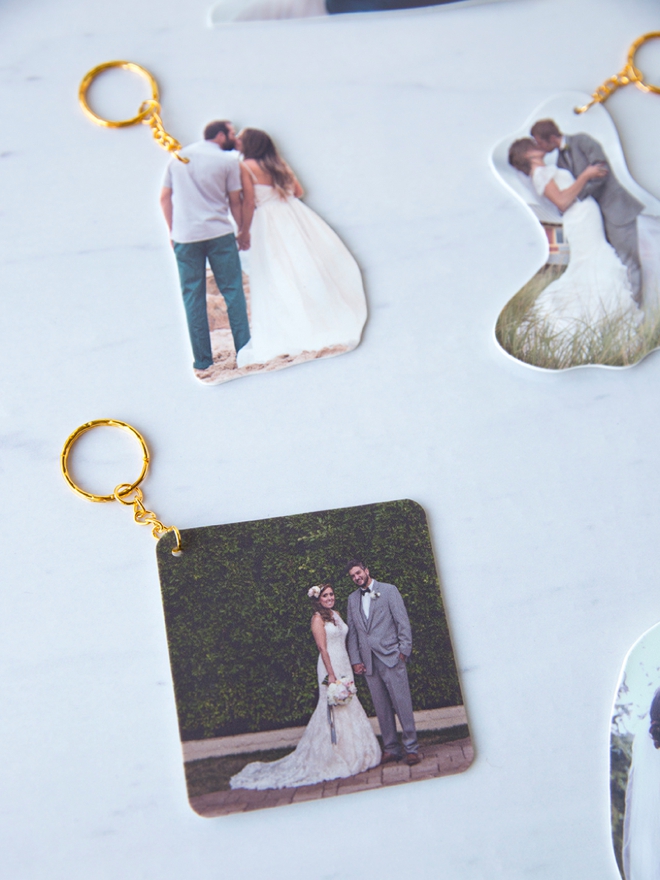
After you’ve printed your photo try not to touch it too much. Carefully cut out the image however you’d like, using scissors or a paper trimmer… the square with the rounded edges ended up being my favorite! Punching a hole for the keychain BEFORE you bake is a must!
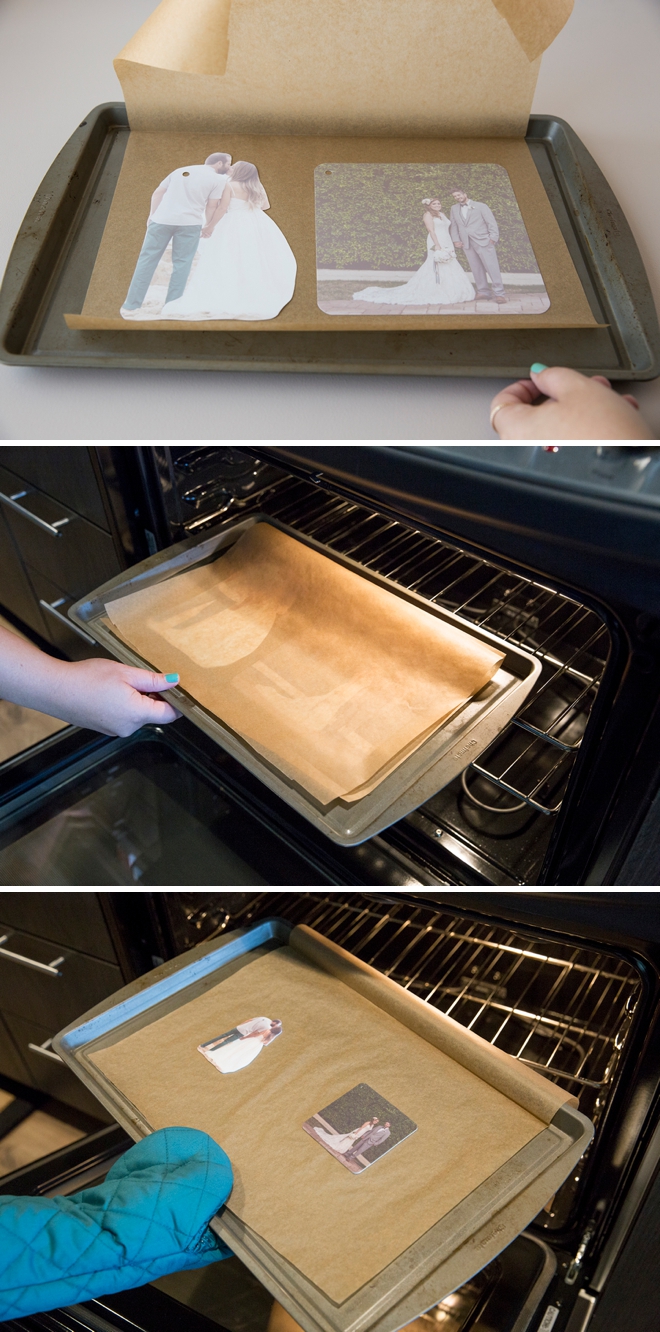
Bake To Shrink
Cover your shrinky-photos in parchment paper to protect them while baking. Follow the instructions on your package of shrink film for temperature and time. When you remove them from the oven minutes later – they look like this!
CRAFTERS TIP: If you have problems with your designs curling up instead of coming out flat, you can iron them or re-heat them with an embossing gun and press them flat to cool with a spatula.
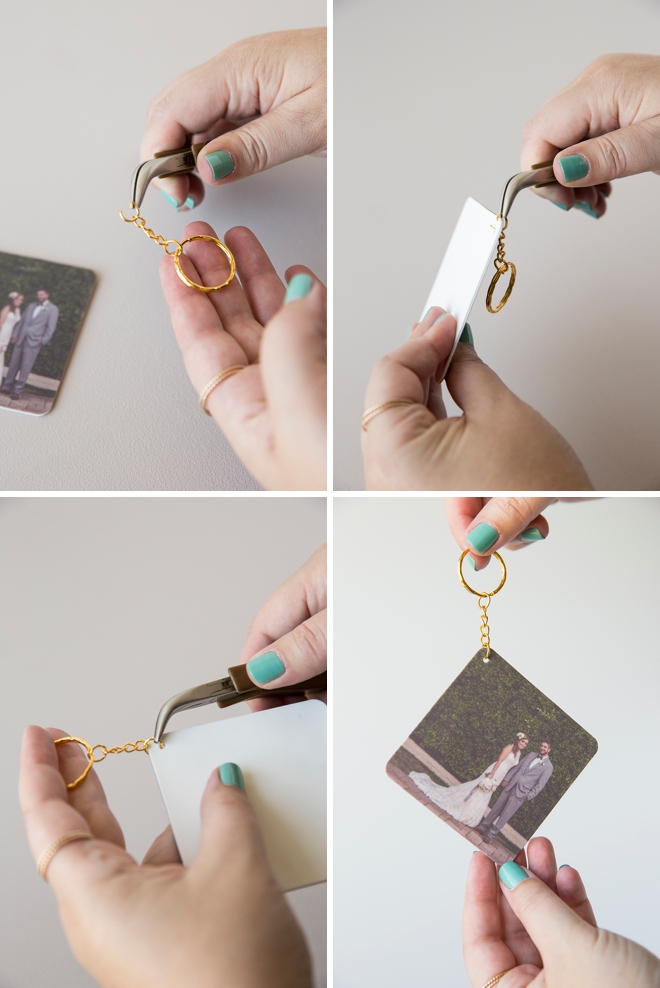
Add The Keychain
Using mini-pliers open up the jump ring at the end of the keychain and thread it through the punched hole on the photo and close. So cute right!?!
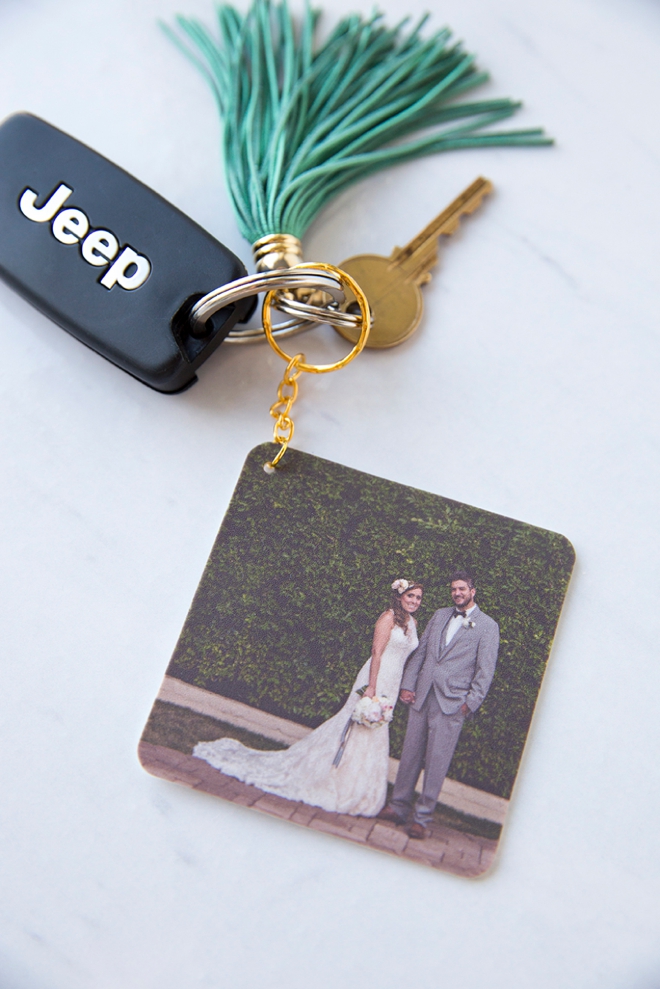
Great For Gifts
This is a fun gift idea for anyone really, since any photo will do! You can make them as holiday gifts or even bridesmaids presents from bachelorette party photos, lol… ok maybe not!
DIY TUTORIAL SPONSORED BY:
Canon U.S.A., Inc. prides itself on allowing consumers to create and preserve beautiful imagery, from capture to print. With wireless technology and seamless printing capabilities, you can print your photos and printables with precision and ease.
As with all our DIY tutorials, if you create one of our projects please send us a picture – We Love Seeing Your Creativity! If you use Instagram or Twitter please use the hashtag #SomethingTurquoiseDIY and it will show up on our Get Social page. Happy Crafting!
DIY Tutorial Credits
Photography + DIY Tutorial: Jen Causey of Something Turquoise // Canon PIXMA iP8720 Crafting Printer: courtesy of Canon // 8.5″ x 11″ Inkjet Shrink Film: Amazon // Gold Keychains: The Mint Beadery on Etsy // Sissors and Hole Punch: Fiskars // Nail Polish: OPI – Withstands the Test of Thyme
Special thanks to our favorites; Shea, Lauren, Shea, Kendra and Lauren for letting me use their pretty wedding photos for this project!
Shop The Supplies:
Find the supplies you’ll need for this project from our affiliate links below:

Comments