
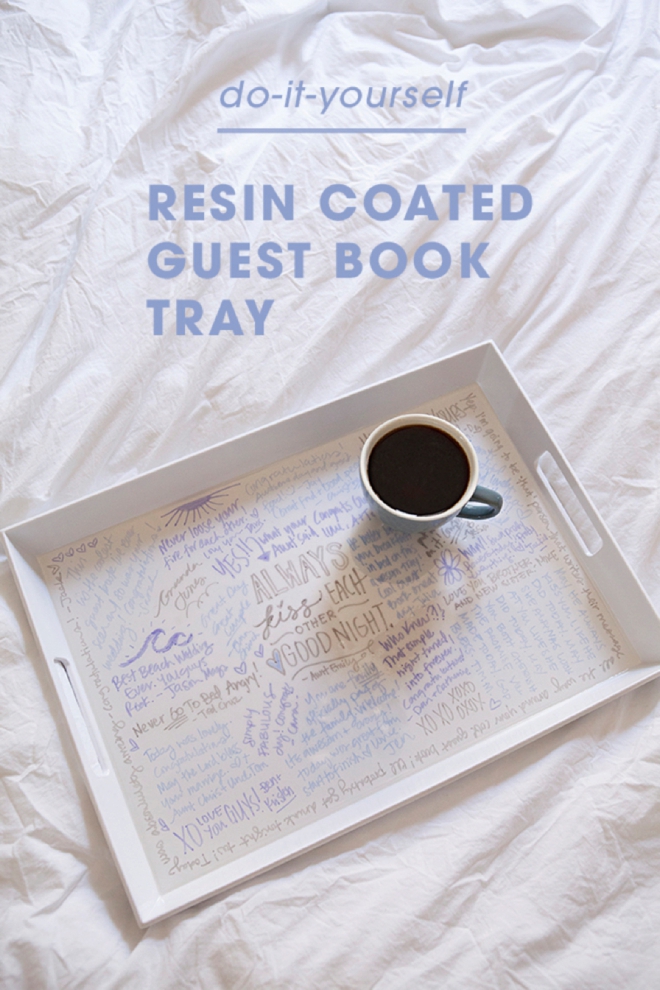
DIY | Resin Coated Guest Book Serving Tray
A wedding guest book can be the perfect keepsake to shed light on what your event was like, who attended and what special wishes they wanted to share. You might not think much of a guest book today or even a few months after your event, but for me, this year is our 10 year anniversary and looking back on the little notes we have from our loved ones is truly something to cherish. But in some cases, the things that you’d like to have your guests sign – might be hard to preserve. So I had an idea to cover guest signatures with resin and it totally worked! I bring you the DIY Resin Coated Guest Book Serving Tray… in two totally different colors and styles. The creative part of this project happens after your wedding, so you can look forward to having something fun to do after the celebration is over!
Bridal Shower or Other Event
If you’ve already finalized your wedding guest book – this would be super fun for your bridal shower! It would also be great for anniversary parties, retirement gift from co-workers or even for a baby shower!
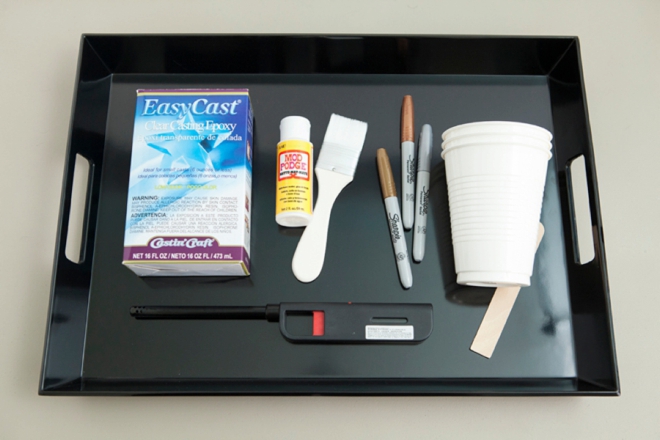
SUPPLIES:
- Plastic Serving Tray (maybe even 2!)
- Sharpies to match your tray
- EasyCast Resin
- Mod Podge
- Paint Brush
- Plastic Cups
- Craft Stick
- Lighter
Tray + Sharpies
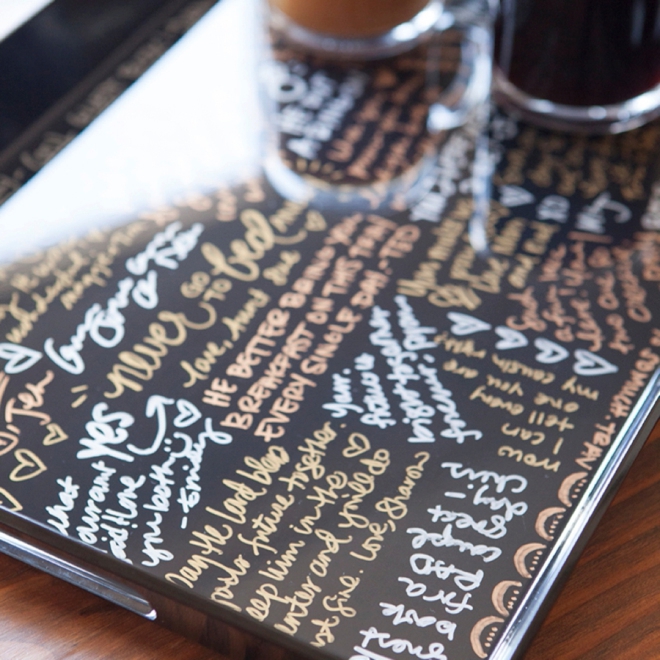
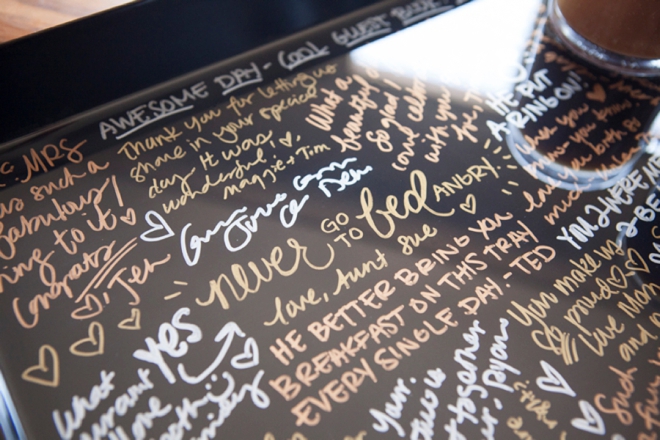
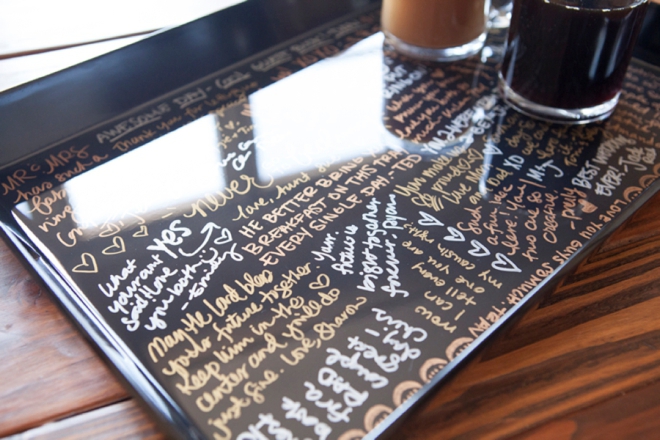
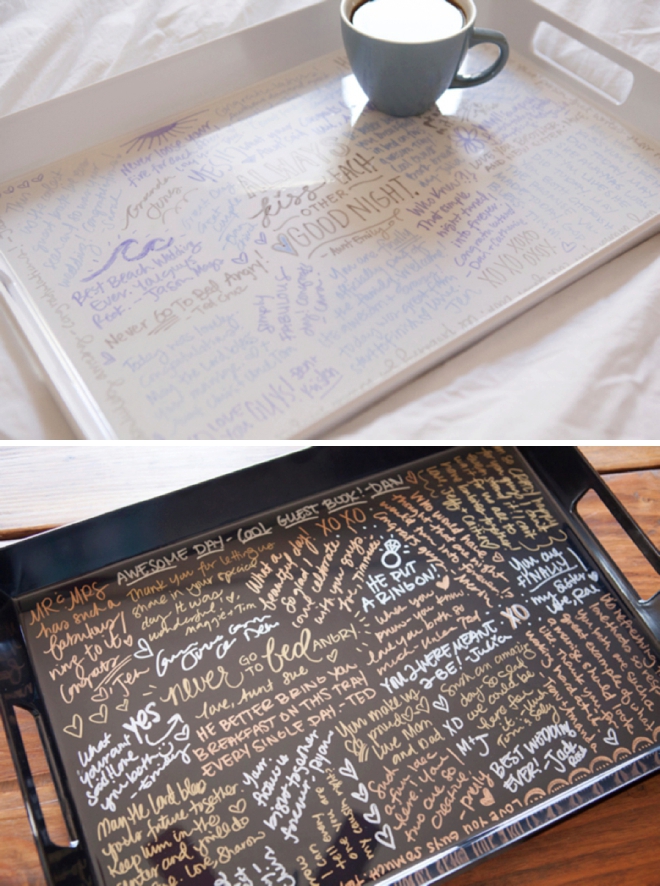
Find a plastic tray that fits your wedding theme, these are from Target and they come in black, white, red and blue… but many stores carry something similar. If you want to use regular colored Sharpies, I would recommend using a white tray. For all other colors of tray you’ll need to use the Silver, Bronze or Gold Sharpies as they’ll actually show up.
Crafters Tip: you can try the Sharpie colors out on the underside of your tray to make sure you’re happy with the colors and then wipe them off immediately with alcohol.
Let Your Guests Do The Work
Have your tray and Sharpies (maybe even bring a few extra) out at your reception and let your guests add their message of love. If at the end there are little gaps in the “design” – fill them in yourself!
Let the Sharpie messages dry for at least 24 hours, 48 or 72 is even better, before you move onto the next step.

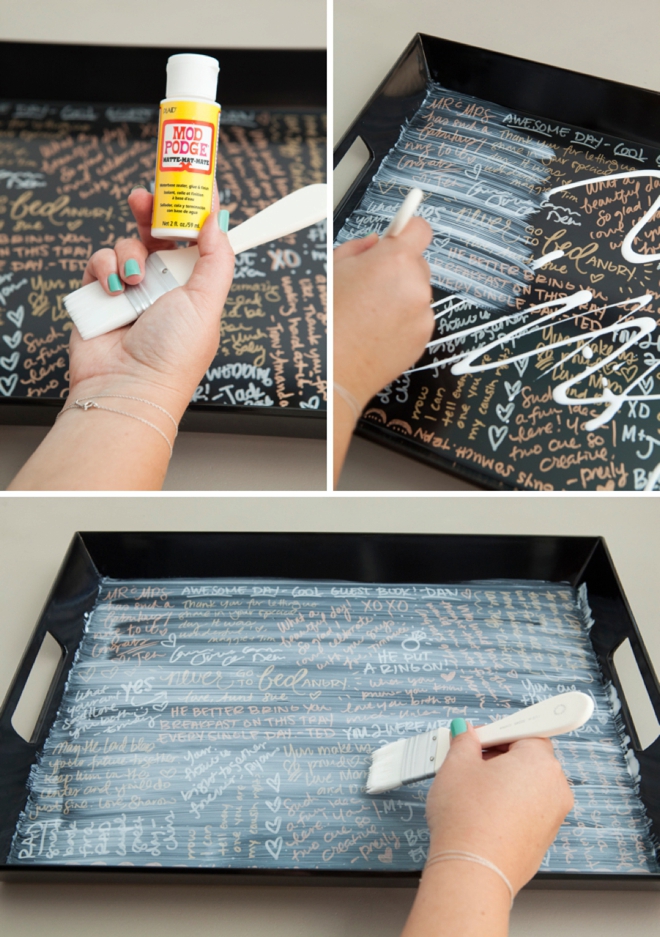
Seal Your Signatures
You MUST do this step. If you don’t, the resin will dissolve the Sharpie messages. How do I know? Because I did it and then had to throw that tray out and start over!
Any clear Mod Podge will do. Seal your signatures by painting two thin coats of glue, with at least an hour of dry time in between. Then let this dry for 24 hours.
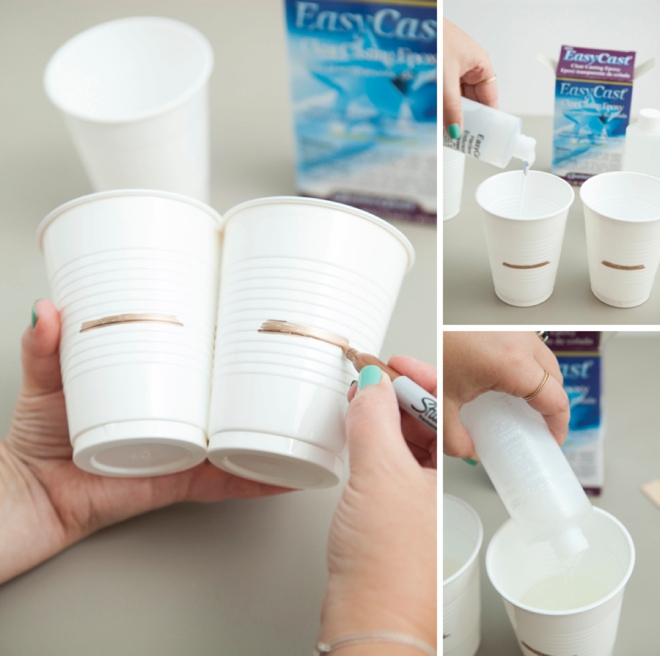
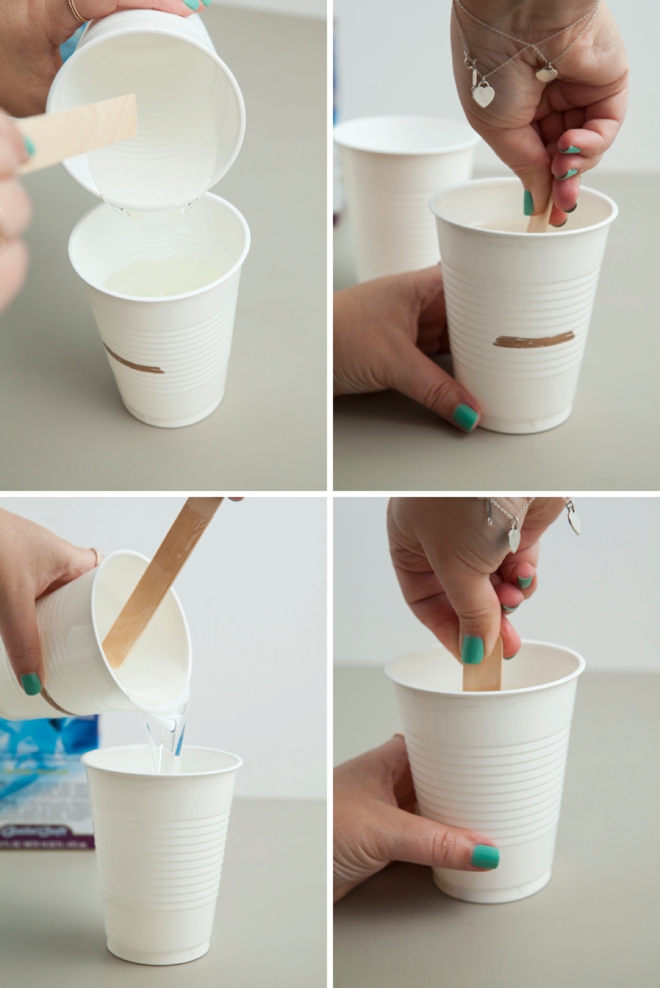
Measure The Resin
This EasyCast resin has very specific instructions:
- Use equal amounts of resin and hardener.
- Mix for 2 minutes.
- Pour into a new cup and mix for another minute using a new stir stick.
- Then pour into your mold or item.
I don’t see how pouring into a second cup would make any difference but whatever – I’m a rule follower and so I followed the rules. I measured my resin and hardener in two different cups that I marked where to fill the liquids to. I used two different cups so that the measurements would be perfect. I then poured one into the other and mixed for 2 minutes. Then I poured the whole batch into a new cup and mixed for another minute.
This measurement turned out to make 14oz total, 7oz of each to fully cover the tray with about 1/4″ of resin. Which was perfect and left me with 2oz of resin leftover that I can now make a piece of jewelry with or something!
Pour Over Your Signatures
Once fully mixed, simply pour the resin onto the tray. Using the stir stick make sure the resin flows to all edges.

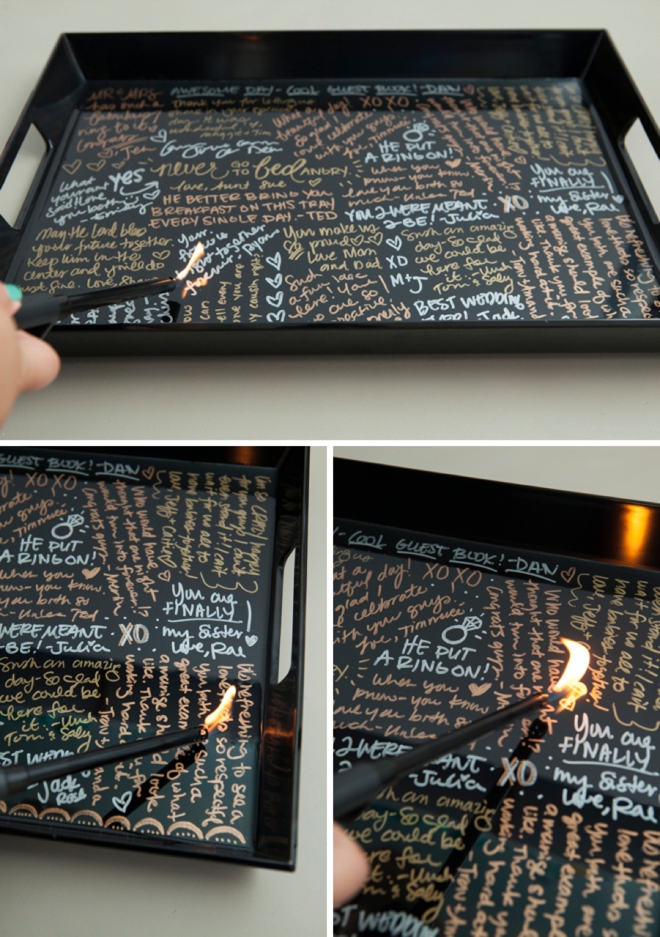
Burn Any Bubbles
This step is optional but AMAZING! Take a lighter and quickly glide it over the freshly poured resin to eliminate any bubbles. Literally they vanish with the heat, it’s kind of fun to watch!
Cure For 72 Hours
Let the resin cure for 72 hours where no one will bump it and nothing will fall on it. After 24 it will be pretty firm but for a solid, glass-like finish – it needs 72 hours. Or potentially a bit more if it’s really hot where you live.
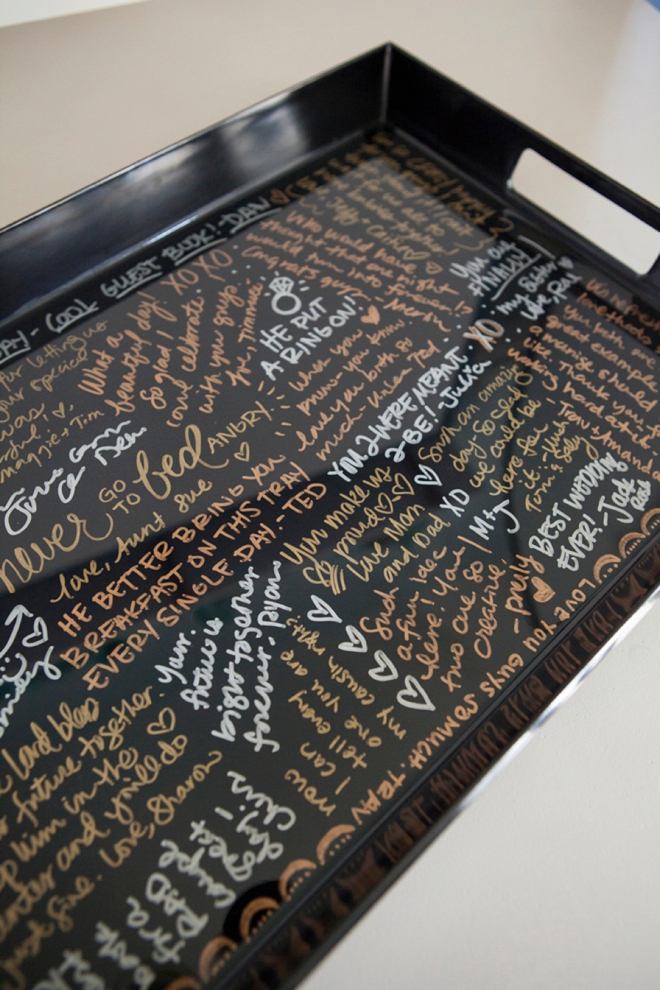
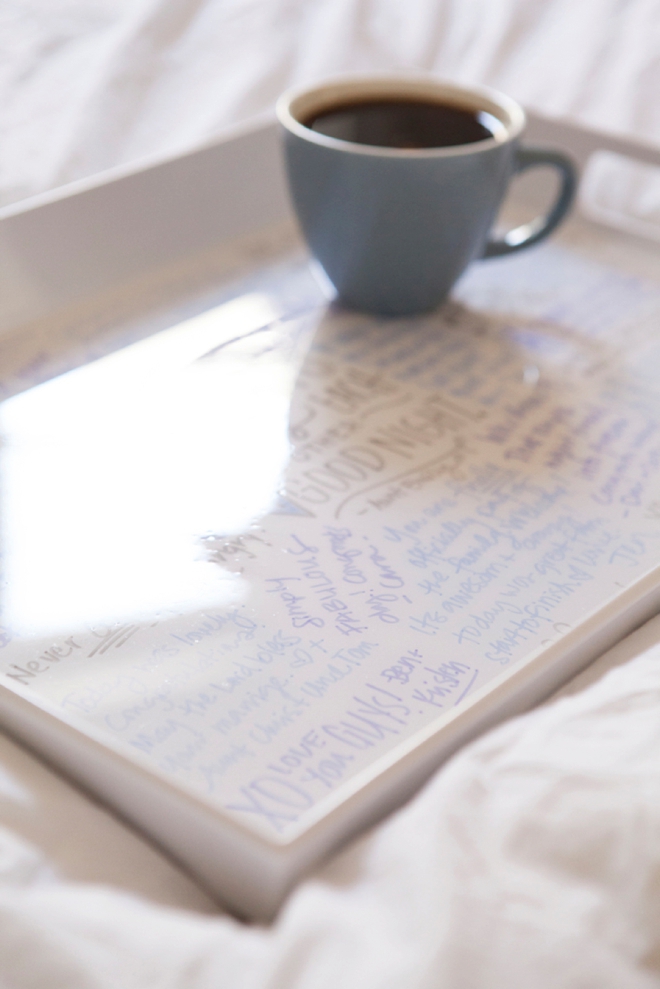
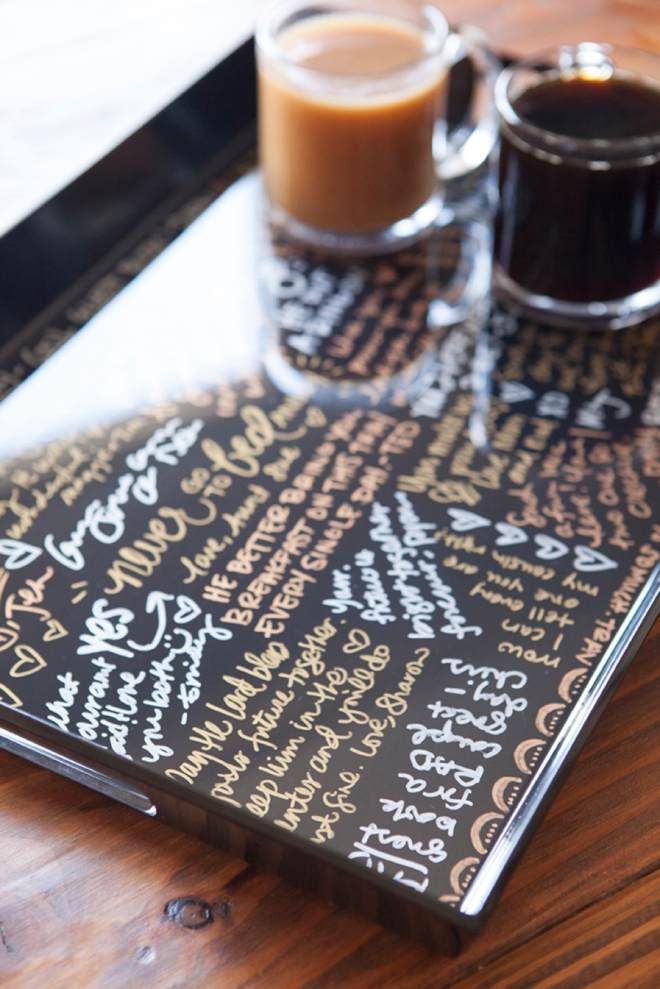
Beautiful Reflection
The resin adds an amazing texture and depth to the serving tray and will ensure that your special little notes and signatures will last forever!
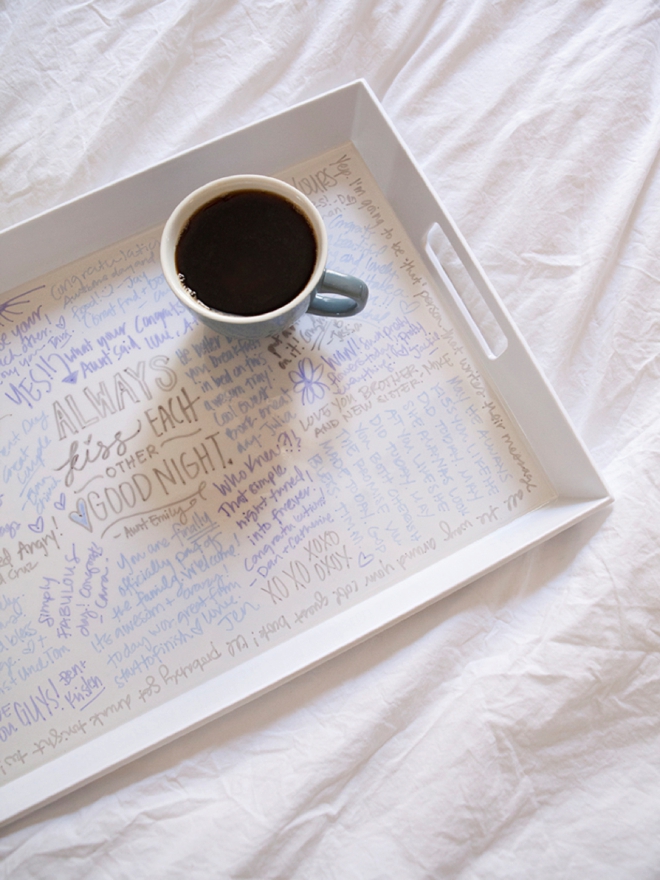
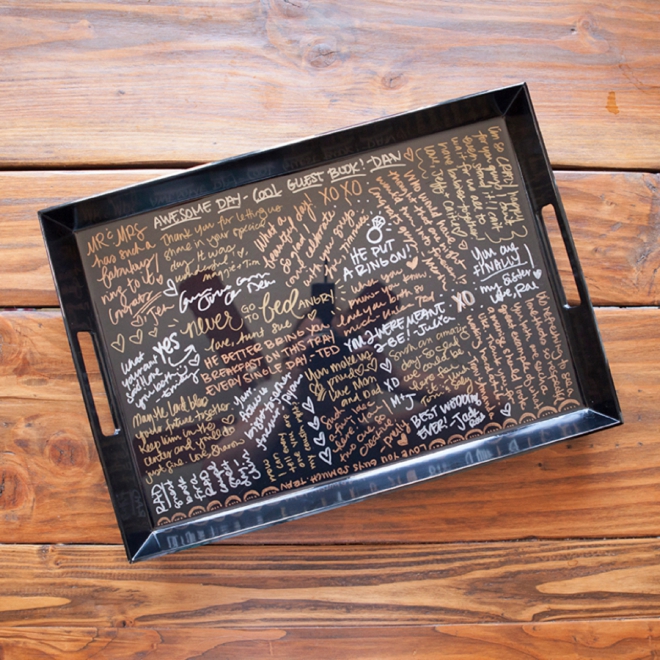
Sentimental + Useful
How romantic would it be to bring your love breakfast in bed… on this very special and sentimental serving tray!?
As with all our DIY tutorials, if you create one of our projects please send us a picture – We Love Seeing Your Creativity! If you use Instagram or Twitter please use the hashtag #SomethingTurquoiseDIY and it will show up on our Get Social page. Happy Crafting!
DIY Tutorial Credits
Photography + DIY Tutorial: Jen Carreiro of Something Turquoise // White and Black Melamine Serving Trays: Target // EasyCast Resin: Amazon // Metallic Sharpies: Amazon // Mod Podge: Amazon // Nail Polish: OPI – Withstands the Test of Thyme
Shop The Supplies:
Find the supplies you’ll need for this project from our affiliate links below:

Comments