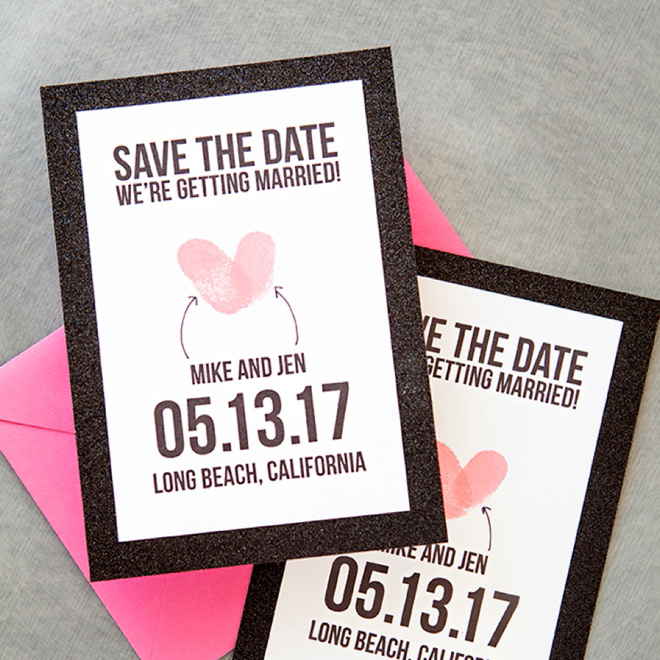

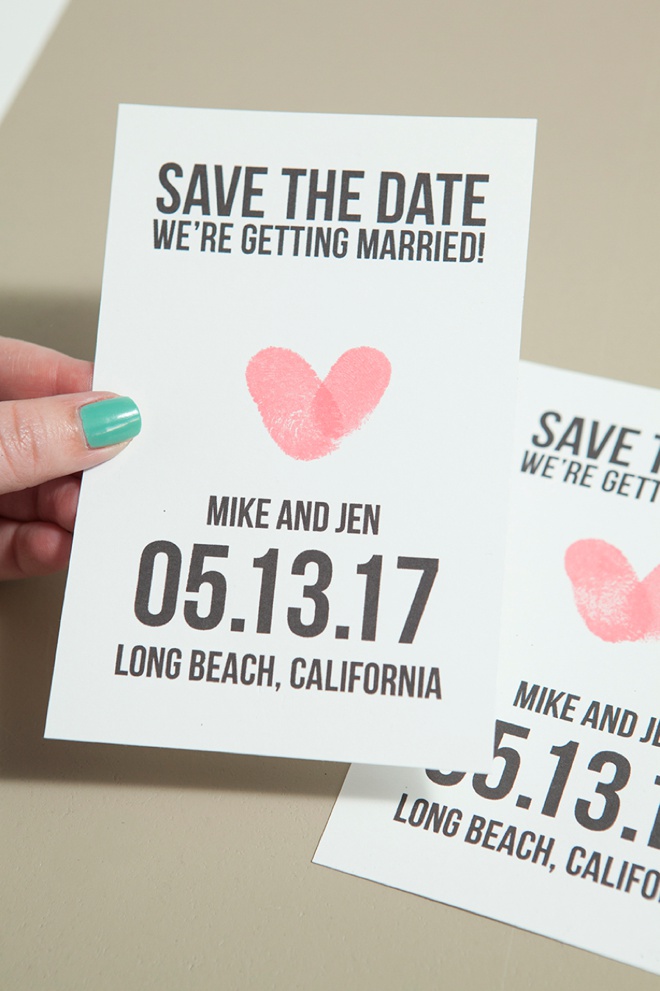
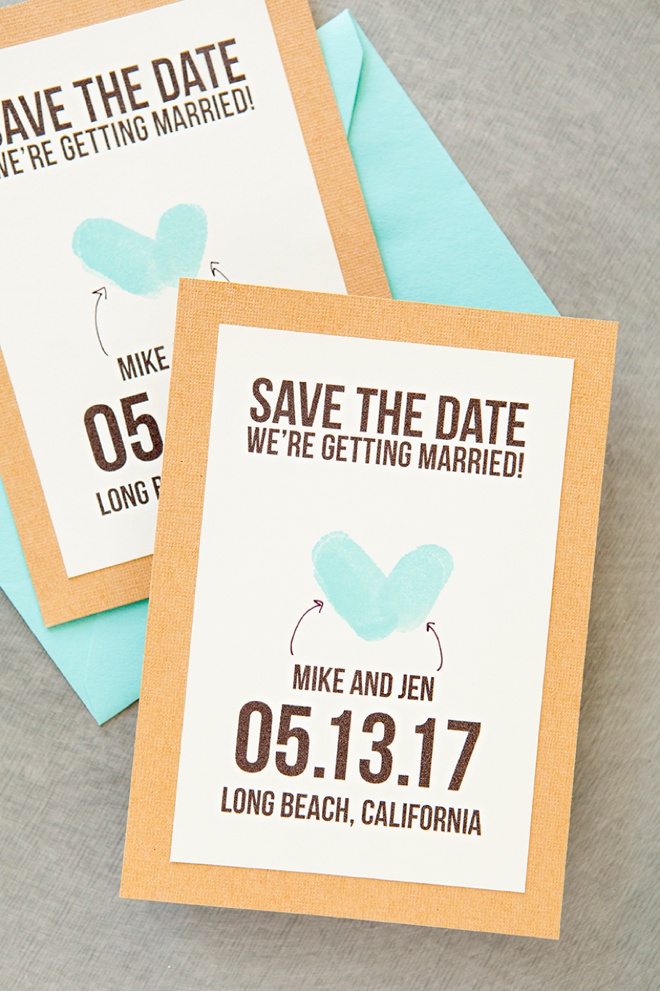
DIY | Thumbprint Heart Save The Date
Tackling a DIY project like your wedding invitations is ambitious and only attainable for the hardcore DIY bride + groom. Making your Save the Date invitations on the other hand can be super fun, totally easy, and will set your wedding planning + crafting off on the right foot, the creative foot! Which is why I’m excited to introduce you to our new Thumbprint Heart Save The Date Invitations. For this project I teamed up with my internet bestie, the fabulous Jessica Bishop who is the founder of The Budget Savvy Bride and also a talented graphic designer. She created files for you that are 100% editable, meaning you add your names, dates, location and more. Print at home and assemble at your leisure. You might need to round up your fiancés favorite dinner + drink to entice him to thumb-stamp all these cards for you, but it will be well worth it. Don’t forget to share your versions of our projects on Instagram or Twitter by using the hashtag #SomethingTurquoiseDIY!

Send Postcards or Regular Cards!
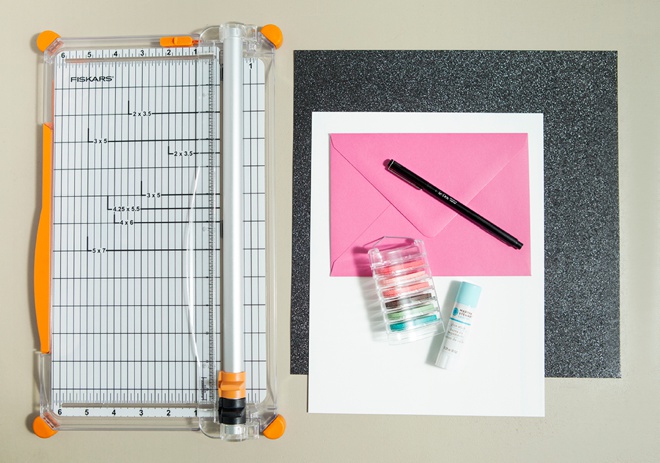
SUPPLIES:
- 8.5 x 11″ Cardstock
- Paper Trimmer
- Ink Pad
- Wet Wipes (to clean your thumbs with!)
- Pen
- Our FREE printable designs!
OPTIONAL:
- Glue Dots or Glue Stick
- Glitter or Colored Cardstock
- A7 Envelopes
We created these designs so that you could send A7 sized (5×7) regular cards -or- 4×6 postcards – your choice!
Download + Edit
First, visit The Budget Savvy Bride to download the darling, editable designs Jessica created for us. Open the document(s) with Microsoft Word and edit. If you don’t already have it, you will need to download the free font she is using to properly edit the files.
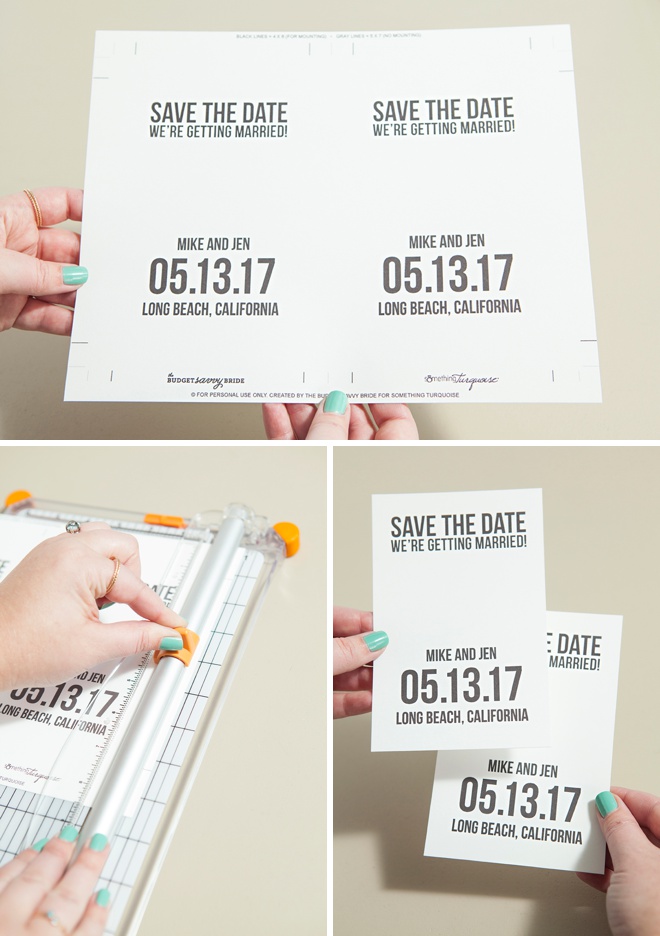
Print + Cut
Print your edited designs onto the 8.5″ x 11″ cardstock or coverweight paper of your choice. Lighter colors will work best.
One Design Fits All. You have 3 card options when it comes to this design:
- A7 Card Mounted. Design cut down to 4×6 and mounted onto 5×7 pretty paper.
- A7 Card Simple. Design cut to 5×7.
- 4×6 Postcard. Don’t forget about the editable download for the backside too!
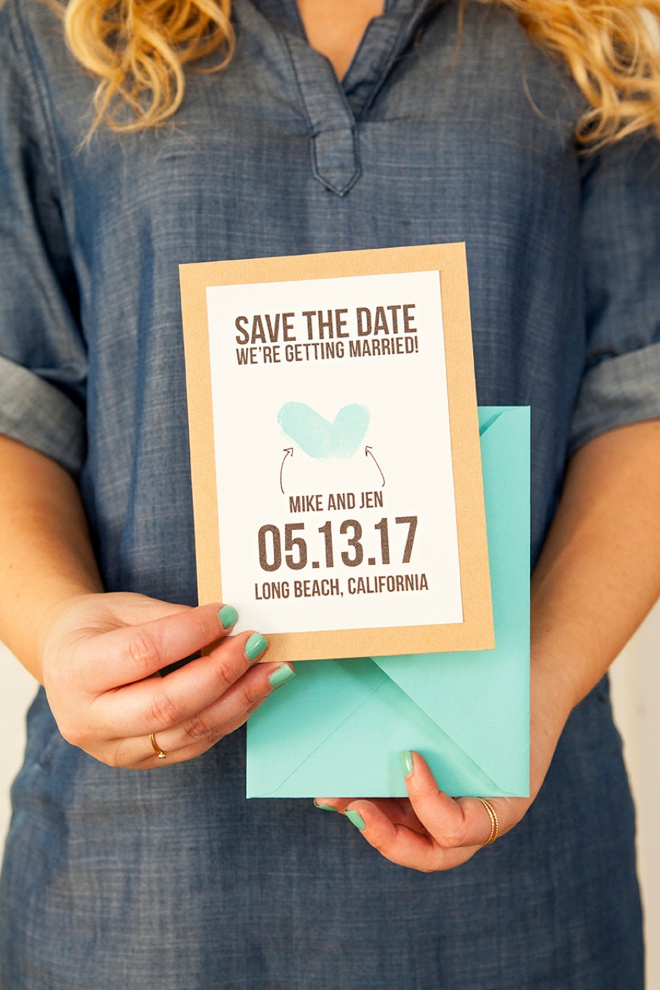
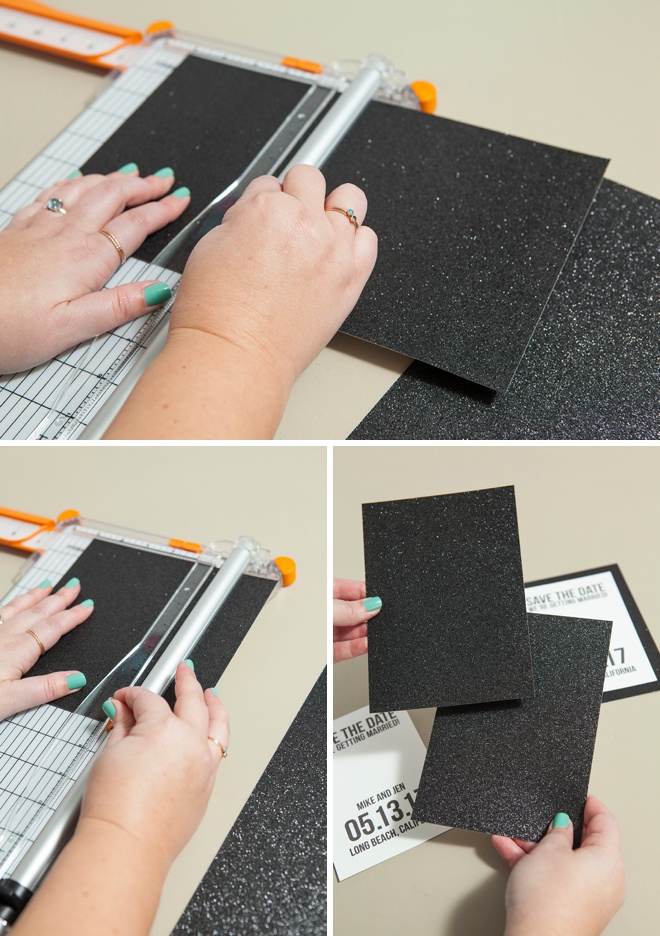
How To: A7 Card Mounted
First up, how to make the mounted card. Trim your design using the black crop lines. There are two cards per sheet.
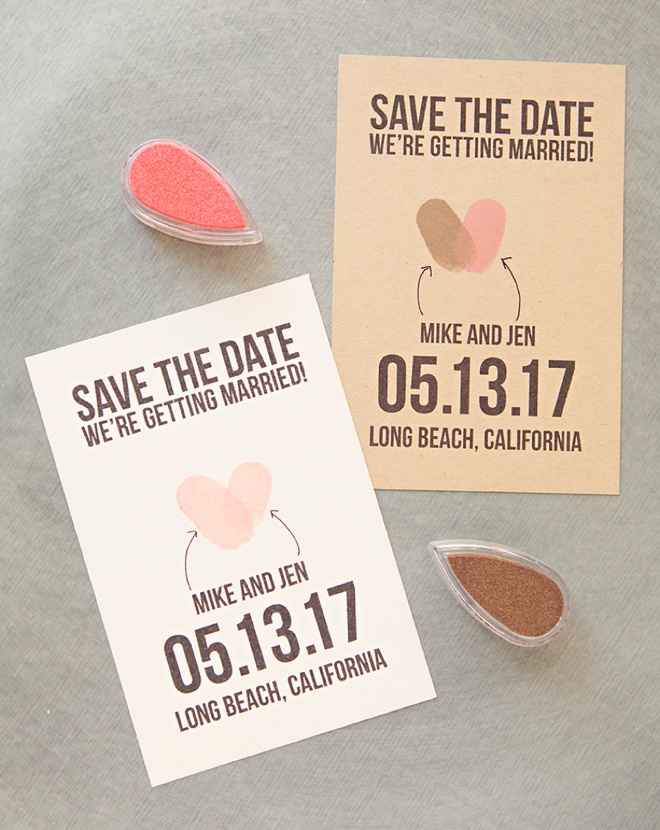
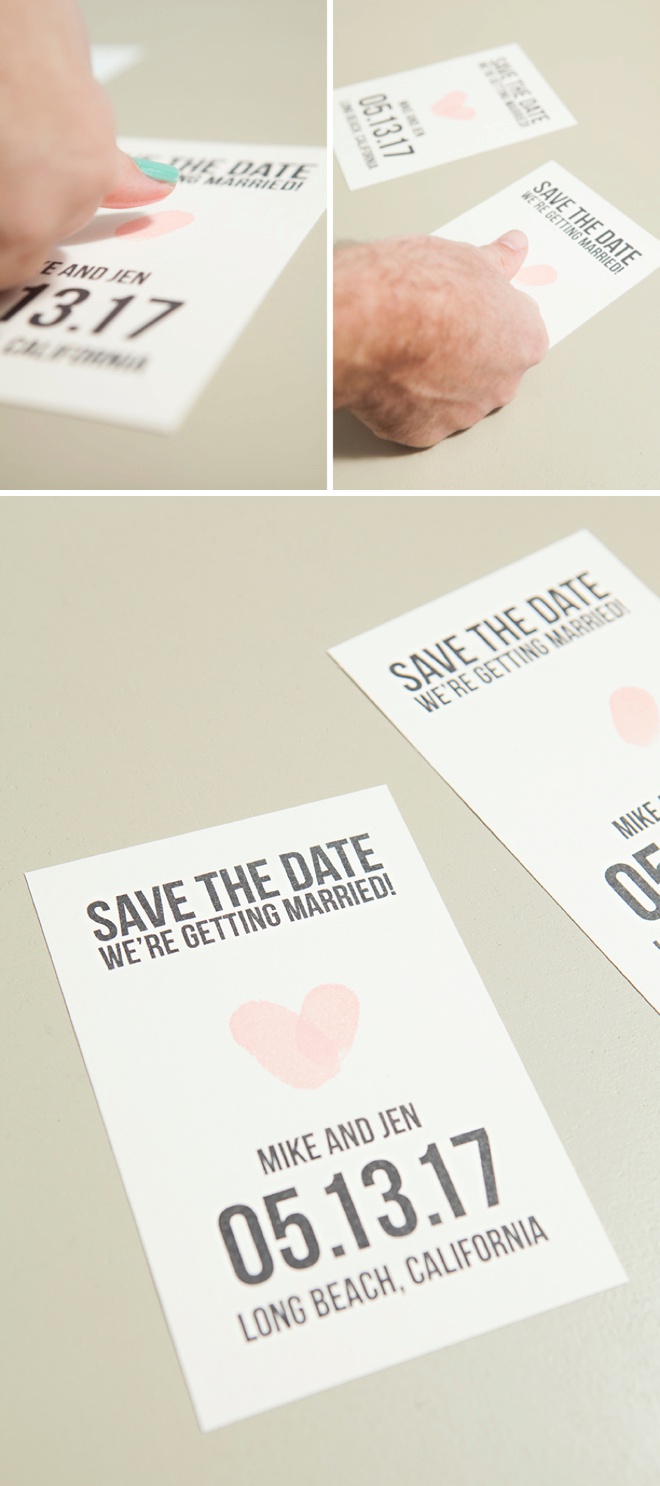
Add Your Thumbprint
Press your thumb into your ink pad and then onto your invite card, making half of the heart. Practice a bit on regular paper before you do it on your actual cards. Also make sure that your ink is much darker than the card color you’ve used!
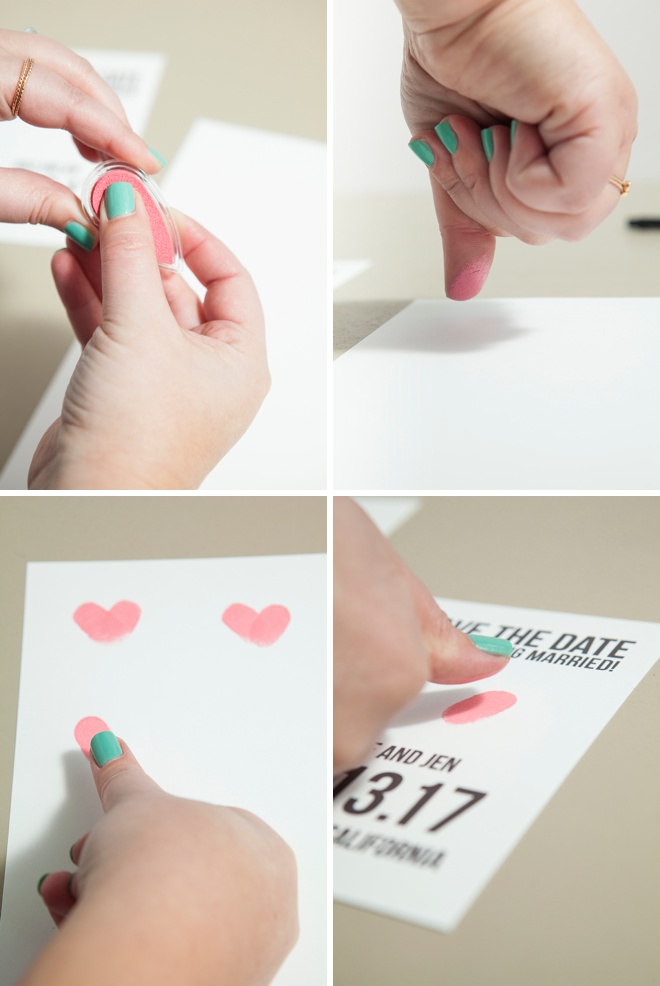
His Turn
Now it’s your fiancés turn. I made the hubs do it for the full effect, lol! His thumbprint will no doubt be bigger than yours and your heart won’t look perfect – but that’s part of the charm.
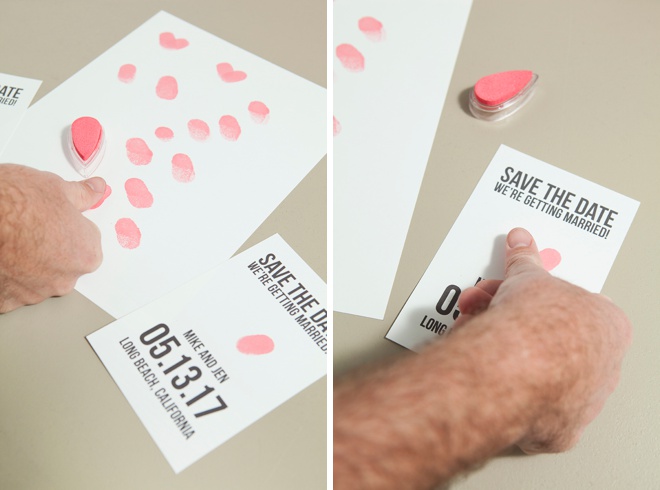
Adorable.
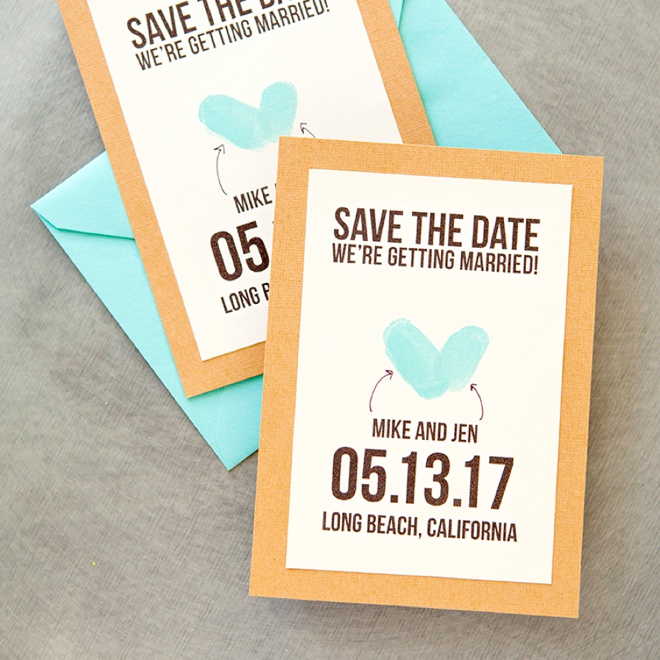
Cut Your Mounting Paper
Trim your pretty paper of choice down to 5×7 cards. You can use glitter paper, patterned paper, fabric, vellum, regular colored paper… anything you’d like.
…and if you don’t want to mount your card, cut the design using the gray crop lines and that’s it!
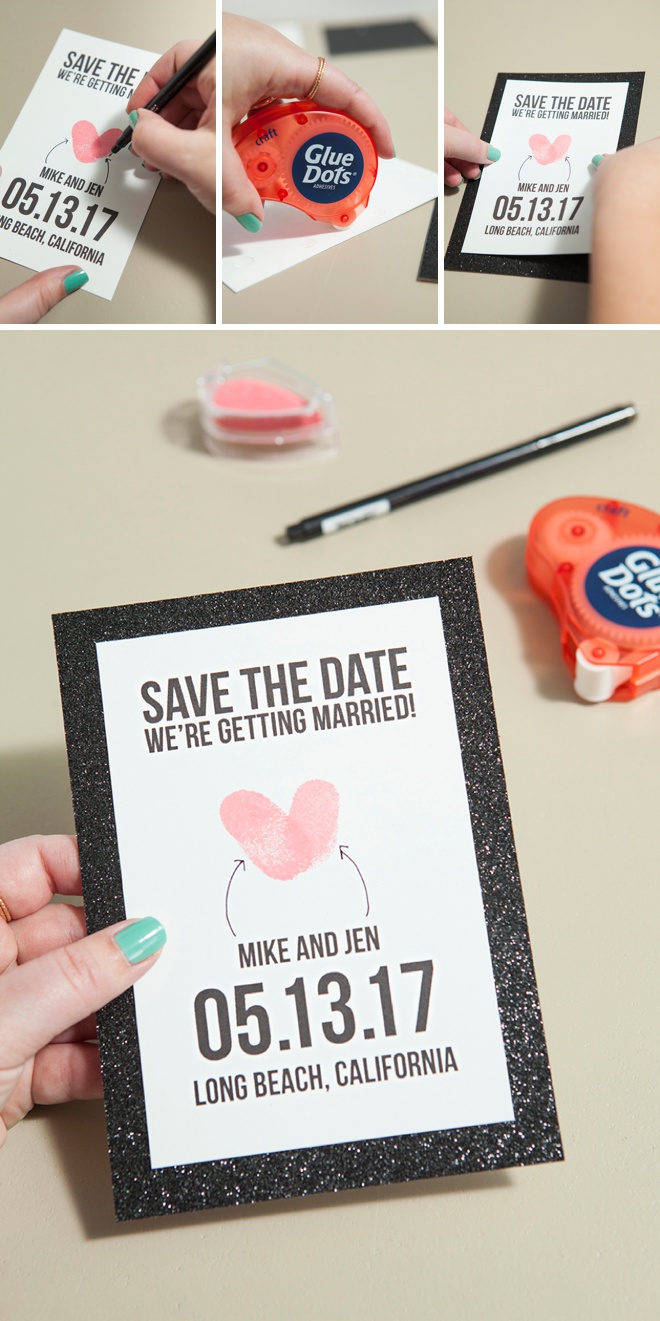
Adhere Your Cards Together
If adhering regular paper to regular paper (with no texture) you can totally use a glue stick.
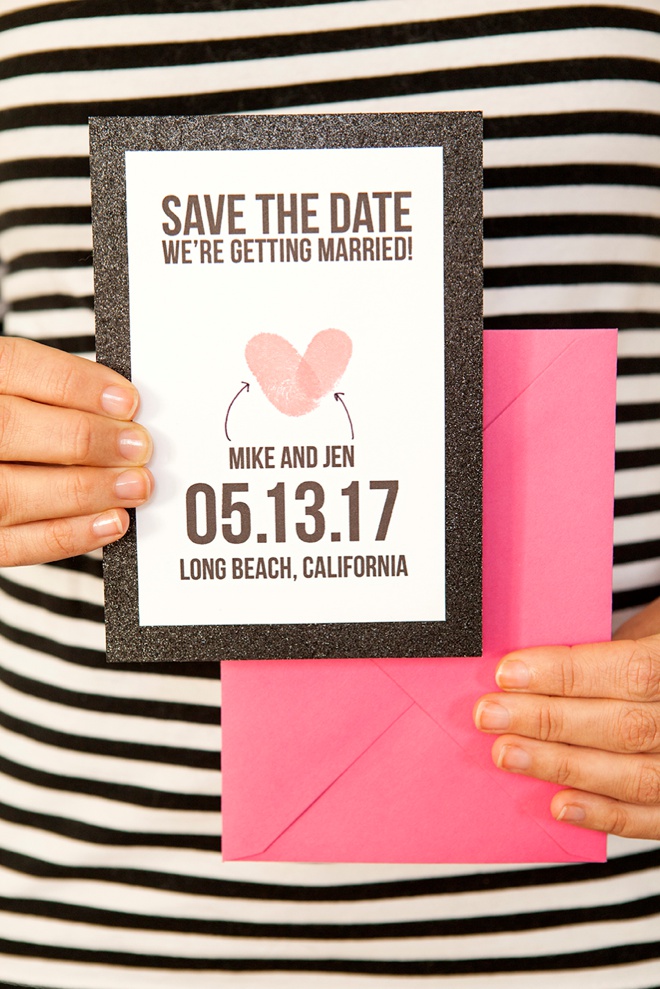
If adhering regular paper to glitter paper (or other paper with a really rough texture) like I am in this example, you’ll need to use a stronger adhesive like Glue Dots.
If using fabric you will want to use brads instead of adhesive, like I did in this project.
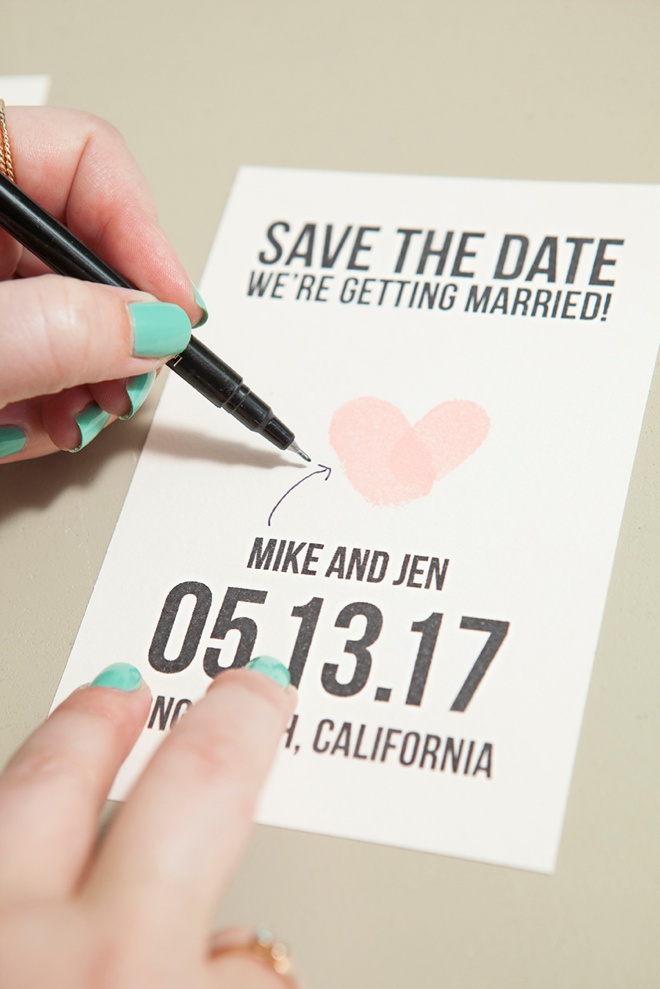
Don’t forget to draw your little arrows!
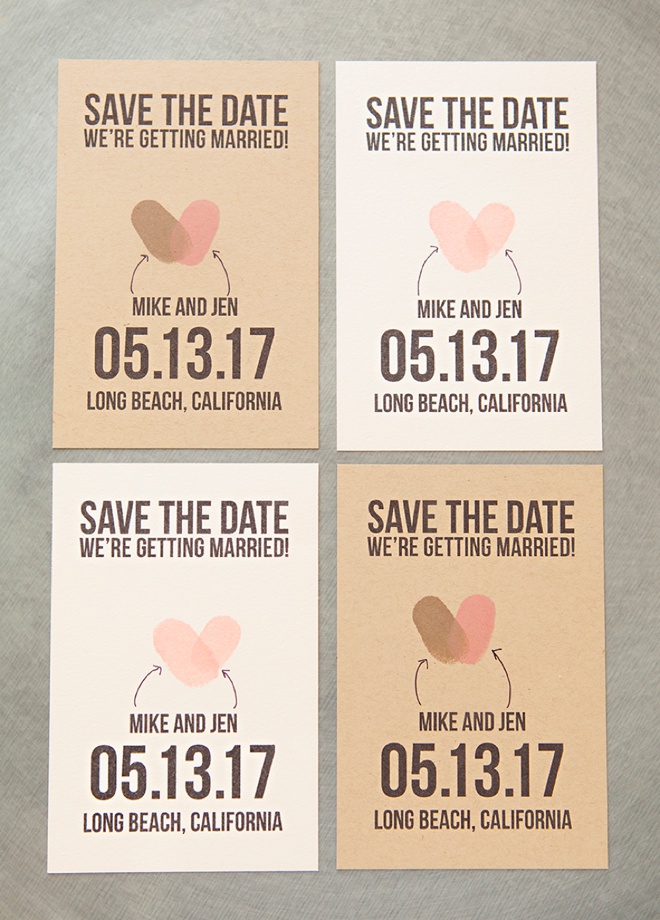
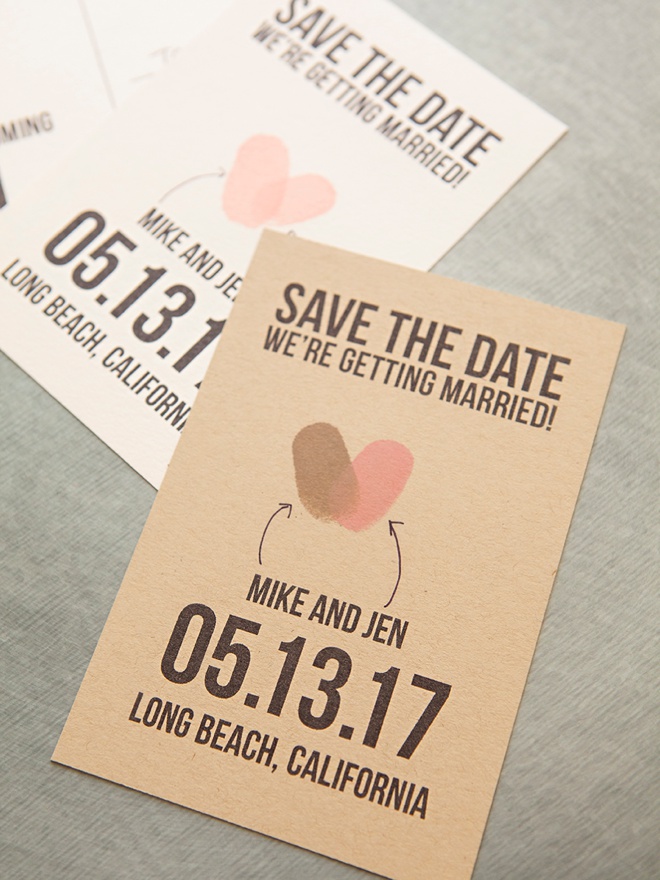
Customize With Your Colors
It’s super easy to customize this design and make it unique by choosing paper, envelope and ink colors that match your special event!

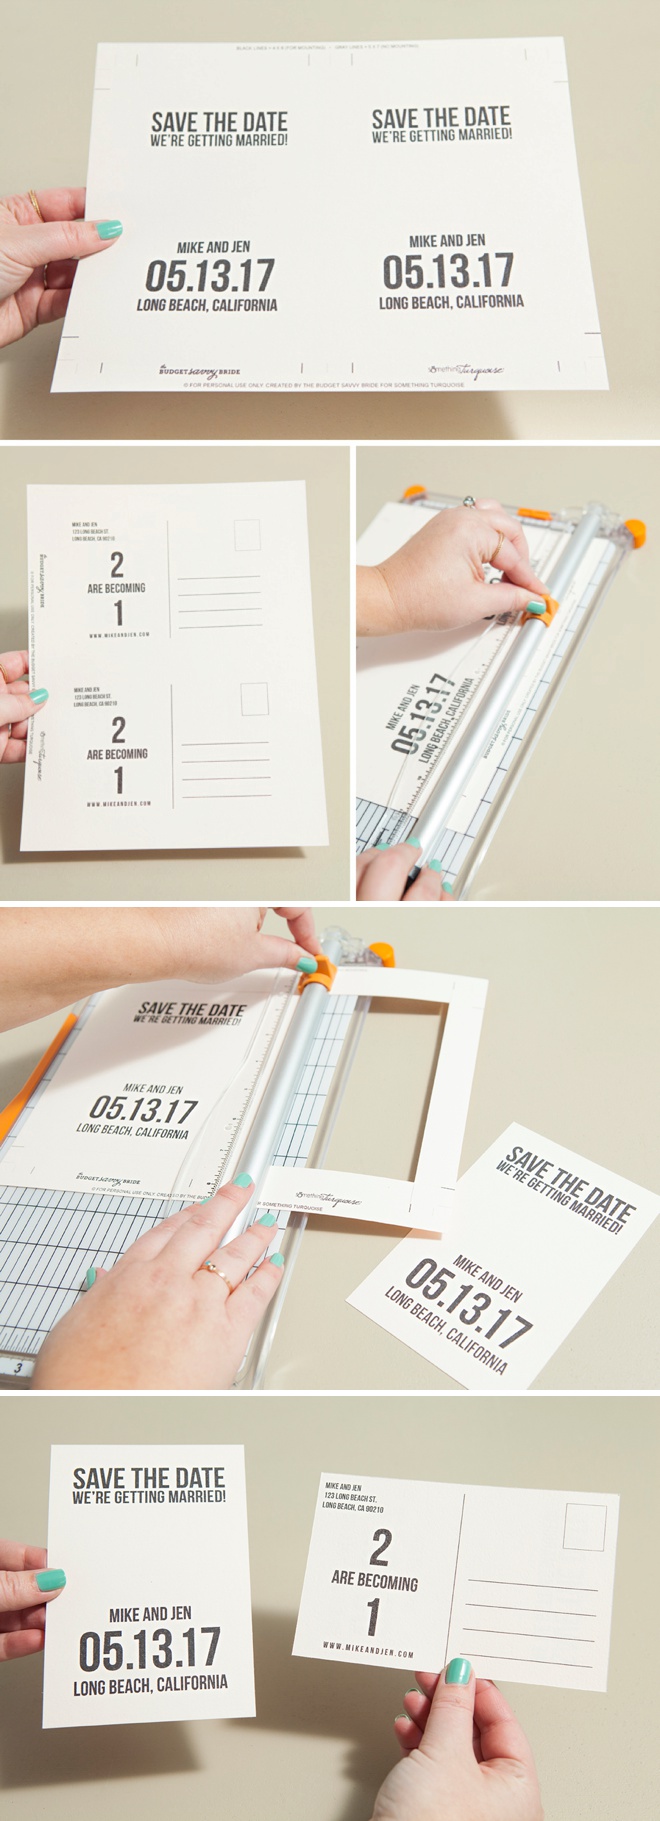
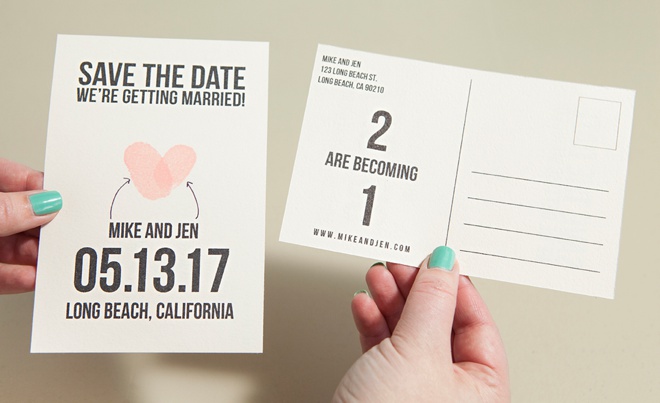
How To: The Postcard
Download both the front and back designs and edit them. Then print the designs respectively onto one 8.5×11 sheet of cardstock or coverweight paper. This way there is no gluing/adhering involved as it’s now printed on both sides of the paper. Lighter colored papers will work the best.
Next, cut out each card by using the black crop lines.
Add Your Thumbprints
Draw Your Arrows
Address + Send
The postcard design is incredibly budget savvy! I did the math and for this exact design, on the Luxe Blush fancy paper from Paper Source, including home printing and $.35 postage – each postcard would cost only $.95!
Which Will You Send?
What Colors Will You Use?
Huge thanks to Jessica from the Budget Savvy Bride for traveling all the way from NYC to Southern California to shoot this project with me! (ok, she was going to be in CA anyway… but I can pretend, lol) And of course for designing these fabulous cards for us… xo
Visit The Budget Savvy Bride to download our free, editable Thumbprint Save The Date designs. Both the postcard and regular card style are waiting for you!

As with all our DIY tutorials, if you create one of our projects please send us a picture – We Love Seeing Your Creativity! If you use Instagram or Twitter please use the hashtag #SomethingTurquoiseDIY and it will show up on our Get Social page. Happy Crafting!
DIY Tutorial Credits
Photography + DIY Tutorial: Jen Carreiro of Something Turquoise // Card Design + Free Download: Jessica of The Budget Savvy Bride // Coverweight Paper and A7 Envelopes: Paper-Source // Glitter Cardstock and other cardstock: Michaels // Fiskars Paper Trimmer, Martha Stewart Ink Pads, Glue Sticks, Glue Dots, Le Pen, and Windex Wipes: Amazon // Nail Polish: OPI – Withstands the Test of Thyme
Shop The Supplies:
Find the supplies you’ll need for this project from our affiliate links below:

Comments