
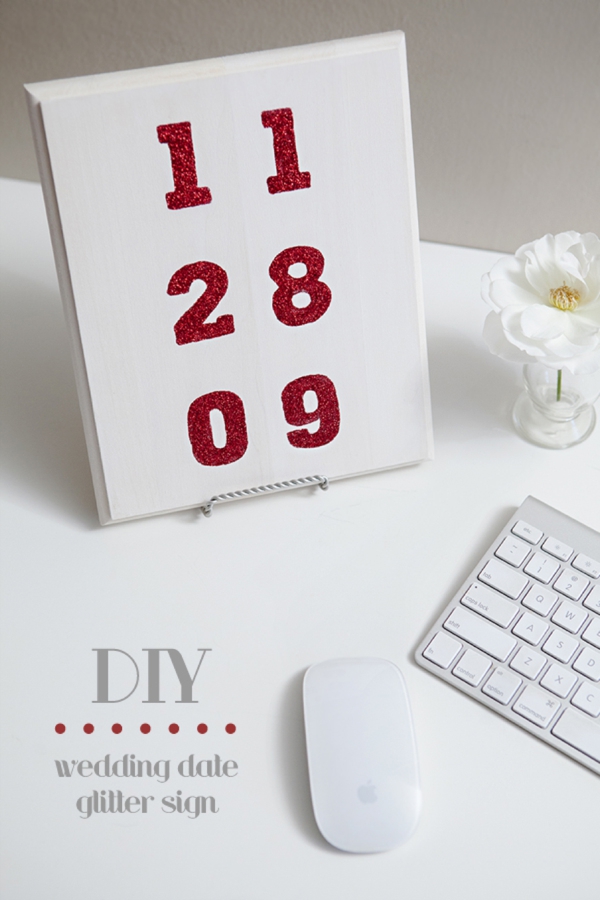
DIY | glitter wedding date sign
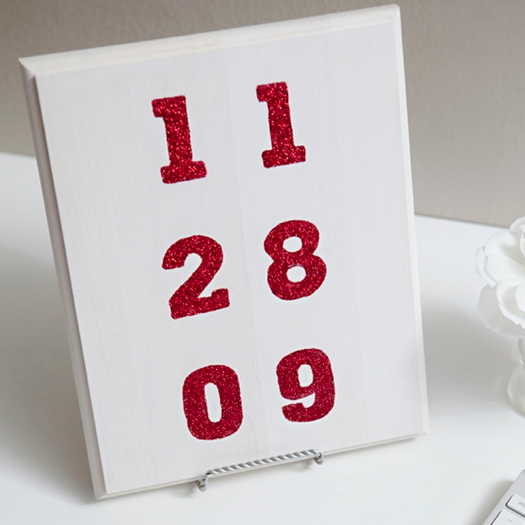
Your wedding date is a day that you cherish, a day not to forget, and possibly the best day of your life. So we decided to come up with a concept that honors that ‘date’… enter the “glittered wedding date sign” – yay!!! This simple project will bring a smile to your face every time you see it ..and will also ensure the hubby doesn’t ‘forget’, lol. Perfectly acceptable to make for yourself before or after your wedding (no matter how long it’s been – I made one for myself that you can see below!) and would make a wonderful gift for any newlyweds!
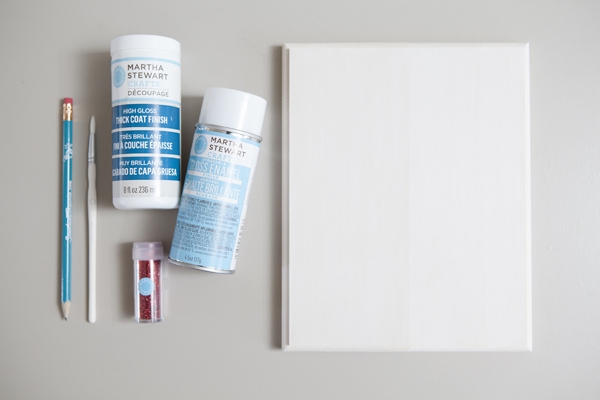
SUPPLIES:
- wood plaque of any size
- Martha Stewart Crafts decoupage glue in ‘thick coat finish’
- Martha Stewart Crafts glitter in your favorite shade
- Martha Stewart Crafts Gloss Enamel Finish Spray Paint
- wedding date numbers design (make on your computer and print out)
- paint brush
- pencil
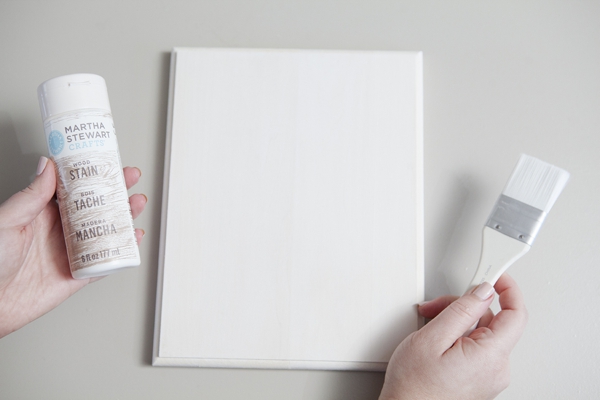
***I actually stained this wood plaque beforehand with Martha Stewart Crafts ‘Wedding Cake’ wood stain. Follow the directions on the bottle.
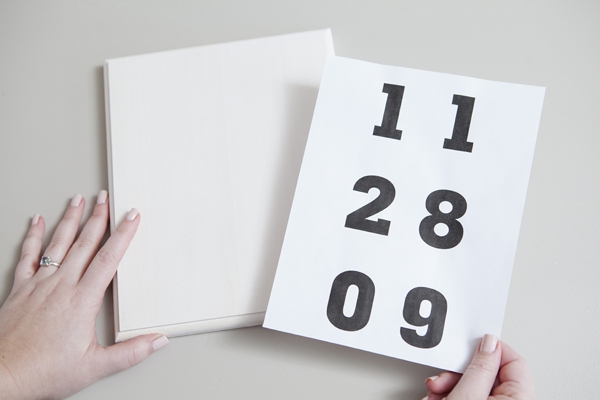
Based on your size of wood plaque (the one I’m using is 8″ x 10″) print out your wedding date using your favorite font. This one below is GeoSlab703 XBd BT. Cut it to fit your wood.
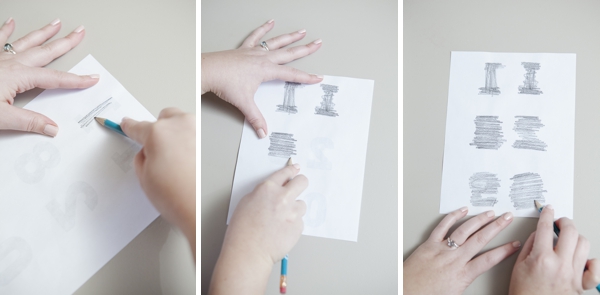
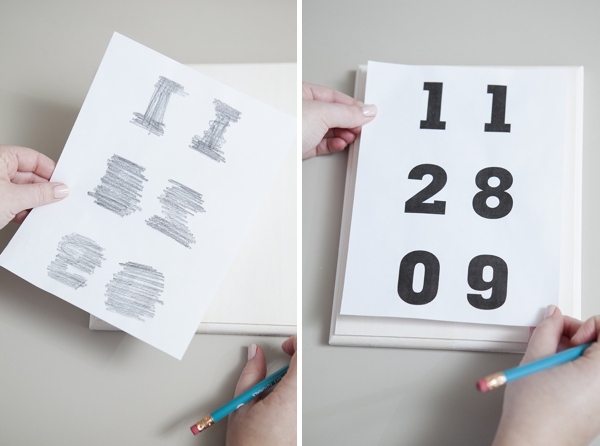
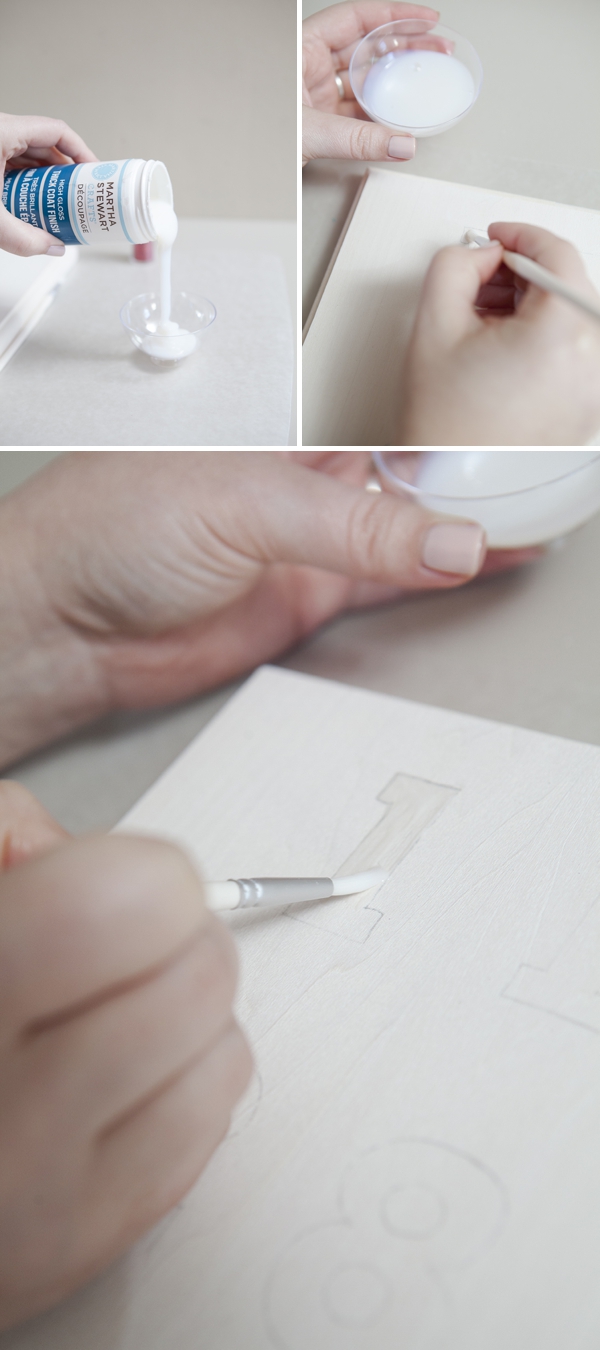
Next we are going to use the old school ‘pencil transfer’ technique. On the backside of your printout, heavily color in the numbers with a pencil.
Then flip the paper over onto your wood plaque and center.
I’m a freak and measured every inch of my design from the edge of the wood to the font, to make sure that the date was exactly centered.
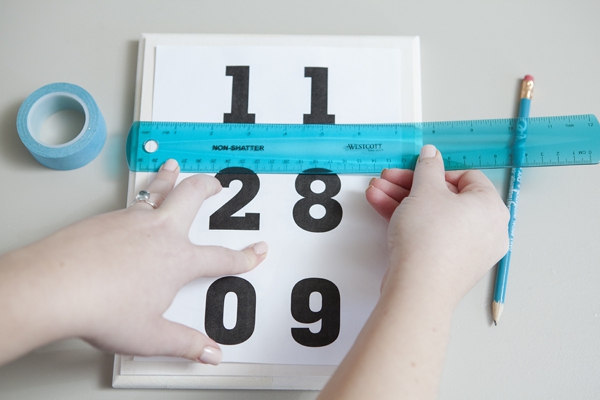
You can tape your design down to your wood if it makes you feel more comfortable.
Then trace the outline of each number as best you can.

When you remove the paper you will have the perfect outline of your wedding date design in pencil! Isn’t that cool? This technique can be used for SO many projects…

Using decoupage glue, heavily paint each number. You will shake glitter onto this coat of glue so you want it to be nice and thick – hence the reason we are using ‘thick coat finish’.
Once each number has been painted, shake on lots of glitter! …then leave it be.
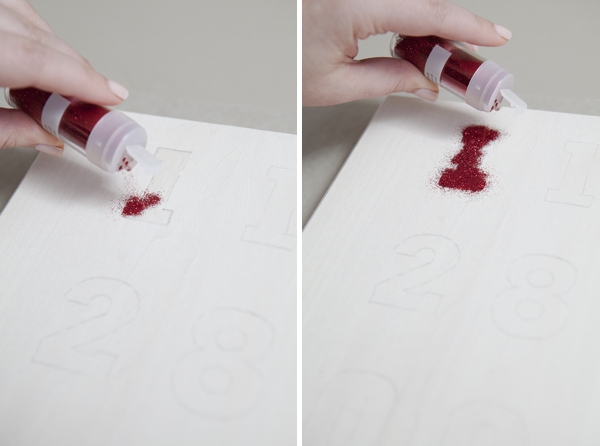
Do the next number; paint + glitter + leave it be. This glitter is ‘garnet’.
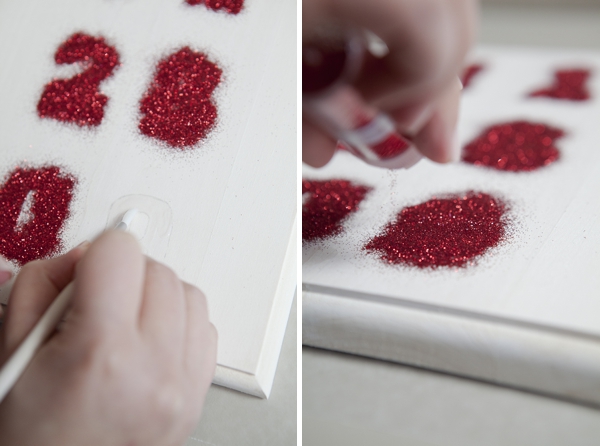
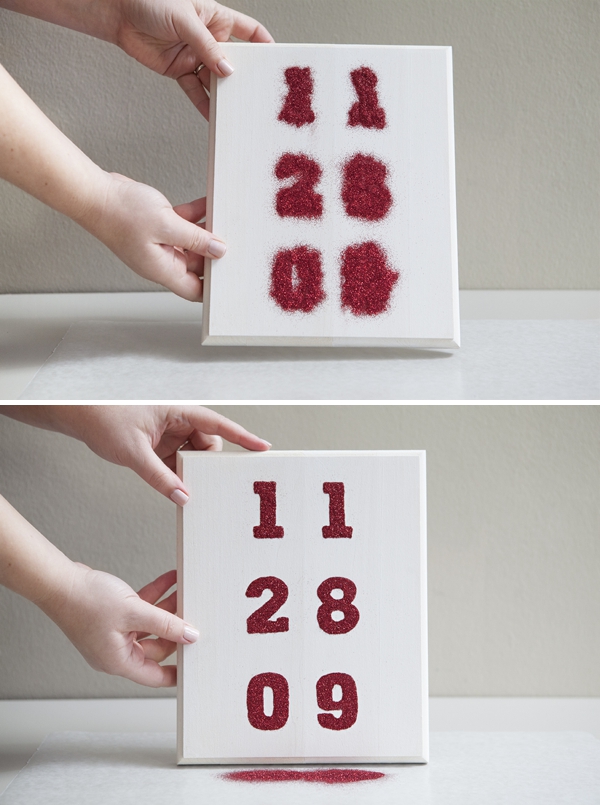
When you are finished with all the numbers, tap the plaque onto a piece of waxed paper (or some type of covered surface) to shake of excess glitter and reveal your wedding date! Let your glittery design dry for at least an hour. ***Make sure to save excess glitter.
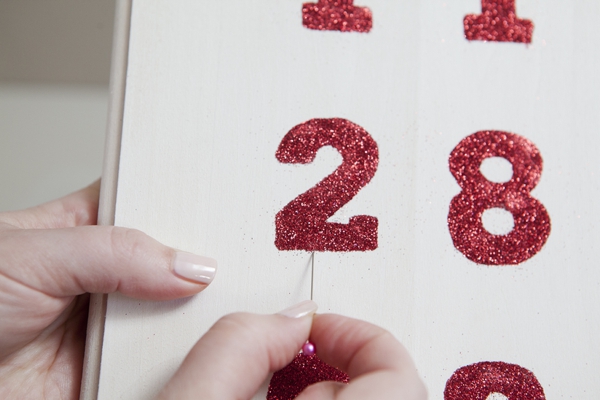
If you see any little areas that you’d like to clean up, do it right away by carefully scraping off the glitter with a pin or your fingernail.
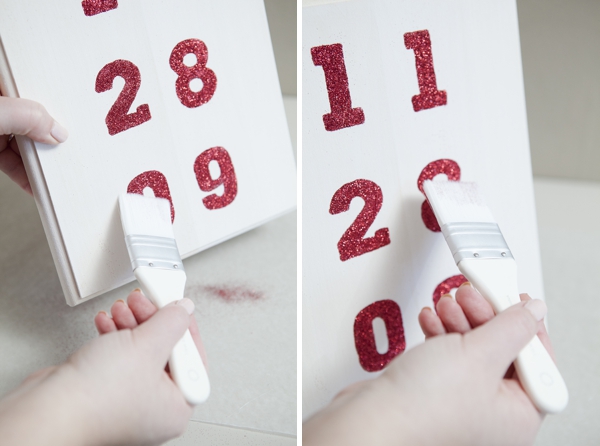
Once your glittered date has dried completely (at least an hour if not a few more) carefully brush away any loose glitter. *Do a second coat of glue + glitter if there are sparse areas.
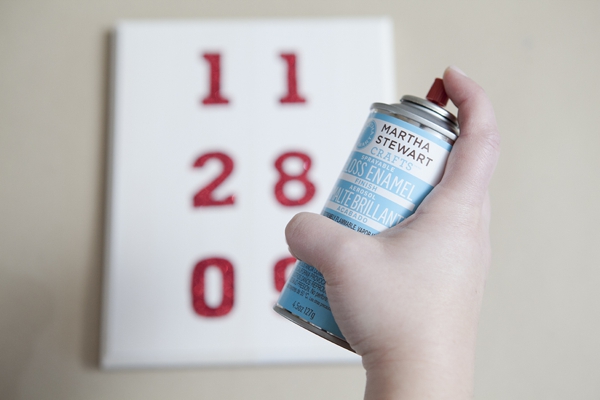
To seal your sign so that you don’t loose a single sparkle, do two coats of MSC gloss enamel finish spray paint… and you’re done!
![]()
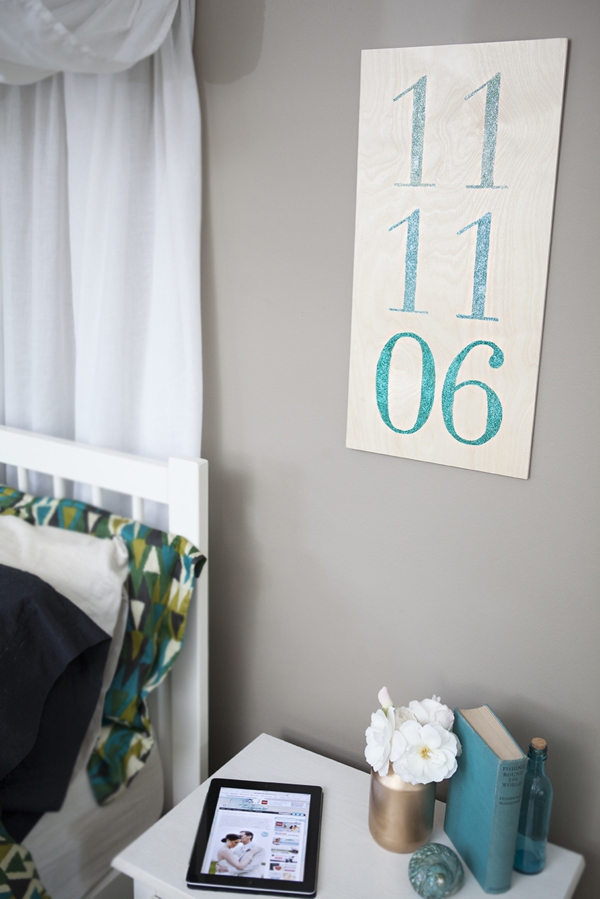
Of course I had to make one for myself… surprised that it’s turquoise!?! The same steps as above apply. I still did one number at a time, but when painting larger numbers you need to make sure that your glue is still wet when applying the glitter! Glitter colors: amazonite, feldspar, and aquamarine crystal. Font used: Didot.
As with all our DIY tutorials, if you create one of our projects please send us a picture or a trackback – We Love Seeing Your Creativity! If you use Instagram or Twitter please use the hashtag #SomethingTurquoiseDIY. Happy Crafting!
![]()
Photography: Studio 11 Photography // DIY tutorial by: Jen | Something Turquoise // Martha Stewart Crafts decoupage glue, glitter (garnet; amazonite, feldspar, and aquamarine crystal), paint brushes, wood stain, gloss enamel finish: Editors at Martha Stewart Living // both wood plaques and picture stand: Michaels // nail polish: OPI – Mimosas for Mr & Mrs

Comments