
DIY | seashell seating cards
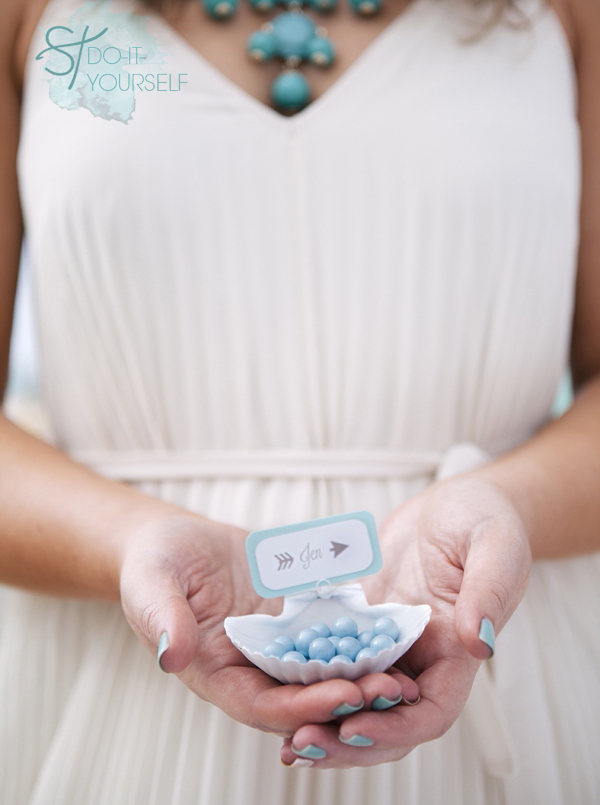
Here is our third DIY tutorial from our special Seaside Bridal Shower! It’s all about the details… details are what people remember. If you are throwing a beach inspired event, this darling seashell seating card project does double duty – it also makes a terrific favor! We added beautiful pearl-like candies from Martha Celebrations for the perfect seaside touch!
SUPPLIES:
- Krylon Gloss Enamel Spray Paint
- Hot glue gun
- jewelry making ‘split rings’
- tweezers
- your choice of seashells
- cute seating cards and yummy candy

‘Split Rings’ are exactly like teeny tiny keychain rings… and their tight metal grip will be holding our cute seating cards!

Add a dollop of hot glue to the base of your seashell. Using tweezers, (and working fast because of the hot glue!) pick up a split ring and place it into the hot glue – hold it there until the glue dries – making sure the ring stays vertical. The direction your ring is facing is the same direction your card will go.

OPTIONAL // I wanted bright white seashells (maybe you want… turquoise!) and split rings – so I spray painted them after I added the split rings. You can do either!

I only needed one coat on the backside of the shells, but two coats on the inside! Let these dry completely, like really dry for a week or so before packing them up tightly – you know how spray paint can get. **I know, not food safe ~ but the candy hardly touches the paint!

Since I spray painted after I added the split rings – I had to carefully bust through the paint to open the rings. CRAFTERS TIP // It’s easier to add the rings after you paint – but if you want everything the same color you have to add the rings first. Totally up to you!

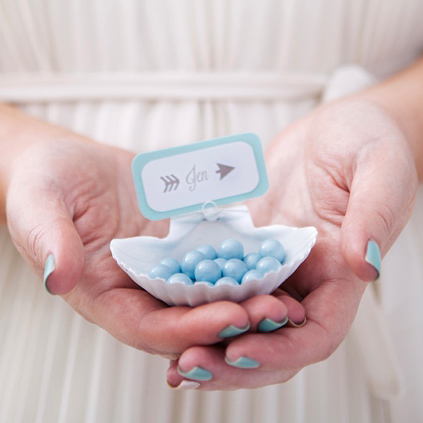
Make cute seating tags and insert them between the two metal pieces of the split rings!

Aren’t they adorable!? These split rings can be glued onto almost anything!!!

Add some pretty pearl like candies… of course these are from Martha Celebrations… and you have the perfect seaside seating card and favor!


As with all our DIY tutorials, if you create one of our projects please send us a picture or a trackback – We Love Seeing Your Creativity! If you use Instagram or Twitter please use the hashtag #SomethingTurquoiseDIY. Happy Crafting!
beautiful photography: Studio 11 Weddings // DIY tutorial: Jen | Something Turquoise // seashells: California Seashell Company // Krylon Spray Paint, Martha Stewart Crafts glue gun, and split rings: Michaels // font Lavanderia: LostType.com // arrow from computer ‘special characters’ font section // nail polish: OPI liquid sand in Get Your Number
Click here to see the entire ‘Seaside Bridal Shower with Martha Celebrations‘

Comments